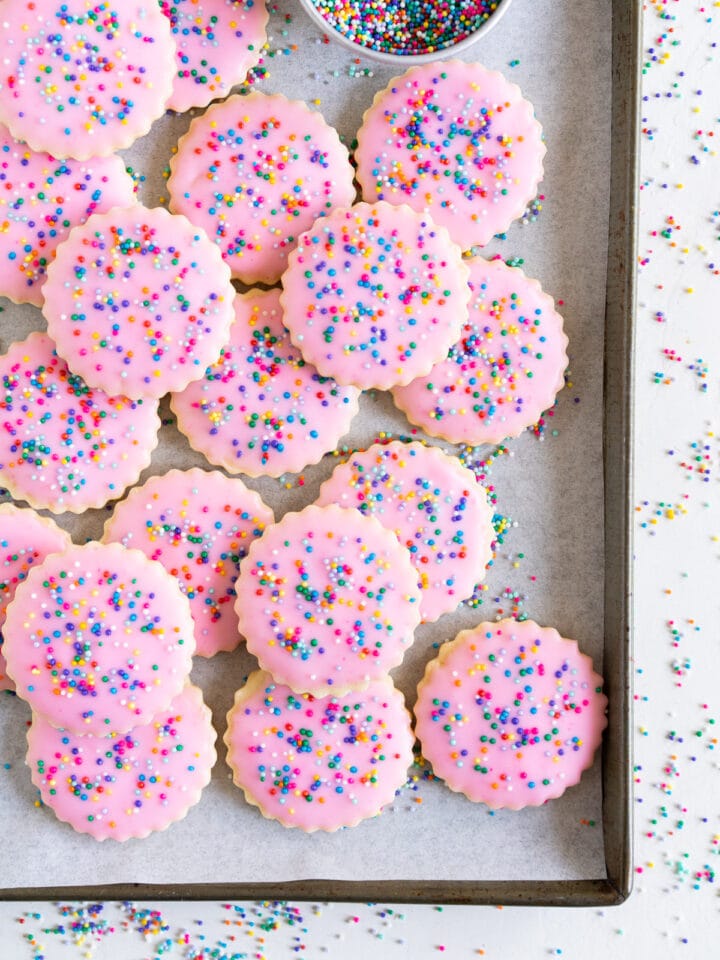
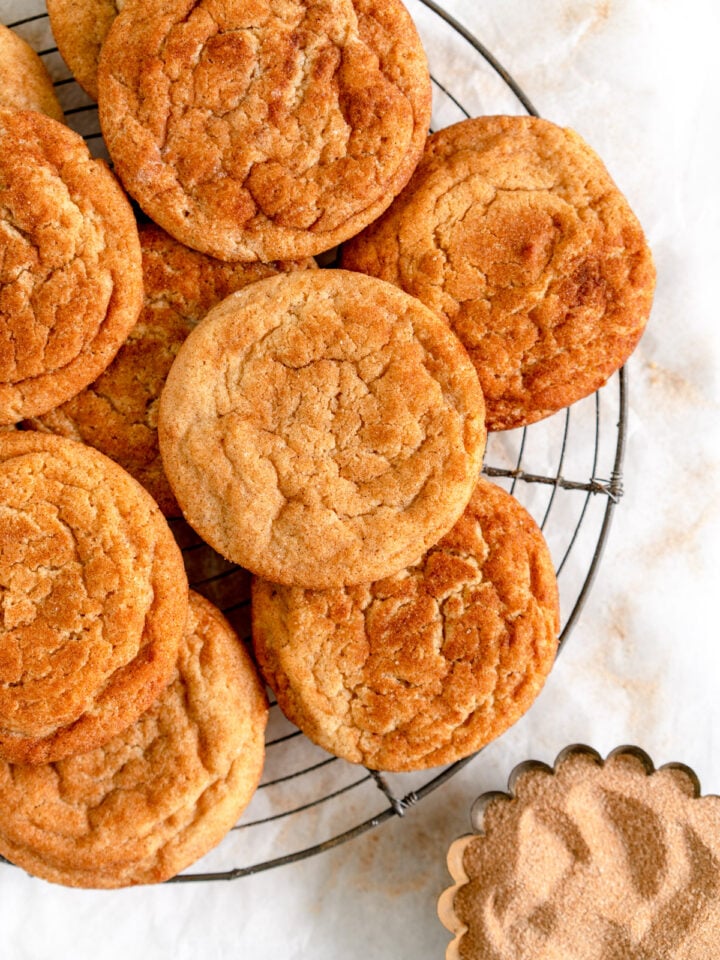
Described by a lovely Cloudy Kitchen reader as "the perfect sugar cookie", this quick and easy recipe for funfetti vanilla sugar cookies is soft, chewy, and filled with rainbow sprinkles! Recipe makes 24 tasty sprinkle cookies, the dough requires no chill time in the refrigerator, and can be baked right away!

Hi! I hope you are doing well. Just popping in here to share this Funfetti Cookie Recipe! These soft and chewy sprinkle cookies are super fun to make and don't require any chill time, making them the perfect quick and easy homemade funfetti cookie.
Funfetti sugar cookies have a soft and chewy vanilla cookie base, filled with rainbow sprinkles. I love making sprinkle cookies, or anything birthday cake or funfetti flavoured, such as my funfetti cake, but was yet to put it into cookies. These homemade funfetti cookies are a vanilla version of my chocolate sugar cookies with sprinkles, but with the funfetti sprinkles in the batter rather than rolled on the outside. I also have a recipe for red velvet sugar cookies which are rolled in sprinkles!
Seeing as we didn’t grow up with funfetti, I’m not sure if I’m violating some sort of law by not using jimmies (I didn’t grow up with those either!). I must confess that I have a slight problem when it comes to the internet and sprinkles, in that I seem to purchase excessive amounts of them. I will go to buy one type, and suddenly when I get to the checkout my online cart is mysteriously full. It’s super weird, but it’s certainly not a bad problem to have.
The result of this sprinkle purchasing is that I have two bins of absolute happiness tucked away under my couch. I had been meaning to share a recipe for sprinkle sugarcookies for a while, and somehow ended up shooting two yesterday, so the next one will be coming at you next week!
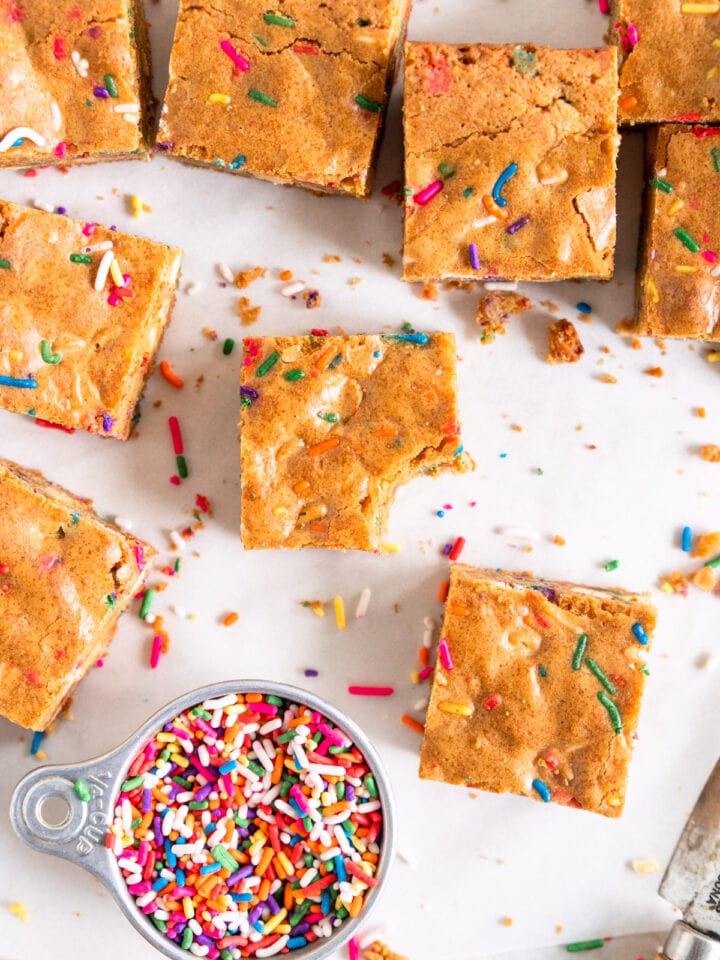
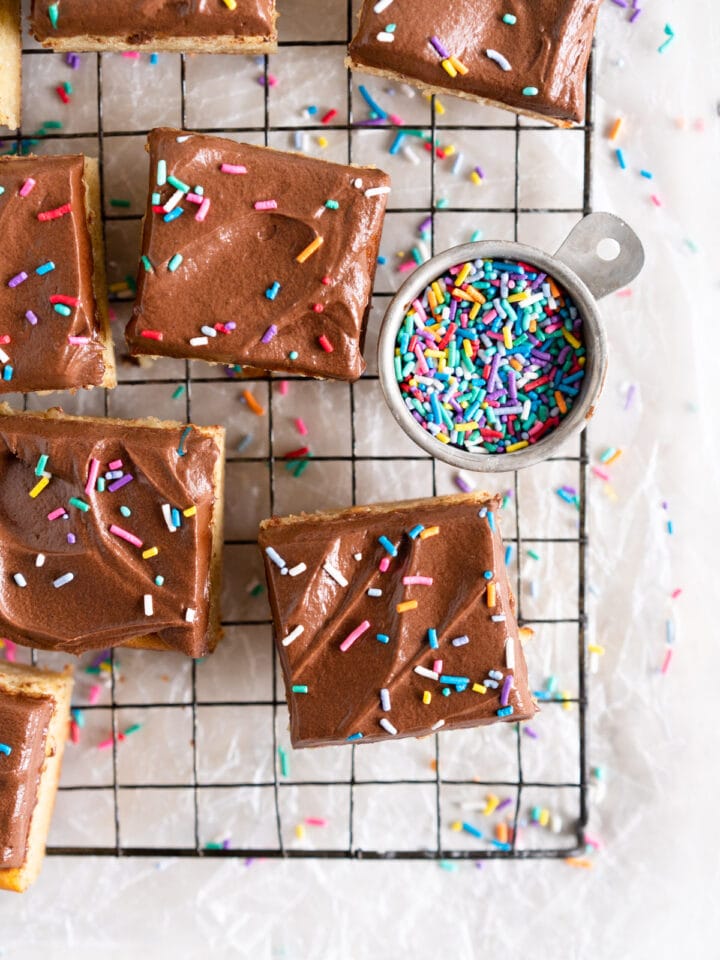
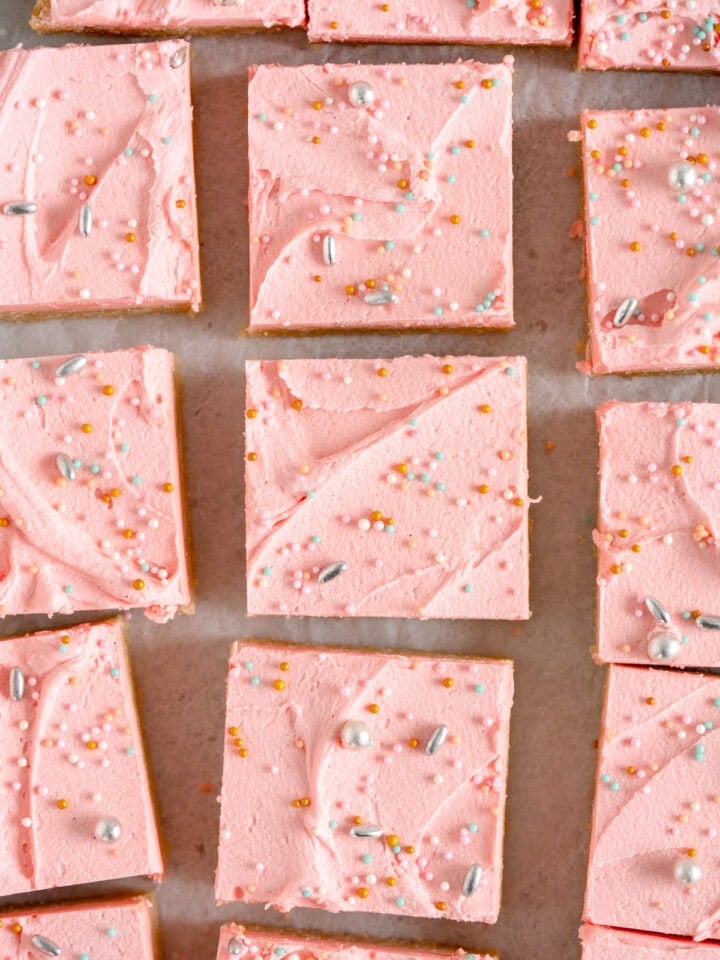
If you are looking for a classic cut-out sugar cookie, check out my post on how to make sugar cookies. My post on how to make sugar cookie dough also includes instructions on adding sprinkles! For a super soft and chewy bar cookie version of this recipe, see my sugar cookie bar recipe!


How to Make Funfetti Cookies
This Funfetti Cookie Recipe is basically sugar cookies with sprinkles - a wee spin on my favourite classic vanilla cookies. It is super simple, comes together really fast and with no rest time, and the sprinkle version is incredibly cute! I had to tweak a bit to account for the added volume from the sprinkles, but I basically just dumped a whole load of sprinkles into the dough and away we went!
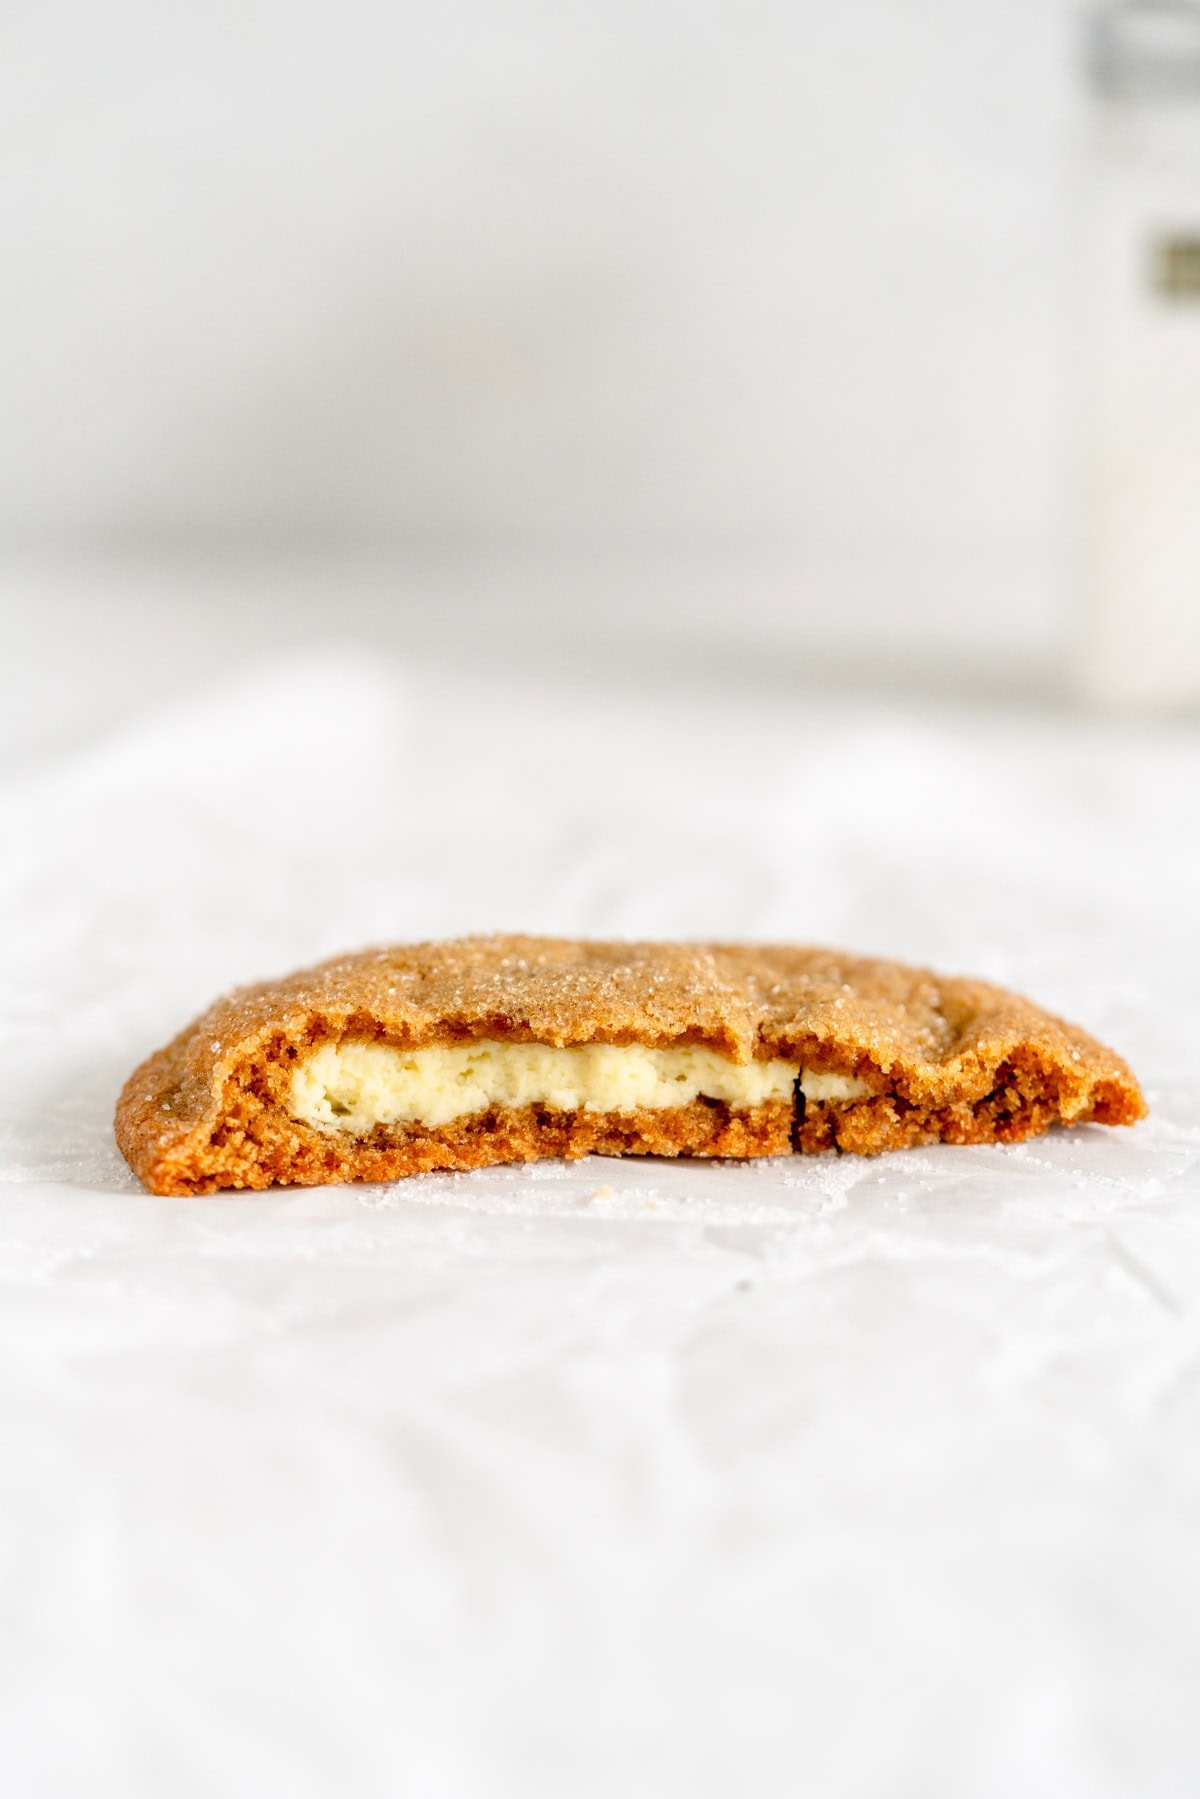
The funfetti cookie dough is soft and lovely to work with and the cookies are soft and chewy, and filled with all the magic that comes from overloading anything with sprinkles.
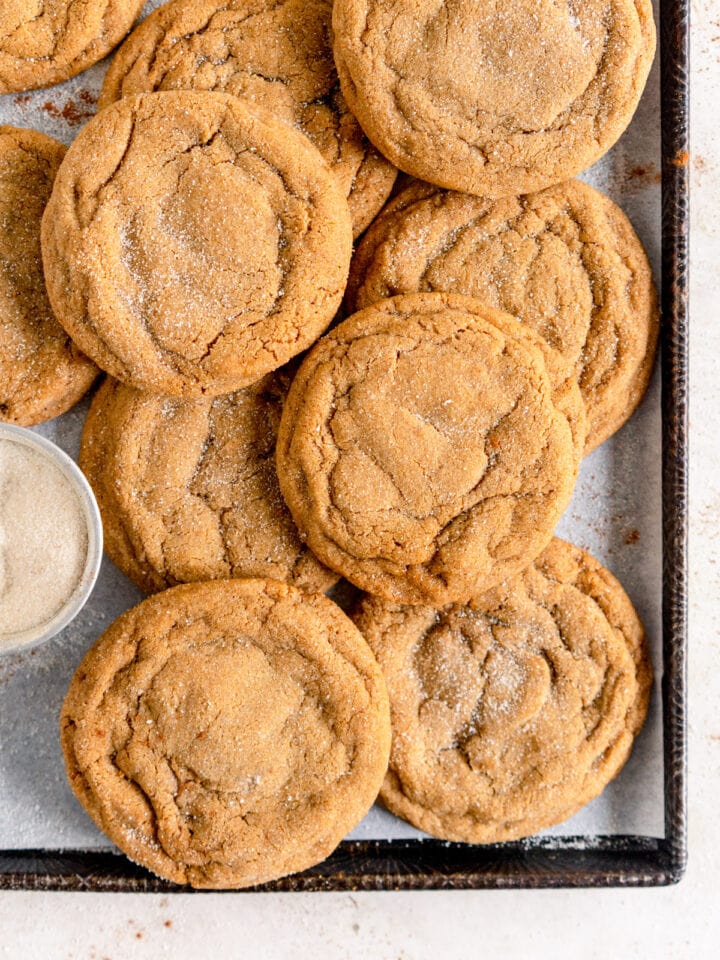
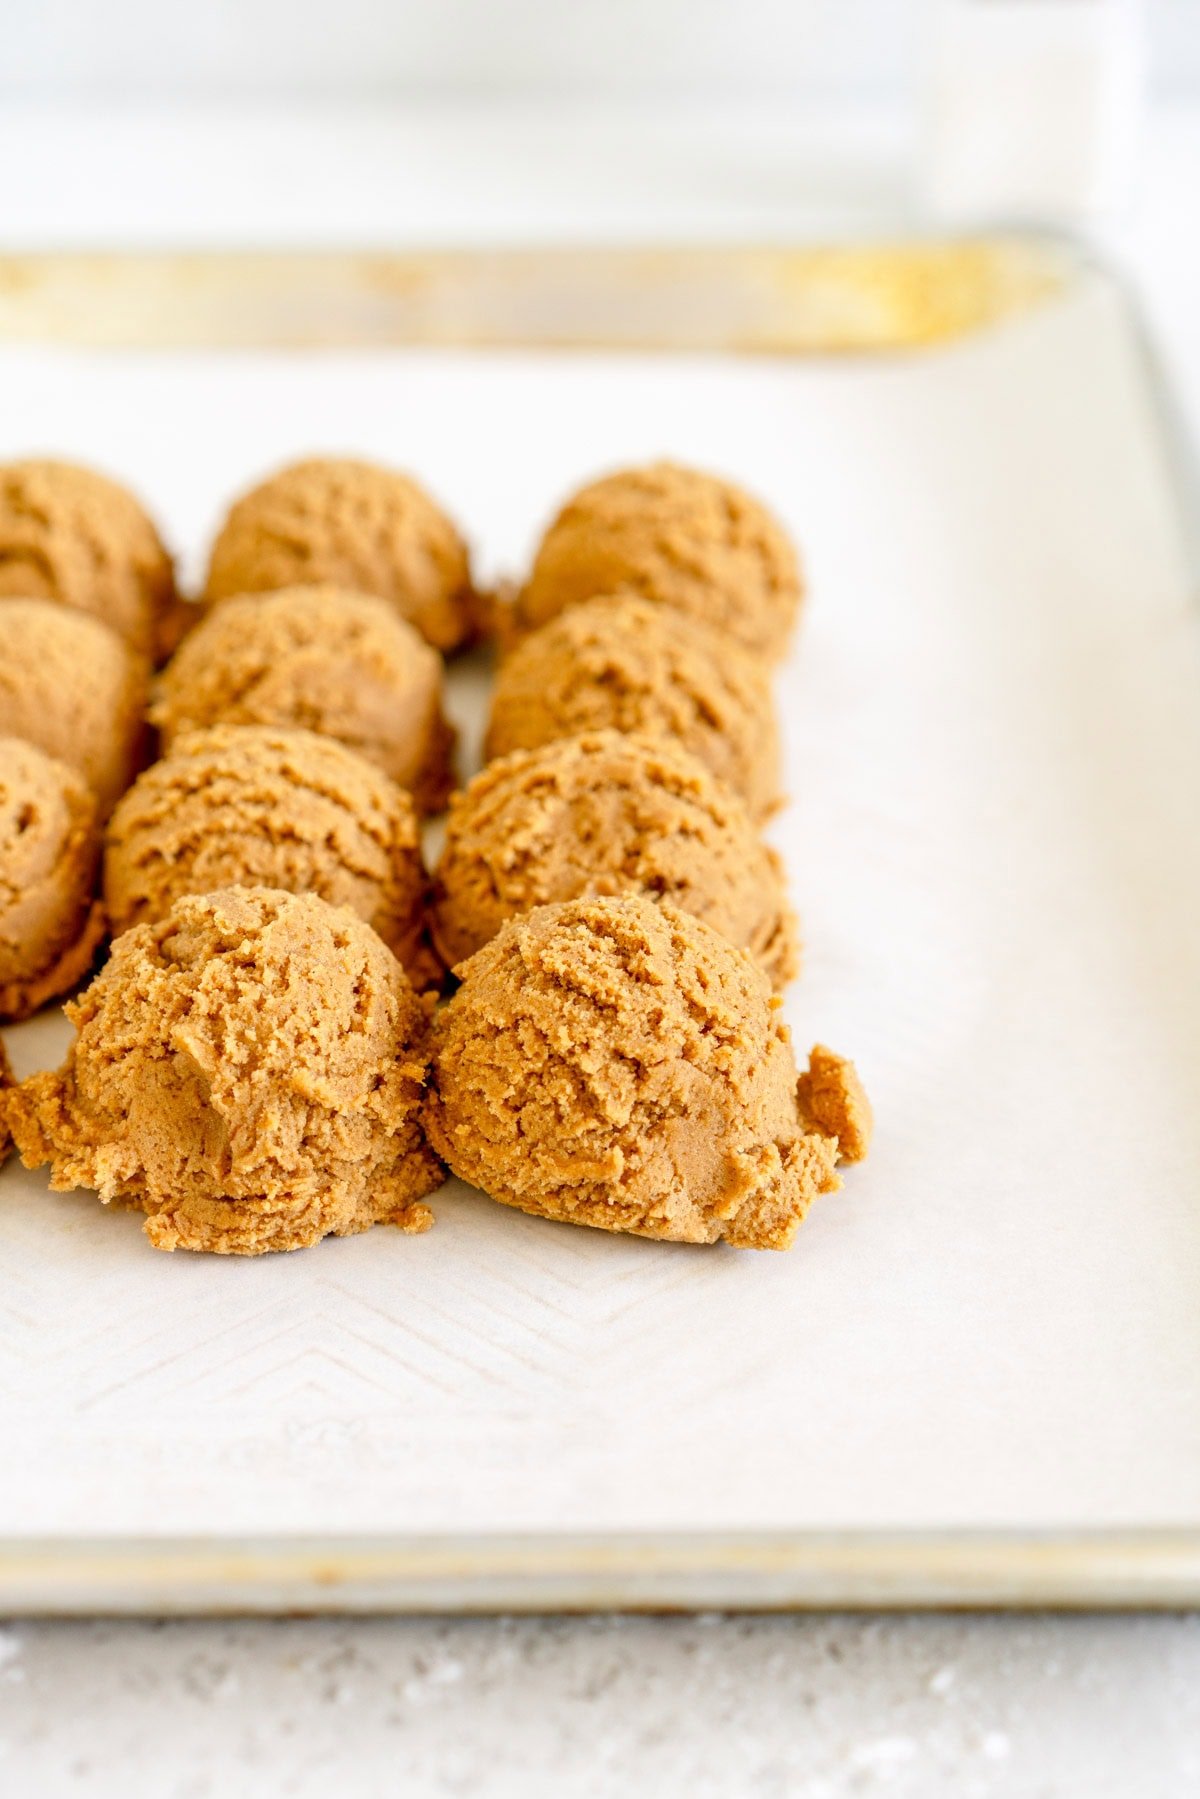
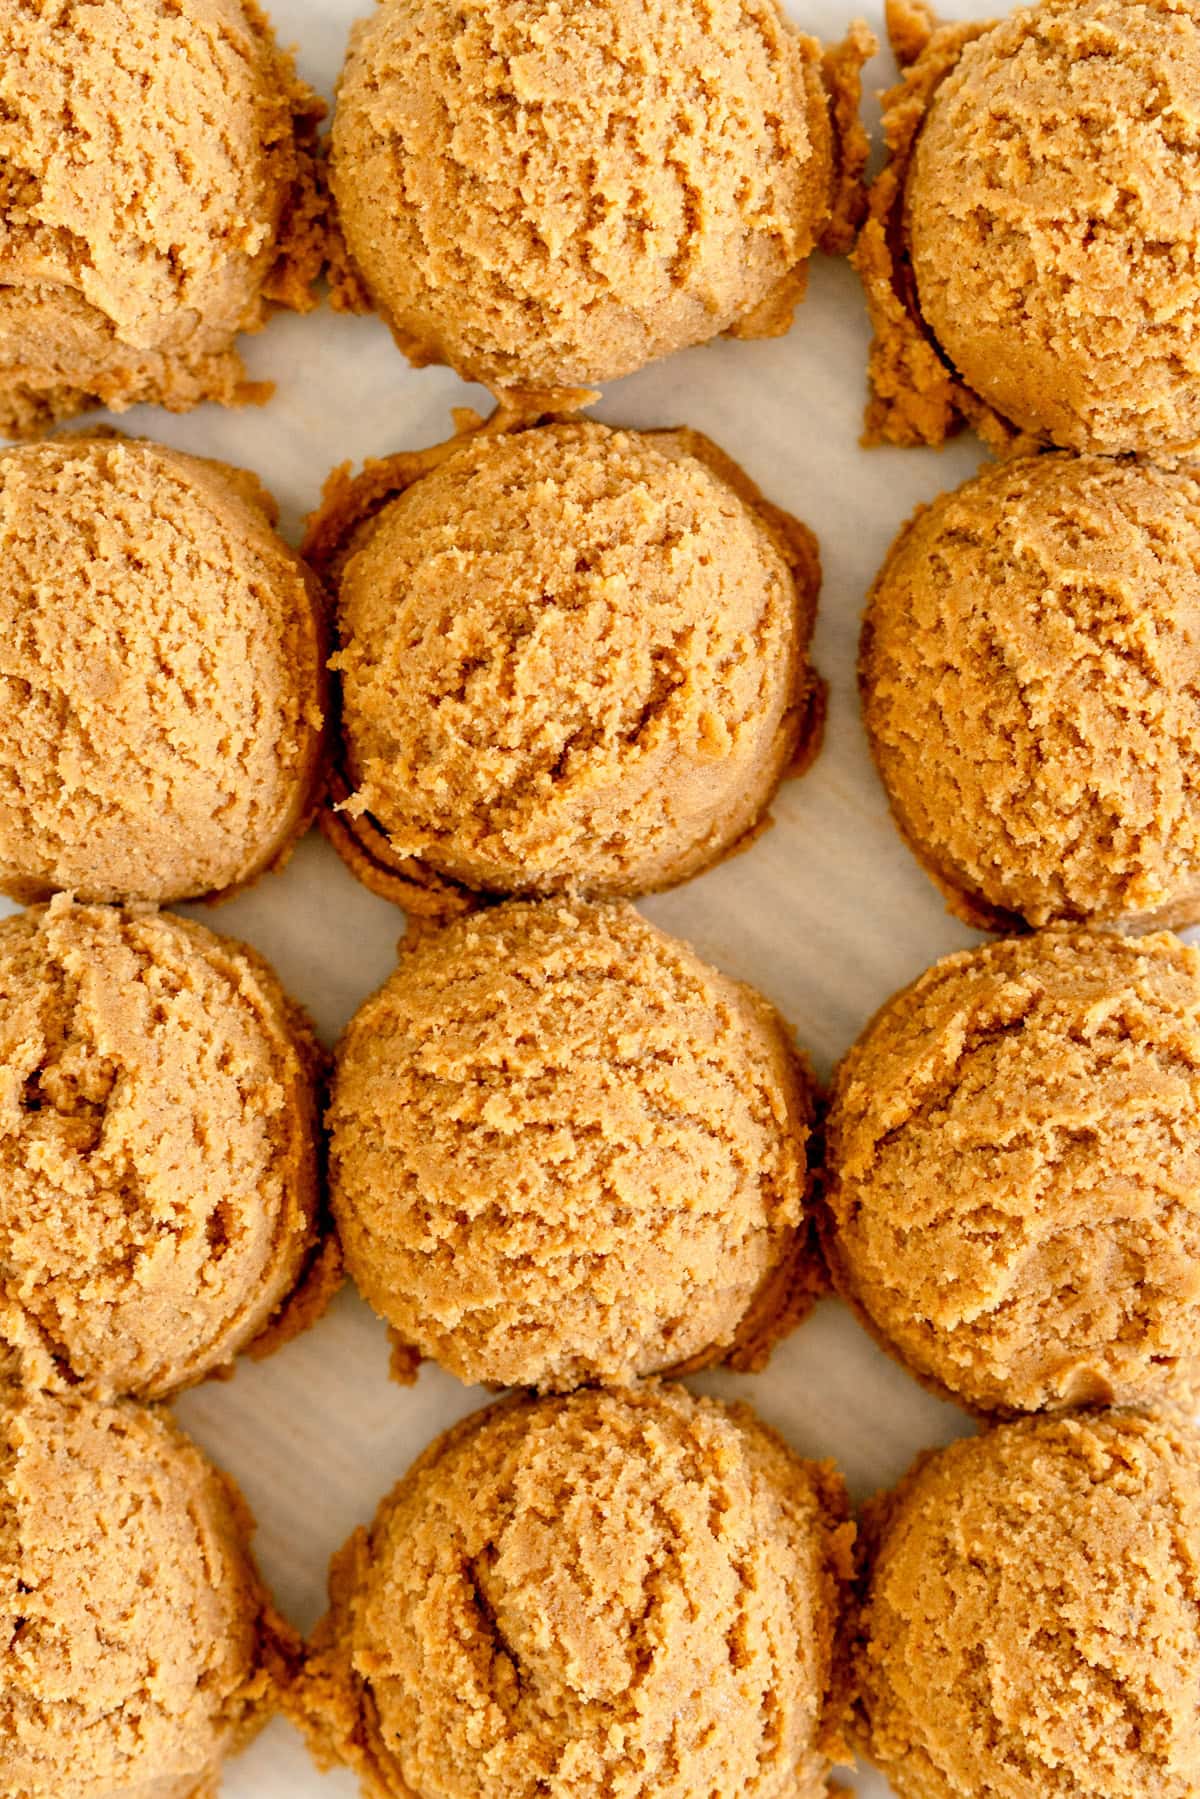
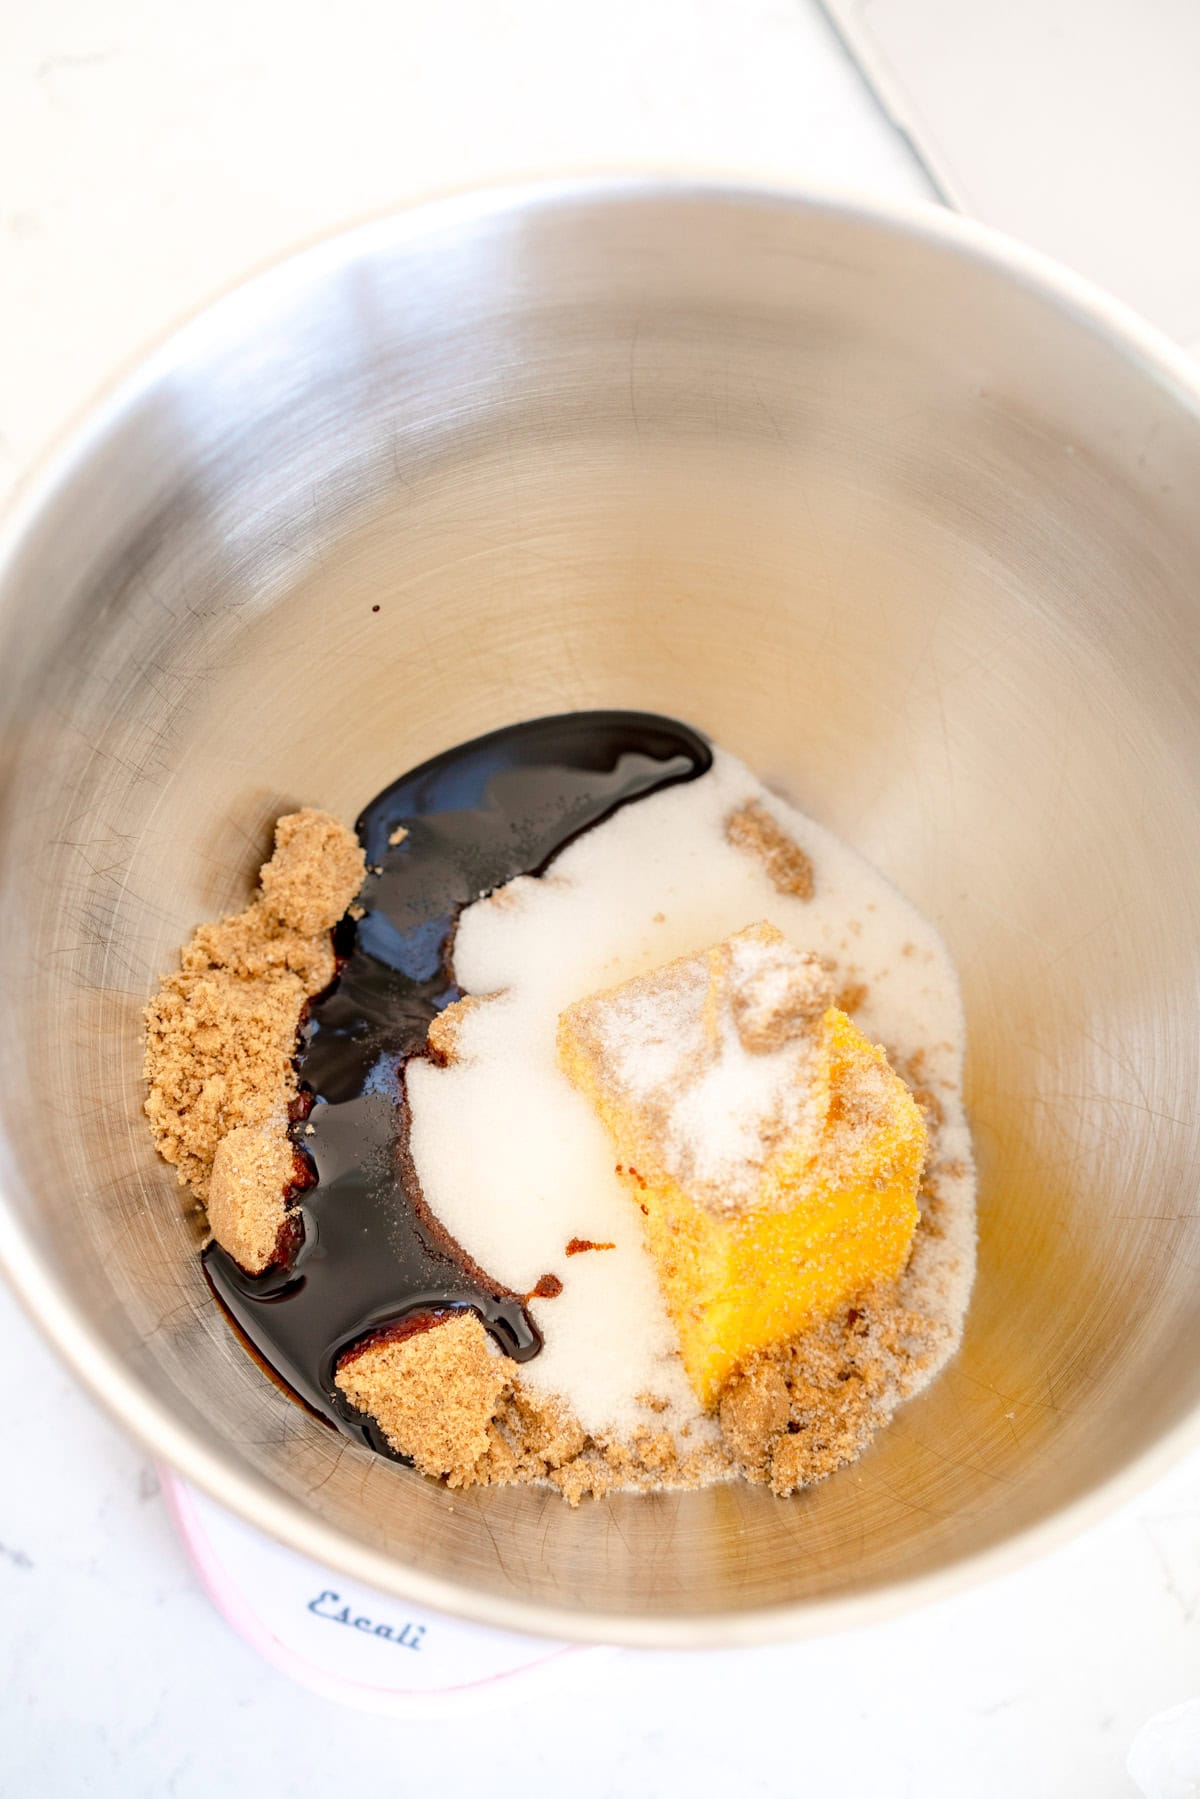
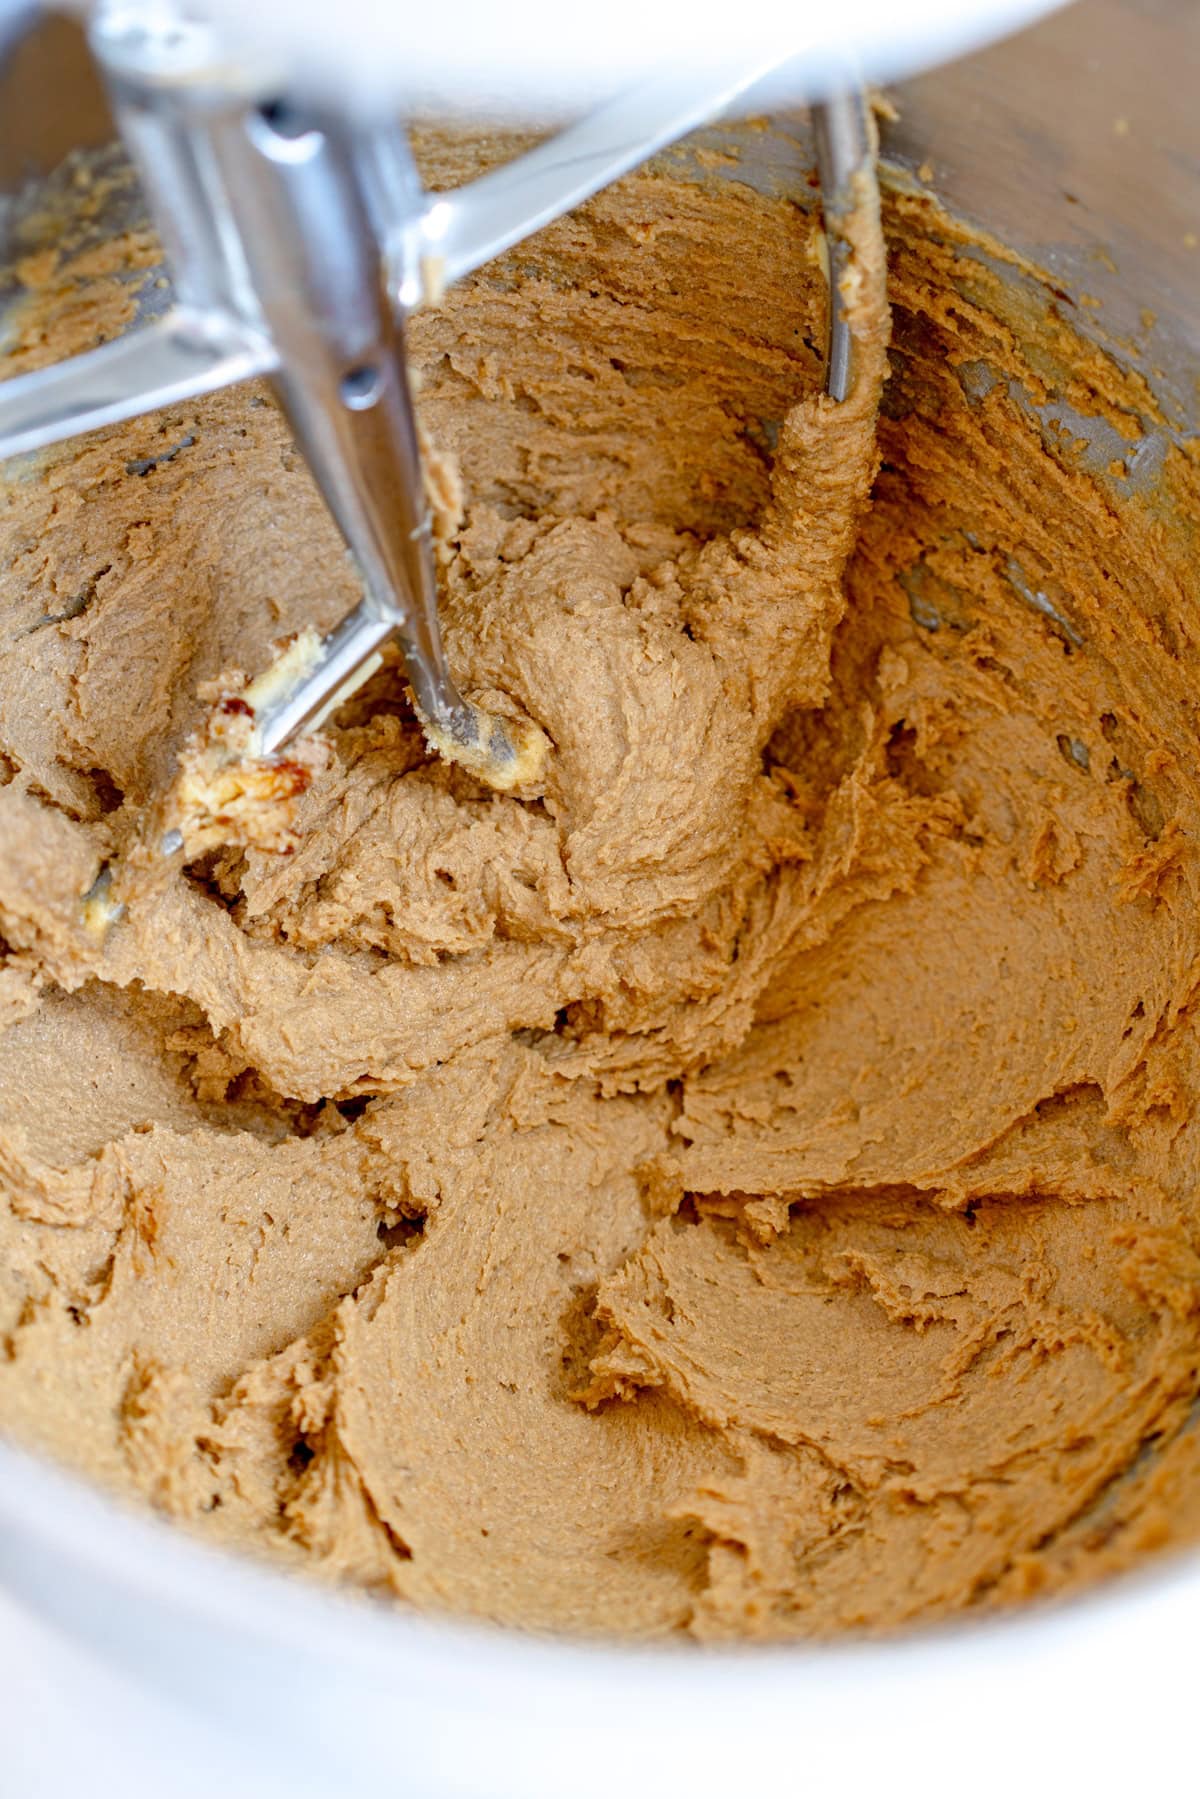
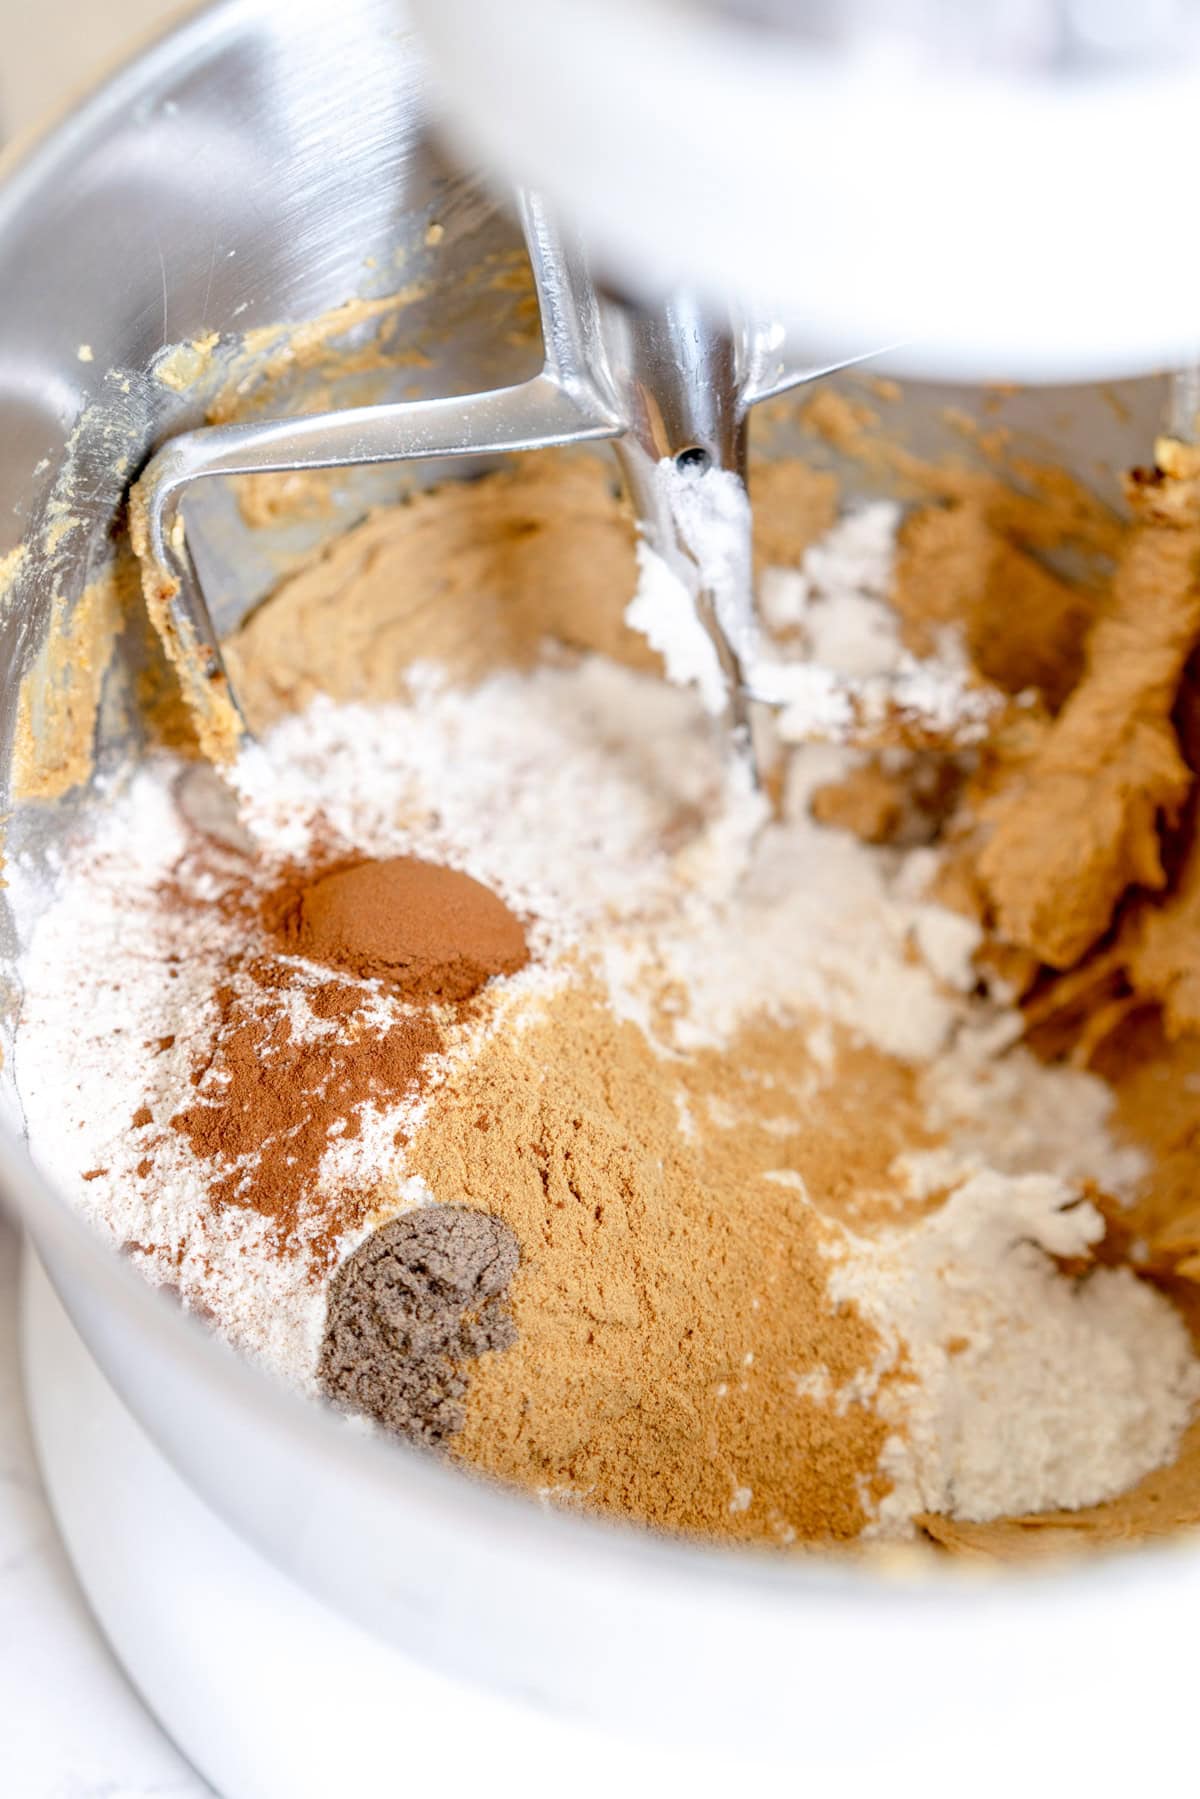
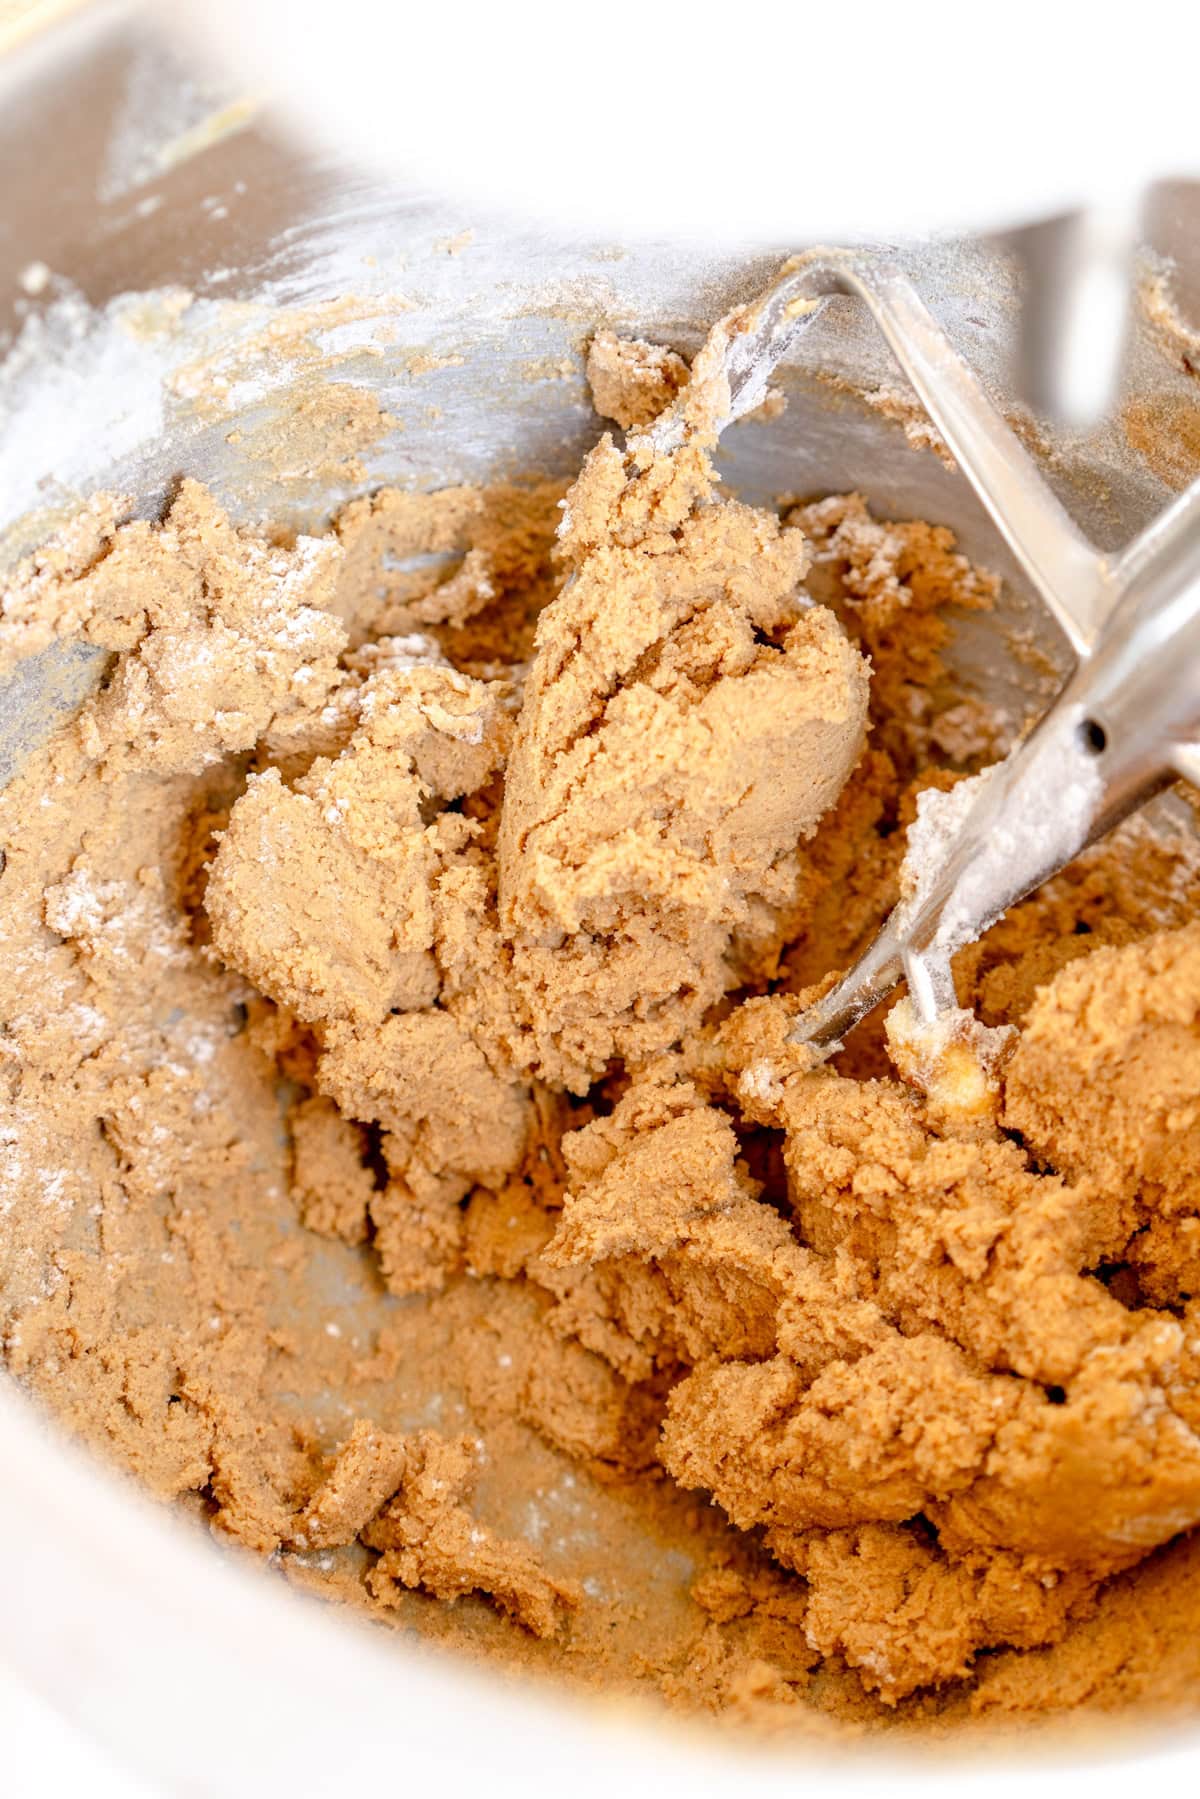
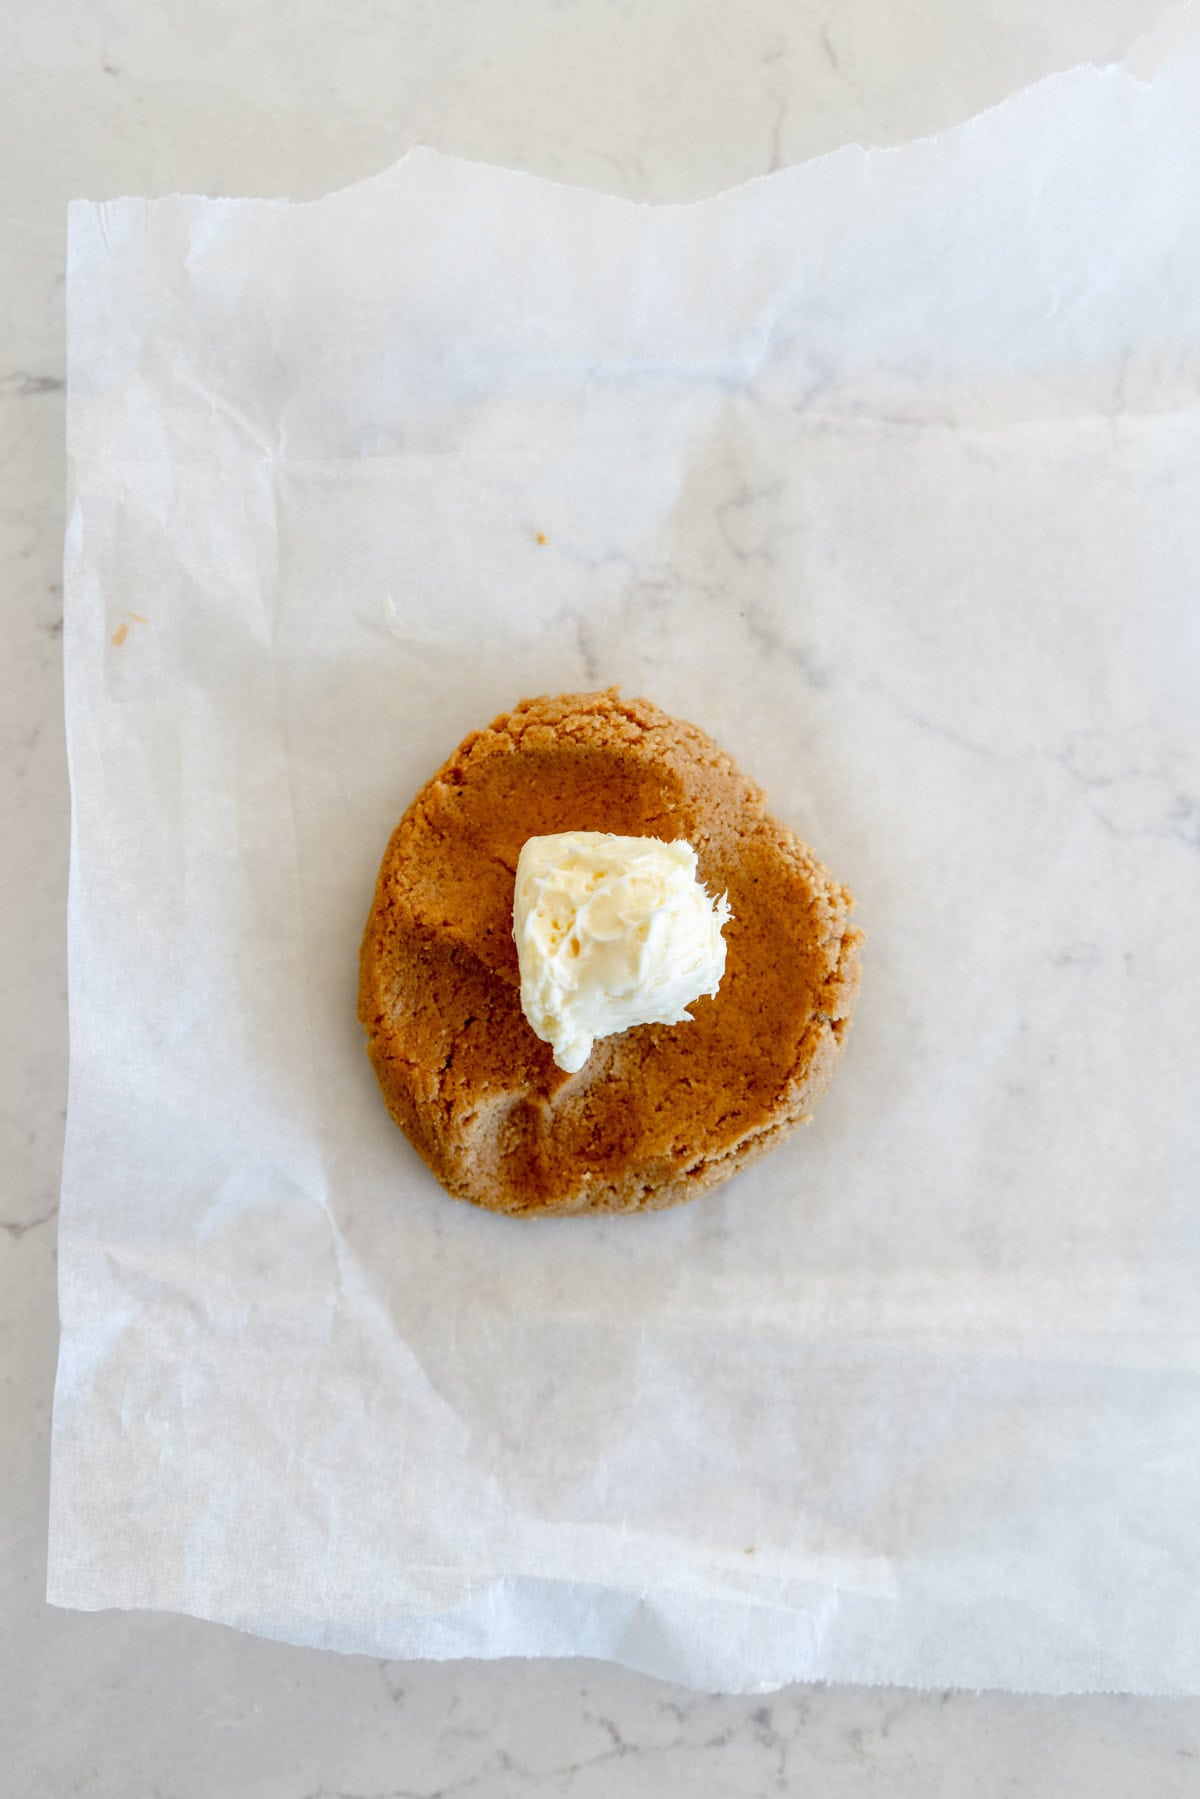
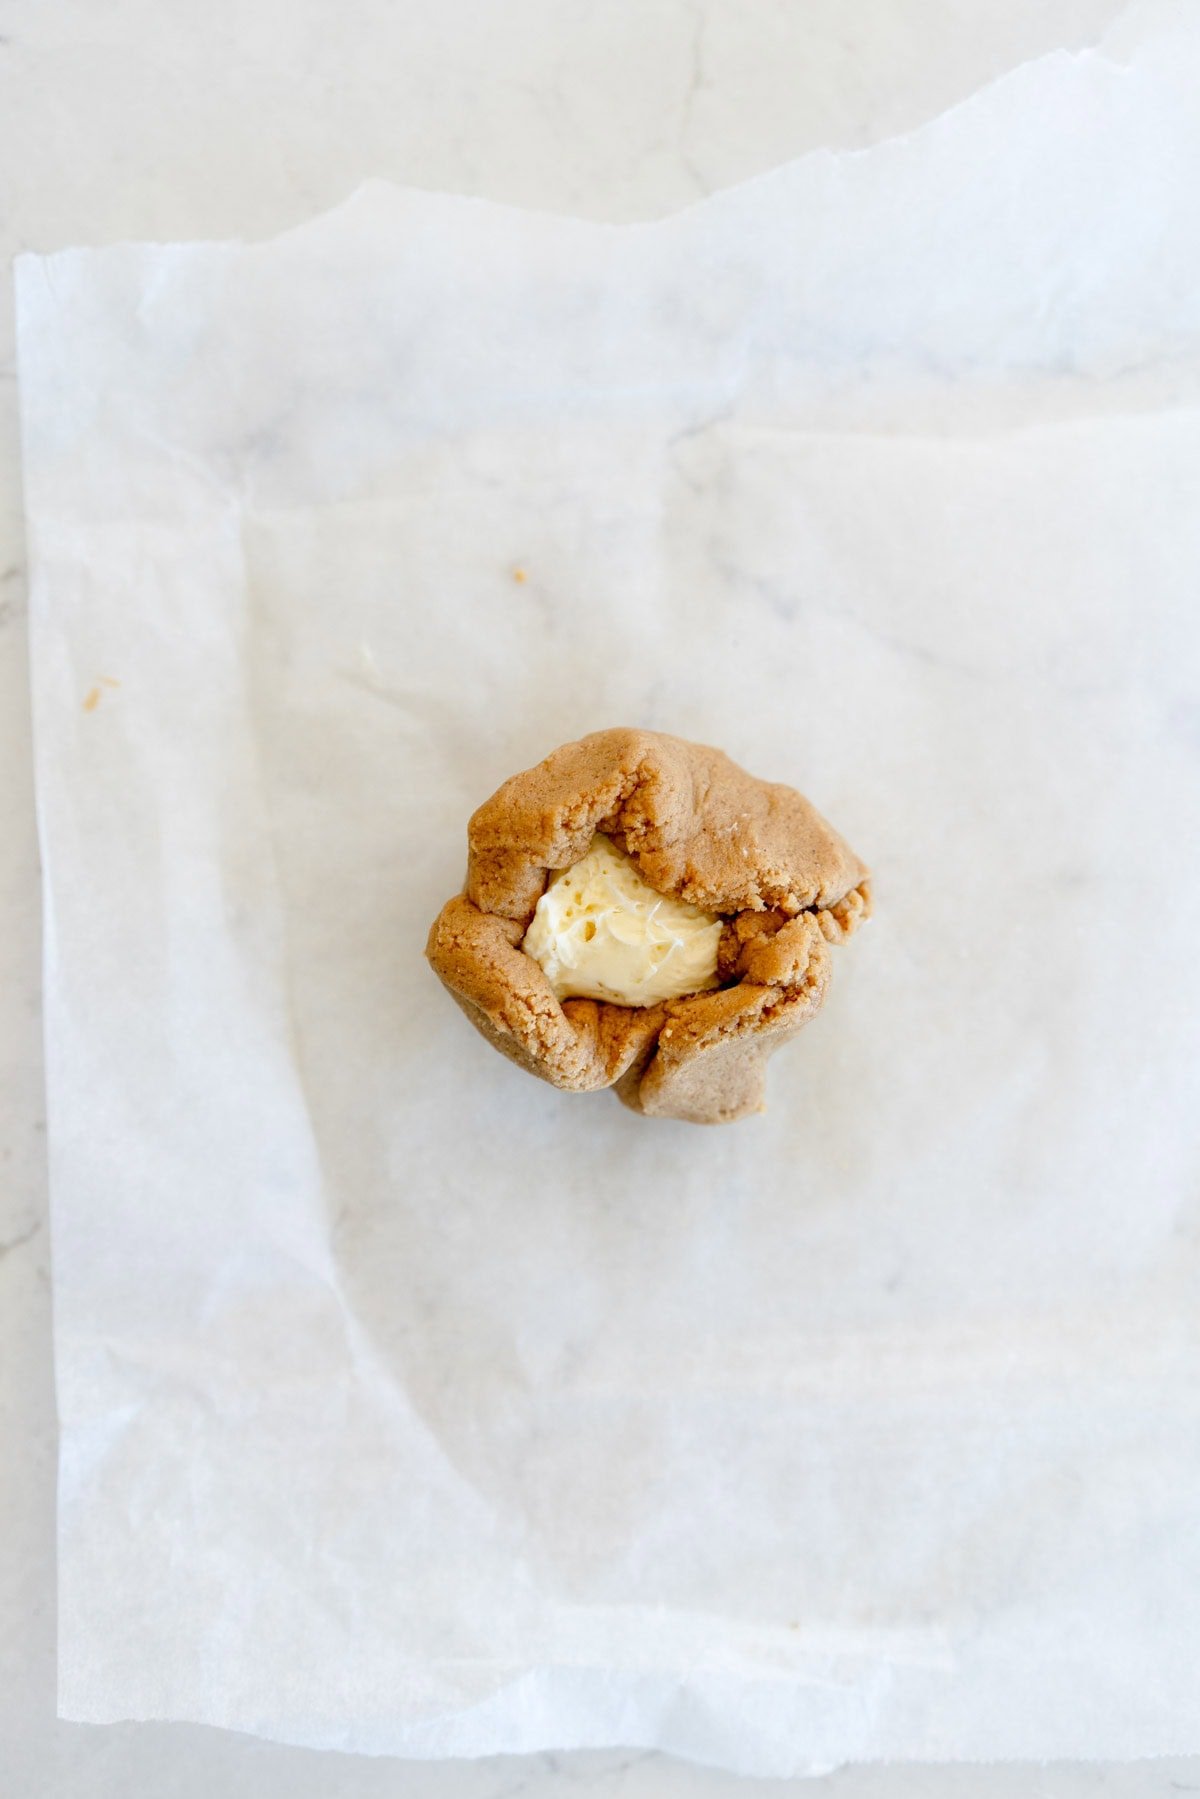
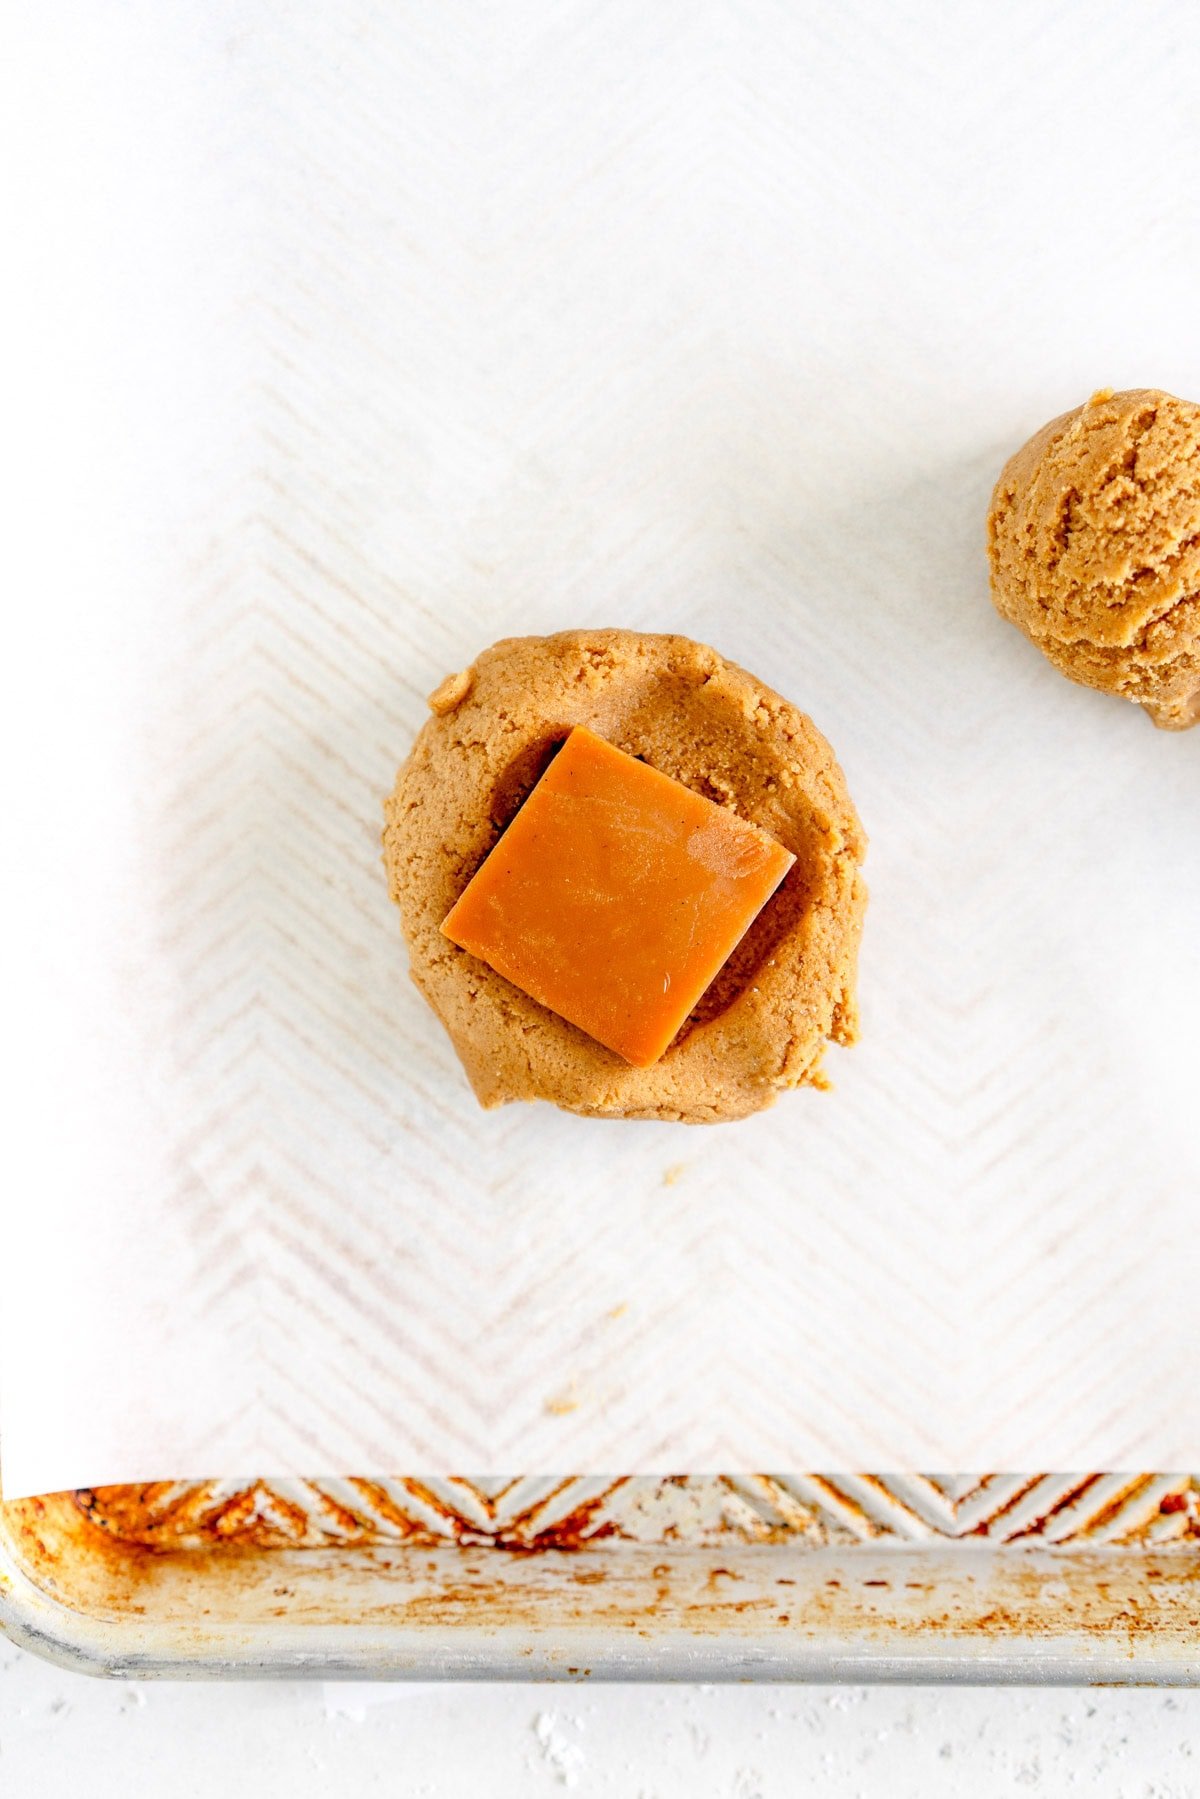
The process of making these funfetti sugar cookies is super easy - you cream together some butter and sugar, then add an egg and your dry ingredients, then dump in the sprinkles. After that, the dough is portioned out with a cookie scoop, and rolled in sugar. The cookies are then baked until soft and puffy. These Soft and chewy Funfetti Cookies require no rest time and are a great project to make with kids.

What are the best Sprinkles to use for Funfetti Cookies?
I used these confetti sprinkles from layer cake shop to make my funfetti cookies. I just ordered the big bag and I want to put them in everything. They taste really good too (watch out, their website is very dangerous because you want to buy everything). Alternatively, jimmies would work great too.
From some research I did I saw that you can use imitation vanilla extract in funfetti cookies if you like. Because the sprinkle blend I used already had a strong vanilla taste, I just doubled down and used a little vanilla bean paste in the dough. I think the final taste will depend a lot on the type of sprinkles that you use. If they aren't vanilla flavoured you can increase the quantity of vanilla a little. However, I would avoid using nonpareils because they tend to lose their colour when they get wet (I dropped some then stood on them with wet feet and the soles of my feet still have rainbow spots), so either jimmies or a confetti sprinkle such as these work great.
A note on Jimmies - Because they are not as substantial as the confetti sprinkles that I used, the final cookie comes out a little thinner. If you are using Jimmy Sprinkles, increase the flour quantity to 330g.
If you like, you can use whatever colour sprinkles that you have - use some seasonal ones for Christmas Funfetti Sugar Cookies, or pink and red for Valentine's Funfetti Sugar Cookies!
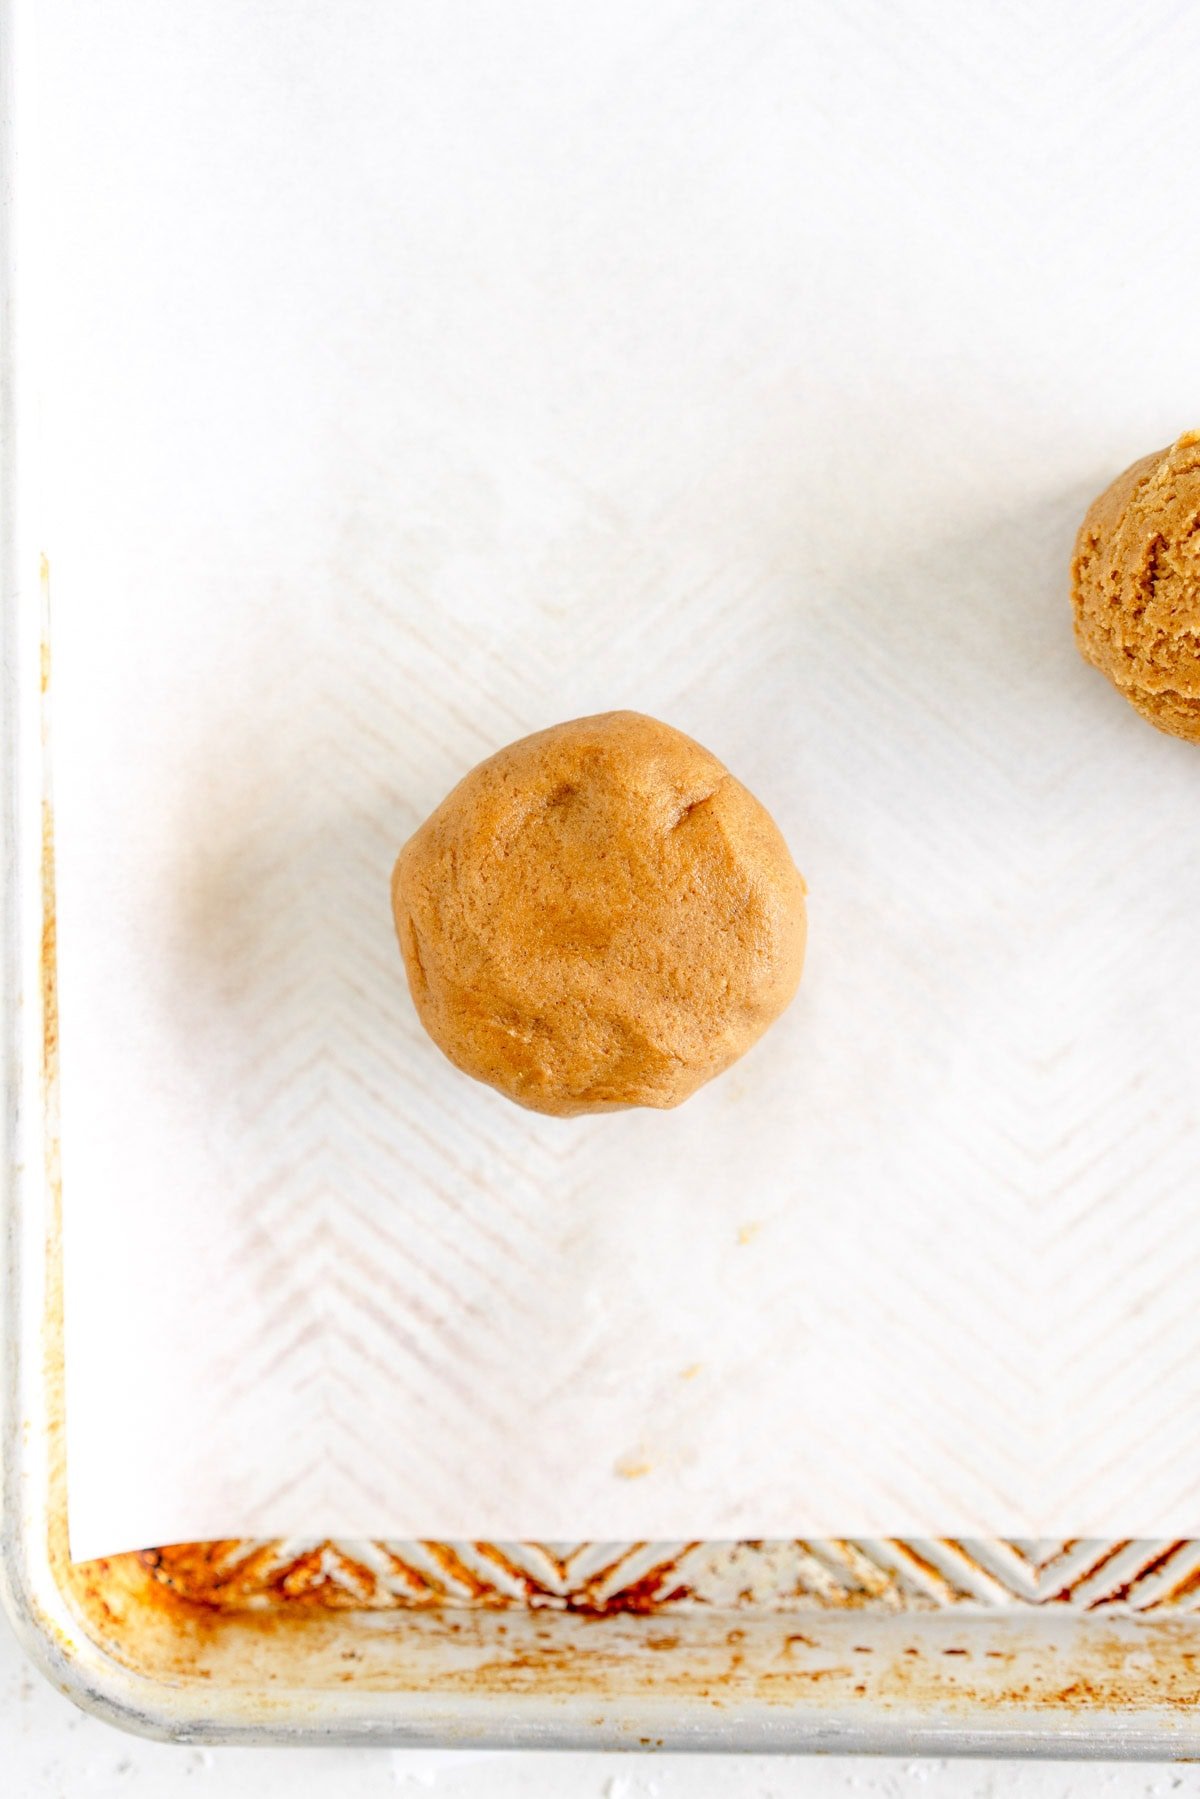
How to get perfectly round cookies
Here are a few tricks that I use when I am making cookies in order to get perfectly round cookies.
- Use a cookie scoop - I use a cookie scoop when portioning dough for cookies. You can weigh the balls if you like, but I find that using a cookie scoop is quick and easy.
- Scoot your cookies! Using a cookie cutter slightly larger than the cookie itself, scoot the cookies into a round shape when they are hot from the oven. This helps them to be perfectly round.


How to store cookies
Funfetti Cookies are best stored in an airtight container at room temperature. Then, if you want to, you can freeze them once baked in a ziploc bag and defrost at room temperature before eating. Sometimes I like to warm the cookies up in the microwave for 10 to 15 seconds before eating for a bit of a warm cookie situation.
For all my tips and tricks on freezing cookie dough and baking it from frozen, check out my post: How to freeze cookie dough
A few wee tips for Funfetti Cookies:
- When I initally tested these I did some this size and some a wee bit bigger. However, if you would like to make them bigger, do 3 tablespoon scoops instead of 2, and give them an extra 2 minutes in the oven.
- Another note on sprinkles - it seems as if jimmies in the mixture rather than confetti sprinkles bake up a little thinner because confetti sprinkles are quite substantial, so I think they help keep the cookie a little thicker. Feel free to increase the amount of flour to 330g for a slightly thicker cookie.
- If you are in the market for some vanilla, the lovely Heilala vanilla have given me a discount code to use in their store (just make sure you select the applicable country to shop from, it works in all of them) - you can enter the code CLOUDY20 at checkout. I suggest getting the larger vanilla bean paste, it lasts forever and makes such a huge difference to your baking!

Frequently Asked Questions
Can I freeze sugar cookie dough?
I haven't tried it but it should work ok. Just be mindful that the sprinkles may change in texture.
What are the best sprinkles to use for Funfetti?
I use confetti sprinkles, also known as quins, but jimmies will work well too - see recipe notes!
For more cookie recipes, check out:
❤️ Made this recipe and love it? ❤️
I would LOVE for you to leave me a review and star rating below to let me know how you liked it! Also, please make sure to tag me on Instagram!
Answers to your baking questions
Over the years, many of you have asked me questions about:
- baking in grams
- adjusting oven temperatures
- what kind of salt to use
- and many more!
I've curated and answered them all for your easy reference in this frequently asked questions post!