


Damn, it's been a week. We have been crazy busy working on some new things for the studio - this week we shot our new chair AND launched it all in the same week. Oye. The shoot on Tuesday was so, so much fun - we had a professional photographer in, but I decided it would be fun to see what I could shoot as well, and was surprisingly impressed with what I ended up with! I was super nervous going into it because it wasn't food and there was a model involved, but we made a super detailed mood board, and it was so nice to have something to go off - I think I need to do that more! You can see it all here - have a peep at the chair too. I'm obsessed with it, and can't wait to have a house where we can actually fit one! Lol.
I made this a few weeks ago and haven't gotten around to sharing it - it is the chocolate cake from my friend Melissa's new Book, The Minimalist Kitchen. The book, like Melissa's blog, is amazingly beautiful, and between recipes, is also filled with tips on how to have a minimalist kitchen. There are all sorts of little tips and tricks in there - I need to take notes, because I am a chronic purchaser of one-use pans and weird sized packets of specialty ingredients, which do not mix well with small shoebox kitchens.
This cake is super simple but also amazingly delicious - a single layer of cake, loaded up with a dreamy chocolate buttercream. As someone who over commits to making cakes on the regular, usually going with multi-layered, multi-component towers, making something which didn't involve stacking or crumb coating was super fun, and just as yum as a multi layer extravaganza! Melissa makes hers into a round cake, but I chose to make a square, because i've been cracking up over the name "snack cake" ever since I realised it was an actual thing and not a joke name Americans use, so I was desperate to make my own, just so I could call it a snack cake!
The cake comes together super quickly, and has a very tender crumb. It is then loaded up with a fluffy chocolate buttercream, which reminds me so much of the cakes we used to have for our birthdays as kids, and is one of Richard's fave things ever. The cake got destroyed in about 10 minutes flat when I took it to the studio, and has firmly cemented it's place in my list of back pocket recipes. It would be perfect to make for a bbq, or a small birthday - you can decorate it however you like, and it will always be a crowd pleaser.
Congrats Melissa, the book is beautiful!
A few wee tips:
- Melissa recommends making this in an 8 inch round tin, but I only wanted to frost the top, so I popped it in an 8 inch square and added all the frosting on the top rather than smoothing it down.
- This would make a perfect layer cake - just double the recipe and bake in two 8 inch tins
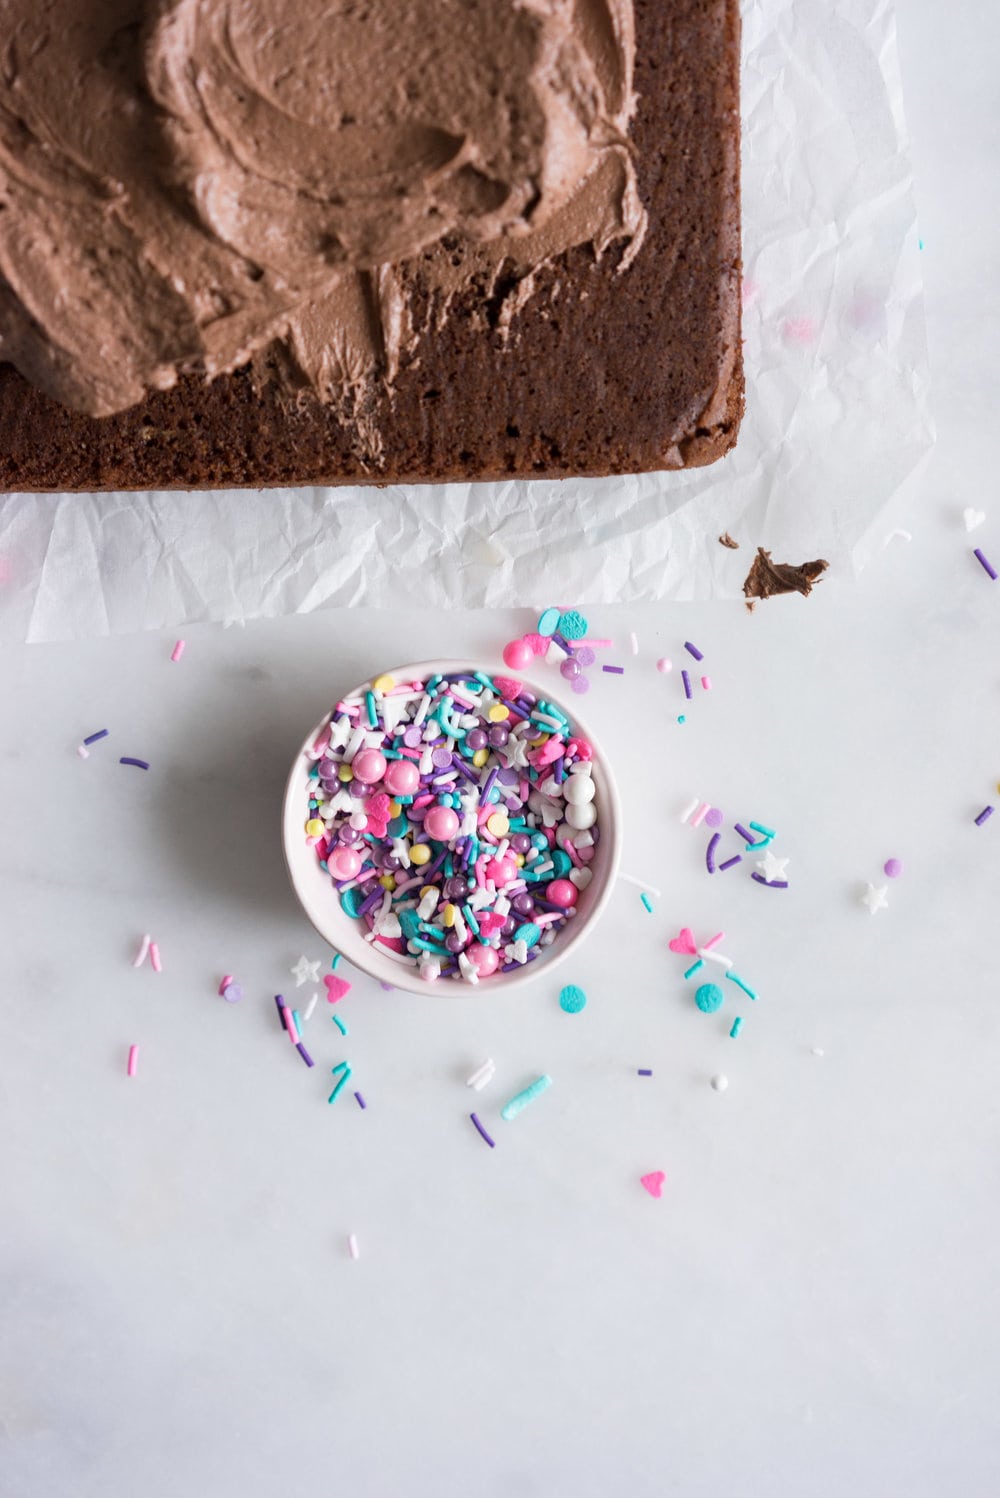
- Melissa adds pumpkin seeds, cacao nibs and shredded coconut on the edges, but I couldn't help but add sprinkles.
- If you're used to making big cakes like I am this will seem like not very much mixture - at least it did to me. Don't worry - it makes the perfect amount!
- A quick note: I have made this into a layer cake and it worked perfectly! I doubled the cake recipe, and baked it in 3 x 6" tins. You can either double or triple the buttercream recipe if you're making a layer cake.
❤️ Made this recipe and love it? ❤️
I would LOVE for you to leave me a review and star rating below to let me know how you liked it! Also, please make sure to tag me on Instagram!
Answers to your baking questions
Over the years, many of you have asked me questions about:
- baking in grams
- adjusting oven temperatures
- what kind of salt to use
- and many more!
I've curated and answered them all for your easy reference in this frequently asked questions post!

Chocolate Snack Cake with Chocolate Buttercream
- Yield: Makes one 8 inch cake 1x
Description
Chocolate Snack Cake with Chocolate Buttercream
Ingredients
Cake Batter
- Neutral Oil Cooking Spray
- ¾ cup unbleached all-purpose flour (105g), plus more for the pan
- ¼ cup (35g) unsweetened cocoa powder
- ¾ tsp aluminium free baking powder
- ½ teaspoon kosher salt
- ¼ cup (60g) whole milk
- ¼ cup (60g) heavy cream
- 2 tsp vanilla extract
- 6 Tbsp (90g) unsalted butter, at room temperature
- ¾ cup (150g) granulated sugar
- 2 large eggs
Chocolate Buttercream
- 6 Tbsp (90g) unsalted butter, at room temperature
- 1 ¼ cups powdered sugar, sifted
- ¼ cup unsweetened cocoa powder
- 2 Tbsp heavy cream
- 1 tsp vanilla extract
- pinch kosher salt
- Garnishes to finish: Coconut, pumpkin seeds and cacao nibs, or sprinkles of your choice
Instructions
CHOCOLATE CAKE
- Preheat the oven to 350˚f / 180˚c. Lightly spray the interior sides of an 8 inch round or square pan with cooking spray. Use a paper towel to wipe smooth. Add a spoonful of flour and shake around the edges to lightly coat. Discard extra flour. Line the bottom of the pan with parchment paper cut to size. Set aside.
- In a small bowl, whisk together the flour, cocoa powder, baking powder, and salt. Set aside.
- In a liquid measuring cup, measure the milk, cream, and vanilla. Set aside.
- In the bowl of a stand mixer fitted with the paddle attachment, cream together butter and sugar on the lowest speed for 3-5 minutes. (This will feel odd.) When ready, the butter mixture will begin sticking to the sides of the bowl. Add the eggs, one at a time, scraping down the sides after each addition; mix until completely combined.
- With the mixer speed still on low, add the dry ingredients alternately with the wet ingredients in three additions each. This should take 1 minute. Scrape down the sides of the bowl, and then beat again on medium-high for 5 seconds to develop the batter. Pour the batter into the prepared pan, and smooth the top with a spatula. Bake for 25 to 28 minutes, or until a light finger poke to the top bounces back and a crumb of chocolate remains on a toothpick. Let the cake cool in the pan for 10 minutes before running a thin knife around the edge. Transfer to a cooling rack.
CHOCOLATE BUTTERCREAM
- In a stand mixer fitted with the whisk attachment, add all of the buttercream ingredients. Beat on low to incorporate. Once combined, beat on high until pale and fluffy, about 4 minutes. The frosting will be pale in colour but will deepen as it rests.
ASSEMBLY
- If you are frosting a round cake: Add about two-thirds of the frosting to the top of the cake. Using a spatula, spread the remaining frosting snugly around the sides of the cake, letting the sides of the cake show. Spinning the cake in a circular motion with your spatula pressing down gently in the centre, pull the frosting flat, allowing it to pool at the edges. Pull the spatula around the outside edges once more to connect the sides and top. Lightly sprinkle with garnishes.
- Alternatively, add all the icing to the top of the cake. Spread out with an offset spatula, creating swoops. Add garnishes.
- This cake is best after a 2-hour rest. Store covered at room temp for up to 3 days.
Notes
This recipe was reprinted with permission from The Minimalist Kitchen, ©2018 Melissa Coleman. The Minimalist Kitchen was published by Oxmoor House, 2018
Comments
Justyna says
I've made this cake (without buttercream) about three times now (in about as many months...). My only edit has been addition of ~2 tbsp of instant espresso powder. It is absolutely a perfect snacking cake and makes for a quick and easy weekday treat.
Erin Clarkson says
Ah yay so happy you loved!
Victoria says
This is a really delicious and moist cake. I added orange zest and served it with a marmalade glaze for a friend's birthday. It was a hit.
Karen M says
This was so simple and so yum!!! I only had a 22cm square pan but thinner was possibly better to make the icing to cake ratio just right for us. It also meant it cooled faster so we could eat it faster. This is going to be a new favourite in our house- my mum said it was the best chocolate buttercream she’d ever had I think I have to agree.
Ashley Orr says
Is it OK to double the mixture and bake in 1x 8" tin (to make a taller single cake instead of a layer cake?). Thank you!
Erin Clarkson says
I don't think it would bake very evenly!
Gemma says
This is the best basic chocolate cake I think I’ve ever had and the whole family is obsessed. Good chocolate flavour and a velvety flavour but not too rich. Easy recipe to follow and can we made with two toddler helpers. We made it with the “Super Quick Thick Brownie Frosting” instead, which is so good, but will try it with the buttercream from the recipe next time.
Cara says
Decent cake, but even better frosting! I recommend using the paddle attachment to make the frosting if you have any issues with your whisk attachment, reaching the sides and the bottom of the mixing bowl like mine does. It whipped up nicely though, and the frosting reminds me of Erin’s “shitty“ icing 🙂