
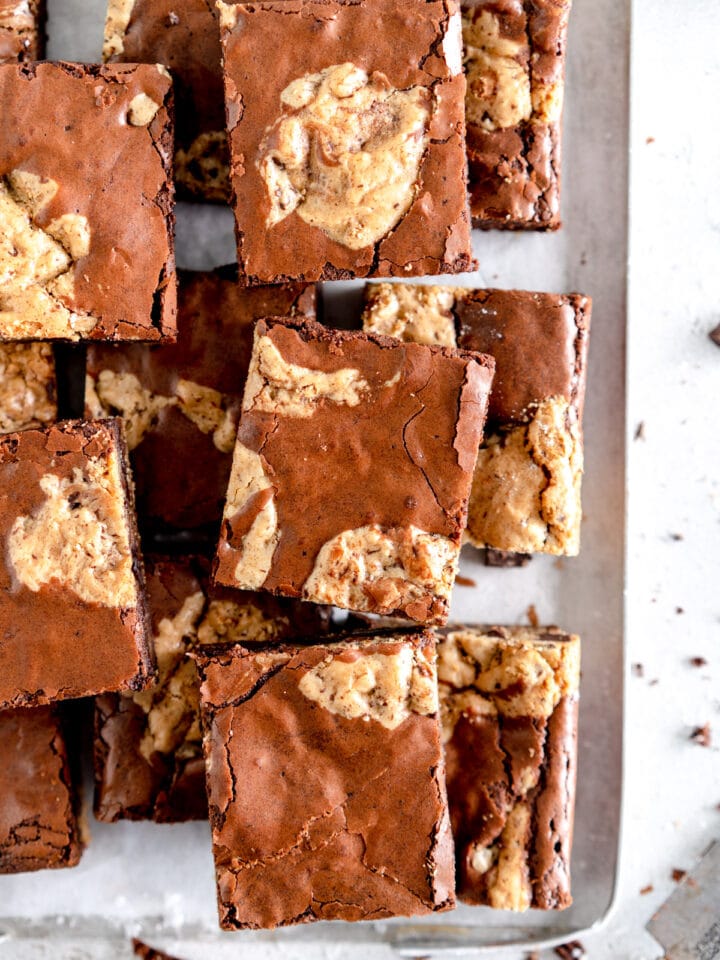
Caramel Brownies are a super easy small batch bar recipe. It has a small batch homemade brownie base, topped with a chewy brown butter caramel layer filled with peanuts, and finished with a smooth chocolate topping.

Hi! Just popping in to share this recipe for your holiday baking / any time baking consideration - Caramel Brownies!
This recipe is a bit of a mash up of two of my favourite homemade bar recipes. I took this peanut butter brownies recipe and switched out the filling with the brown butter caramel from my caramel slice recipe. I added some peanuts into the brown butter caramel for a brownie snickers vibe, and finished the whole thing off with my favourite smooth chocolate topping. Making caramel from scratch can take a bit of practice but once you have it nailed, it is so fun and satisfying!
These caramel brownies are super easy to make and are the perfect twist on a homemade brownie recipe. They need some time to allow the brownie to cool before adding the caramel and then letting it set, but the payoff is absolutely worth it.
I quite often double the base, split it between two loaf pans, then make a pan of these and a pan of either the peanut butter brownie bars or the squiggle slice, which use the same base too. Next up might have to be a peppermint brownie bar!
I love this brownie caramel slice so much and I hope that you do too!
Table of contents


Caramel Brownie Bars
These caramel brownies have a few components, which take a wee bit of putting together, but the workload can easily be split up over a day or two.
- Small Batch Chocolate Brownie Base: This is a favourite recipe of mine and one that I use all the time. It bakes in about 20 minutes, then you leave it to cool. I like to underbake mine just a touch, so that it is nice and fudgy. If it has puffed up too much when baking, you can gently and carefully press down on it with a glass or a spatula.
- Brown Butter Peanut Caramel layer. This is a super chewy, delicious caramel that I stirred some roasted, salted peanuts through when it came off the heat. This caramel is easy to make - you heat everything together in a pot until it reaches temperature. A candy thermometer is a must here.
- Smooth Chocolate Topping. I use this in a lot of recipes - it first showed up on my peppermint slice, but it is super easy. Melting chocolate together with just a touch of a neutral oil such as grapeseed or canola makes it super smooth and really easy to cut.

Tips and Tricks for Caramel Brownies
I use this 1 ¼ lb loaf pan to make all my small batch bar recipes. It has fairly straight sides and is wide enough that you can easily smooth things in. I love it so much that I have two! They are a great investment - I use mine for so many things - rhubarb cheesecake, passionfruit slice, s'mores bars, small batch brownies, and squiggle slice. If you are in NZ, I have seen them sold a few places, including here, or Moore Wilson's stocks them too.
The pan size I used was 9"x5"x2.75" (23x13x7), and you want to use something with nice straight sides to make removing the bars nice and easy.
How to store caramel brownies
I store anything with a chocolate top on them like these caramel brownies in the fridge in an airtight container. I prefer to cut it all at once and then pop it into the container. This makes removing to serve much easier as I like to let it stand for a little bit at room temperature just to let the caramel soften a touch.
How to scale a loaf pan recipe
The great thing about a loaf pan recipe is that it is very easy to scale. If you would like to scale this recipe, you can use my handy recipe scaling tool - just input the size of the pan that the recipe calls for (9x5 rectangle) and then the pan size you have, and the calculator will spit out the conversions for you. If you would like to double the recipe (to save any weird egg calculations), you could use an 8" square pan and it would be a little thicker, or a 9" pan and it would be a little thinner than what is shown here.
Breaking up the workload
This recipe has a few components, so if you like, you can break up the workload. It cuts best when it has had at least a few hours in the fridge for the brownie layer to chill and the caramel layer to cool completely.
I often make the brownie the night before, then add the caramel and the chocolate topping the next day. Alternatively, you can do the brownie and caramel part in one day, then add the chocolate topping the next. If the bars are nicely chilled, the chocolate topping layer will not need long to set, and you can pop it in the freezer to speed up this process too.
You can also pop the whole thing together in one day (which is what I most commonly do) - just make sure you account for time for the brownie layer to cool and then for the caramel to chill.
How to get a clean cut on brownies
I use a really sharp knife - I don't usually heat it as it will smudge the chocolate topping, but if you are having a hard time cutting, you can dip your knife in hot water then dry off before cutting the caramel slice. I like to cut it into 6 slices first, then cut each of those into 2 or 3 depending on what size pieces you would like.


How to make homemade salted caramel
The brown butter salted caramel layer in this recipe is one of my favourite things. It is easy to make, silky, chewy, and has an incredible depth of flavour from the brown butter.
It can seem a little intimidating to make (boiling sugar always is), but remember that when you are making it, if at any time you are worried things are going too fast, just pull it off the heat and keep stirring, and it will be ok.
This recipe uses golden syrup and condensed milk, which also make it a little easier to make as opposed to a dry caramel.
- Brown the butter. I get you to use a tiny bit more than you will need, just to make sure that you don't get caught short. Brown the butter and leave to cool slightly until you are ready to make your caramel.
- Combine all ingredients. Everything except for the vanilla and the salt goes into a heavy bottomed saucepan, and is cooked together. Have your salt and vanilla ready to go, and your brownie base ready and waiting to have the caramel added to it.
- Cook the caramel. This is the important step - you need to make sure that the caramel reaches the correct temperature of 220f° / 105°c in order to set. Keep stirring continuously, and if you are worried it is getting too hot, briefly move off the heat and then put back on again.
- Add Vanilla, salt, and peanuts. Remove the caramel from the heat and add in the remaining ingredients. Be careful as it may bubble when you add the vanilla. Stir well to combine.
- Transfer to the pan. Add the caramel on top of the cooled chocolate brownie layer.
- Leave to cool. You want to leave the caramel to cool until all the heat has gone out of it and it has had a chance to set before adding the chocolate topping layer. This should take a few hours, or you can leave it overnight if you like.
Why are there two quantities of butter in the recipe?
Different butters will have different moisture levels, which affects the yield of brown butter. American style butter have a higher water content, so will produce less brown butter when the water is cooked off.
European or New Zealand style butter, which is higher in fat than American butter, will have less water that needs cooking off, so you will end up with a higher yield of brown butter.
The quantity of the butter in the recipe is important here, so the best way to measure it is by using a scale and weighing before and after browning, rather than giving an initial quantity of butter and only using that measurement You start with an initial quantity of butter - in this case 100g, and then cook it down. You then re-measure the weight of the brown butter, and use 70g of that in your caramel recipe. I have accounted for the moisture loss from the initial quantity of brown butter in the recipe.

Frequently Asked Questions
- What tools and equipment do you use?
You can see a full list of all the tools I use here
- Can this recipe be made Gluten Free?
I haven't tried it, but in the past brownies have been fine made with a gluten free 1:1 flour blend. The rest of the recipe is gluten free. - I have a nut allergy. Can I leave out the peanuts?
Yes, just omit them from the caramel. - I don't have a candy thermometer. Can I make this without one?
I haven't tried this. If the caramel does not get hot enough, then it will not set properly and it will be too soft. I really recommend a candy thermometer - it is a great thing to have! I use this one but there are a lot of other cheaper digital ones around too! - Why is my caramel layer soft?
If your caramel layer is soft, it was not cooked enough. It will still be delicious, but next time make sure you use a candy thermometer to cook your caramel. Make sure the probe of the thermometer is in the middle of the caramel. If it is too close to the bottom, you will get a false reading. - Can I use a different kind of nut?
Yes - use whatever you like here. This would be delicious made with hazelnuts! I prefer to use roasted, salted nuts to make things easy.

For more brownie recipes, check out:
❤️ Made this recipe and love it? ❤️
I would LOVE for you to leave me a review and star rating below to let me know how you liked it! Also, please make sure to tag me on Instagram!
Answers to your baking questions
Over the years, many of you have asked me questions about:
- baking in grams
- adjusting oven temperatures
- what kind of salt to use
- and many more!
I've curated and answered them all for your easy reference in this frequently asked questions post!
Recipe For Brownie Caramel Slice
Print
Caramel Brownie Bars
- Prep Time: 1 hour
- Cook Time: 30 minutes
- Total Time: 4 hours
- Yield: 12 servings 1x
- Category: Bars and Slices
- Method: Baking
- Cuisine: American
Description
Caramel Brownies are a super easy small batch bar recipe. It has a small batch brownie base, topped with a chewy brown butter caramel layer filled with peanuts. It is finished with a smooth chocolate topping. Make sure that you use a candy thermometer when making the caramel, and leave enough time for it to set.
Ingredients
Small Batch Brownie Layer
- 60g dark chocolate, chopped
- 40g unsalted butter, cold from the fridge is fine
- 10g dutch process or regular cocoa, sifted if lumpy
- 1 large egg, at room temperature
- 30g neutral oil (such as sunflower, canola or grapeseed)
- 65g granulated sugar
- 25g light or dark brown sugar
- ¼ tsp vanilla extract or vanilla bean paste
- 30g all-purpose flour
- ¼ tsp kosher salt
Brown Butter Peanut Caramel Layer
- 100g unsalted butter (cold from the fridge is fine)
- 280g sweetened condensed milk
- 130g light or dark brown sugar
- 35g golden syrup (you could use corn syrup or honey)
- ½ tsp kosher salt
- ¼ tsp vanilla bean paste or vanilla extract
- 125g roasted salted peanuts, coarsely chopped
Chocolate Topping
- 100g chopped dark chocolate
- 18g neutral oil
Instructions
SMALL BATCH BROWNIE BASE
- Preheat the oven to 350°f / 180°c. Grease and line a 9"x5" loaf pan (see FAQ for the exact one I used), leaving the parchment paper extending over the sides to help remove later. If you are worried about it sticking, use two pieces so all edges of the pan are covered with parchment. Secure with binder clips if desired.
- In a small heatproof bowl over a double boiler (make sure the water does not touch the bowl), or in a heatproof bowl in the microwave, melt together the chocolate and butter. I used the microwave and did it in 15 second increments, stirring after each. Mix until the chocolate is melted and the butter is incorporated. Remove from the heat and add the cocoa, and mix well to combine.
- In a medium bowl, combine the egg, oil, granulated sugar, brown sugar, and vanilla. Whisk well until thickened and slightly lighter in colour. Add the cooled chocolate mixture and mix until incorporated.
- Add the flour and salt and mix with a rubber spatula until combined.
- Transfer to the prepared pan, and smooth out well. Bang the pan on the counter several times to get it as flat as possible. Bake for 20 to 22 minutes, until the brownie looks set. Remove from the oven and, if desired, using a second loaf pan or the bottom of a drinking glass, gently press the brownie down a little if it has puffed up. Leave to cool completely in the pan.
BROWN BUTTER PEANUT CARAMEL LAYER
- Place the butter in a medium saucepan, and place over medium heat. Cook until the butter has melted, and then continue to cook, swirling the pan often, until the butter foams and turns golden brown and nutty - this should take 3-4 minutes. Weigh out 70g (see Notes section below) of the brown butter, and set aside until you are ready to make the caramel.
- Place the 70g brown butter, sweetened condensed milk, brown sugar, and golden syrup in a heavy bottomed saucepan.
- Place over a medium heat and stir until melted together, then cook, stirring constantly with a whisk or rubber spatula (I like to use a whisk then switch to the rubber spatula), until the mixture registers 220°f / 105°c on a candy thermometer. Watch the bottom carefully to avoid the mixture catching, turning down the heat if needed or removing the caramel from the heat, stirring well, then returning.
- Once the caramel has reached the correct temperature, remove from the heat, and add the vanilla and salt. Mix well to incorporate, then add the peanuts and mix to combine. Pour the caramel over the cooled brownie base and smooth off by shaking the pan and using an offset spatula if needed. Transfer to the fridge and allow to set for 1 to 1 ½ hours or until you can no longer feel heat in it.
CHOCOLATE TOPPING LAYER
- Melt together the chocolate and the oil in a small heatproof bowl in 15 seconds increments in the microwave, or over a double boiler. Mix until totally smooth.
- Remove the pan from the fridge or freezer and pour the chocolate over the top of the caramel filling. Tilt the pan to spread out to cover the filling evenly with the chocolate. Bang the pan a few times on the counter to make sure there are no bubbles.
- Place the pan in the fridge and leave to chill for about an hour, or until completely set.
- Use the parchment overhang to remove the bars from the pan. Cut into pieces using a sharp knife, wiping between cuts.
- Store leftovers in an airtight container in the fridge.
Notes
You will notice that there are two quantities of butter in the recipe - the initial quantity of butter, then a second measurement in the method which is the quantity of brown butter. The larger initial quantity is to account for water loss when browning - read more about that in my FAQ.
If you are using the recipe scaling feature (2x or 3x) be aware that any quantities, measurements, pan sizes, and cooking times given in the method do not scale automatically - it's only the quantities in the Ingredient List that scale automatically.
Comments
stacy says
Love these!!!
caribou says
what a perfect combination 🙂
Hannah Rees says
I absolutely love recipes that are small batch. These were a hit!! Definitely a must try.
Mez says
You say to brown 100g of butter but only use 70g is there a reason for this?
Erin Clarkson says
Hi! I cover this in the blog post 🙂
Amy says
I made this for a Christmas gift this year and decided it was too good to give away. It's THAT good. Seriously the best thing I've eaten. The recipe is in grams which is accurate and easy to follow. Thank you so much for an amazing recipe xx
Sobia says
Is there any other way to know when the caramel is done? Do i really need to buy a thermometer for this?
Erin Clarkson says
I've only done it this way sorry! You can do it by timing but I haven't tested it / it's not very accurate and you run the risk of the caramel not setting or being rock hard.
Julia says
So good!
Poppy says
No other caramel slice will ever compare, ever again. This is so so delicious. Have made with almonds instead of peanuts once, which also worked well. Had one fail when the caramel set like grainy fudge (not sure what I did wrong there, possibly stirred too much?) but when it’s right, and eaten cold from the fridge, this recipe is perfection.
Erin Clarkson says
So happy you loved! Hmmm maybe it got a bit caught when it was cooking which caused grains?
Marushca says
Just made these today and they were a massive hit! The caramel layer is so easy to make with your excellent instructions. Love that they are small batch too!
Reilly says
I just made this today and WOW. Absolutely to die for.
Lucy says
So many glowing reviews from friends about this one!
Ally says
These turned out great! Due to family member dietary restrictions I substituted the flour with King Arthur's Gluten-Free Measure for Measure and the condensed milk with lactose free sweetened condensed milk. The recipe was easy to follow and producing each element went super smoothly. They were visually stunning and tasted great (way more fun than plain brownies)!
Kathleen says
These are amazing and too good for a small batch. If I did 3x recipe what size pan should I use?
Erin Clarkson says
Hi! I have a pan scaling calculator on my site that you can play around with to find the right size!
Lindsey says
These are absolutely delicious and so easy to make! Definitely a keeper! Thank you for sharing this awesome recipe!
Clare says
This recipe is seriously amazing! I made it for a work party and everyone gobbled them up and was raving about them. I also have to say that Erin's pan size calculator is seriously AMAZING!!! I used it to change the bake to a 9x9 square pan and it was so easy to use.
Kirsten says
I wanted to love these, but they just weren’t a winner for me. I used a candy thermometer and followed the directions but the caramel was hard and gritty when it set up. I also found the whole thing too sweet. I’ve had a lot of success with Cloudy Kitchen recipes and will continue baking things from this site, just probably not this recipe.
Caro says
Such a yummy recipe! Apparently the best slice yet