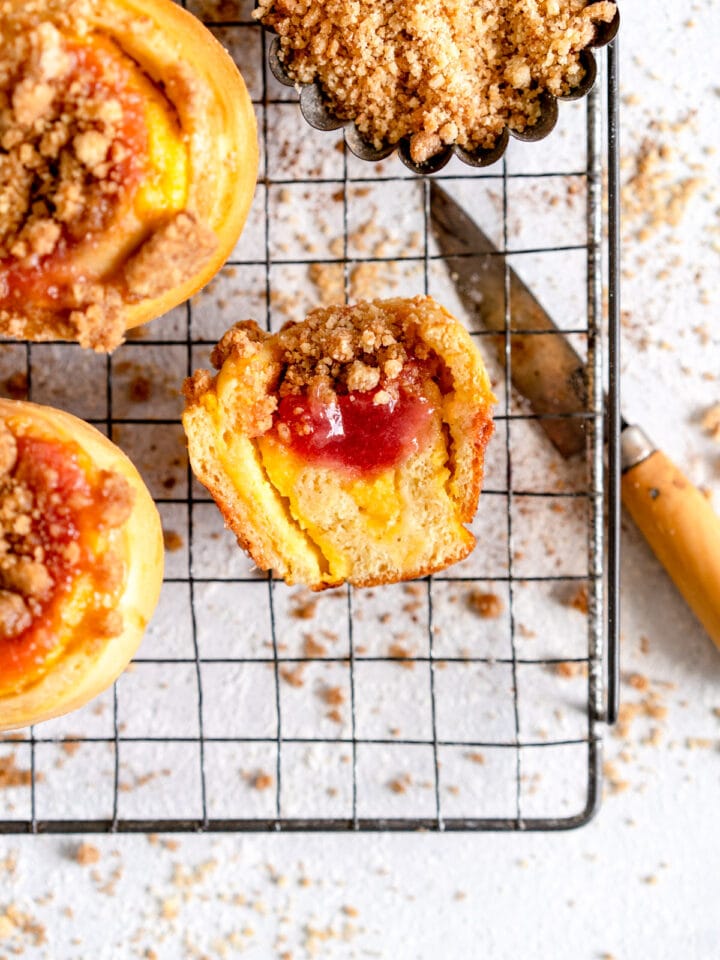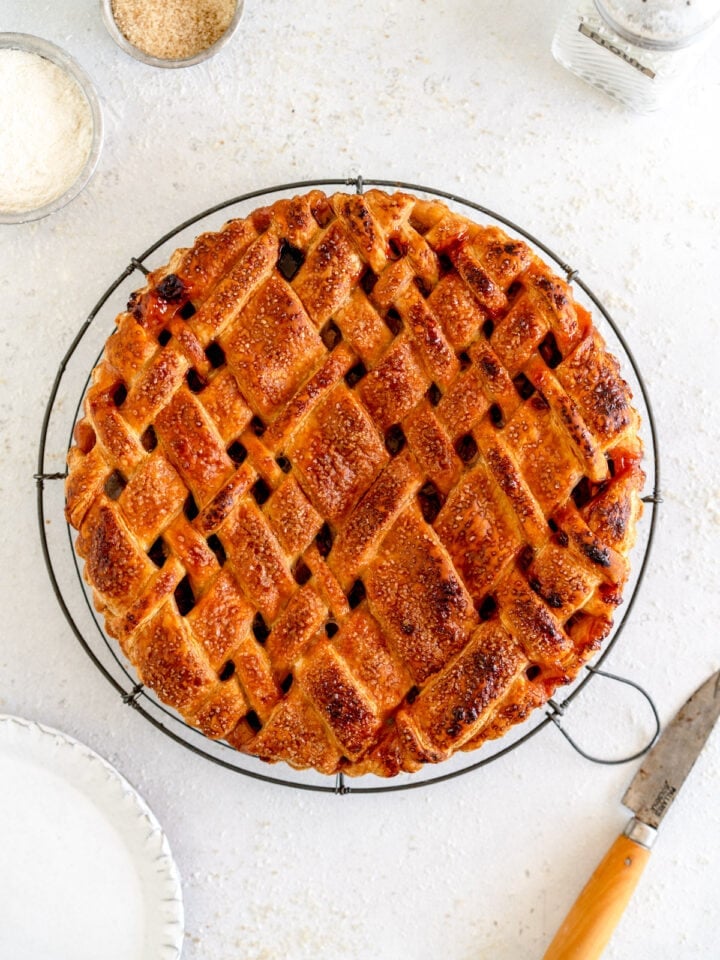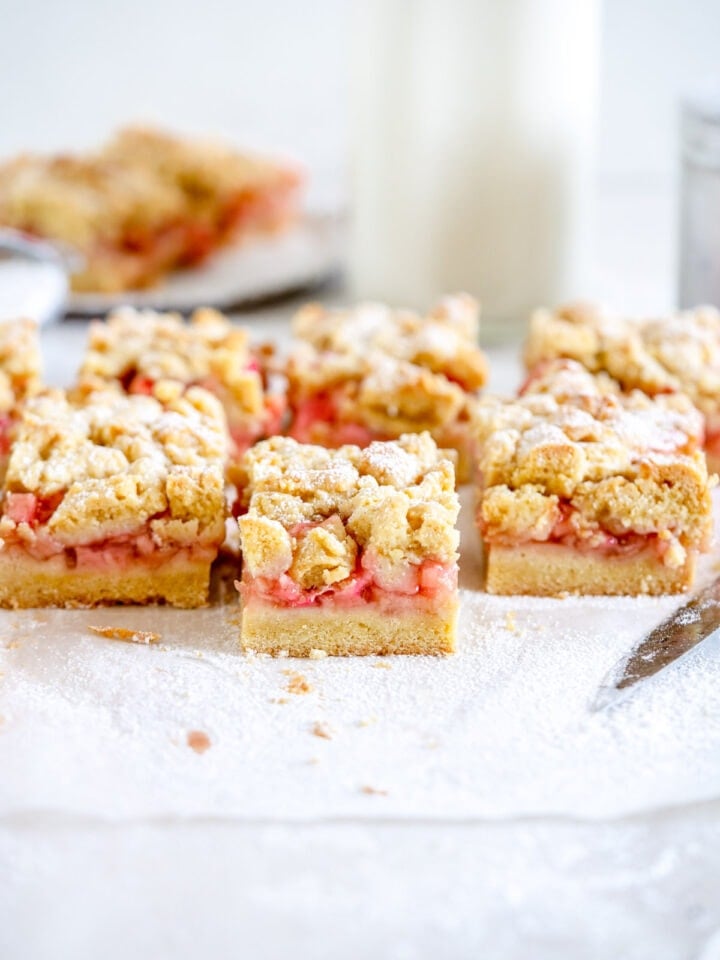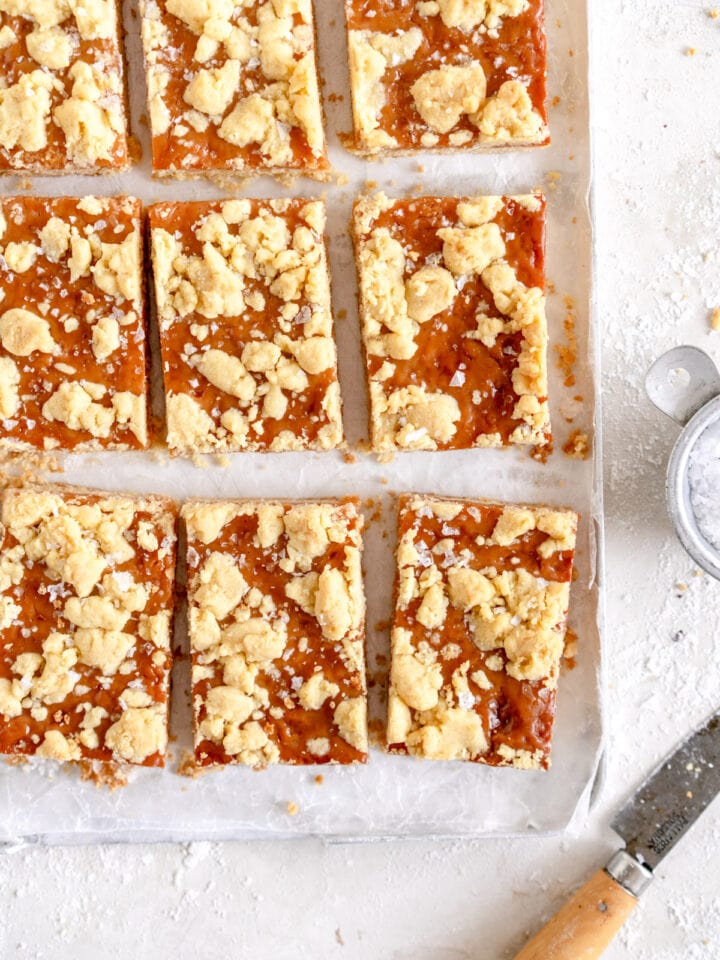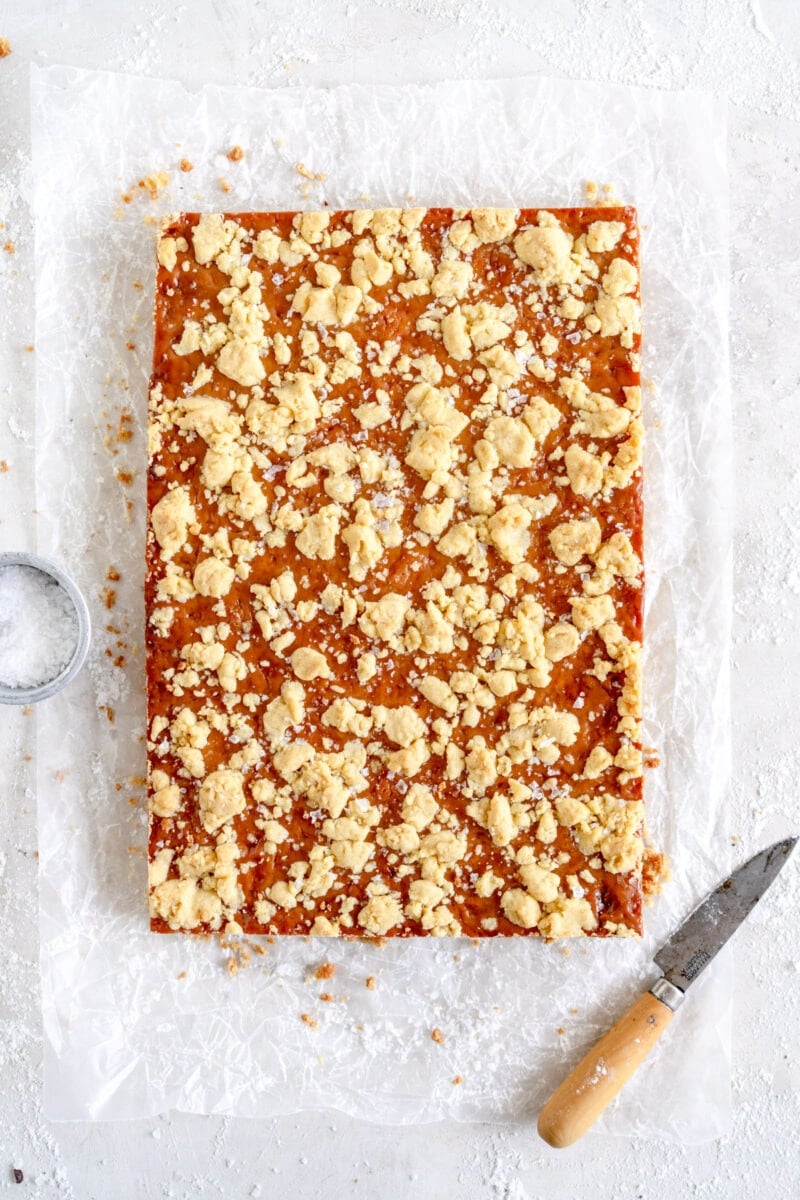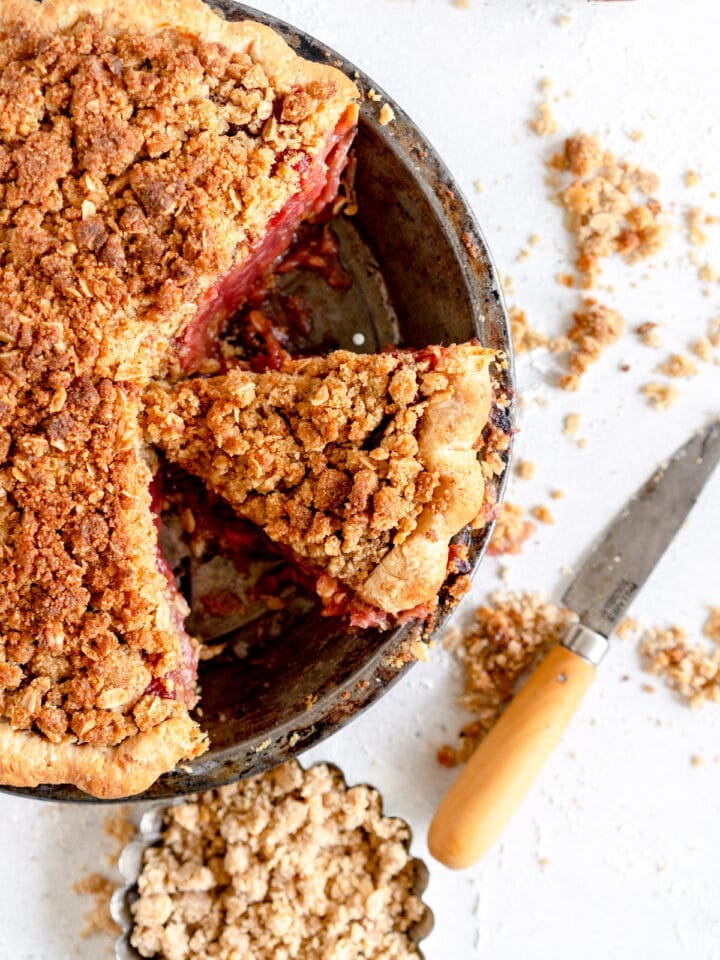
This Strawberry Rhubarb Pie is a super easy pie recipe. It has a homemade strawberry rhubarb pie filling, and is topped with a brown butter malted milk crumble pie topping. This easy strawberry rhubarb crumble pie is made with an easy par baked pie crust and is great to make ahead. It is the perfect strawberry and rhubarb dessert.

Hi hi! Just popping in to share the recipe for this easy Strawberry Rhubarb Pie. This Strawberry Rhubarb Crumble Pie is the perfect summer dessert. It has a par baked crust made from a flaky pie dough, then a pre-cooked strawberry rhubarb pie filling. It is then topped off with a thick layer of brown butter malted milk streusel, which is the most amazing crumble pie topping.
I made this pie a few times during testing and it is just so, so good. It is great to make ahead and tastes just as good the next day too. The malted milk powder and brown butter give the streusel an incredible depth of flavour. I love this one and I really hope you do too!

Tips for Foolproof Pie Dough
There are a few things that will make your life a little easier when you are making a homemade pie crust for this strawberry rhubarb pie.
I have a whole blog post on this, that covers tips and tricks for foolproof dough, how to freeze pie dough and bake from frozen, and all the little bits and pieces that will make your pie life easier! Check it out - All Butter Pie Crust: A Beginner's Guide
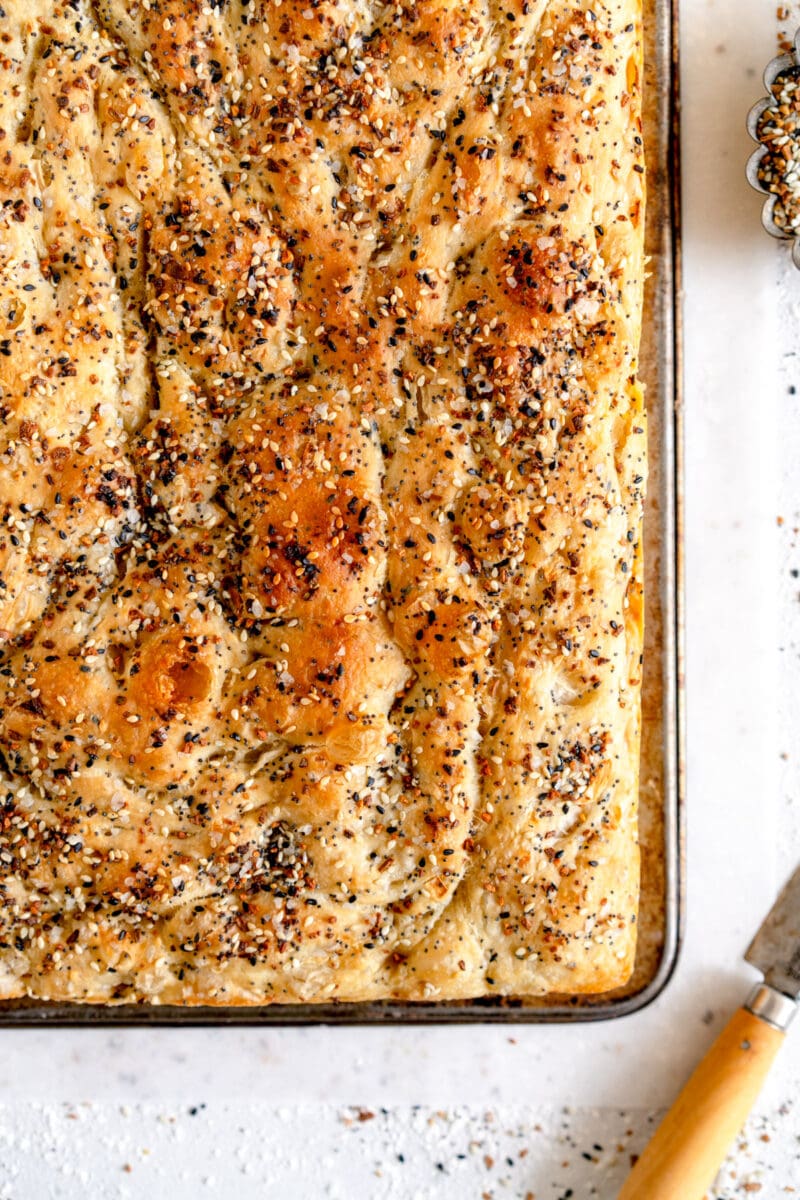
This Strawberry Rhubarb Pie has a par baked crust. The purpose of par baking a pie crust is to partially bake the pie crust. This means that when the wet filling goes in, the crust doesn't go soggy. It gives the crust a chance to start the baking process ahead of the filling being added. It's extra insurance to avoid a soggy bottom and means you get a lovely golden brown bottom pie crust.
Check out all my tips and tricks in my post: How to blind bake pie crust

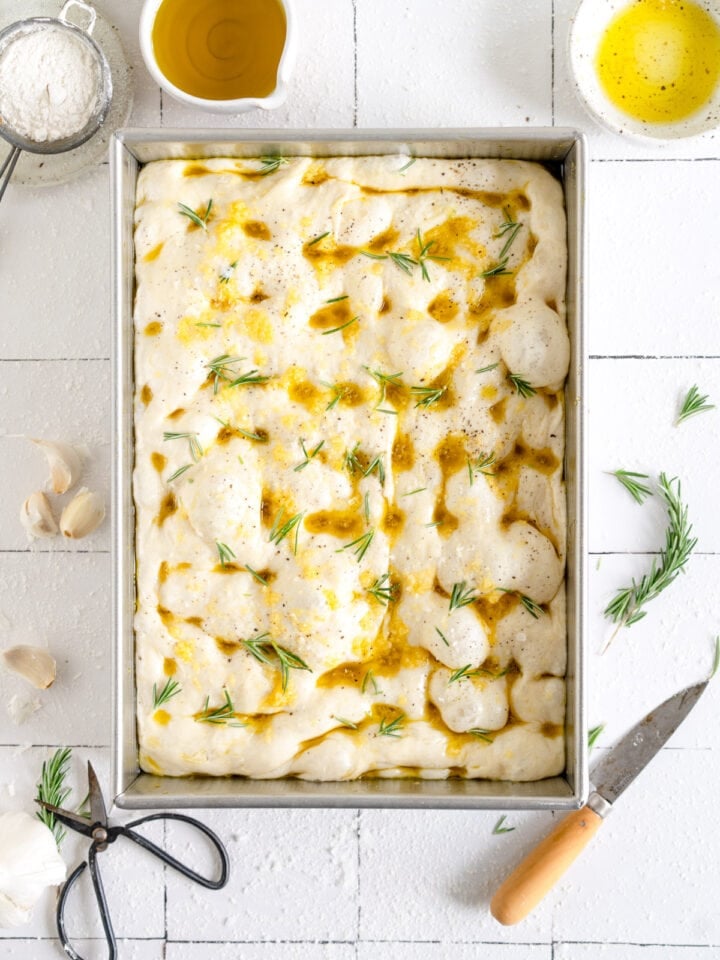
Crumble Topping for Pie
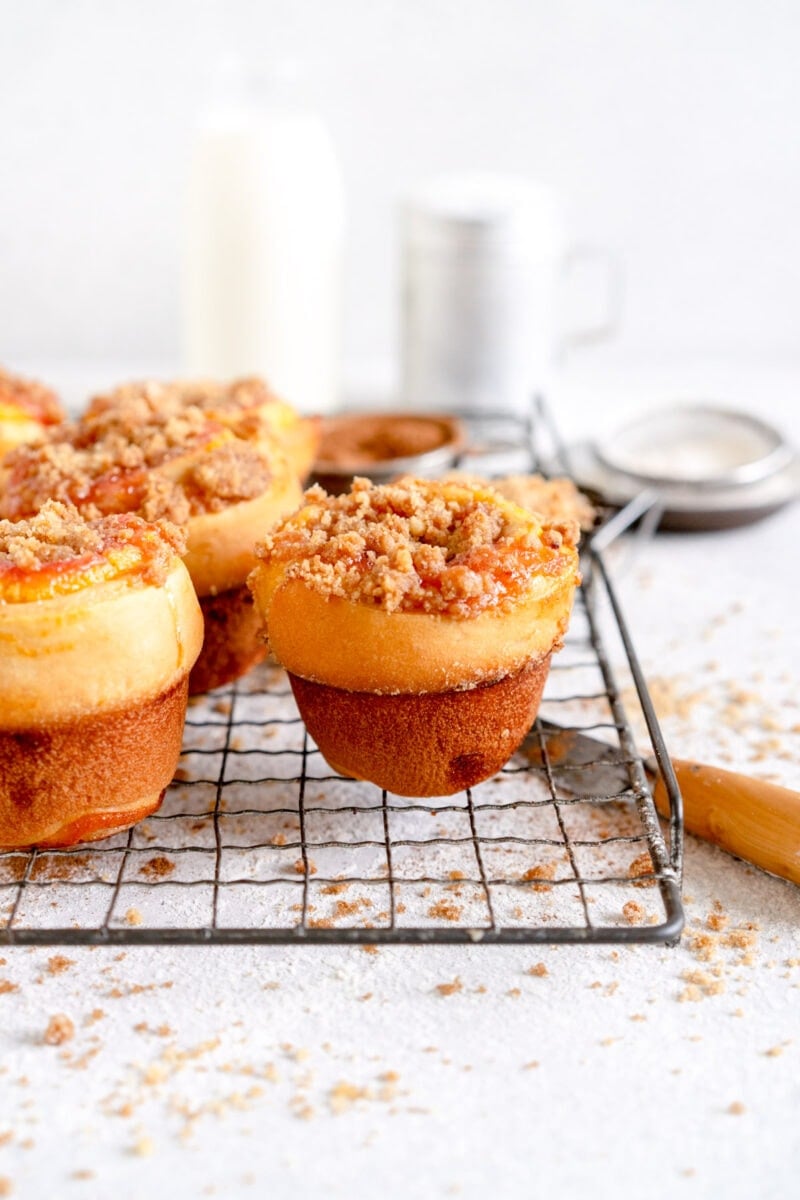
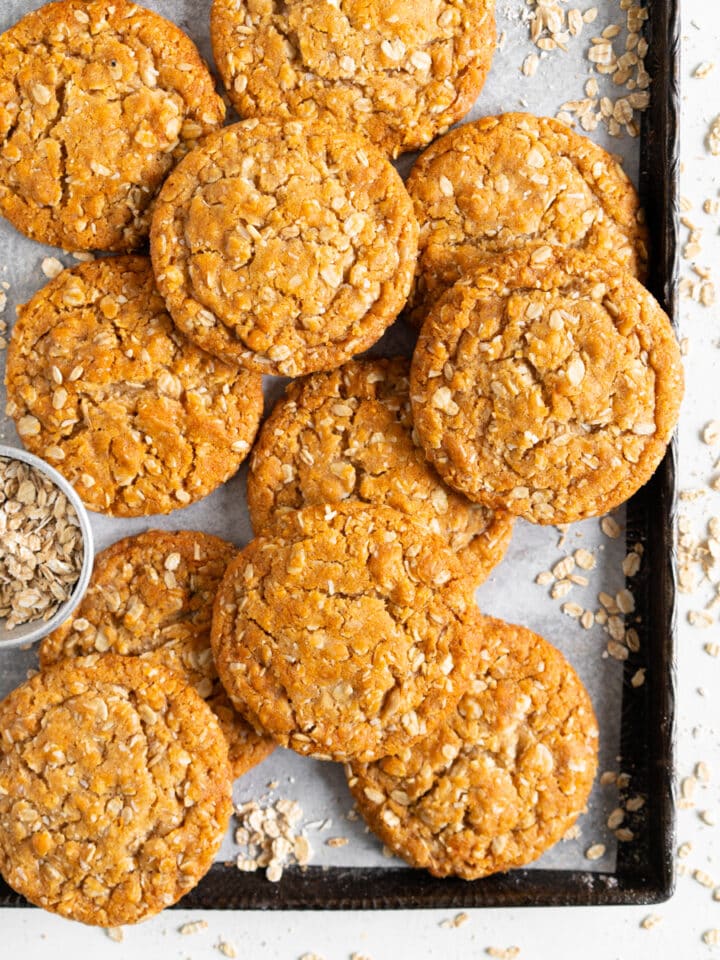
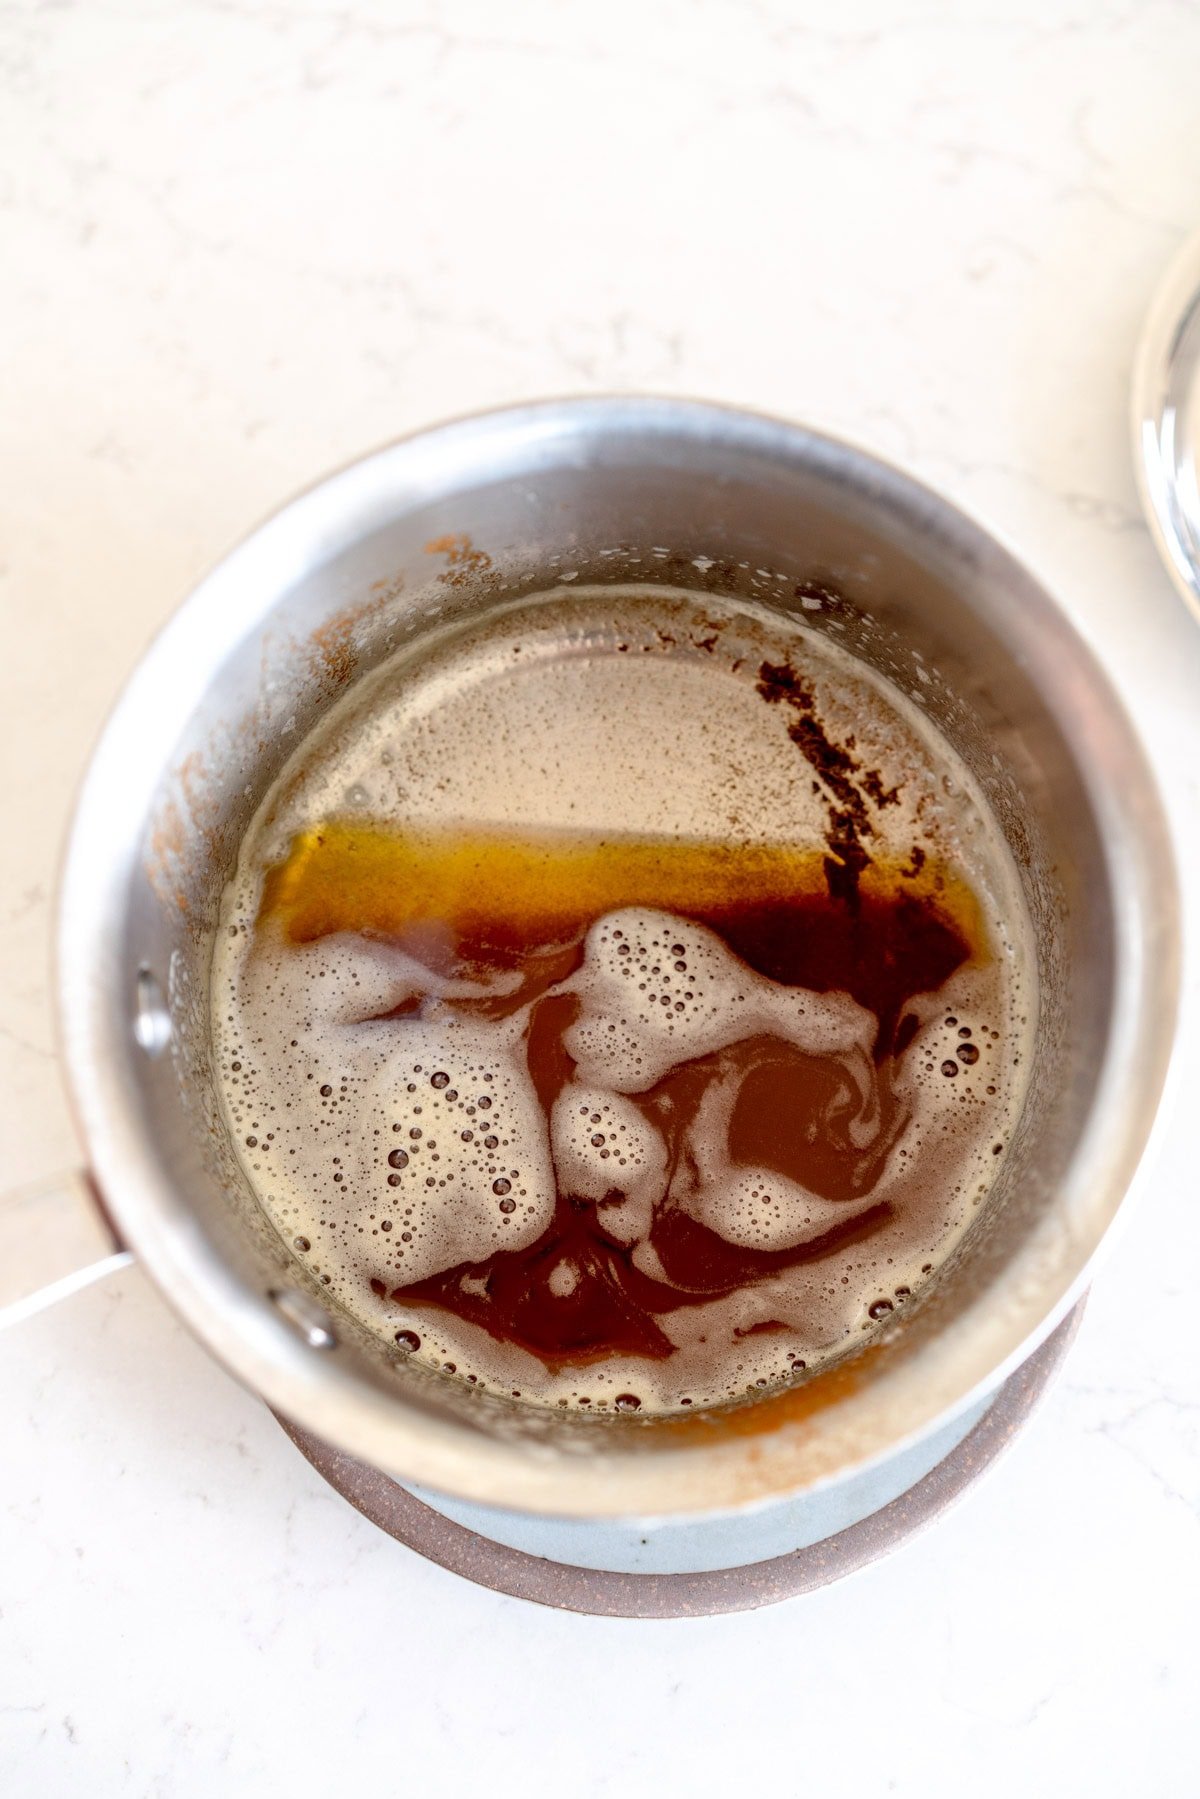
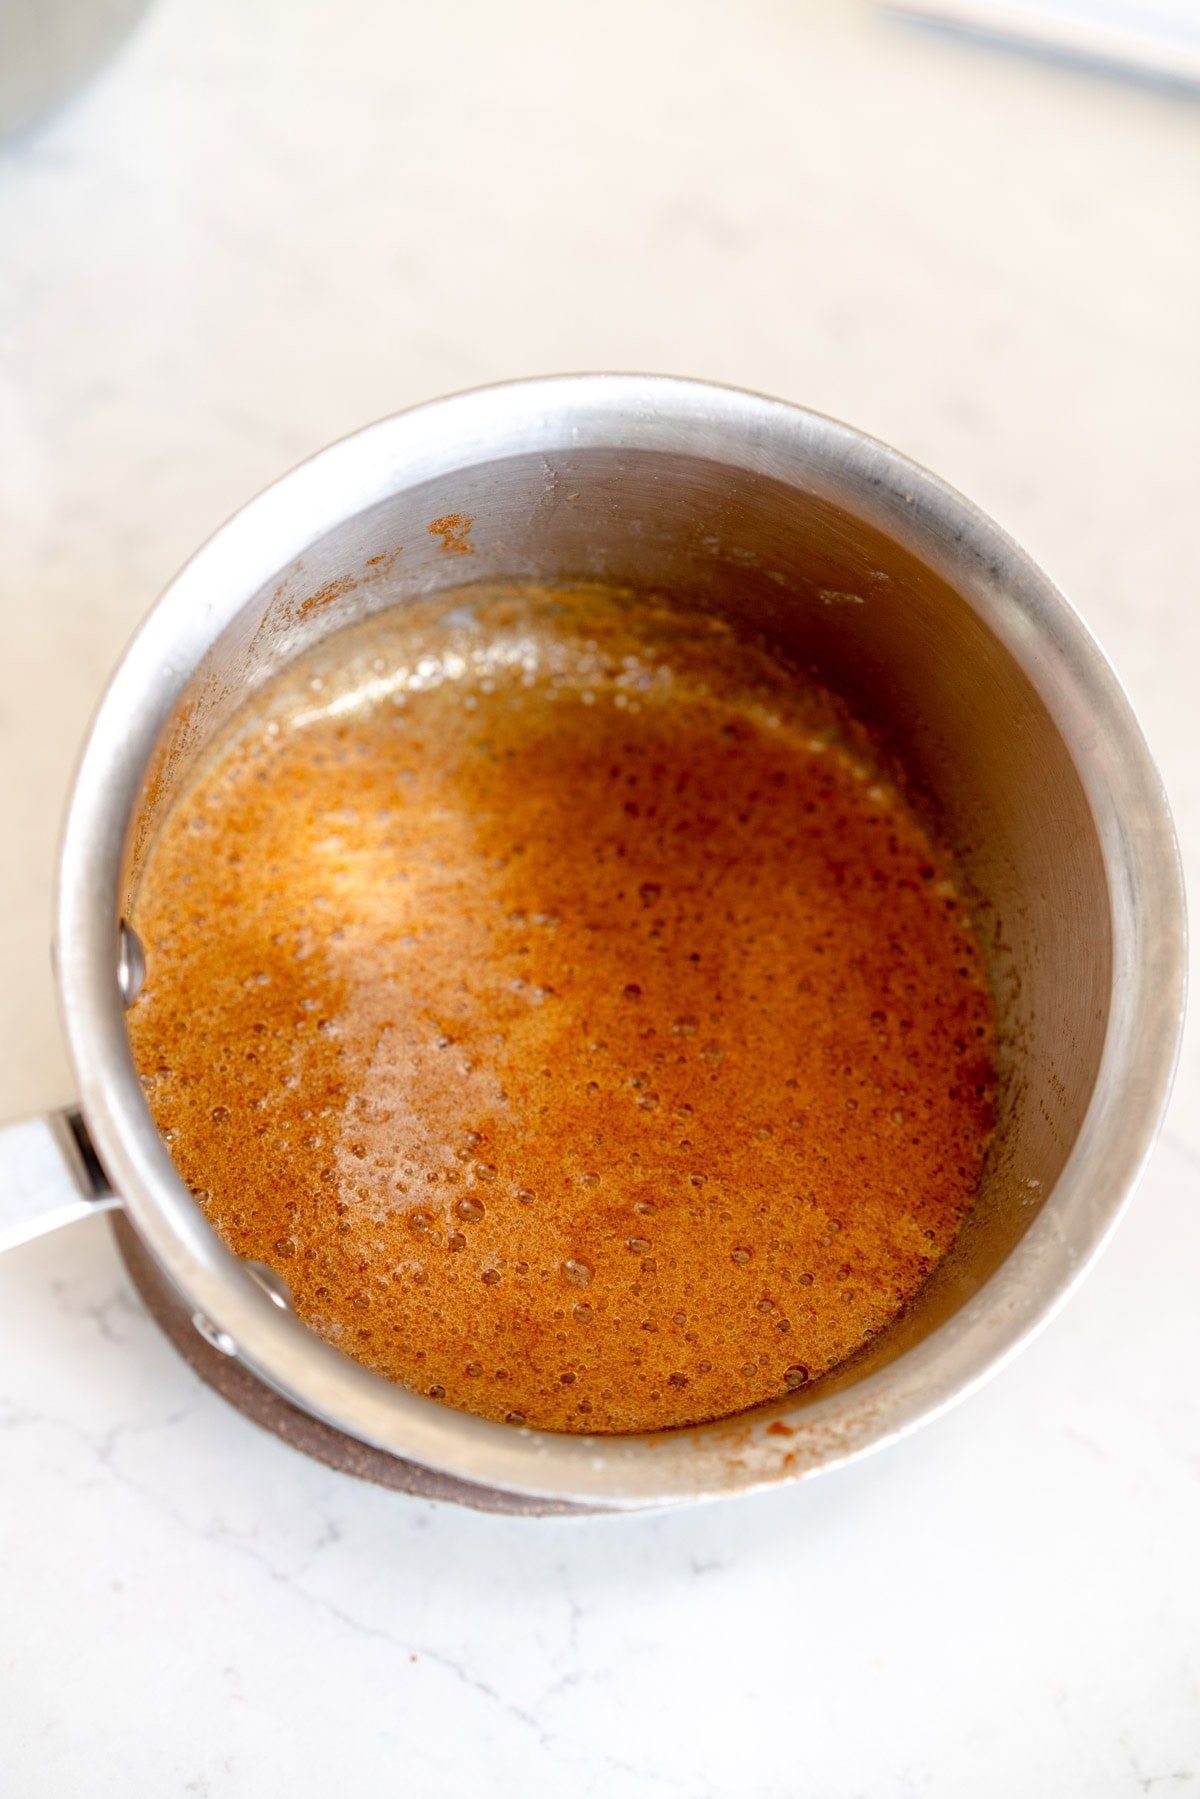
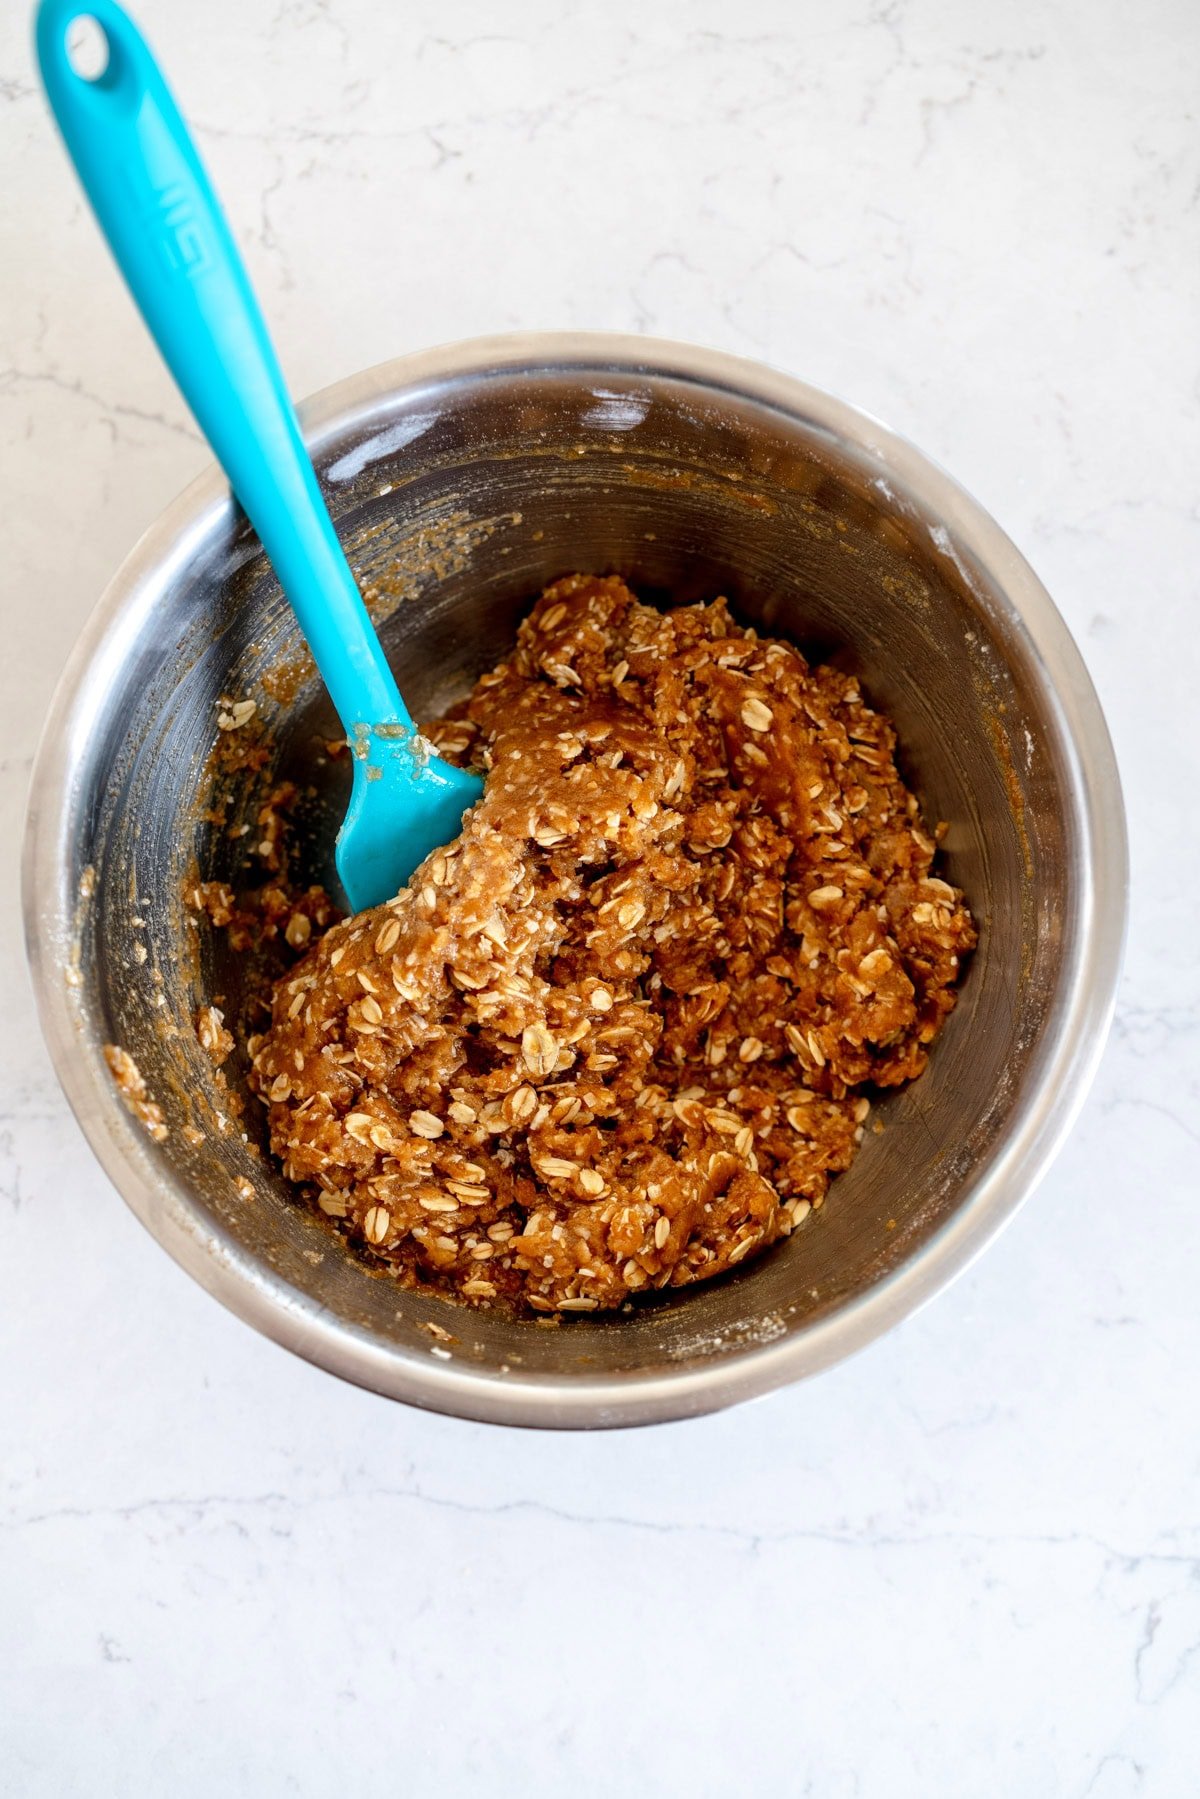
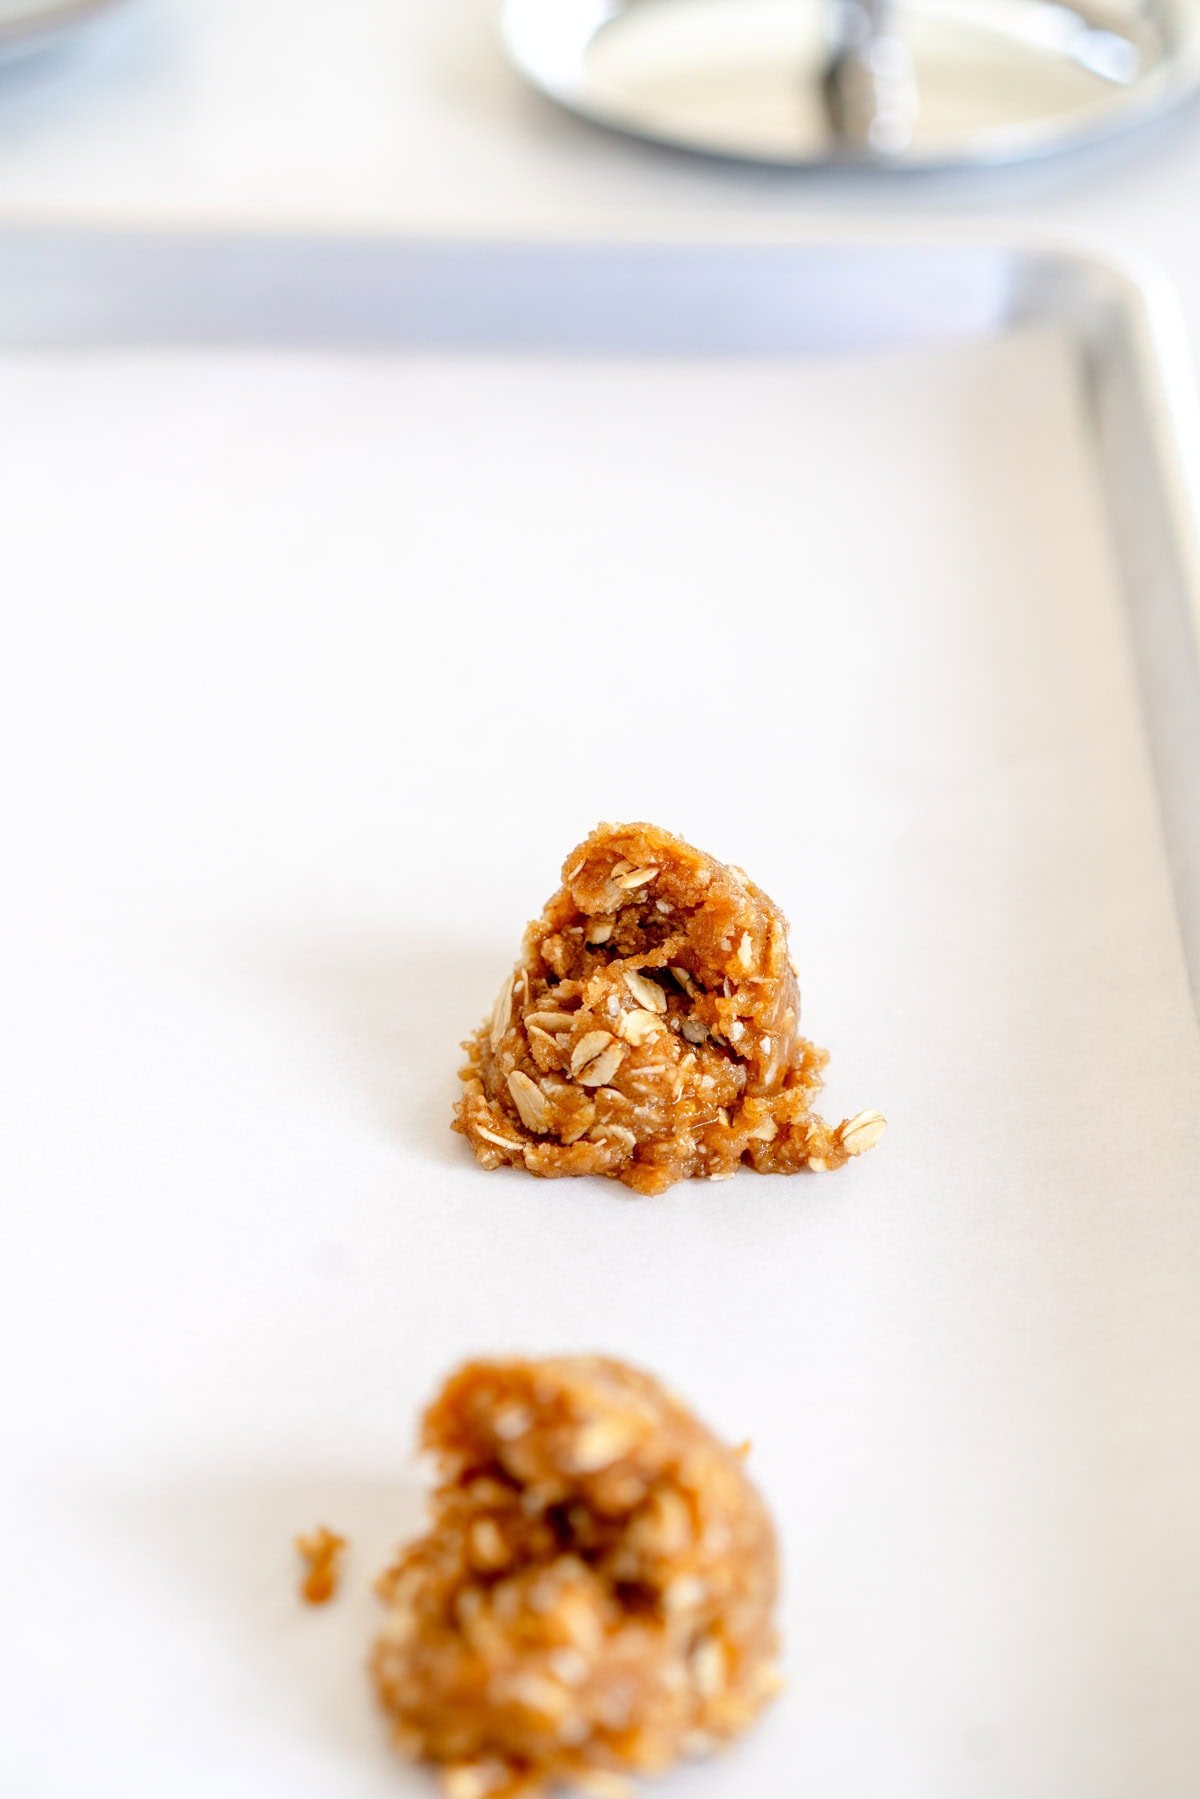
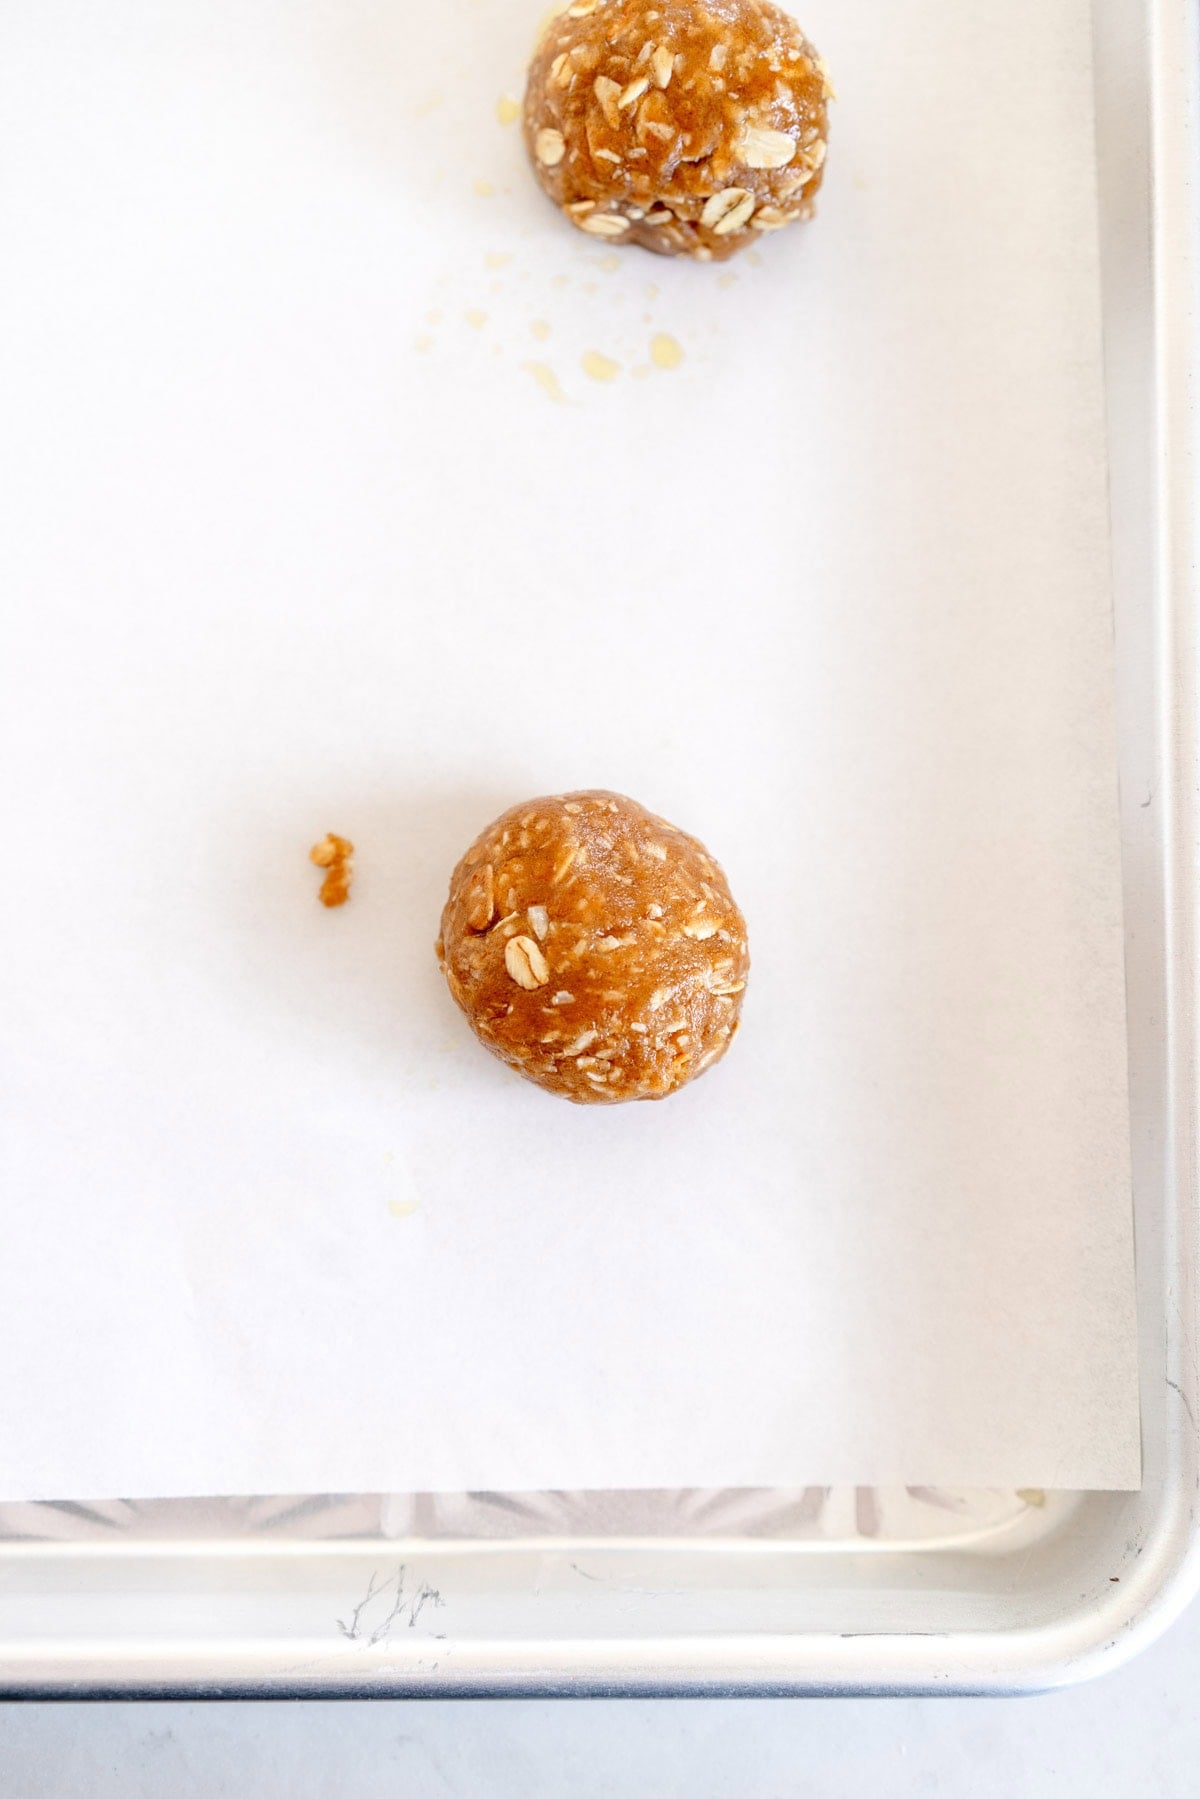
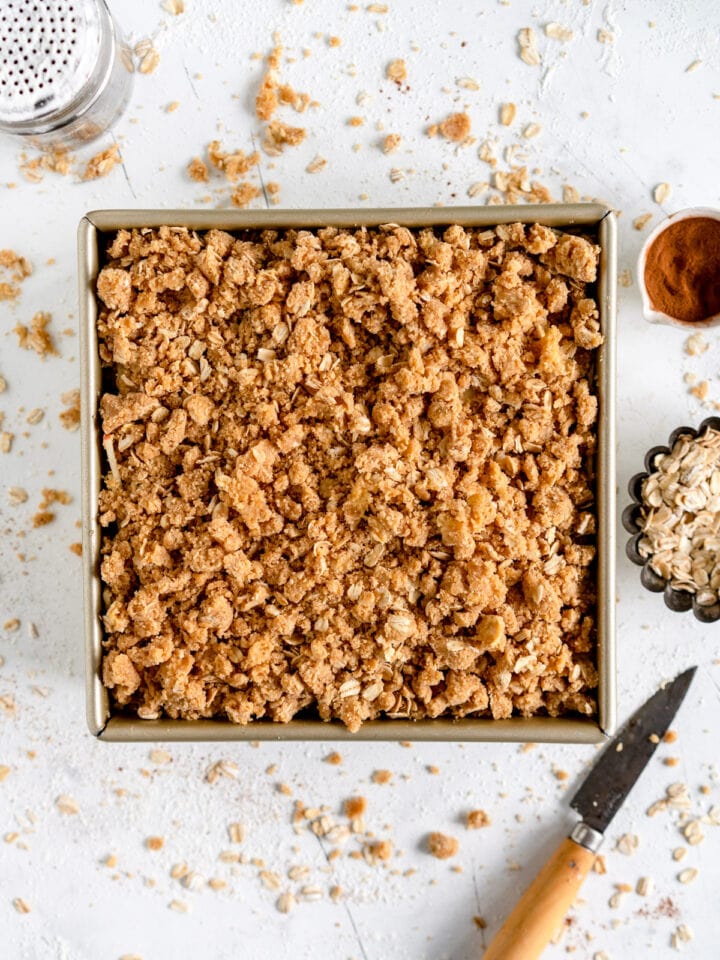
Crumble pie is one of my favourites. It is super easy to make and there aren't any tricky lattice tops. For this strawberry rhubarb crumble pie I tweaked the crumble recipe from my apple crumble pie. I browned the butter and added in some malted milk powder. The malted milk powder is a totally optional step, but gives an incredible depth of flavour. Brown butter is also an optional step but one I highly recommend. It takes the crumble flavour to the next level. This crumble would be perfect on other desserts too such as an apple or other fruit crumble.
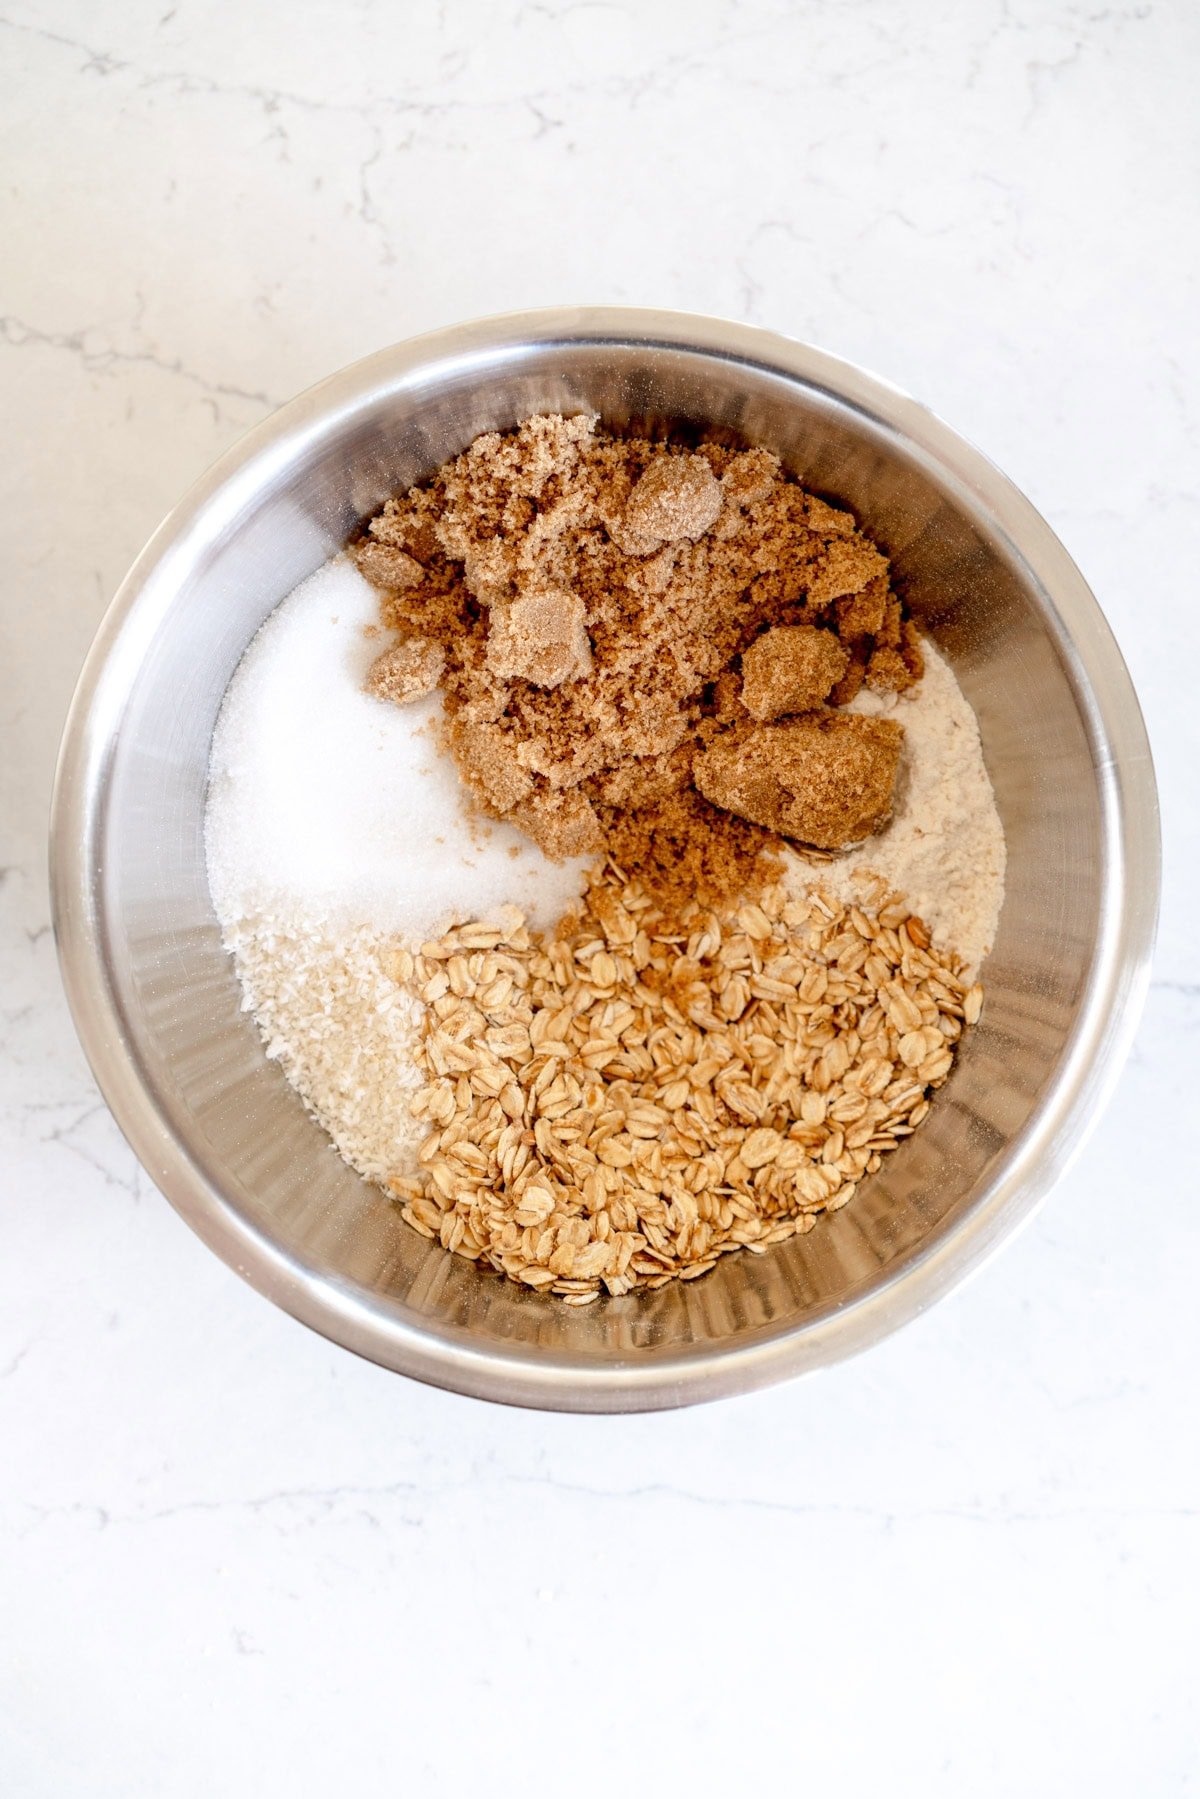
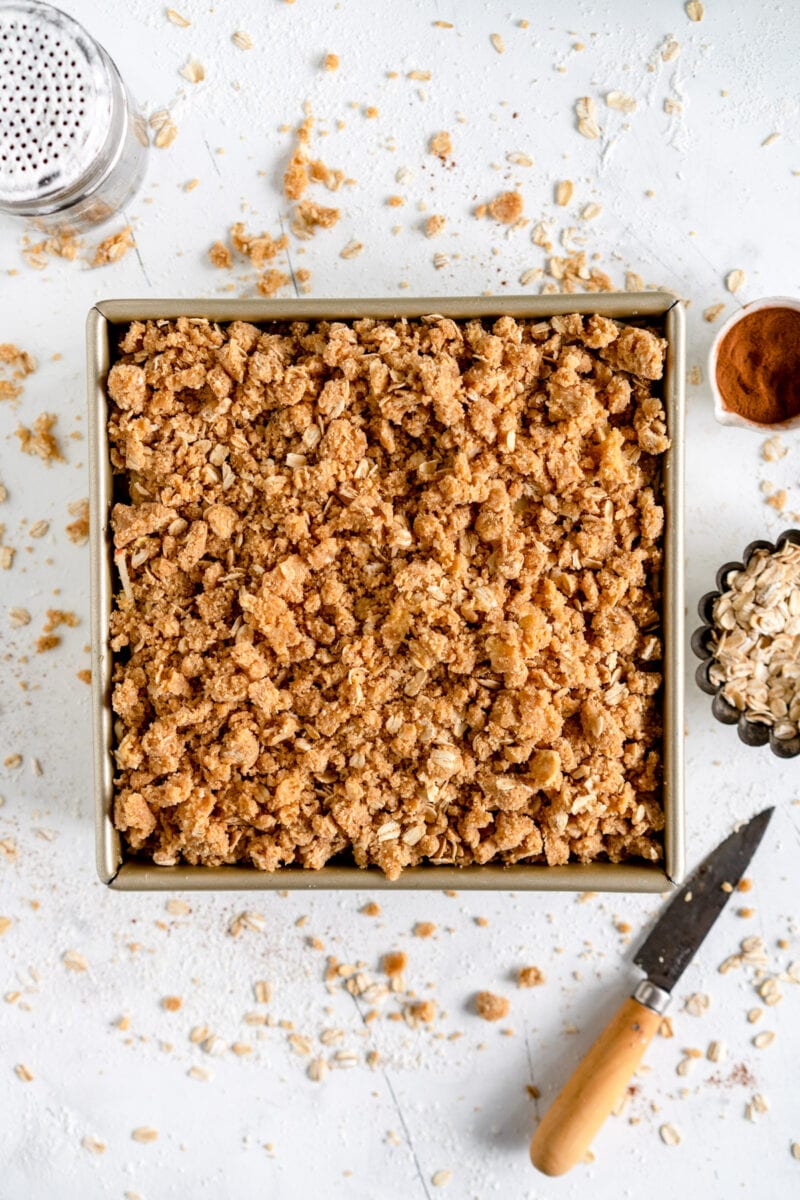
To make the crumble topping you simply whisk together the dry ingredients. I use flour, sugar, some turbinado sugar for crunch, the malted milk powder, and some old fashioned oats for texture. Then the brown butter goes in and the whole thing is mixed up to form the crumble topping. You can easily make this ahead of time and store in the fridge until you are ready for it. You could also make a double of the recipe and freeze it in an airtight container until you need it.

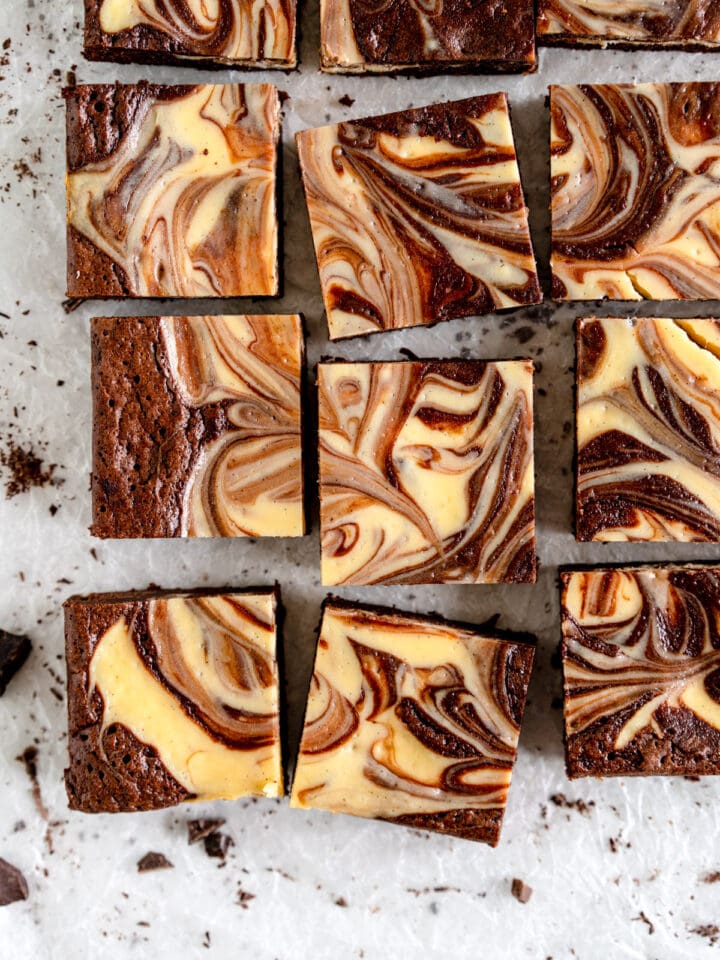
Pre Cooked Pie Filling
Aside from par baking the pie crust, this strawberry rhubarb crumble pie also has a pre cooked filling. For fillings that are wet, such as strawberry and rhubarb, and other berries, pre cooking the filling removes some of the moisture. It also means you know the consistency of the filling before it goes into the oven, so you don't have to worry about how it bakes up or how it will turn out. The whole filling is cooked together and the starch added.
This is also a great way to prepare some of the pie components ahead of time. You can transfer the filling to an airtight container if you are making it well ahead. However if you are in a pinch and need it to cool down quickly, you can spread it onto a sheet pan. This increases the surface area of the filling and helps it to cool down.

Why tent a crumble pie with foil?
In the first part of the baking process I get you to cover the pie with foil. The purpose behind this is to allow the pie to get a head start on baking without the topping browning too much. Once you remove the foil to finish baking the pie, if you are worried the topping is browning too much, just pop the foil back on until the filling is done and the pie is baked.
❤️ Made this recipe and love it? ❤️
I would LOVE for you to leave me a review and star rating below to let me know how you liked it! Also, please make sure to tag me on Instagram!
Answers to your baking questions
Over the years, many of you have asked me questions about:
- baking in grams
- adjusting oven temperatures
- what kind of salt to use
- and many more!
I've curated and answered them all for your easy reference in this frequently asked questions post!