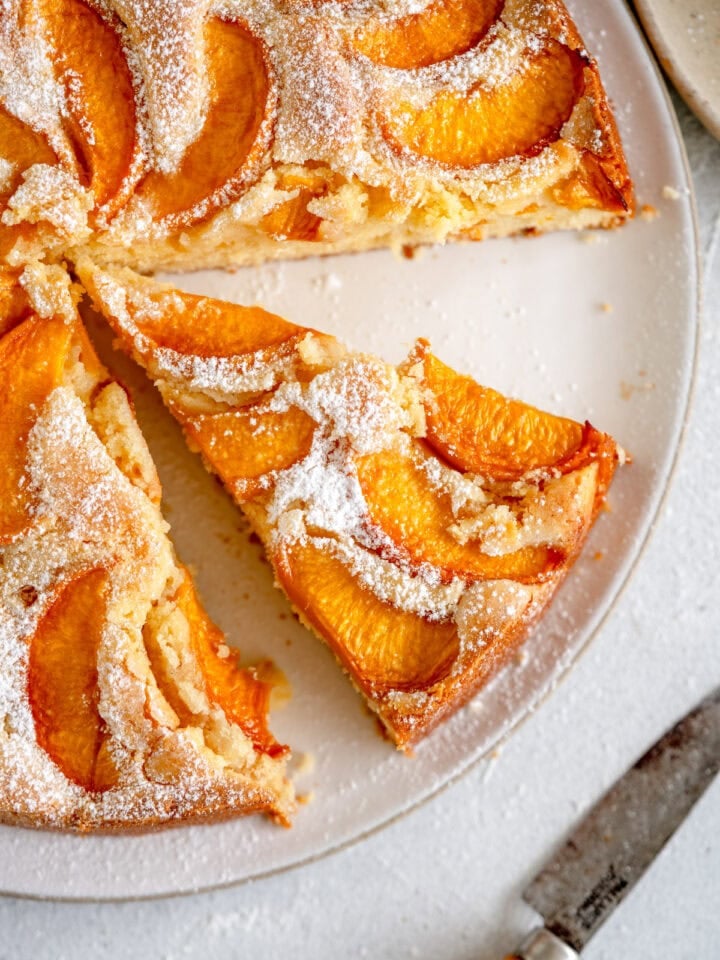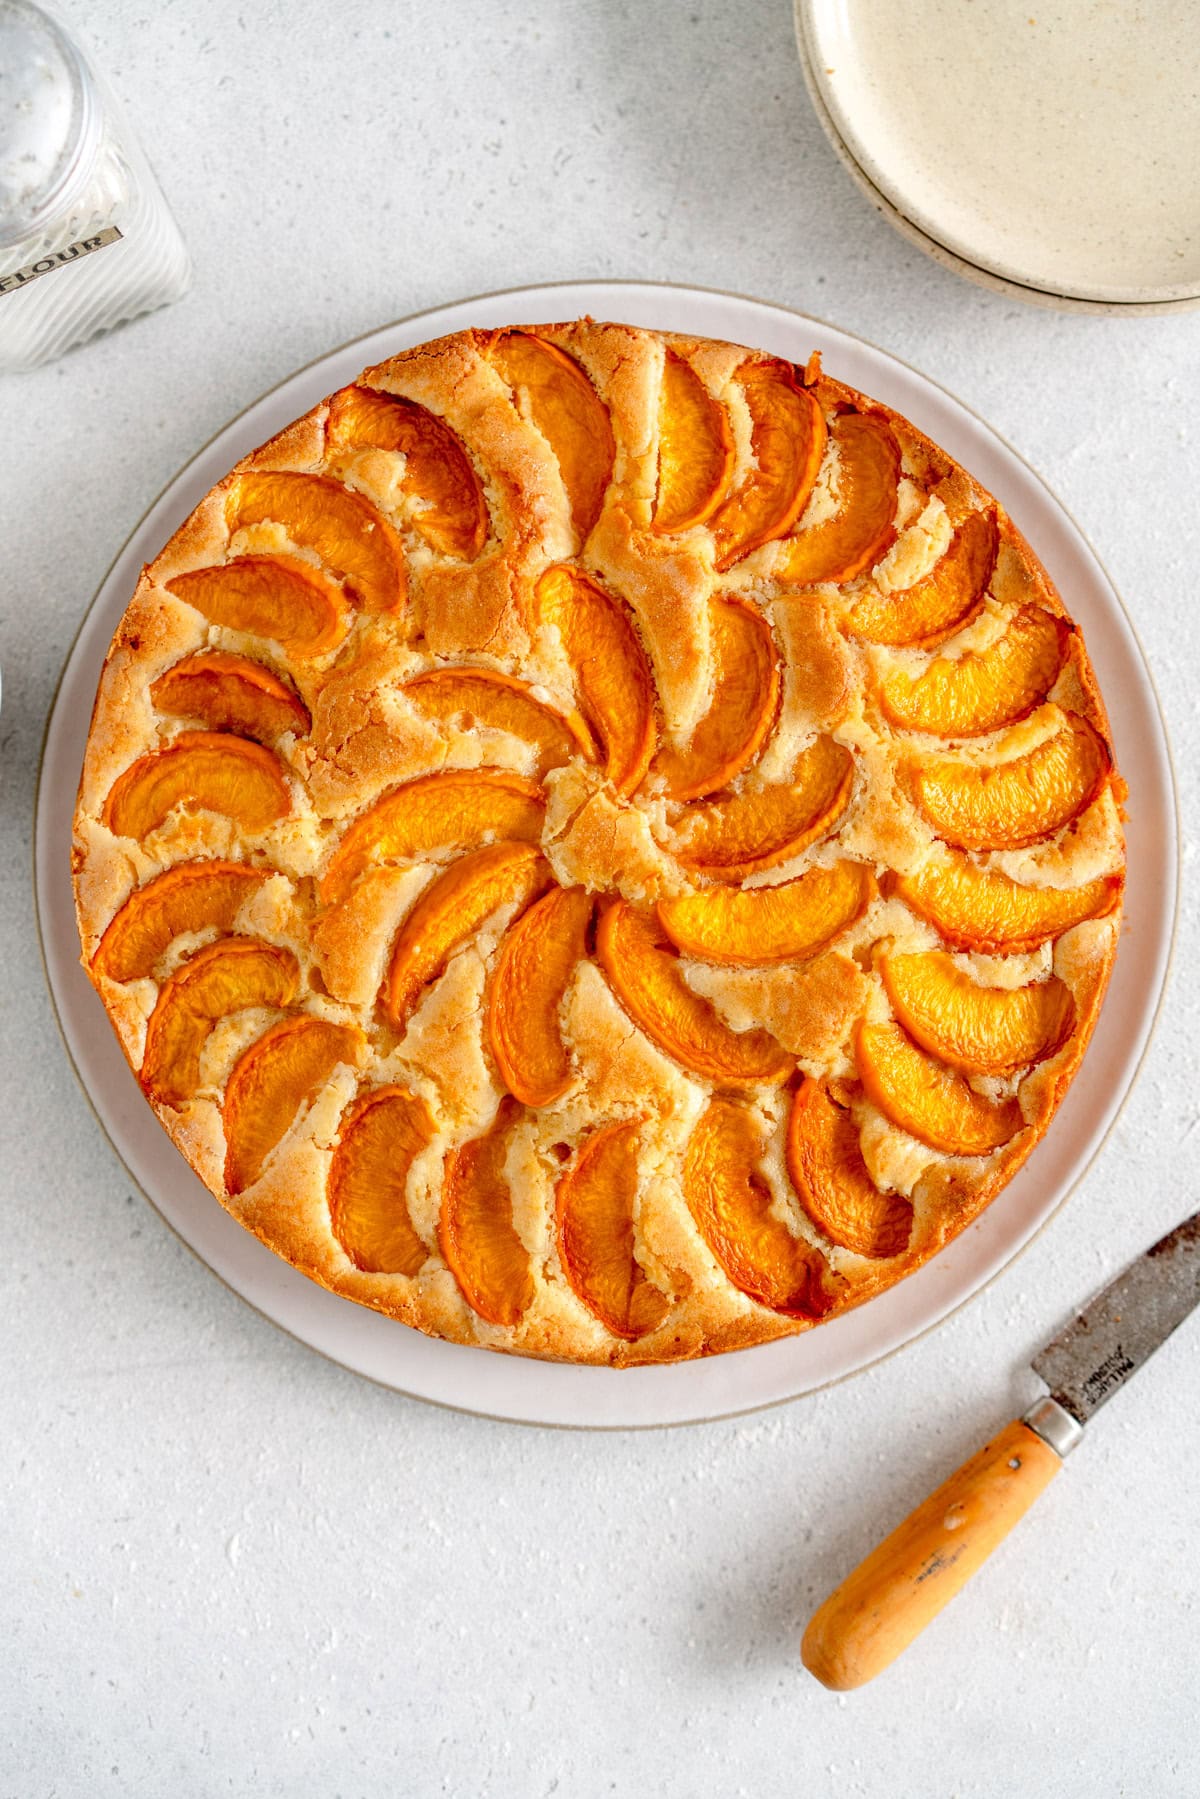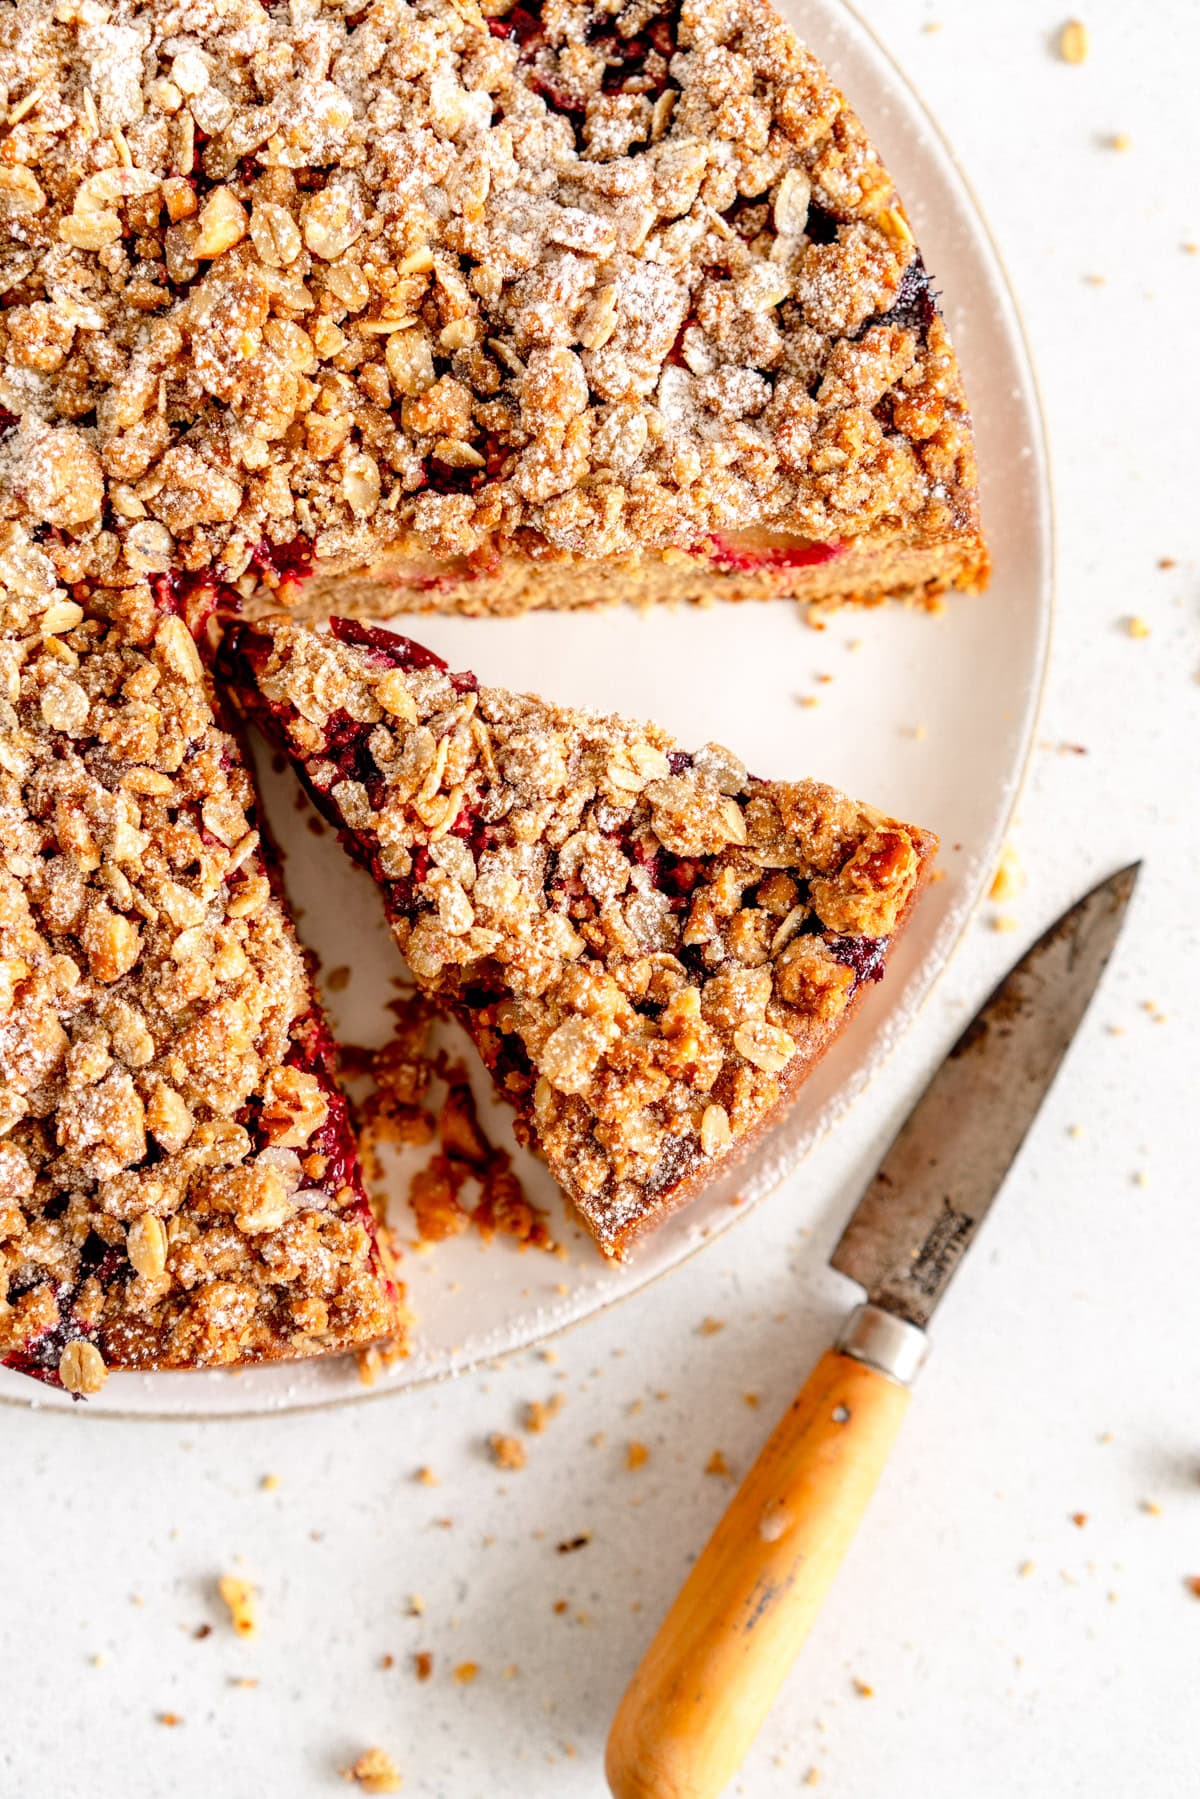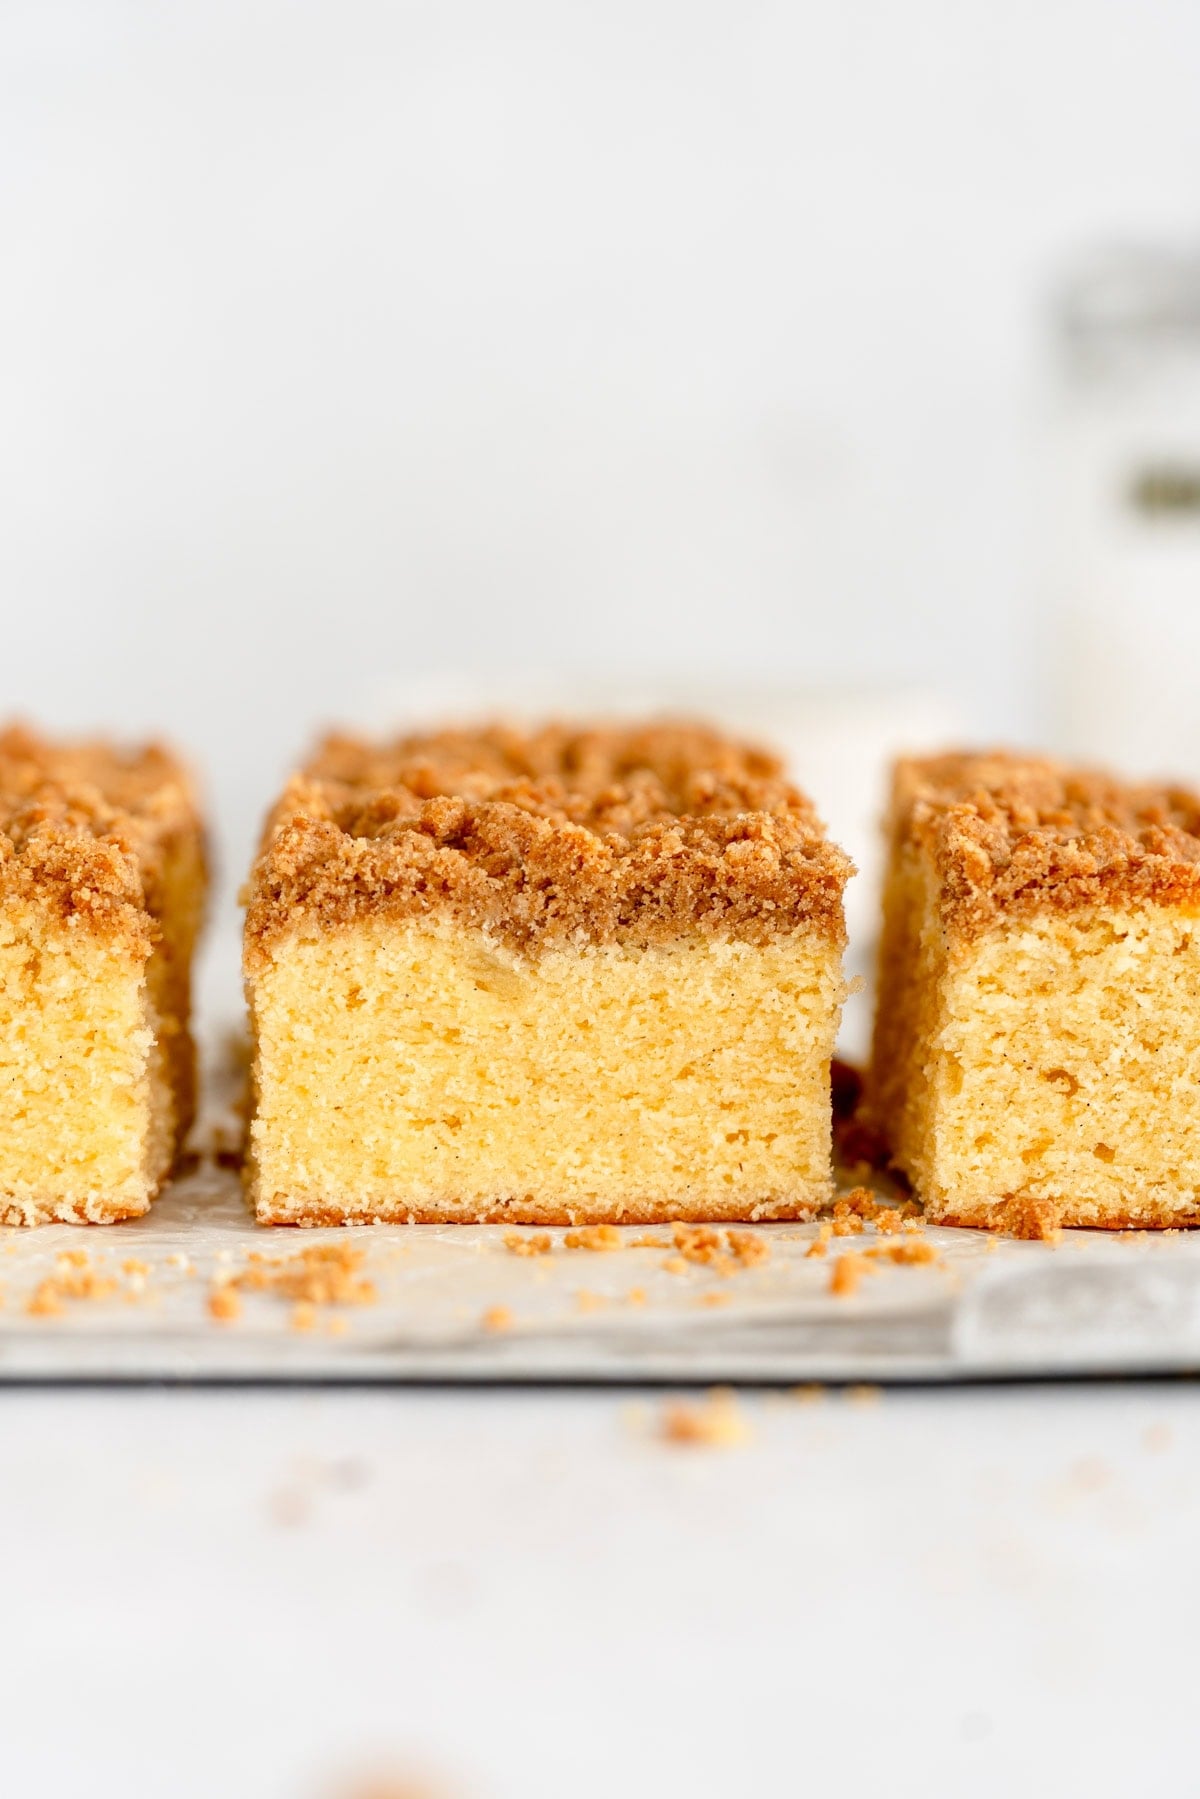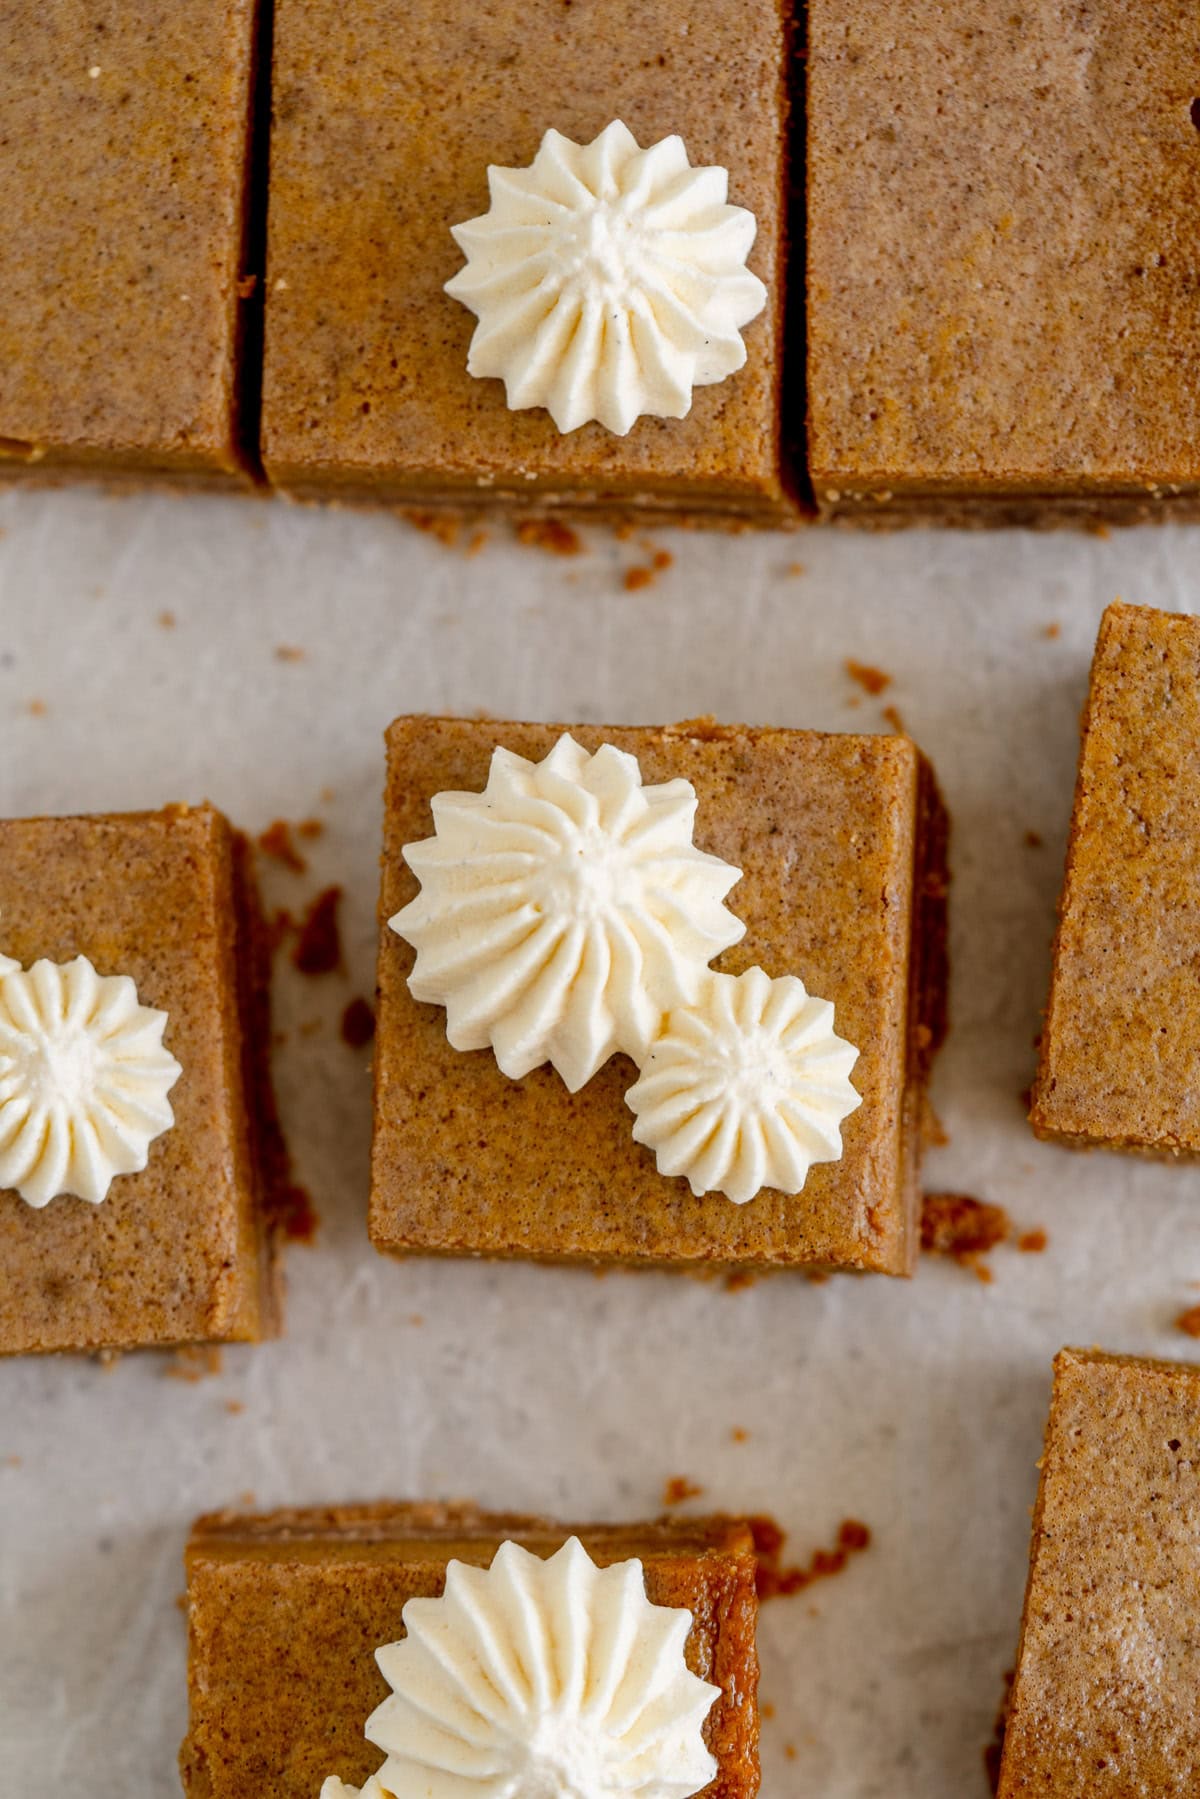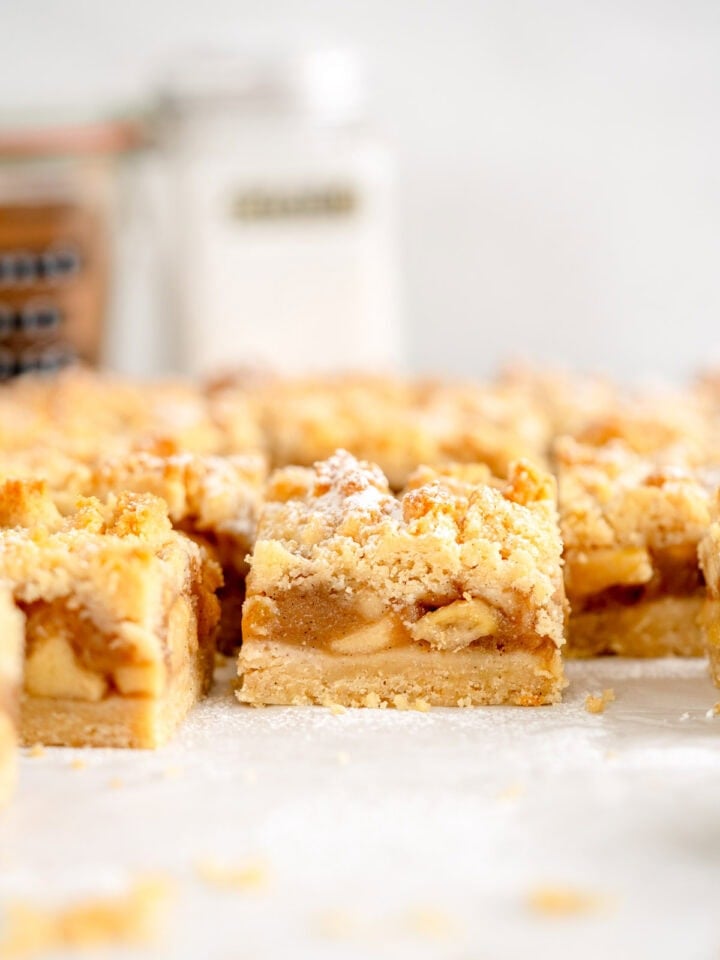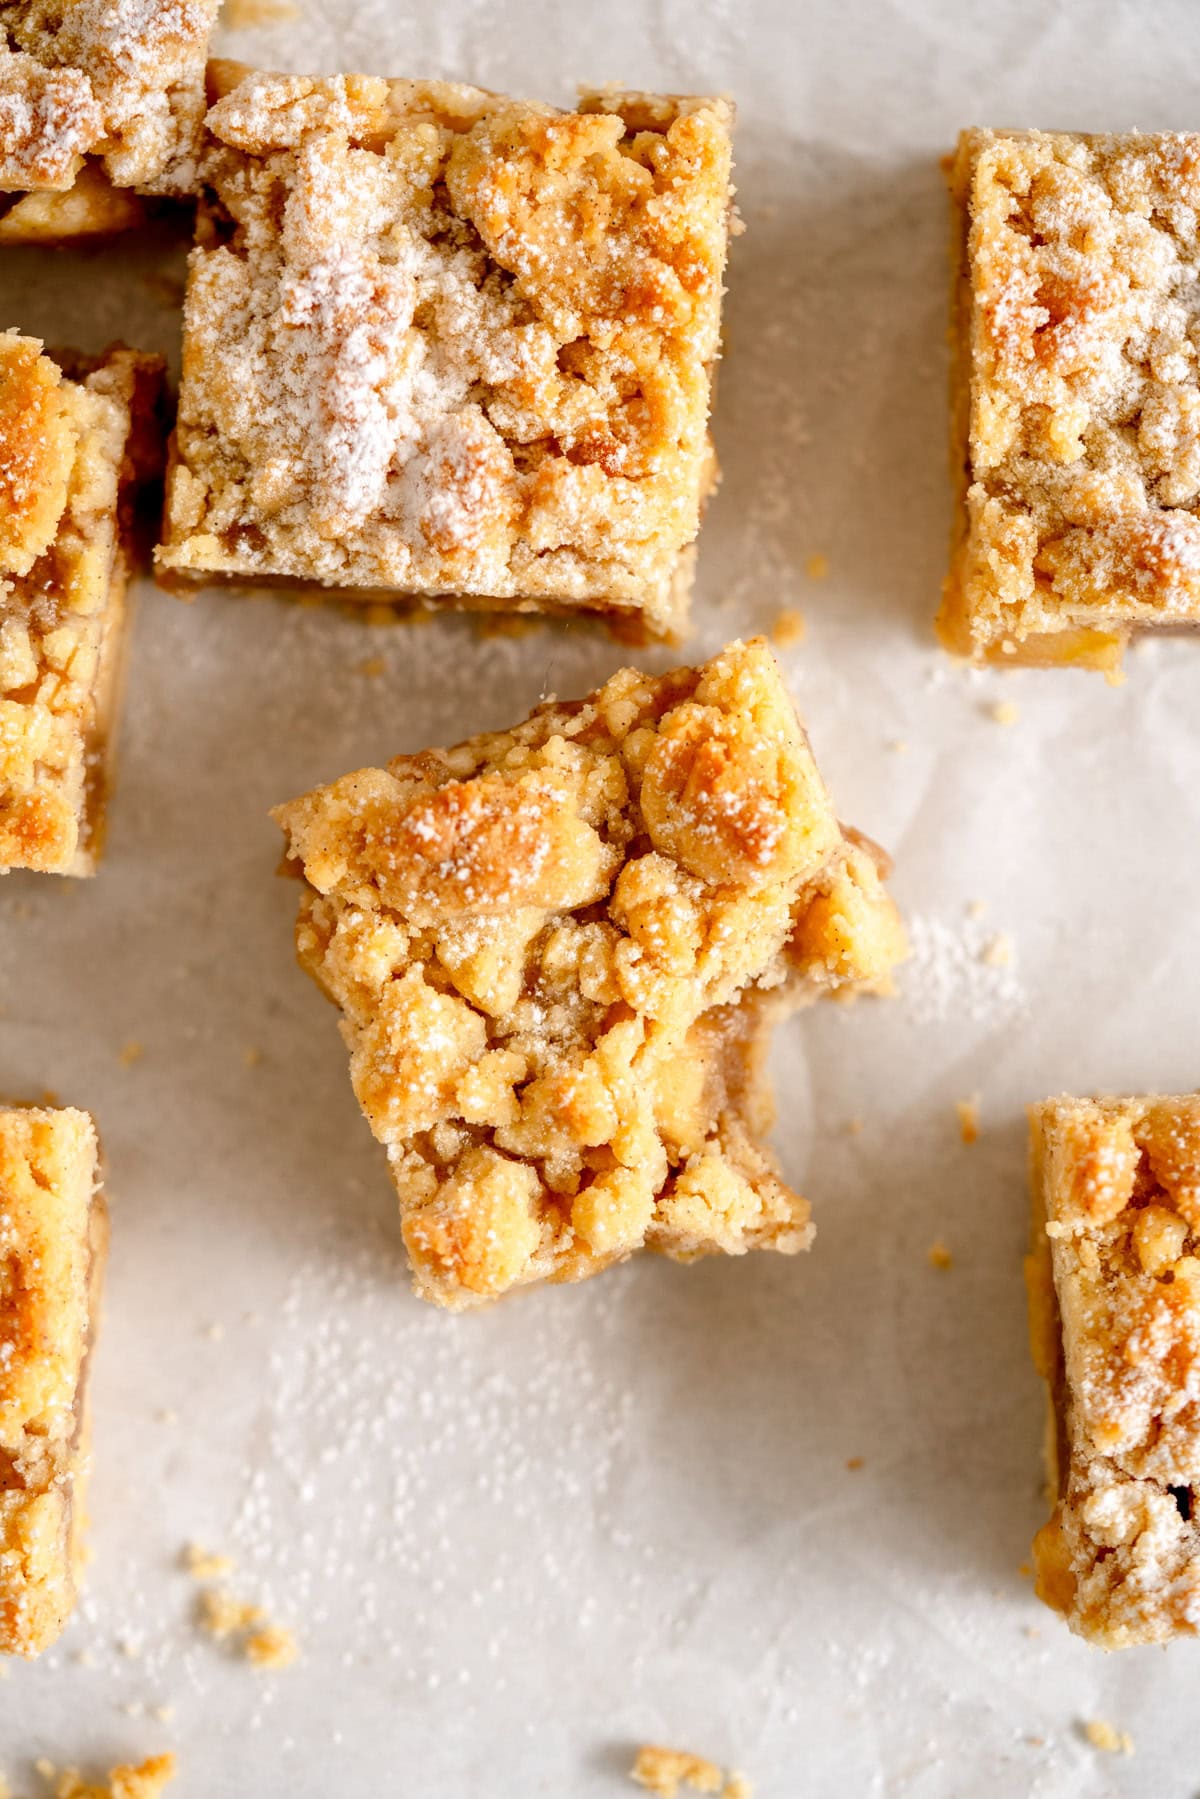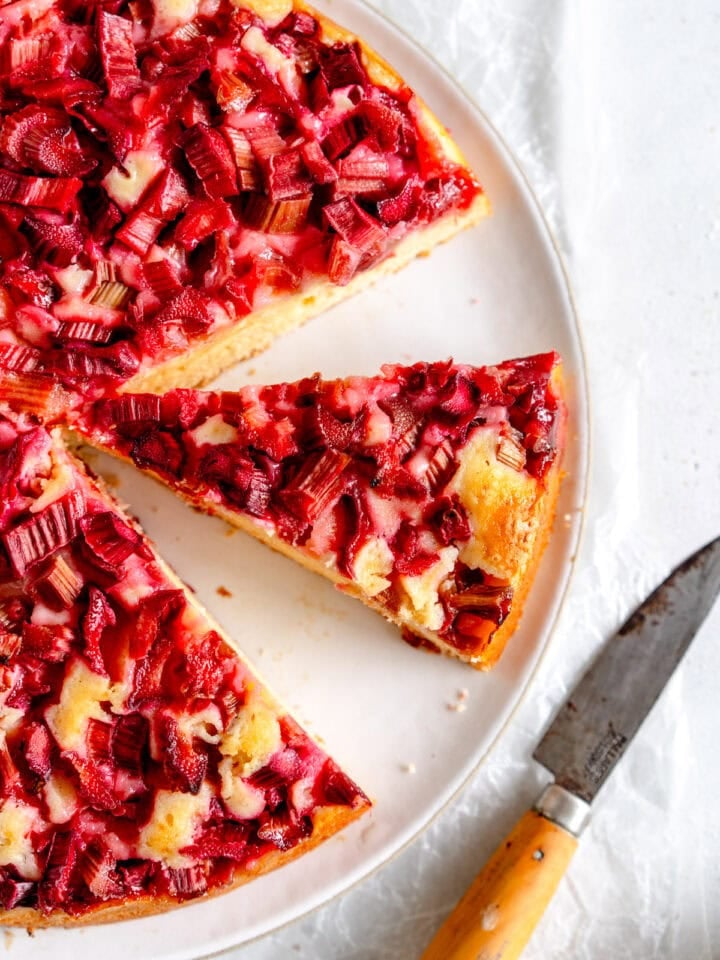
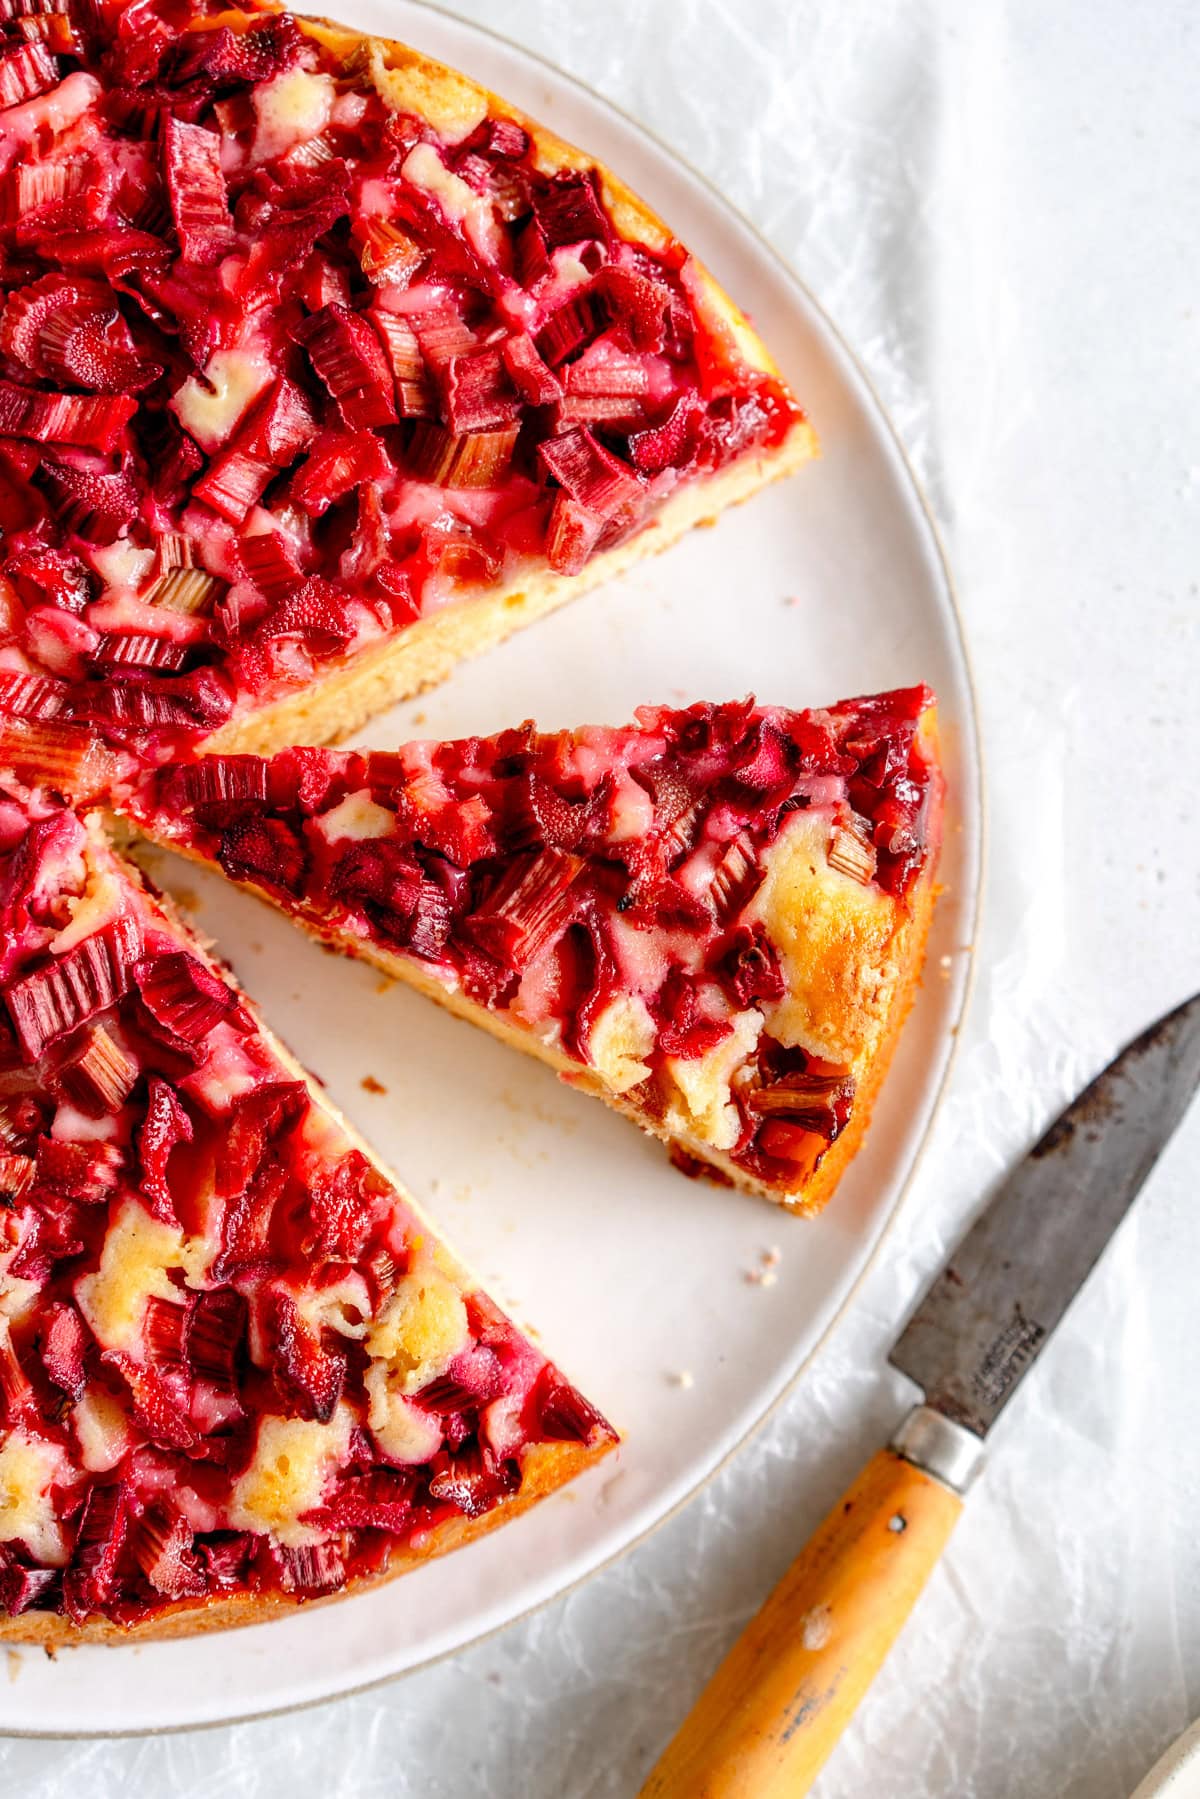
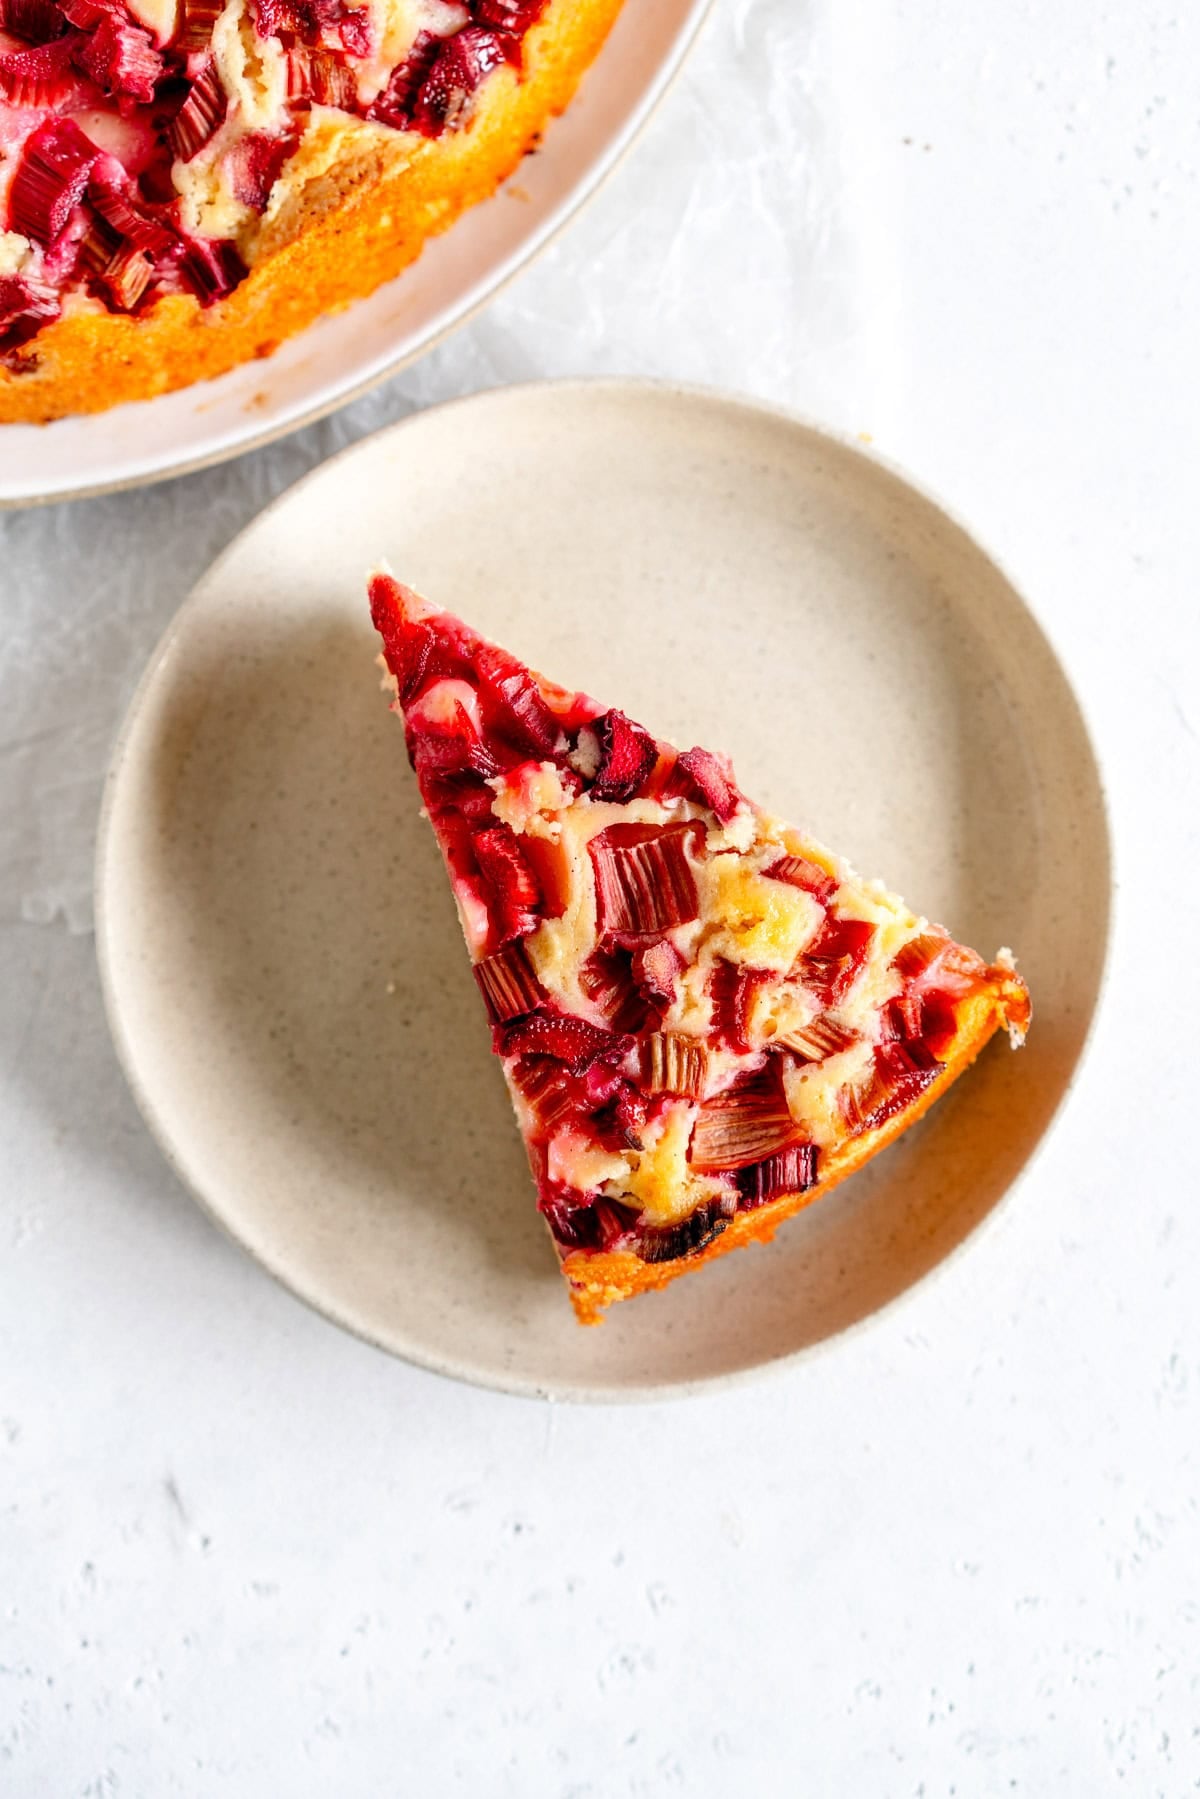
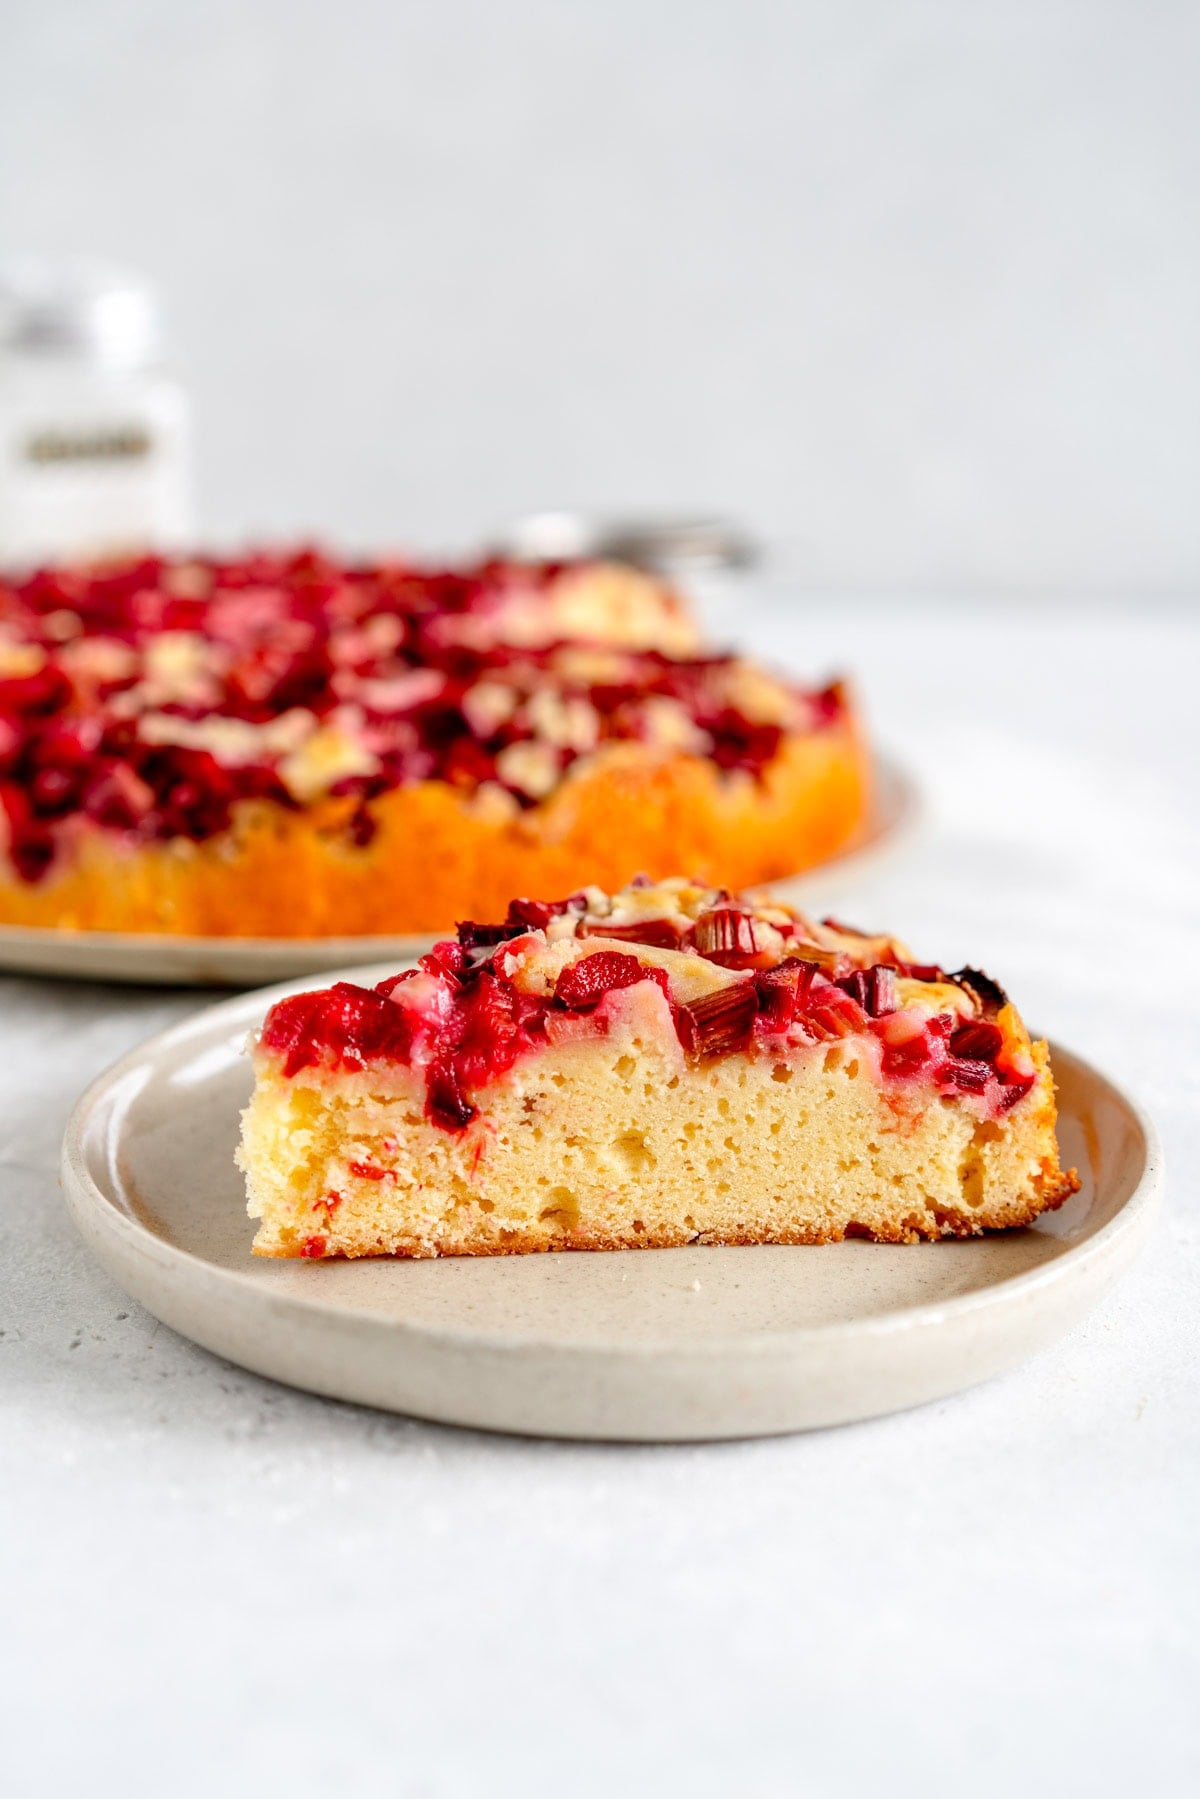
Looking for an easy way to use up fresh rhubarb? I got you! My easy rhubarb cake has a fluffy, tender butter cake base, and is topped with chopped rhubarb. This throw together cake is perfect for an easy make ahead dessert, or any time you need a slice of delicious cake! It stays moist for days.
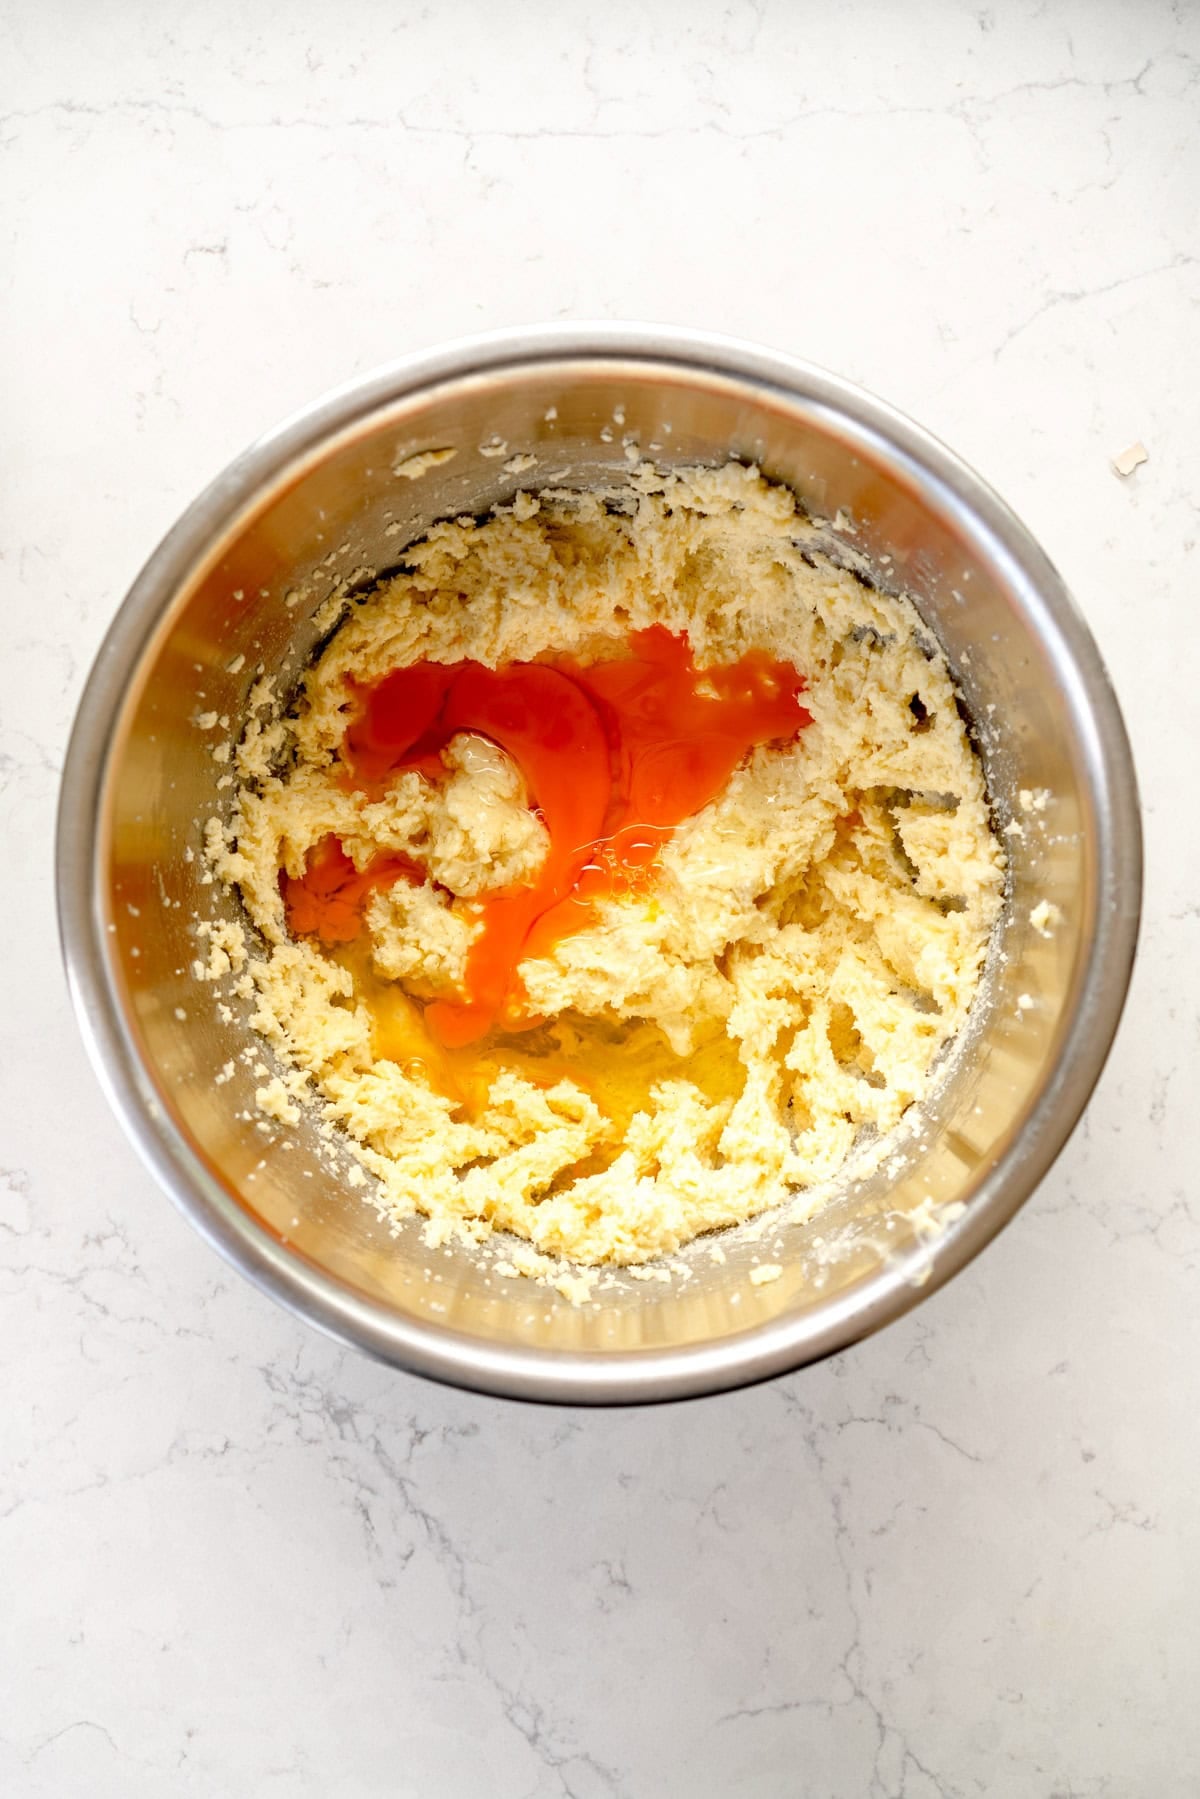
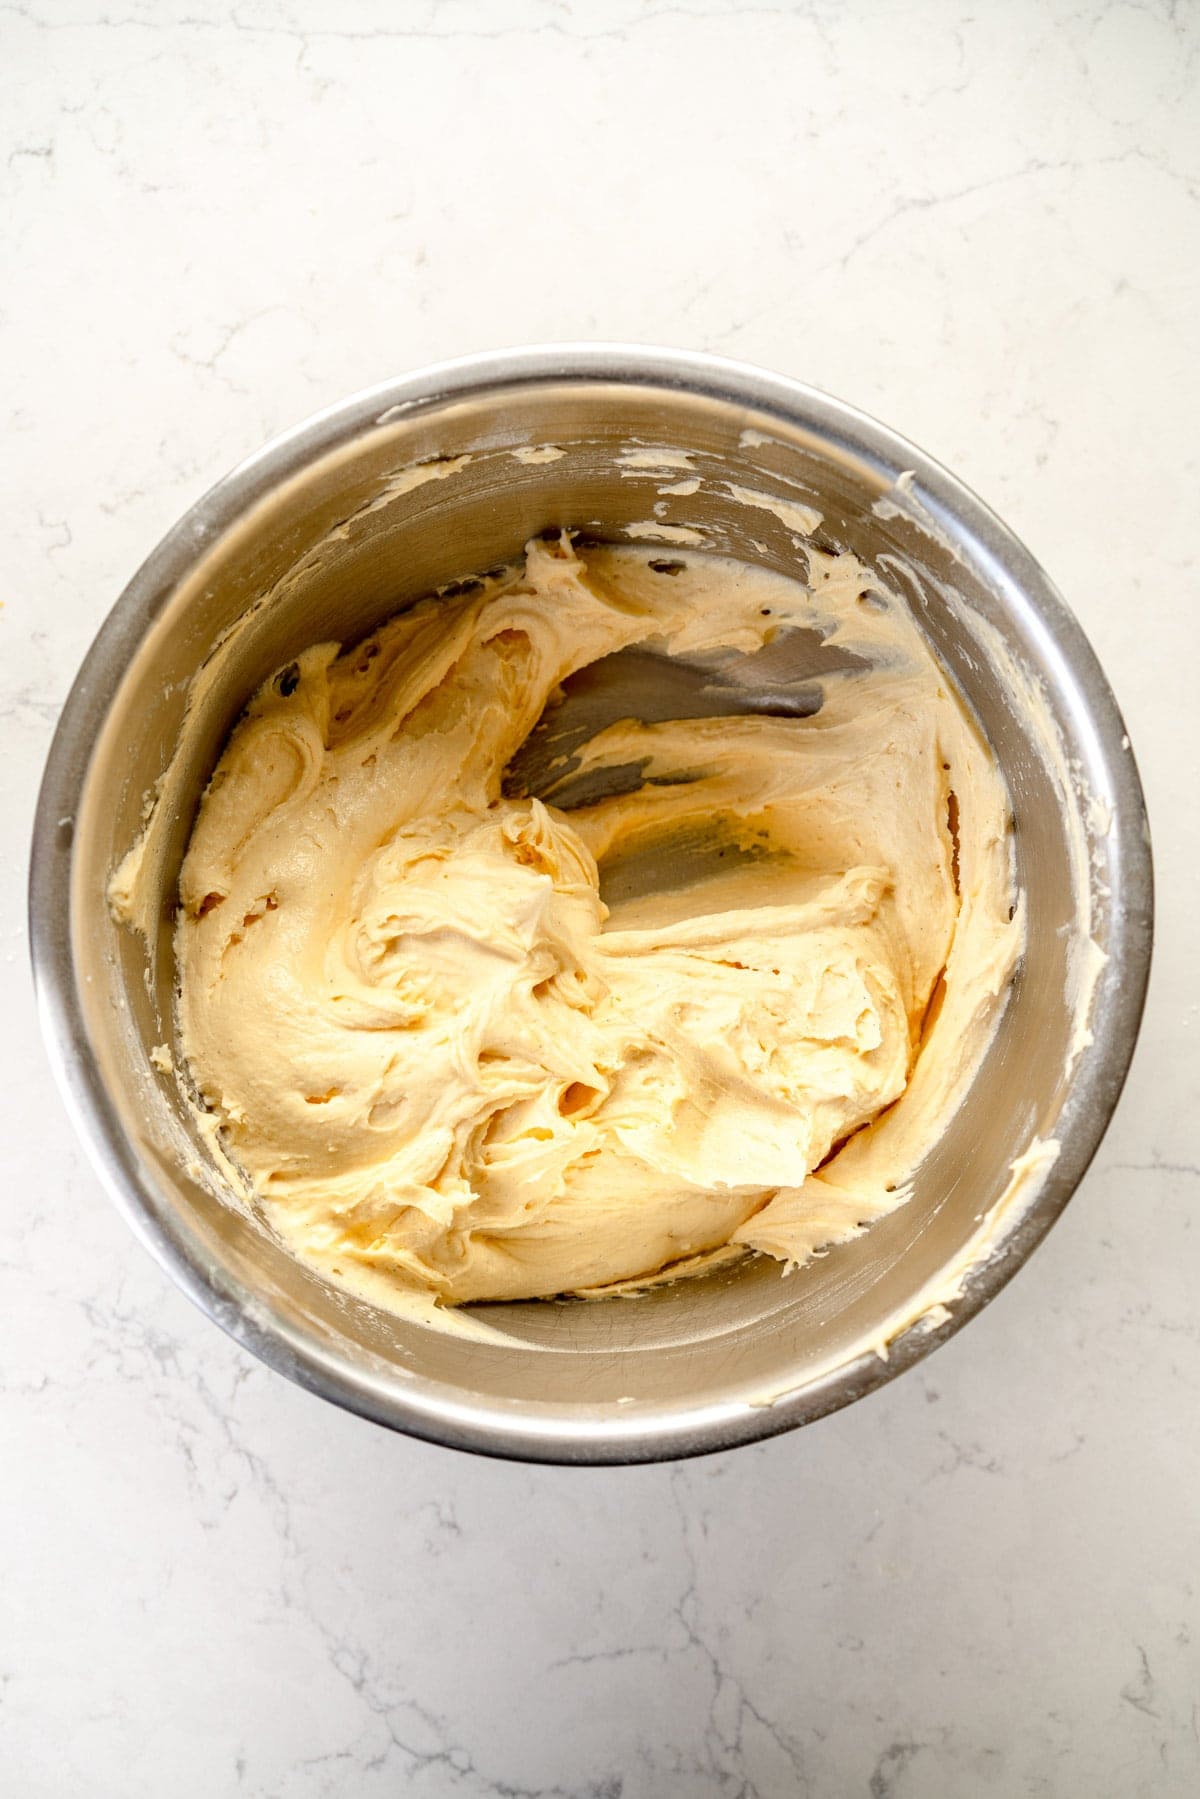
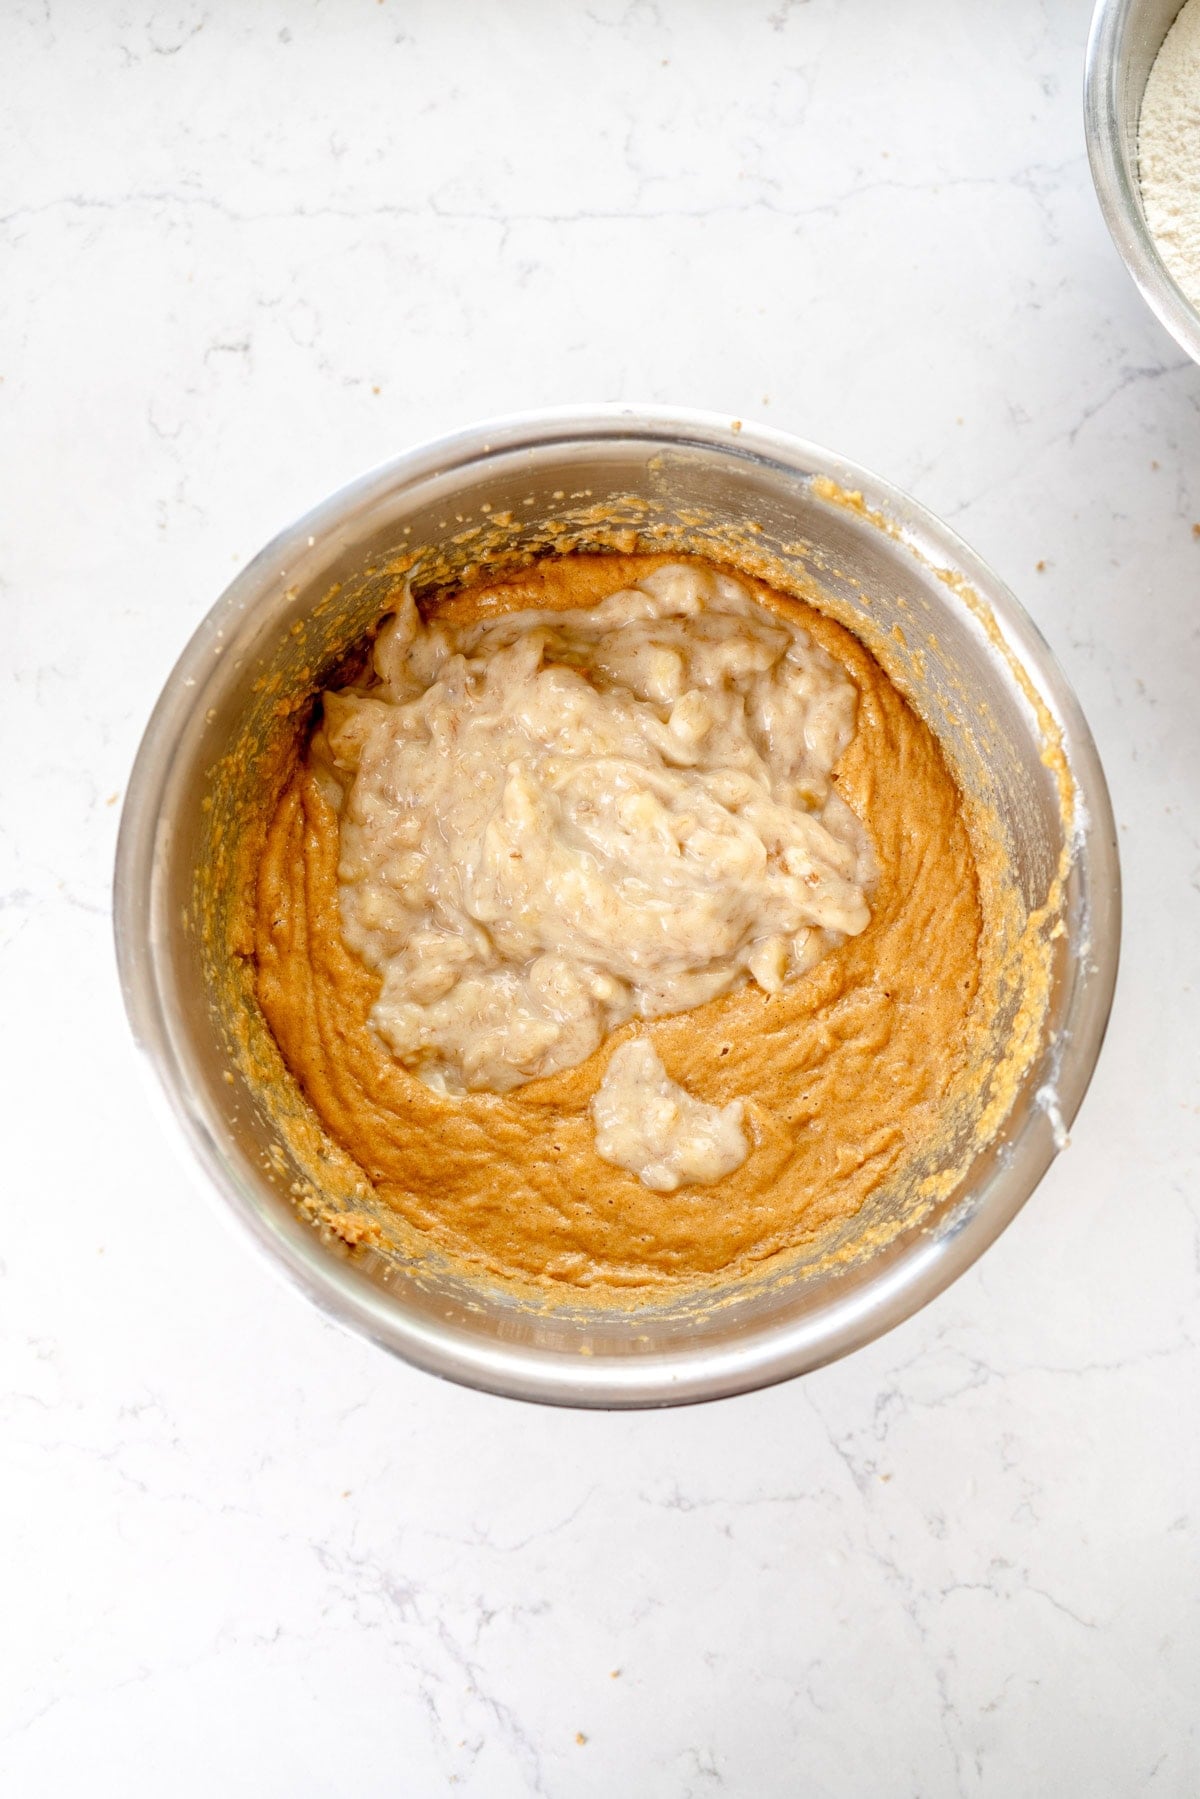
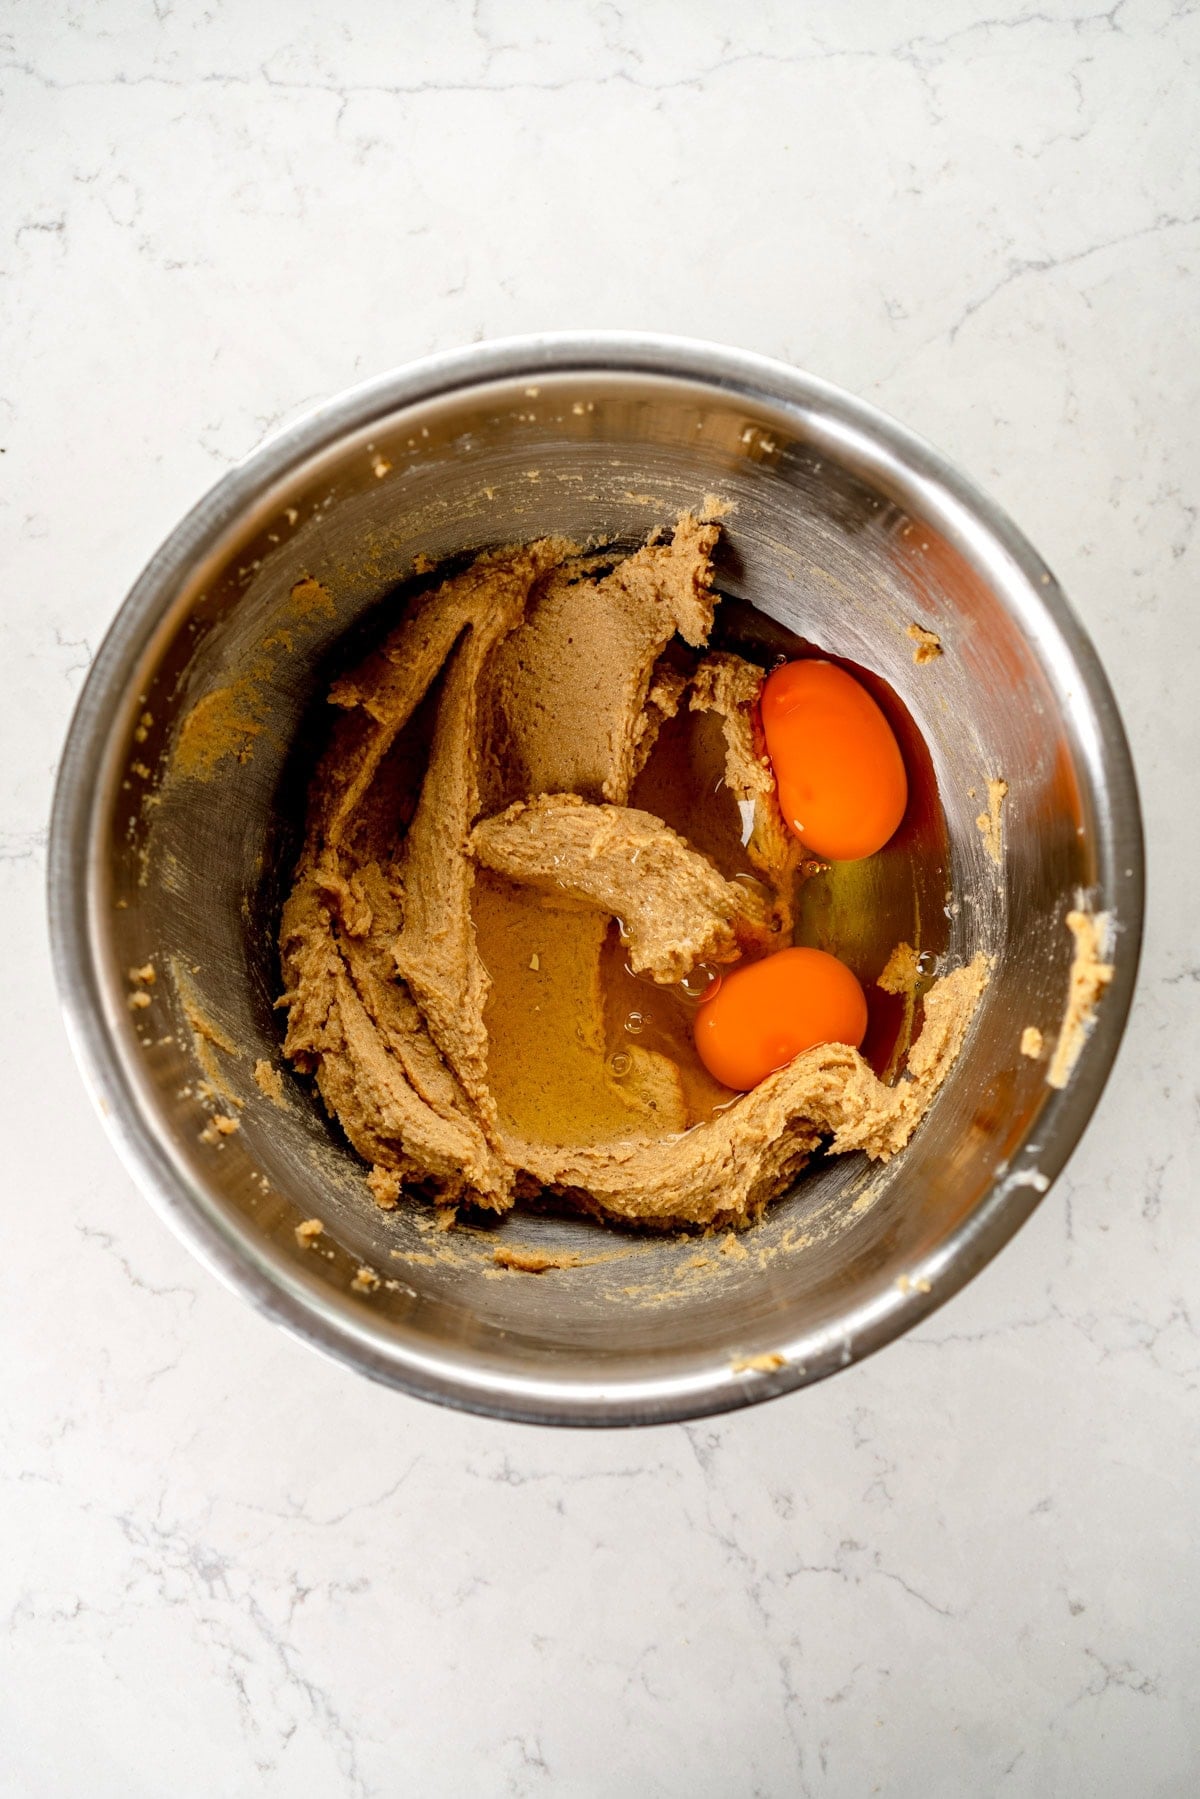
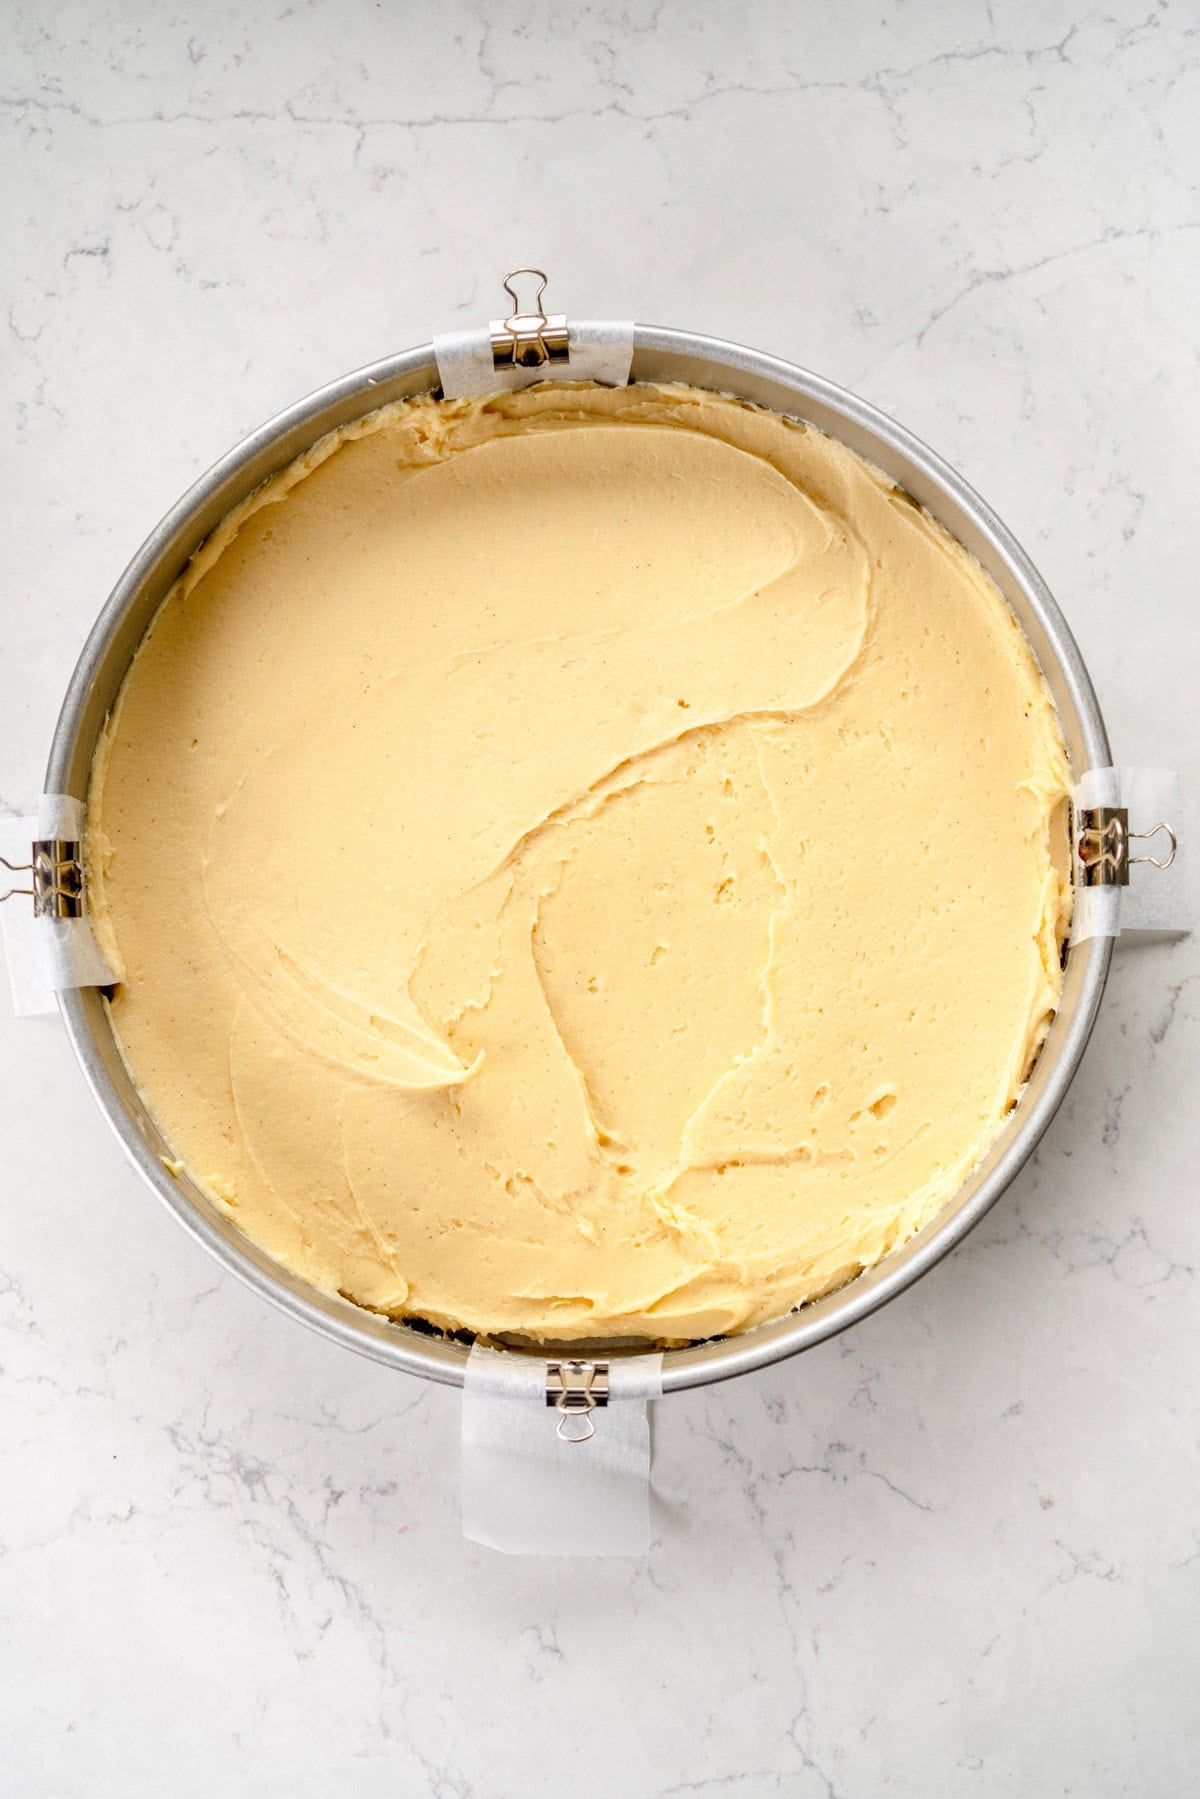
Hi hi! I am just popping in to share my super easy rhubarb cake recipe with you! This recipe is yet another twist on my very favorite butter cake recipe - this time with chopped rhubarb on the top!
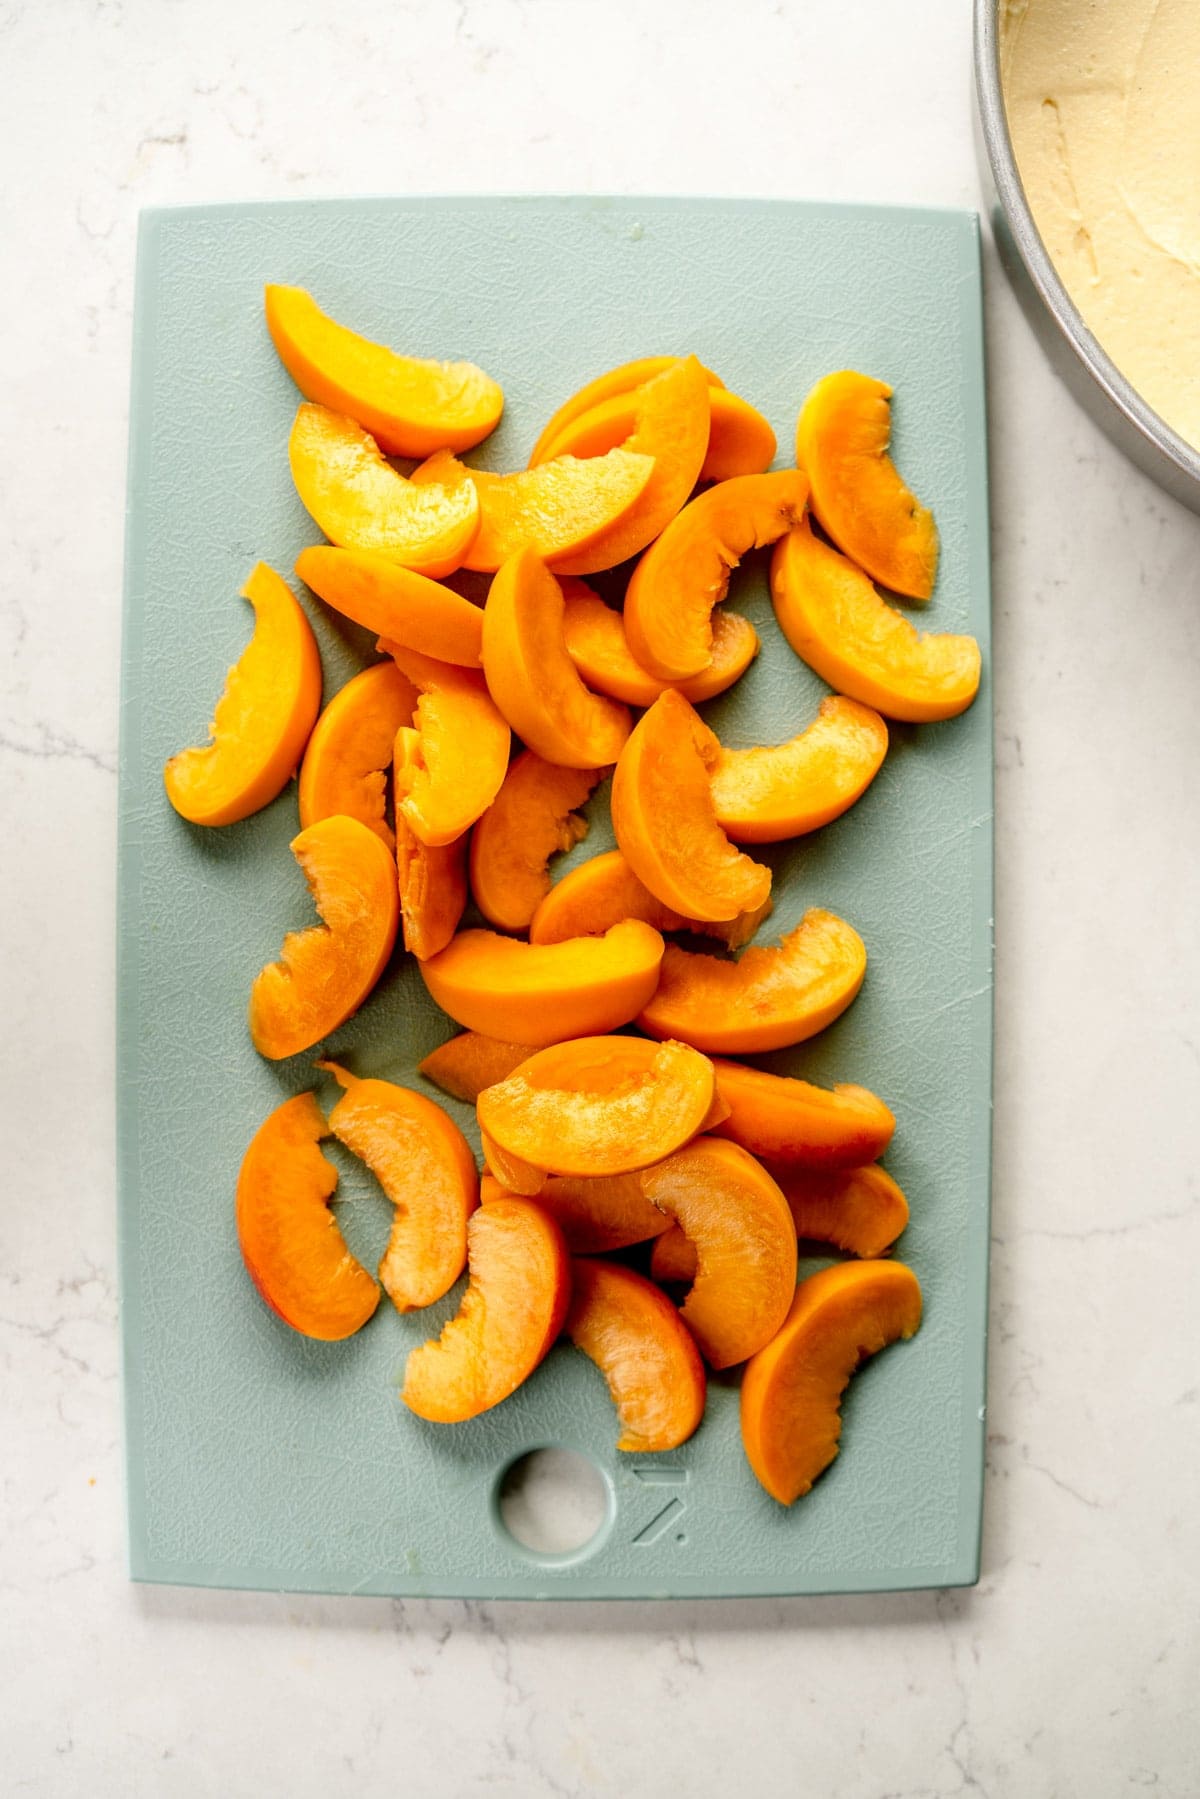
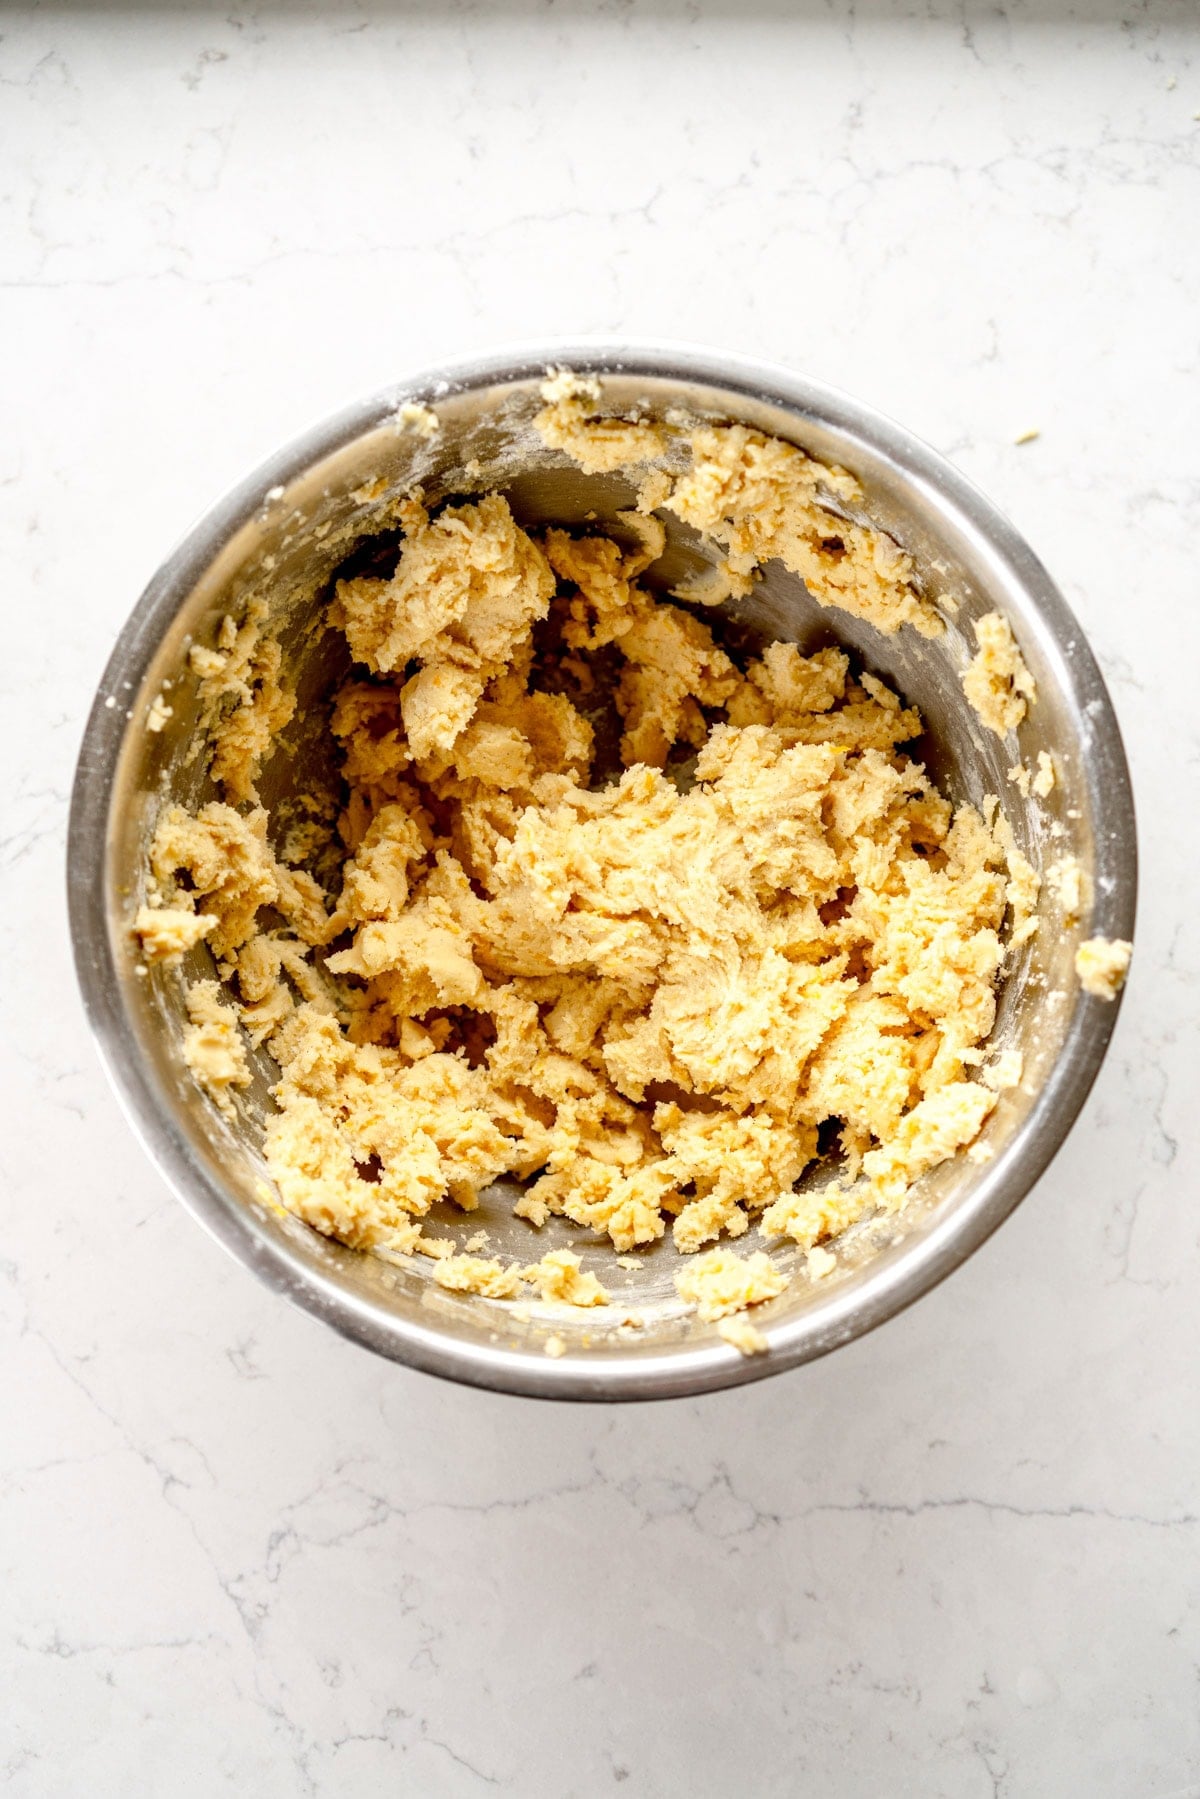
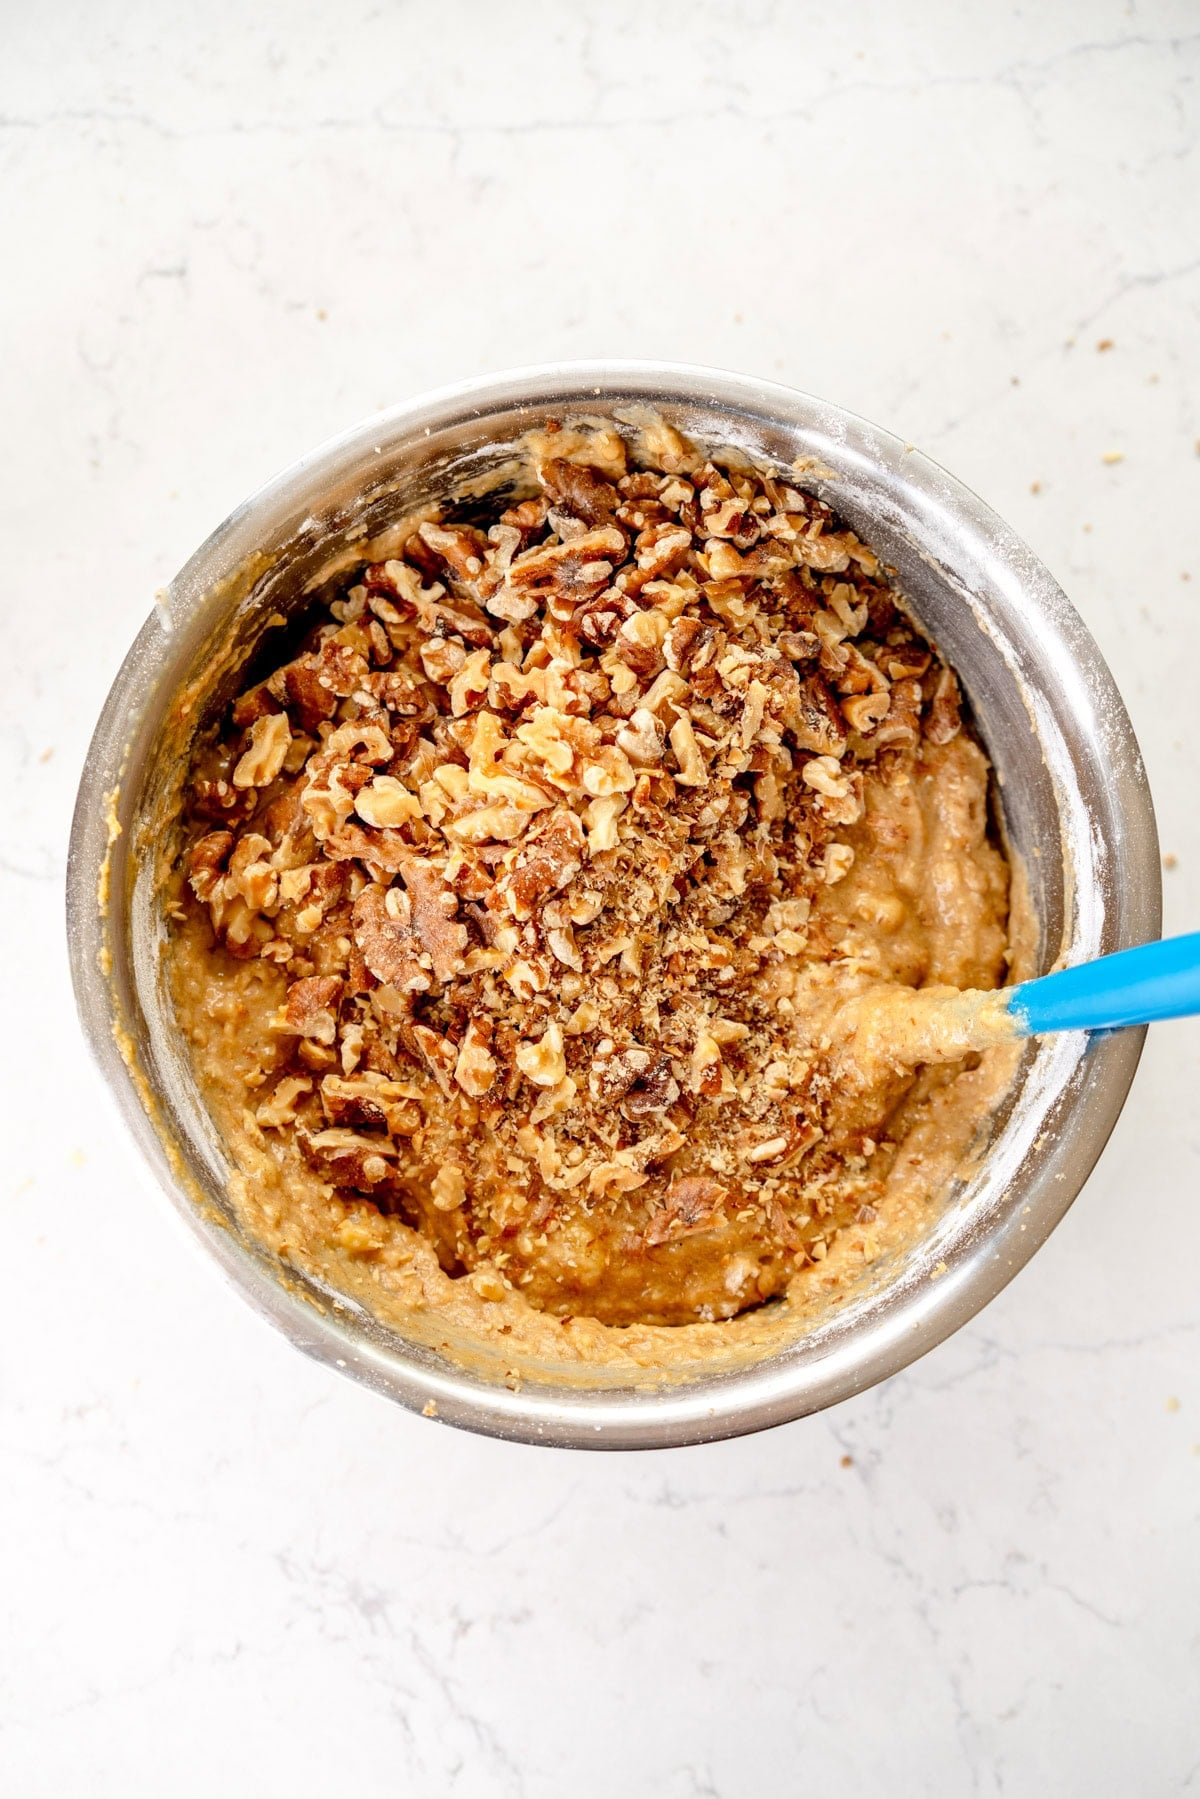
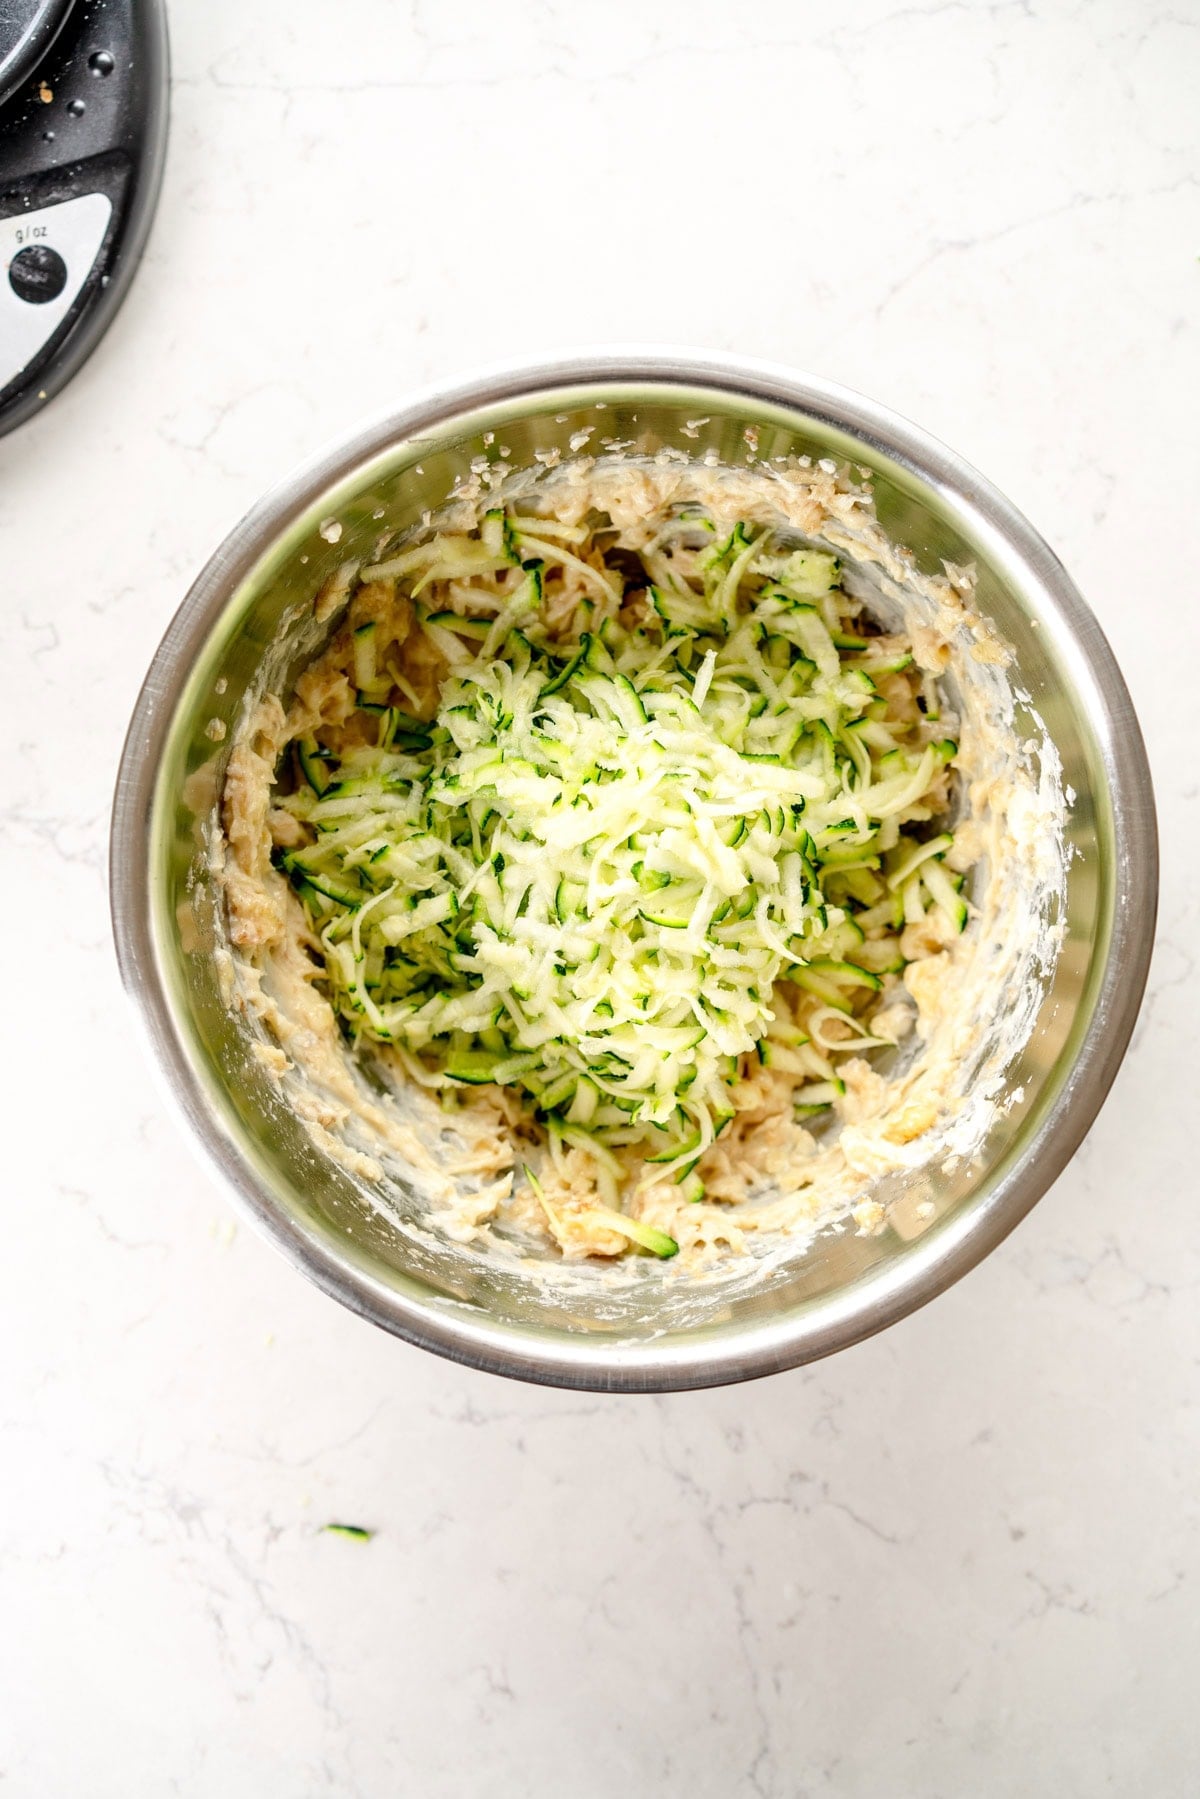
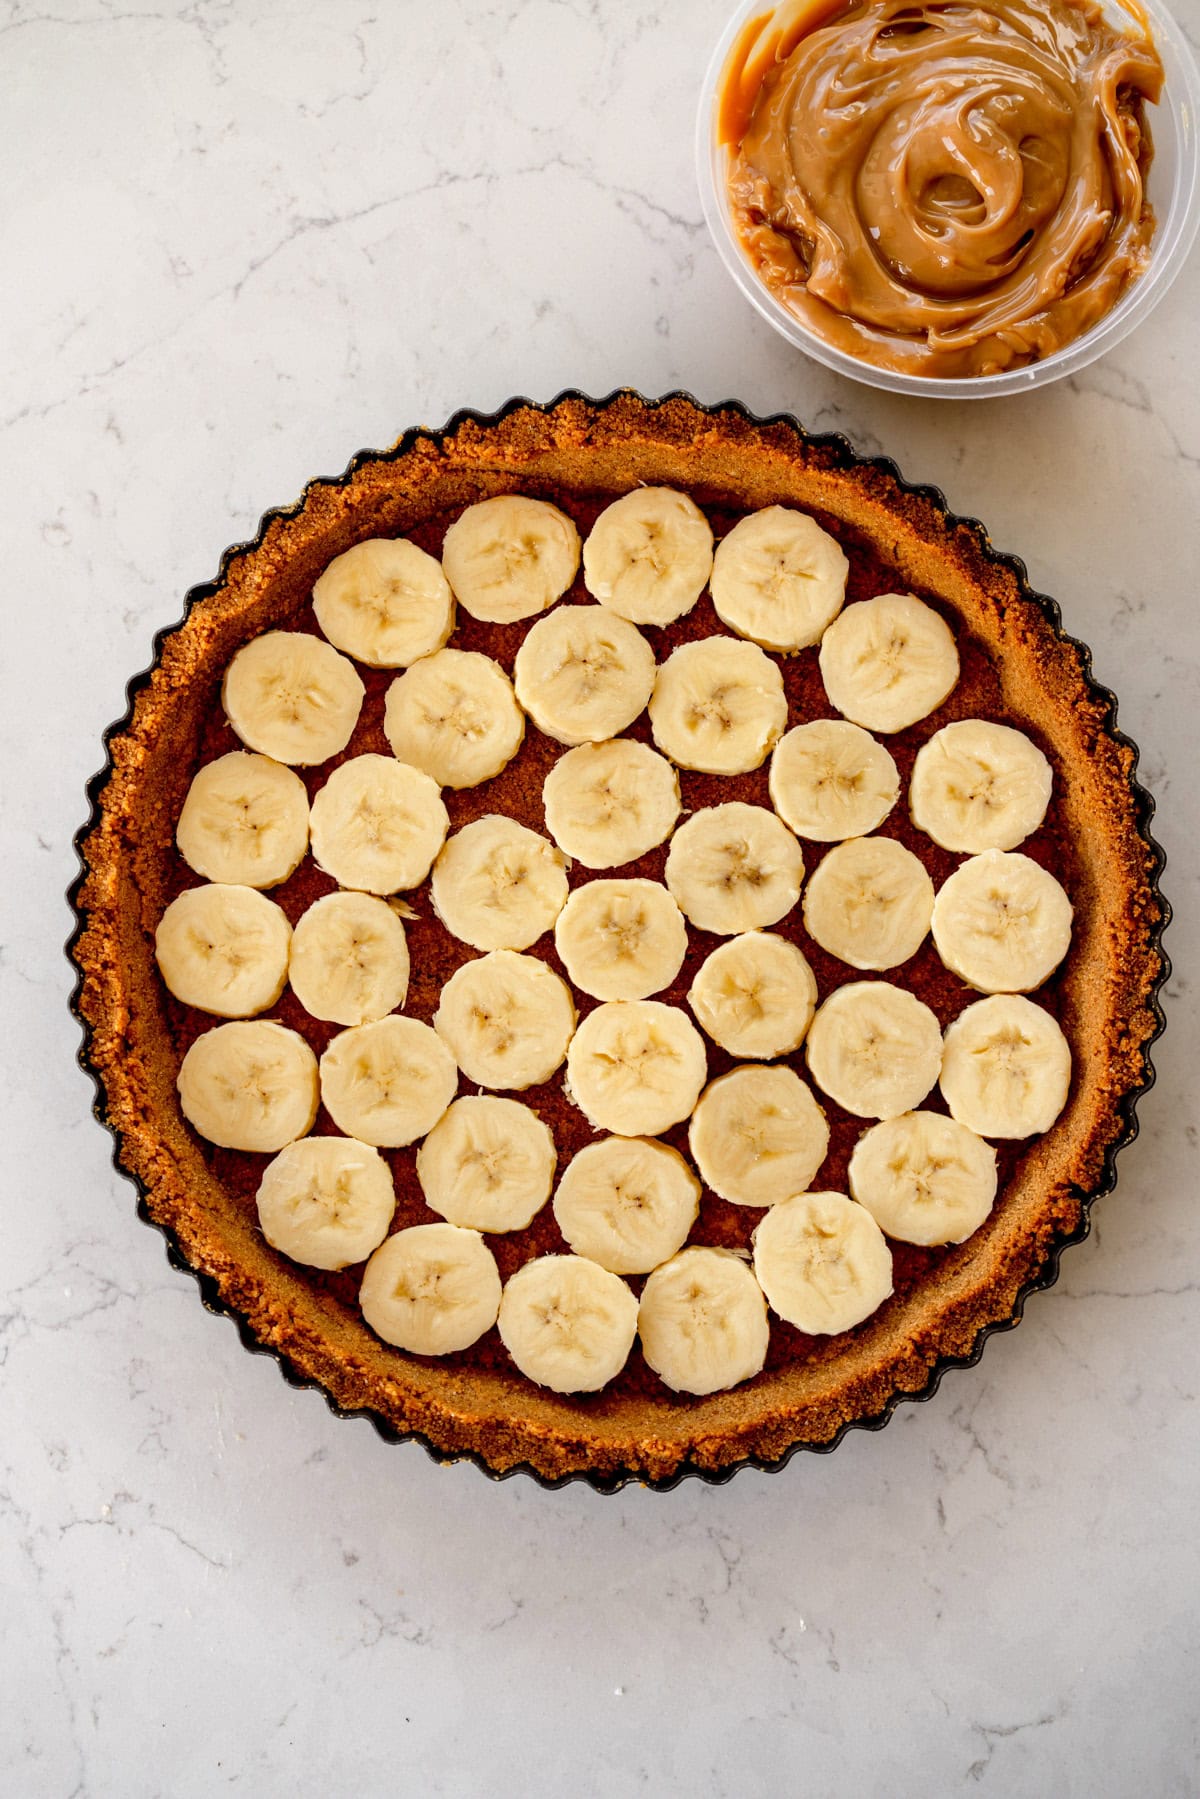
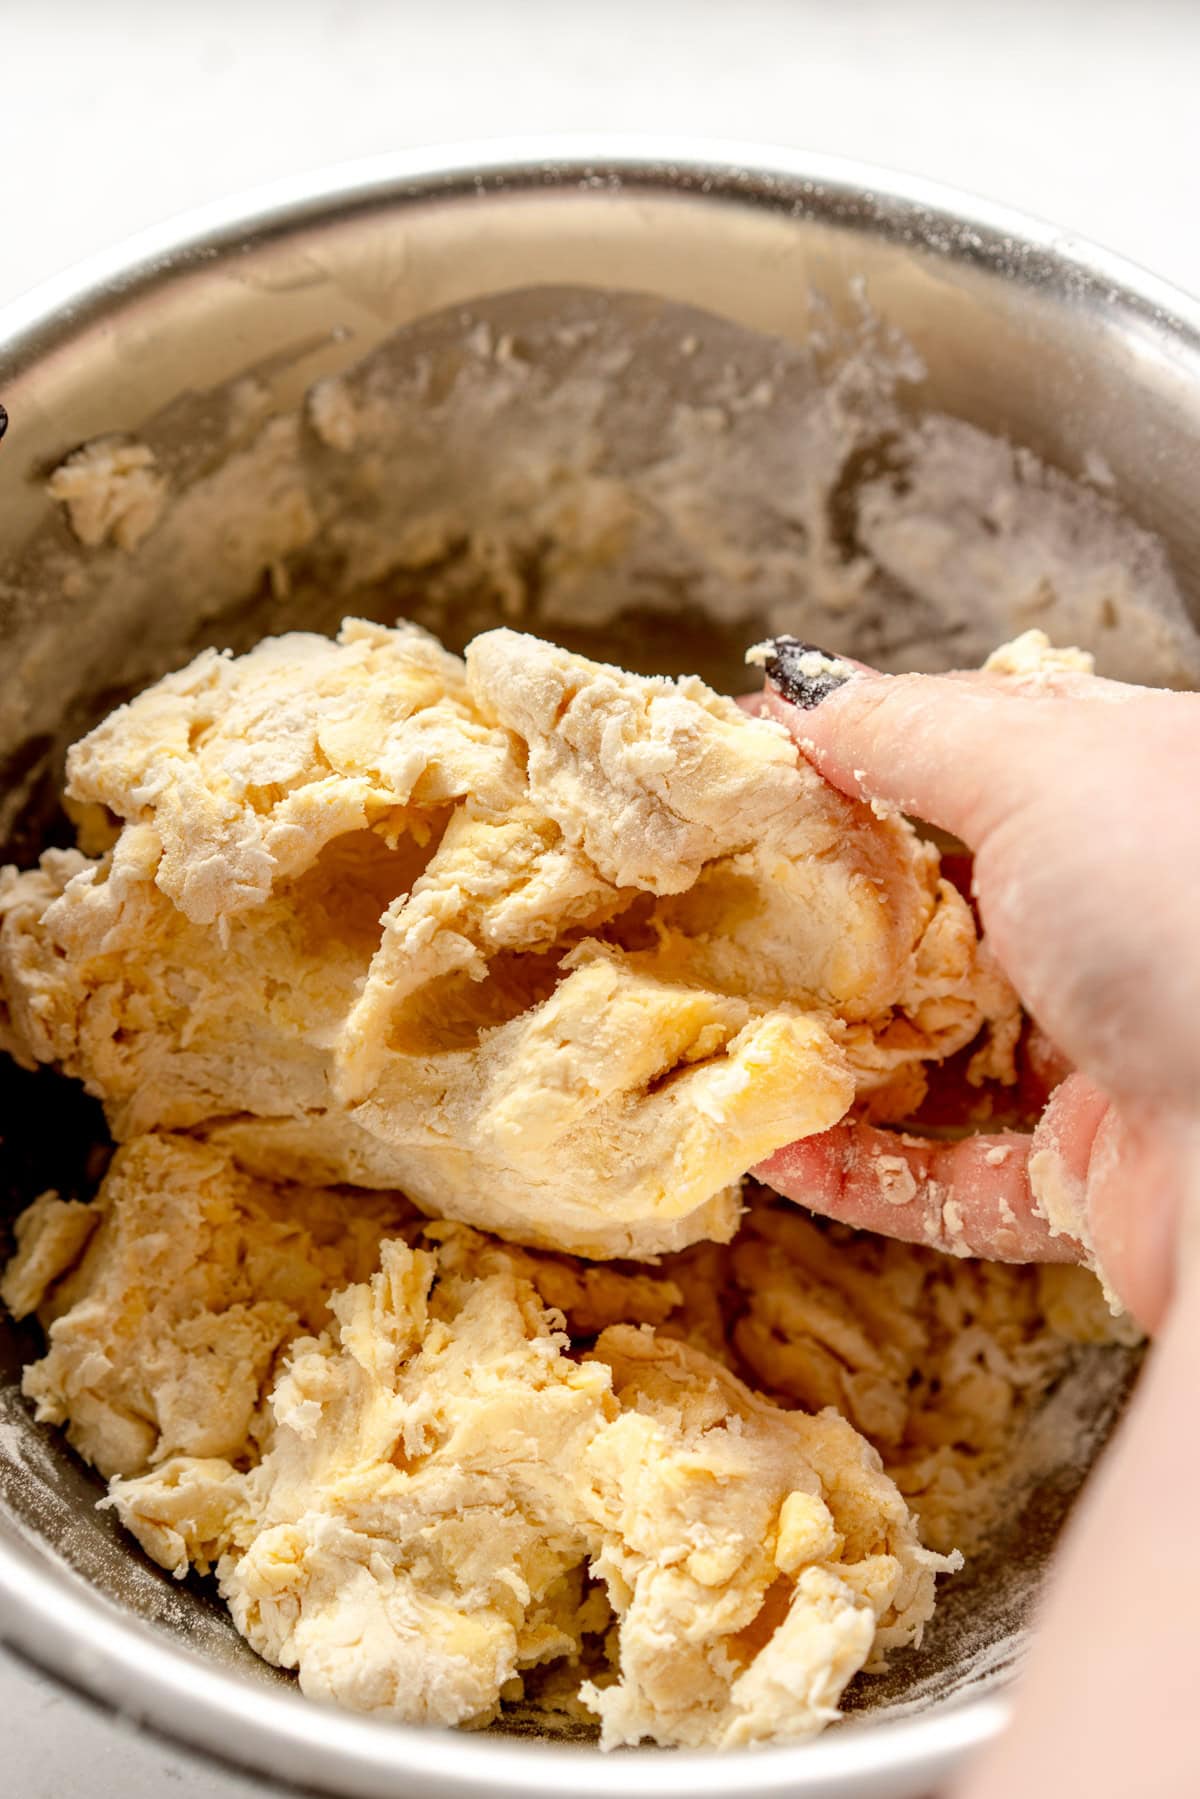
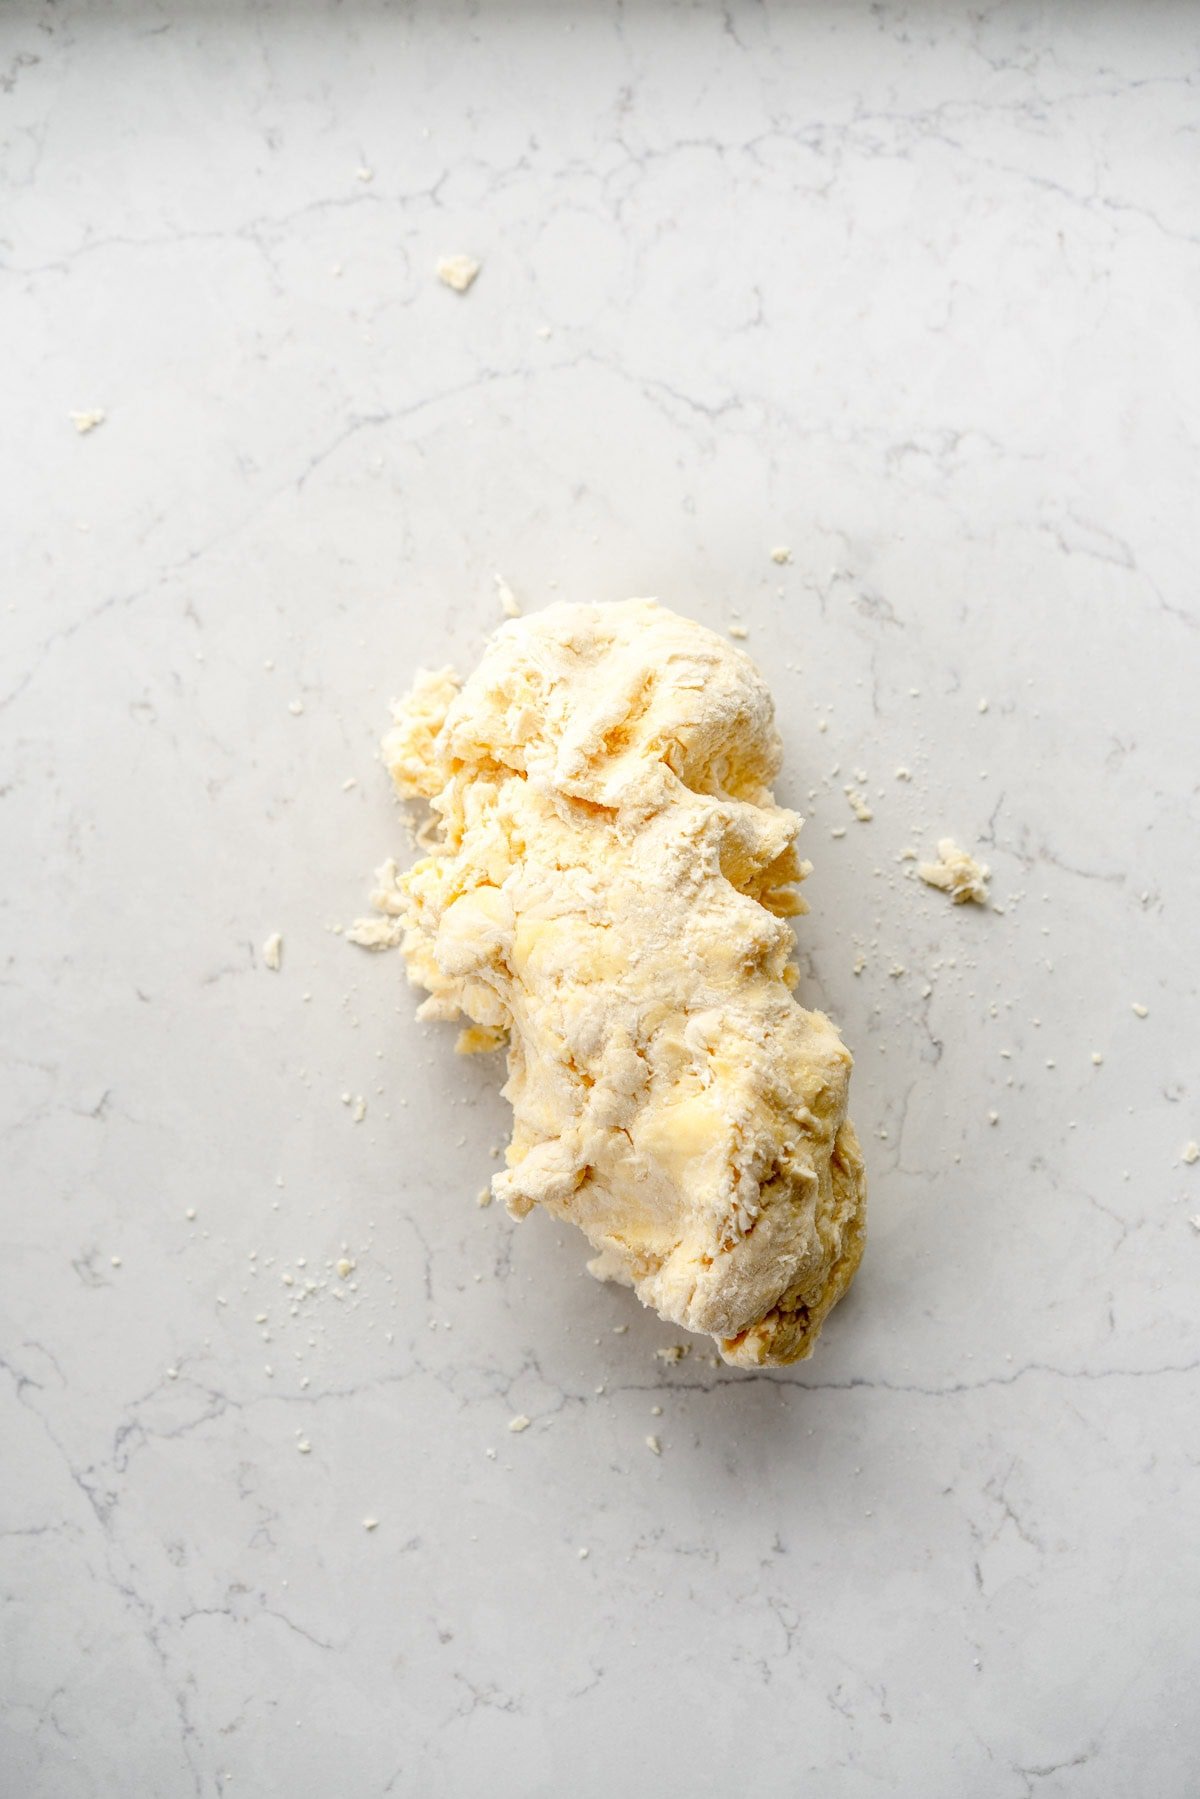
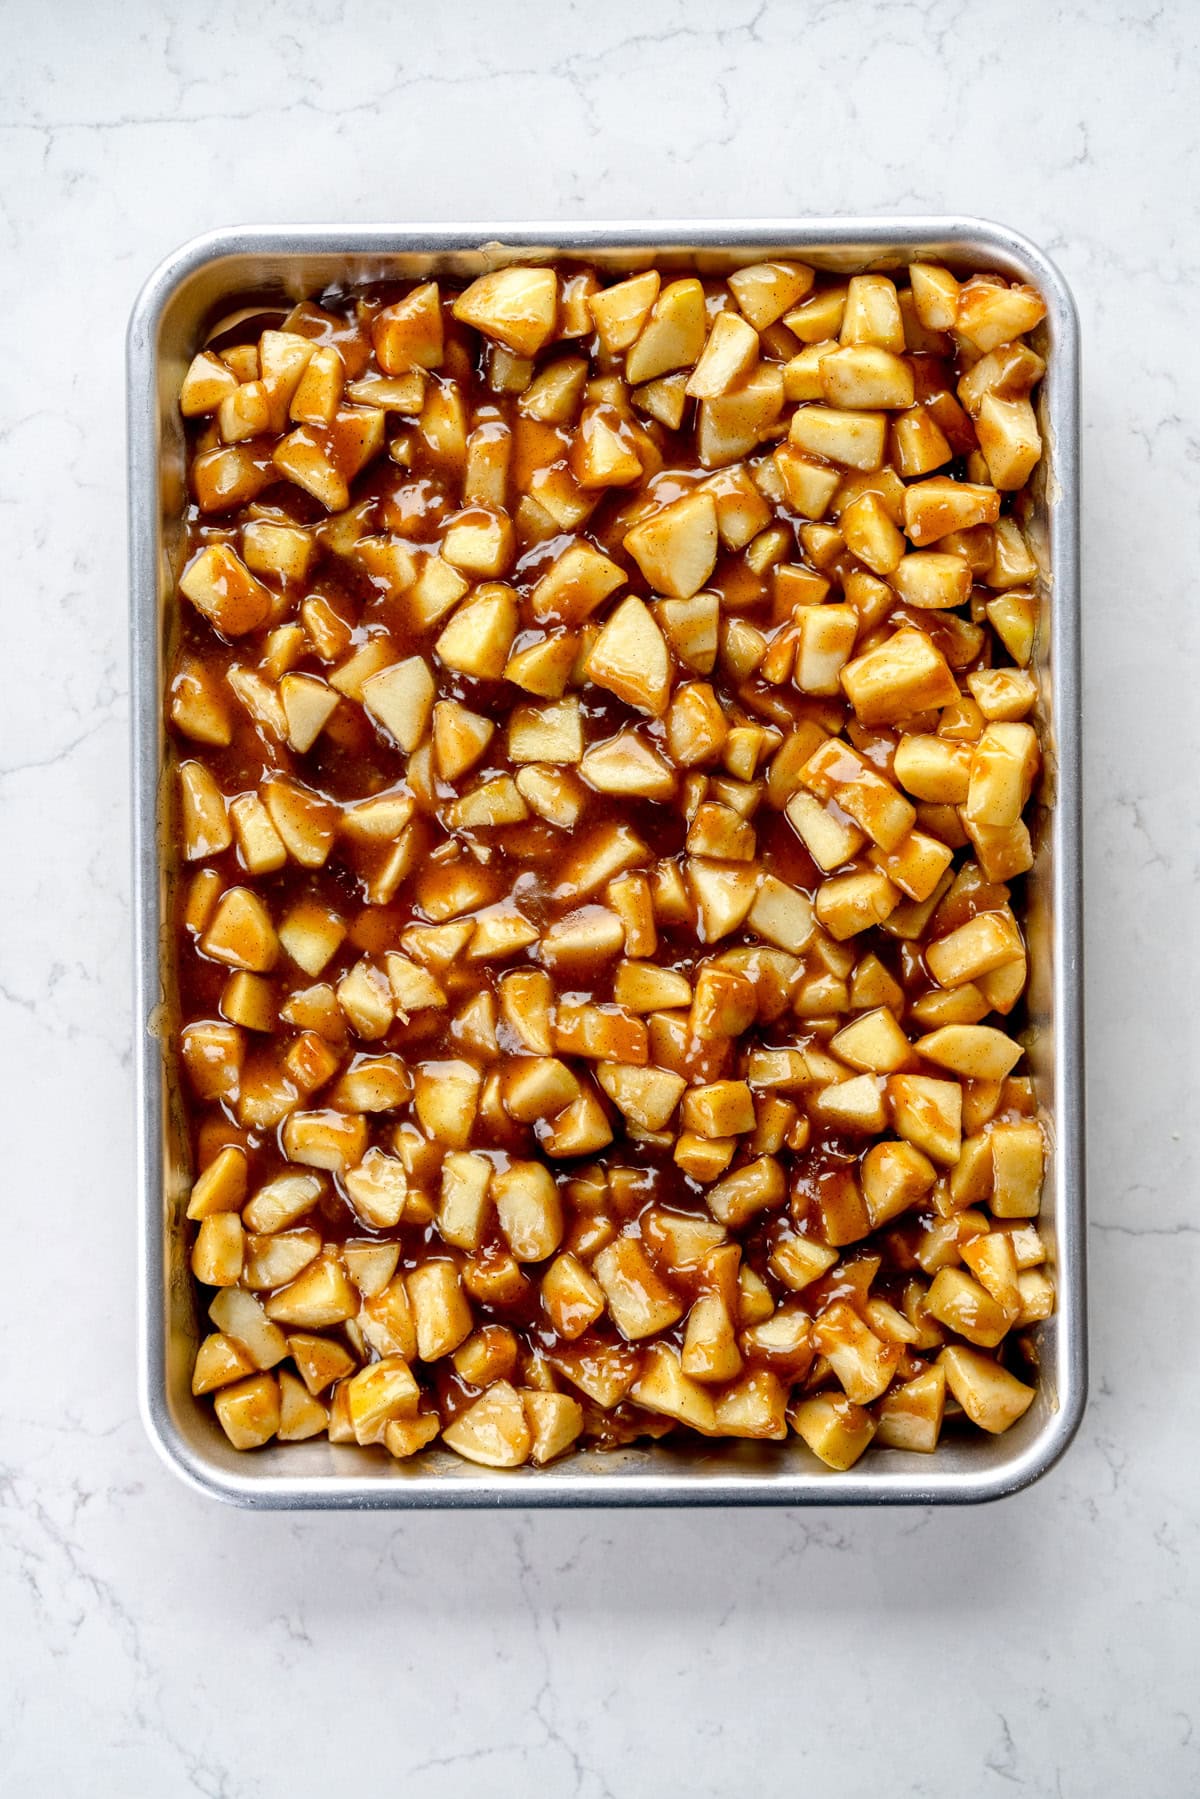
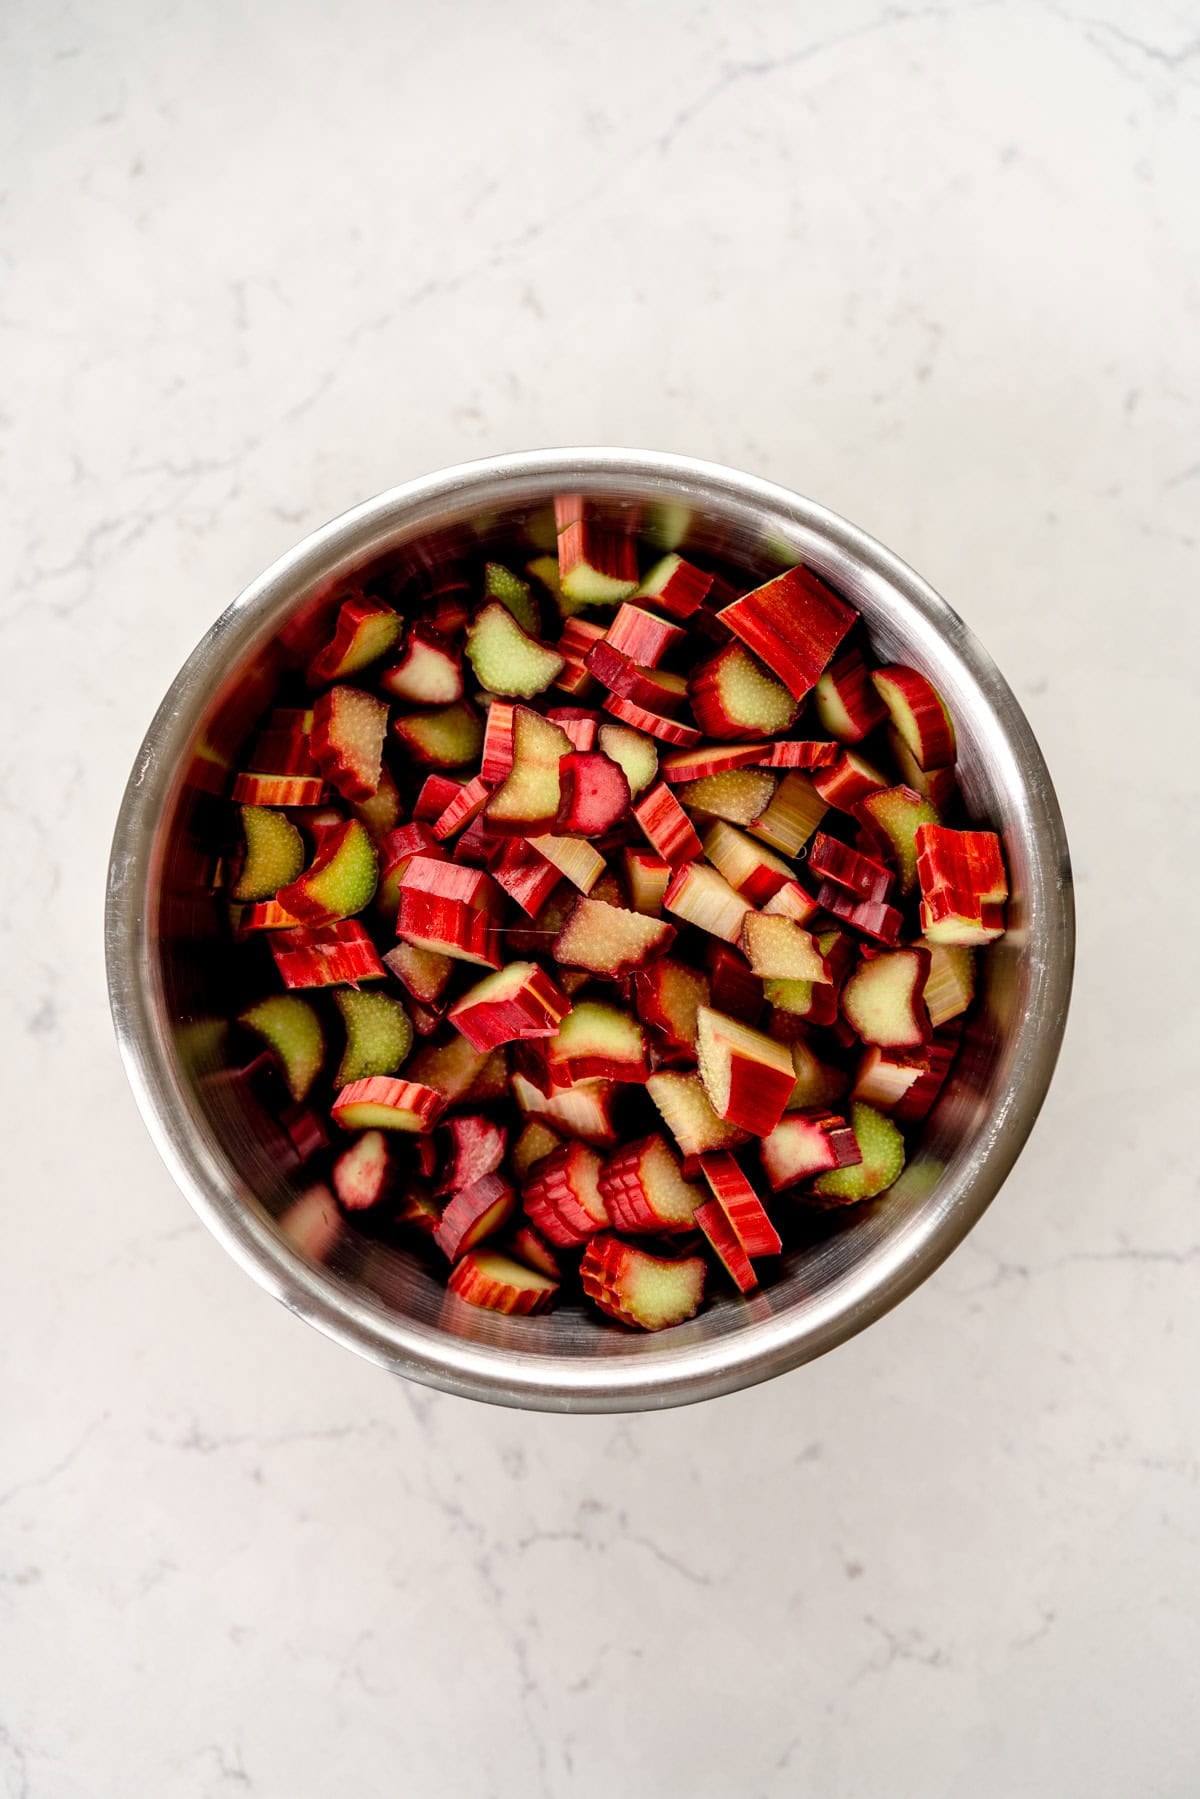
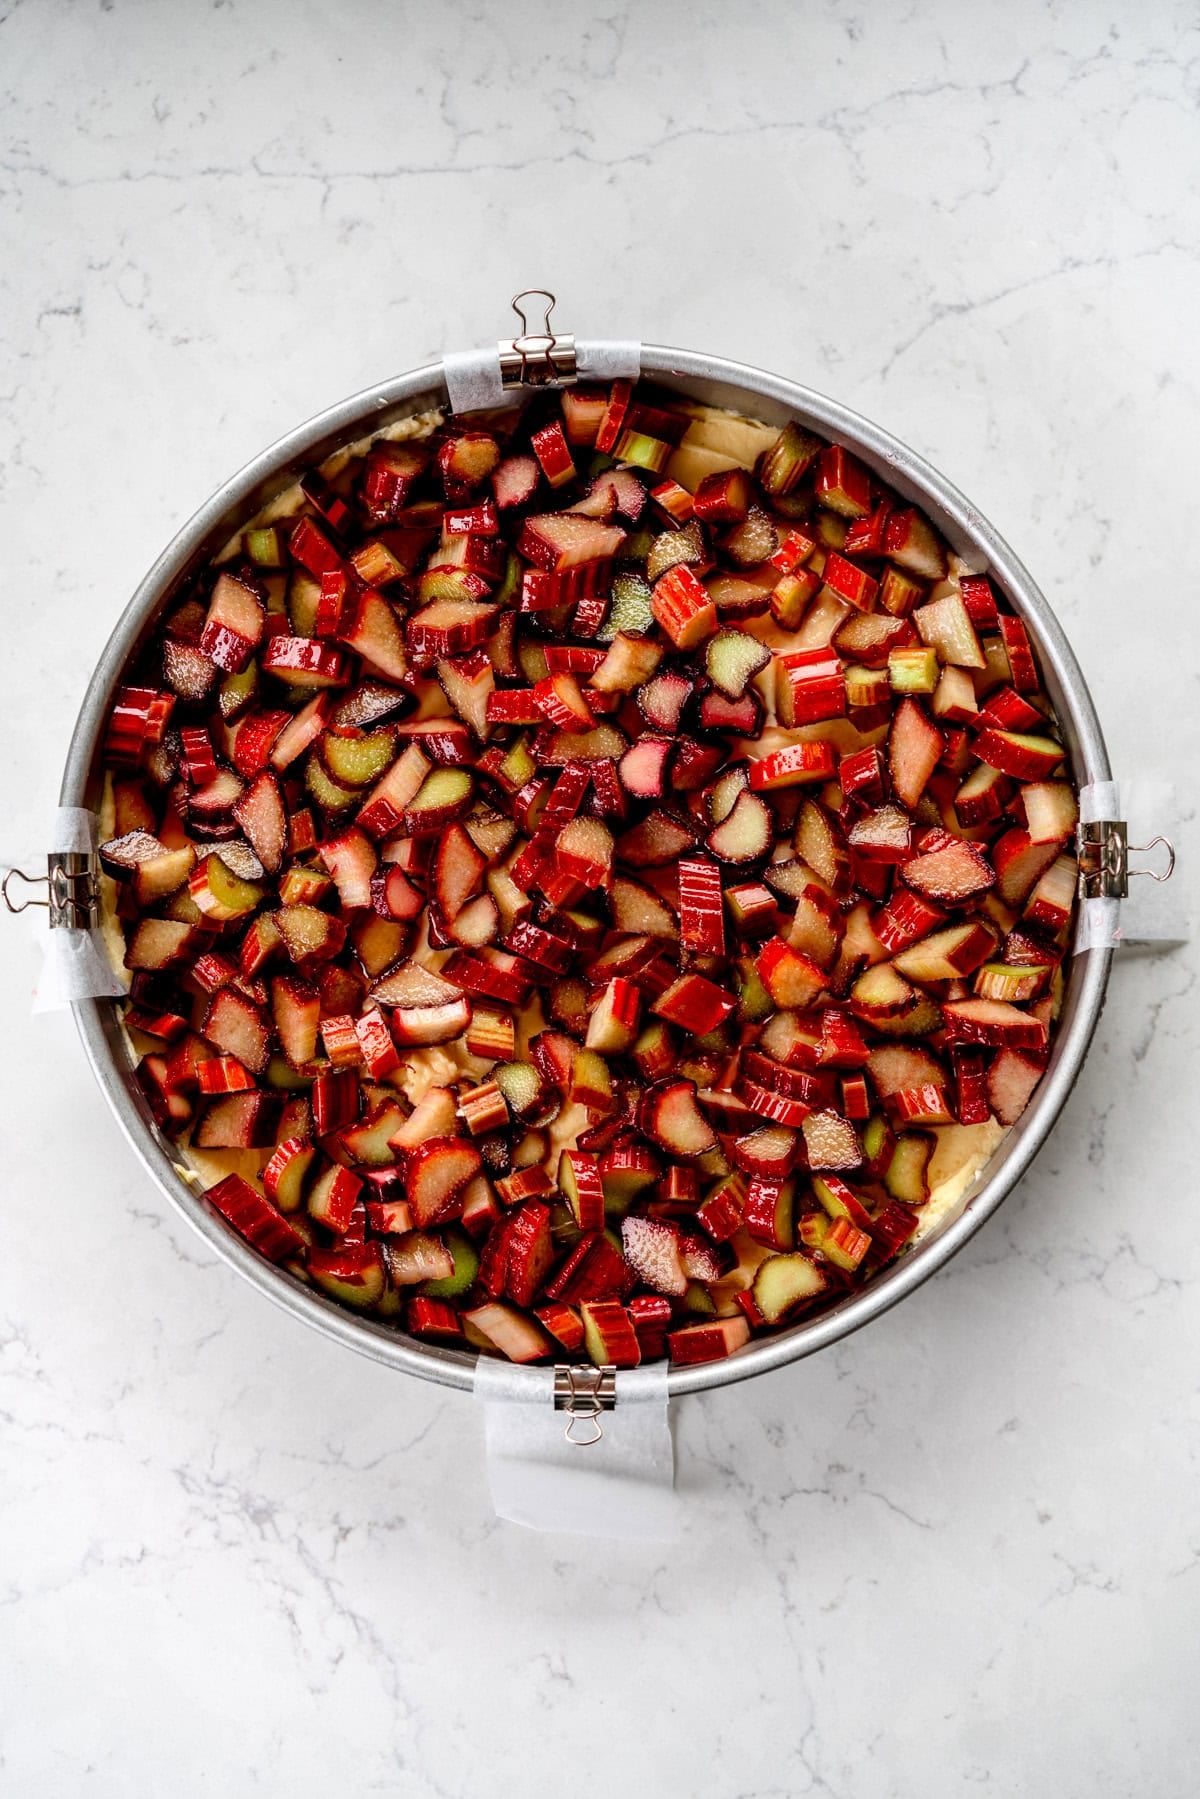
There isn't loads to say about this recipe except that I think you're going to love it if you love rhubarb. I love to bake with rhubarb and always have, and this cake is not only really easy to put together, but it really lets the flavour of the rhubarb shine through. There aren't any extra tricky steps here - you just chop the rhubarb and pop it on top of the cake!
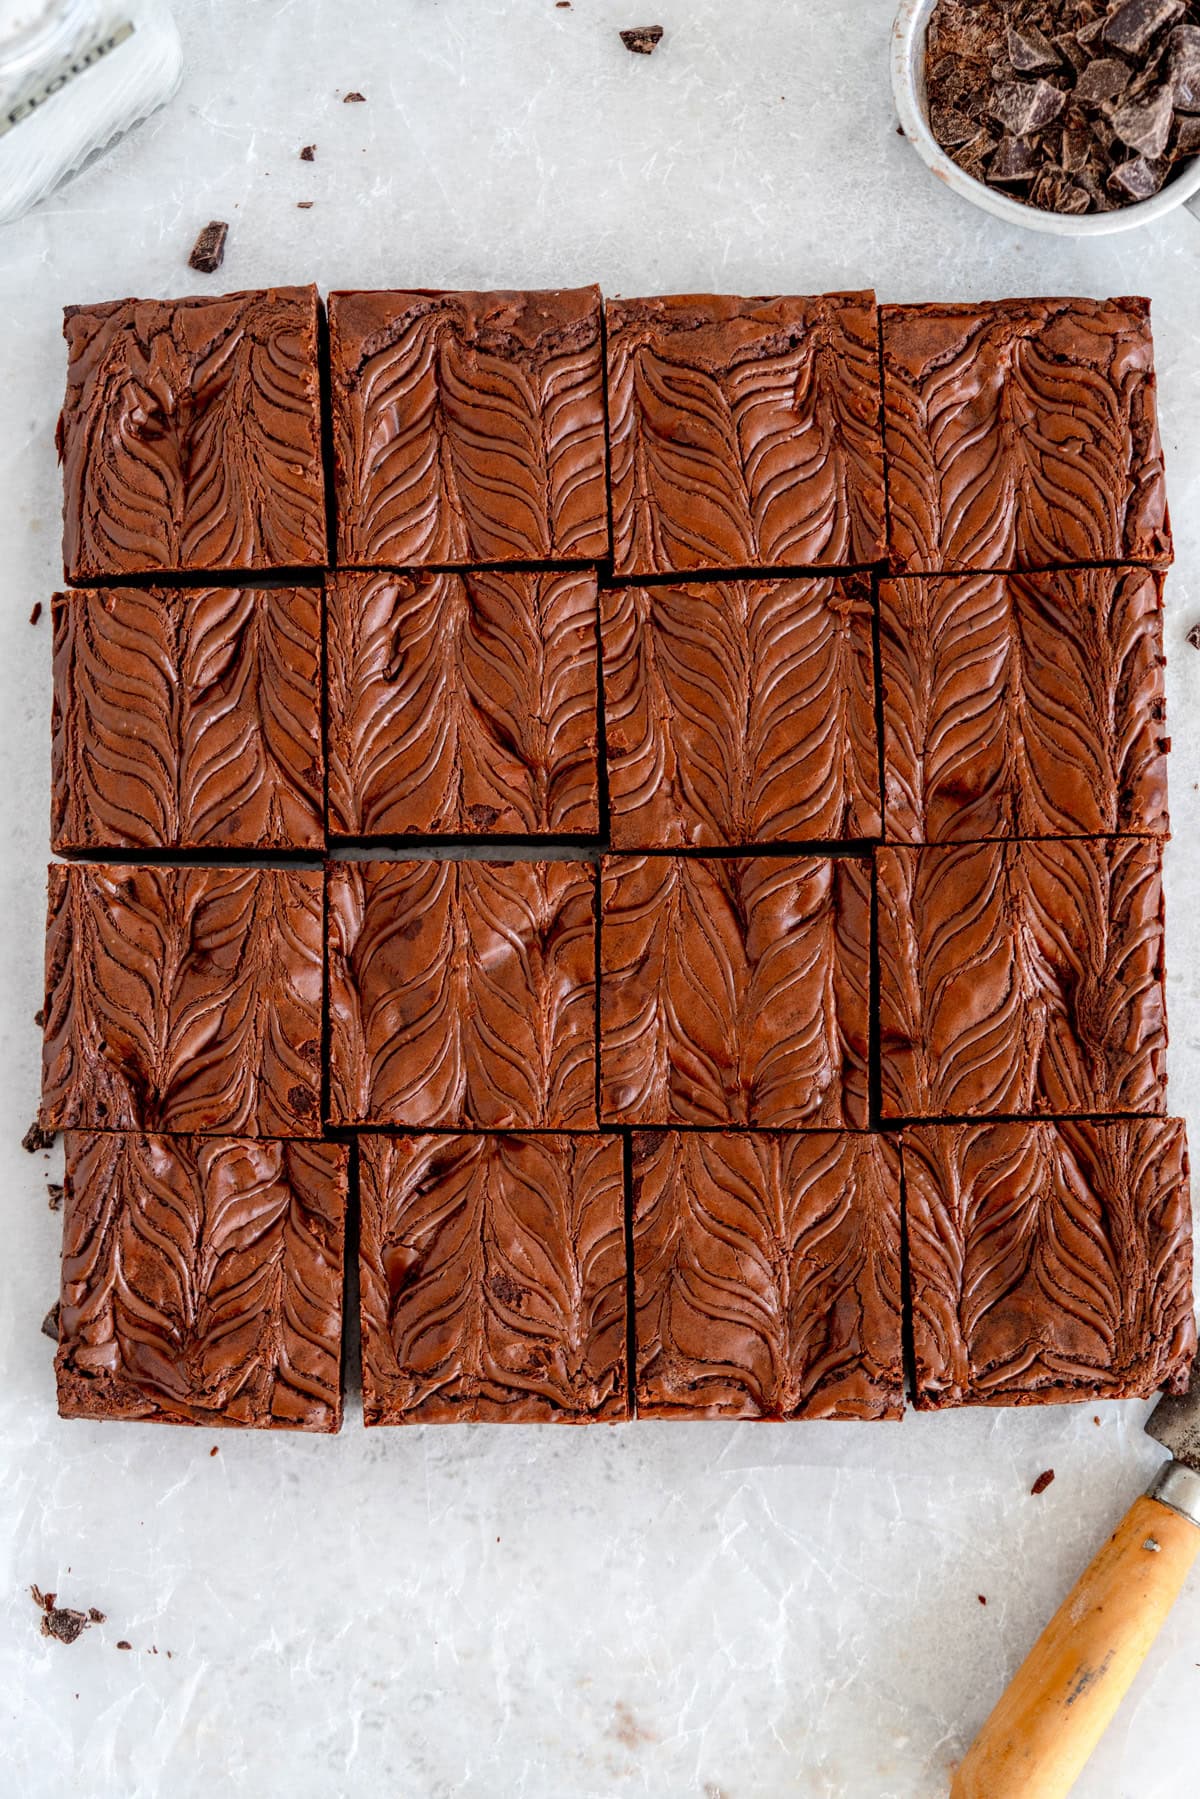
My Peach Cake uses the same base and is amazing made with either fresh or canned fruit if you're after instructions on a different variation!
Choose your shape - square or round?
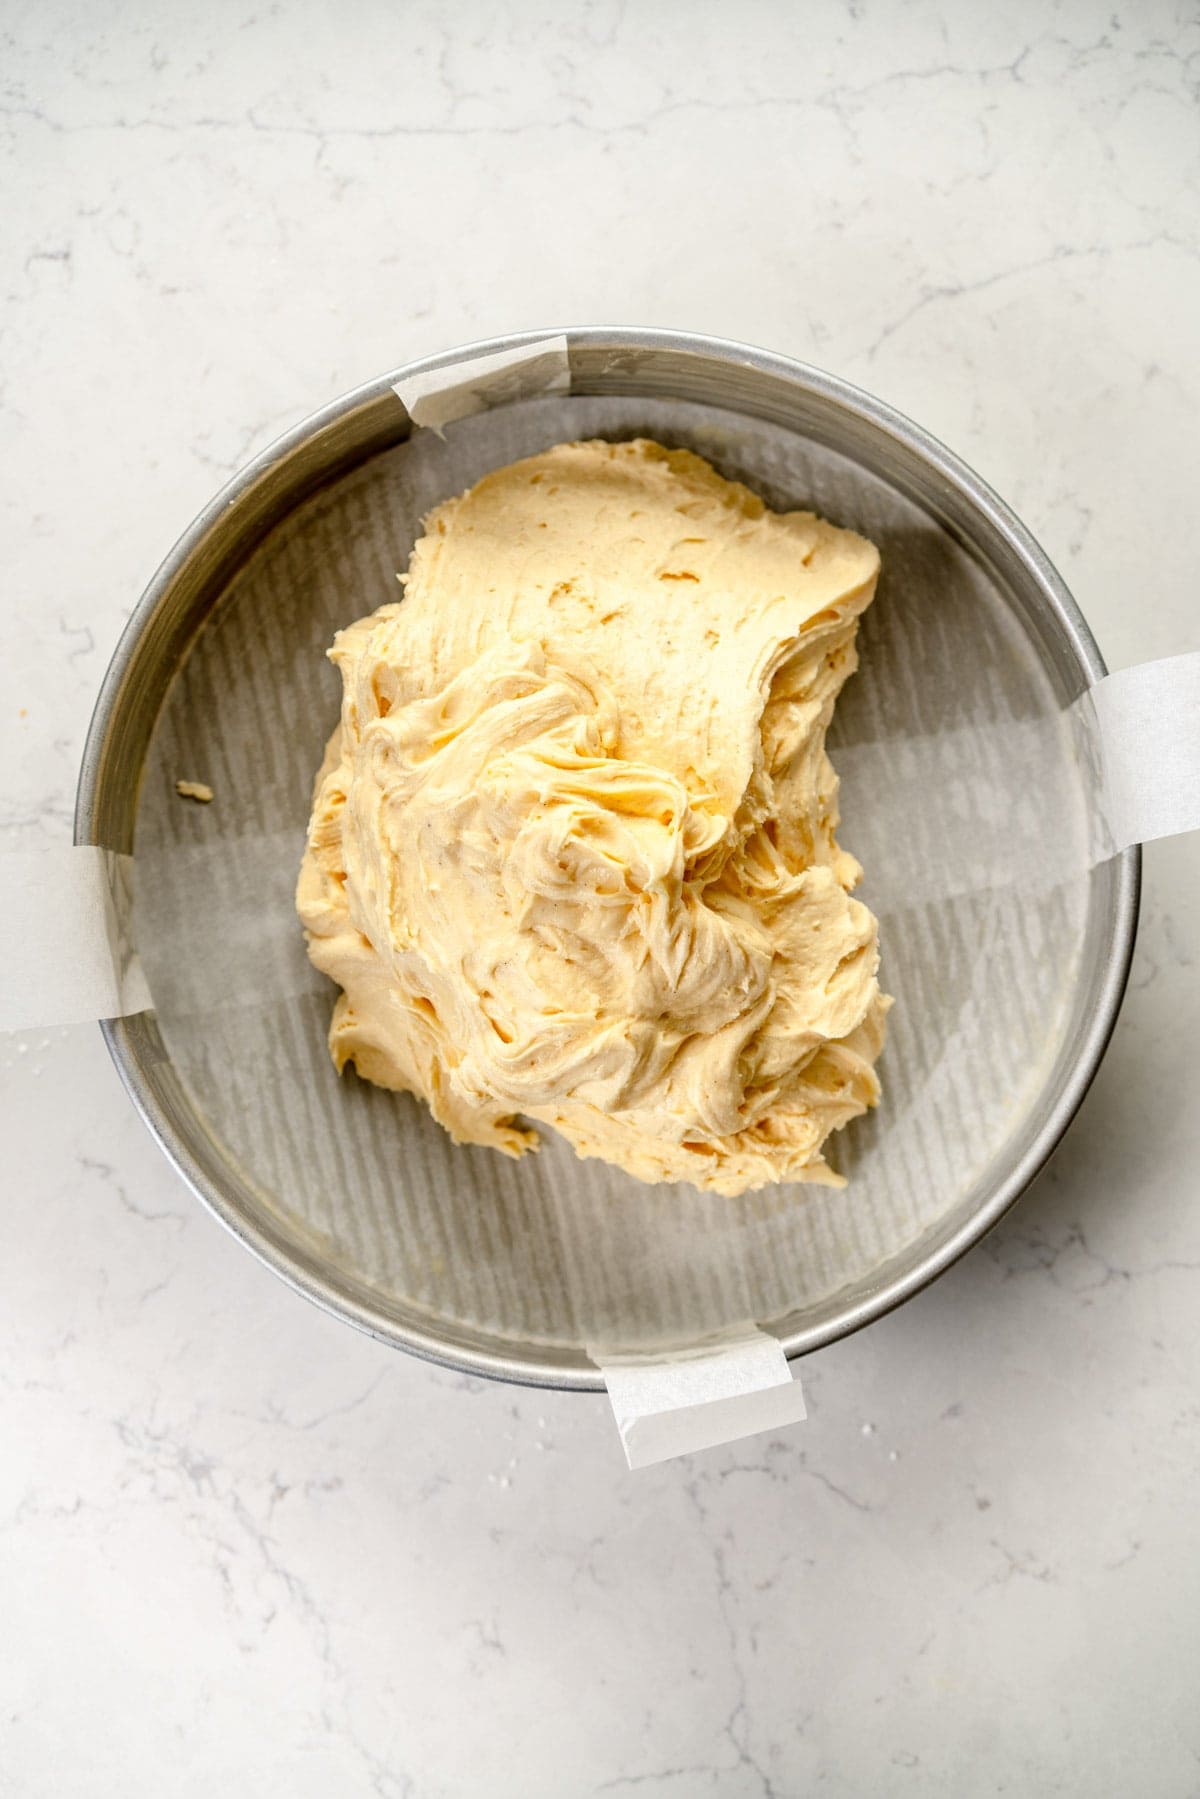
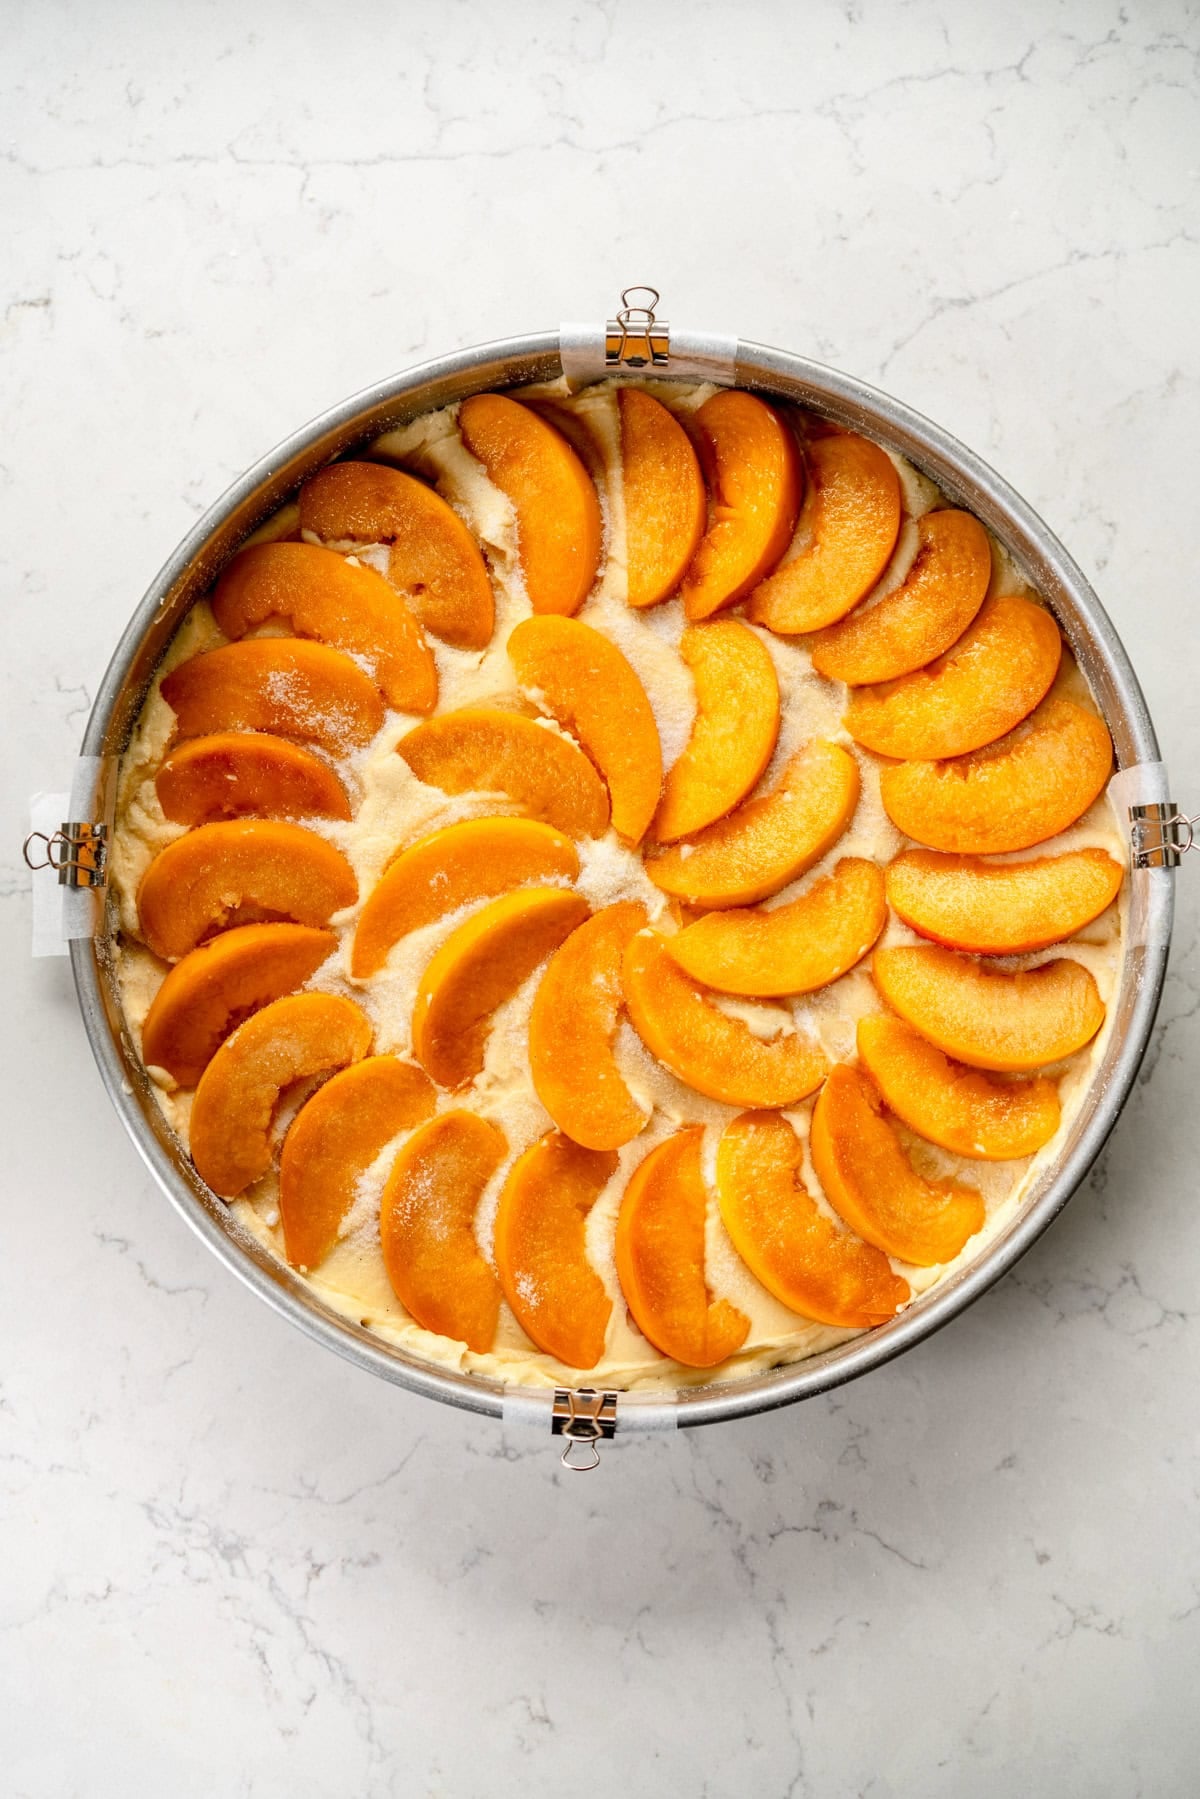
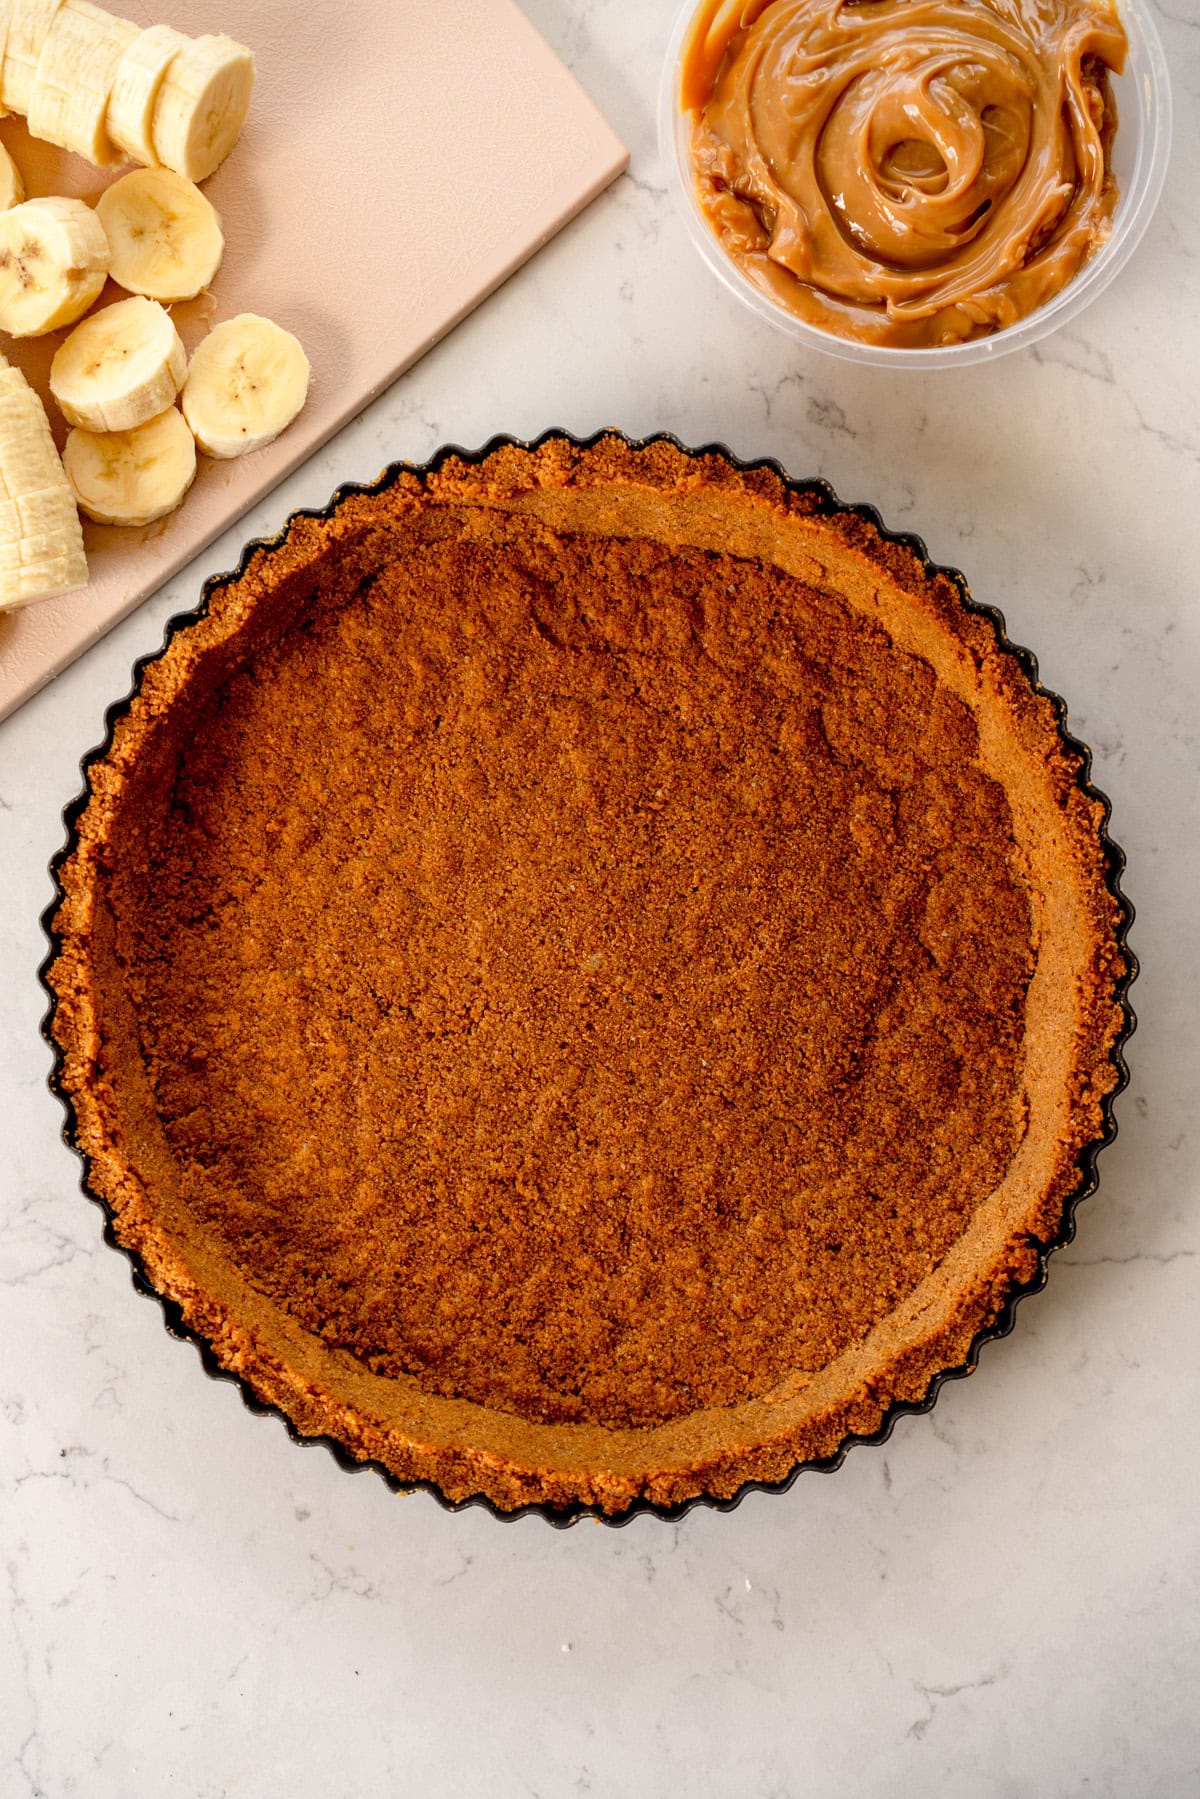
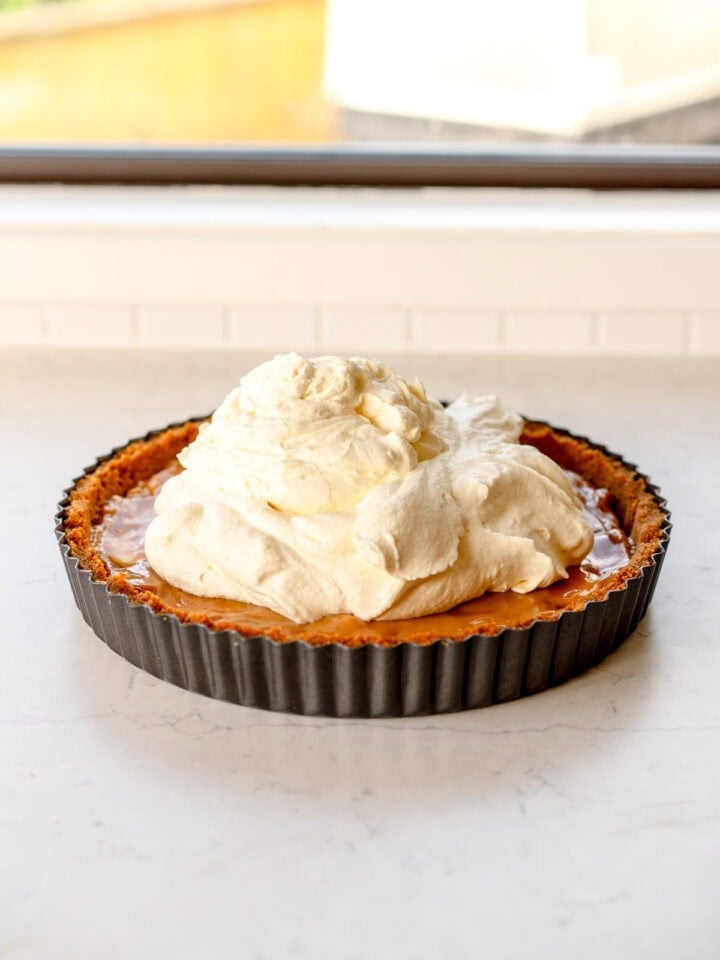
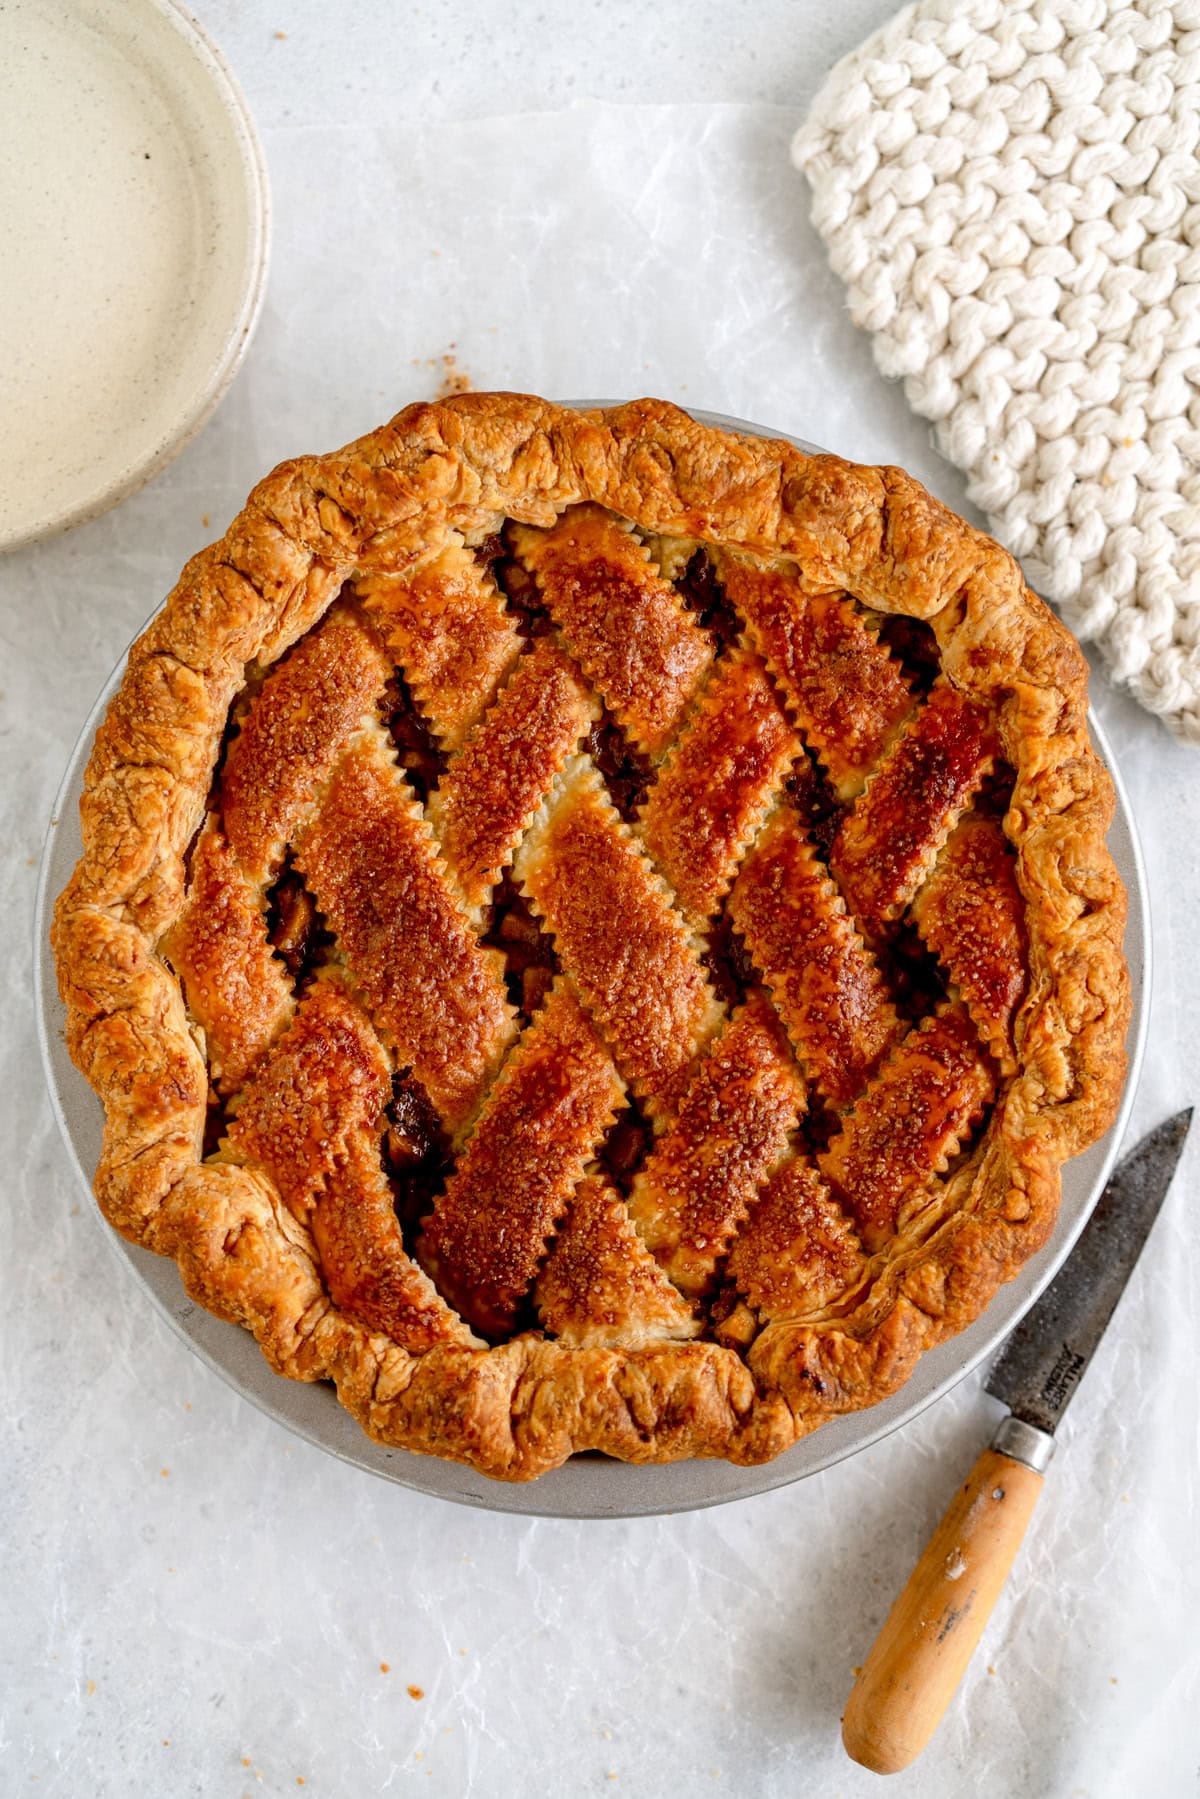
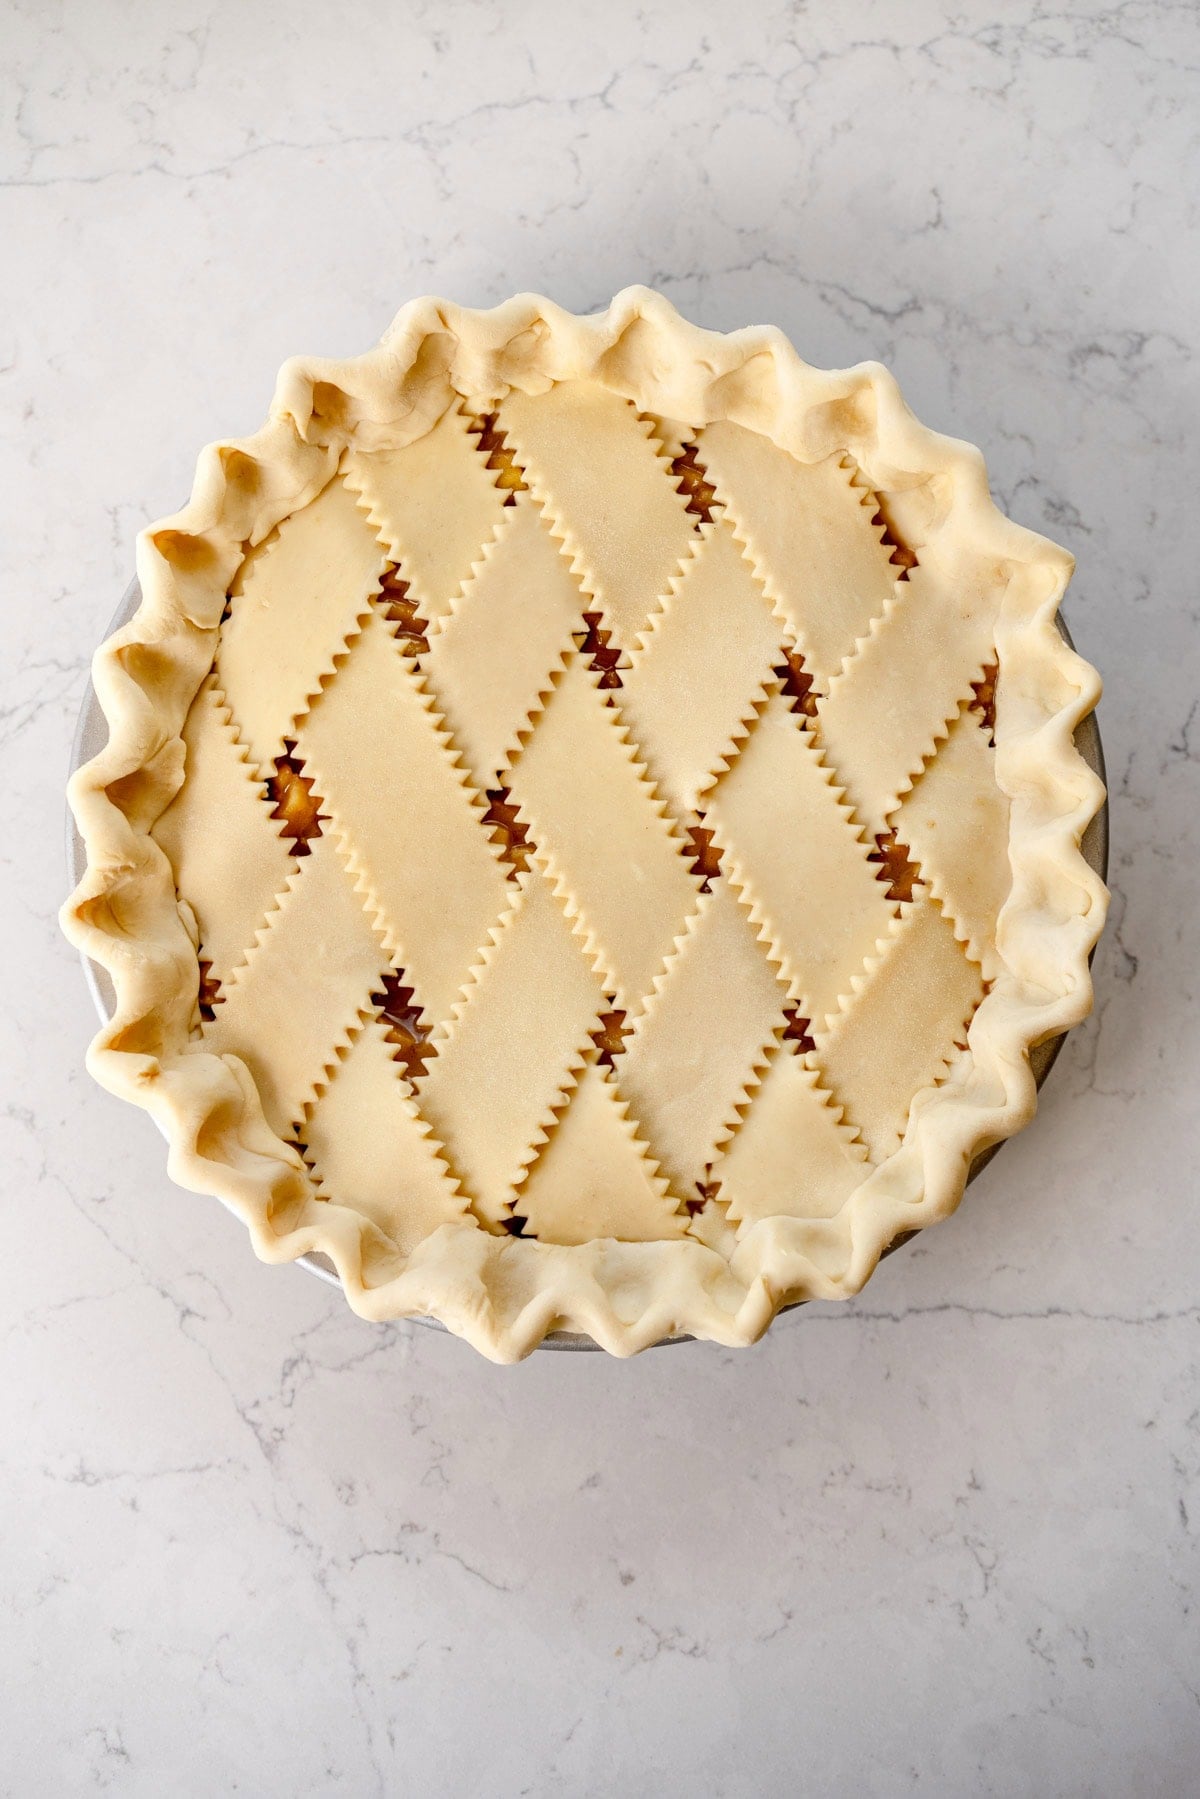
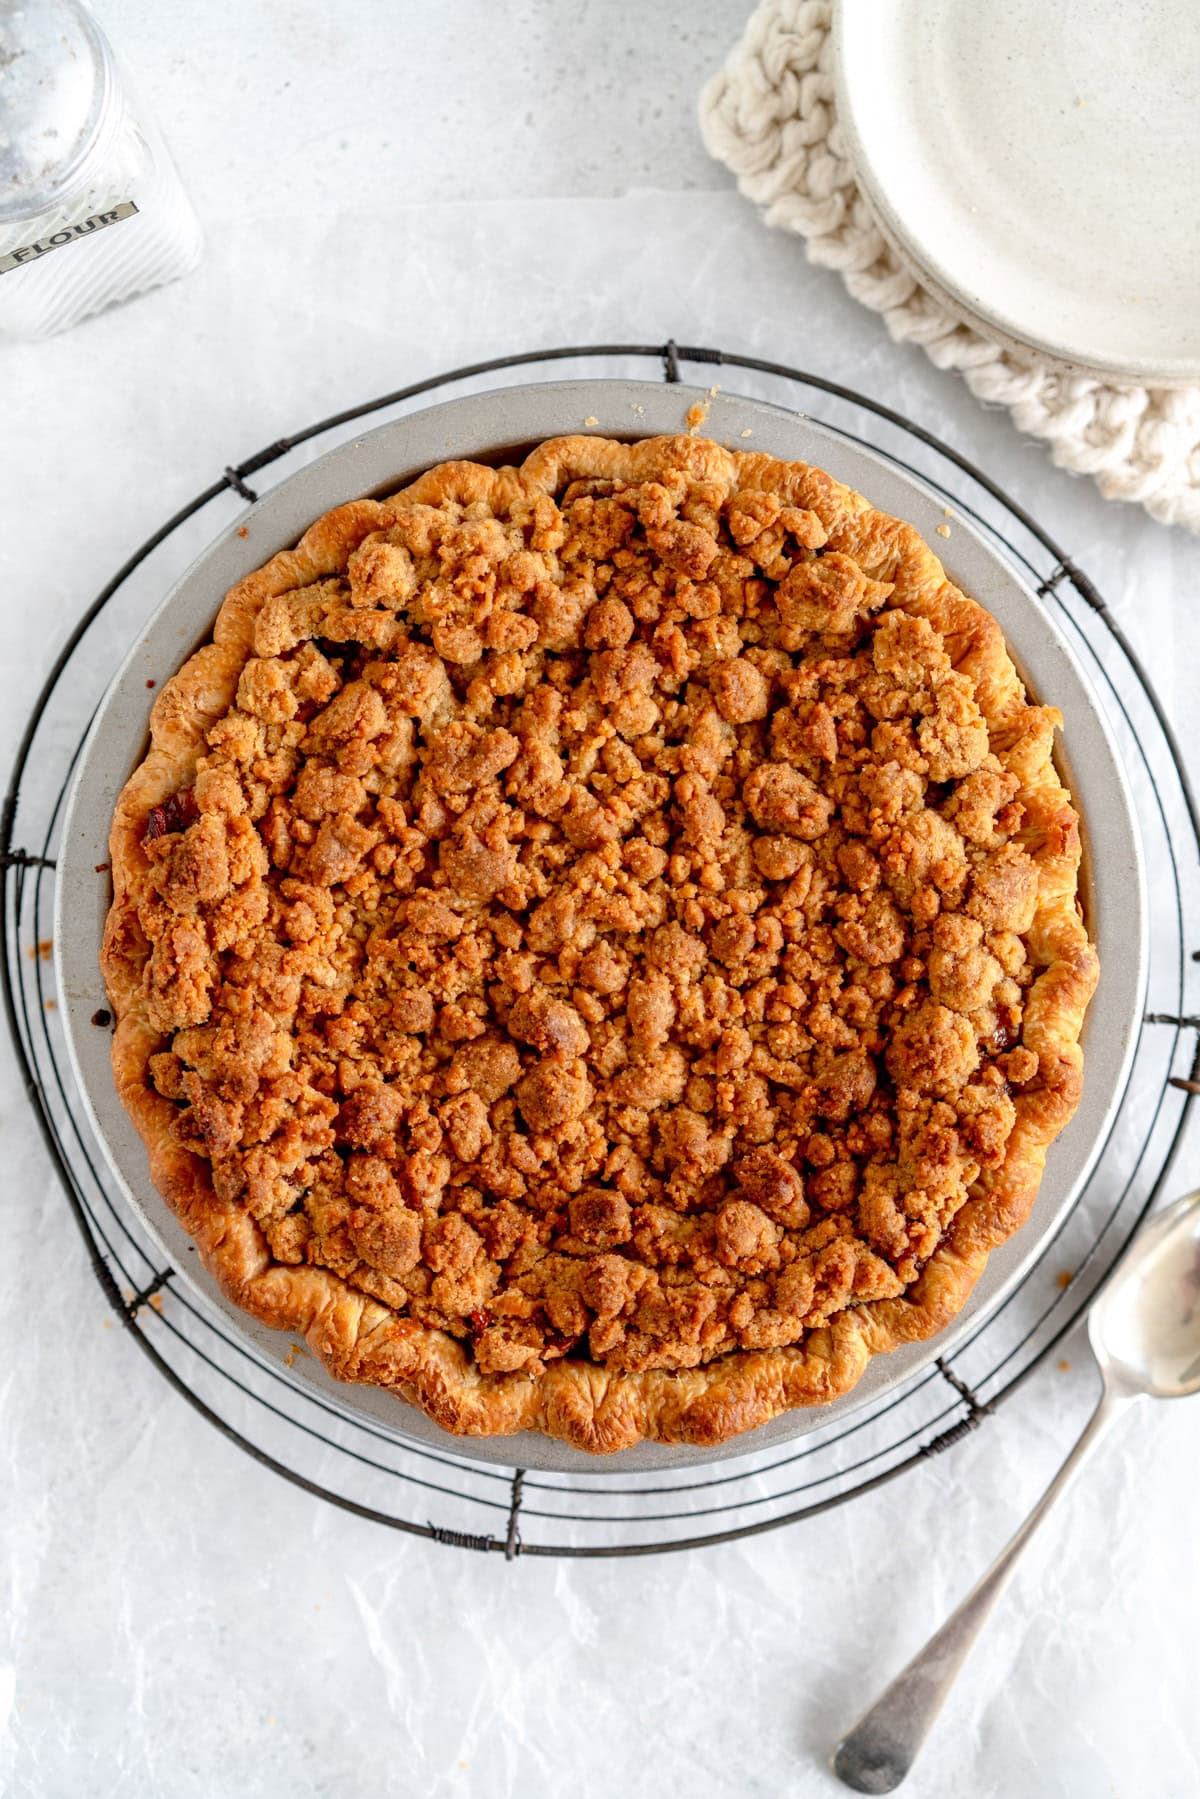
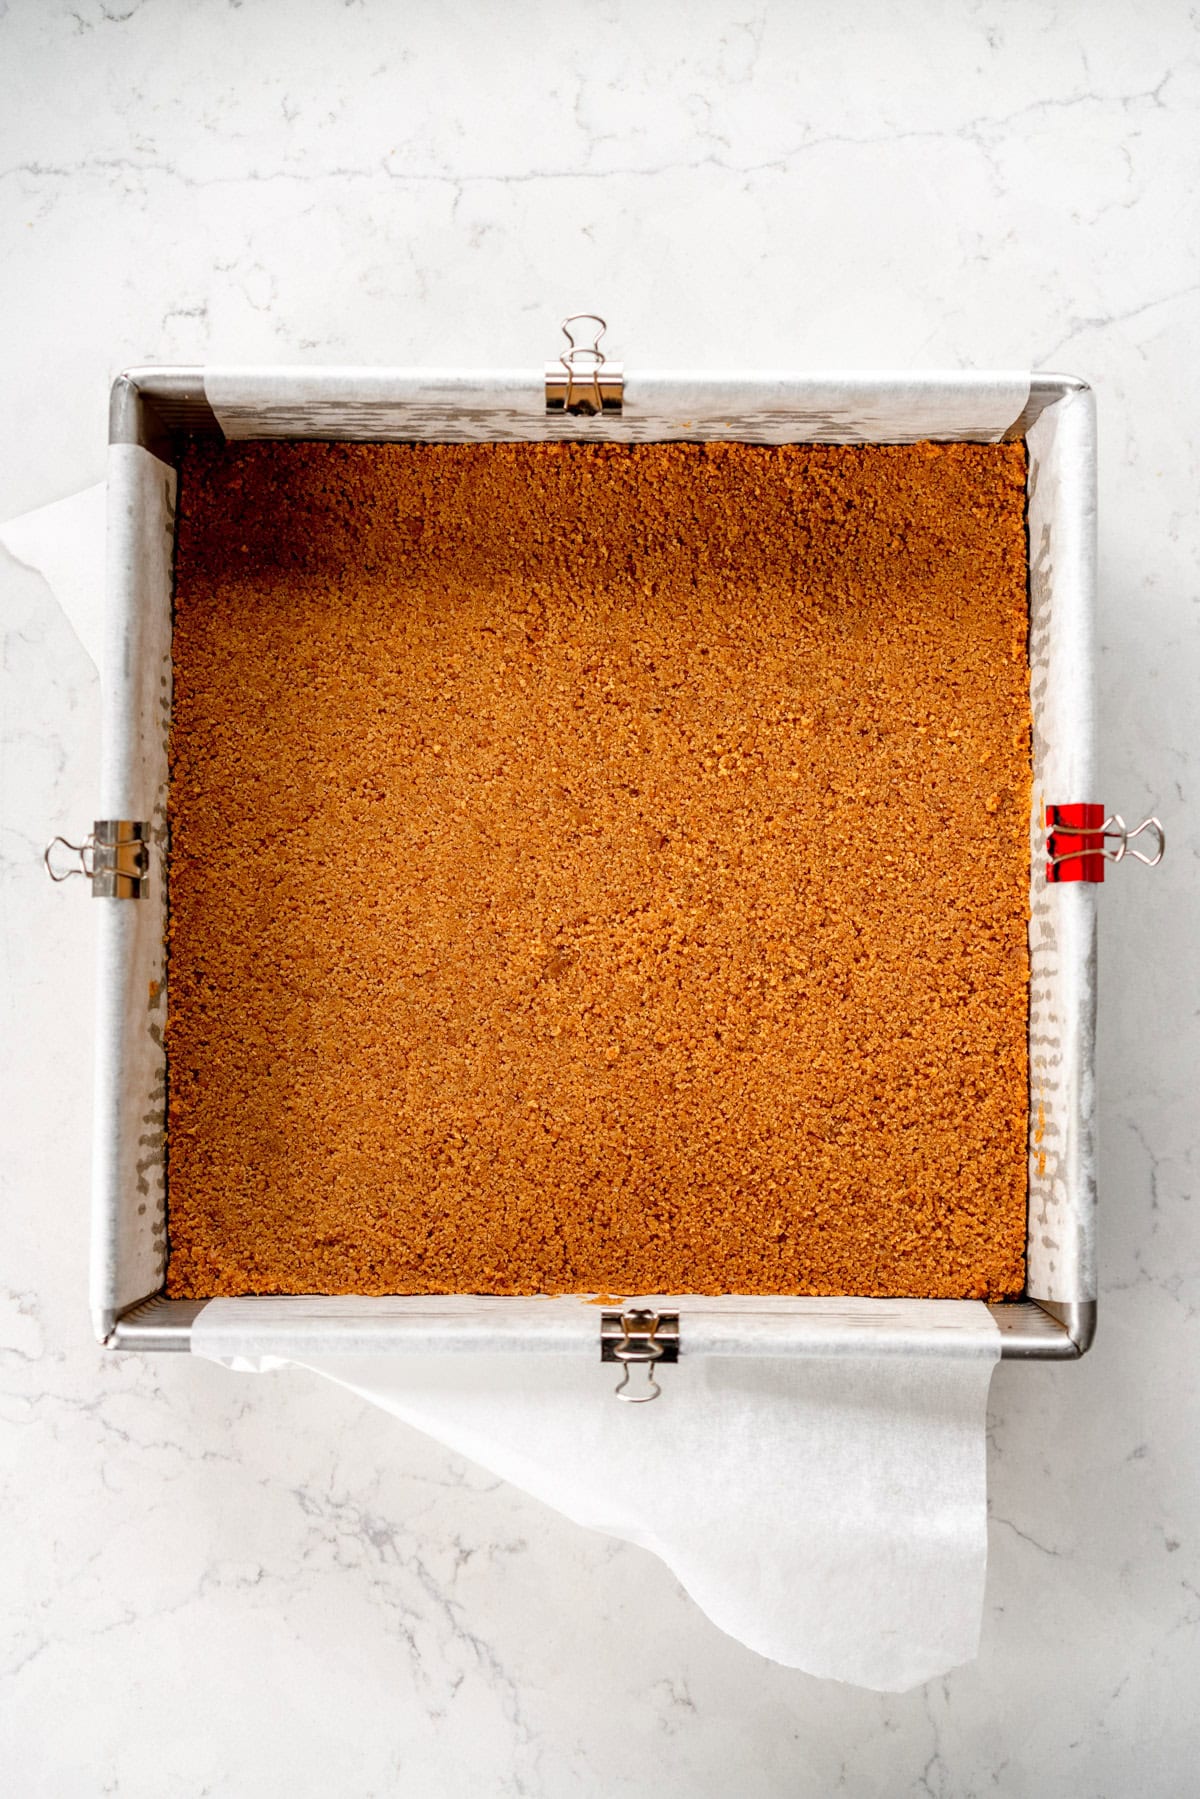
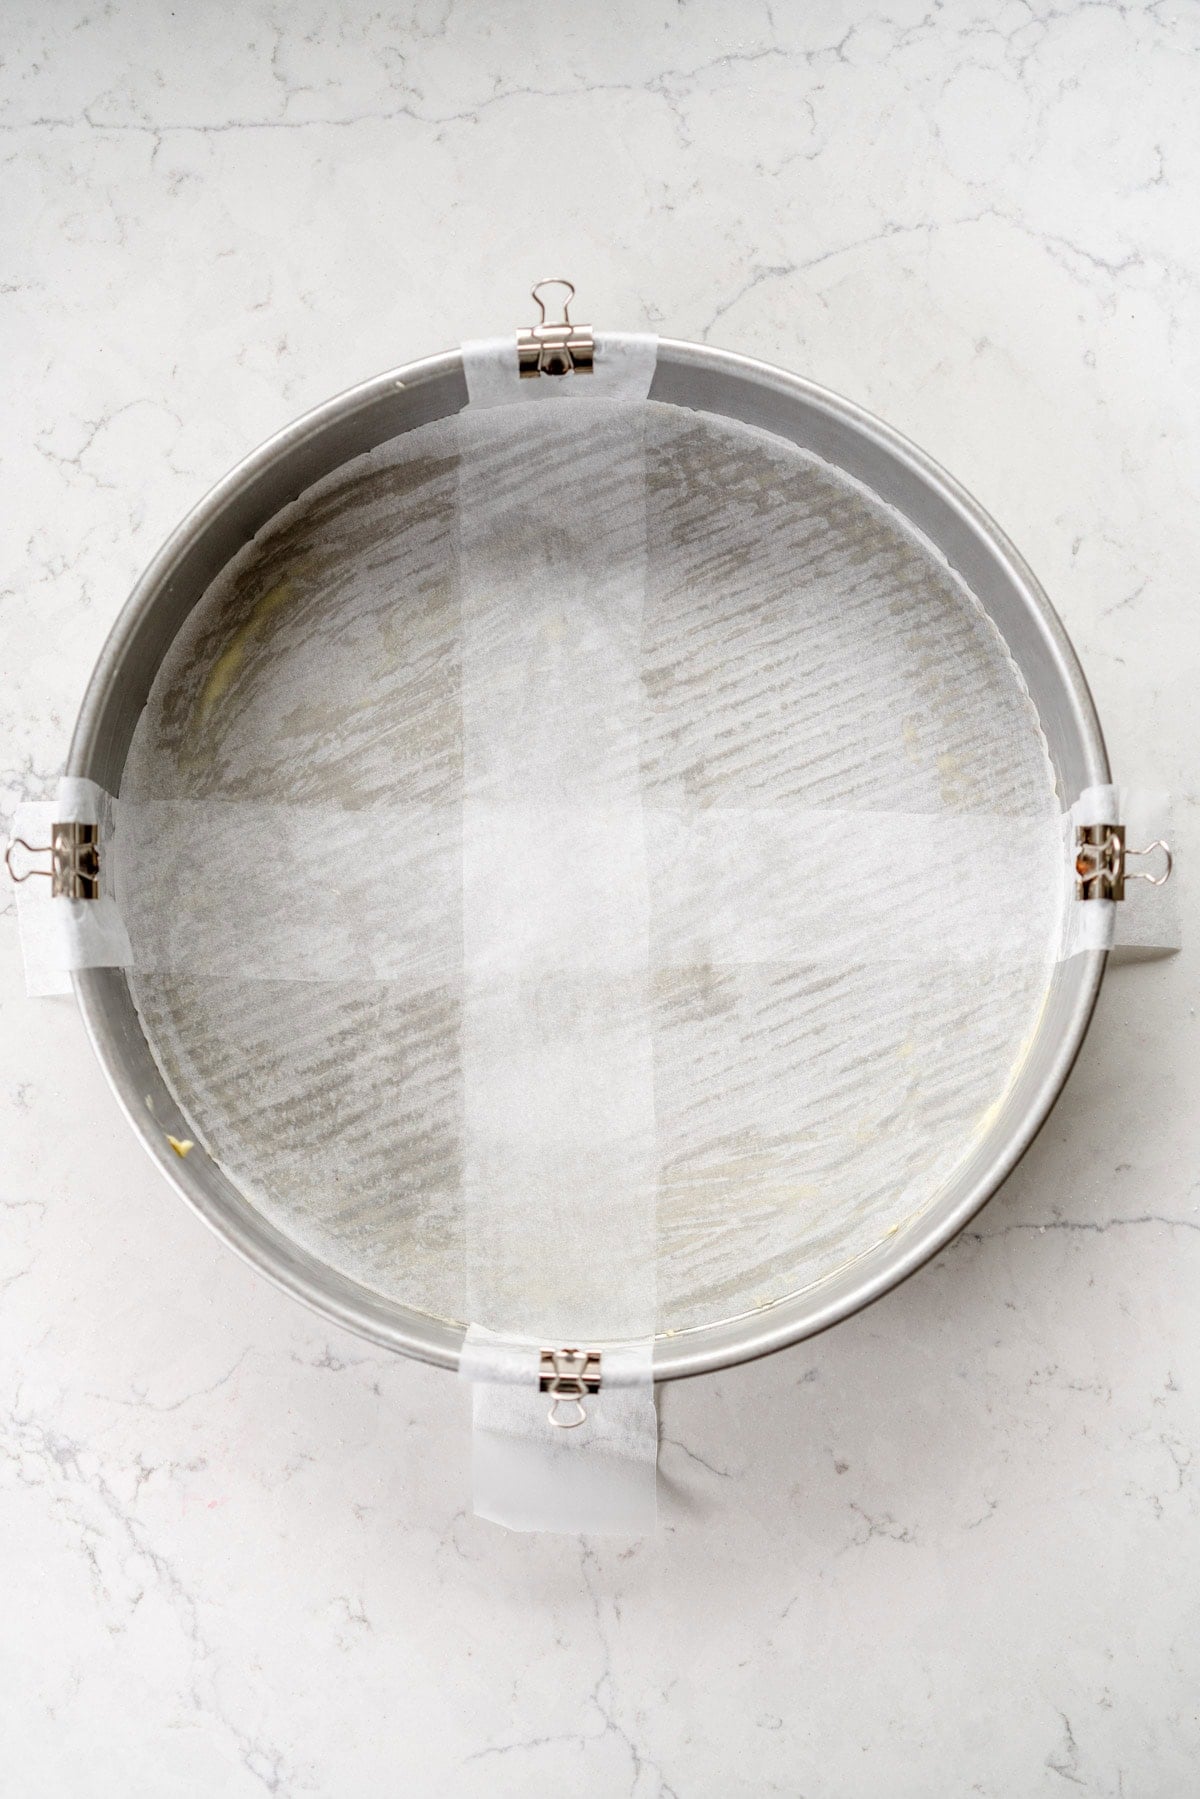
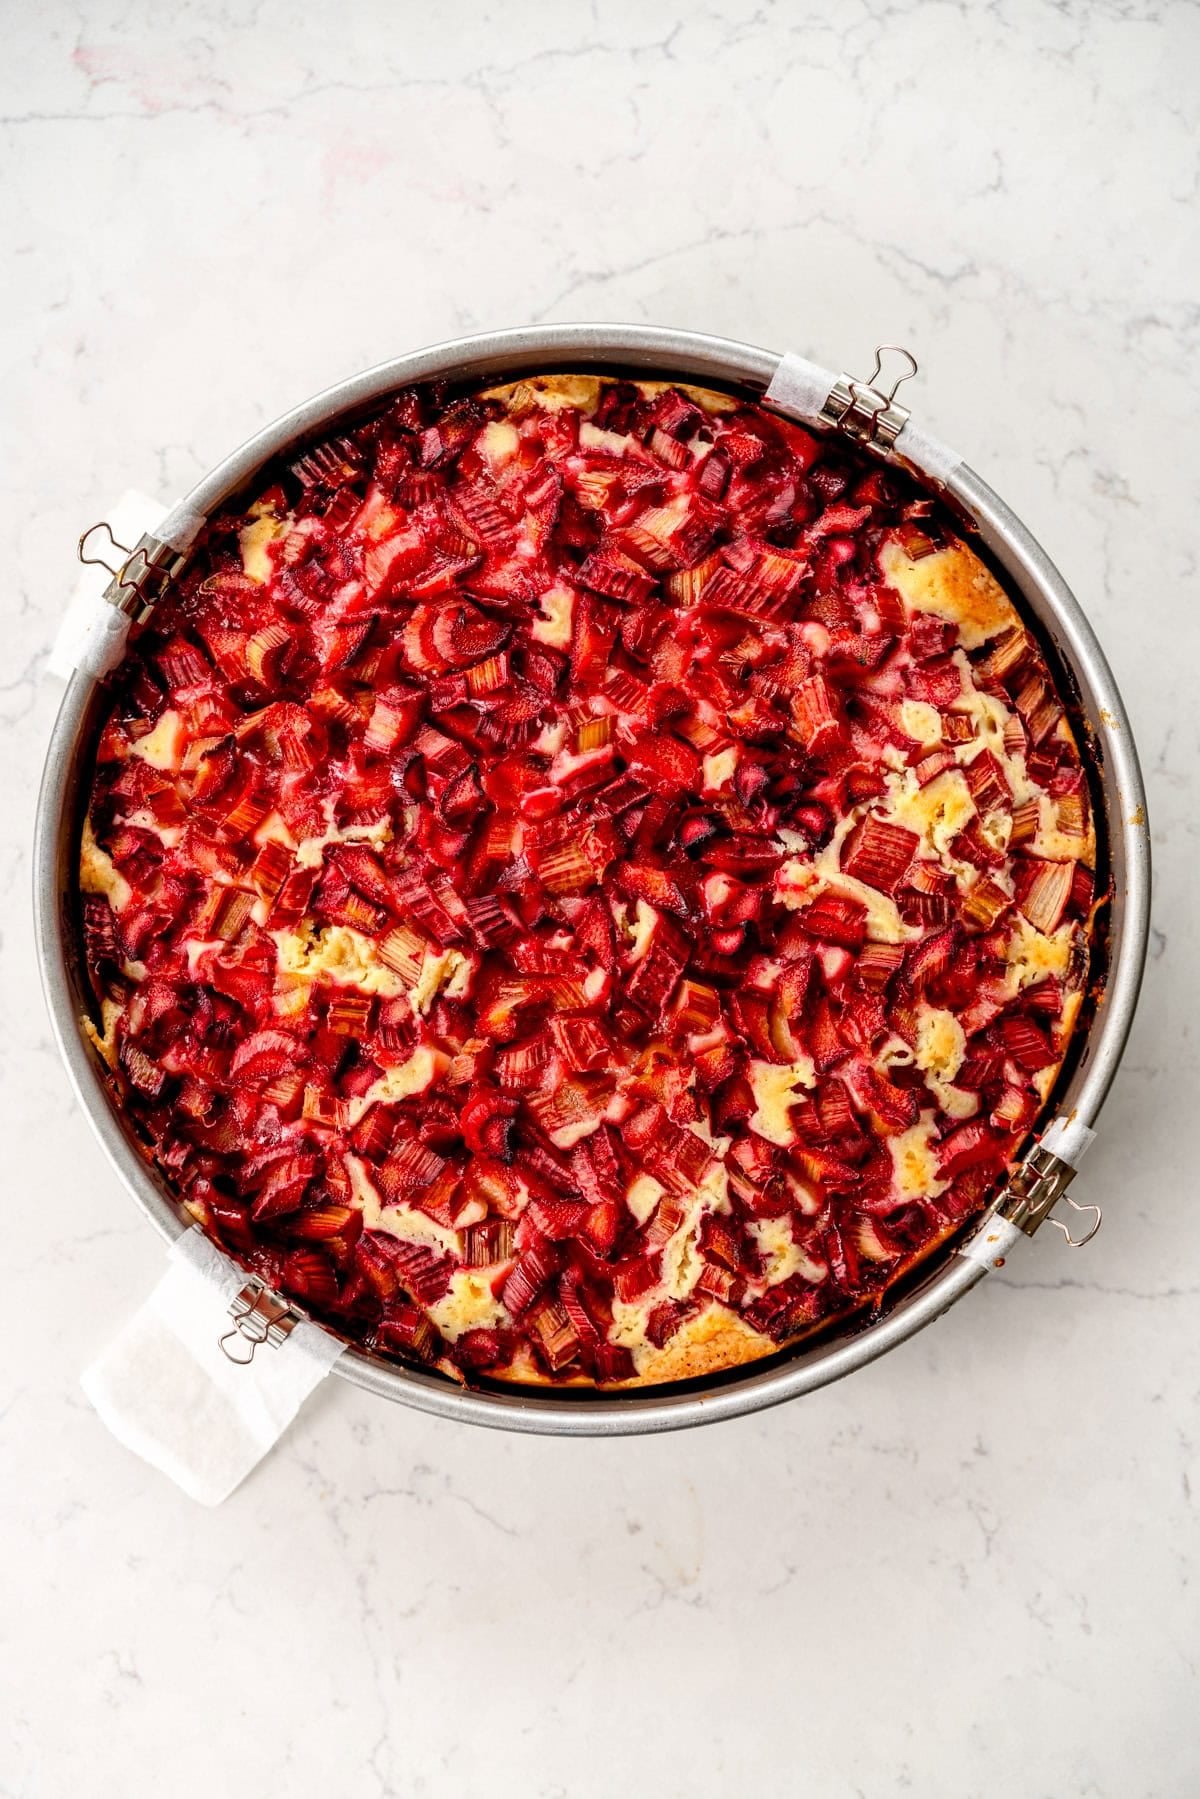
I used a round pan for making my rhubarb cake - there is a sneaky trick where if the recipe is made in a square pan, if you add an inch to the size, that gives you the round pan equivalent. So for this rhubarb cake, I make my butter cake in a 9" square pan, so I used a 10" round pan. If you've got a 9" square that will work great too and you do not need to change the bake time.
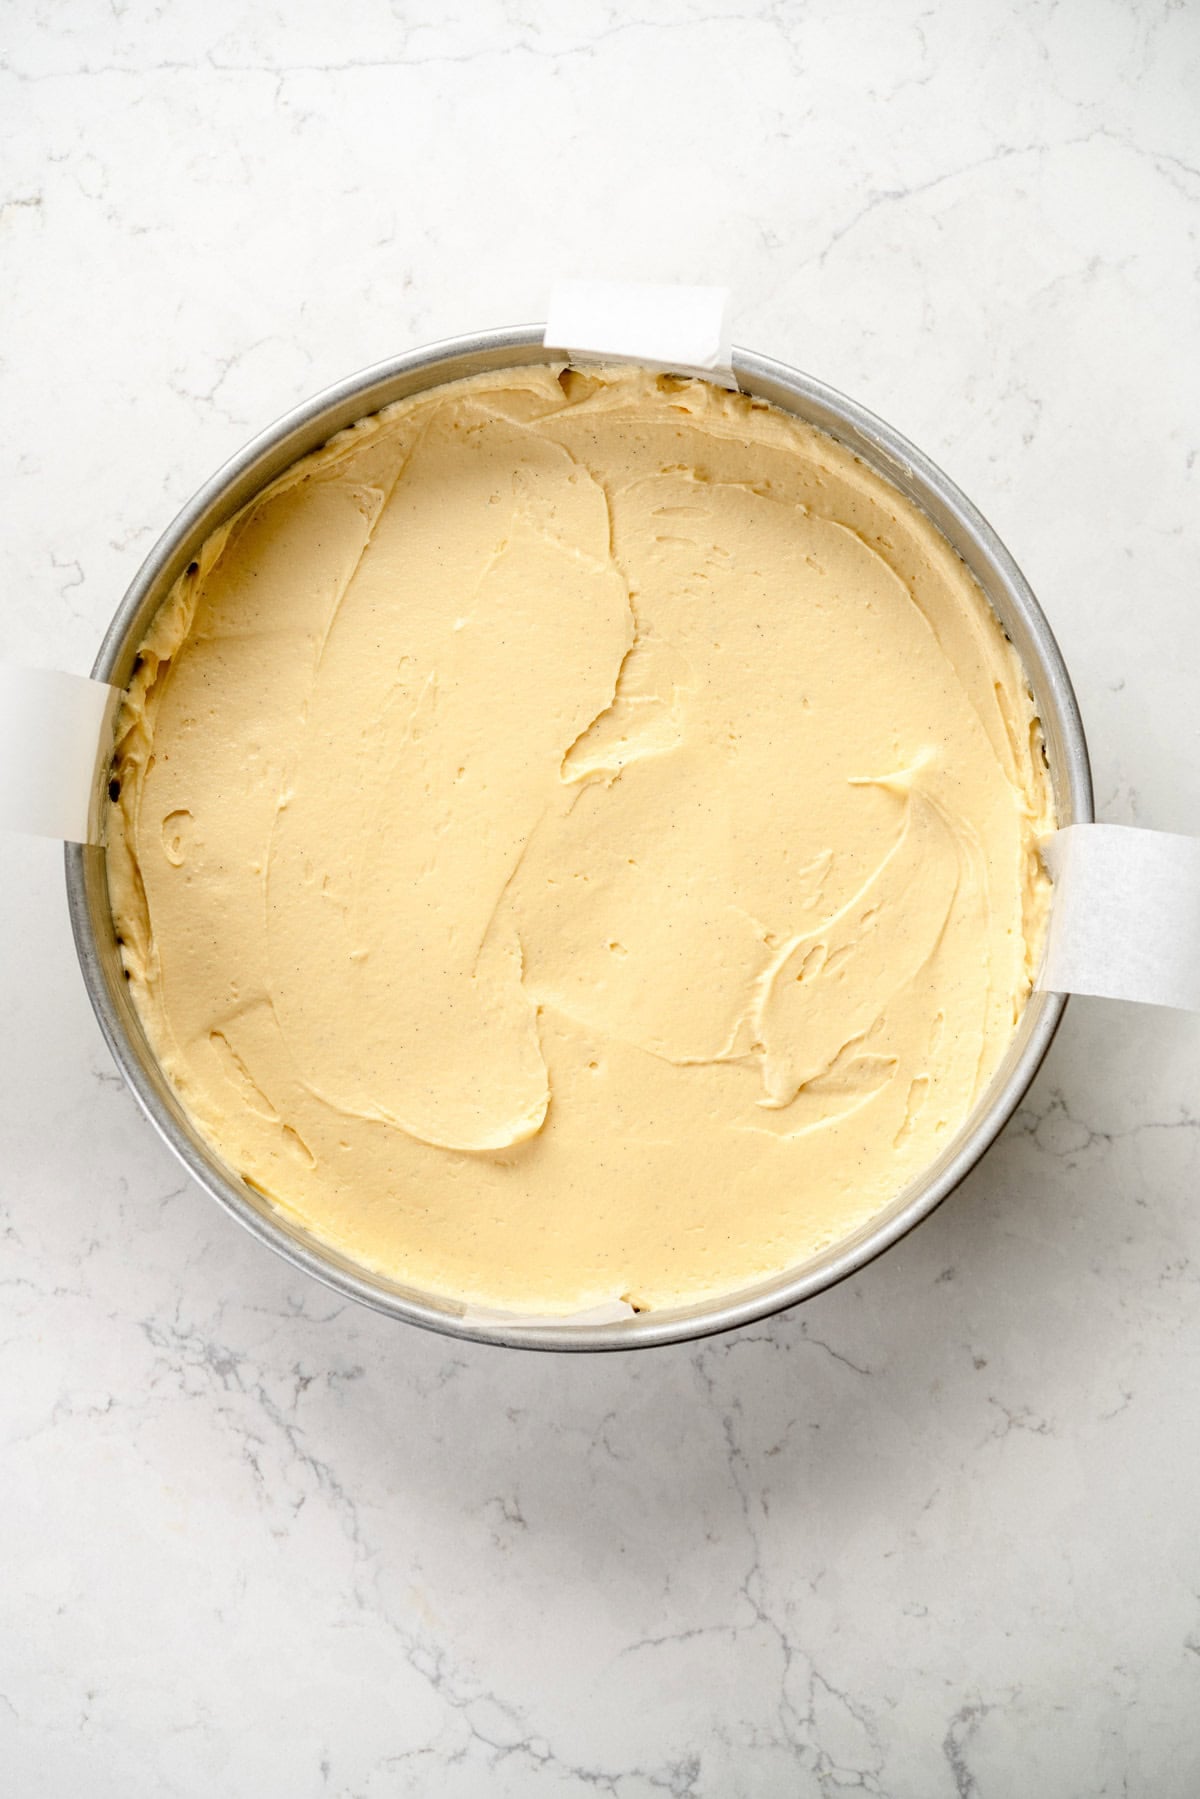
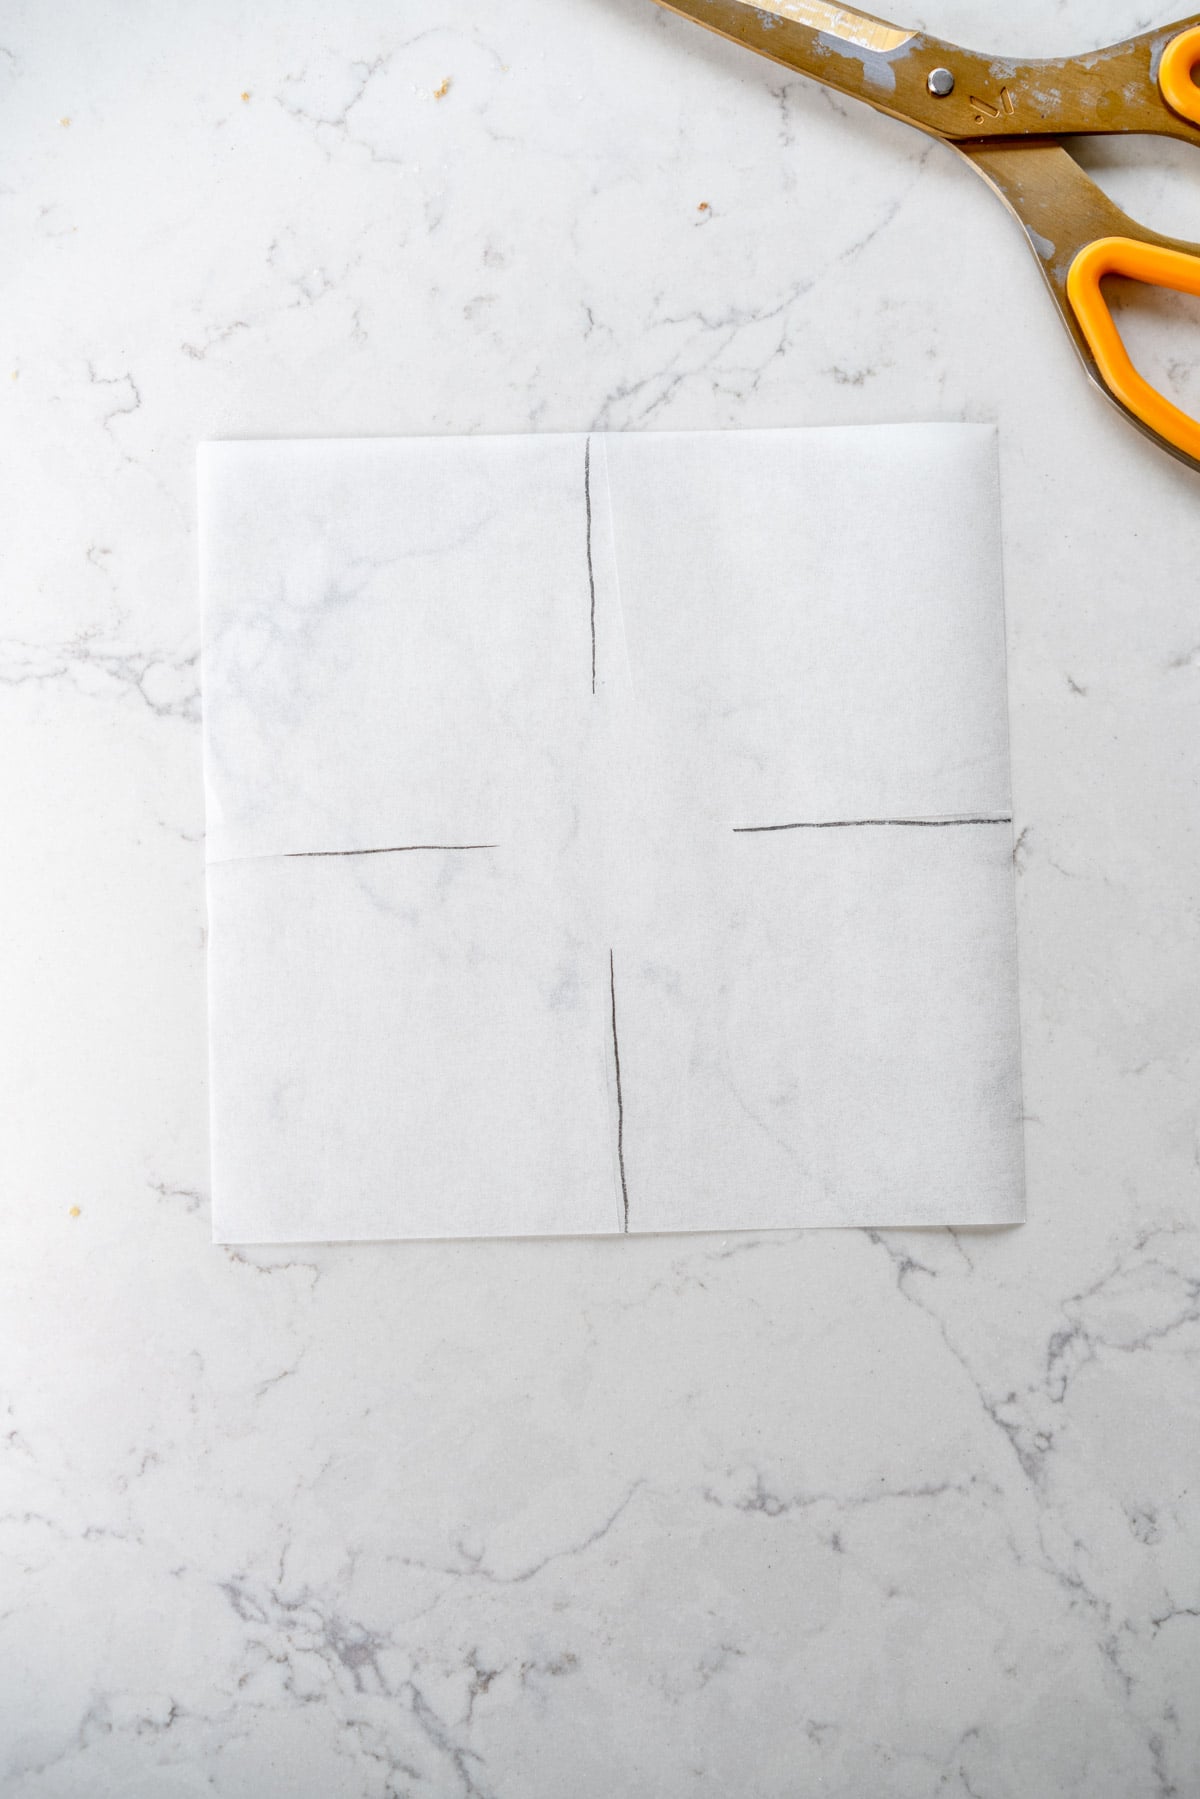
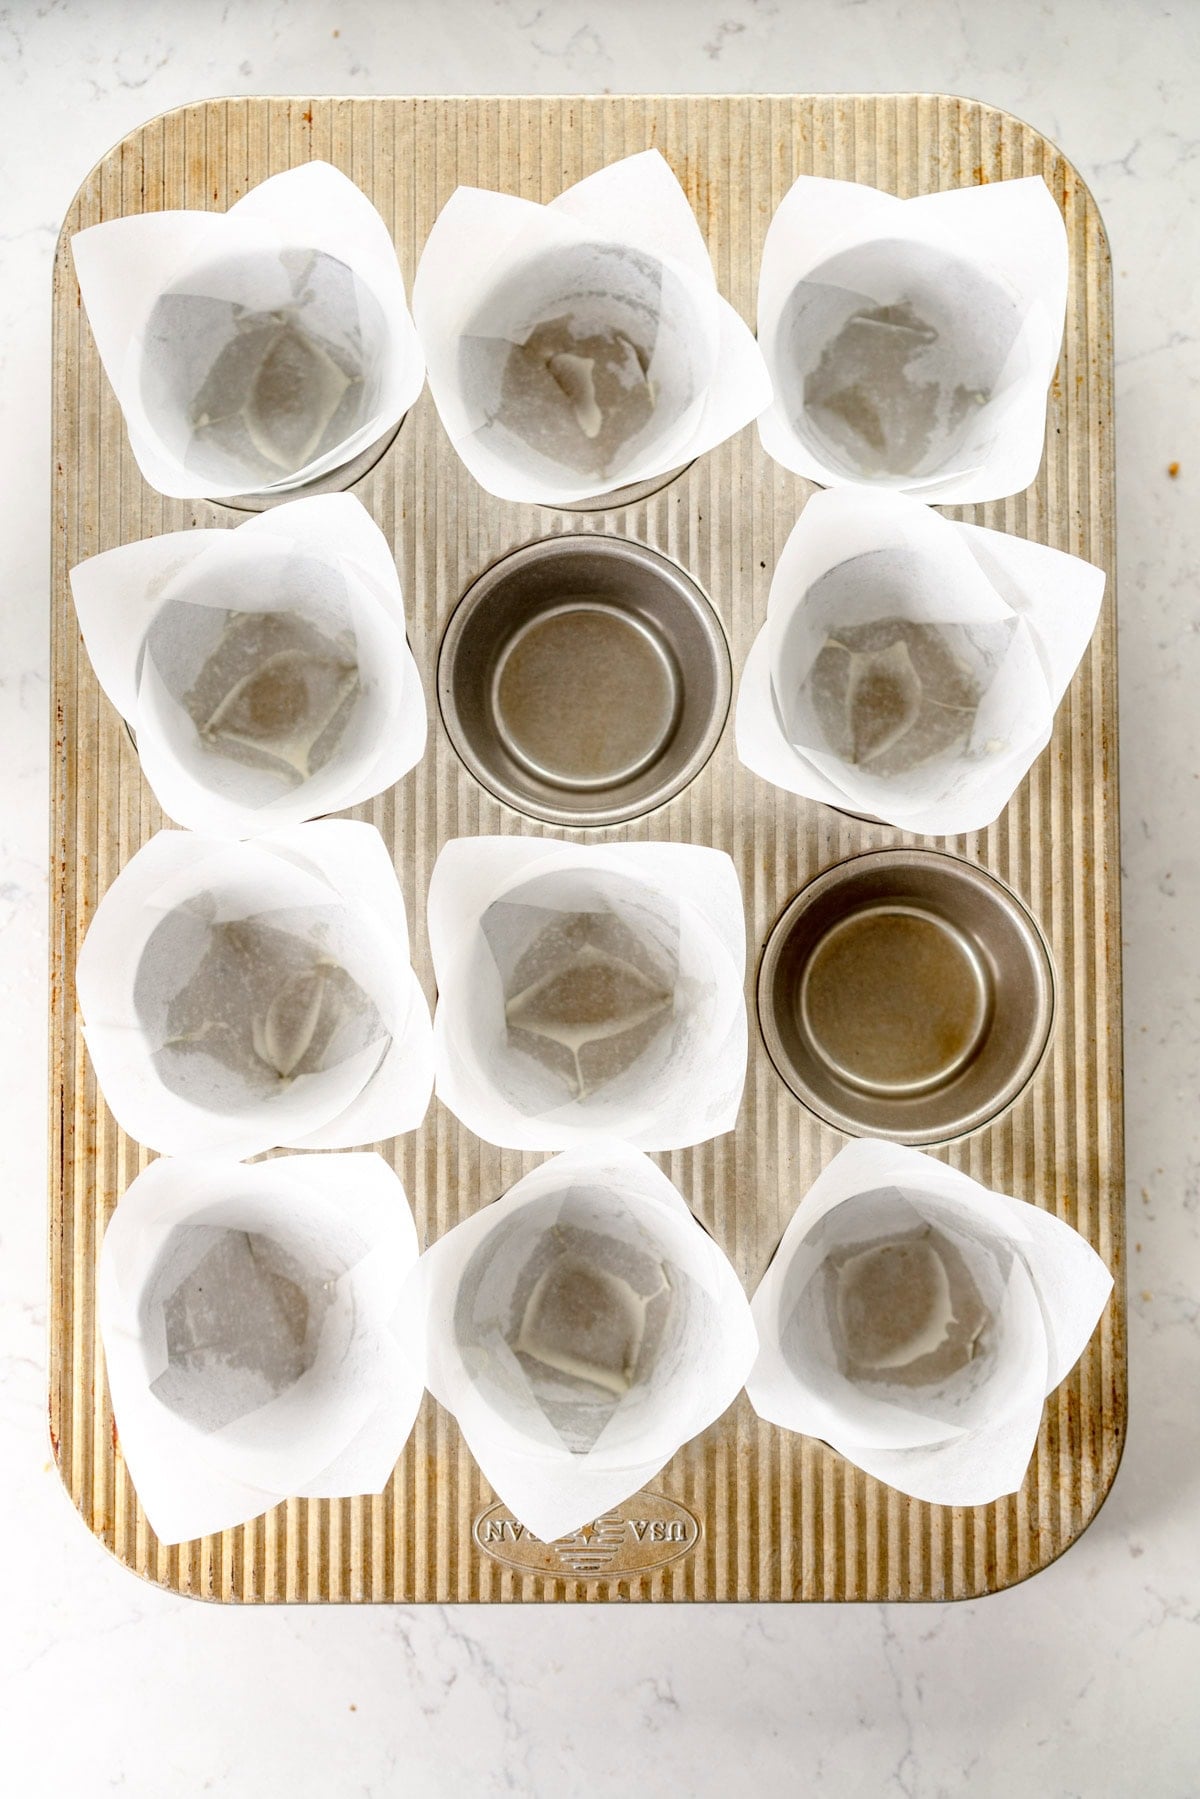
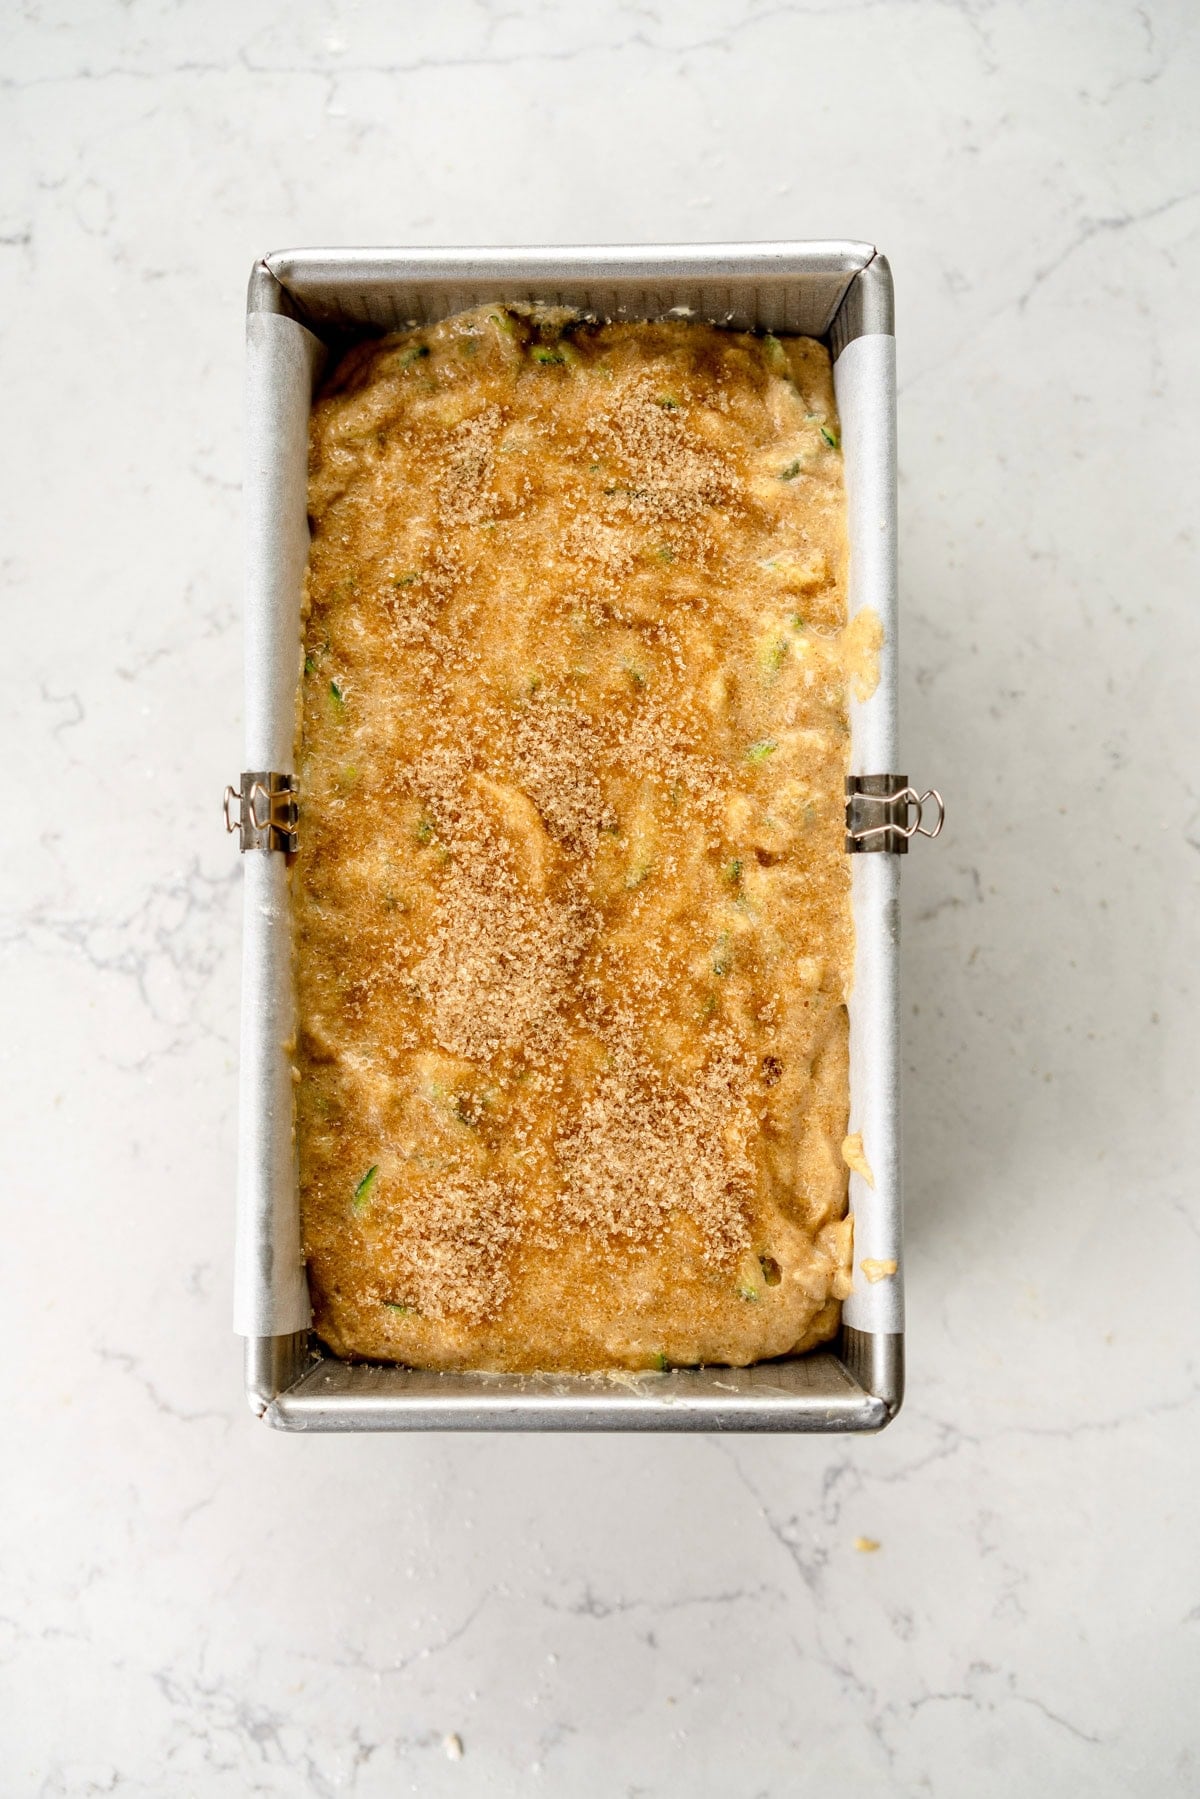
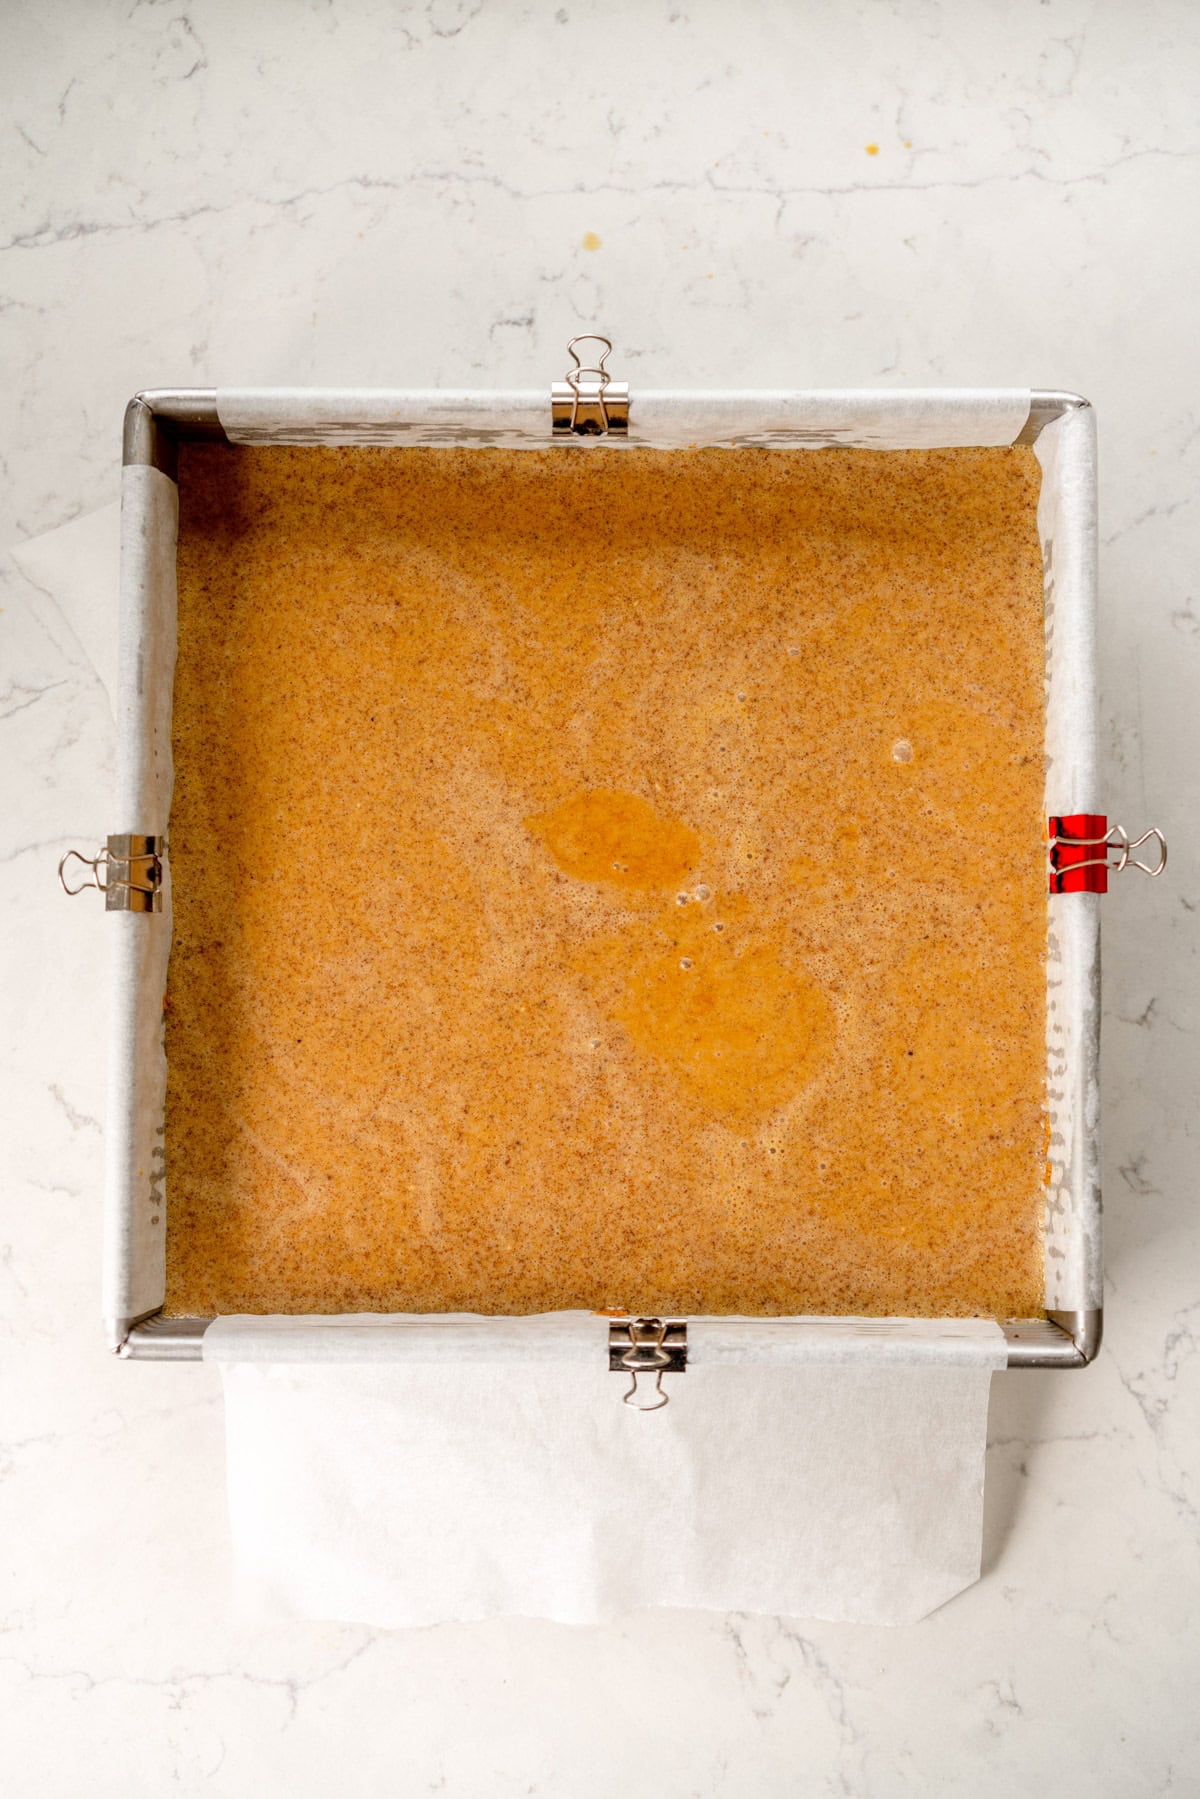
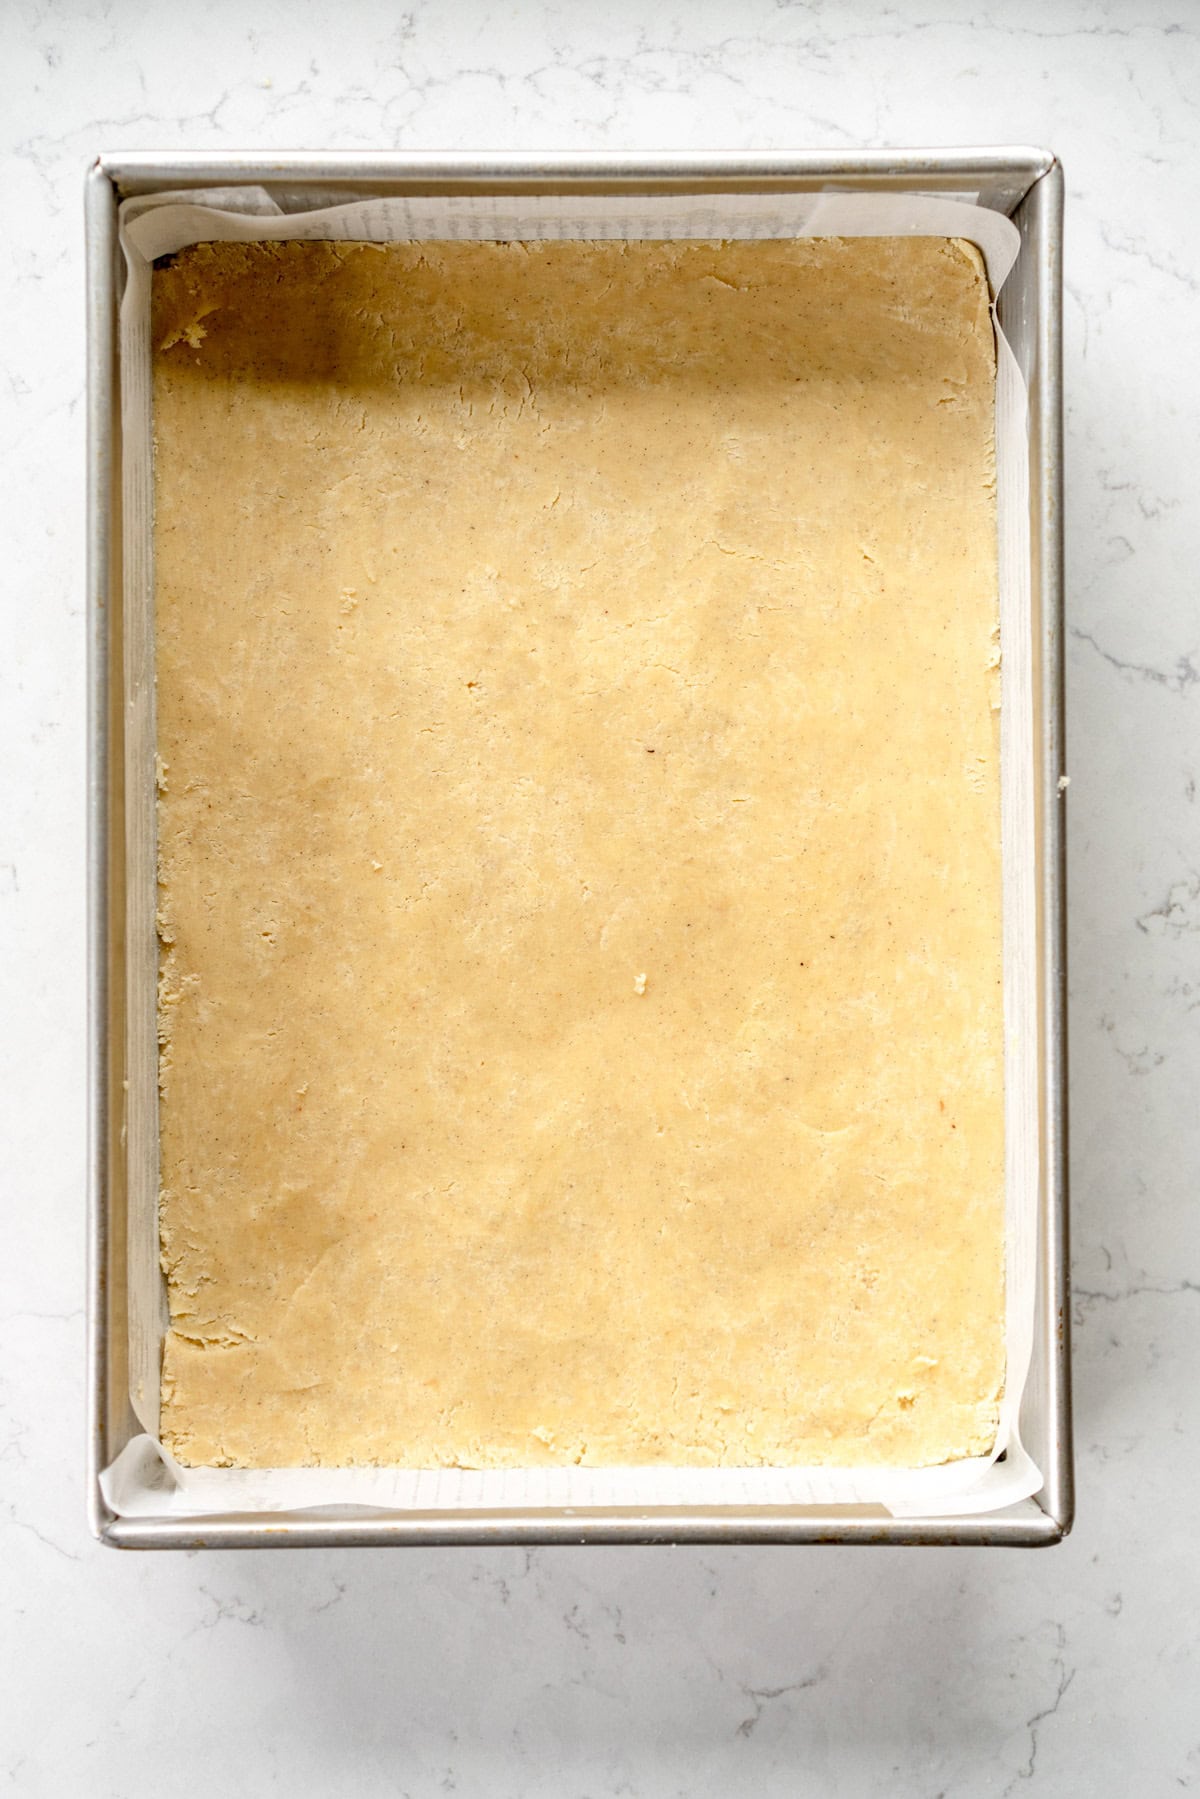
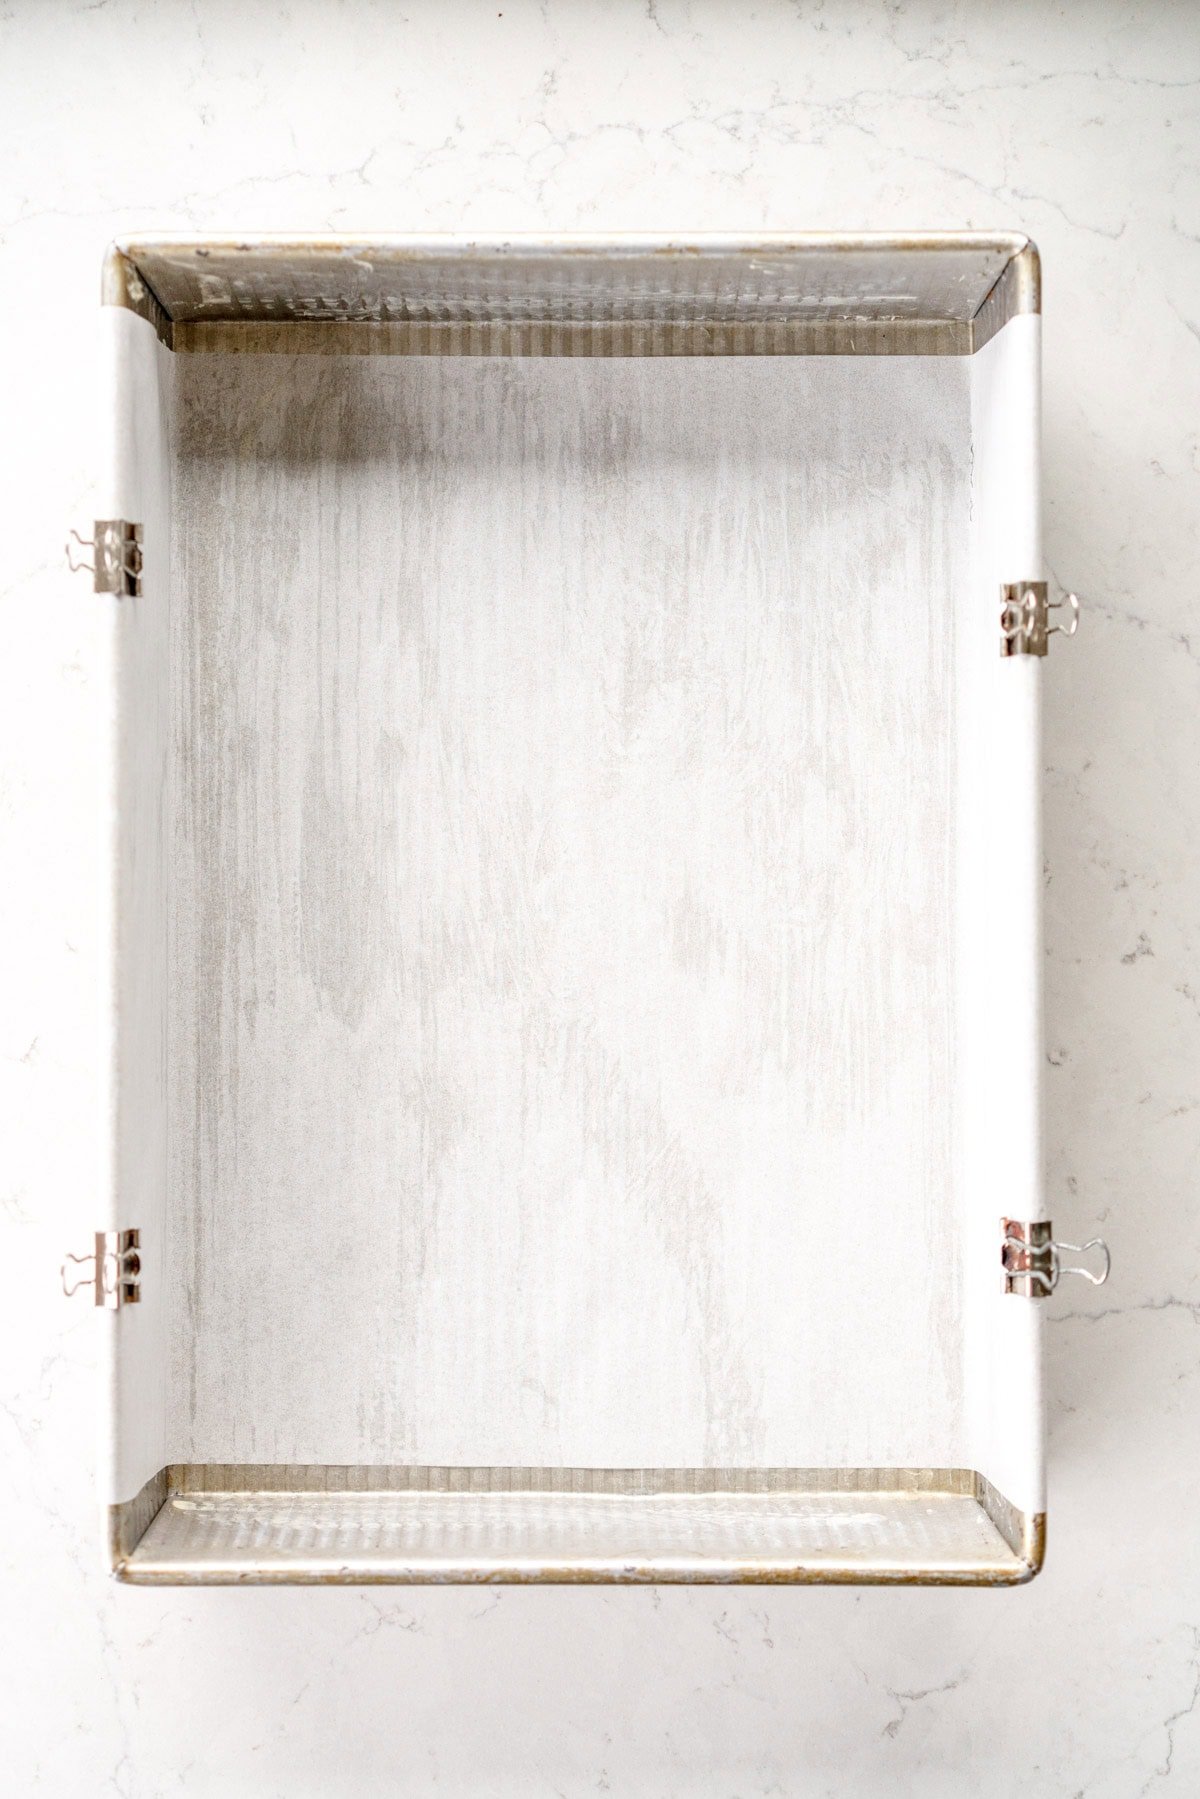
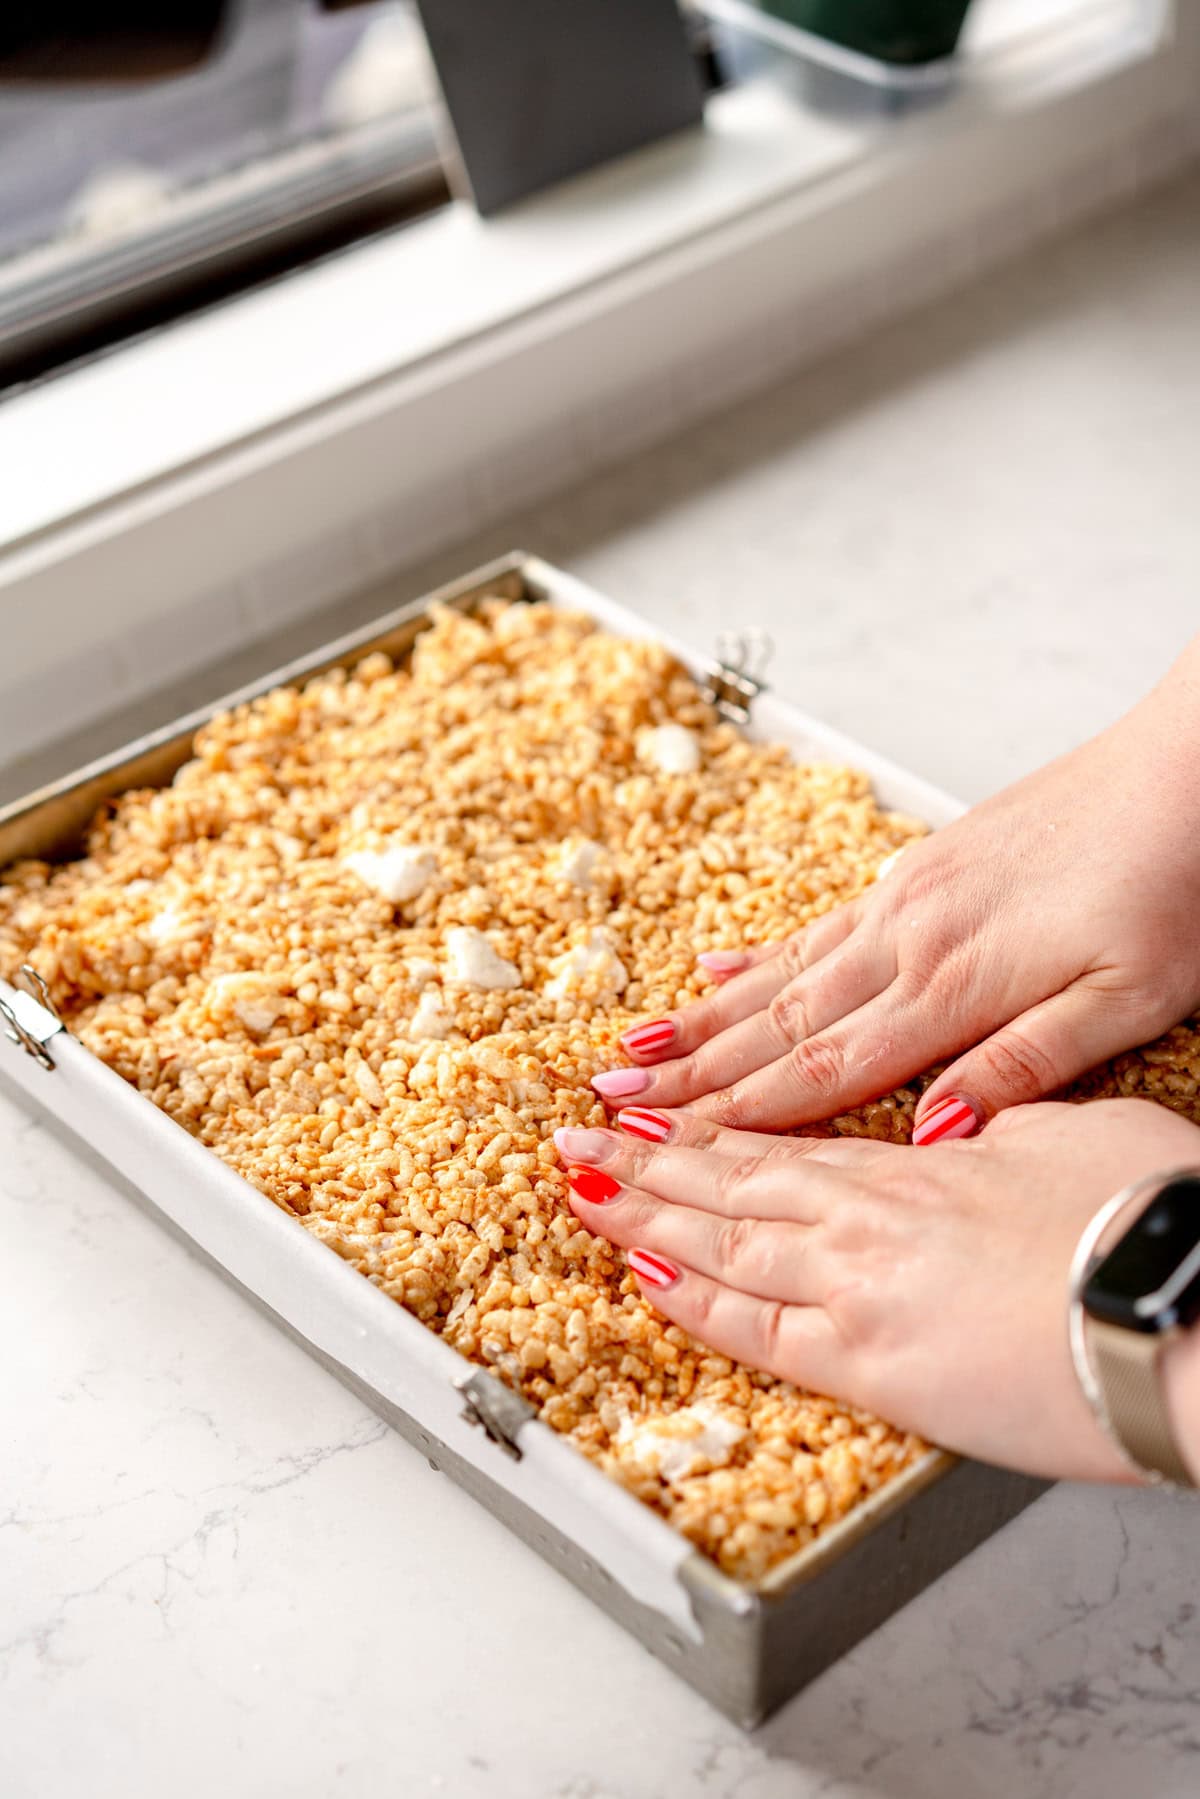
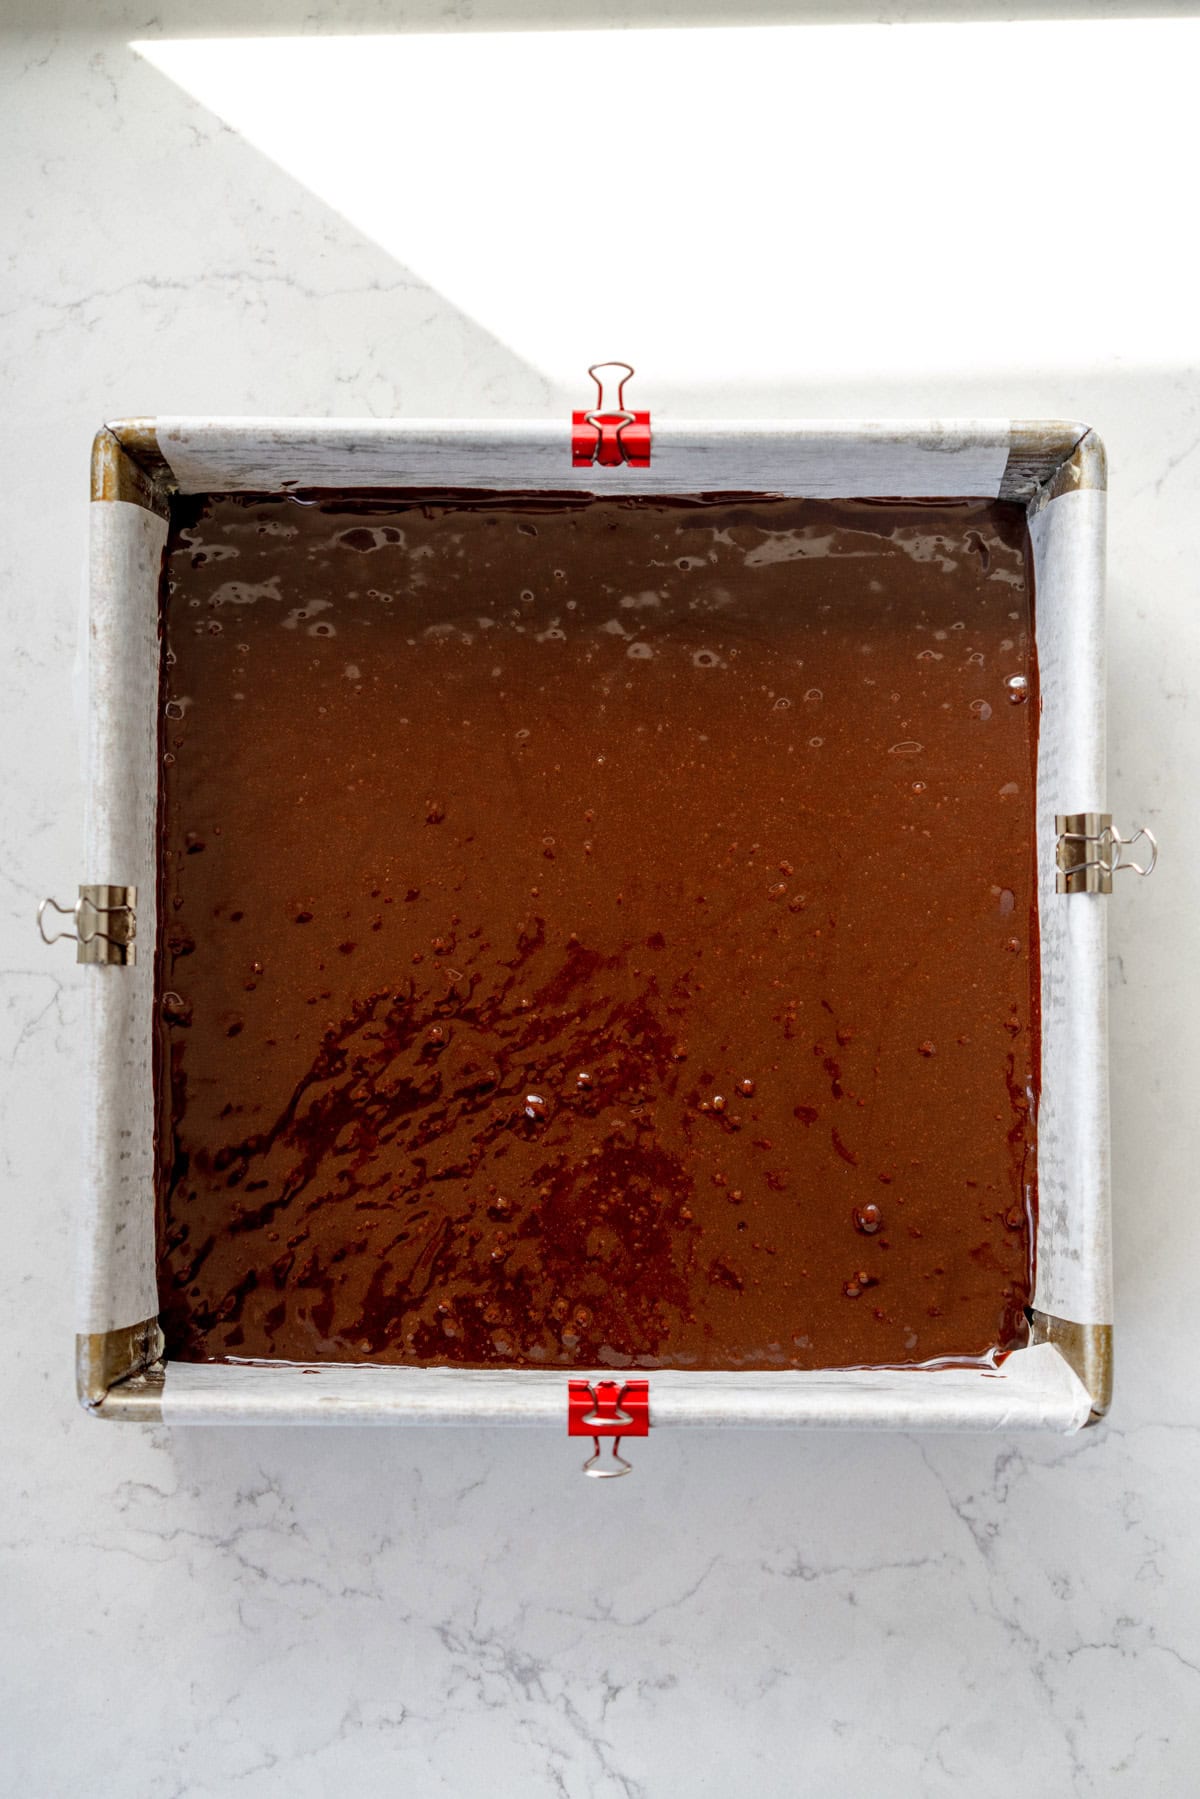
I like to line my round pan with two pieces of parchment paper underneath the circle of parchment paper that I use in the pan, which gives me a 'sling' which makes the cake really easy to remove once it is baked.
Adjusting a recipe to account for a topping
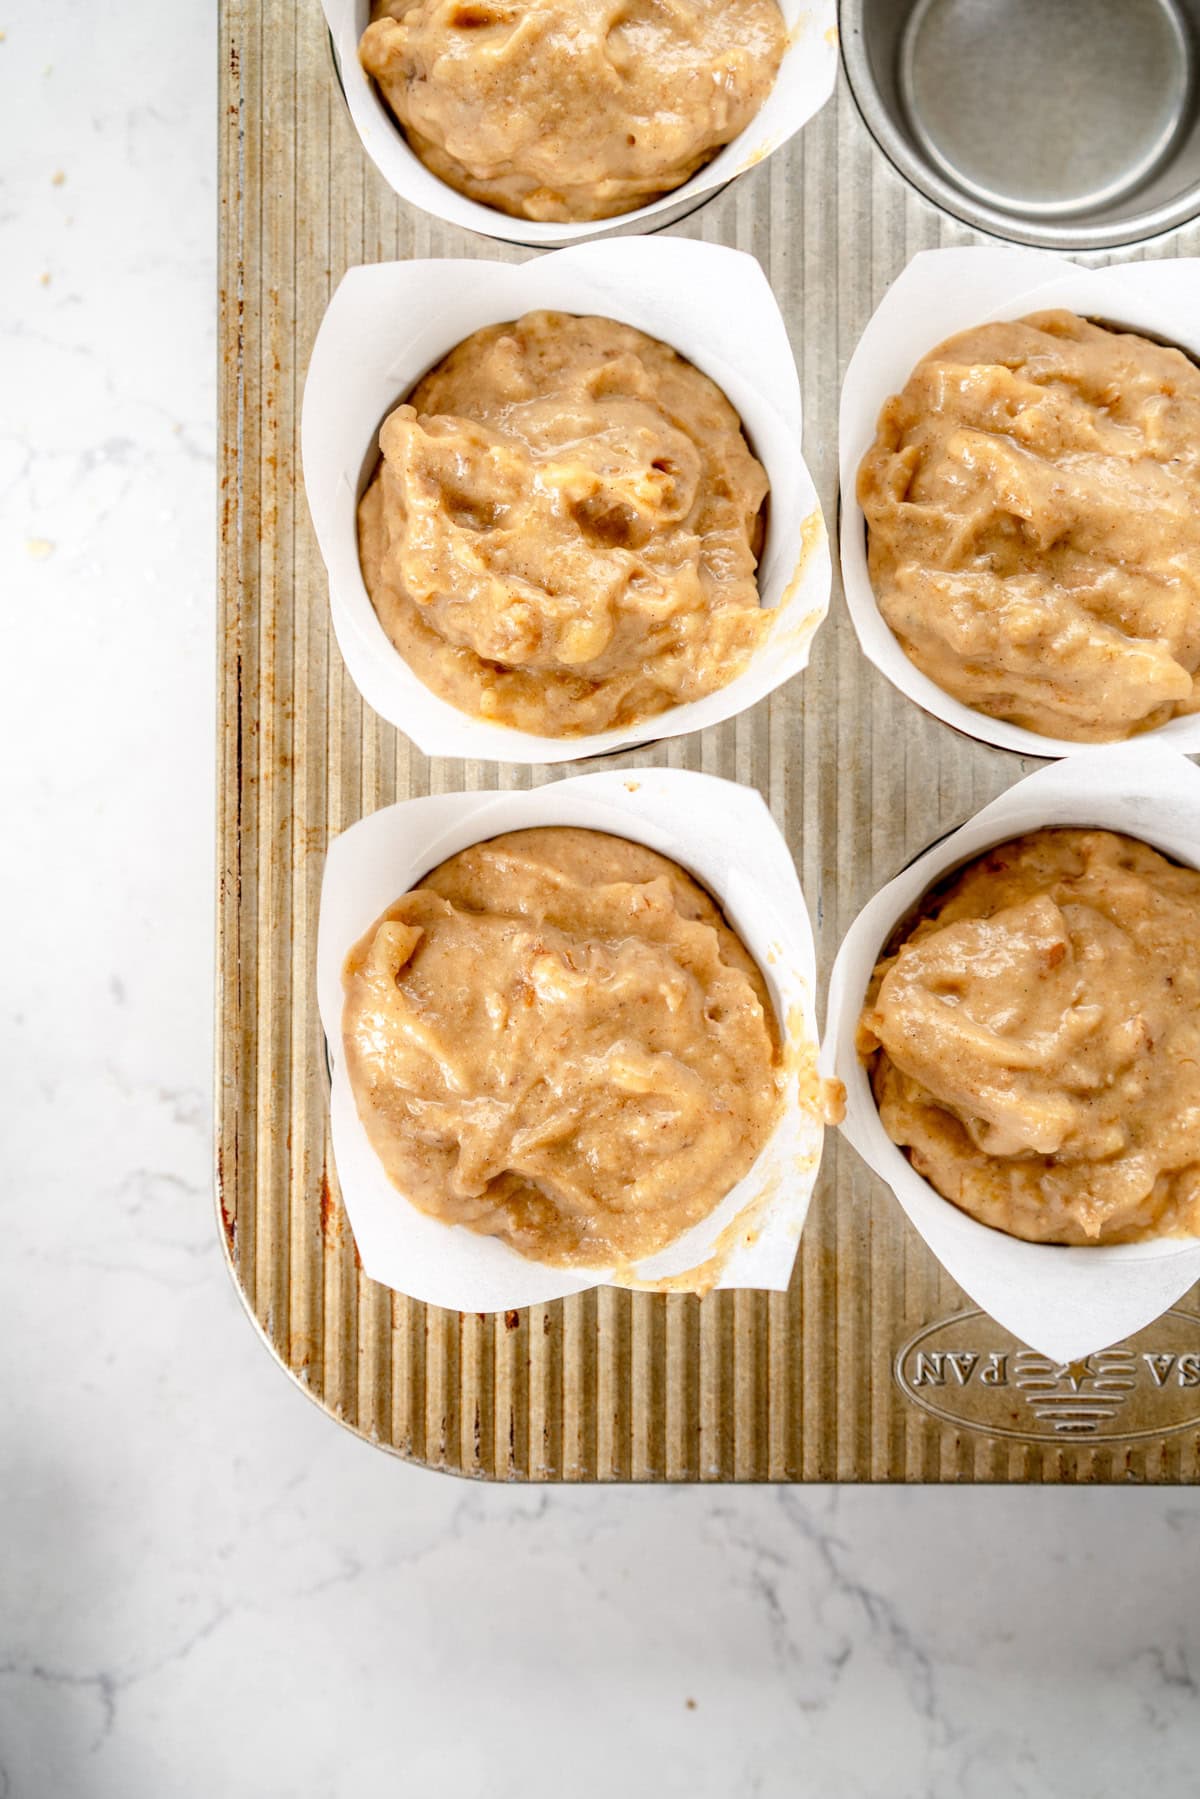
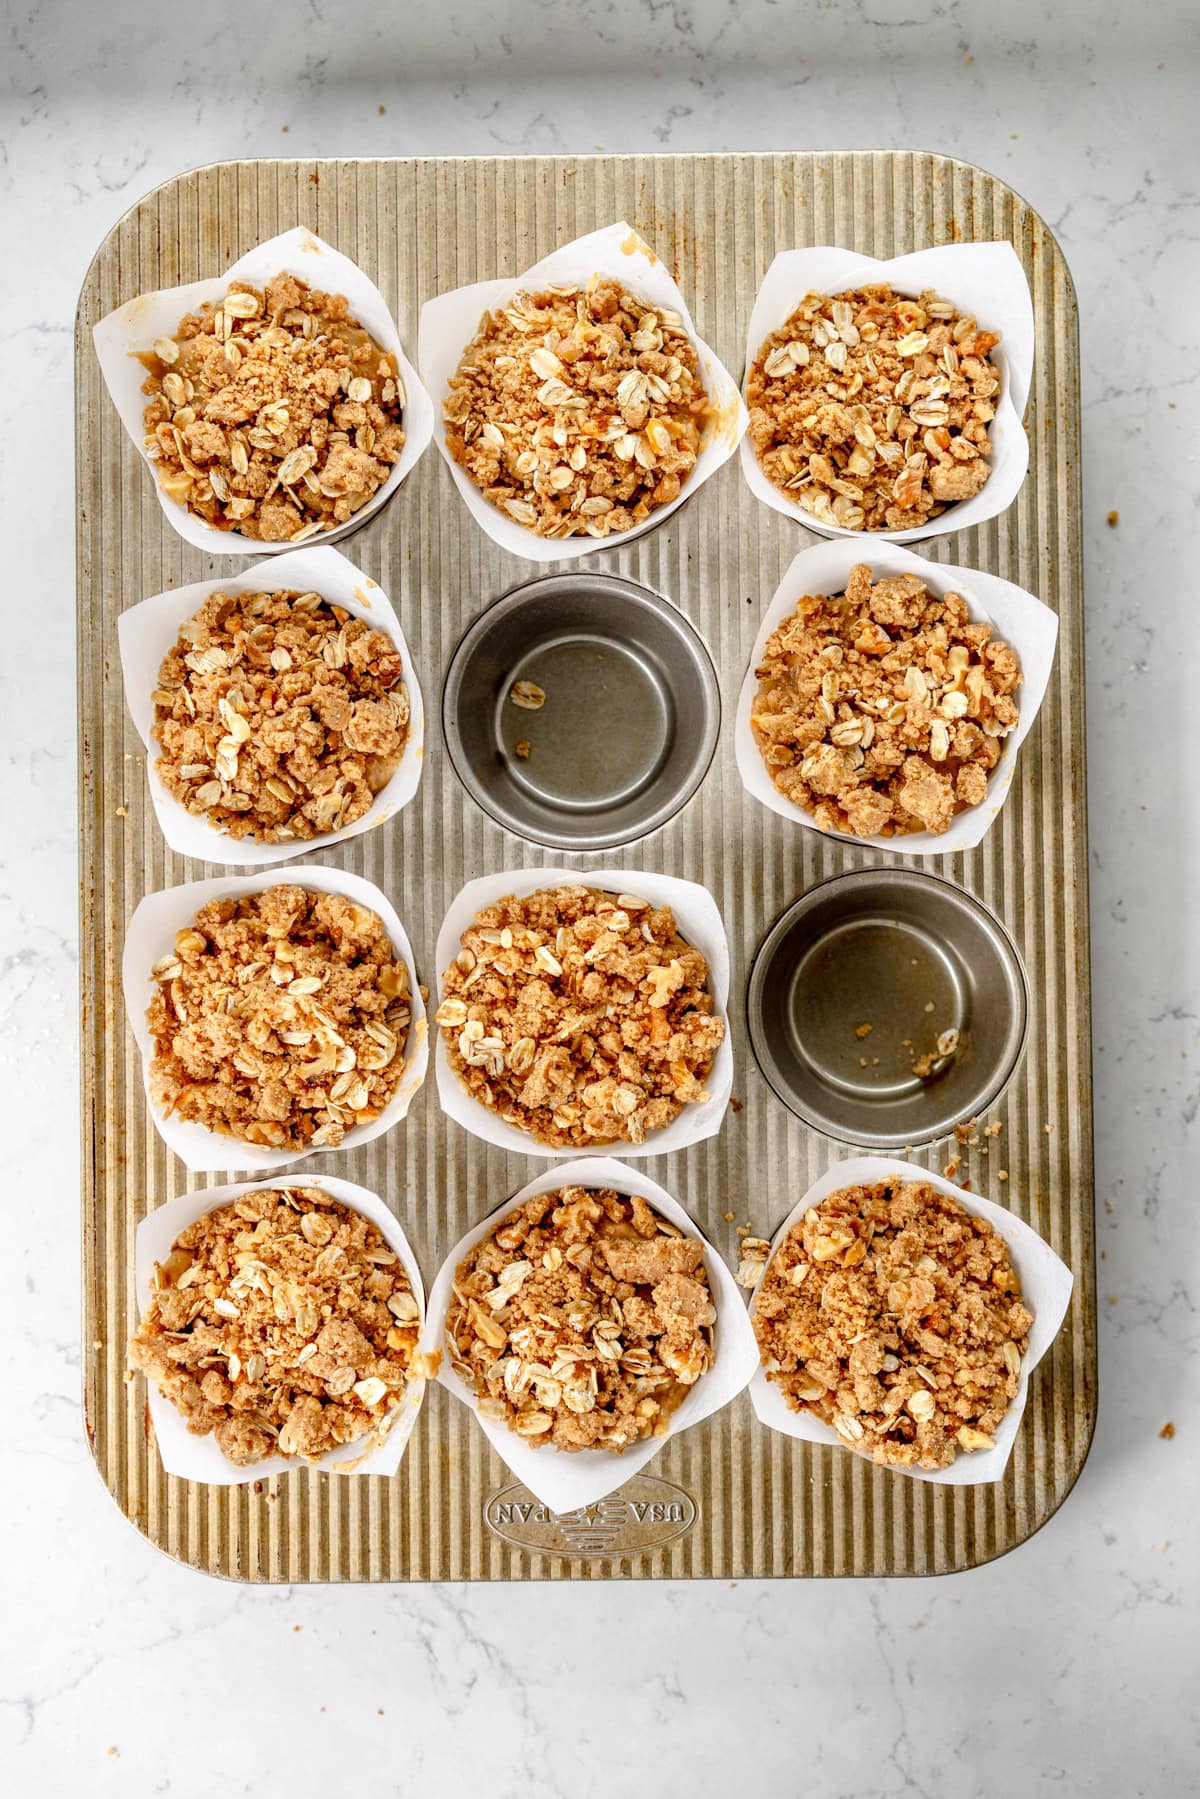
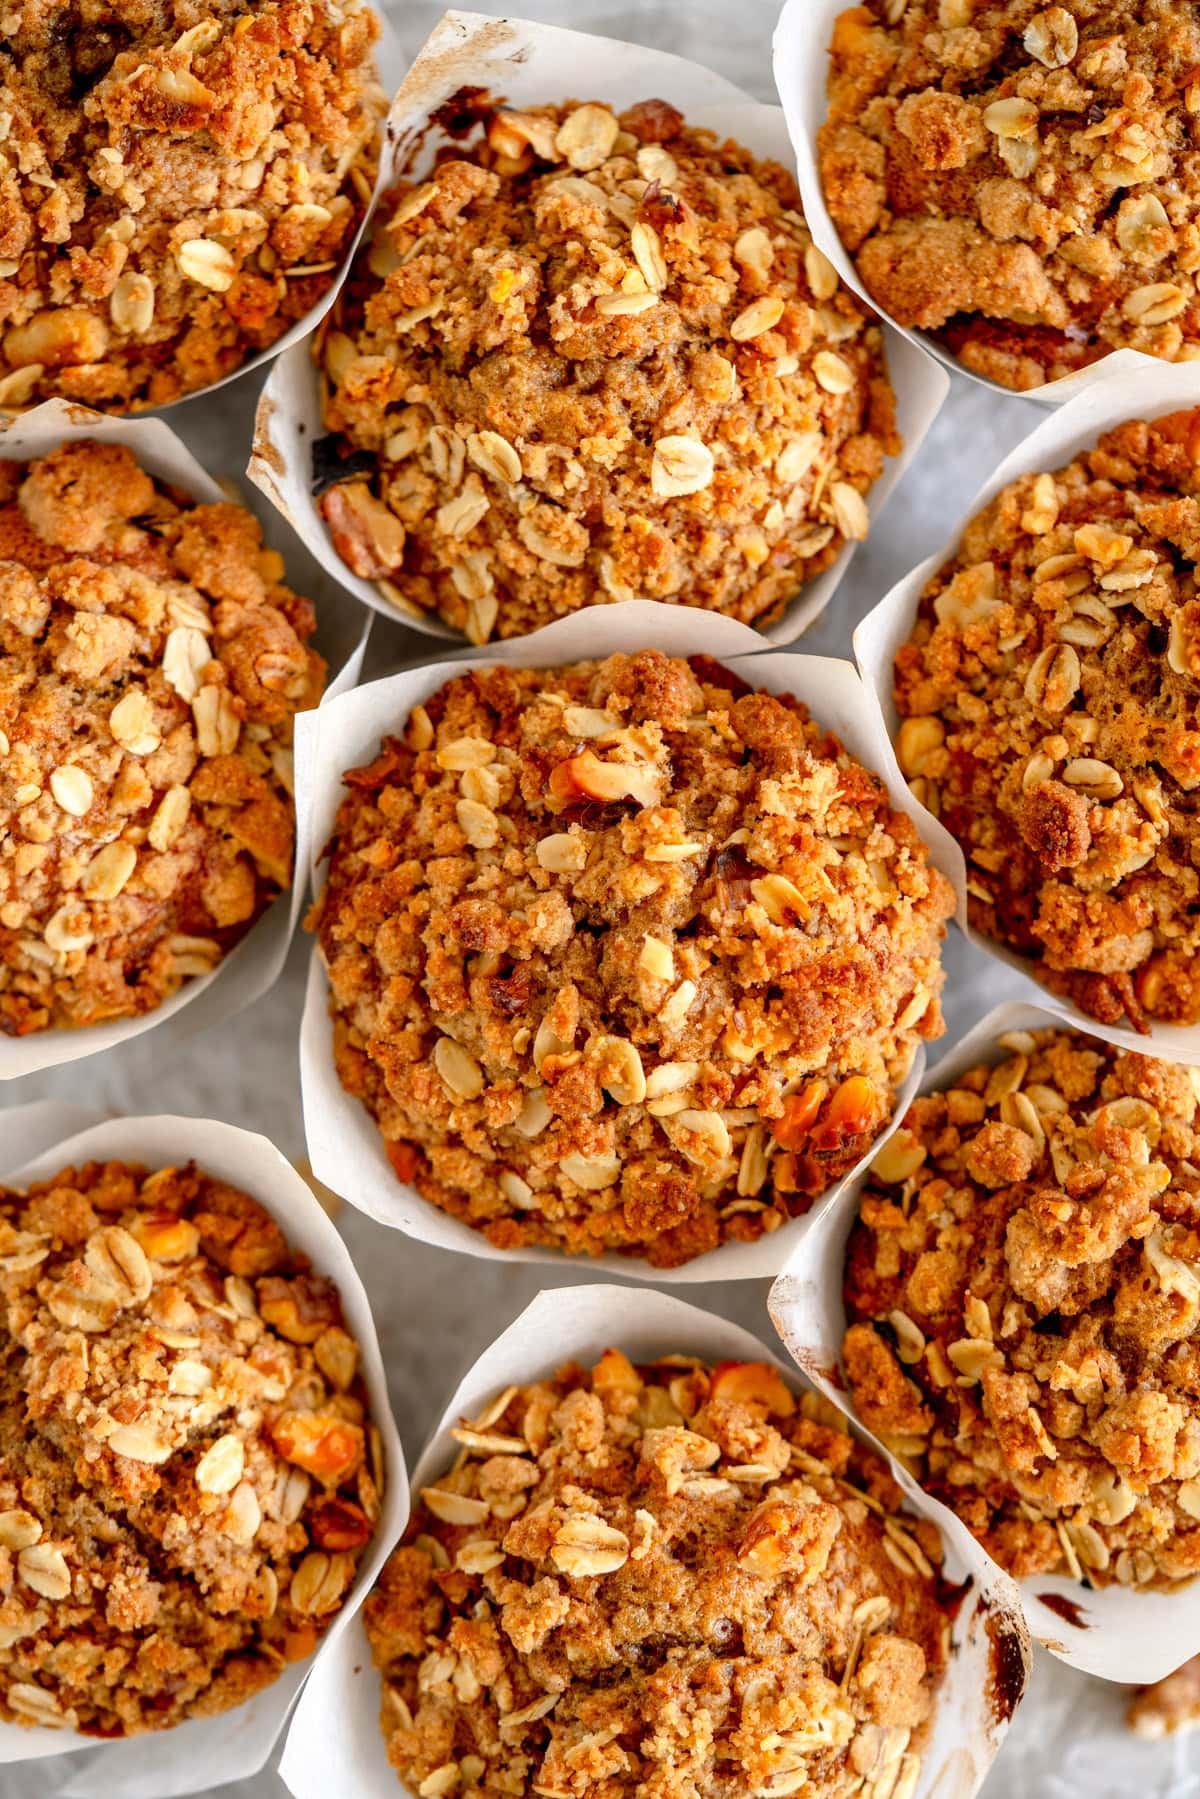
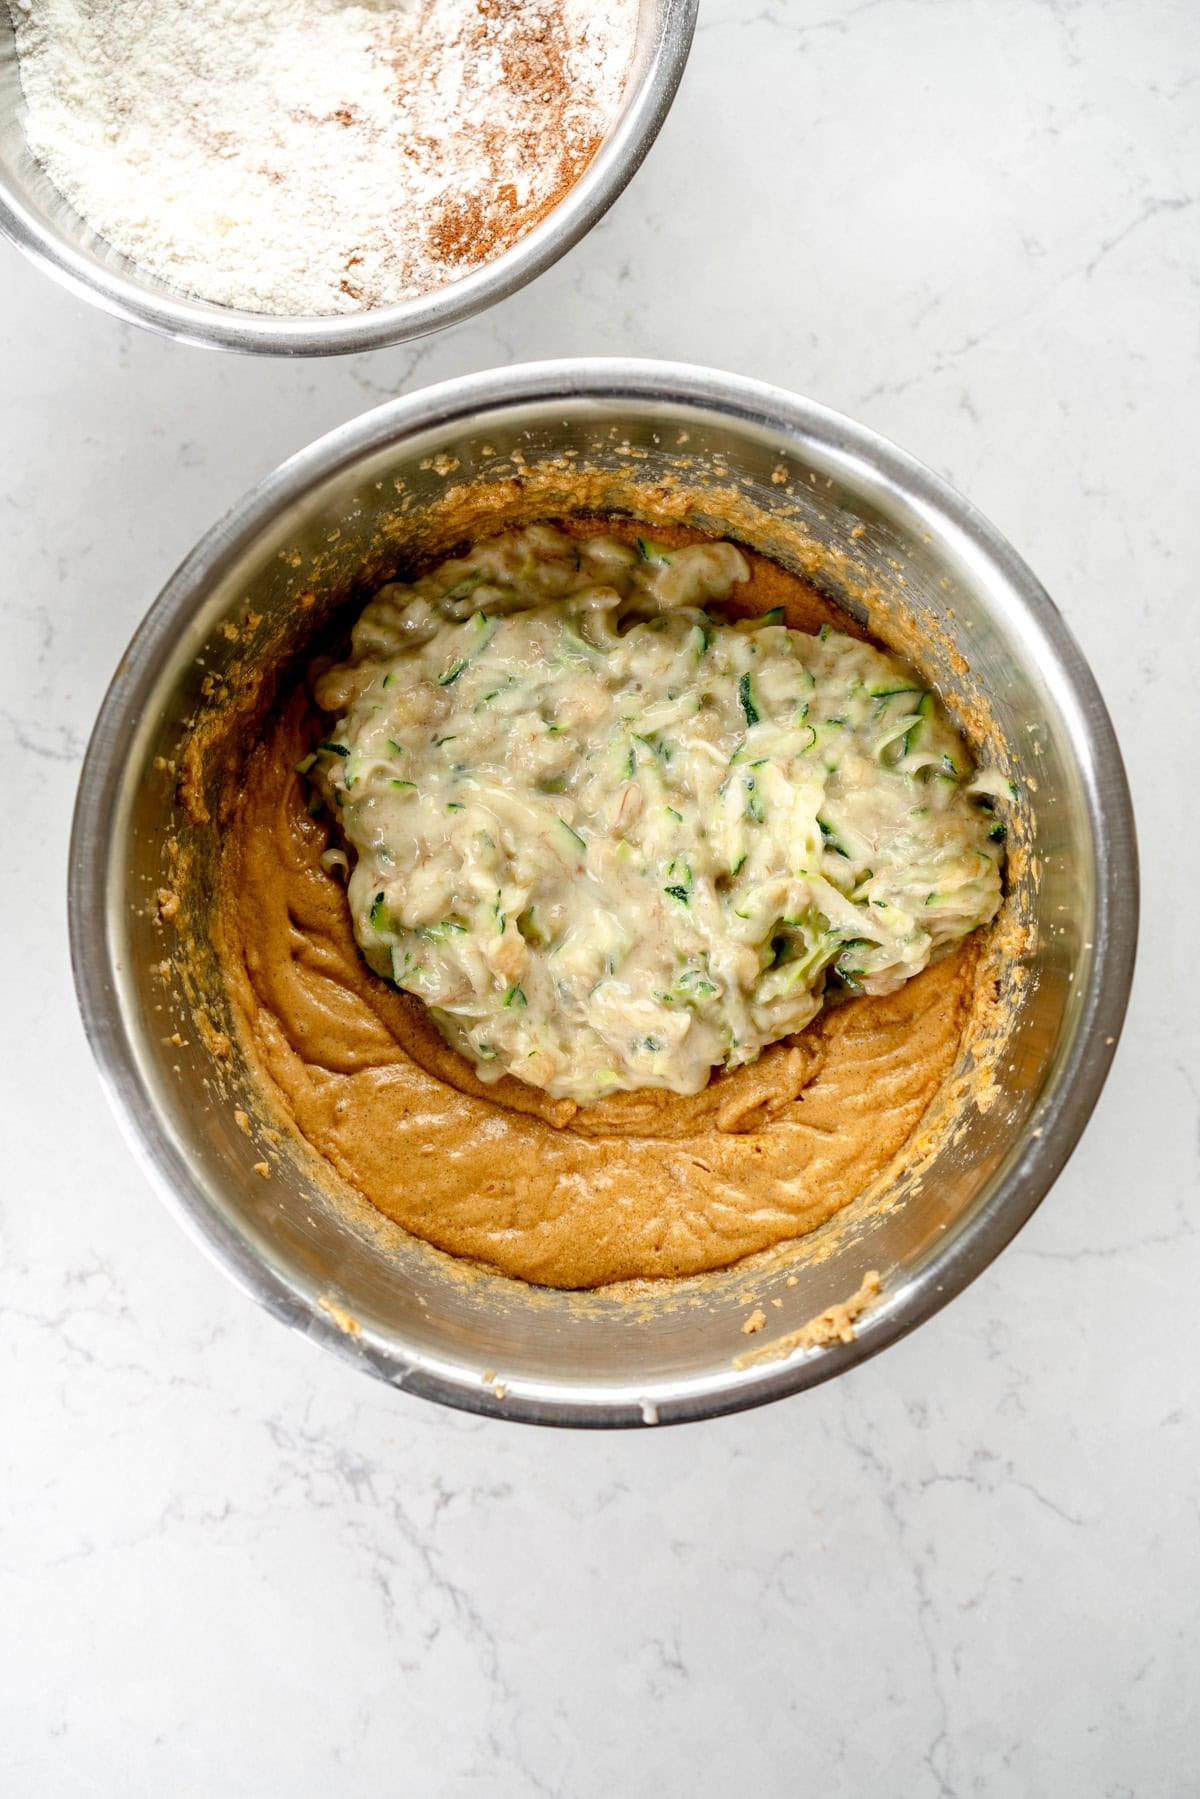
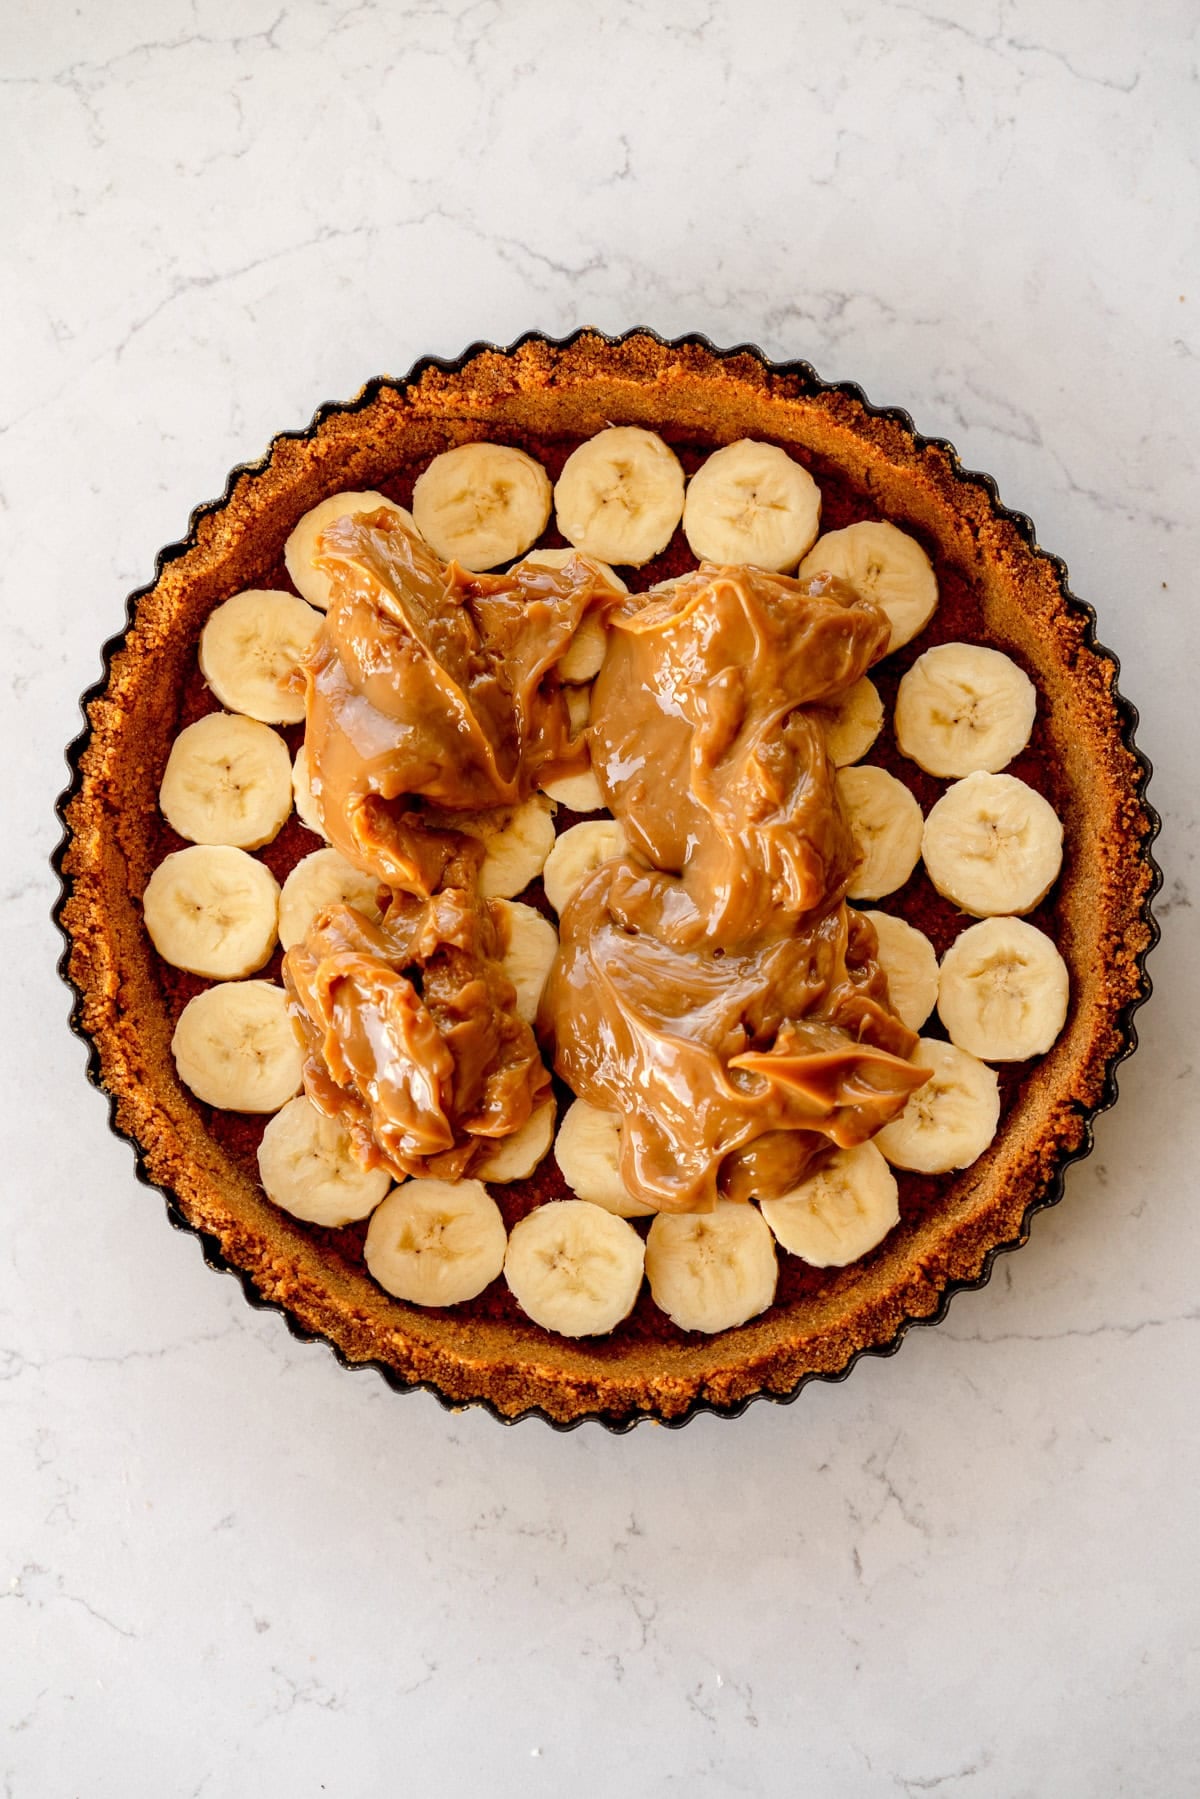
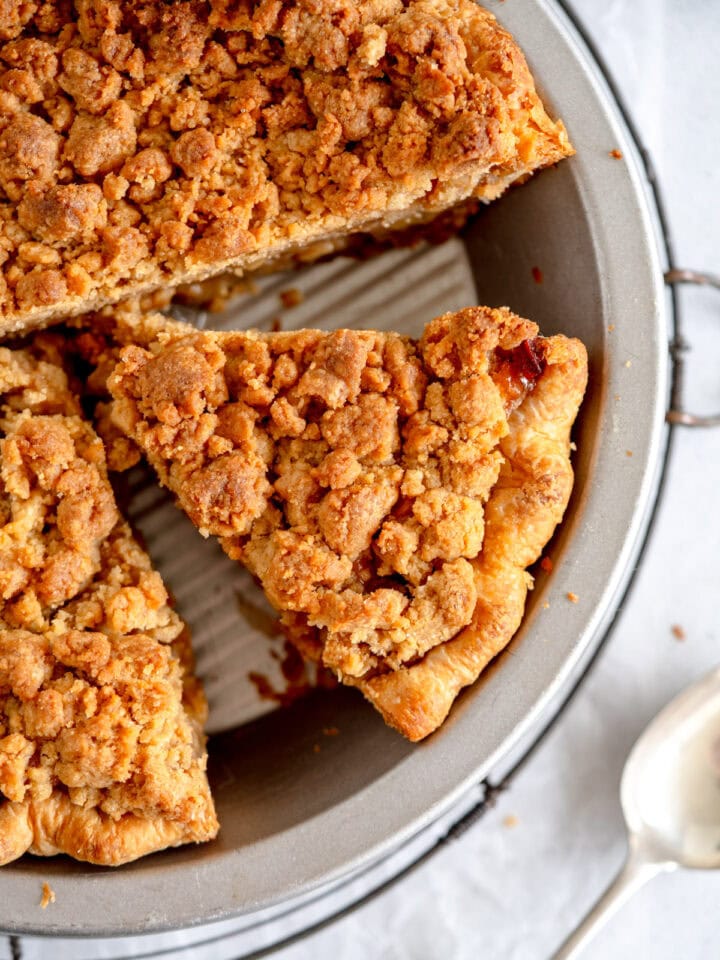
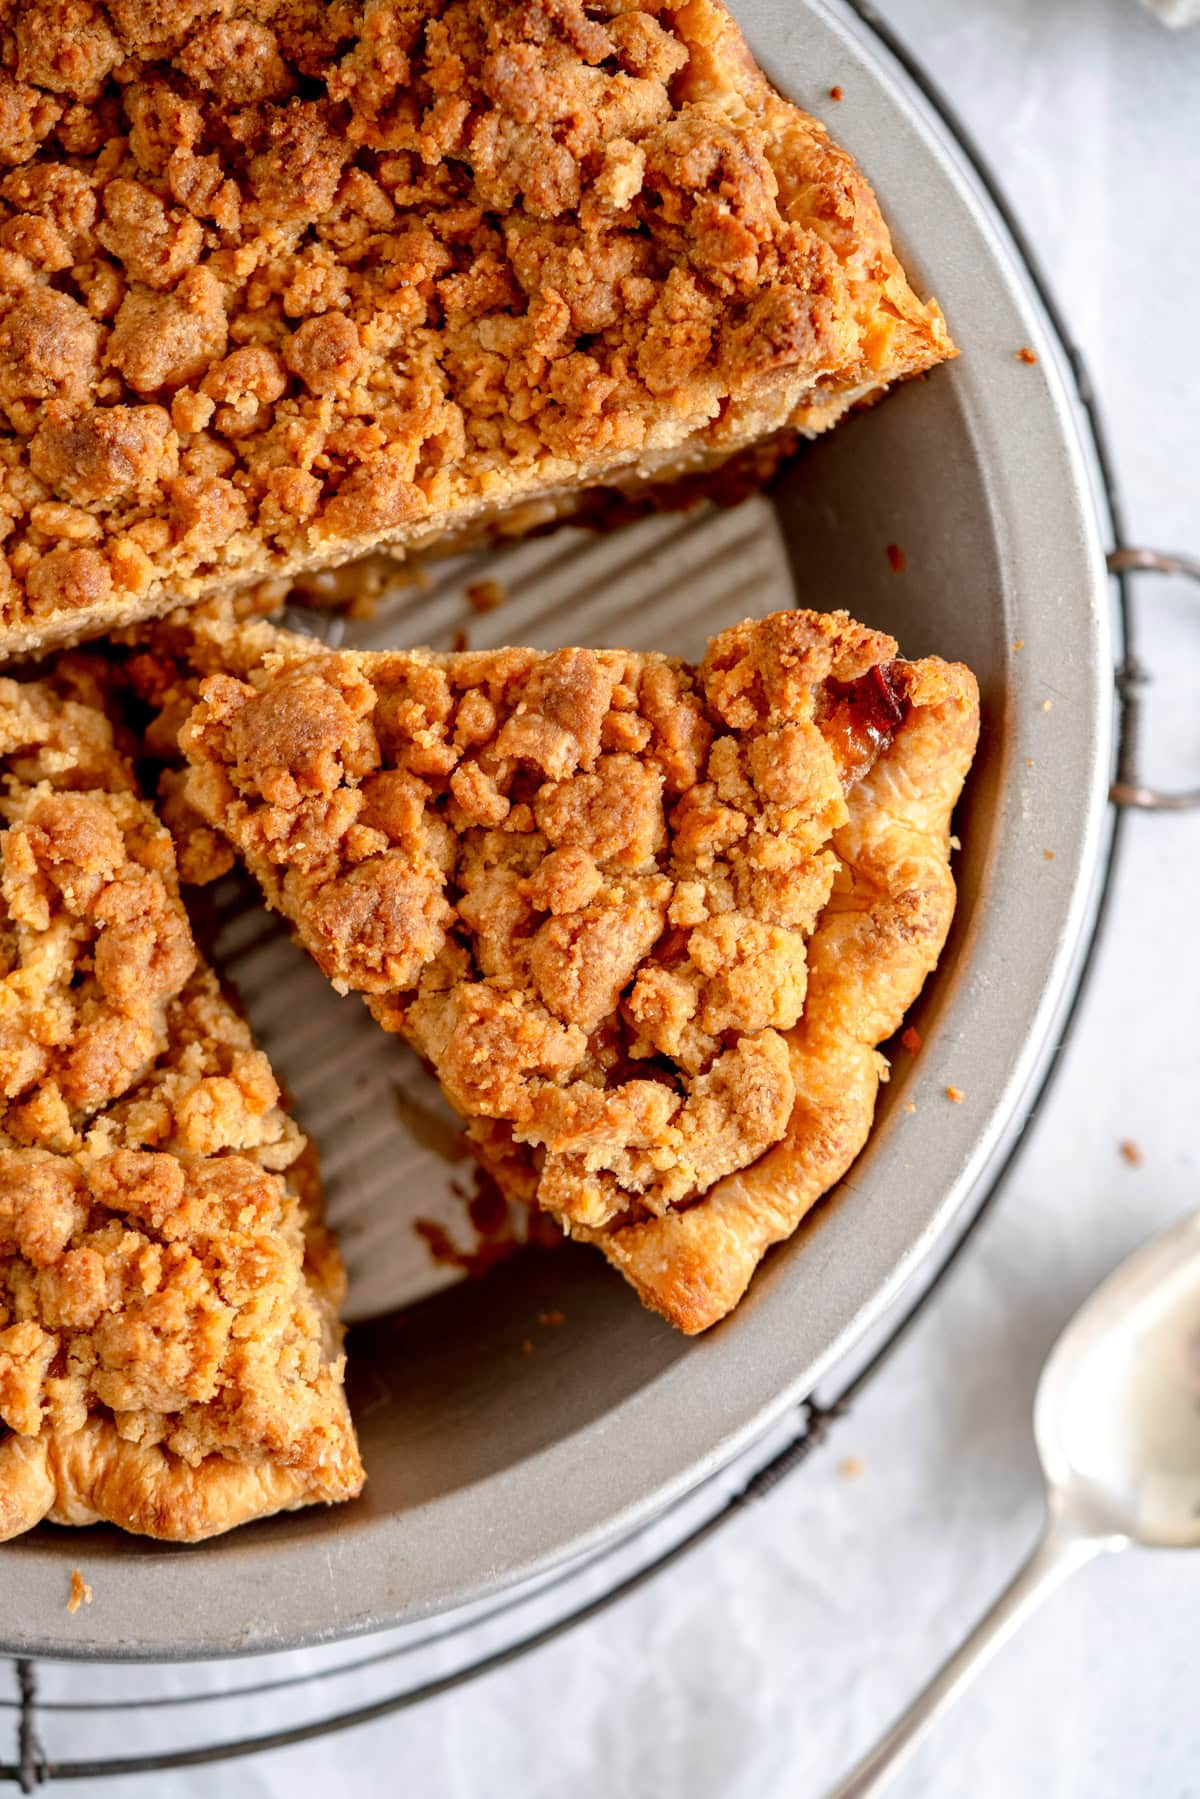
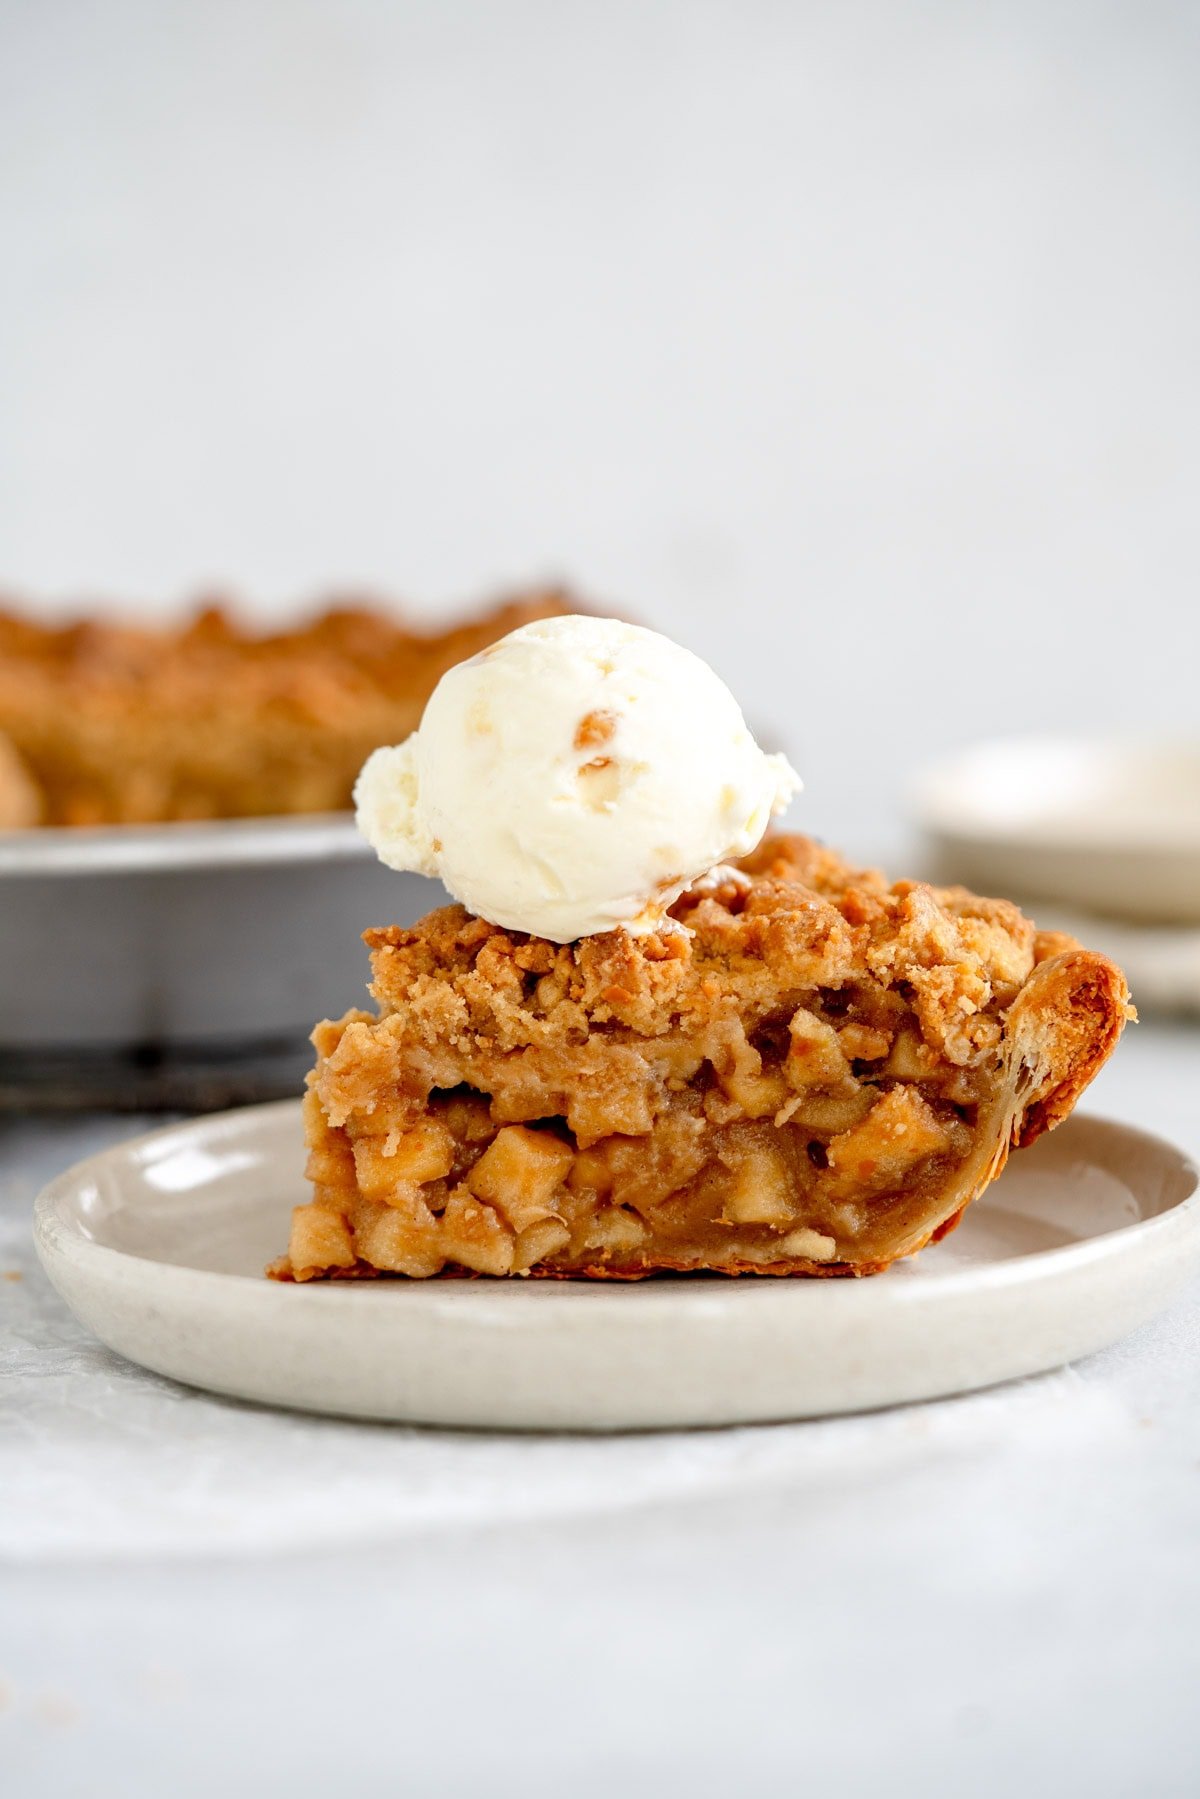
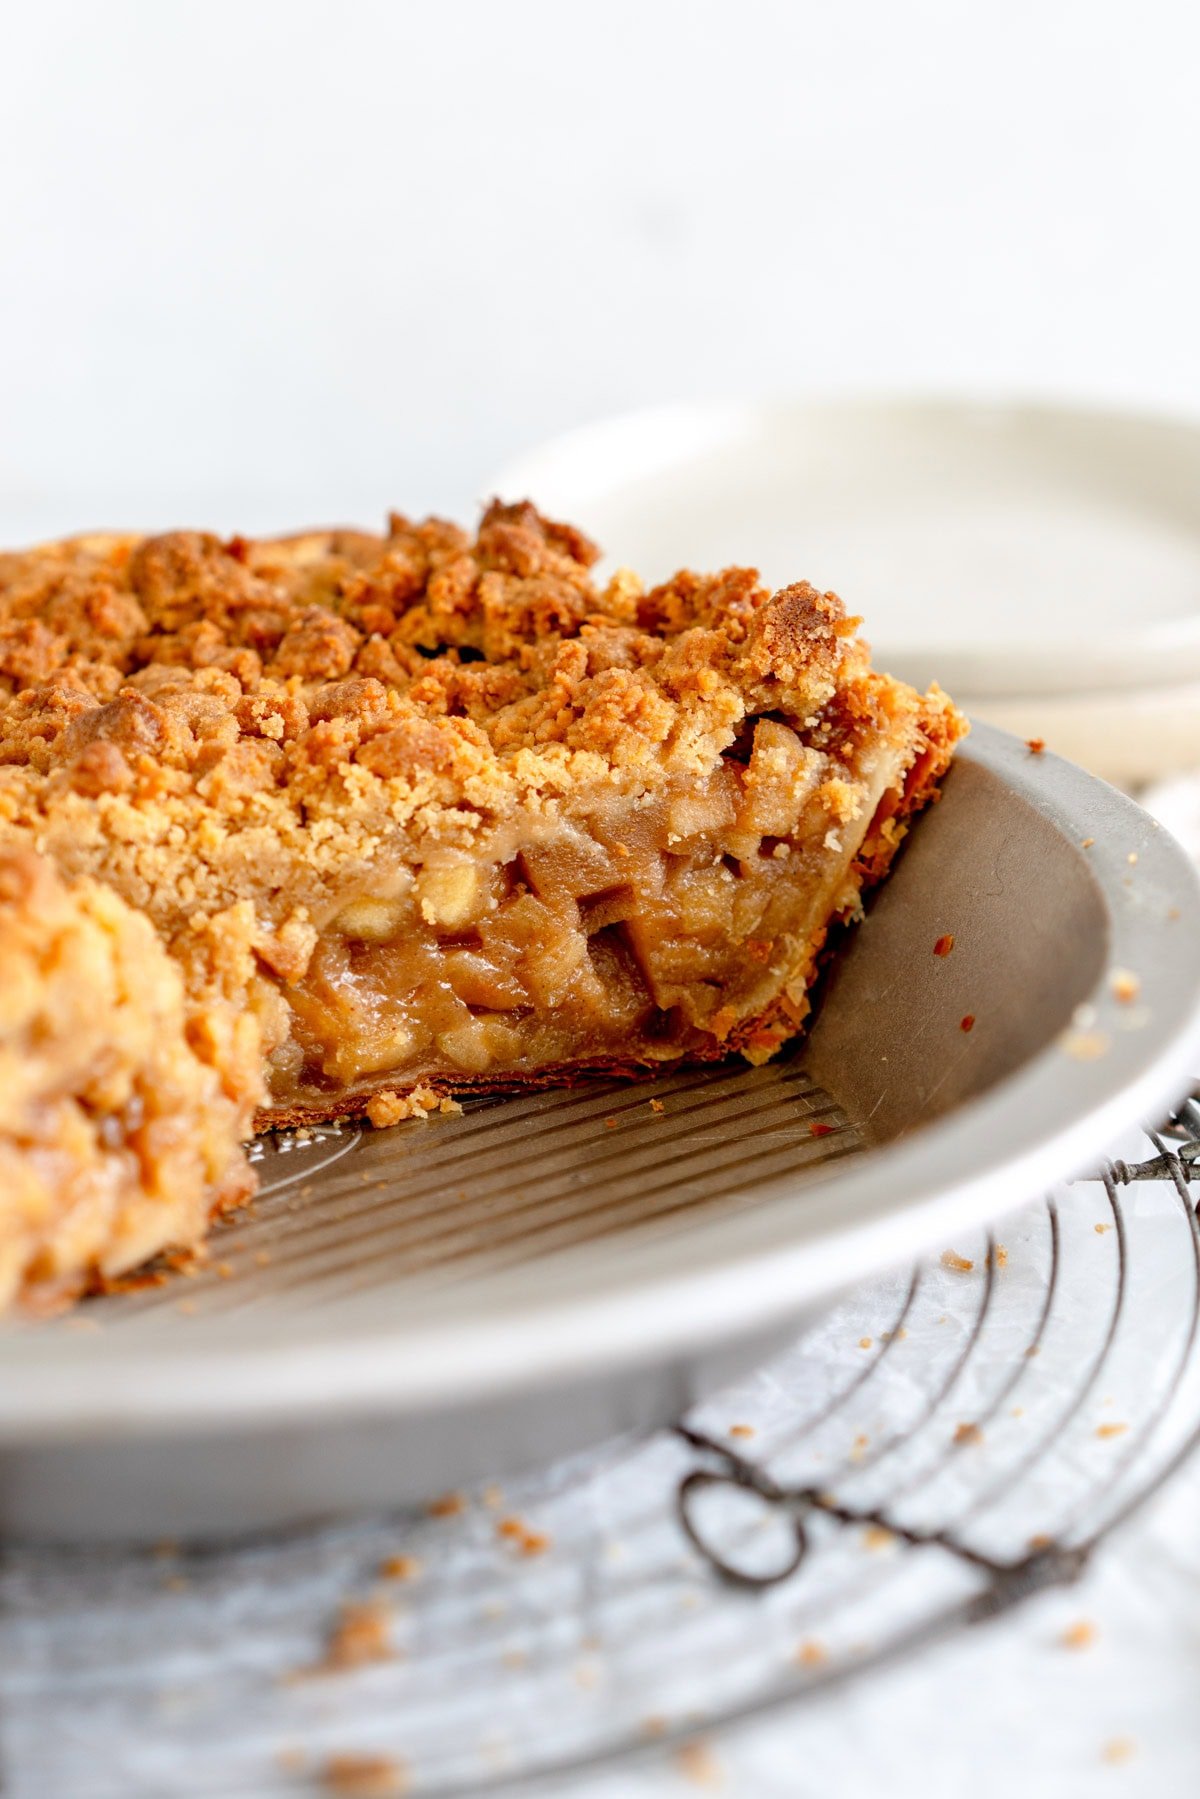
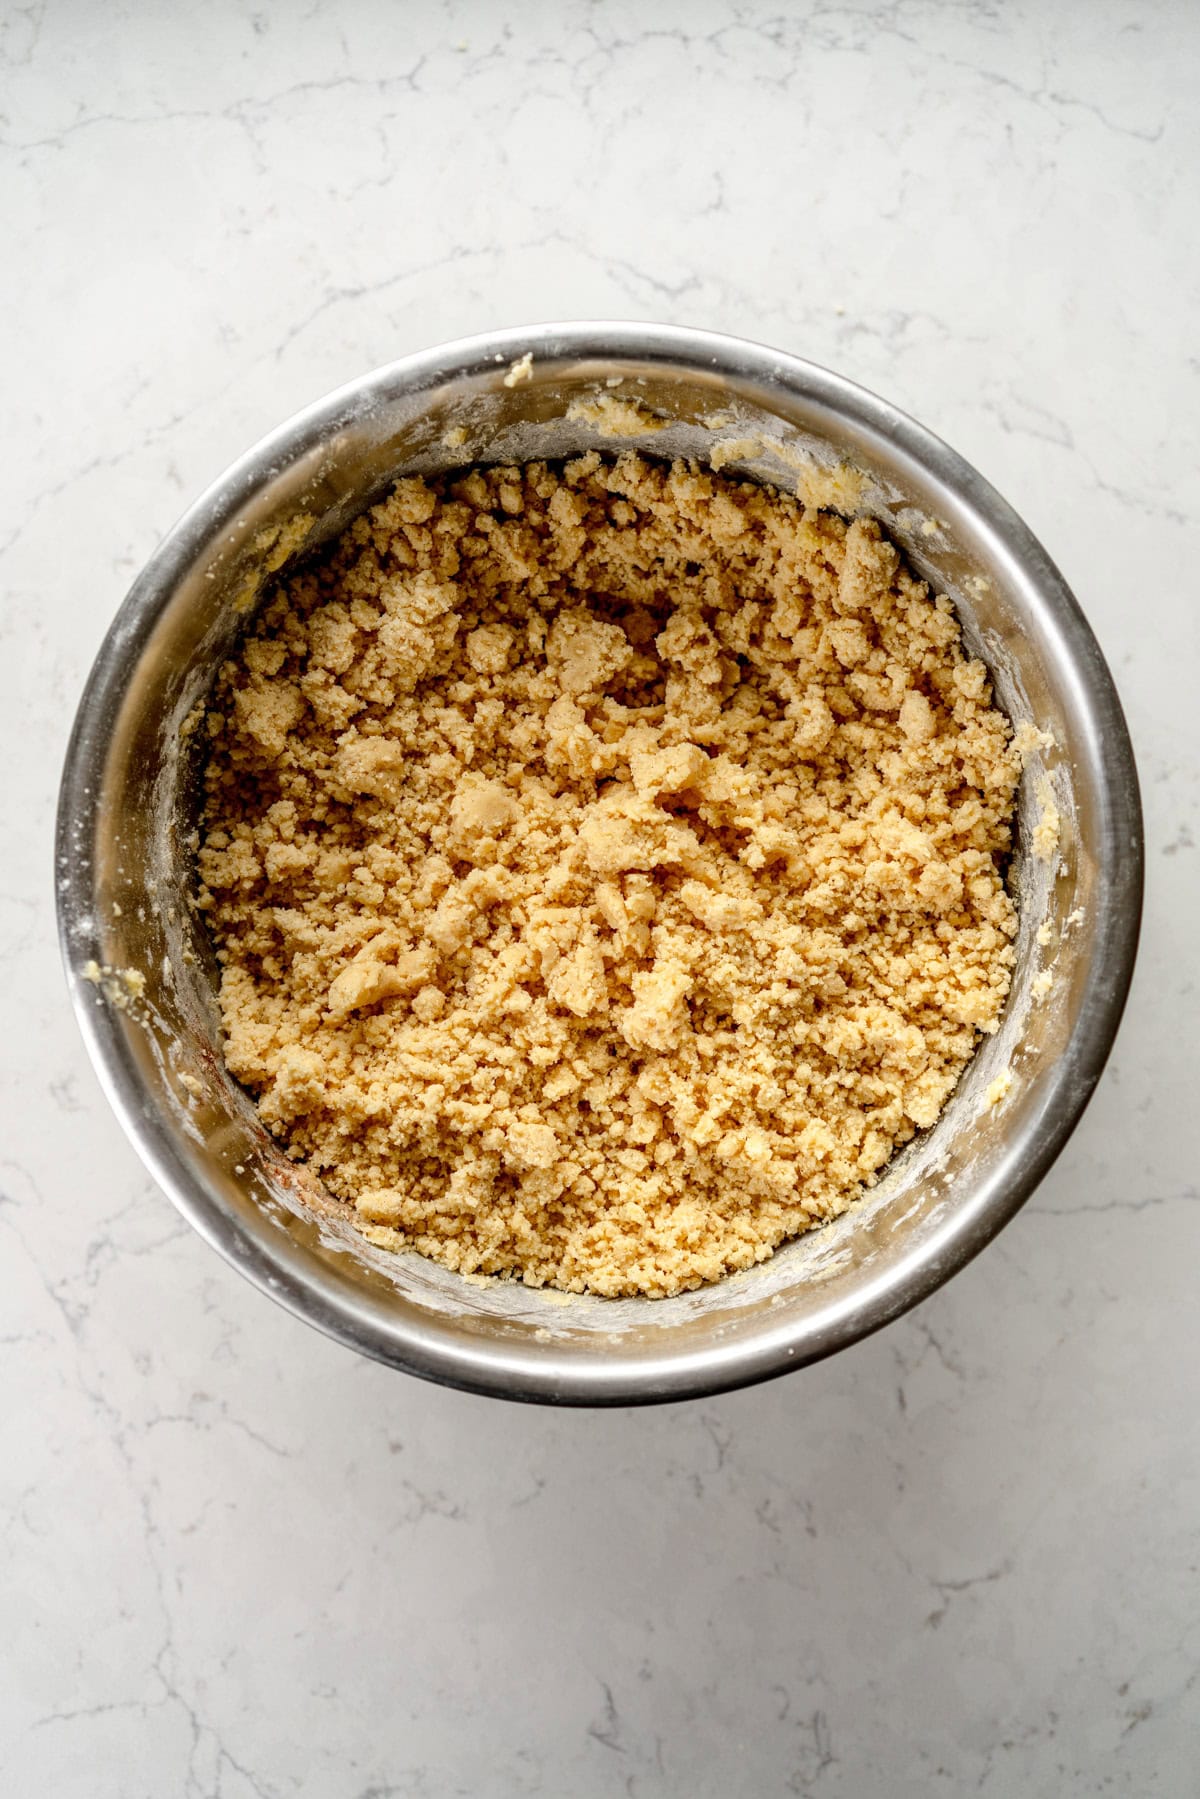
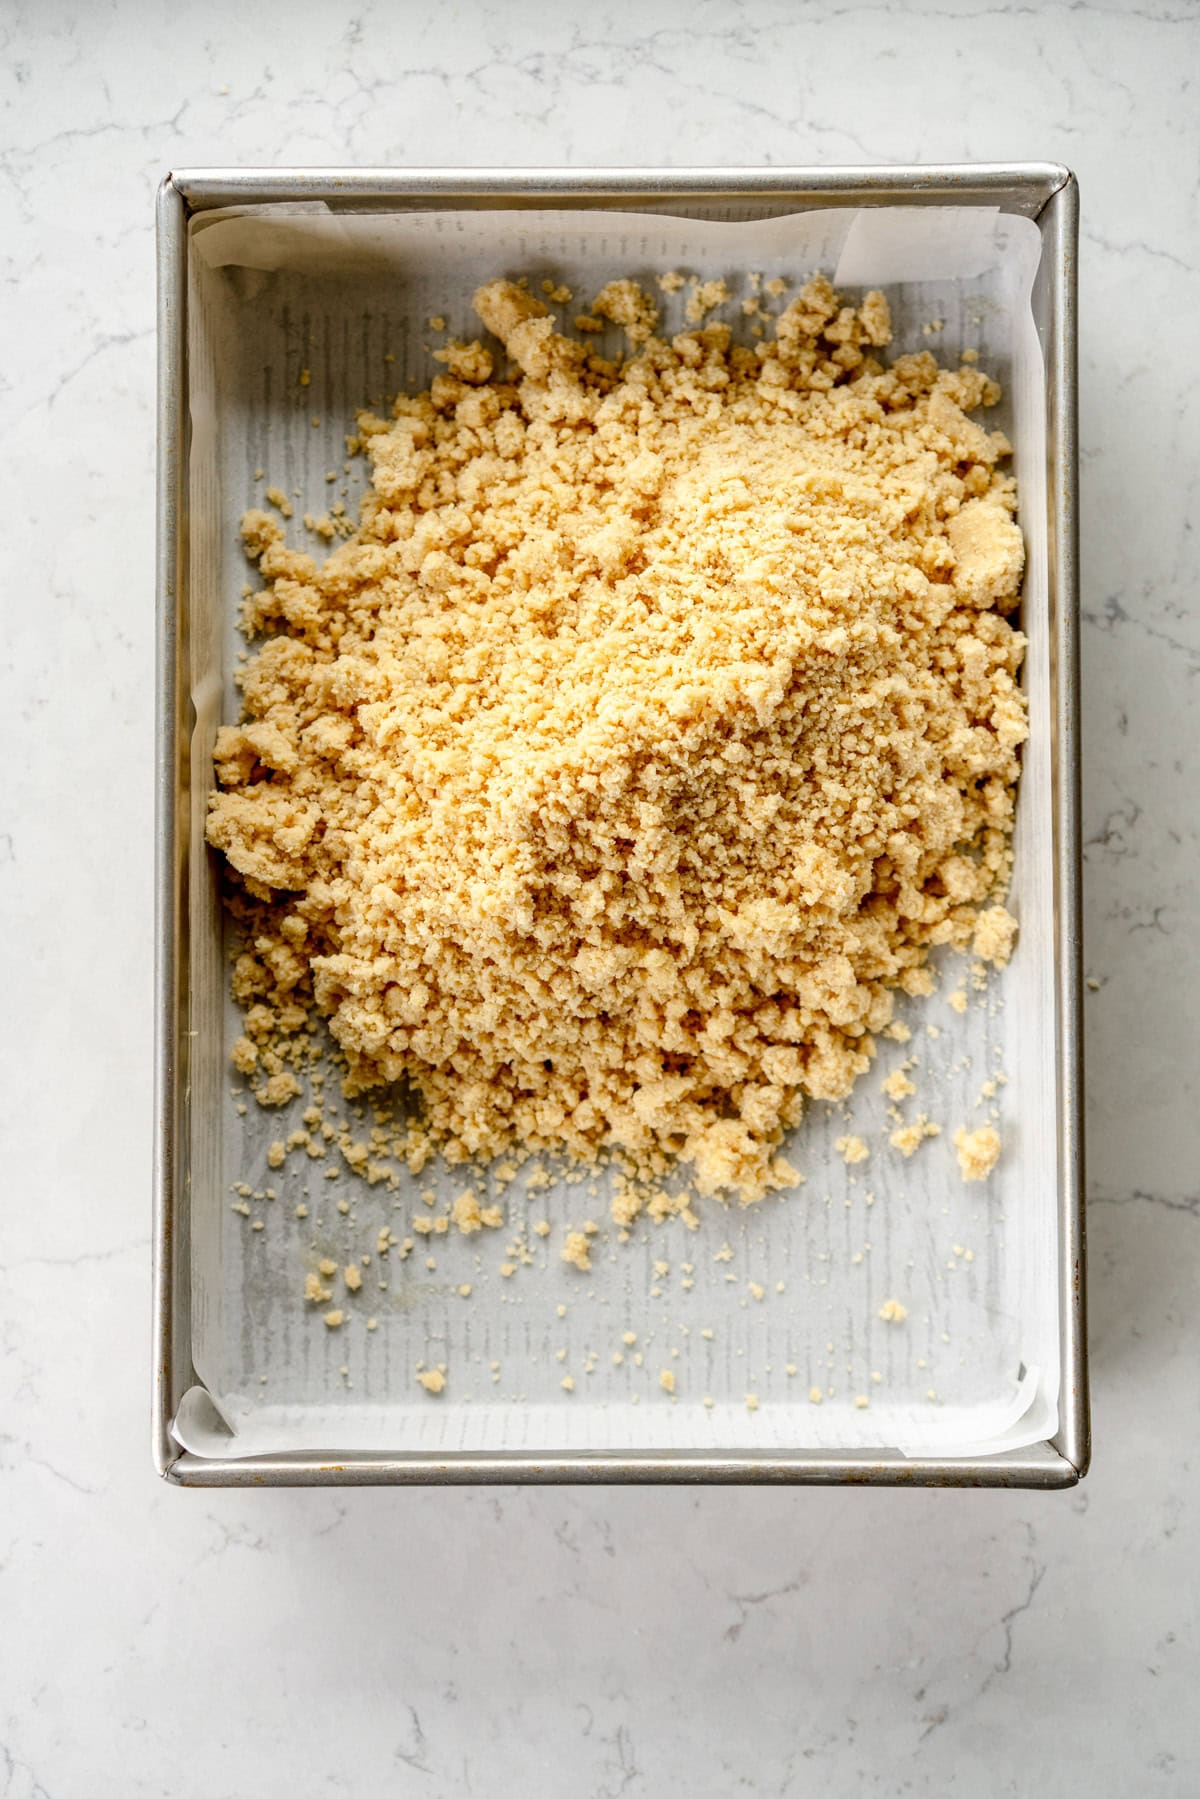
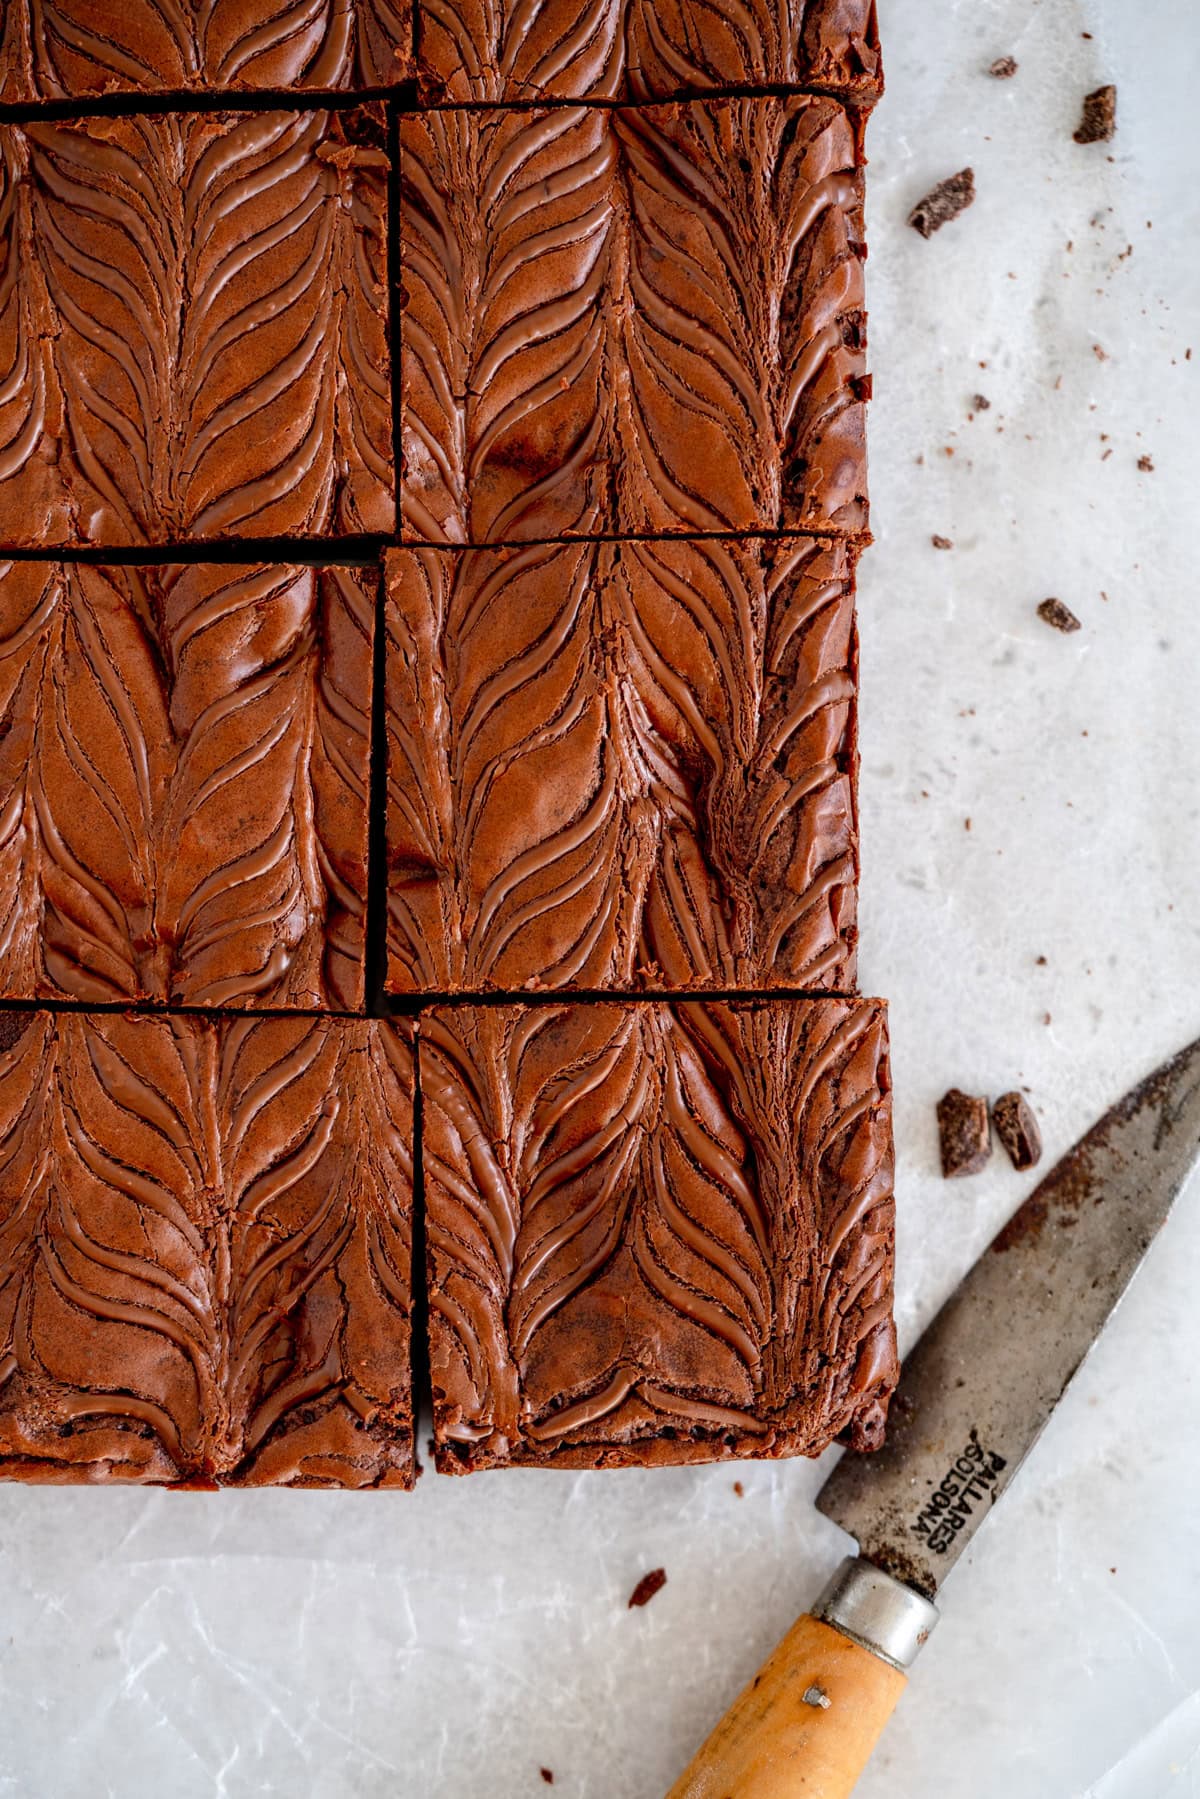
I often mix and match my recipes - particularly with my butter cake recipe. When you add something on the top of a cake, in this case rhubarb, or maybe a streusel topping (both would be amaaaazing), you will need to increase the bake time slightly. The topping not only weighs down the cake a little, but it provides some extra moisture, which can extend the bake time.
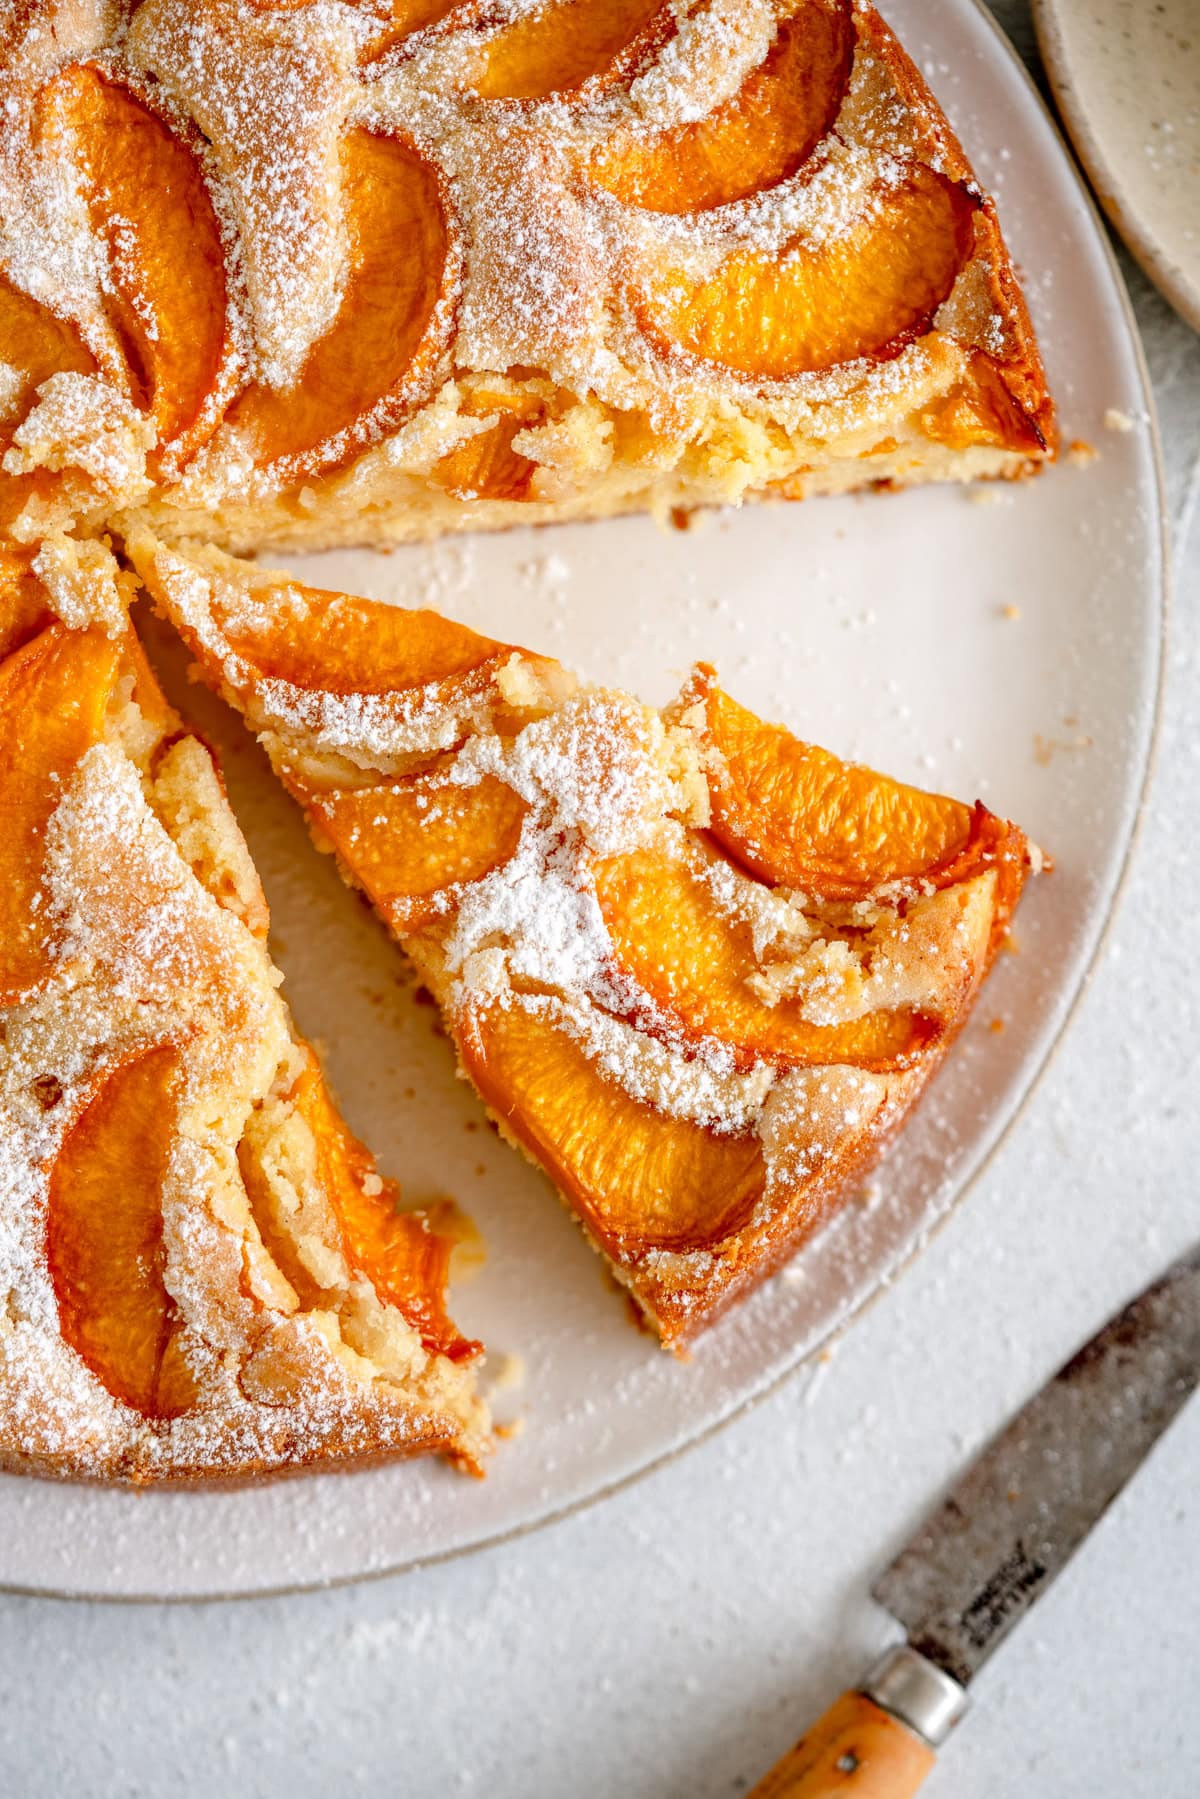
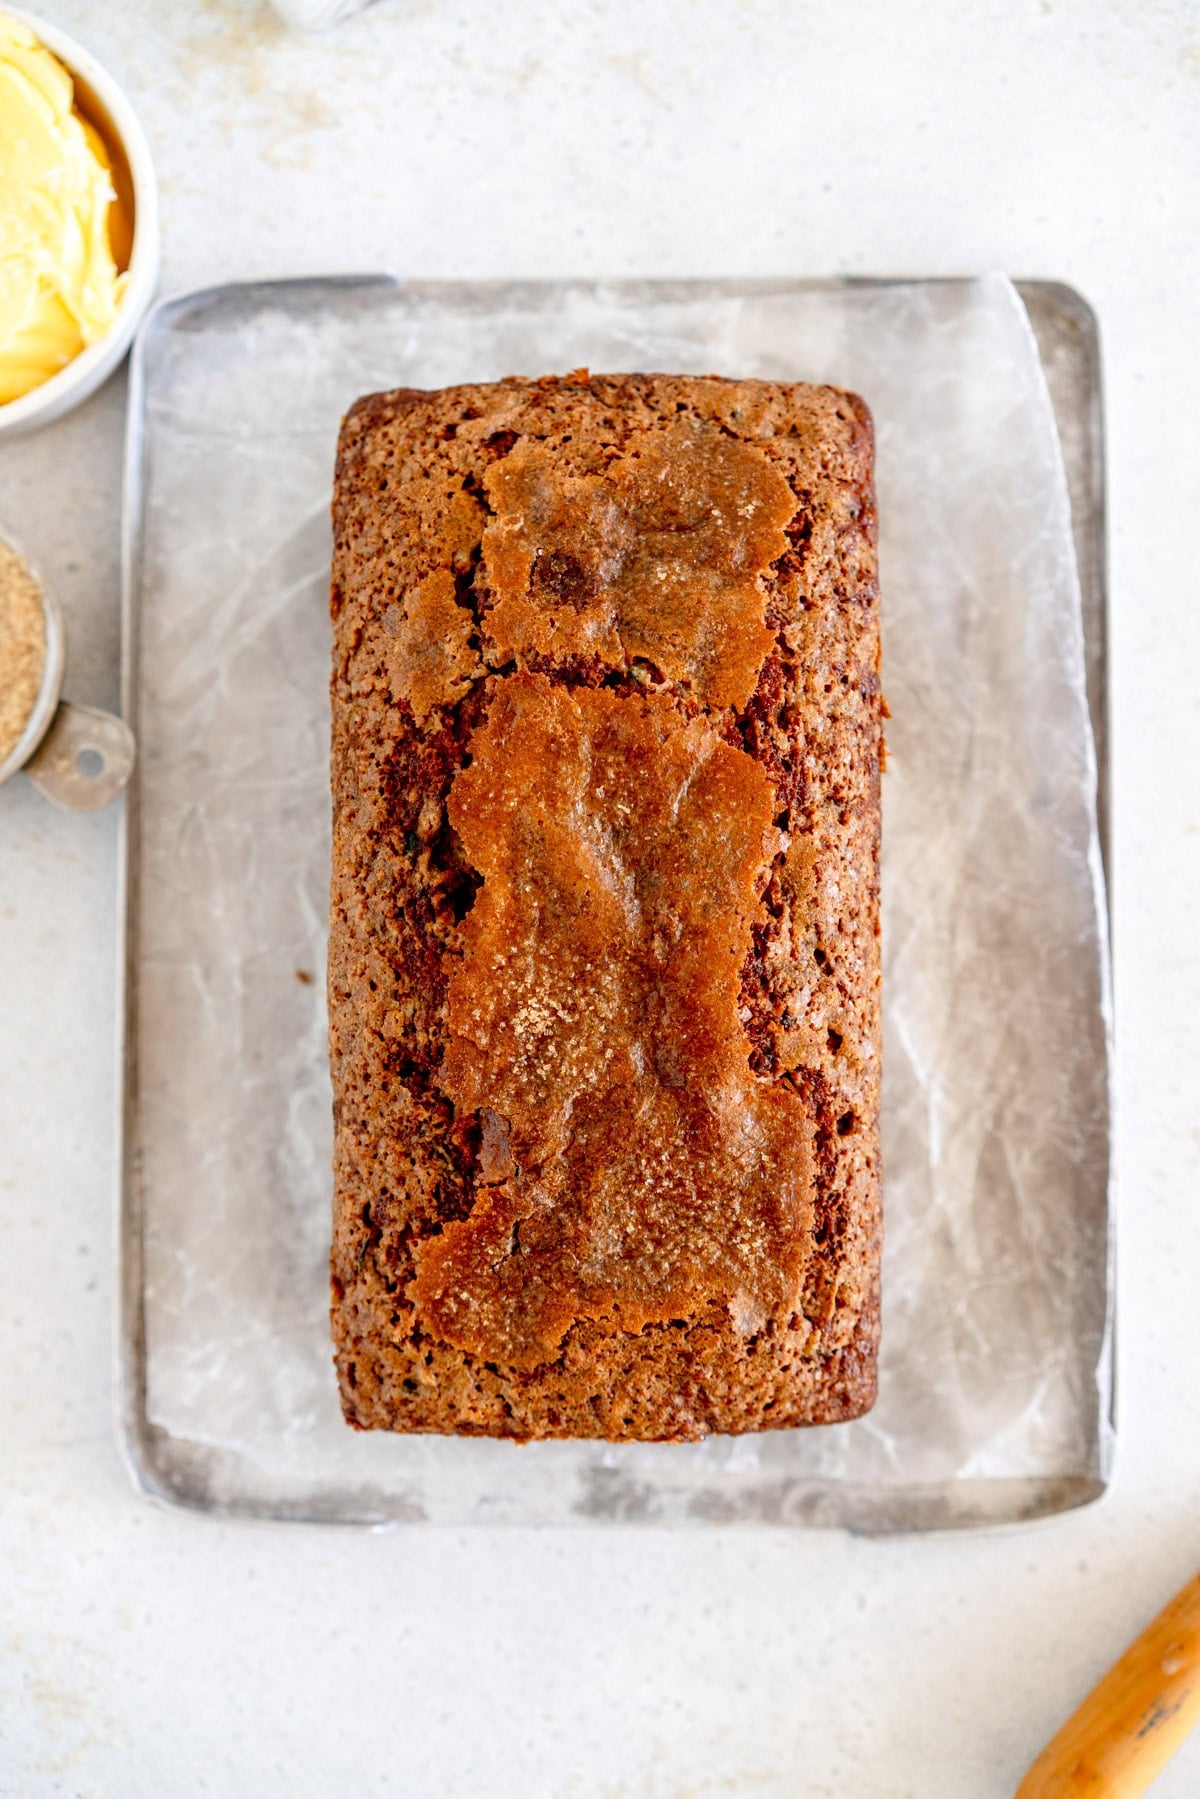
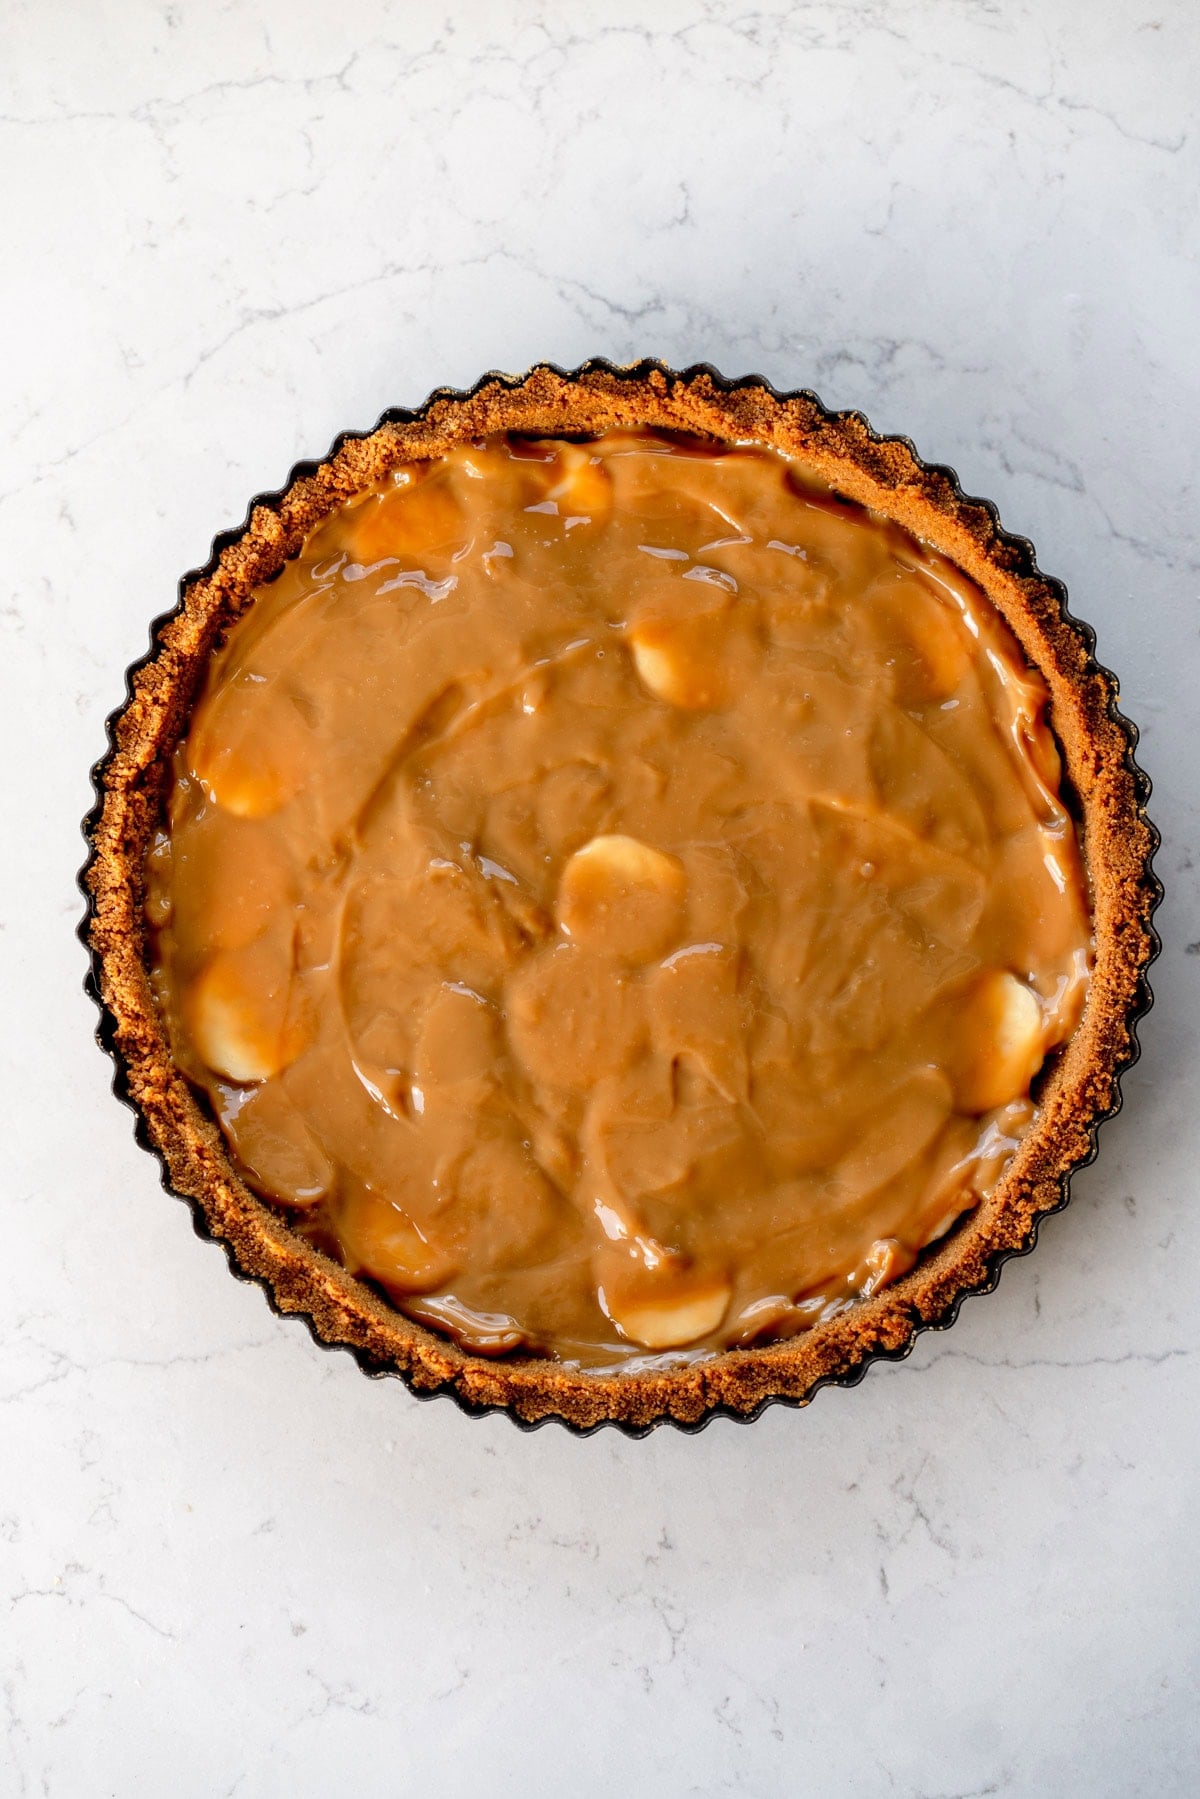
When you test for doneness try and insert your skewer into a piece that doesn't have any rhubarb on it so that you can get an accurate test of how baked your cake is. You are looking for the skewer to come out clean with only a few moist crumbs attached. Remember that different ovens bake differently and sometimes even at different temperatures (which is why I always advise to use an oven thermometer), so you are best to go off visual cues than just the bake time.
❤️ Made this recipe and love it? ❤️
I would LOVE for you to leave me a review and star rating below to let me know how you liked it! Also, please make sure to tag me on Instagram!
Answers to your baking questions
Over the years, many of you have asked me questions about:
- baking in grams
- adjusting oven temperatures
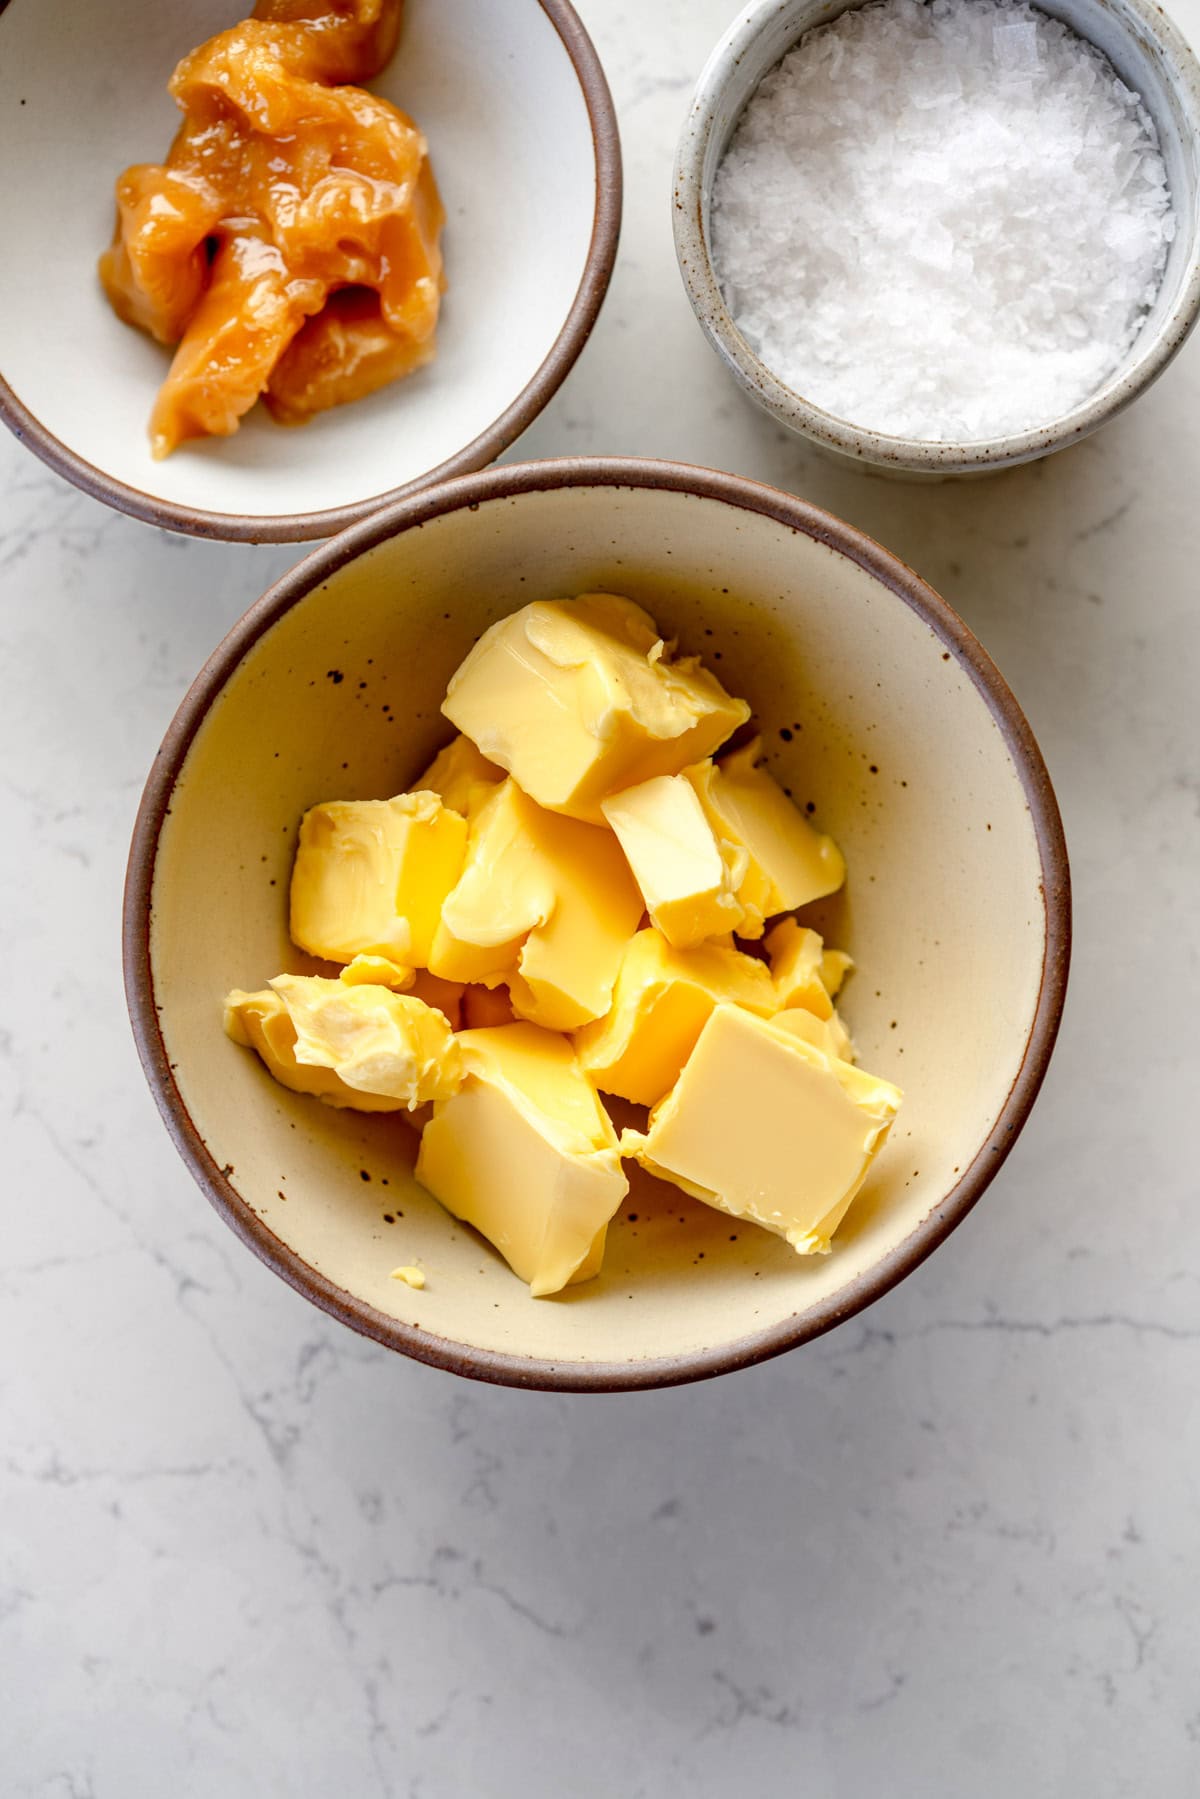
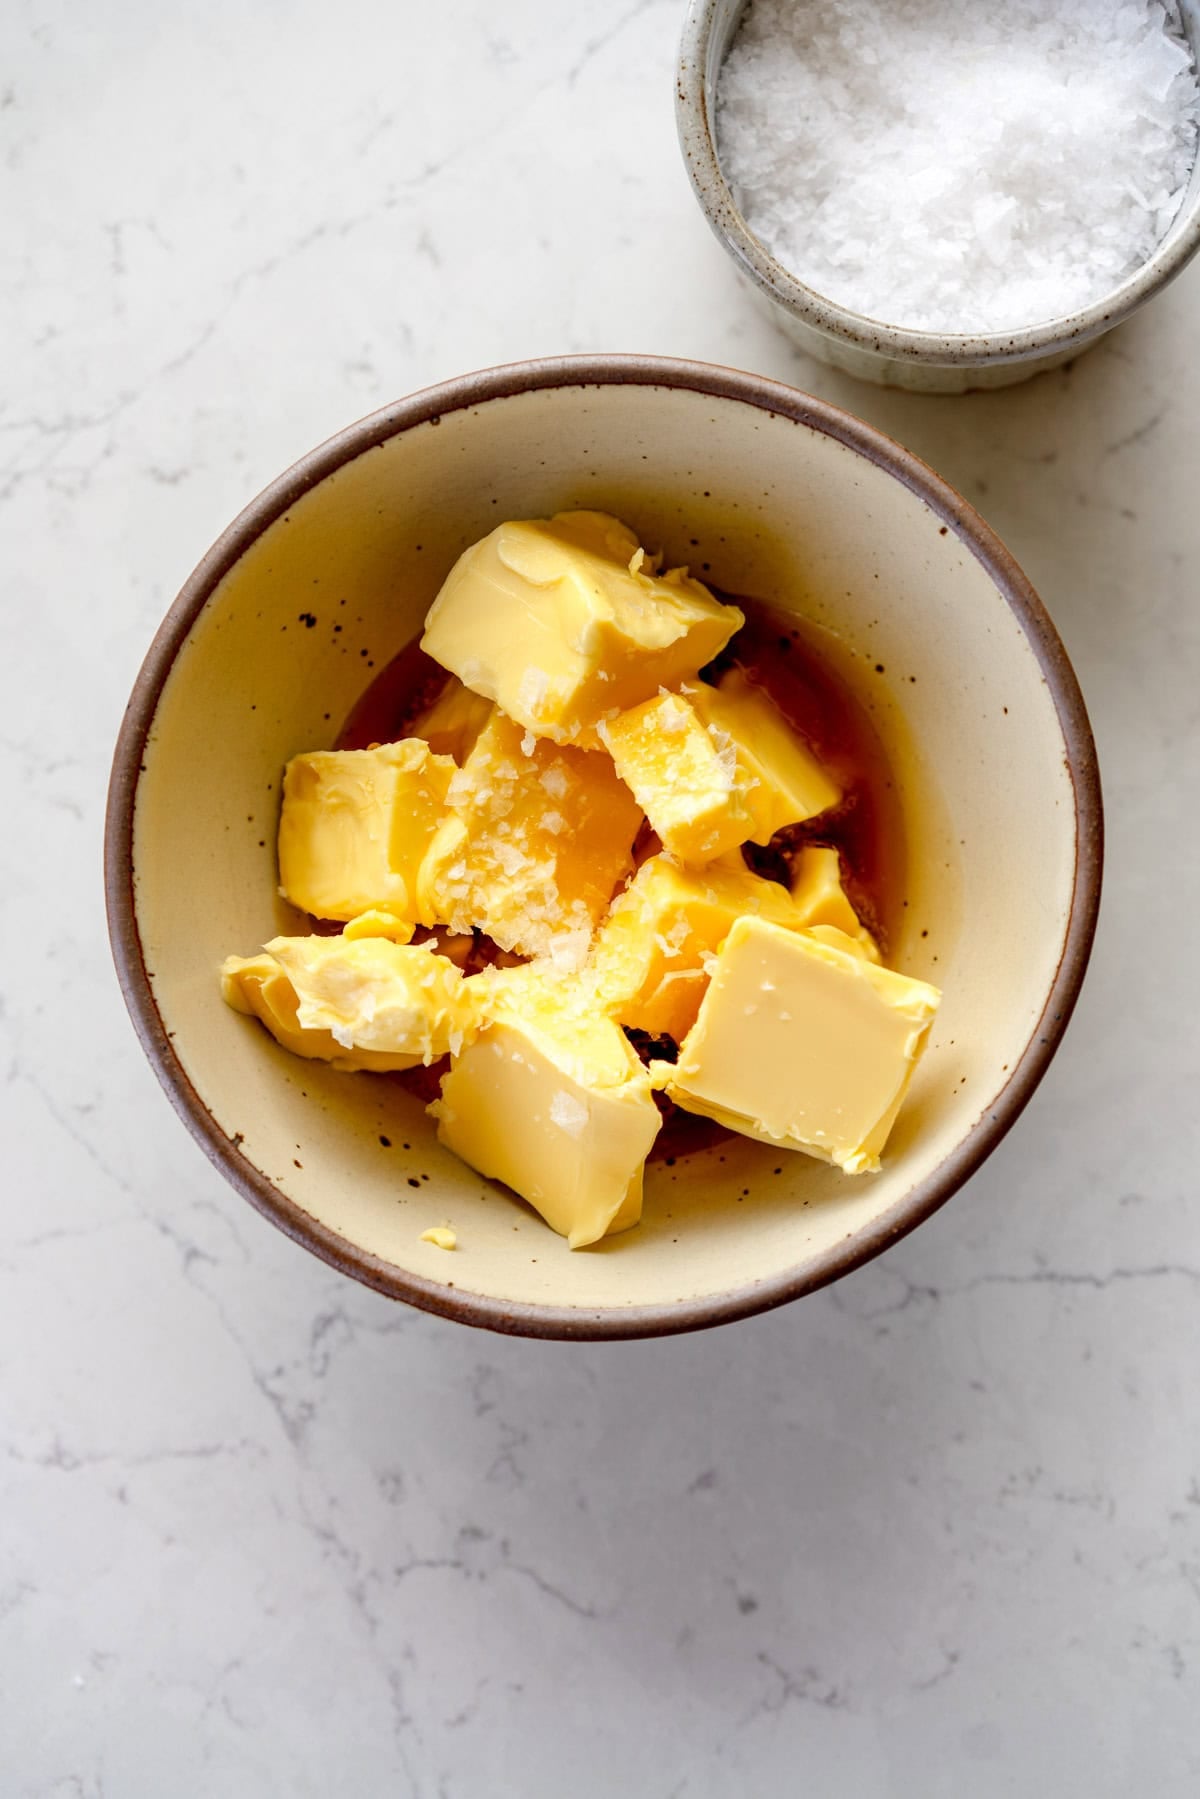
- what kind of salt to use
- and many more!
I've curated and answered them all for your easy reference in this frequently asked questions post!