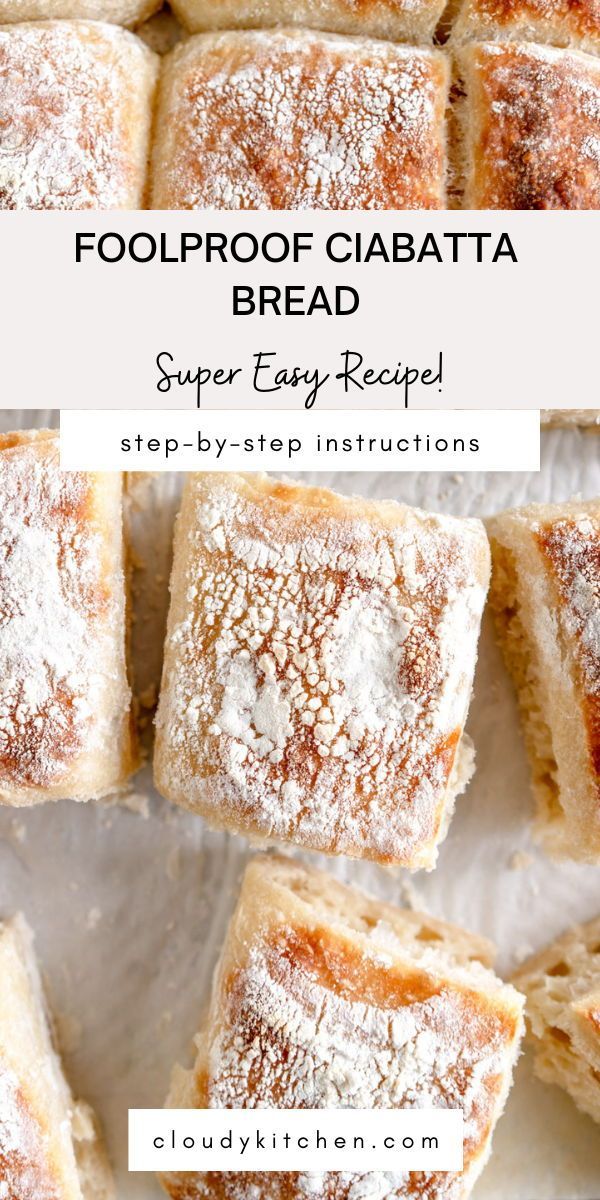
My easy Ciabatta Bread recipe will give you perfect crusty homemade bread with only five ingredients. This ciabatta dough can be made ahead and used to make either two loaves of ciabatta bread, or eight ciabatta rolls.

Hi! I am just popping in to share my easy ciabatta bread recipe with you! This super rustic, Italian style ciabatta bread is very low effort - it is a no knead bread recipe that uses an overnight rise to produce a super chewy, crusty bread. I love making homemade bread, and especially love a super easy no knead recipe that can be made ahead, such as my focaccia recipe. However, I was after something in a slightly different format - enter this easy ciabatta recipe. This recipe is great for serving alongside dinner, but also makes the most amazing sandwiches.
I tested this recipe over and over in different formats during the recipe testing process so that I could give you all the tips and tricks for making easy ciabatta bread - this dough can be used to make ciabatta loaf, ciabatta rolls, and a ciabatta pull-apart bread, or all three if you like, with only a few tweaks.
This is definitely not a super traditional ciabatta recipe, but it is my take on it - a simple, easy to make bread that we love and I really hope that you do too. There are a ton of tips and tricks in this post for you.


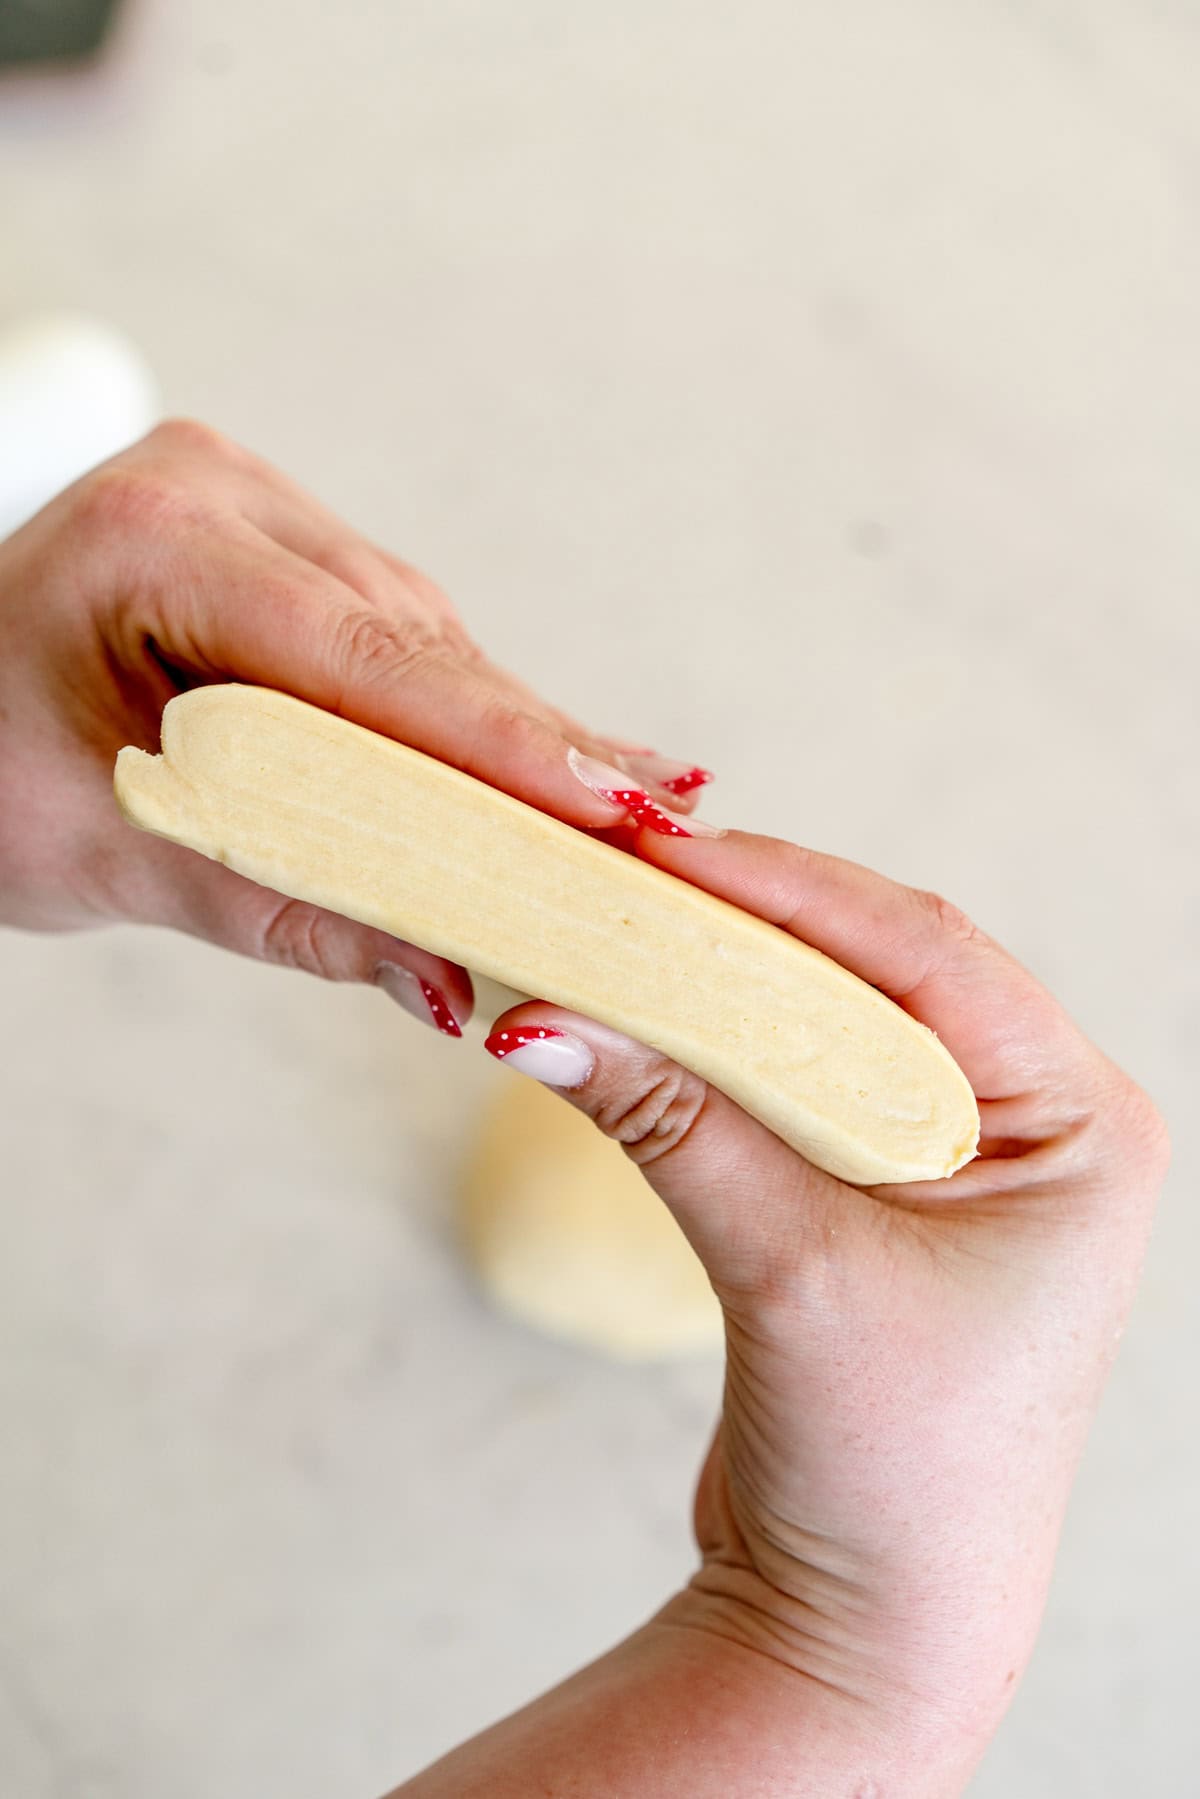
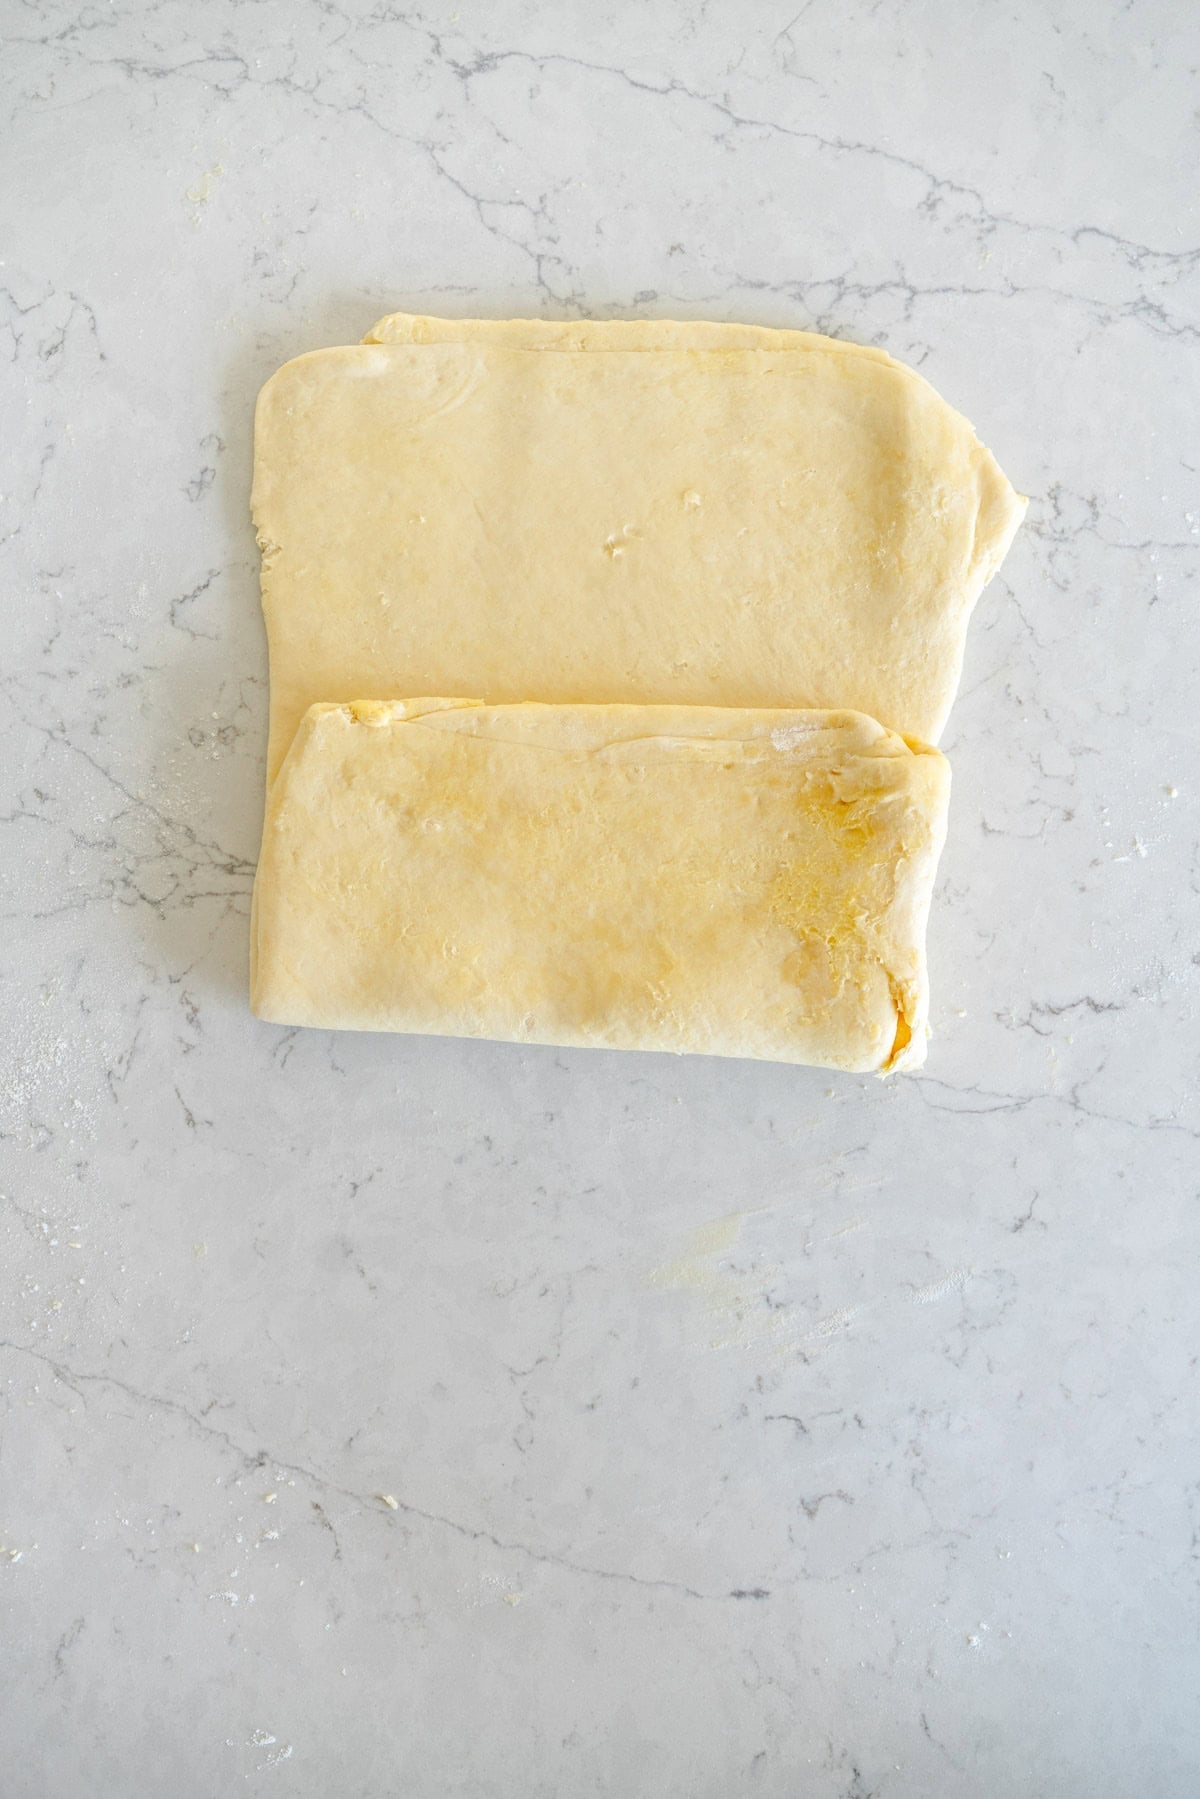
Don't be intimidated - here's how to shape ciabatta.
There are a few ways you can shape your ciabatta dough depending on the format that you want it to be in. You can either bake it as two loaves, or it can also be made into eight ciabatta rolls, or baked all together to make more of a pull-apart bread bun or ciabatta slider buns.
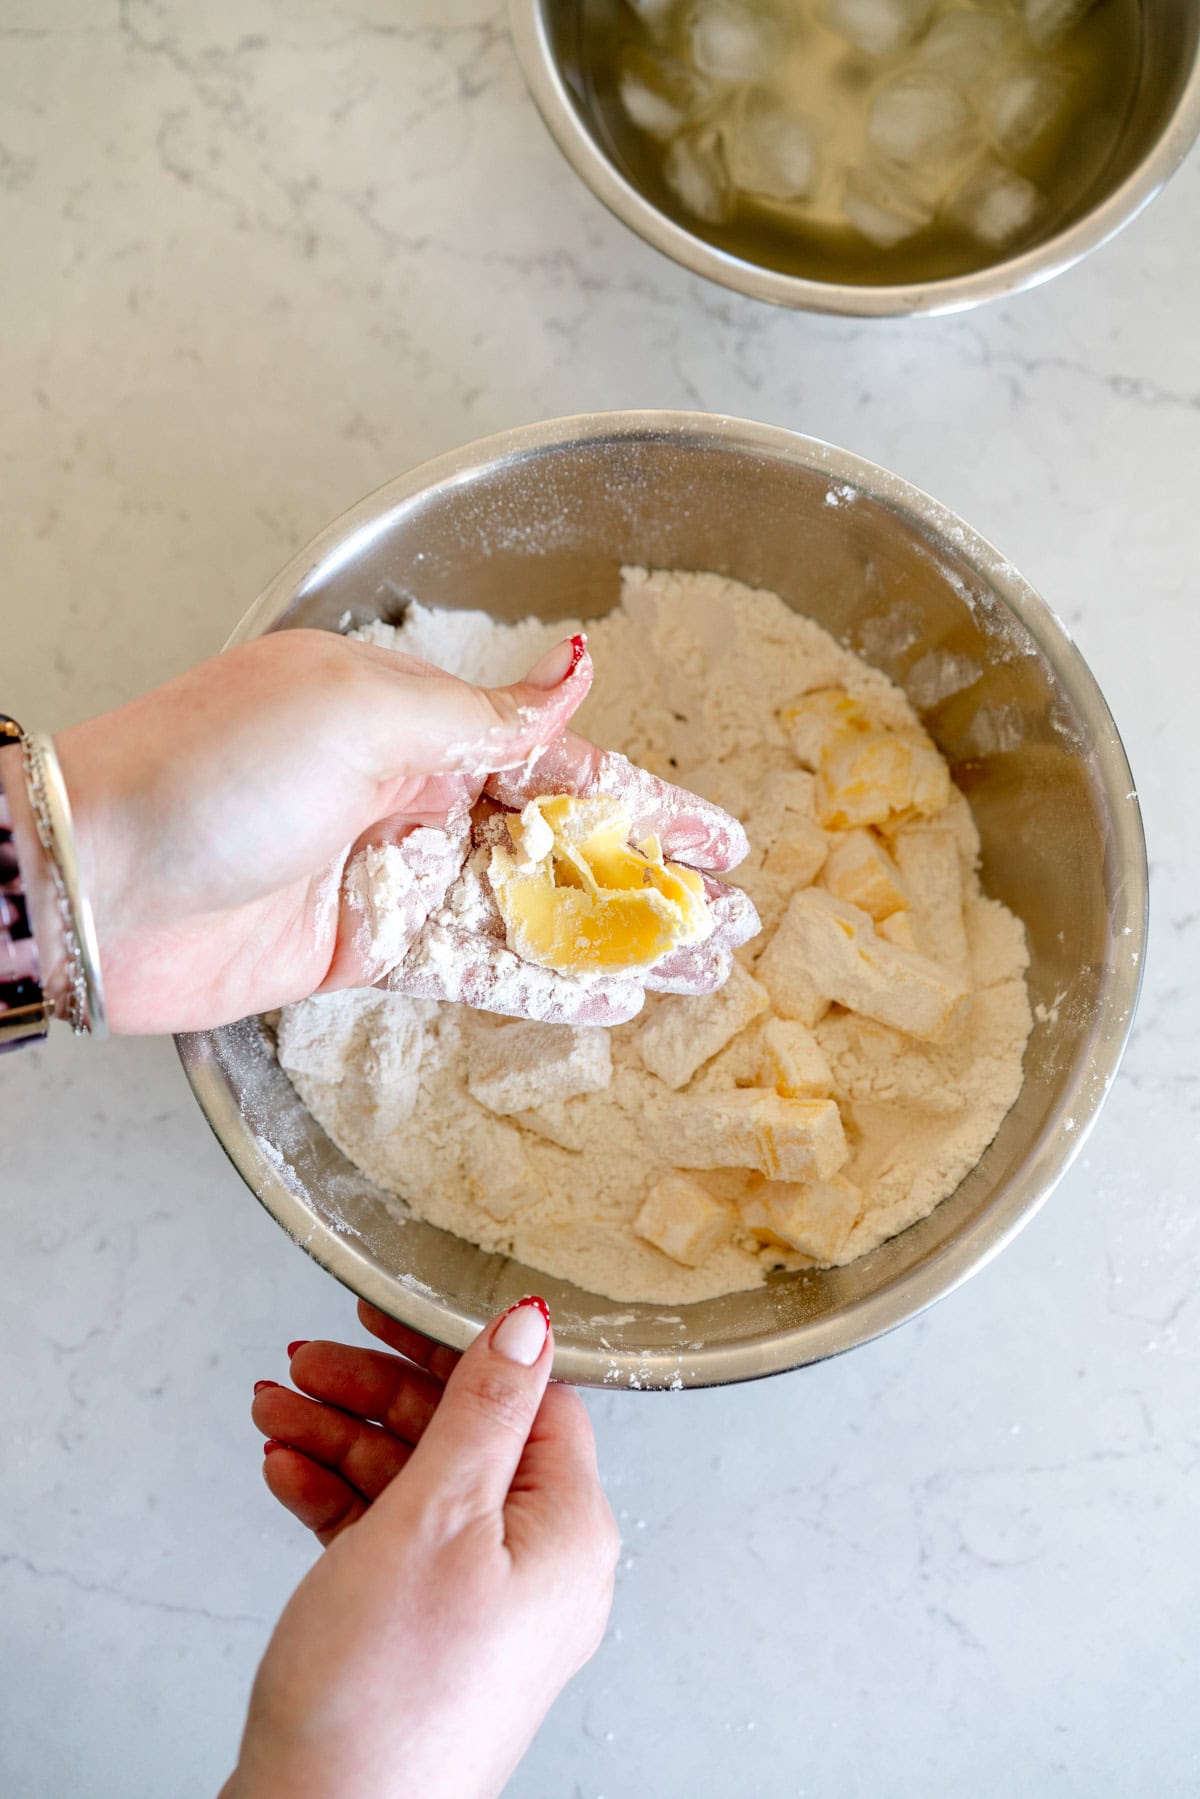
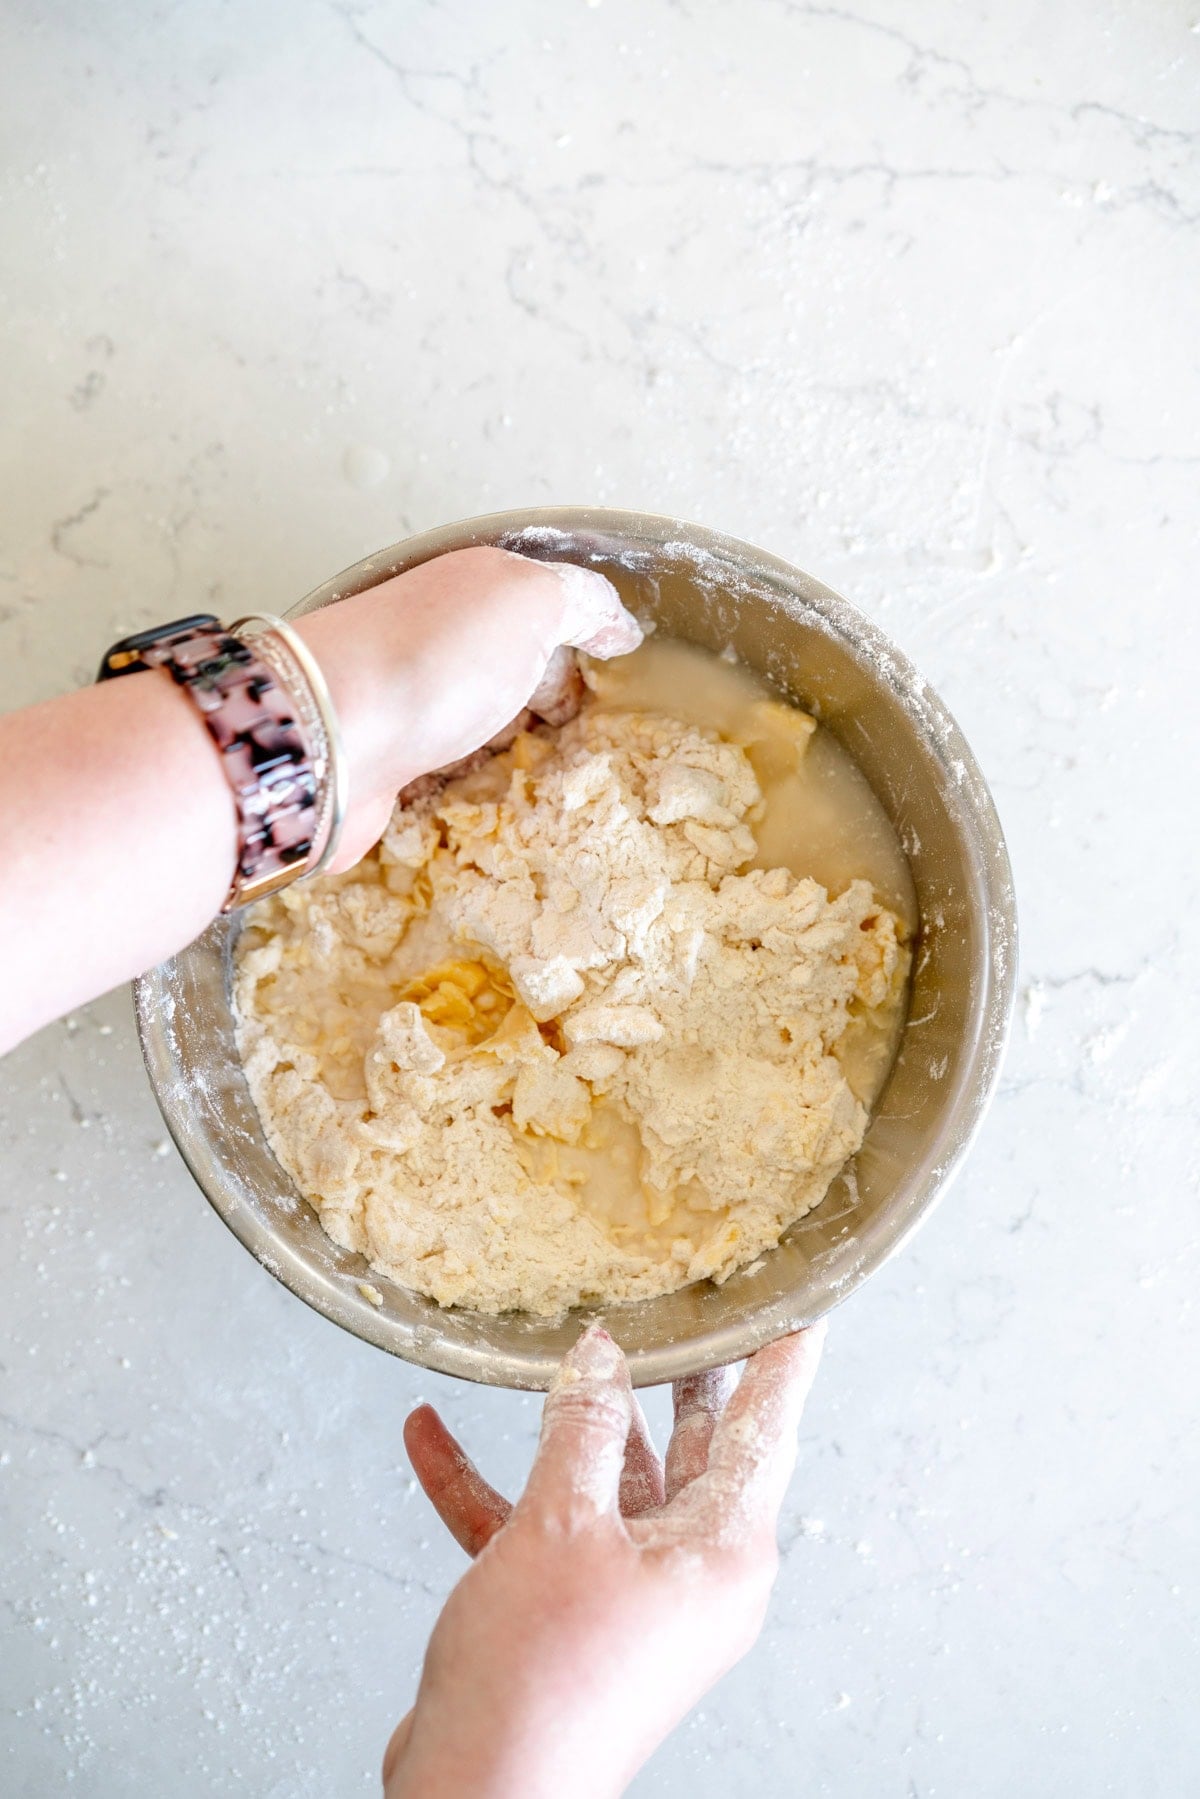
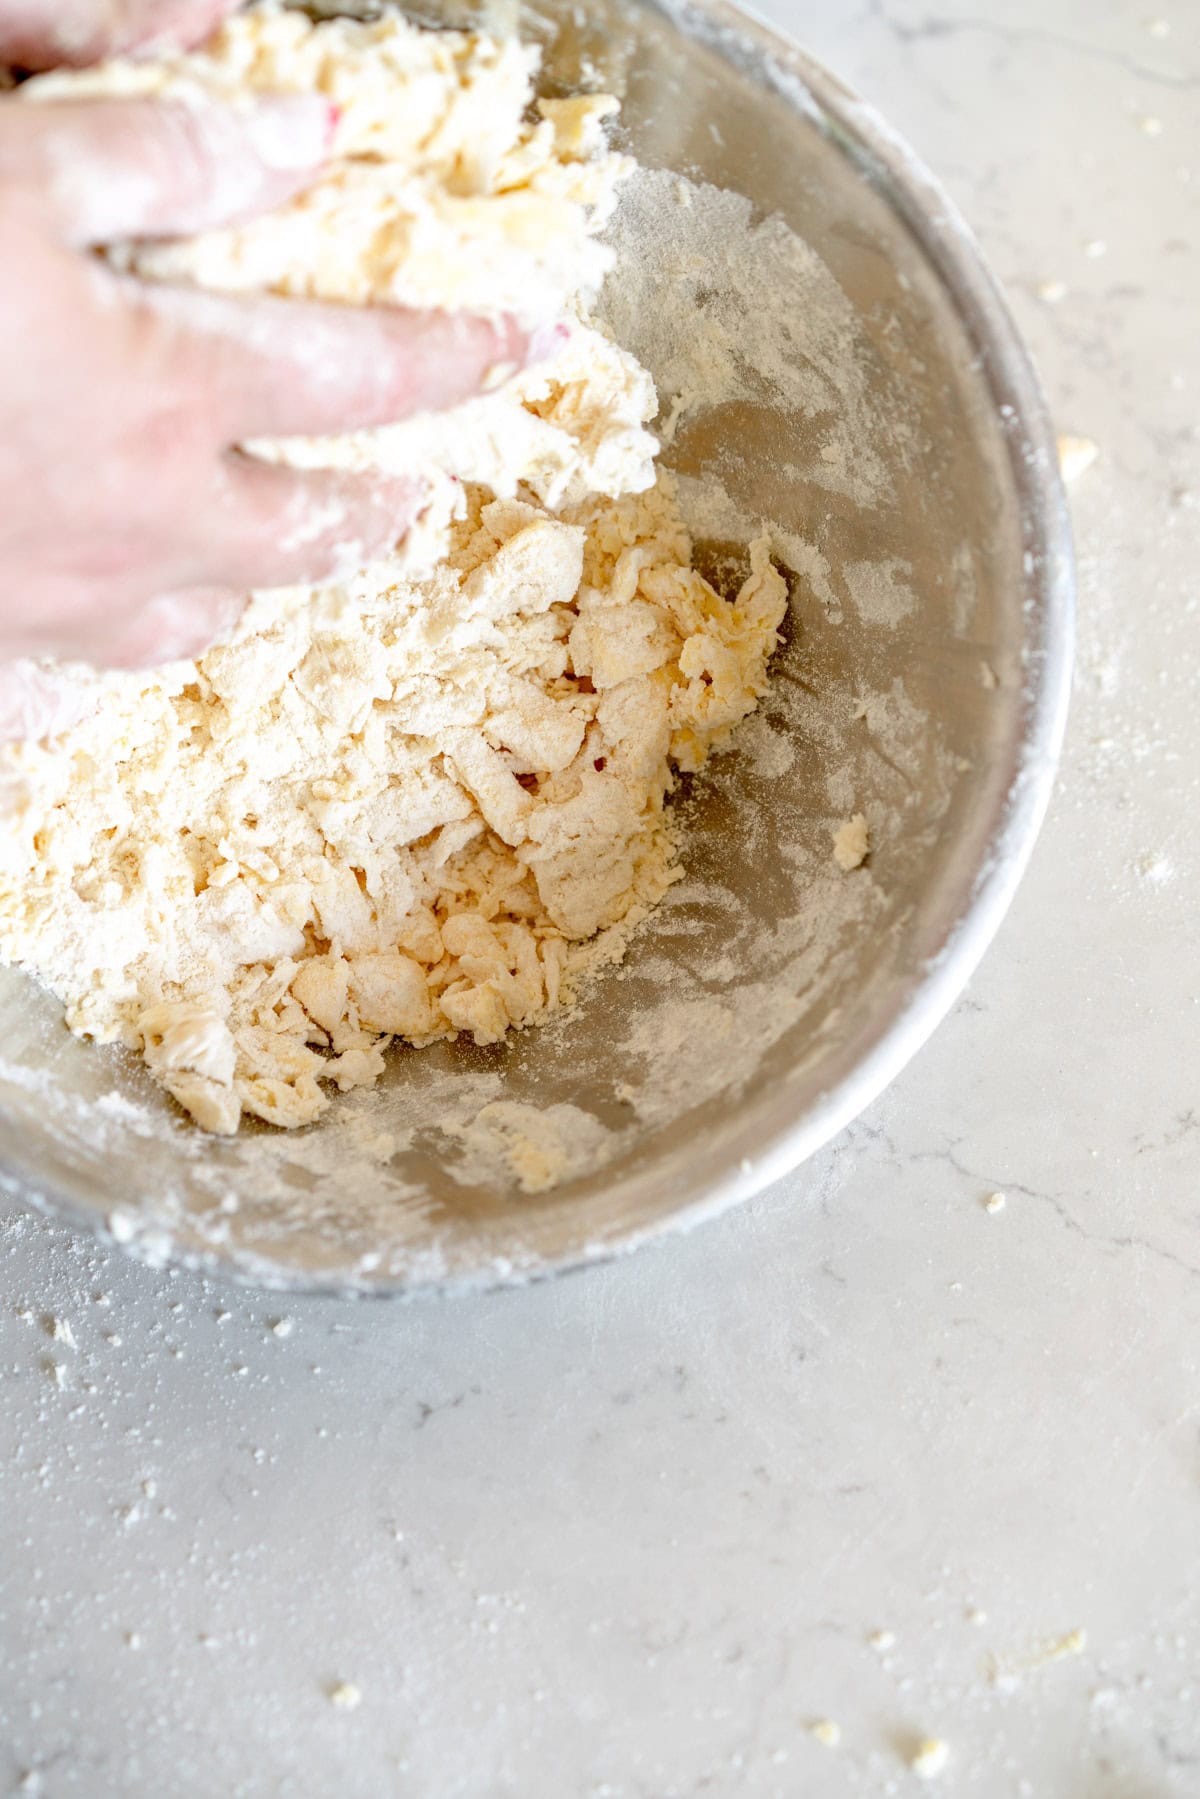
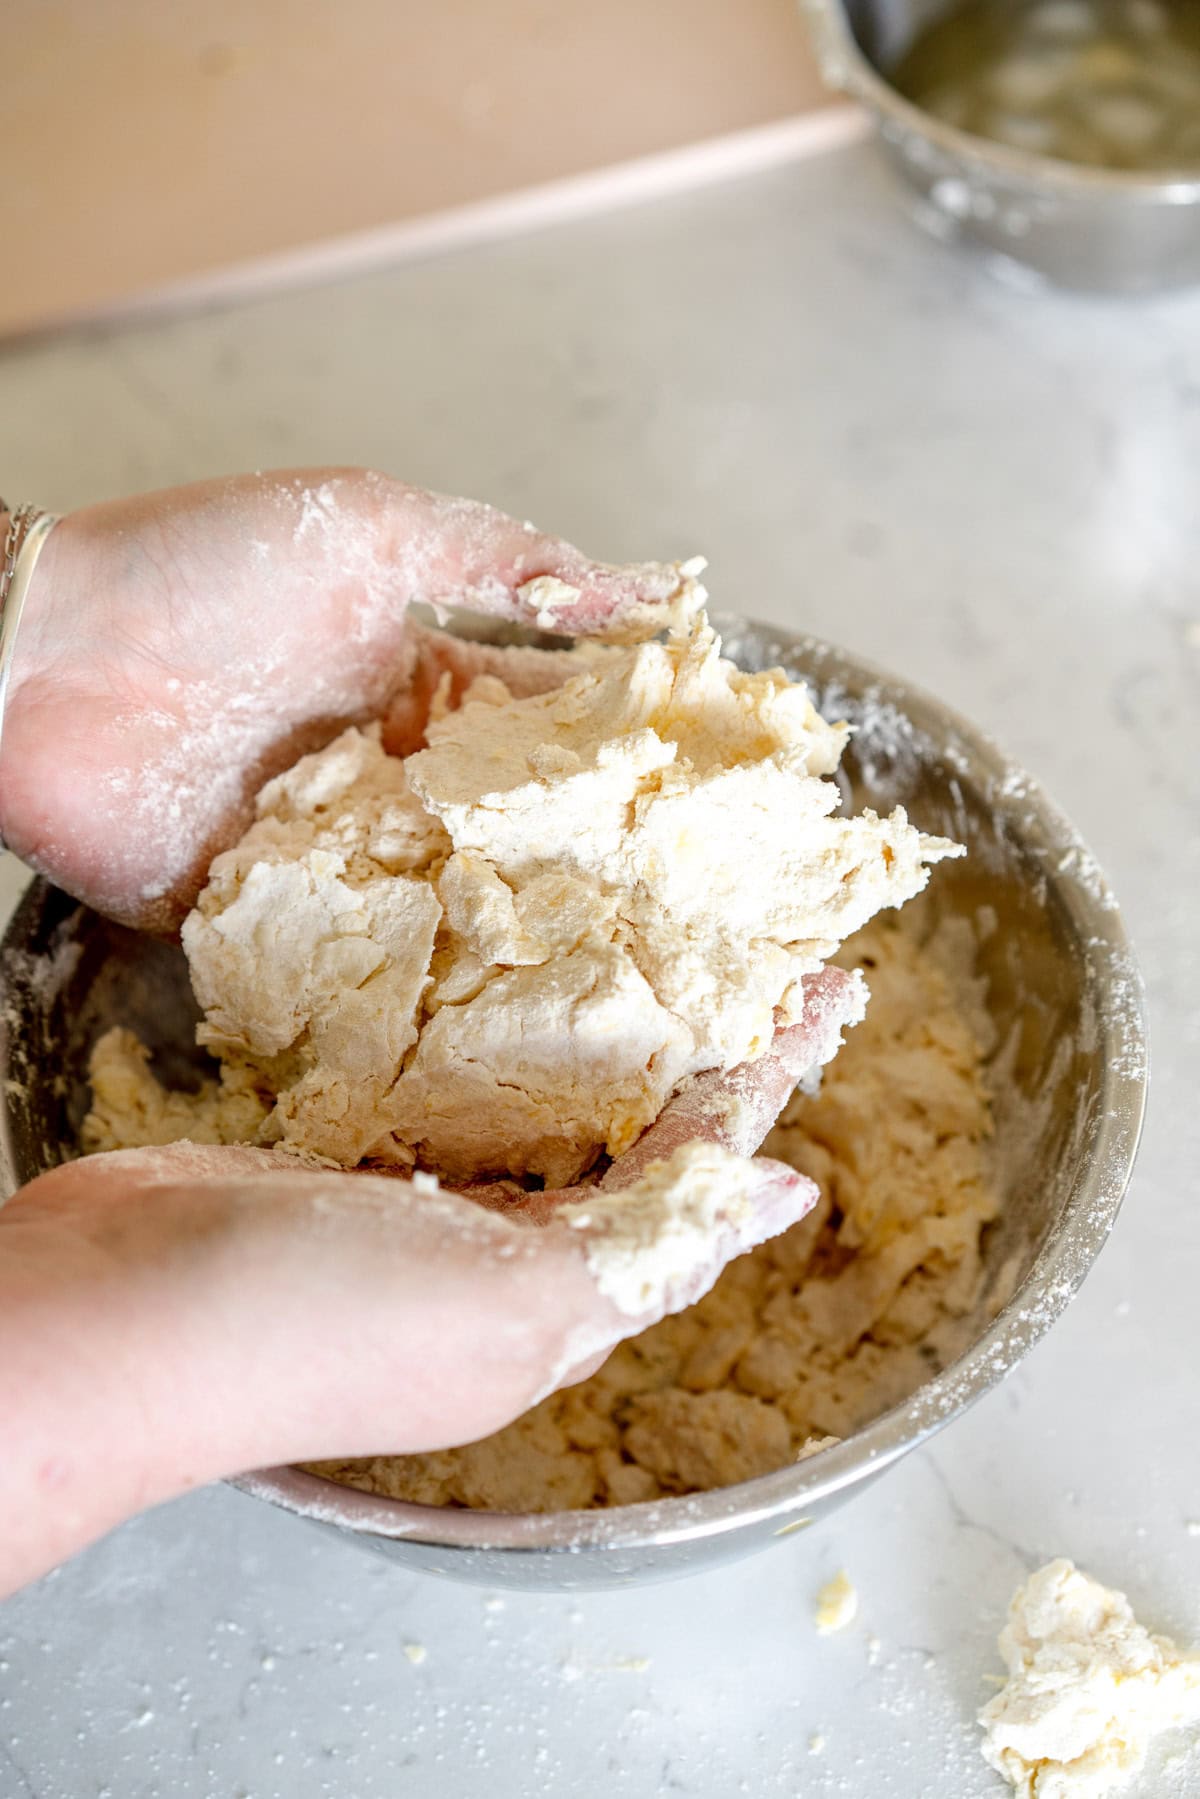
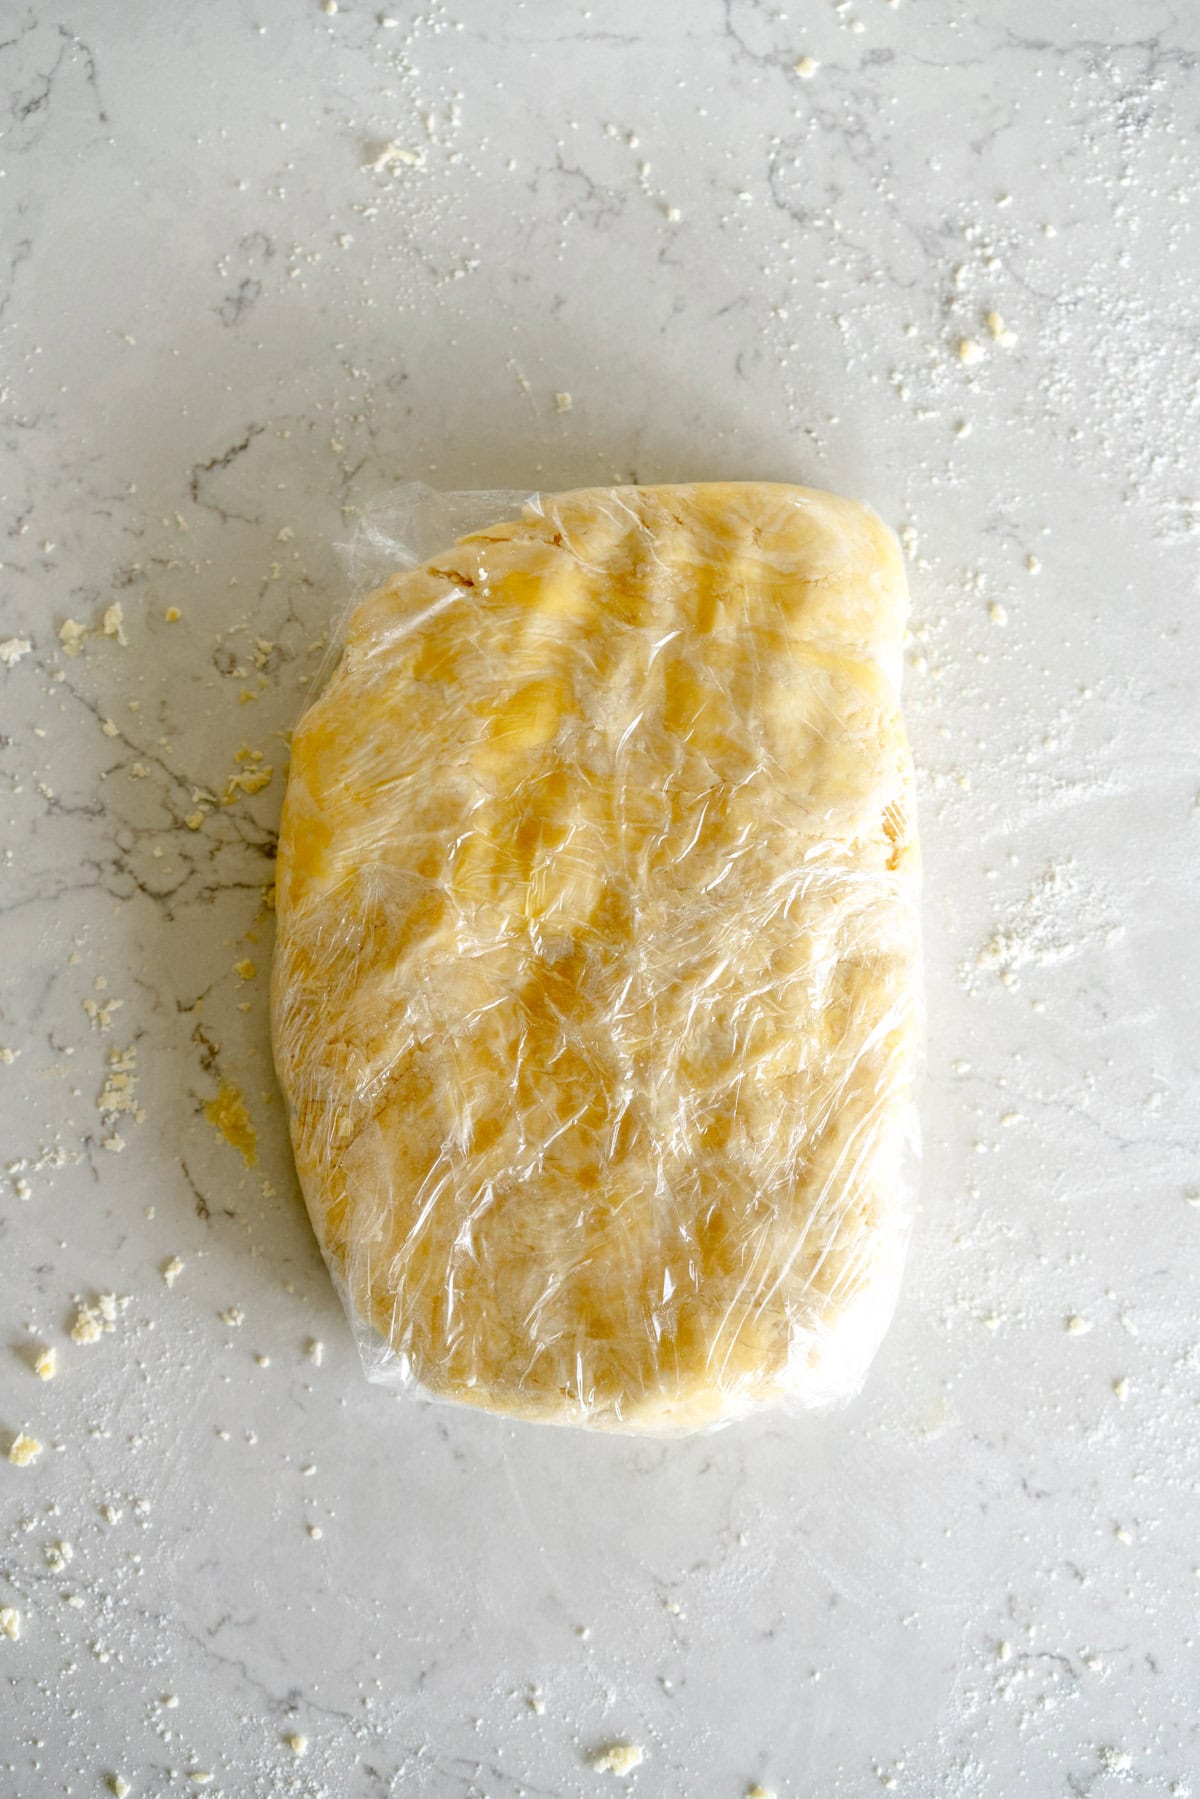
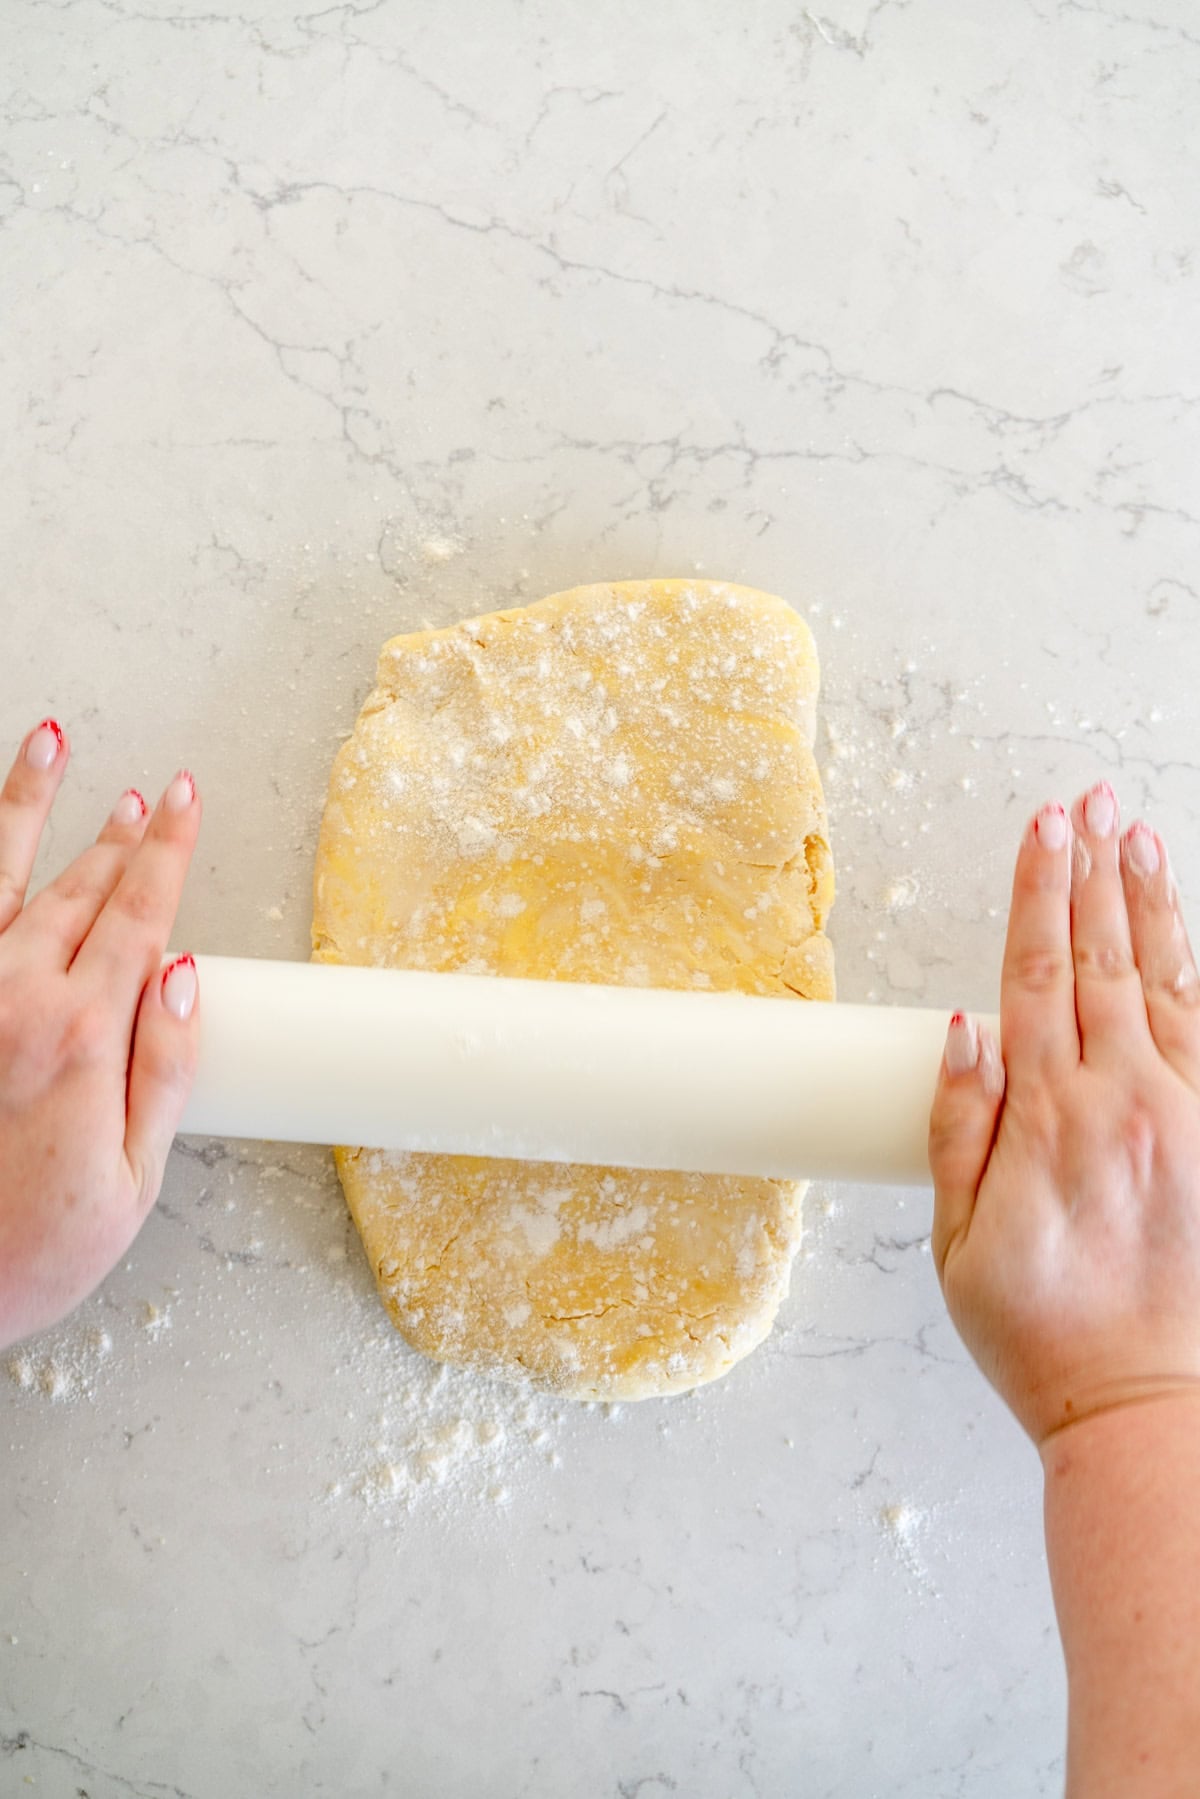
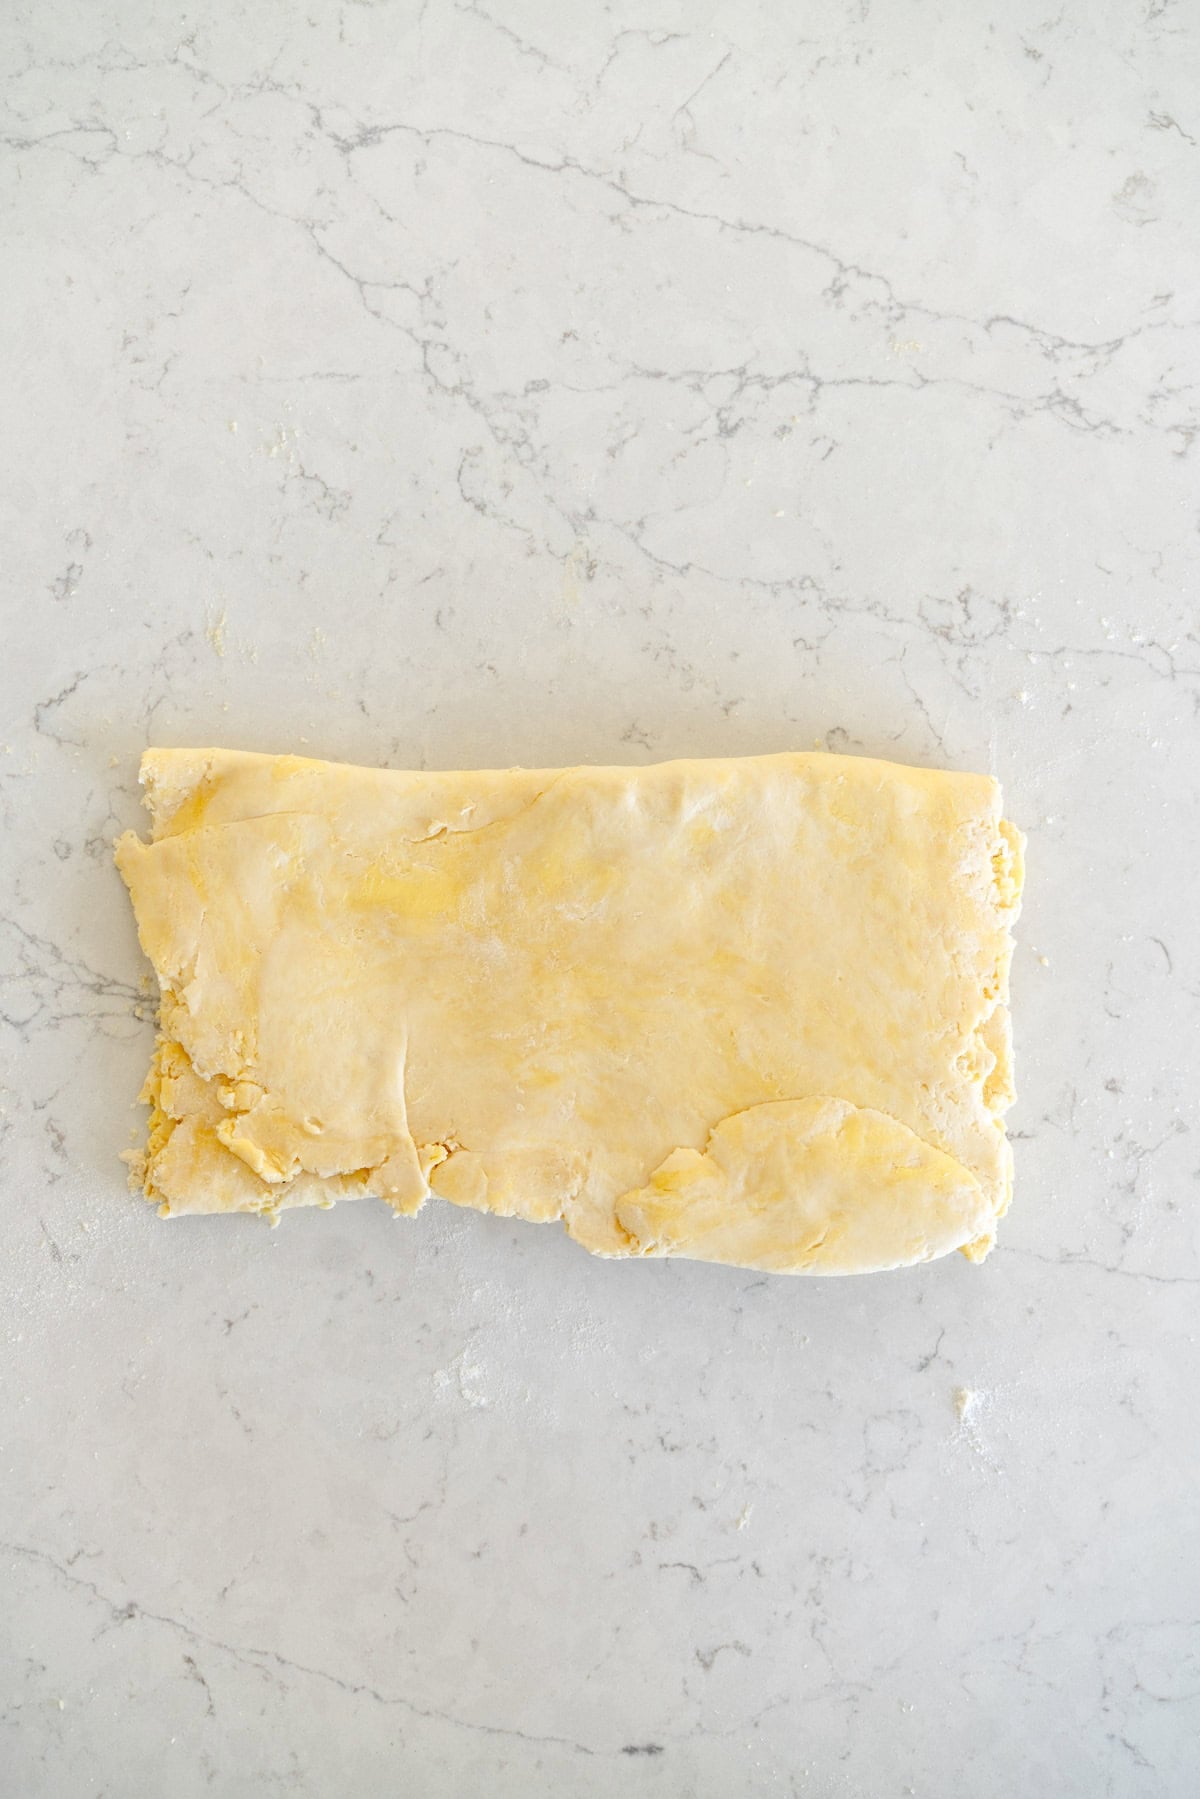
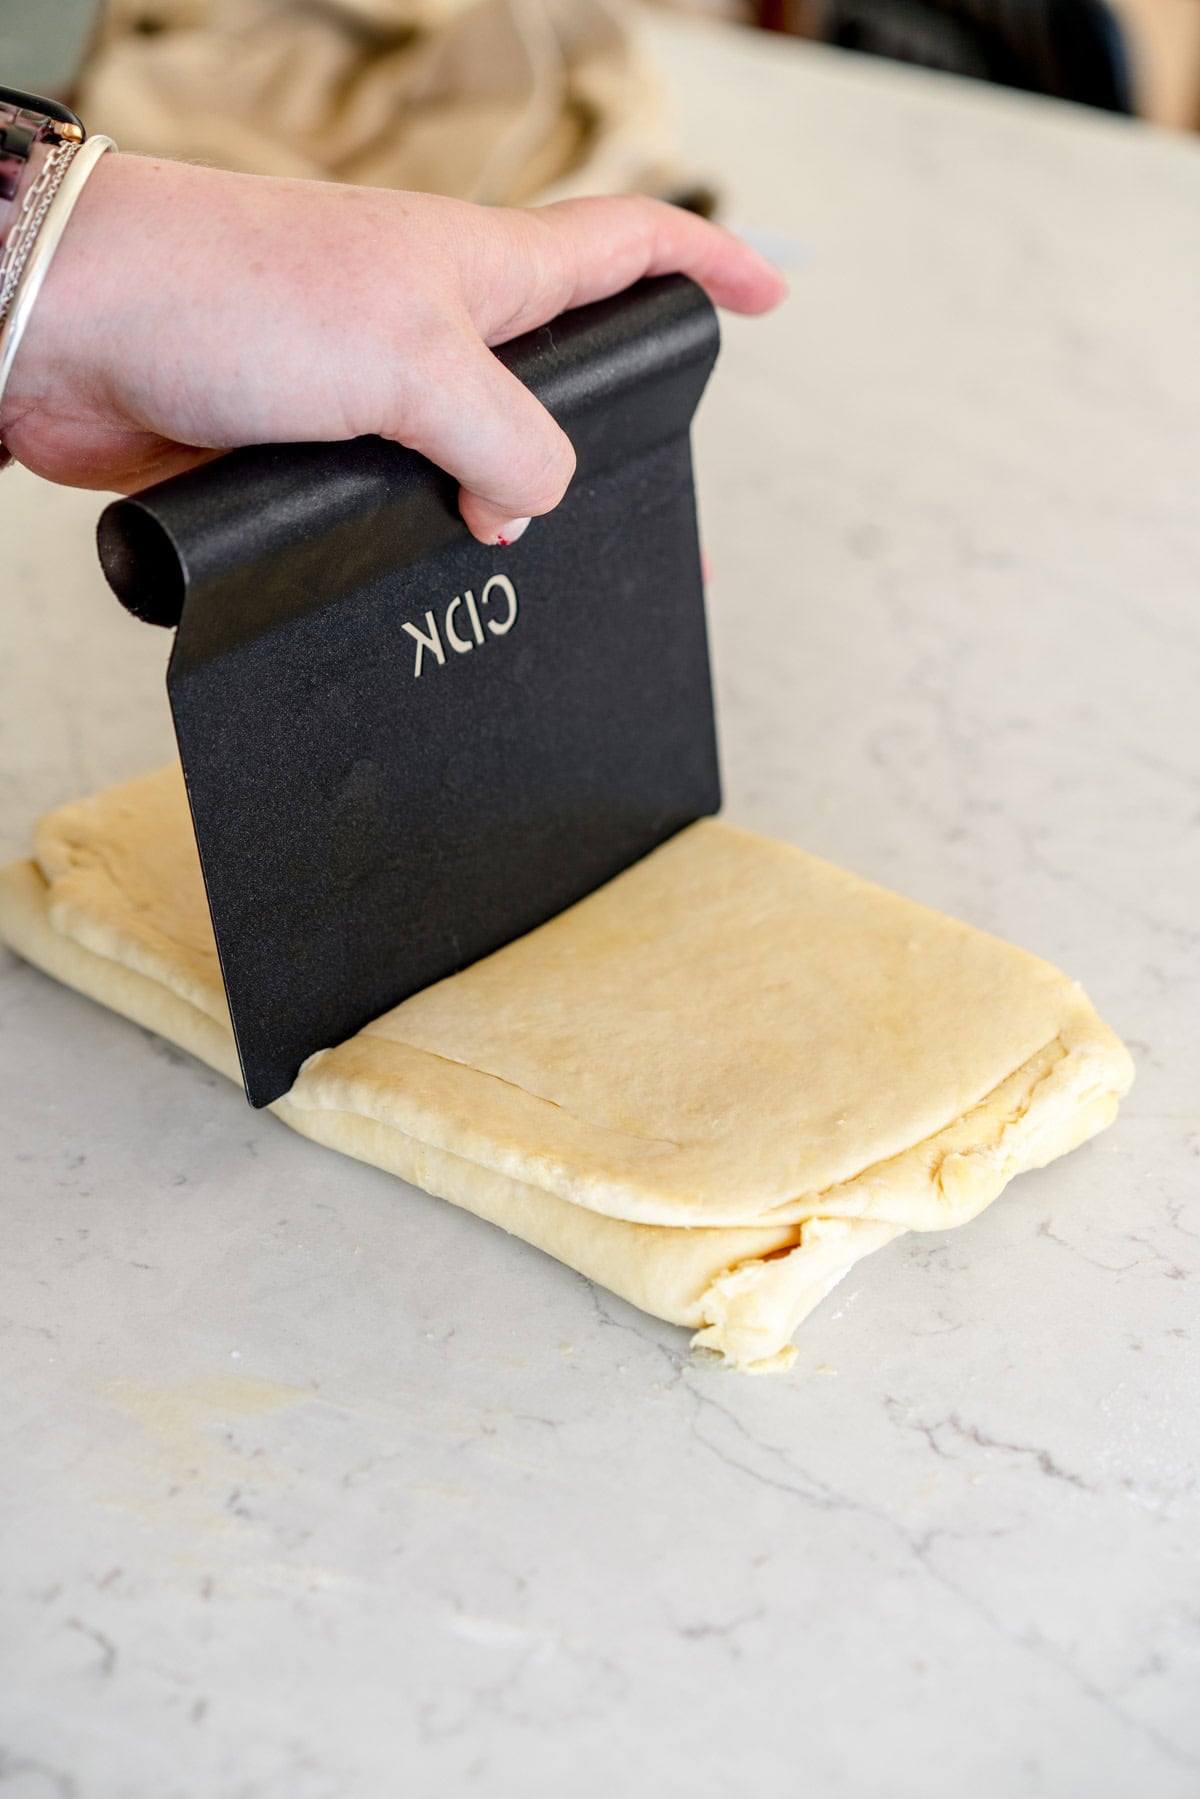
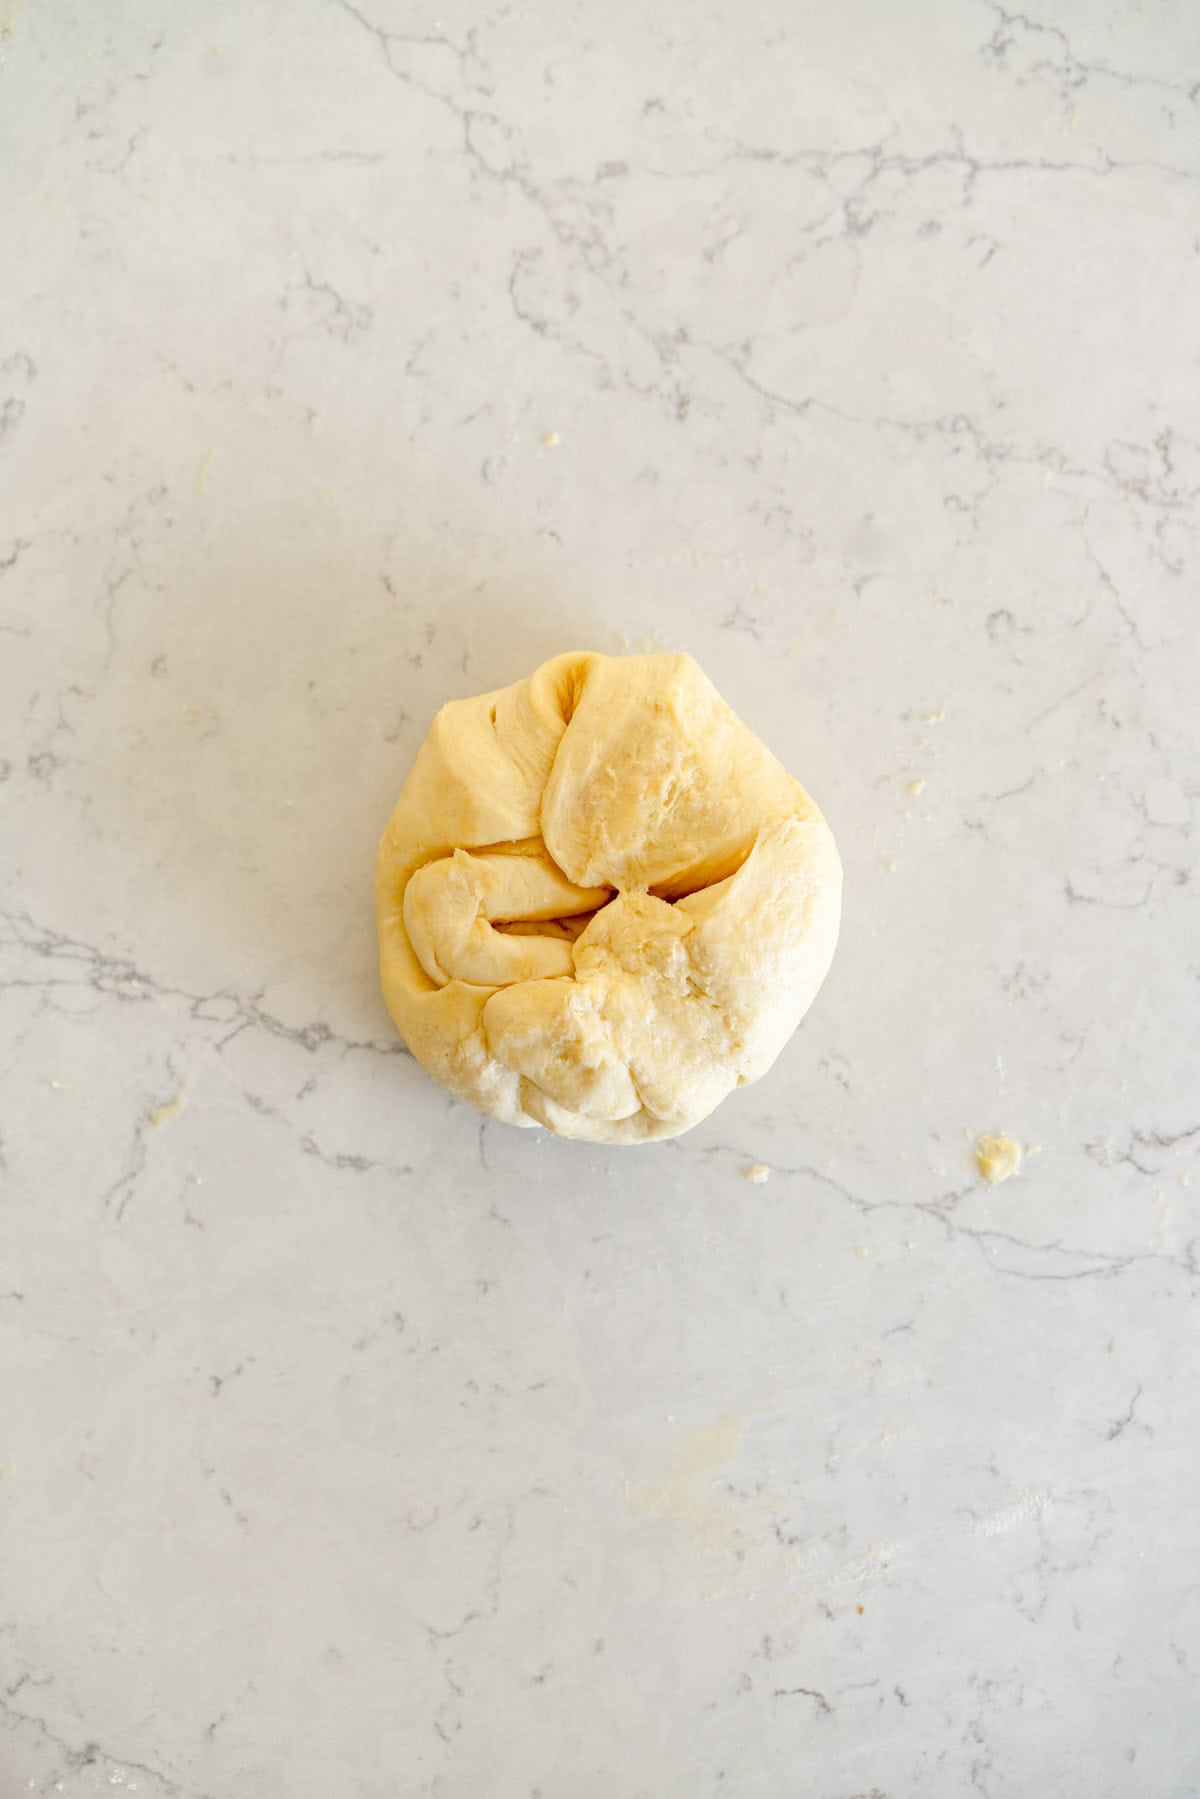
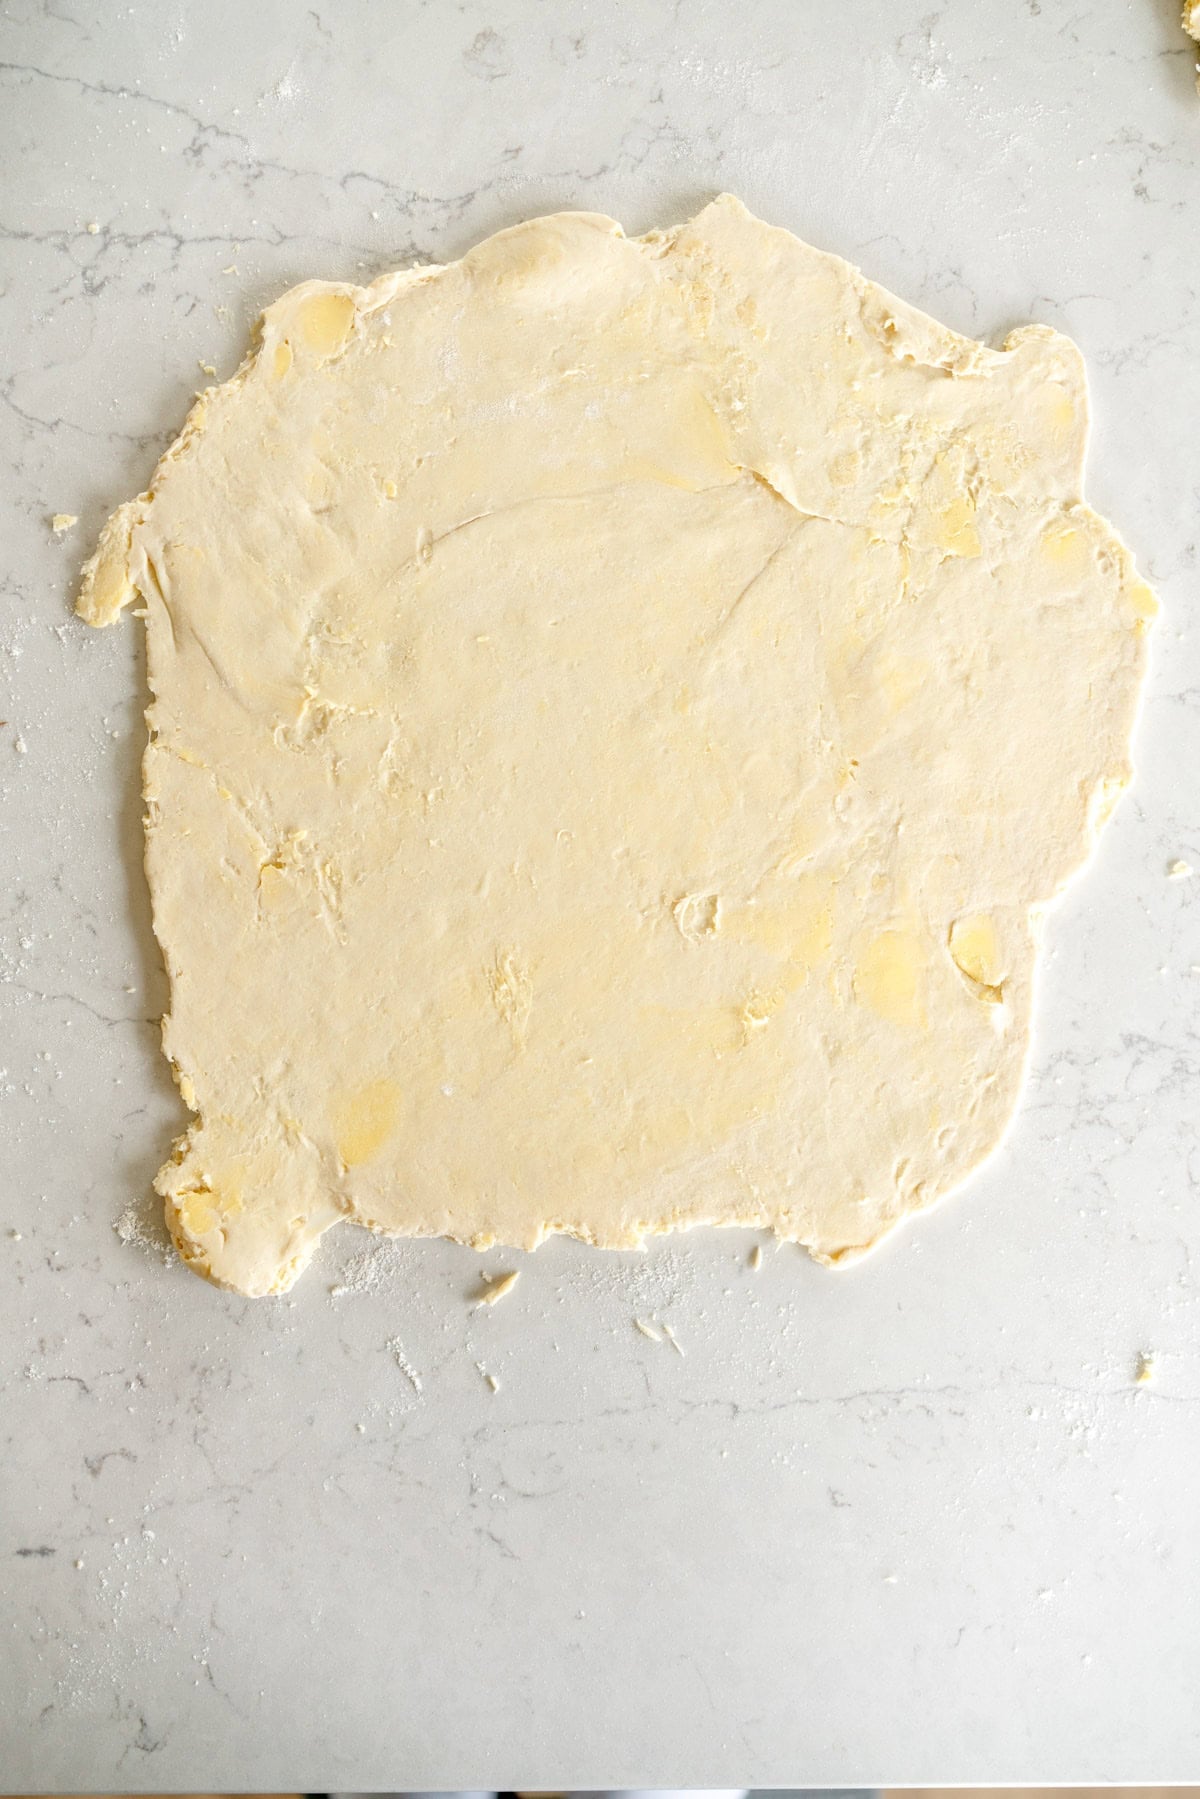
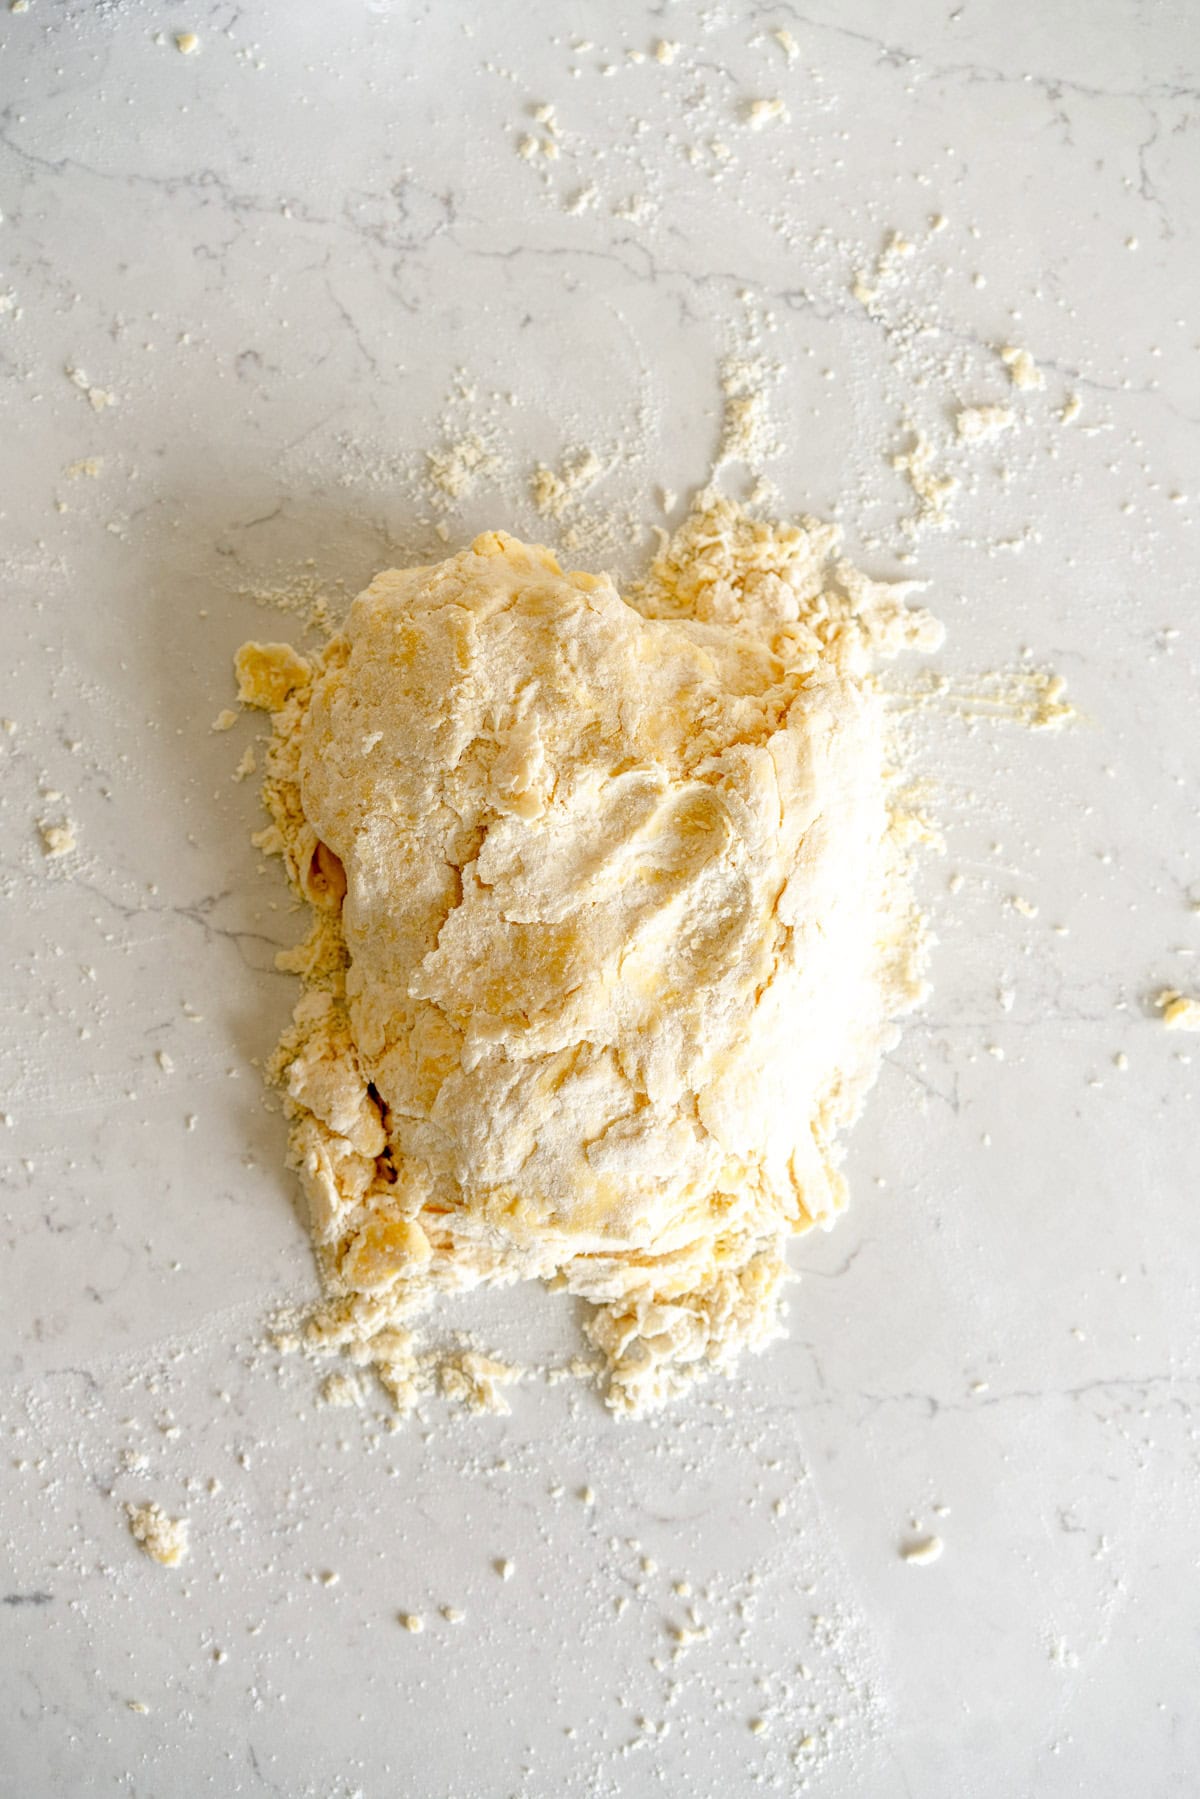
It is Very Important that you use enough flour both on your work surface and when handling the dough as it is quite sticky. A bench scraper will be your friend here.
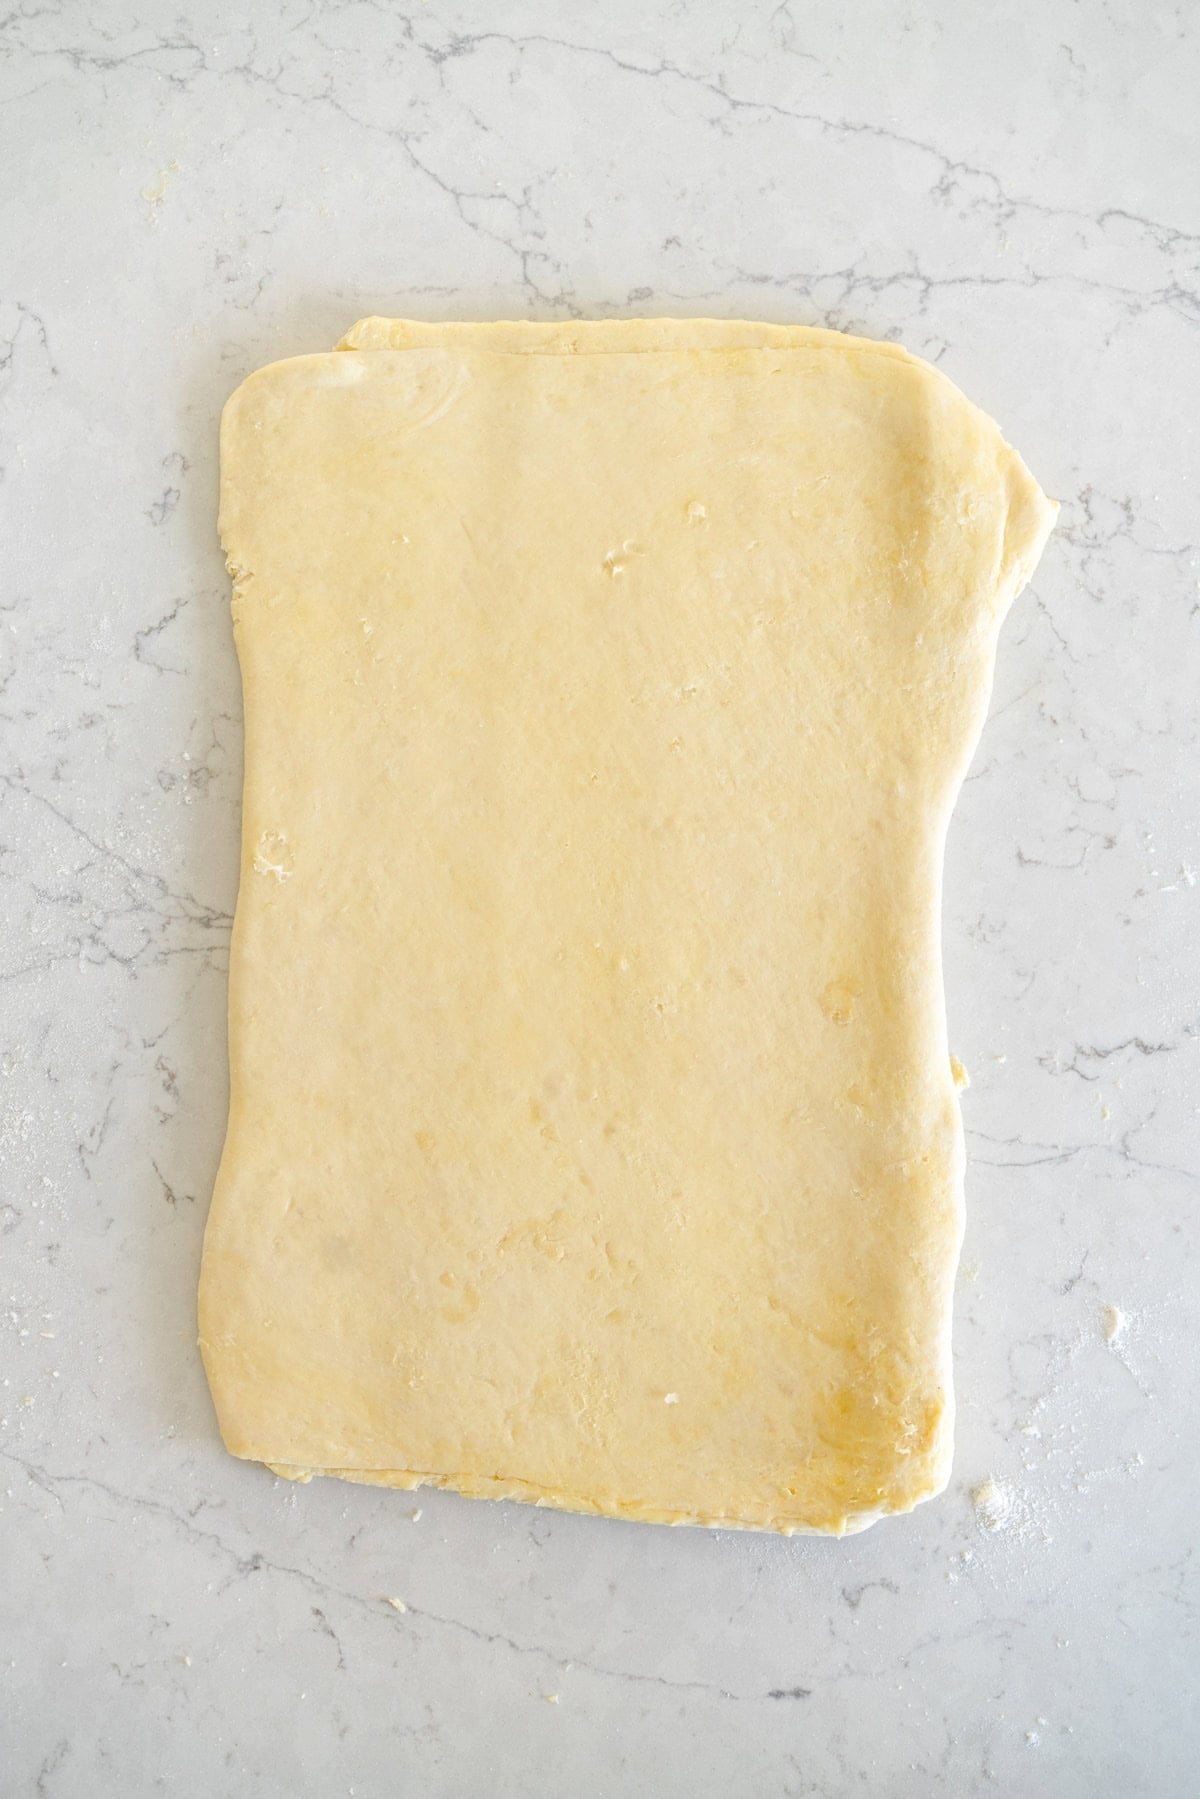
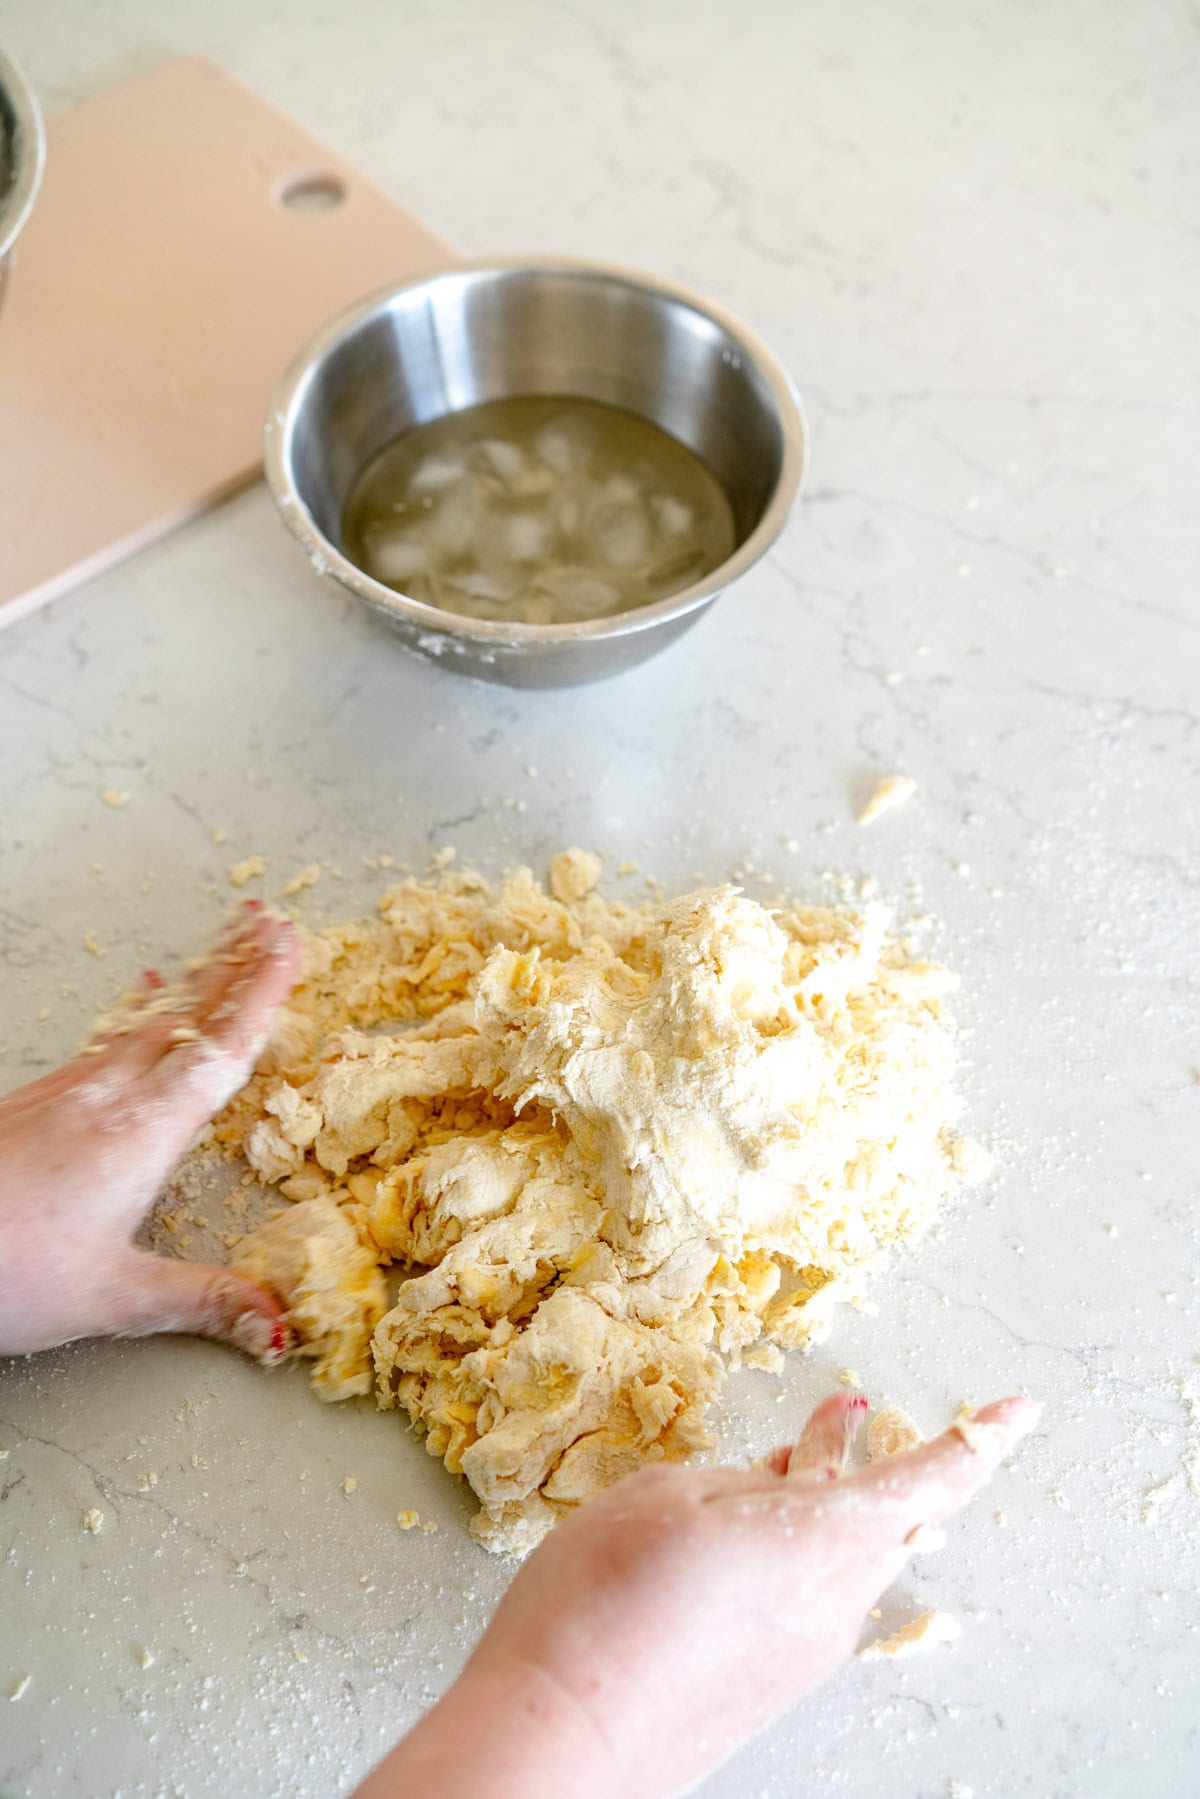
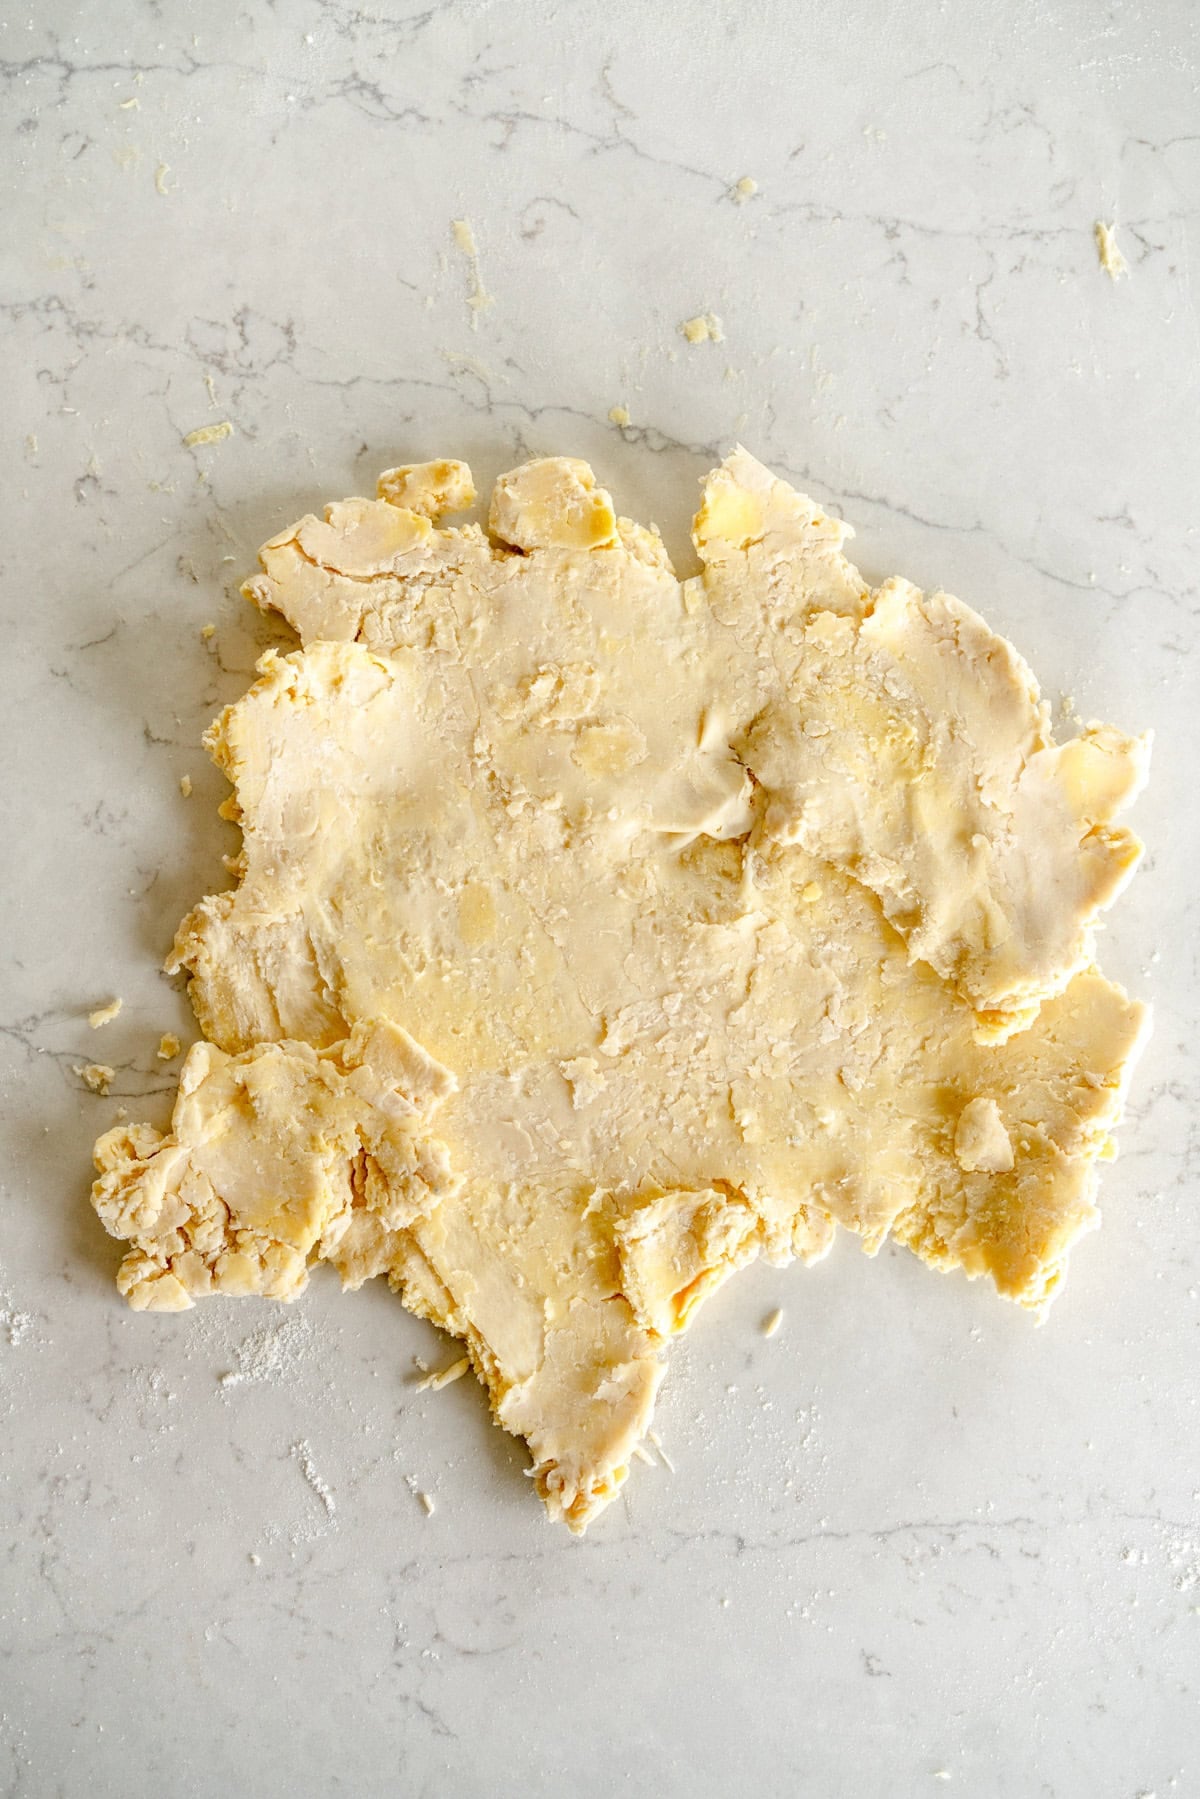
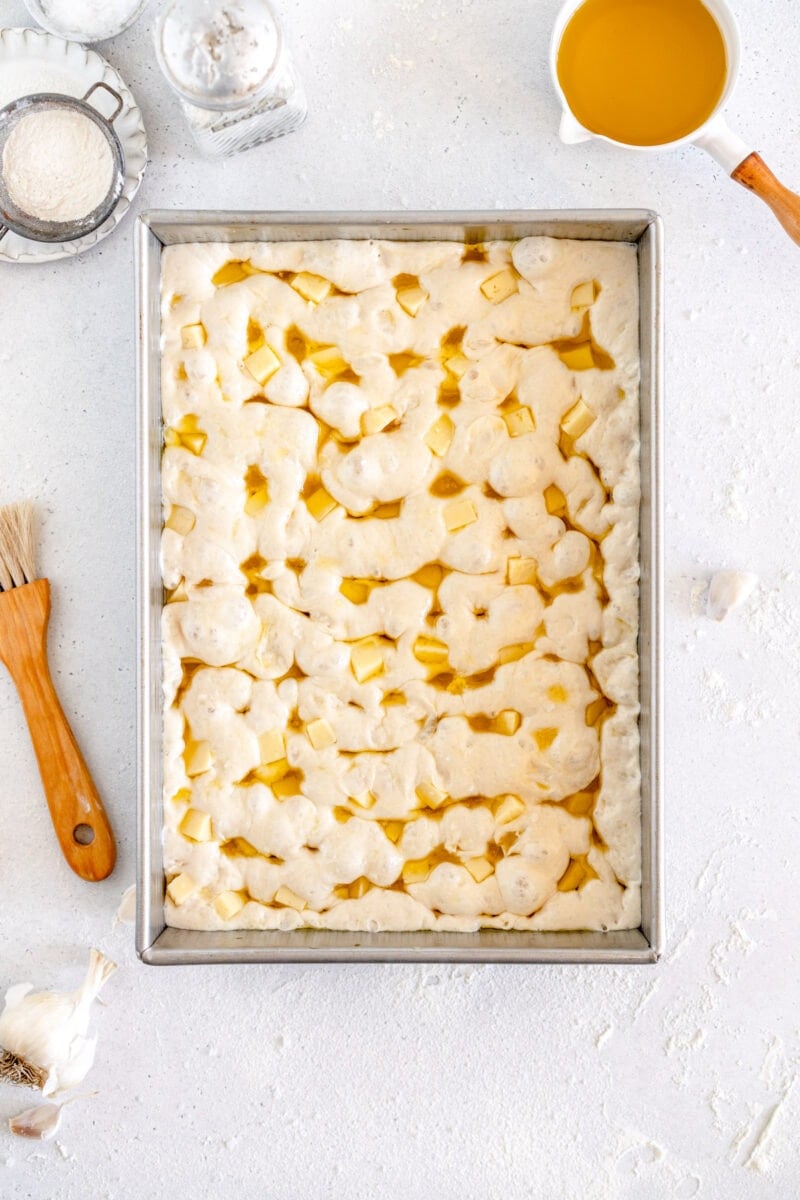
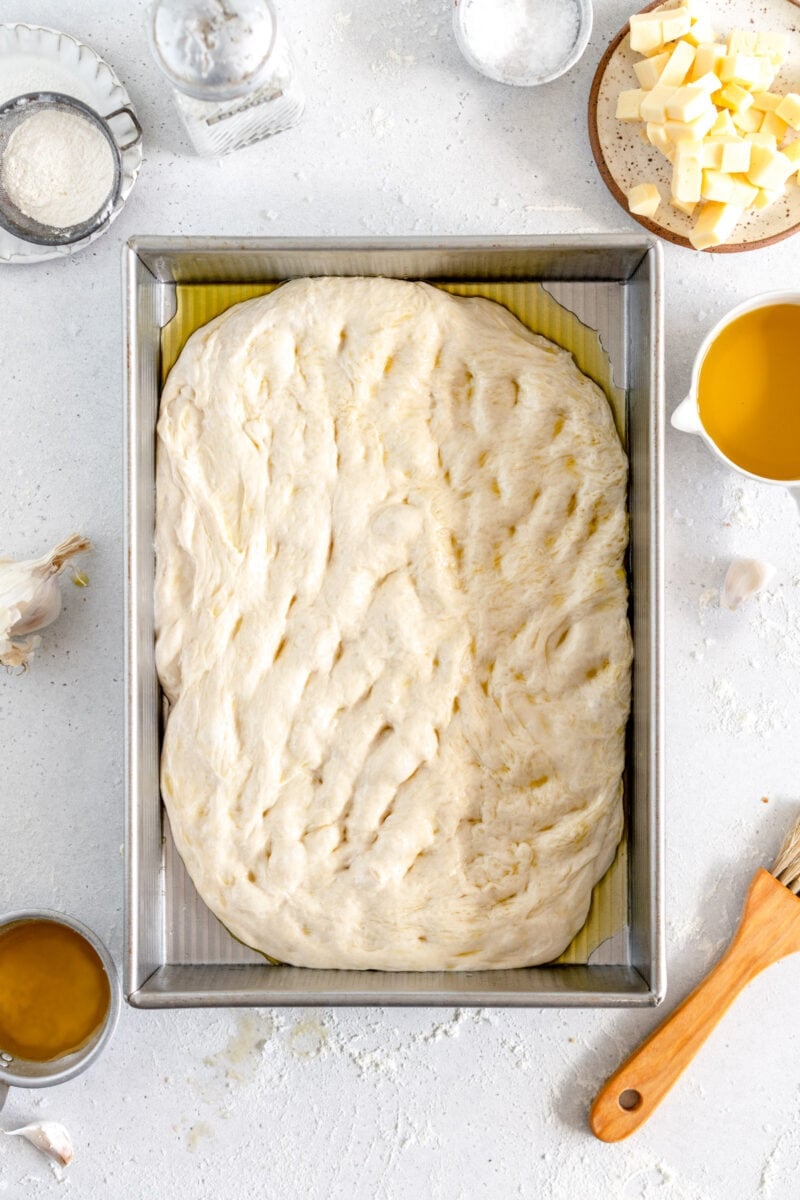
About an hour before you are ready to bake, prepare your dough for baking and line a pan with floured parchment paper. Heavily flour a work surface (this is important to ensure the high hydration dough does not stick), then turn the dough out onto it.
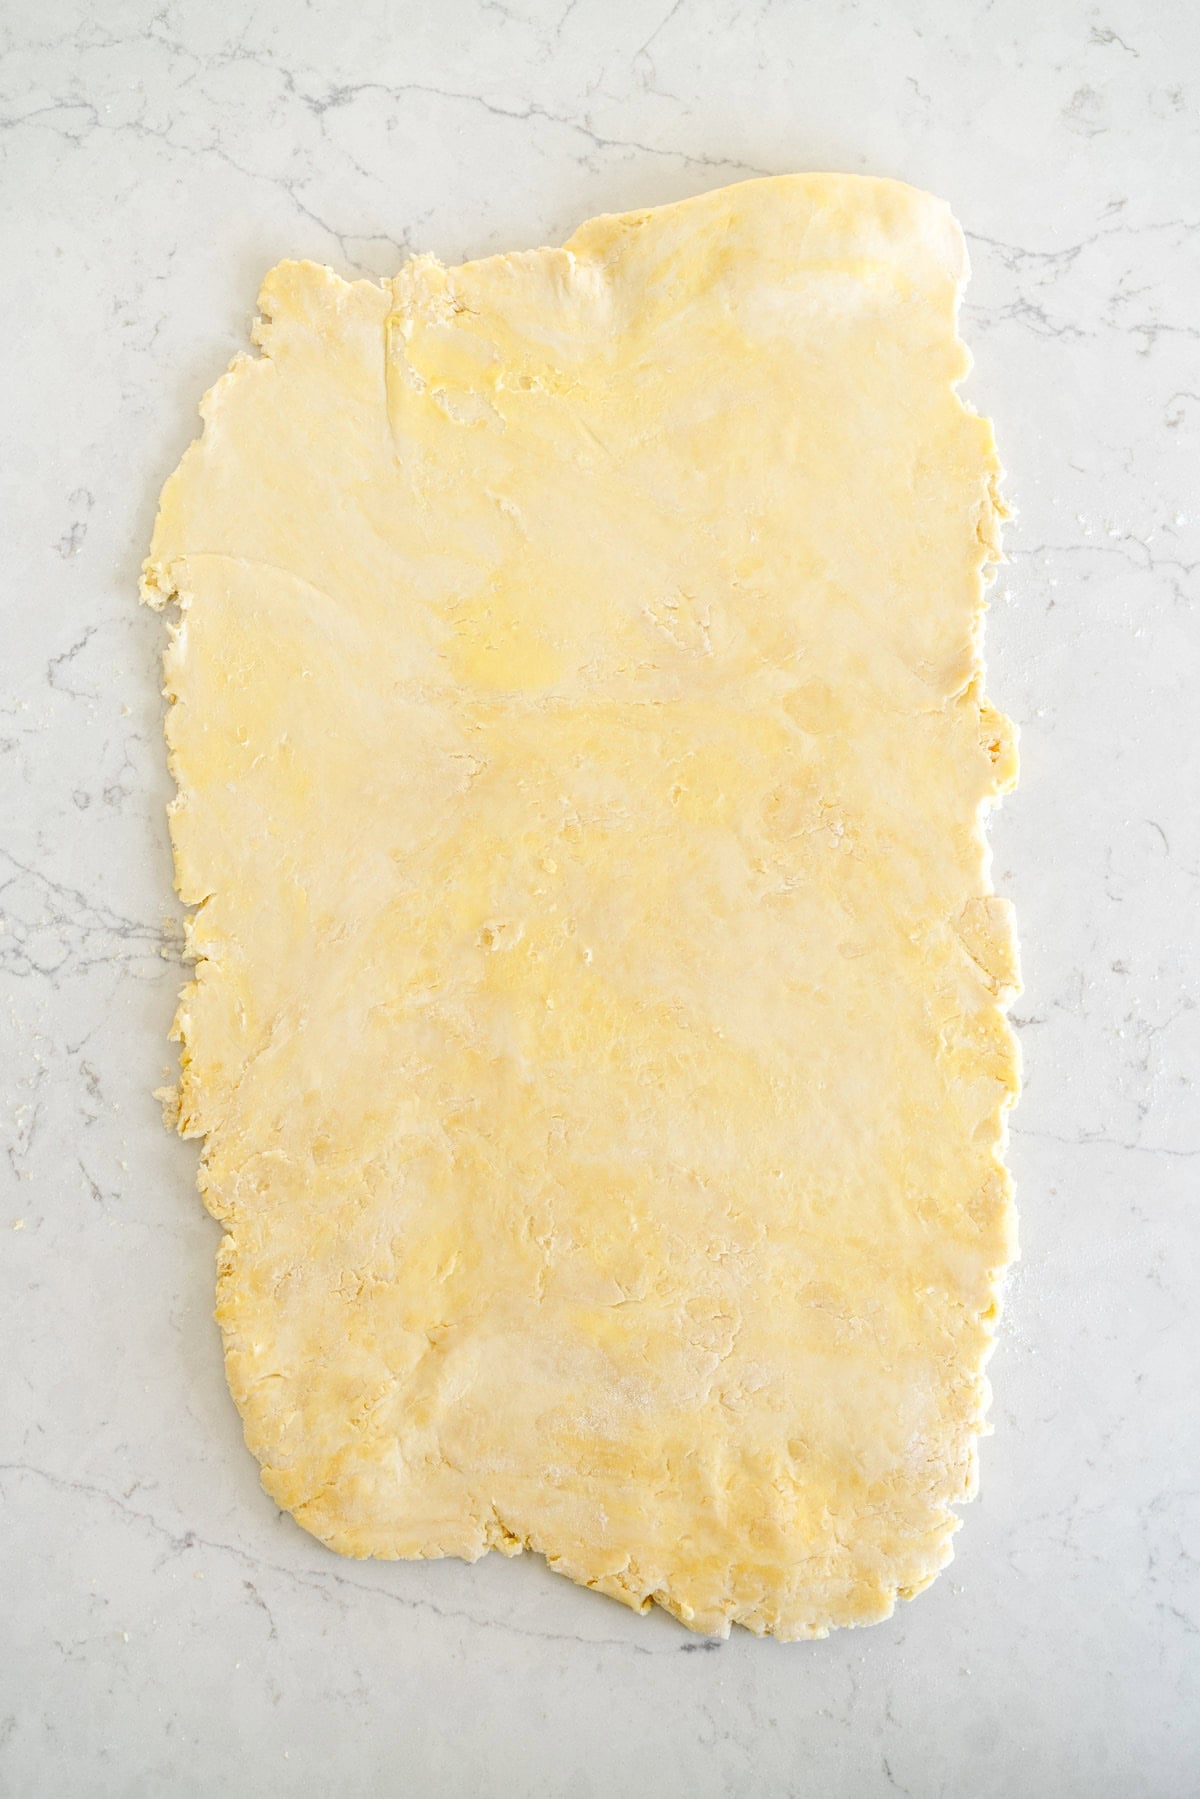
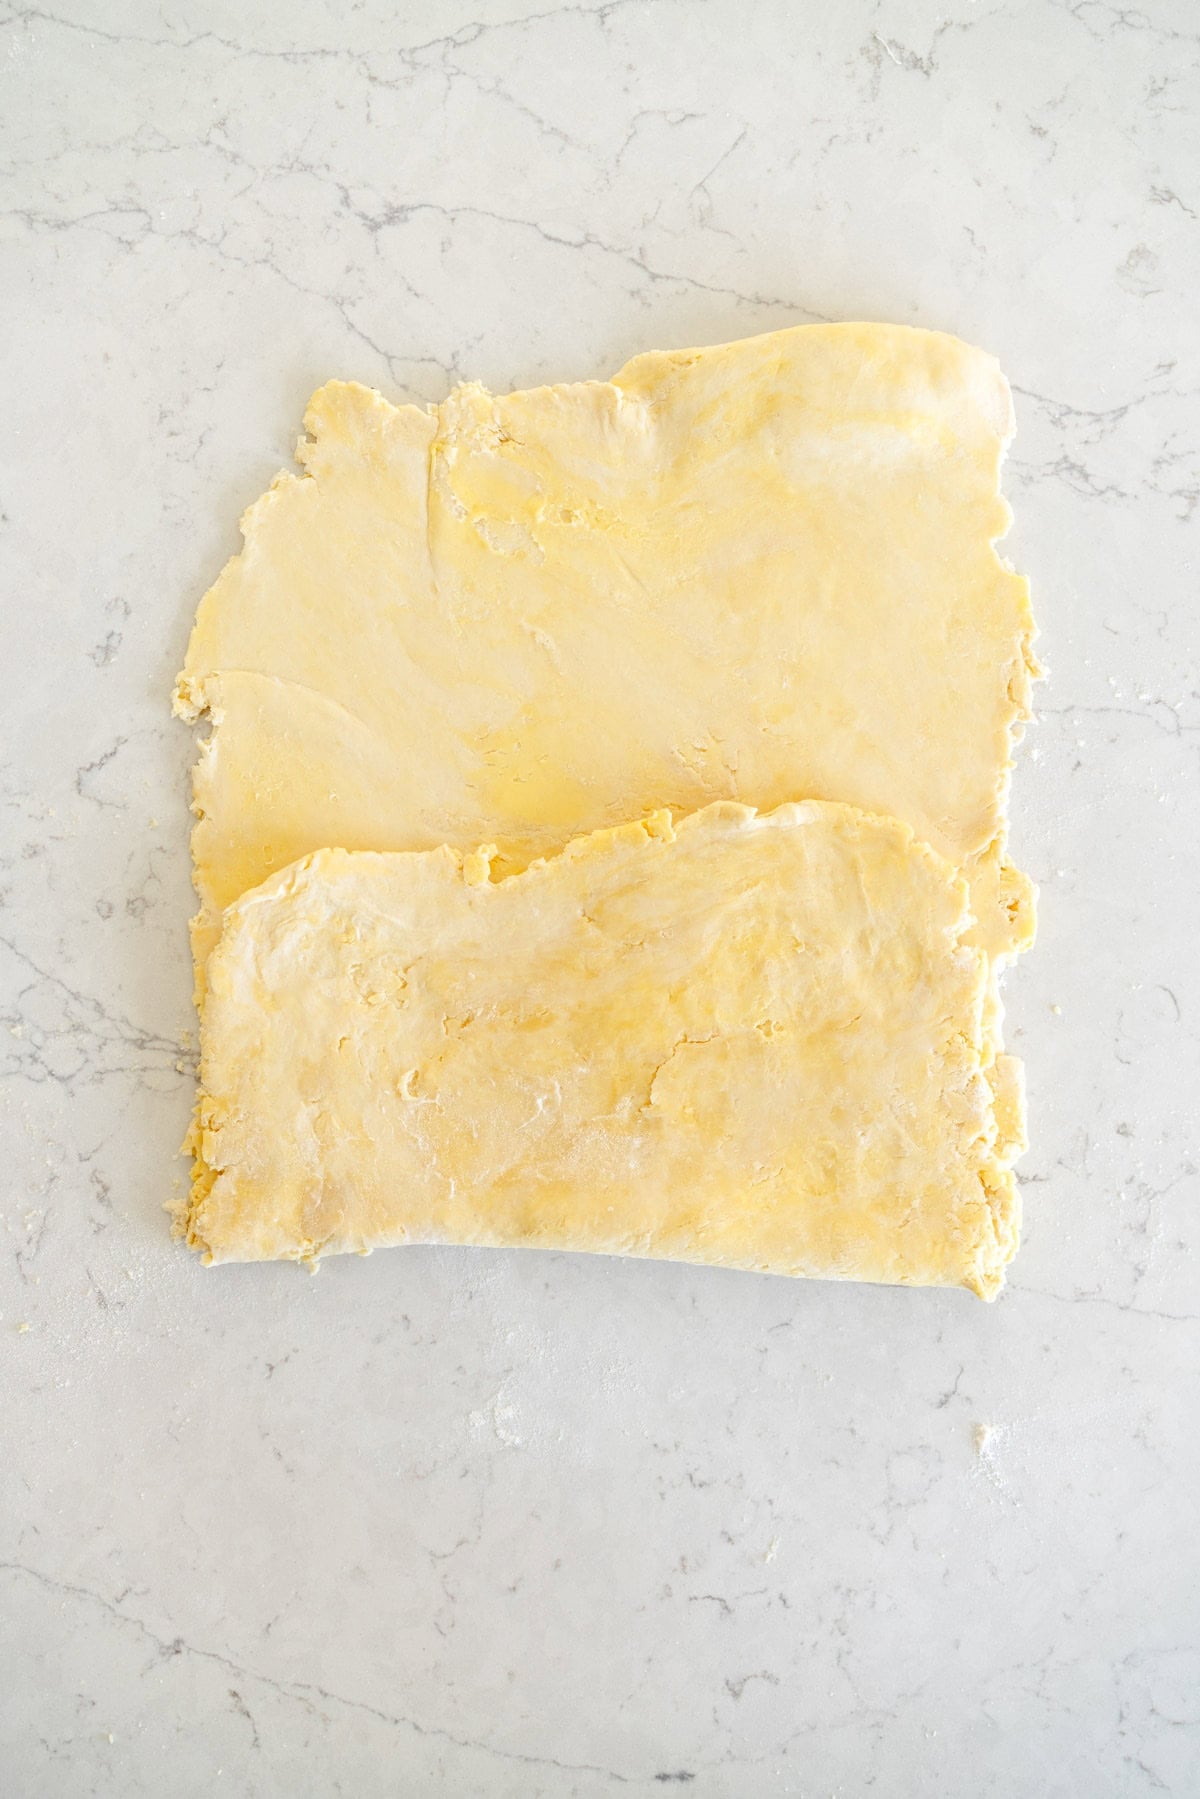
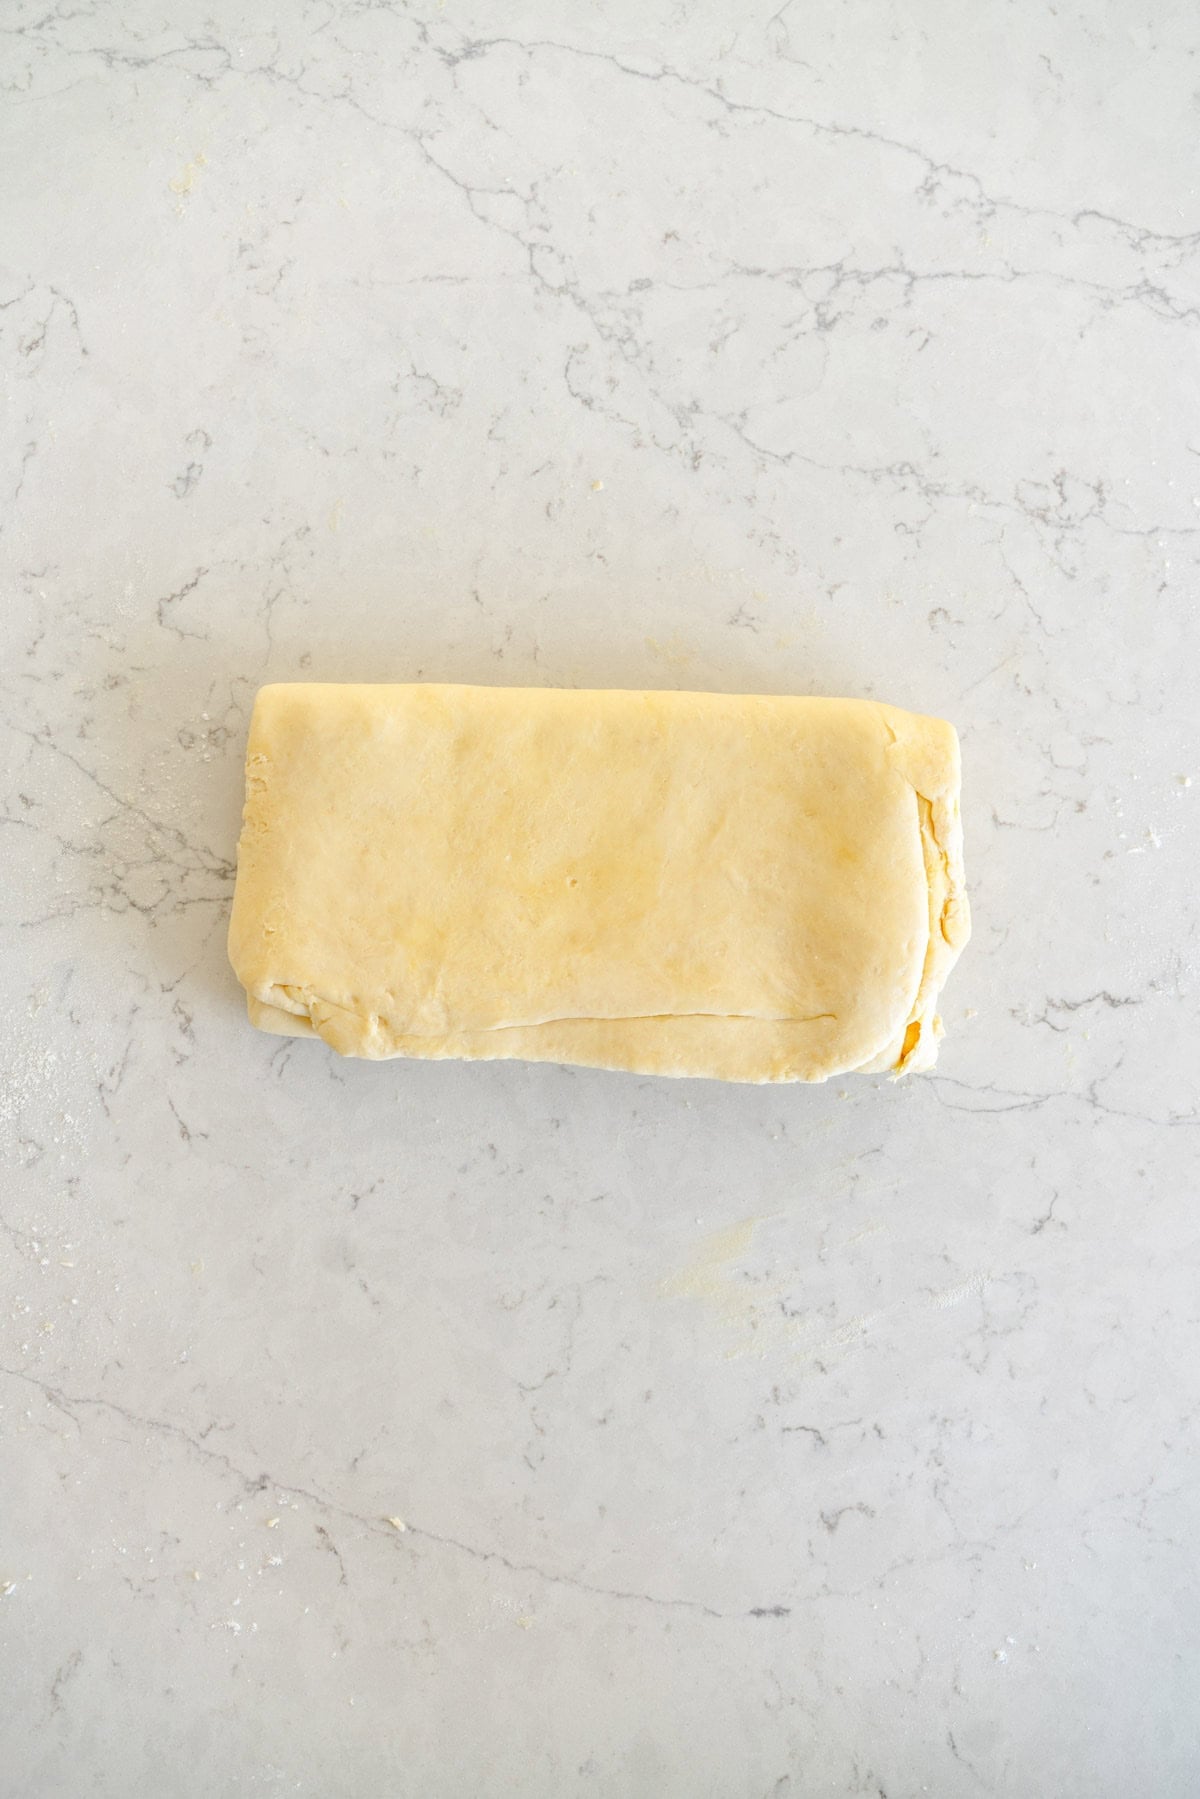
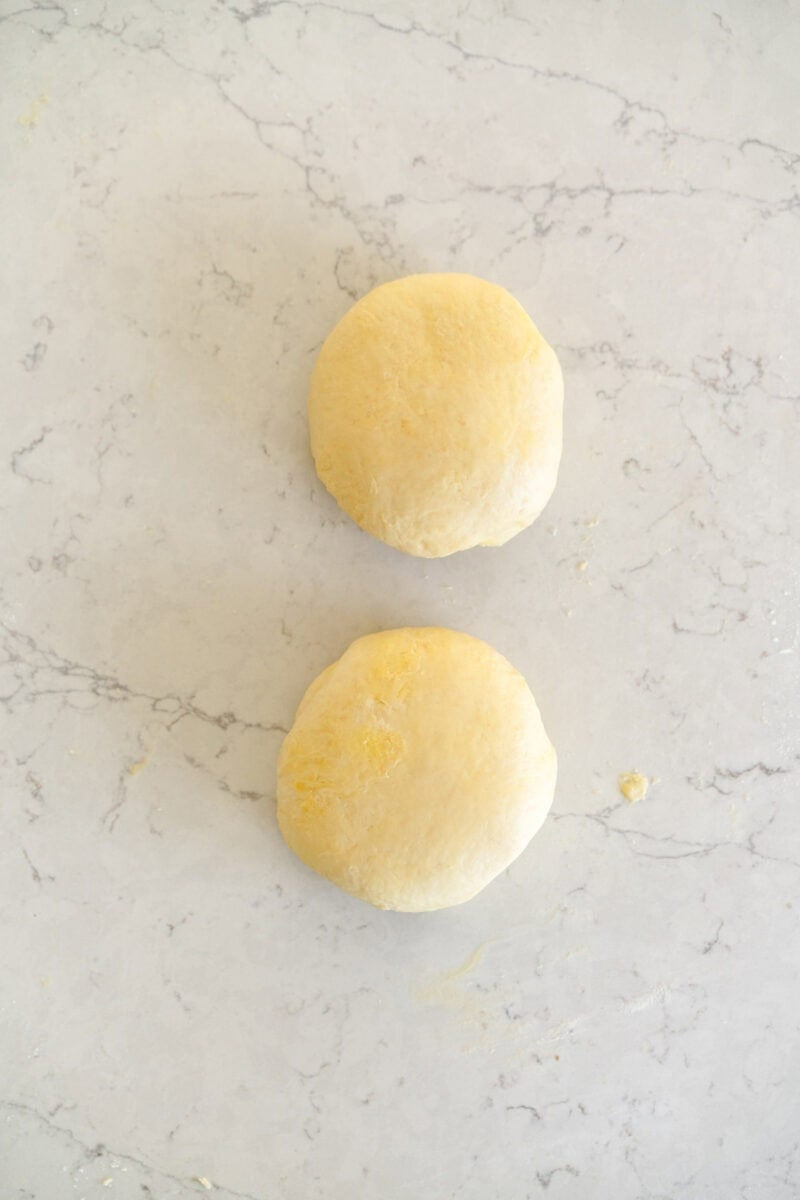
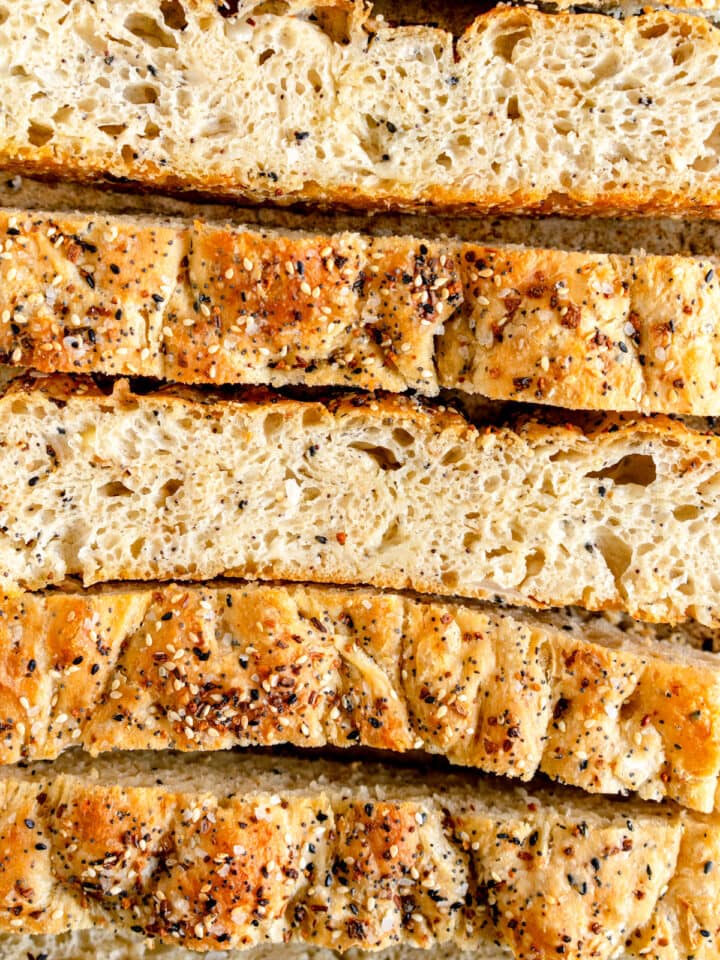
To make loaves, shape the dough into a 24x24cm (9.5") square (It doesn't have to be super even), then cut down the middle to form two pieces of dough. Transfer to the baking sheet, flipping so the floured side is up (this is where the pattern on ciabatta comes from), then gently gently shape into loaves by tucking the edges under.
Leave the loaves to rise, then bake.

Another shaping option: Ciabatta Rolls
The process for making ciabatta rolls is very similar to making ciabatta loaves, except that you will shape the dough into a 28x20cm (8x11") rectangle instead, then cut into 8 rolls. Turn them over as you move them from the floured work surface to the sheet pan, to get the flour pattern from the counter as the top crust.
Arrange the ciabatta buns on your sheet pan so they have some space between them, as they do flatten out slightly as they rest. It is not the end of the world if they touch a little!


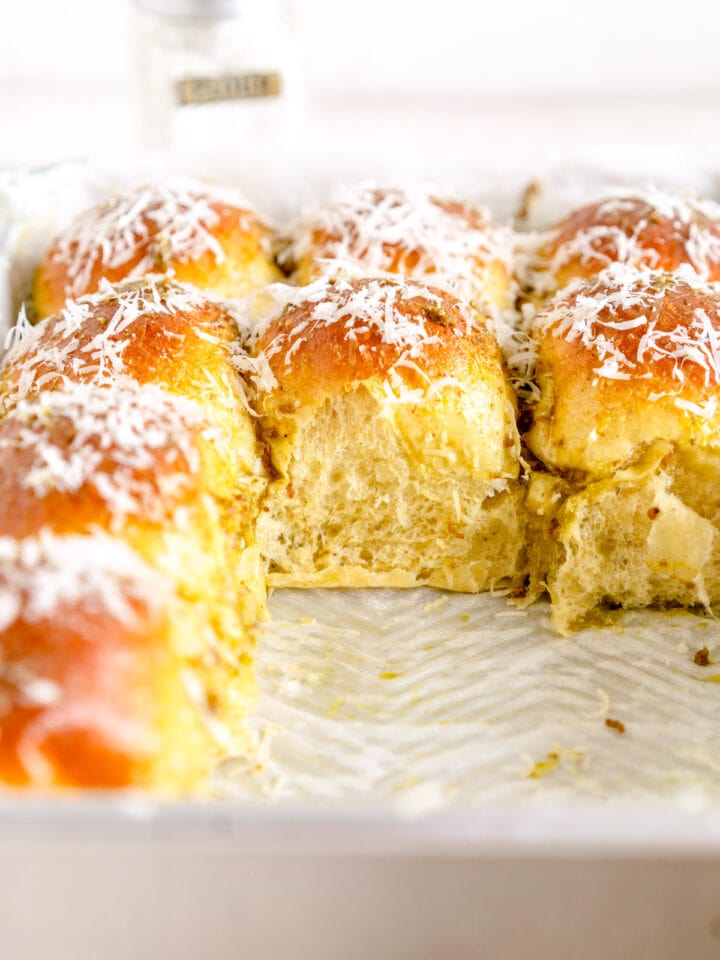
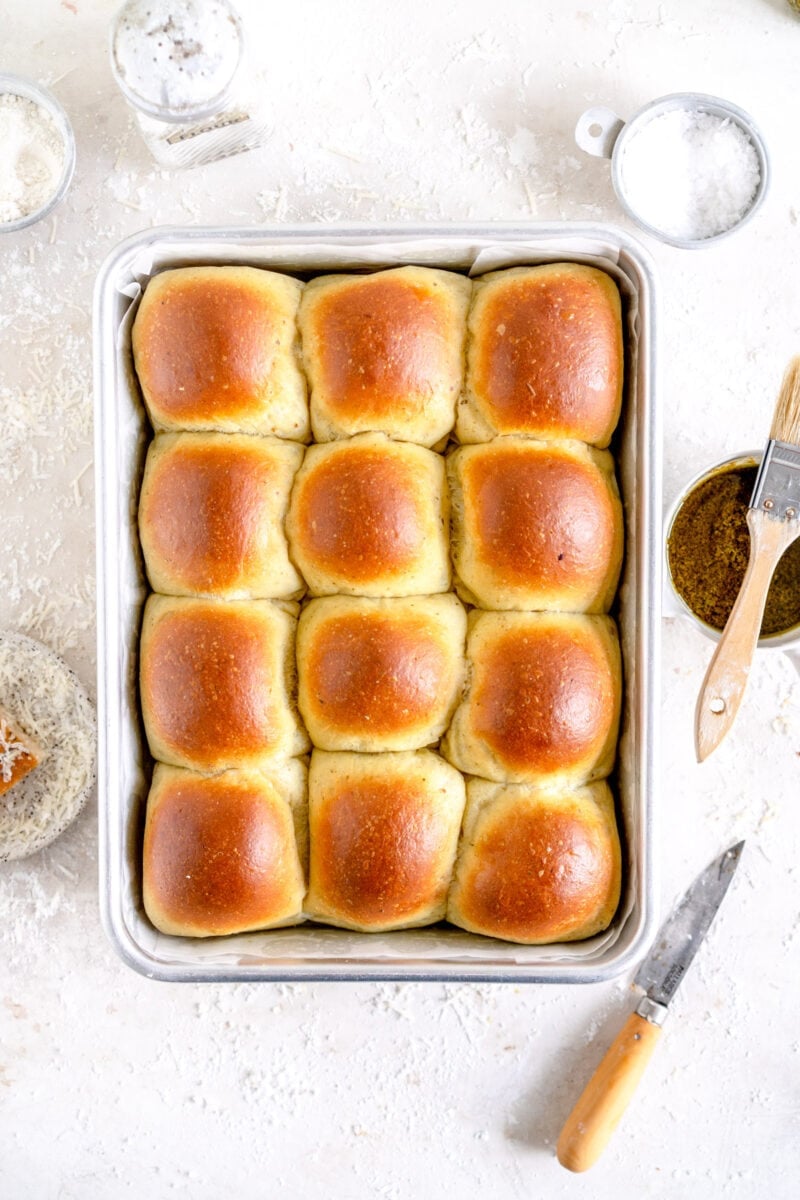
And one more for good measure: Ciabatta Slider Buns
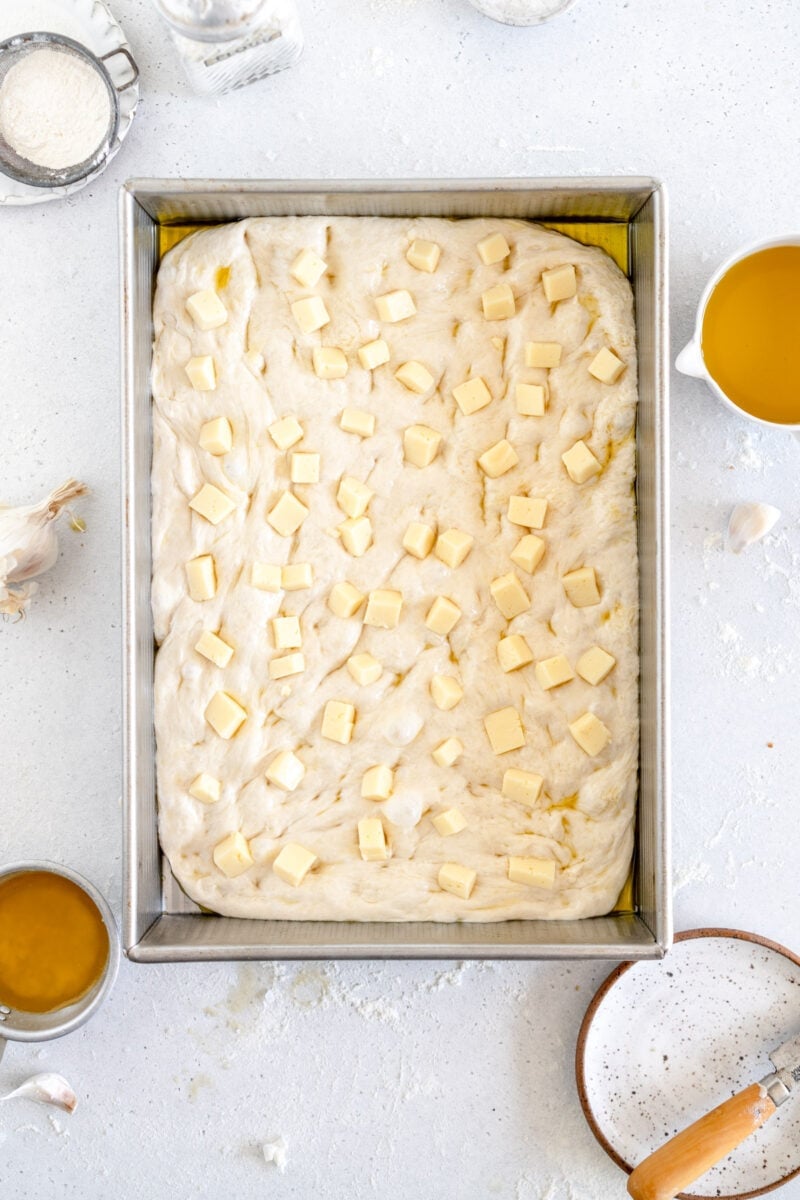
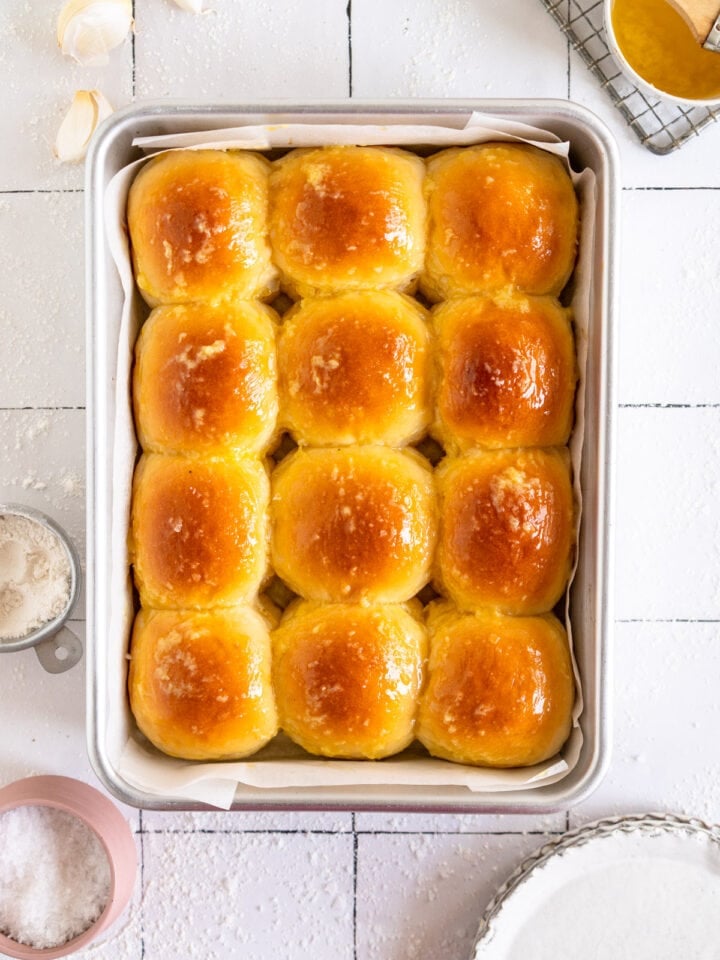
Another way to bake this ciabatta bread which is even easier is to flop the dough out directly onto your sheet pan, and shape it into a square, then cut it into rolls and leave them as is. This means when they bake they will form a sort of pull-apart ciabatta bread, with super soft edges and a lovely crusty top.
To make ciabatta slider buns or ciabatta pull-apart bread, shape the dough into a 24x24cm (9.5") square and then cut into however many you want - I usually go for 16, so a 4x4 grid.
The bake time for rolls and a loaf is similar, so if you wanted to divide the dough into one loaf and four rolls, that would work, just space them out on the same baking sheet.


❤️ Made this recipe and love it? ❤️
I would LOVE for you to leave me a review and star rating below to let me know how you liked it! Also, please make sure to tag me on Instagram!
Answers to your baking questions
Over the years, many of you have asked me questions about:
- baking in grams
- adjusting oven temperatures
- what kind of salt to use
- and many more!
I've curated and answered them all for your easy reference in this frequently asked questions post!