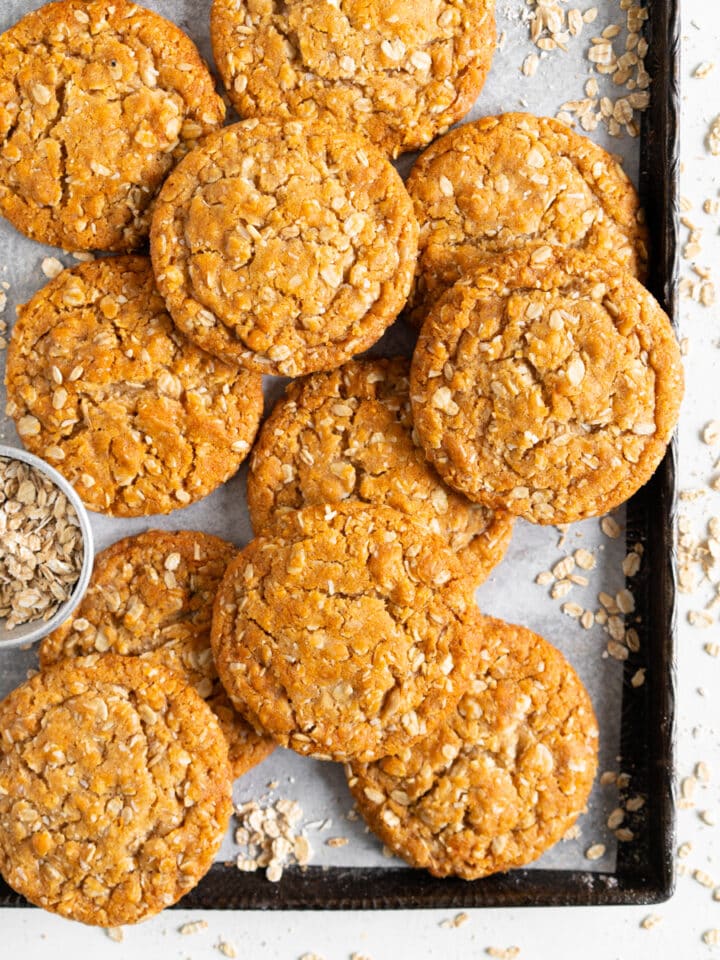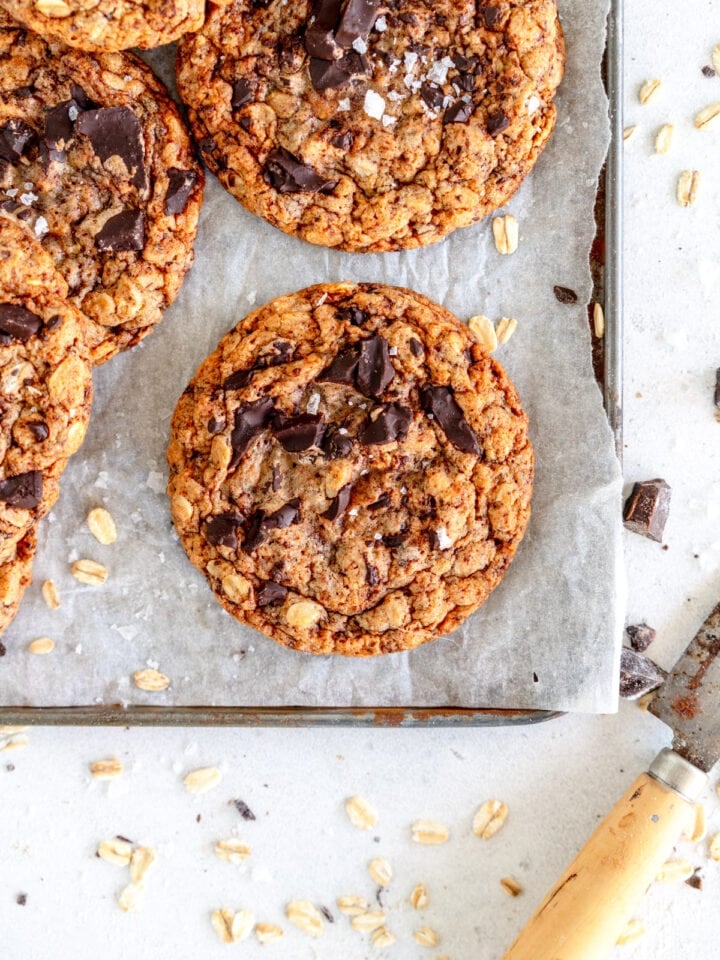
These well-tested soft and chewy Oatmeal Chocolate Chip Cookies are quick and easy to make and come together in about 30 minutes! Packed full of toasted old fashioned oats, brown butter and milk powder (a magical single ingredient that amps up the flavor of brown butter!), these are my go-to oatmeal chocolate chip cookies! This post is packed with helpful tips and tricks to help you bake these cookie beauties at home.

Hi hi! I am just popping in to share this oatmeal chocolate chip cookie recipe with you! These took a ton of tests and tweaking to develop, but I am so happy with the final product.
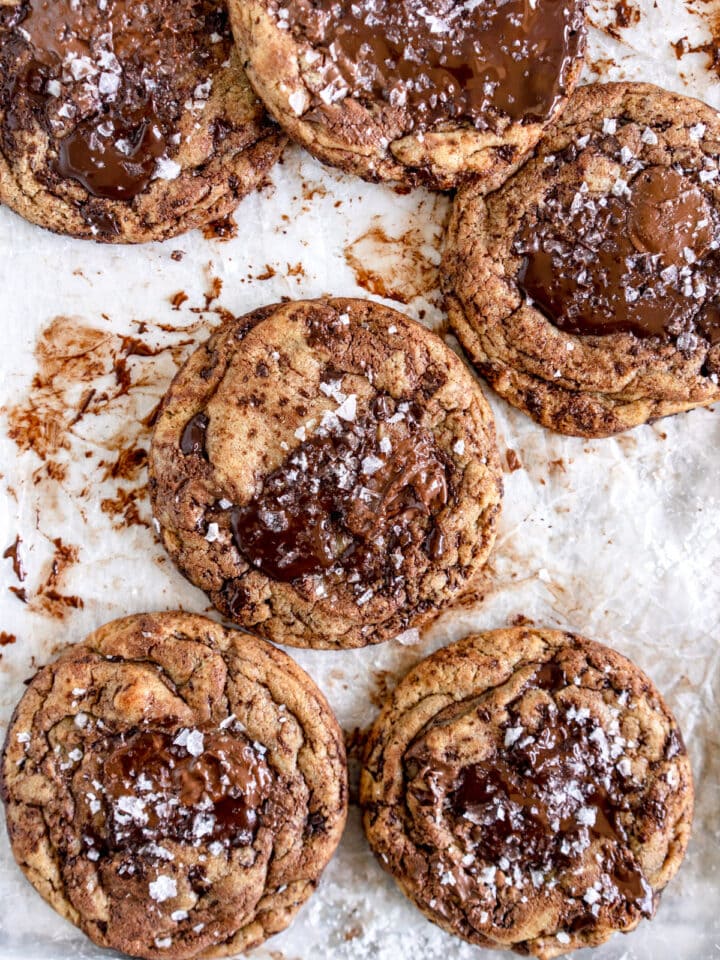
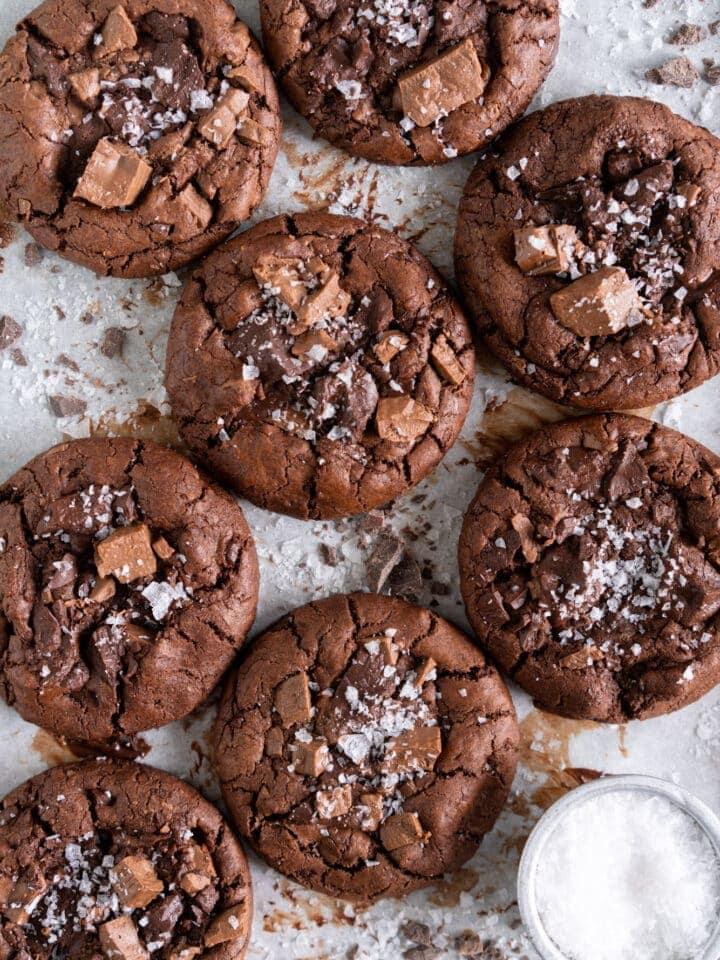
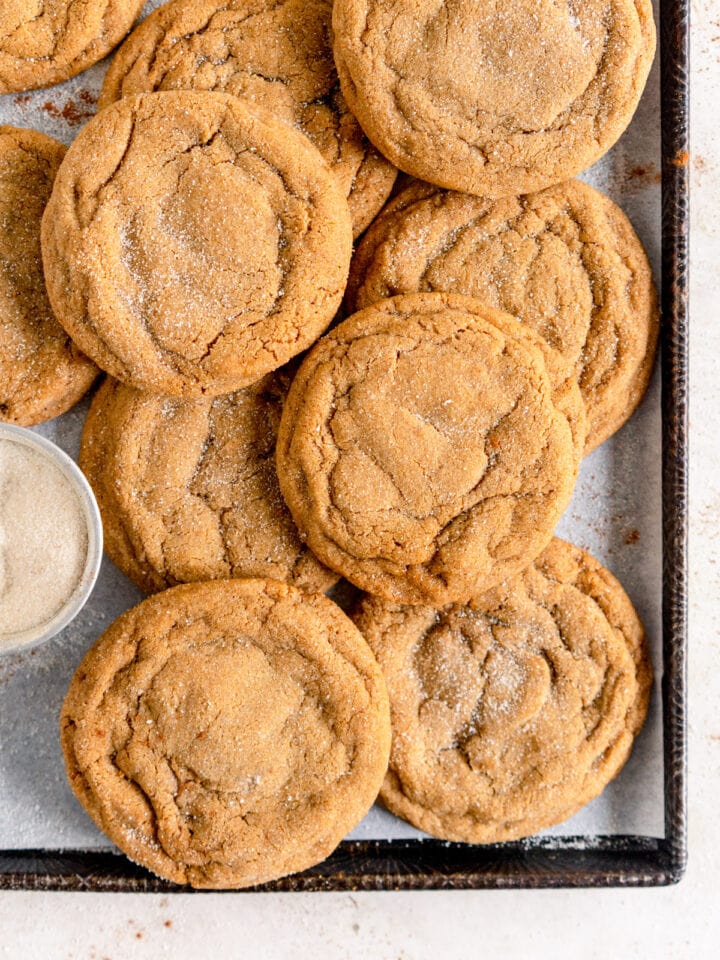
I wanted a super easy oatmeal chocolate chip cookie recipe that packed a punch, but didn't need a chill time or any fancy equipment. Enter this recipe - it is a soft and chewy oatmeal cookie, with slightly crispy edges. They are super toasty thanks to the brown butter and malted milk powder, and are stuffed with chocolate chunks. These oatmeal chocolate chip cookies keep for up to a week in a container, making them the perfect cookie to have on hand.
If you love Oatmeal Cookies try these too:
- For a dairy free version: Try my Oatmeal Chocolate Chip Cookies made with oil! Readers have also made these GF and egg free and left really helpful reviews.
- Peanut Butter Lover? My Peanut Butter Oatmeal Cookie recipe is SO GOOD.
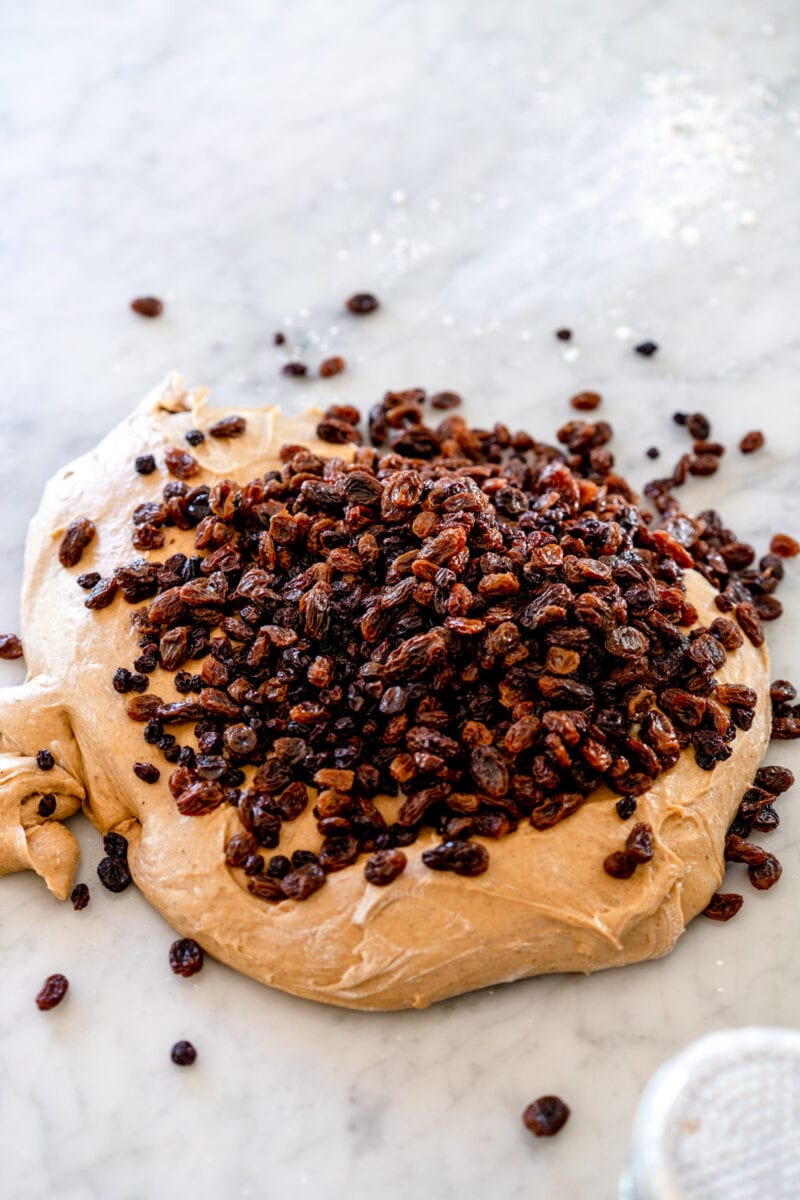
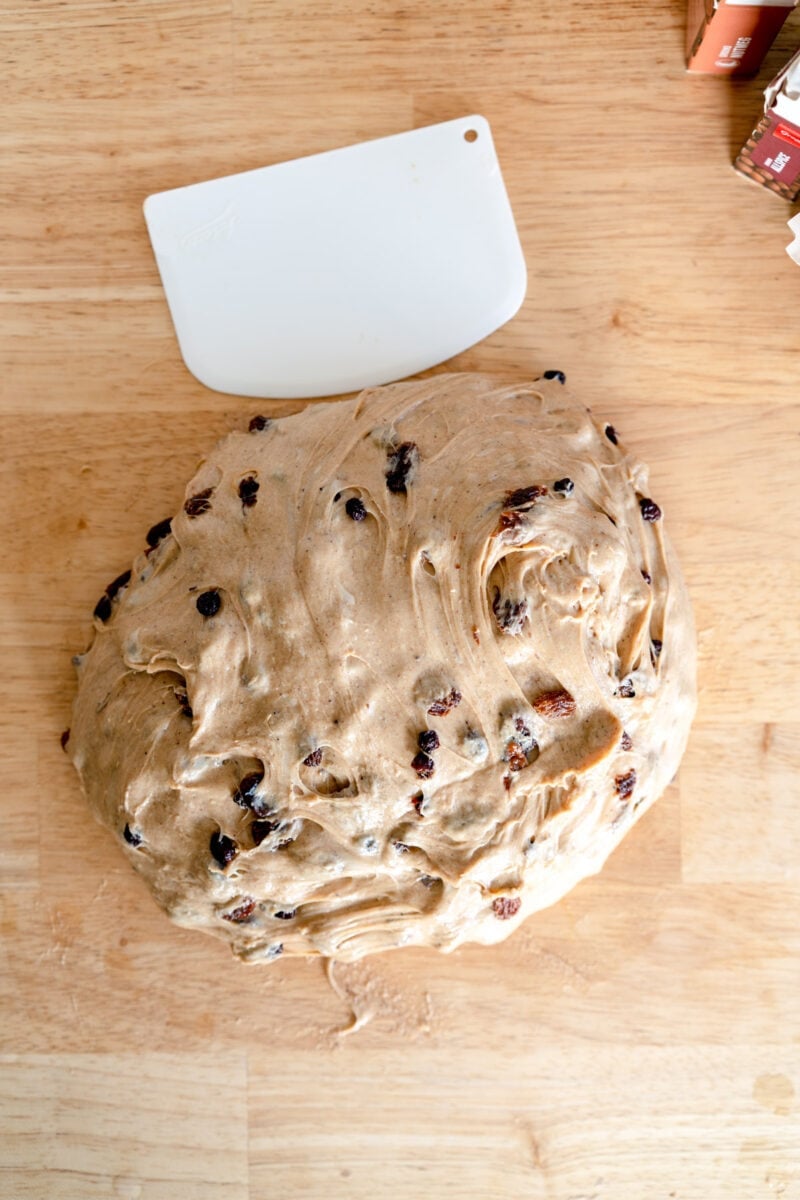
- A Classic Oatmeal Raisin but better: I am hooked on these Oatmeal Raisin Cookies. They are chonky, full of raisins, and just so good.
- Iced Oatmeal Cookies: These took me over 20 recipe tests to get right, but I am so happy with my Iced Oatmeal Cookie recipe!

Flavour packed Oatmeal Chocolate Chip Cookies
I played around loads with this oatmeal chocolate chip cookie recipe during the recipe testing process - they are great and a super easy recipe, but I knew I could pack them full of flavour and texture to make a really good oatmeal cookie. Here's what I ended up with, there are notes in each section on if you don't have these ingredients / don't want to bother with these steps (but I think they are all very worth it. I wouldn't waste your time for no reason.)
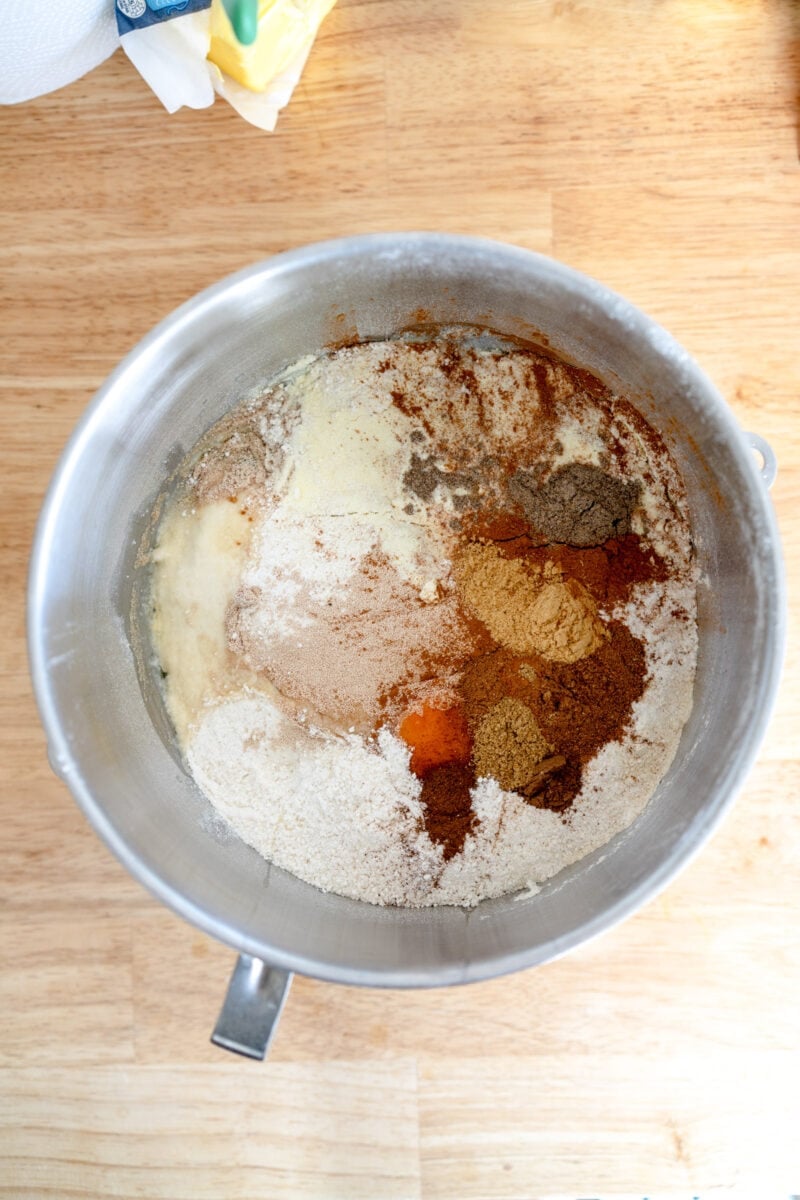
- Brown butter with added milk powder. Brown butter is amazing. Adding milk powder to the brown butter makes it mega toasty and mega delicious. More on this further down the post because it's a game changer of a technique.
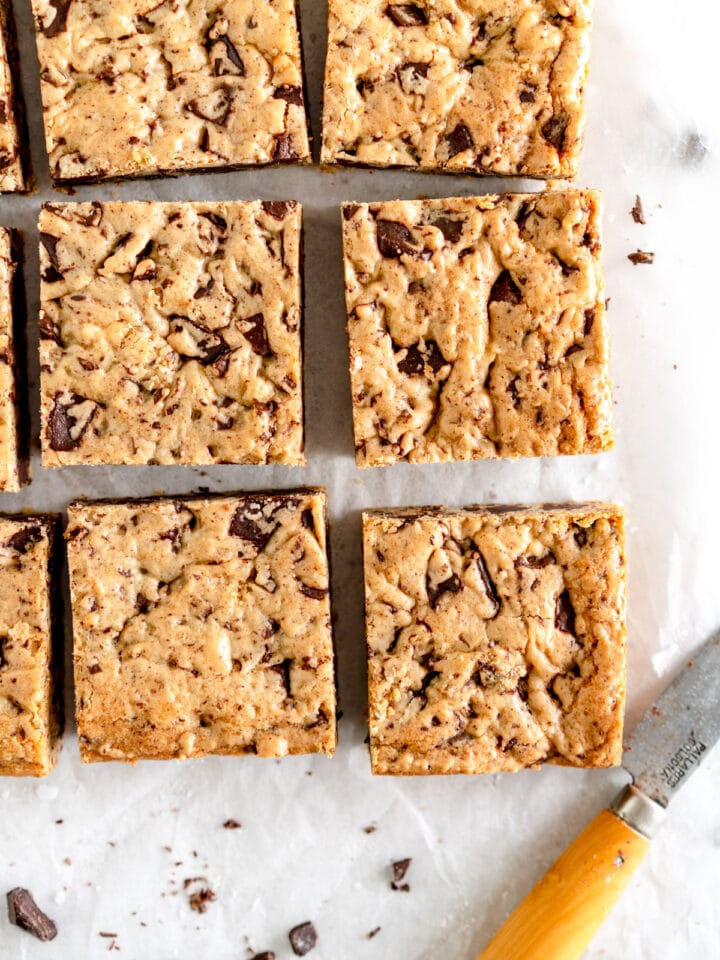
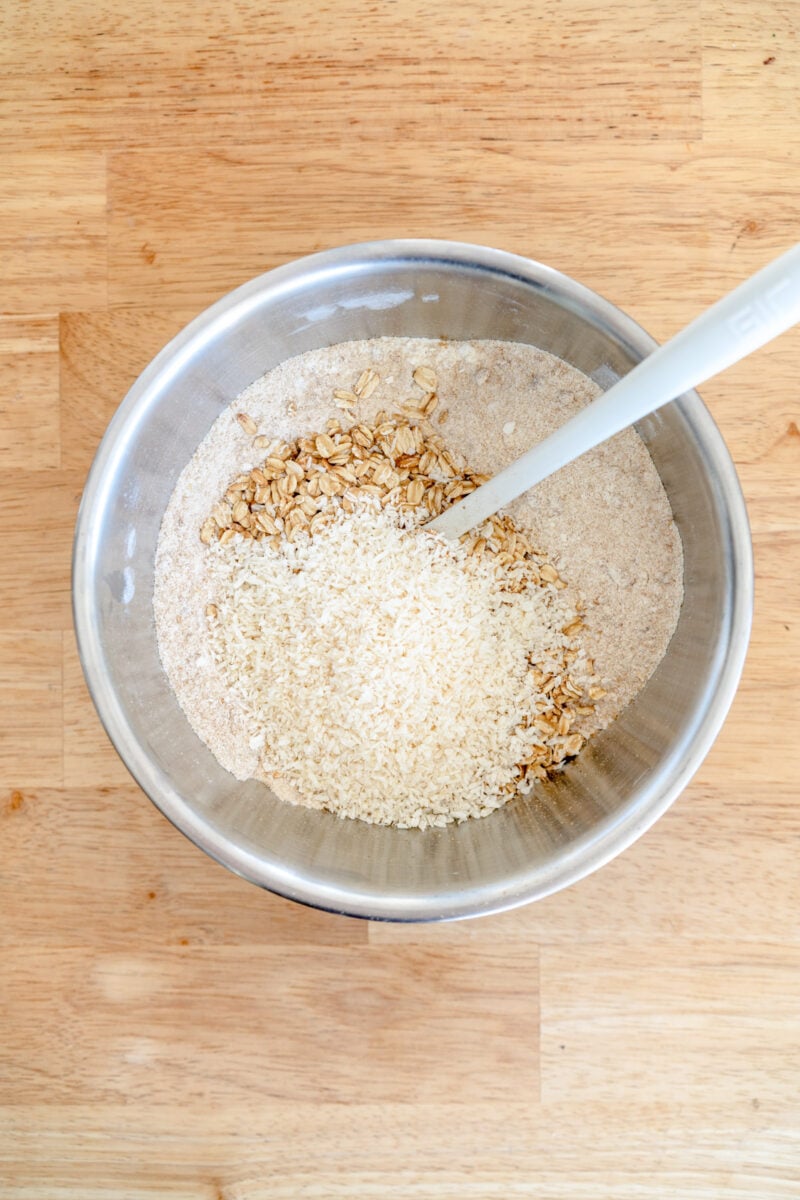
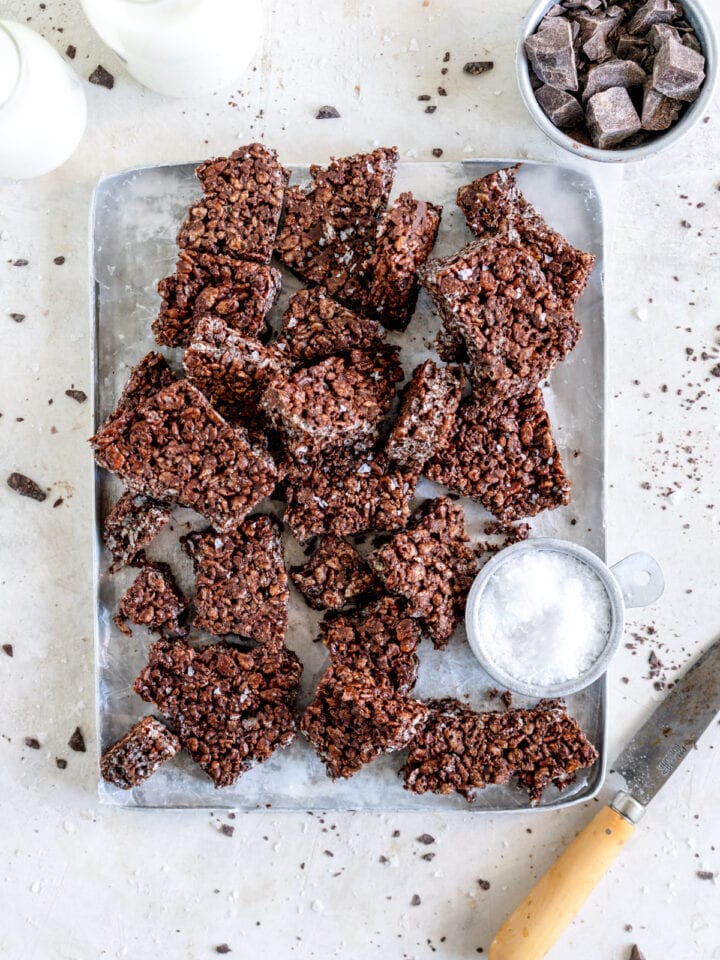
- Toasted Oats. This is an optional step, but toasting the oats adds another level of flavour, but also gives them a slight crunch and chew in the cookie dough which is so delicious.
- Malted Milk Powder. Again - optional, but malted milk powder adds an amazing dimension to these oatmeal chocolate chip cookies.
- Espresso Powder. If you don't have espresso powder, fine instant coffee works great too, or you can leave it out completely. Adding espresso powder adds dimension to chocolate flavour in recipes.


Brown Butter Oatmeal Cookies - adding milk powder to butter?
I LOVE brown butter. It is my go to for almost everything - you can see in my little brown butter recipes collection that I have. I love that it adds deep flavour to a recipe without needing any extra ingredients.
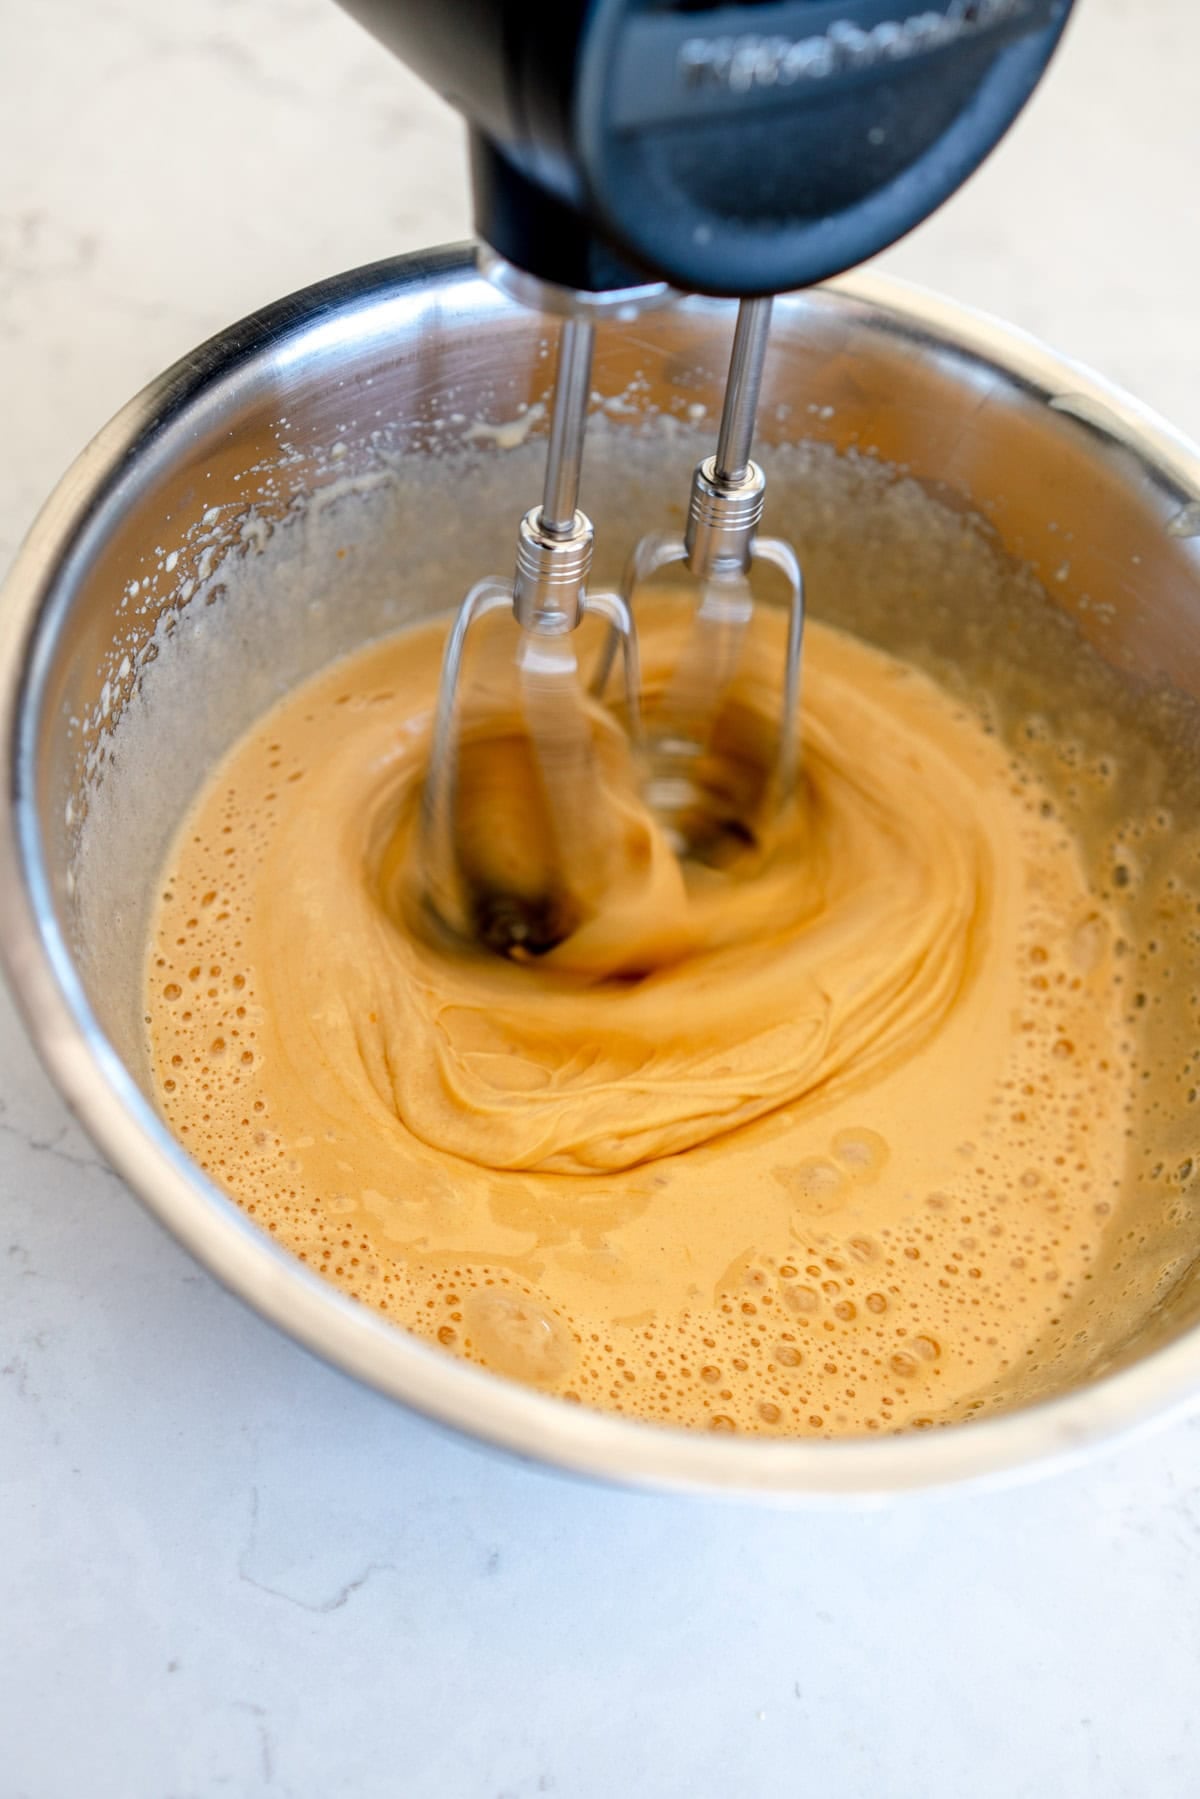
There is however, a way to amp up the flavour of brown butter - adding milk powder. The process of browning butter involves cooking the milk solids in the butter until they brown - hence the name brown butter.
Adding milk powder means that you increase the amount of milk solids in the butter mixture, meaning more browned milk solids = even more toasty brown butter flavour. You add it in just after the butter is melted, and then brown butter the regular way. Make sure you stir frequently as the milk solids have a tendency to clump.
I used whole milk powder, if you can only find non-fat that should work ok too! I use it in a lot of recipes - it adds amazing softness to bread recipes, and it lasts a really long time stored in an airtight container. It's a great ingredient to have on hand.
If you do not have milk powder you can leave it out - but please note that you will only need to measure out 100g of brown butter for the recipe, as the extra 20g in the 120g called for in the recipe comes from the added milk powder.


Toasted Oats for texture
Oatmeal chocolate chip cookies are great. Oatmeal chocolate chip cookies with toasted oats are AMAZING. Toasting the oats for just 10 minutes in the oven before you use them in the recipe dries them out slightly and turns them lightly golden brown, which adds an amazing nutty flavour and great texture to the cookie.
This is a totally optional step, if you don't want to toast the oats you can just use 100g Old fashioned oats in the recipe. Make sure that if you do toast them, you weigh them after toasting as they can lose some moisture in the oven - top back up to 100g worth of oats if needed.
If you wanted to bulk toast oats to have on hand if you bake a lot, just do a bunch at once on a large pan, then store in an airtight container.


How to freeze Oatmeal Chocolate Chip Cookies
There are two options here for freezing your oatmeal chocolate chip cookies:
- Freeze the baked cookies. I often do this when I am recipe testing and have too many on hand - I pop the baked cookies into an airtight container or ziploc bag and then freeze. To defrost frozen cookies just leave them at room temperature. I find slightly warming defrosted cookies helps a lot with texture before eating them too.
- Freeze the dough. This works great too - scoop the cookie dough out and then place onto a lined sheet pan and freeze. Store in a ziploc bag. To bake from frozen, reduce the oven temperature to 325°f / 160°c and add a few minutes to the baking time.
For all my tips and tricks on freezing cookie dough and cookies, check out my post: How to freeze cookie dough and bake from frozen

Recipe Development for Oatmeal Chocolate Chip Cookies
These Oatmeal chocolate chip cookies definitely went through a few rounds of testing, playing with variables to yield what is, in my opinion, the perfect oatmeal chocolate chip cookie recipe.
I started with my dairy free oatmeal chocolate chip cookies as a kicking off point, and changed the recipe to use butter (you usually need to add more butter in the place of oil when making this change in recipes as oil is straight fat and butter has some water in it and behaves a bit differently).
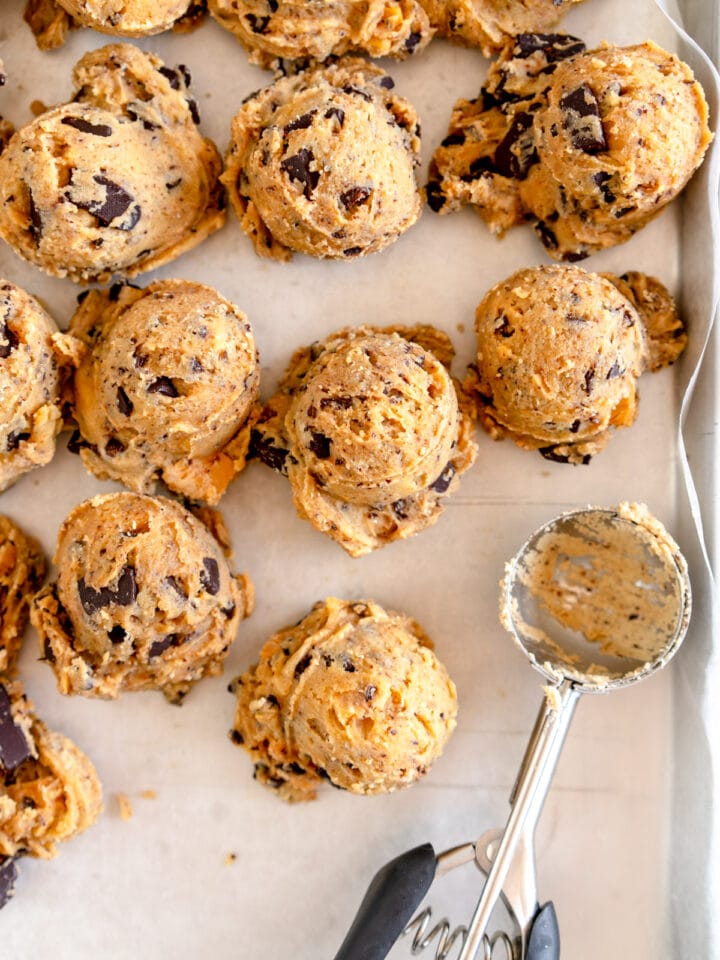
From there it was pretty straightforward, I just played around with scoop size of the cookie (I went big), and adding in malted milk powder, milk powder to the brown butter mix, and toasting the oats.
I also played around with baking temperature and chilling the dough. In this instance I found that chilling the dough didn't make a big change in the spread or texture of the cookie. Dropping the baking temperature made them spread a little too much for my liking (baking at a lower temperature gives the cookie more time to spread before it sets), so I found scooping and baking straight away at 350°f / 180°c was the sweet spot.

The best chocolate to use for cookies
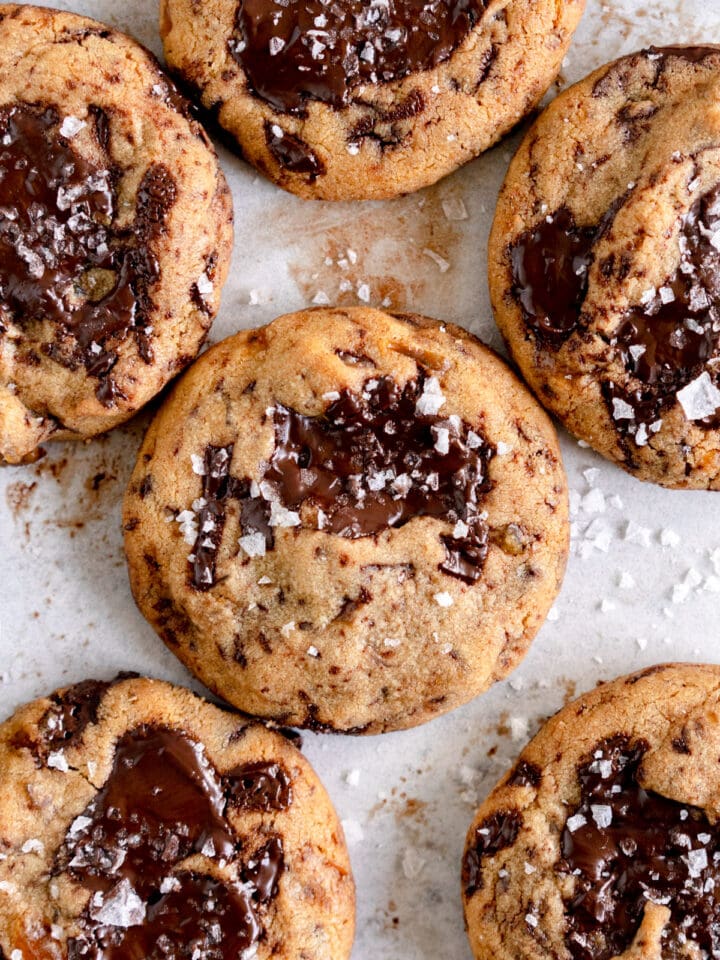
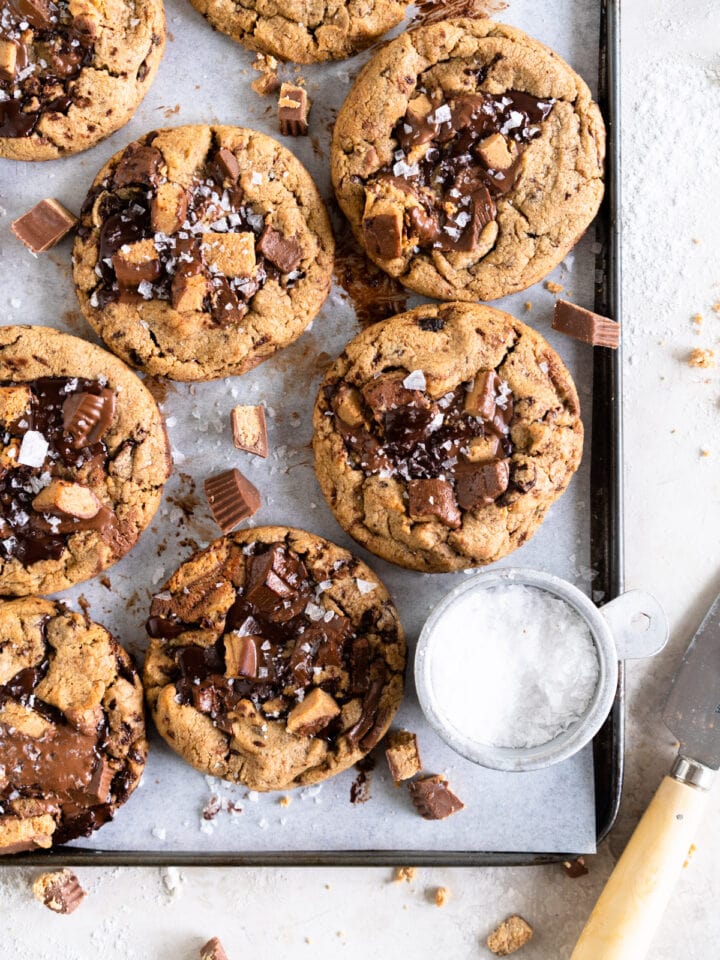
I prefer to use chopped chocolate rather than chocolate chips in cookies:
- A range of sizes. Chopping the chocolate gives you a mixture of chunks, smaller pieces, and then little shards of chocolate, so you get a lovely distribution of chocolate through the cookie
- Chocolate puddles. Often stabilisers are added to chocolate chips so that they don't melt (which is great for things like muffins where you want them to stay whole), whereas a bar of chocolate melts in the cookie, giving you delicious pockets of chocolate.
- Quality. Use a chocolate that you are happy to eat on its own. I use a 72% cocoa solids chocolate for these oatmeal chocolate chip cookies, but have also made them with whatever chocolate bar is in the cupboard - mix and match!


❤️ Made this recipe and love it? ❤️
I would LOVE for you to leave me a review and star rating below to let me know how you liked it! Also, please make sure to tag me on Instagram!
Answers to your baking questions
Over the years, many of you have asked me questions about:
- baking in grams
- adjusting oven temperatures
- what kind of salt to use
- and many more!
I've curated and answered them all for your easy reference in this frequently asked questions post!