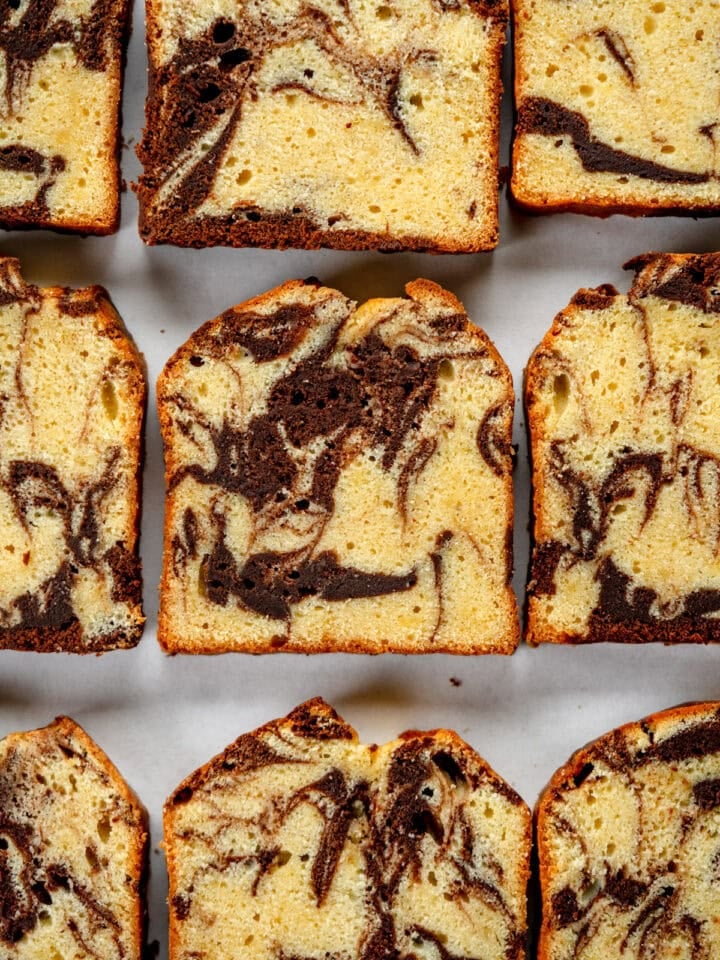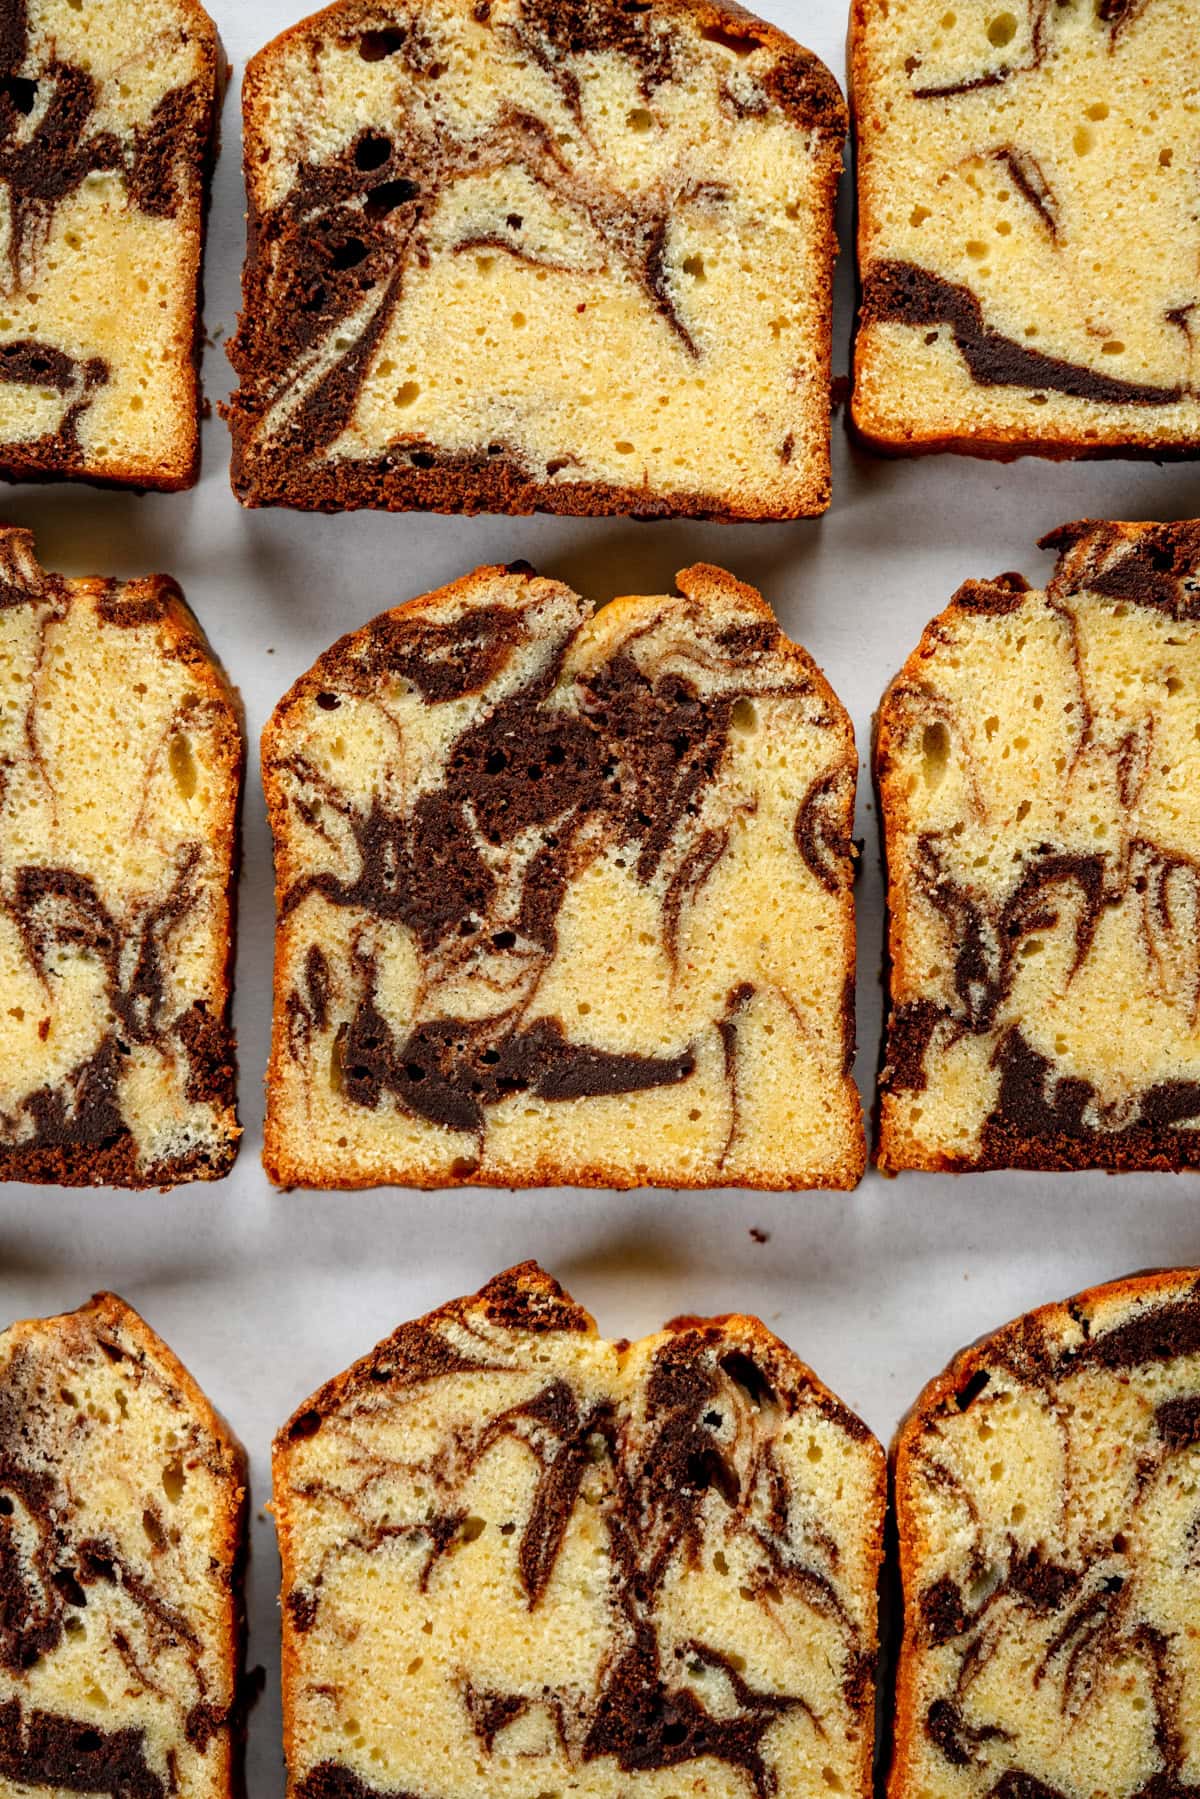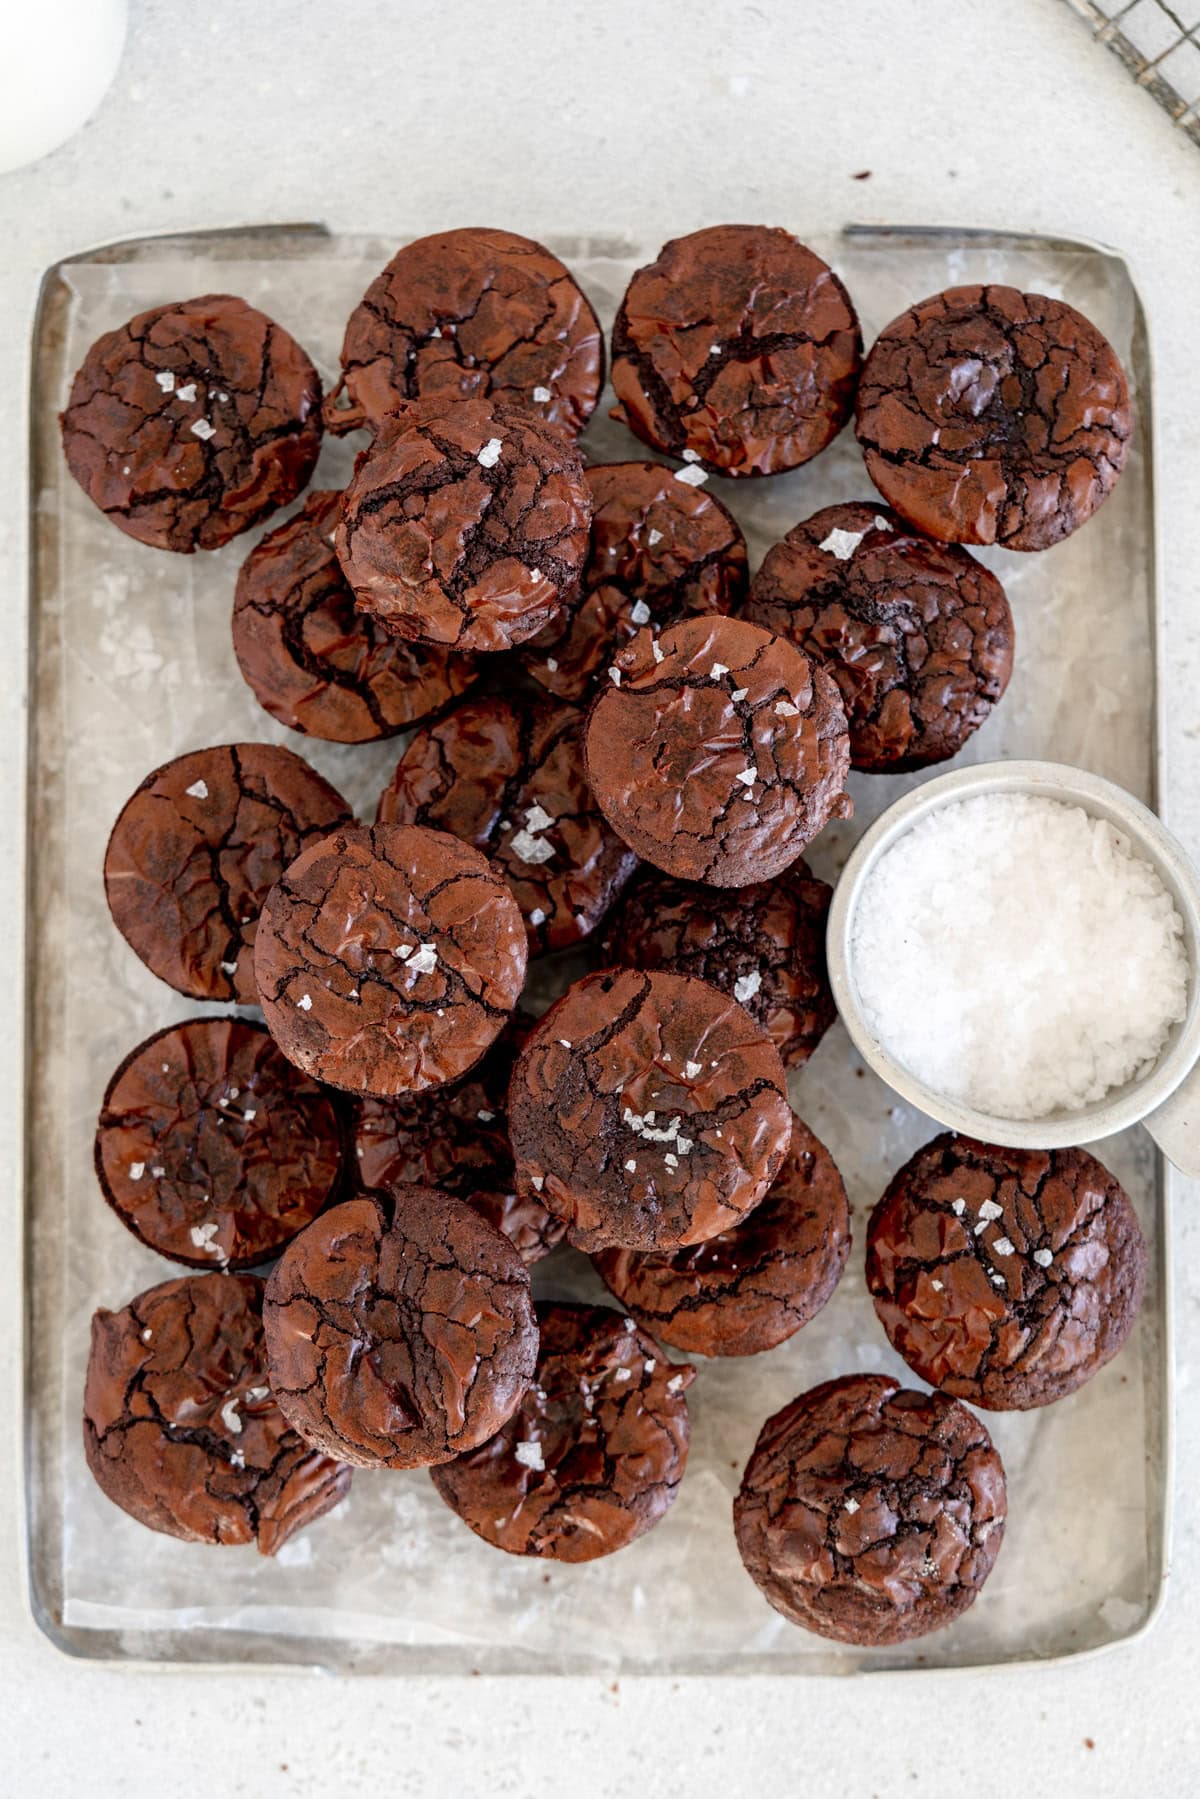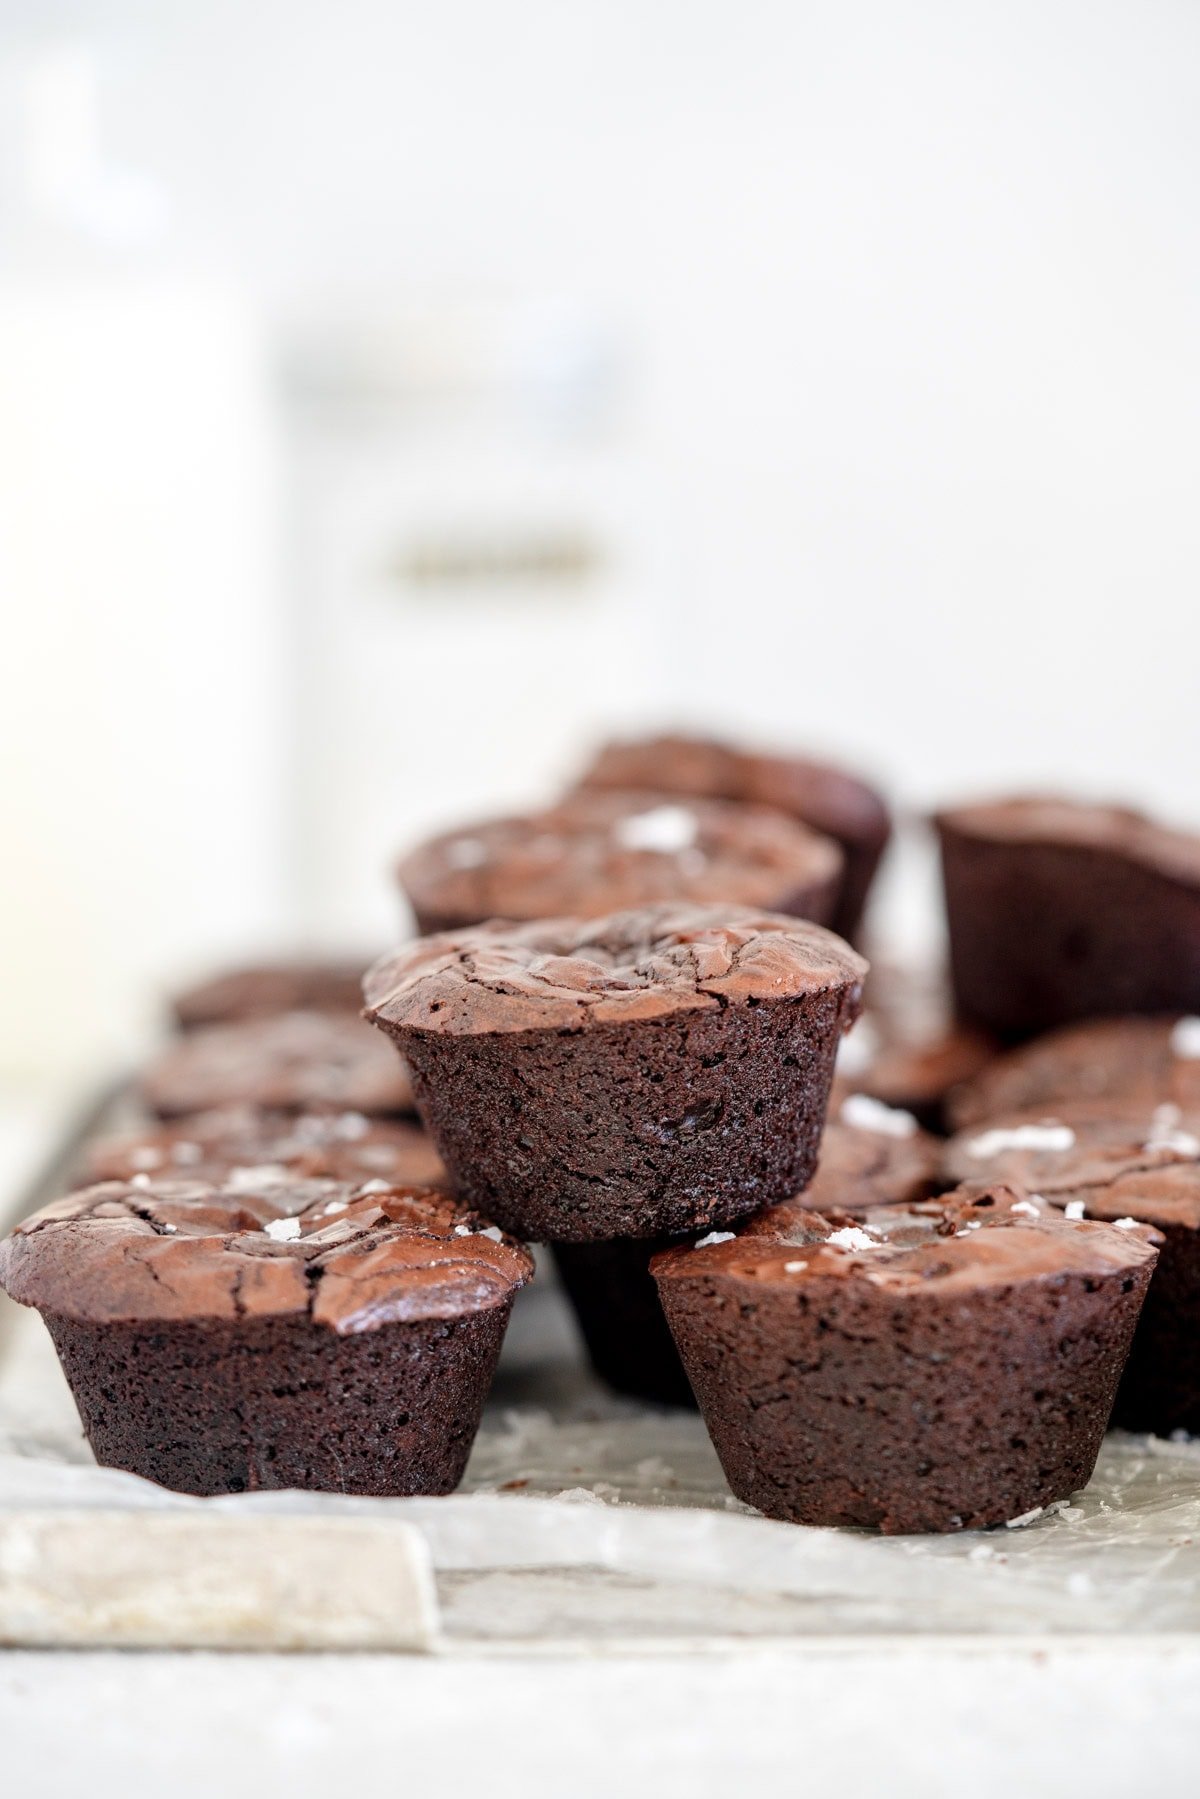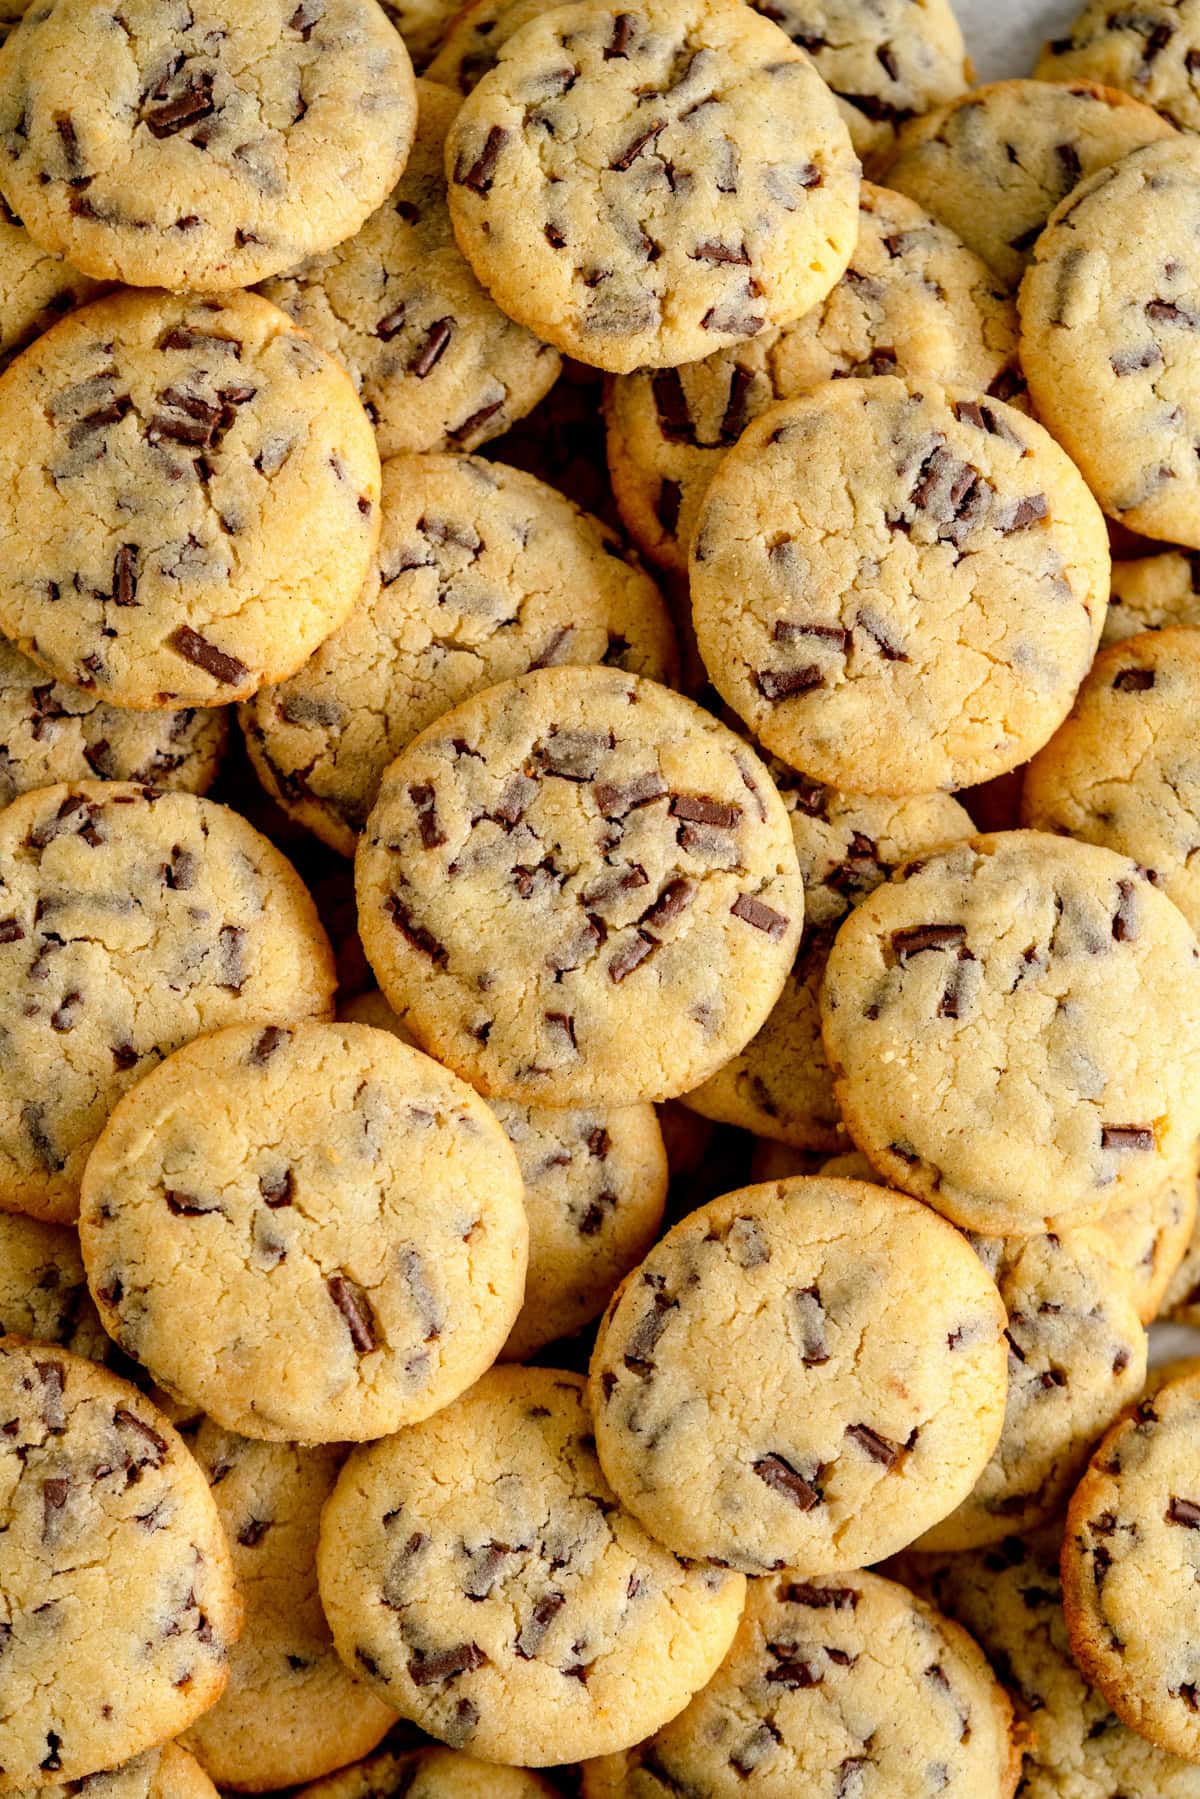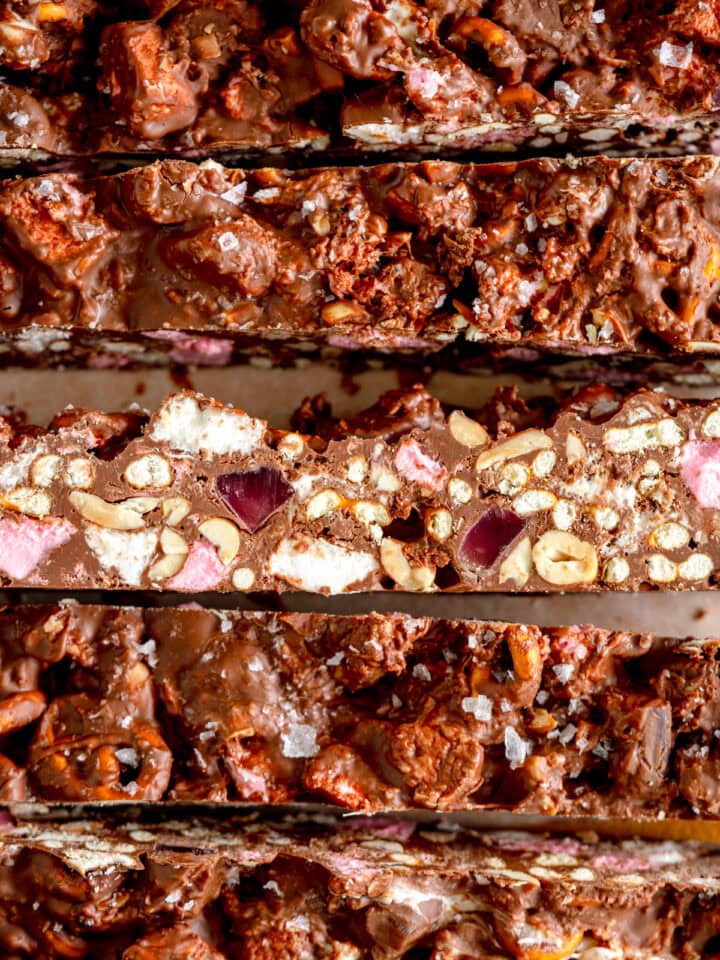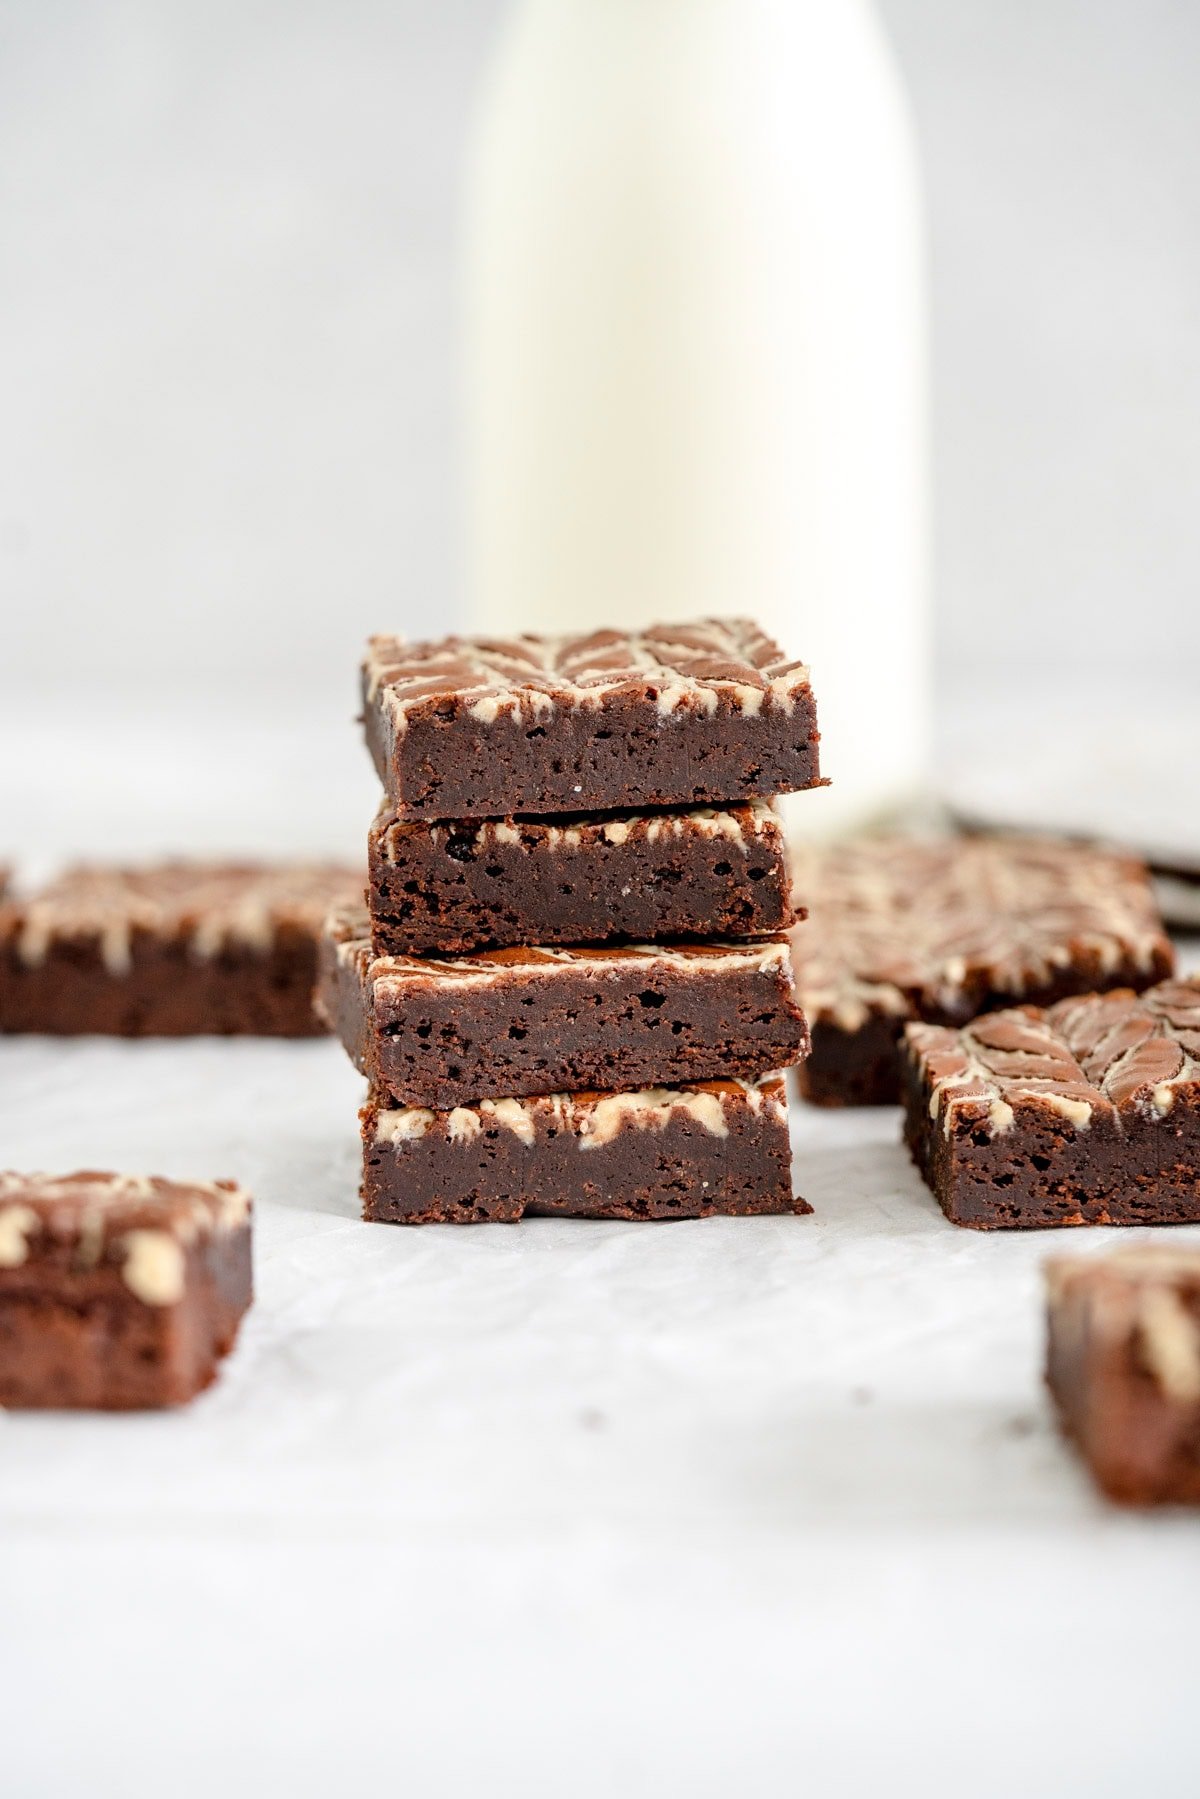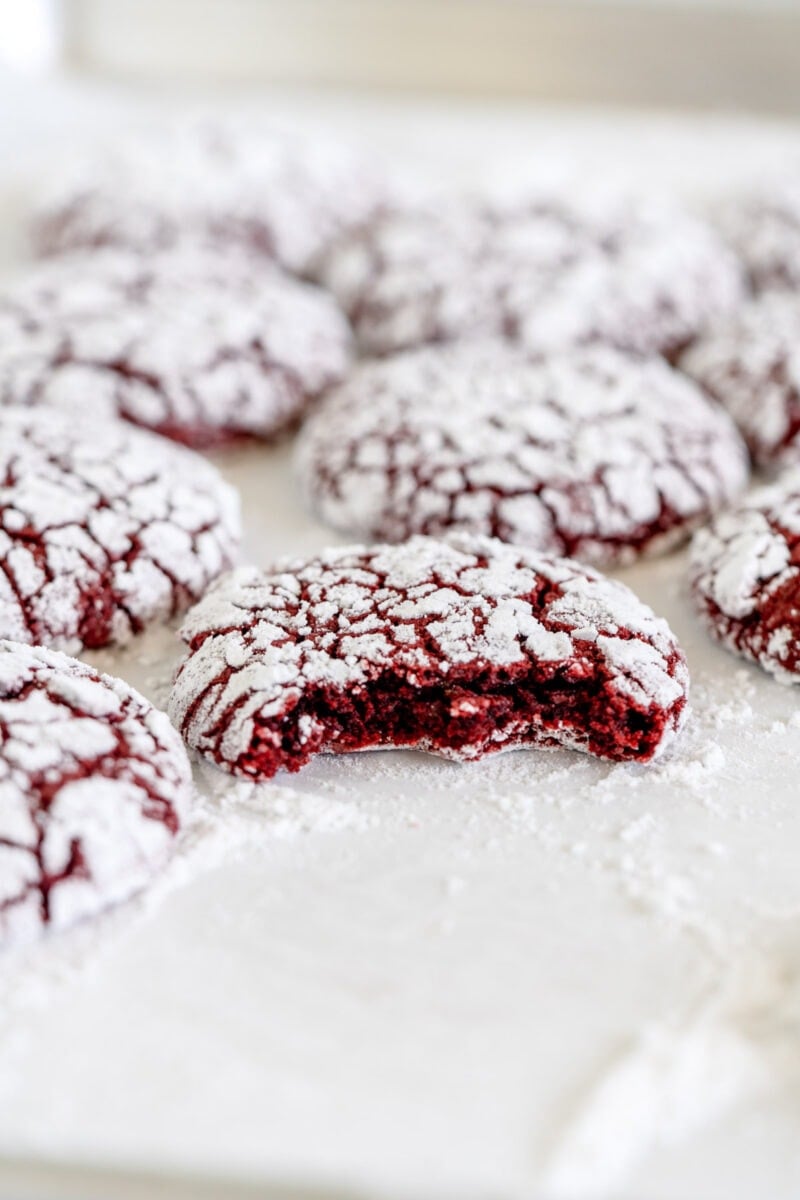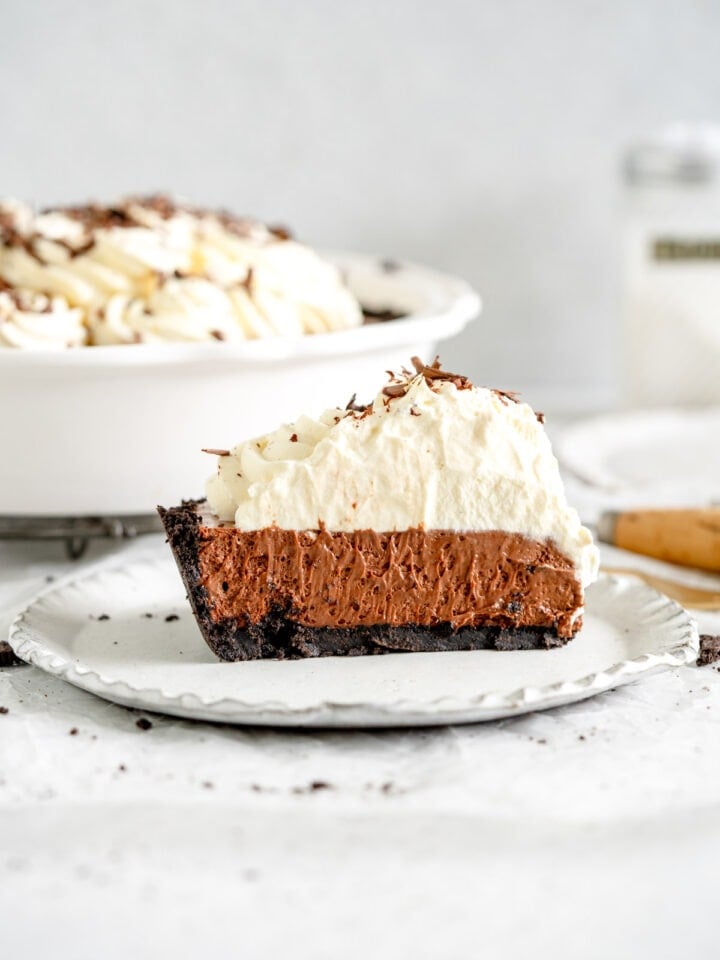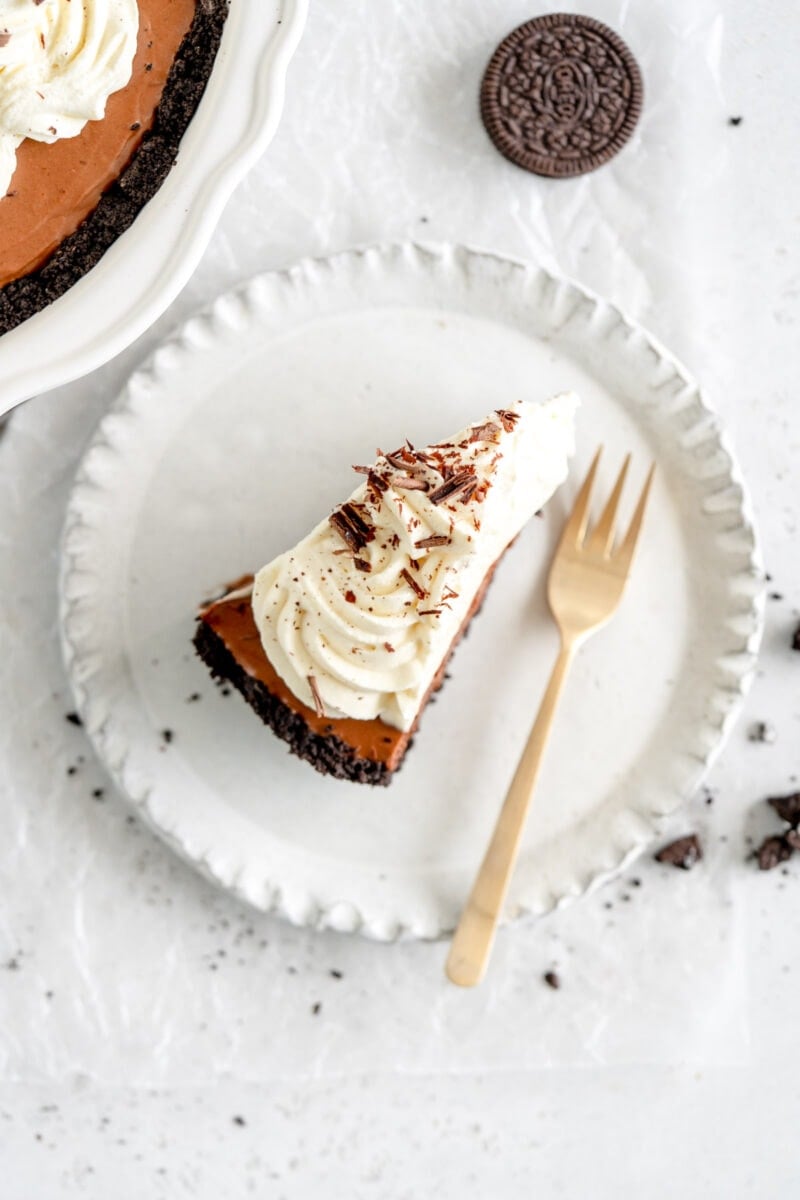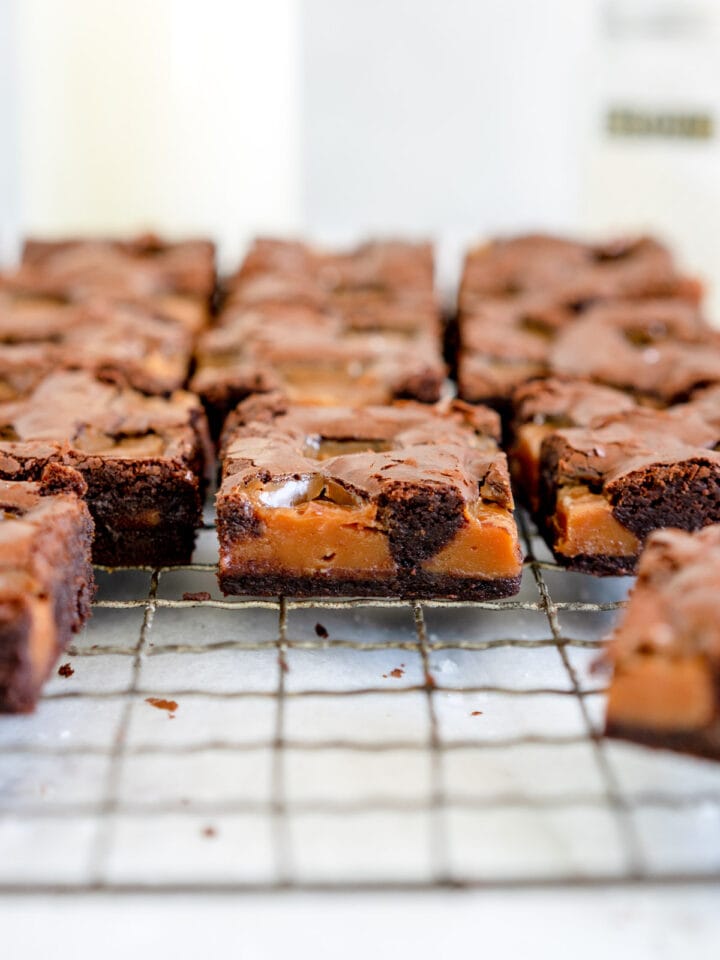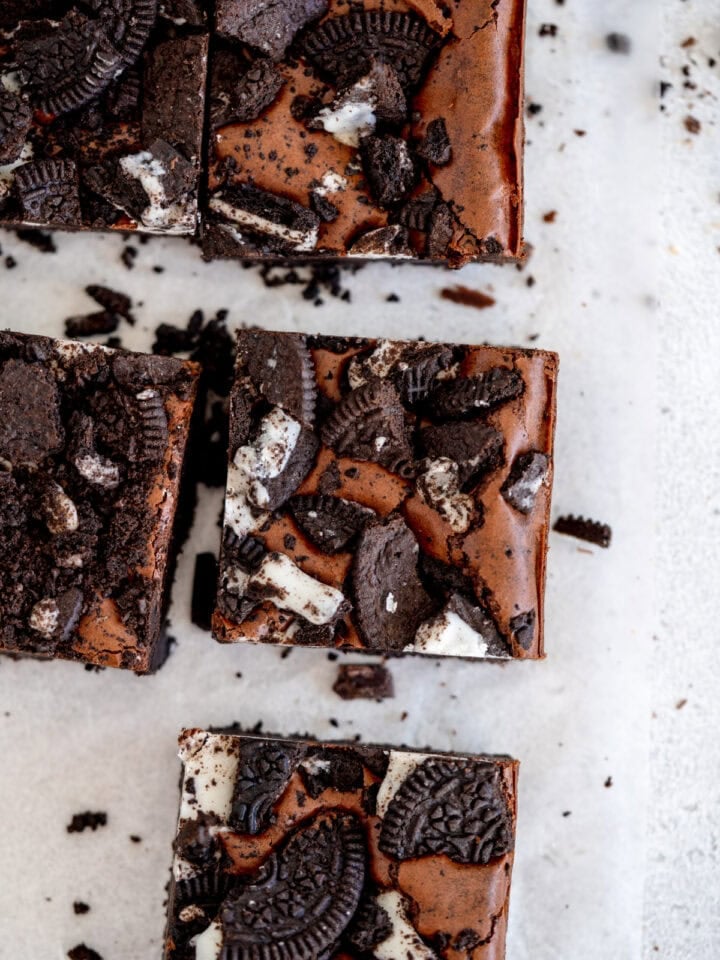
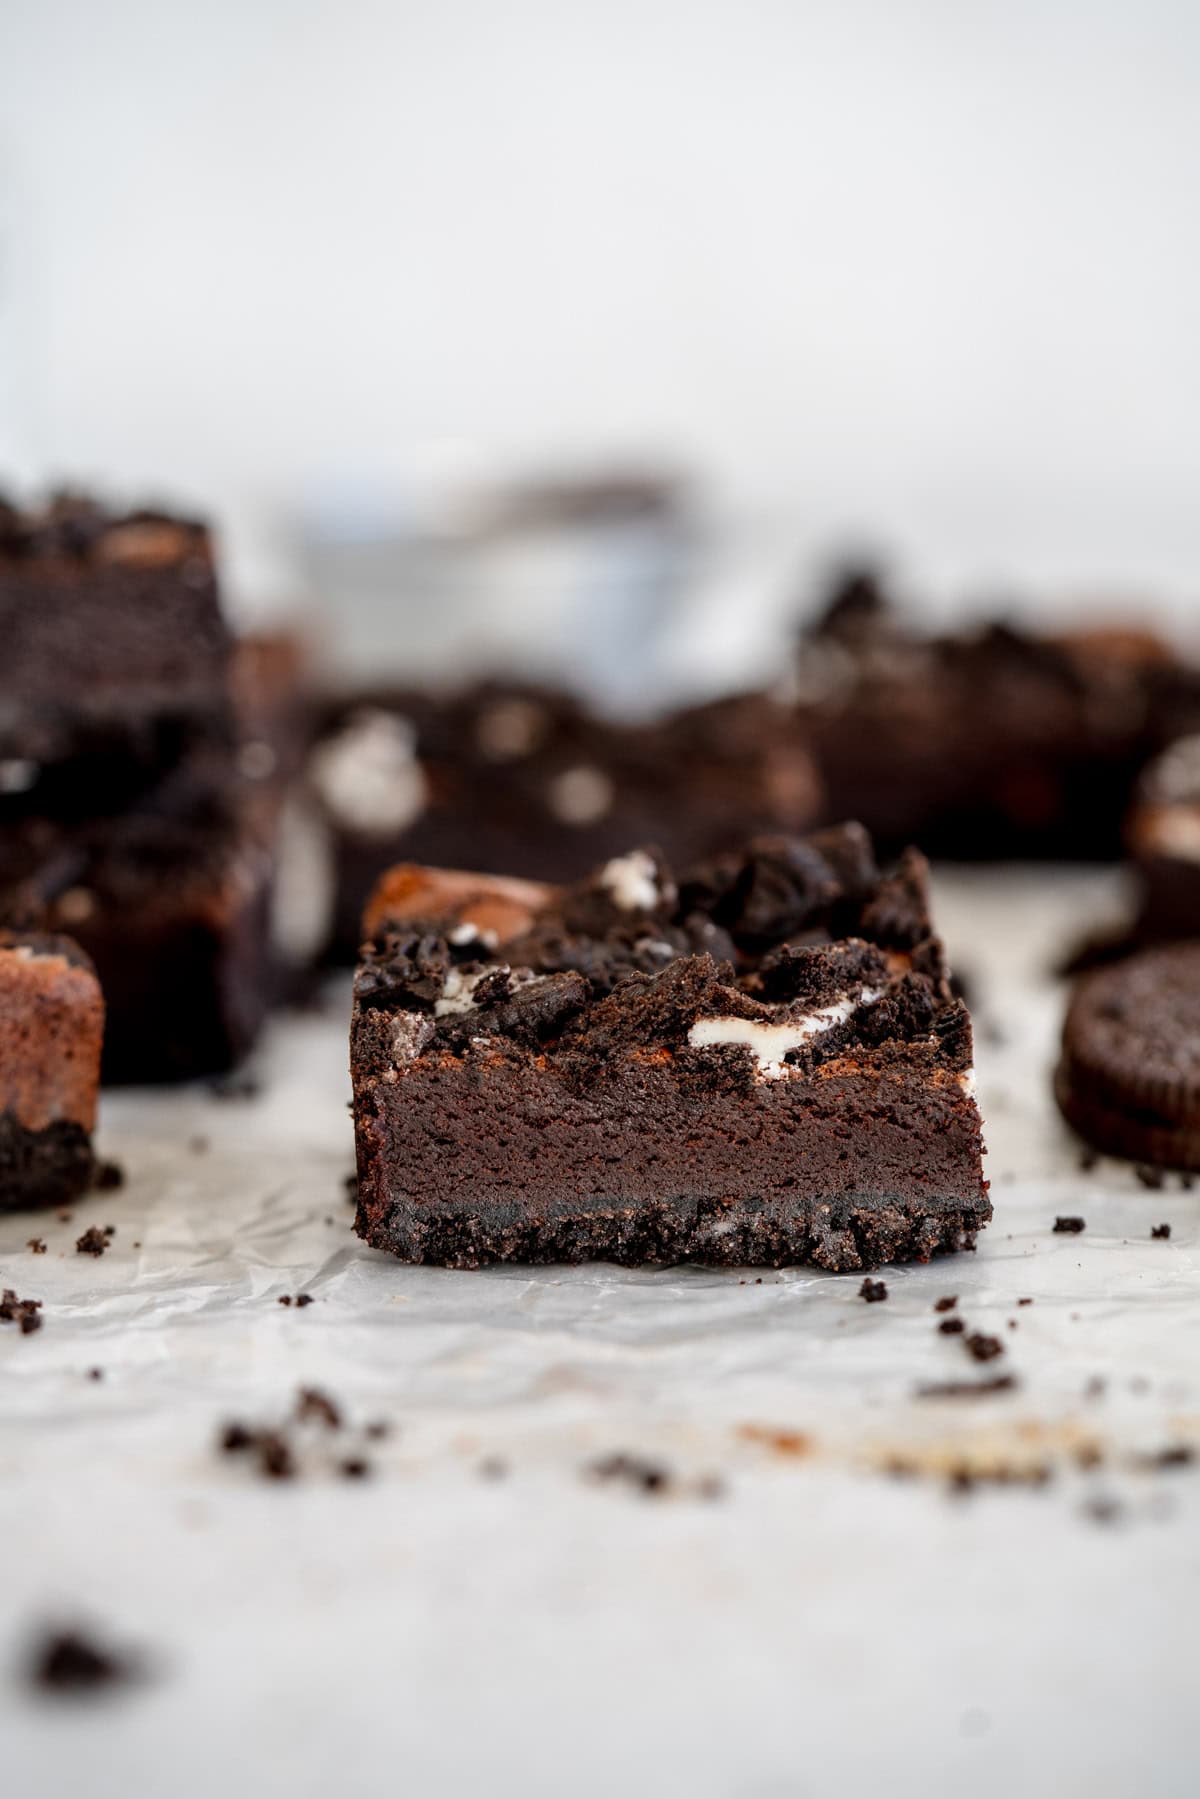
If you love Oreos you will LOVE this Oreo Brownie Recipe! Made with a double dose of Oreos - a buttery Oreo Crust, topped with a brownie layer, then topped with more Oreos. This is a delicious twist on a classic brownie and adding in the crust really takes it to the next level!
Hi hi! I am just popping in to share the recipe for these ridiculously good Oreo Brownies! If you've been around for any amount of time you will know that I am obsessed with my brownie recipe, and am always looking for ways to amp it up and play around with variations!
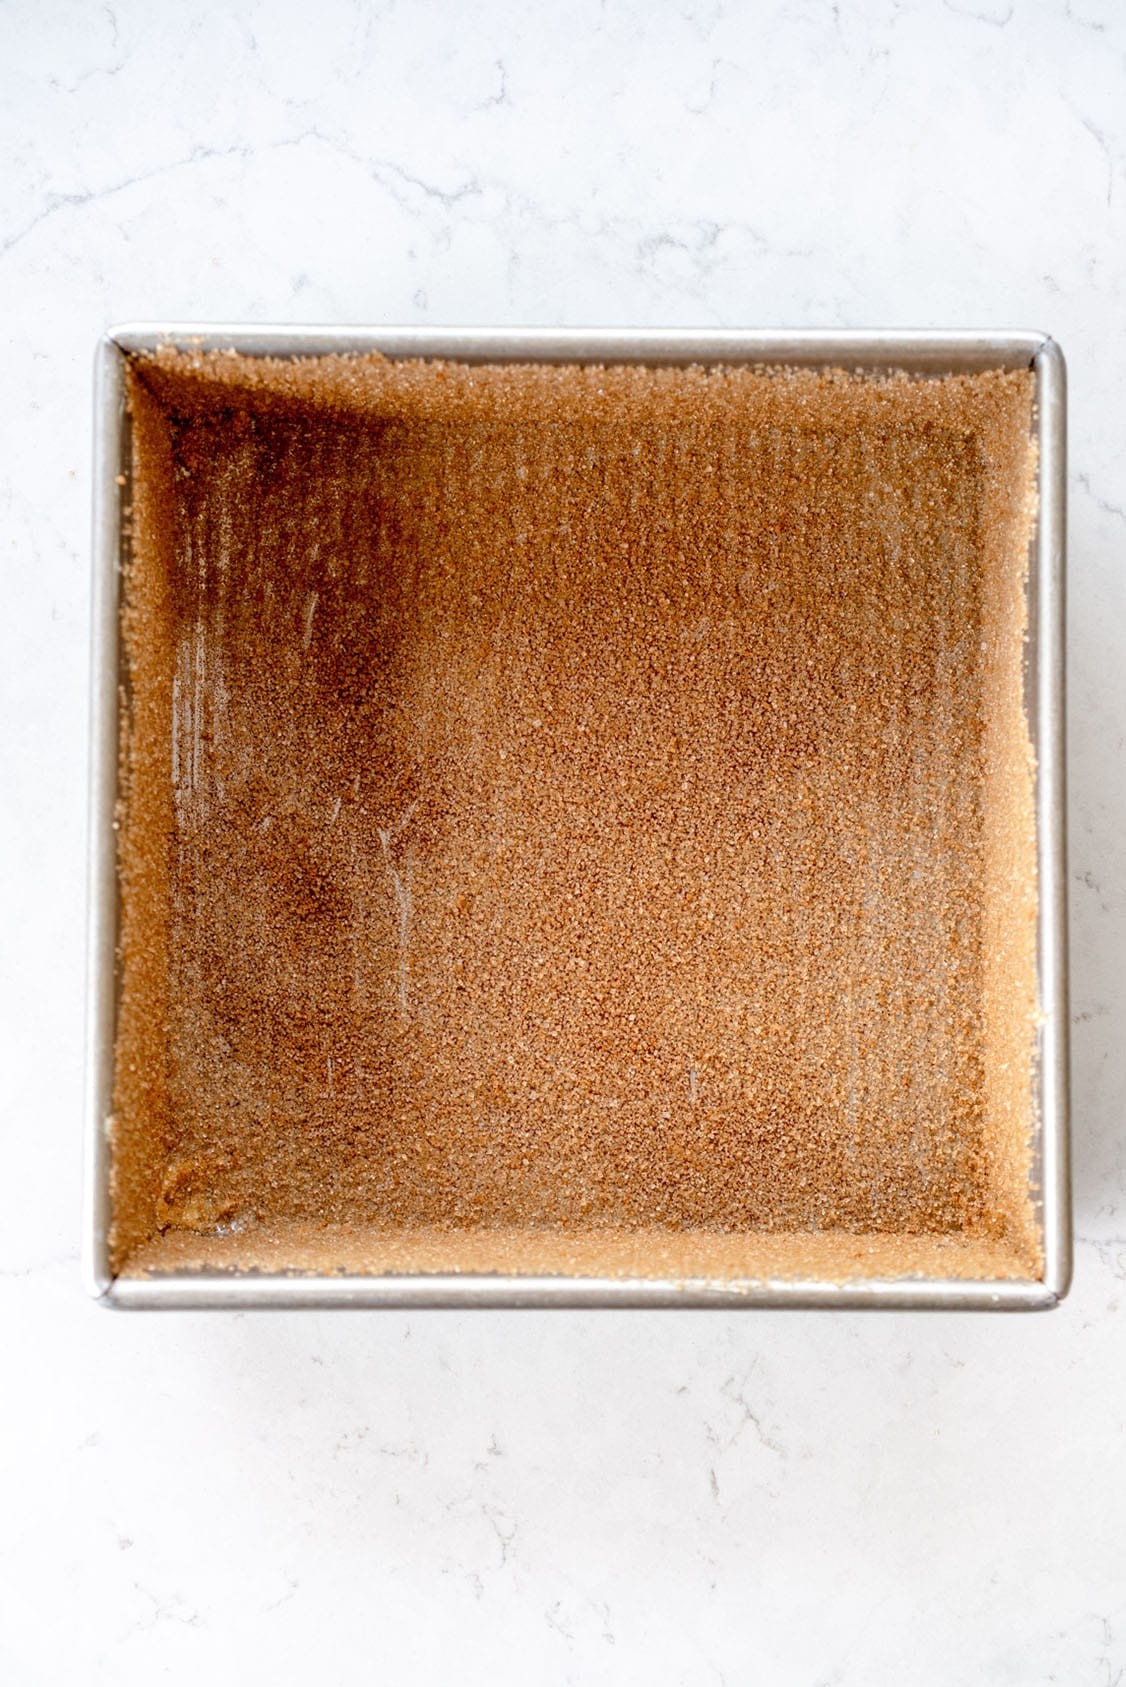
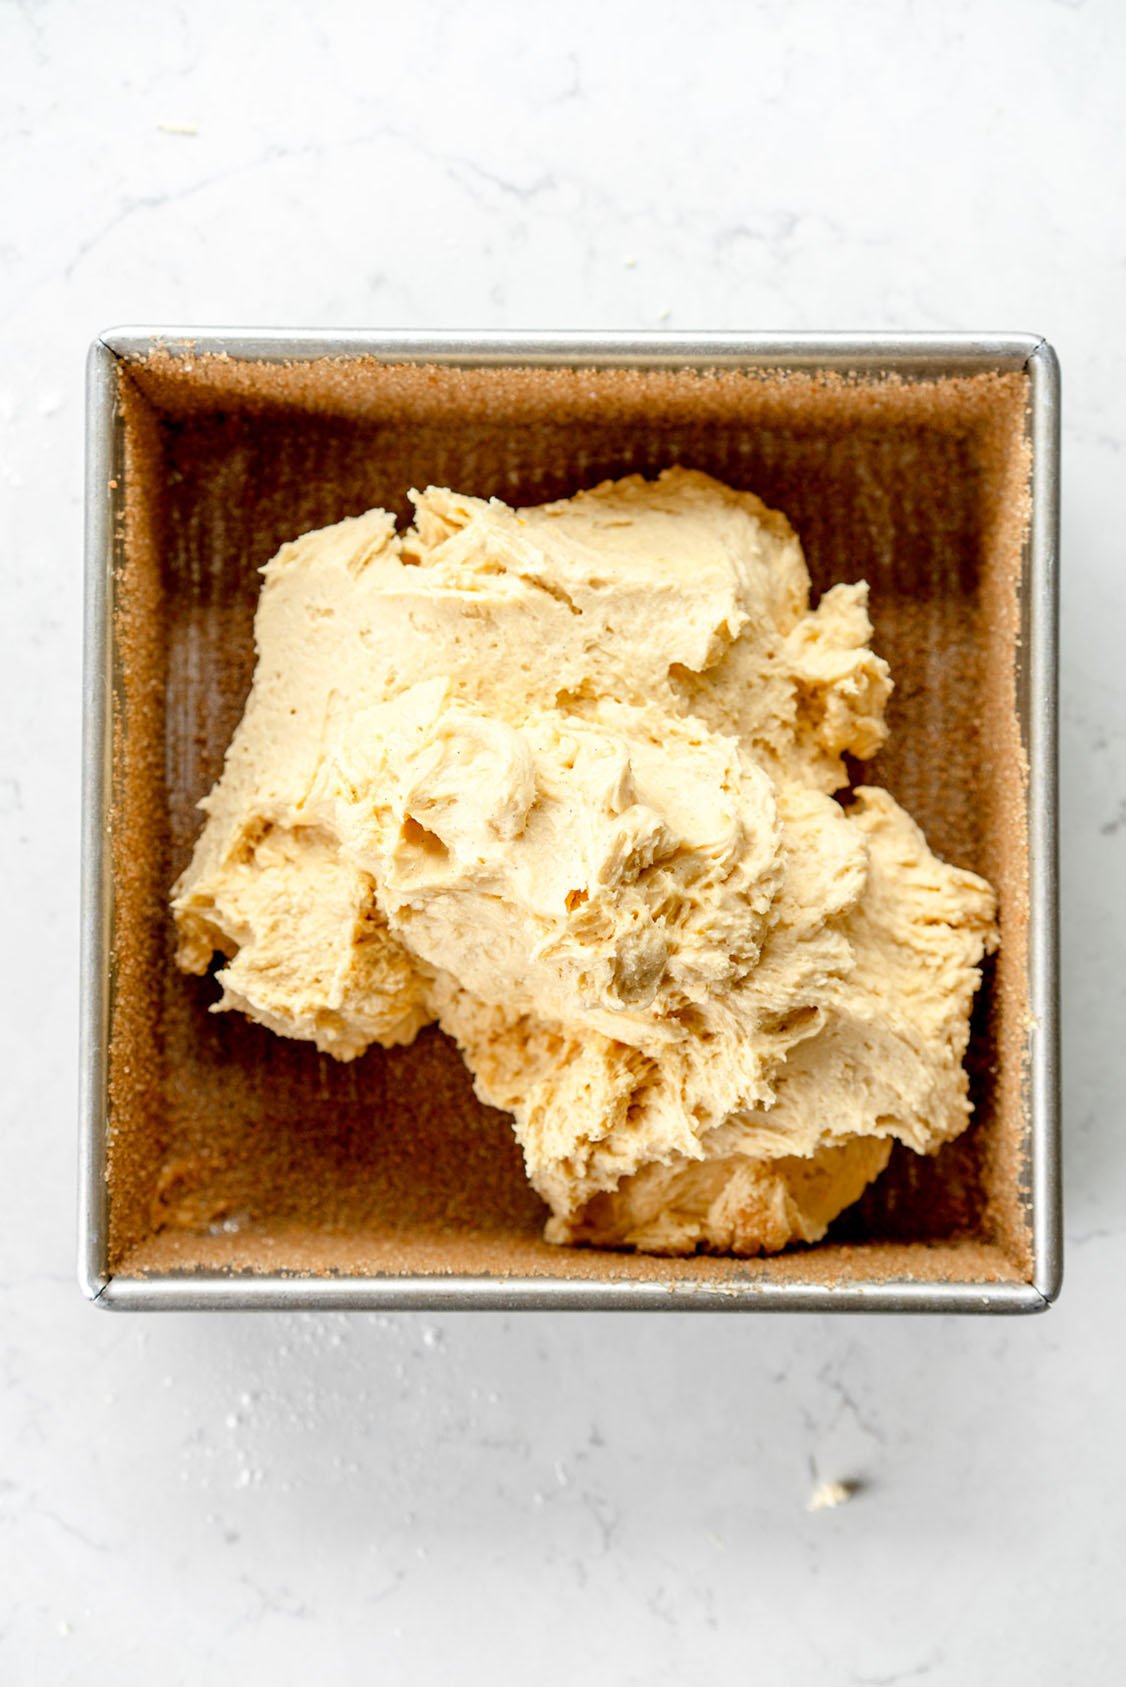
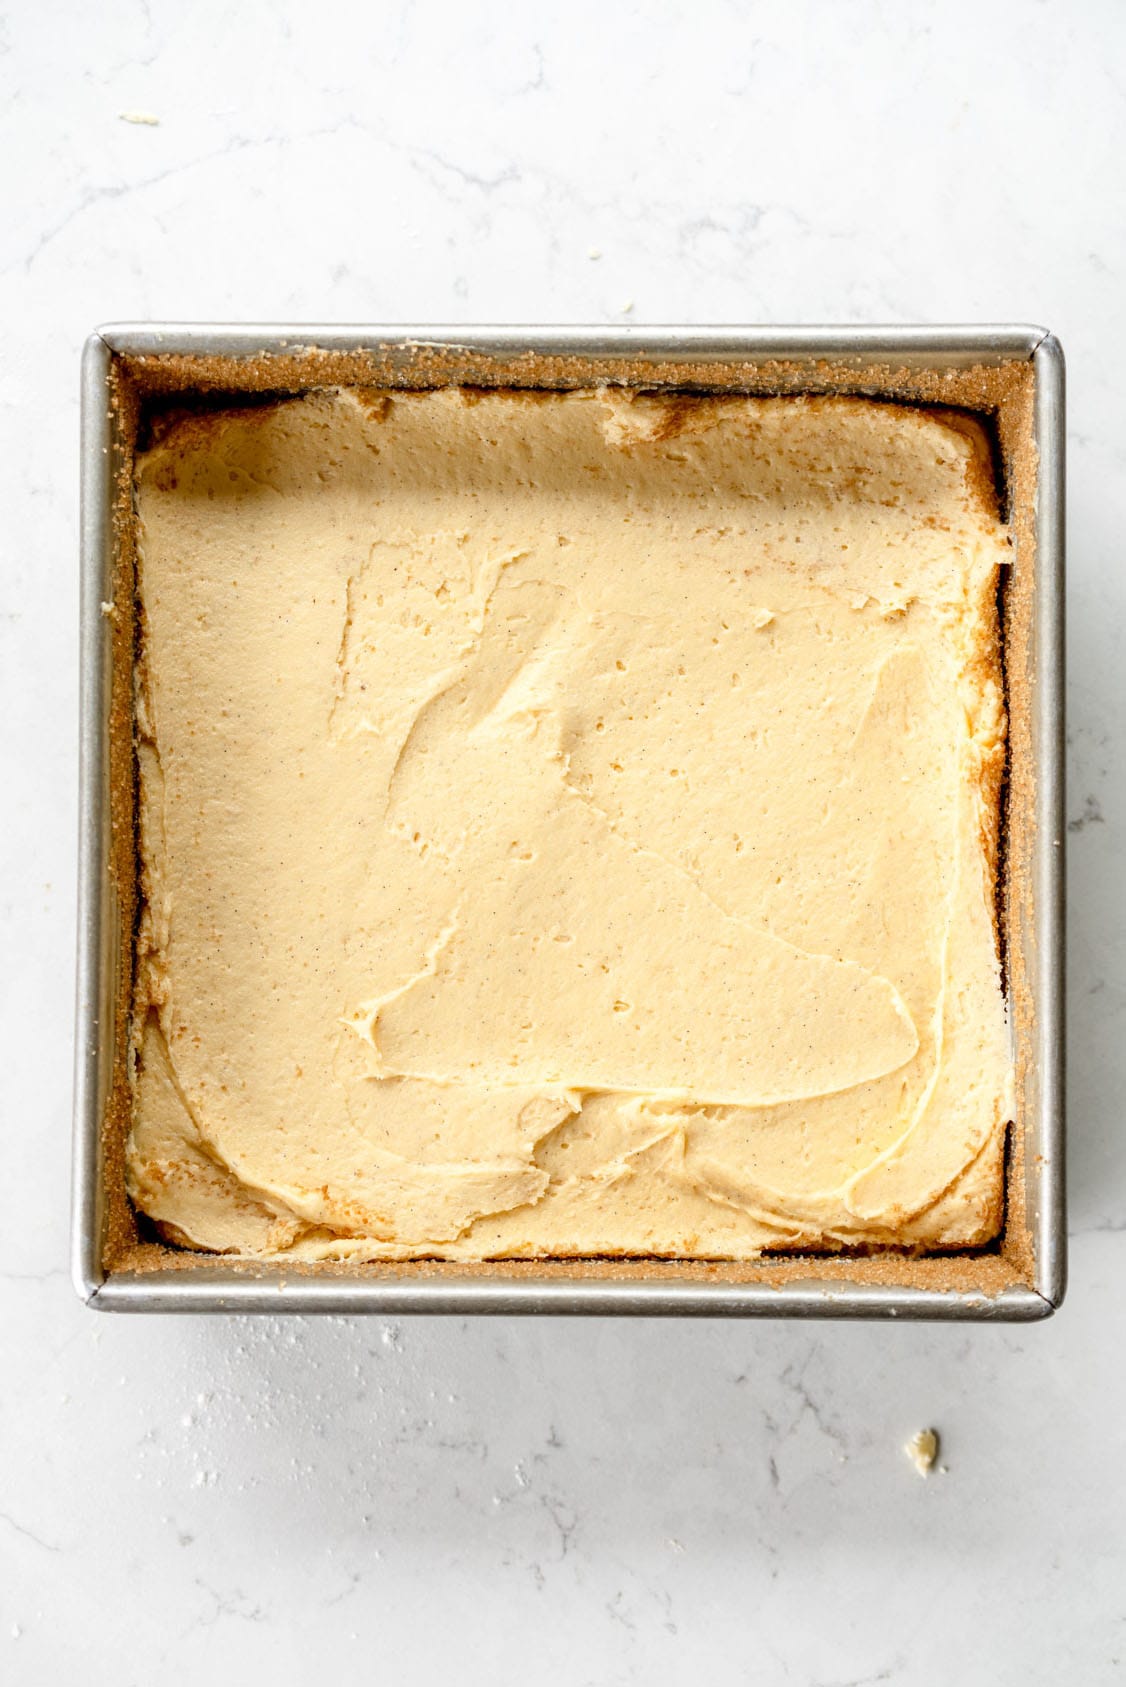
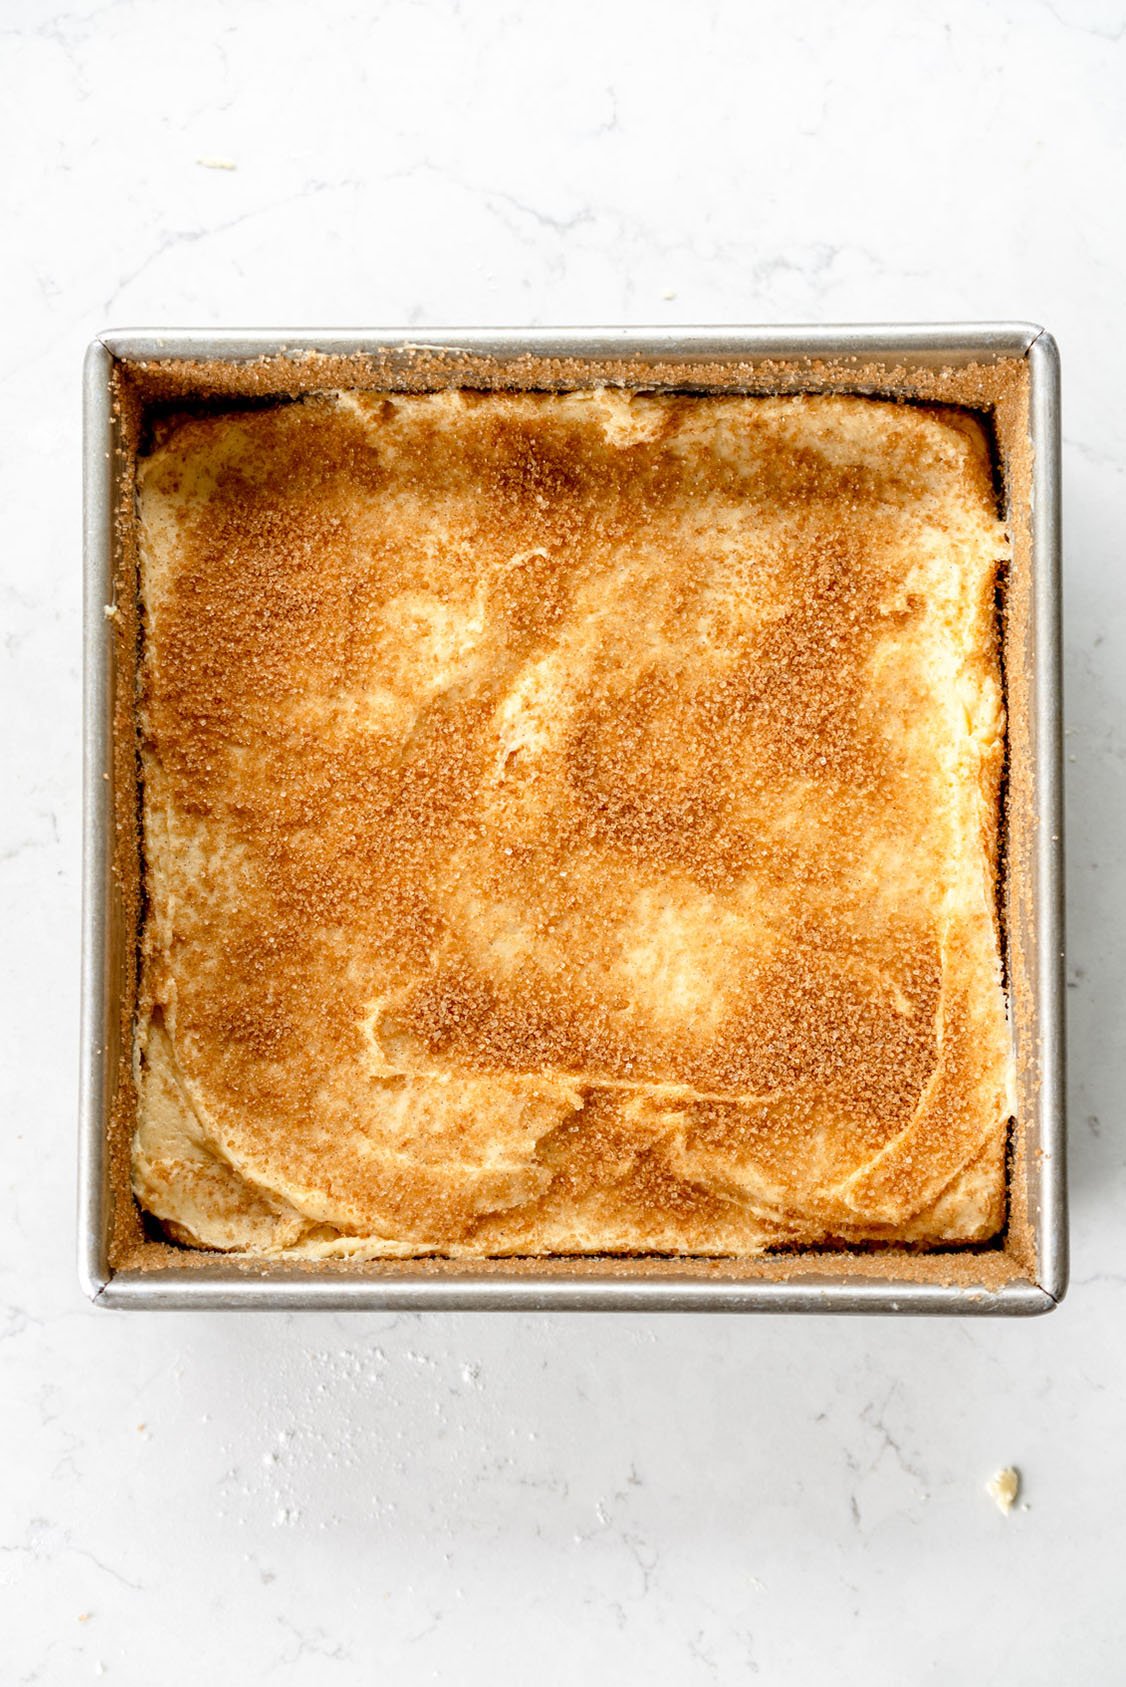
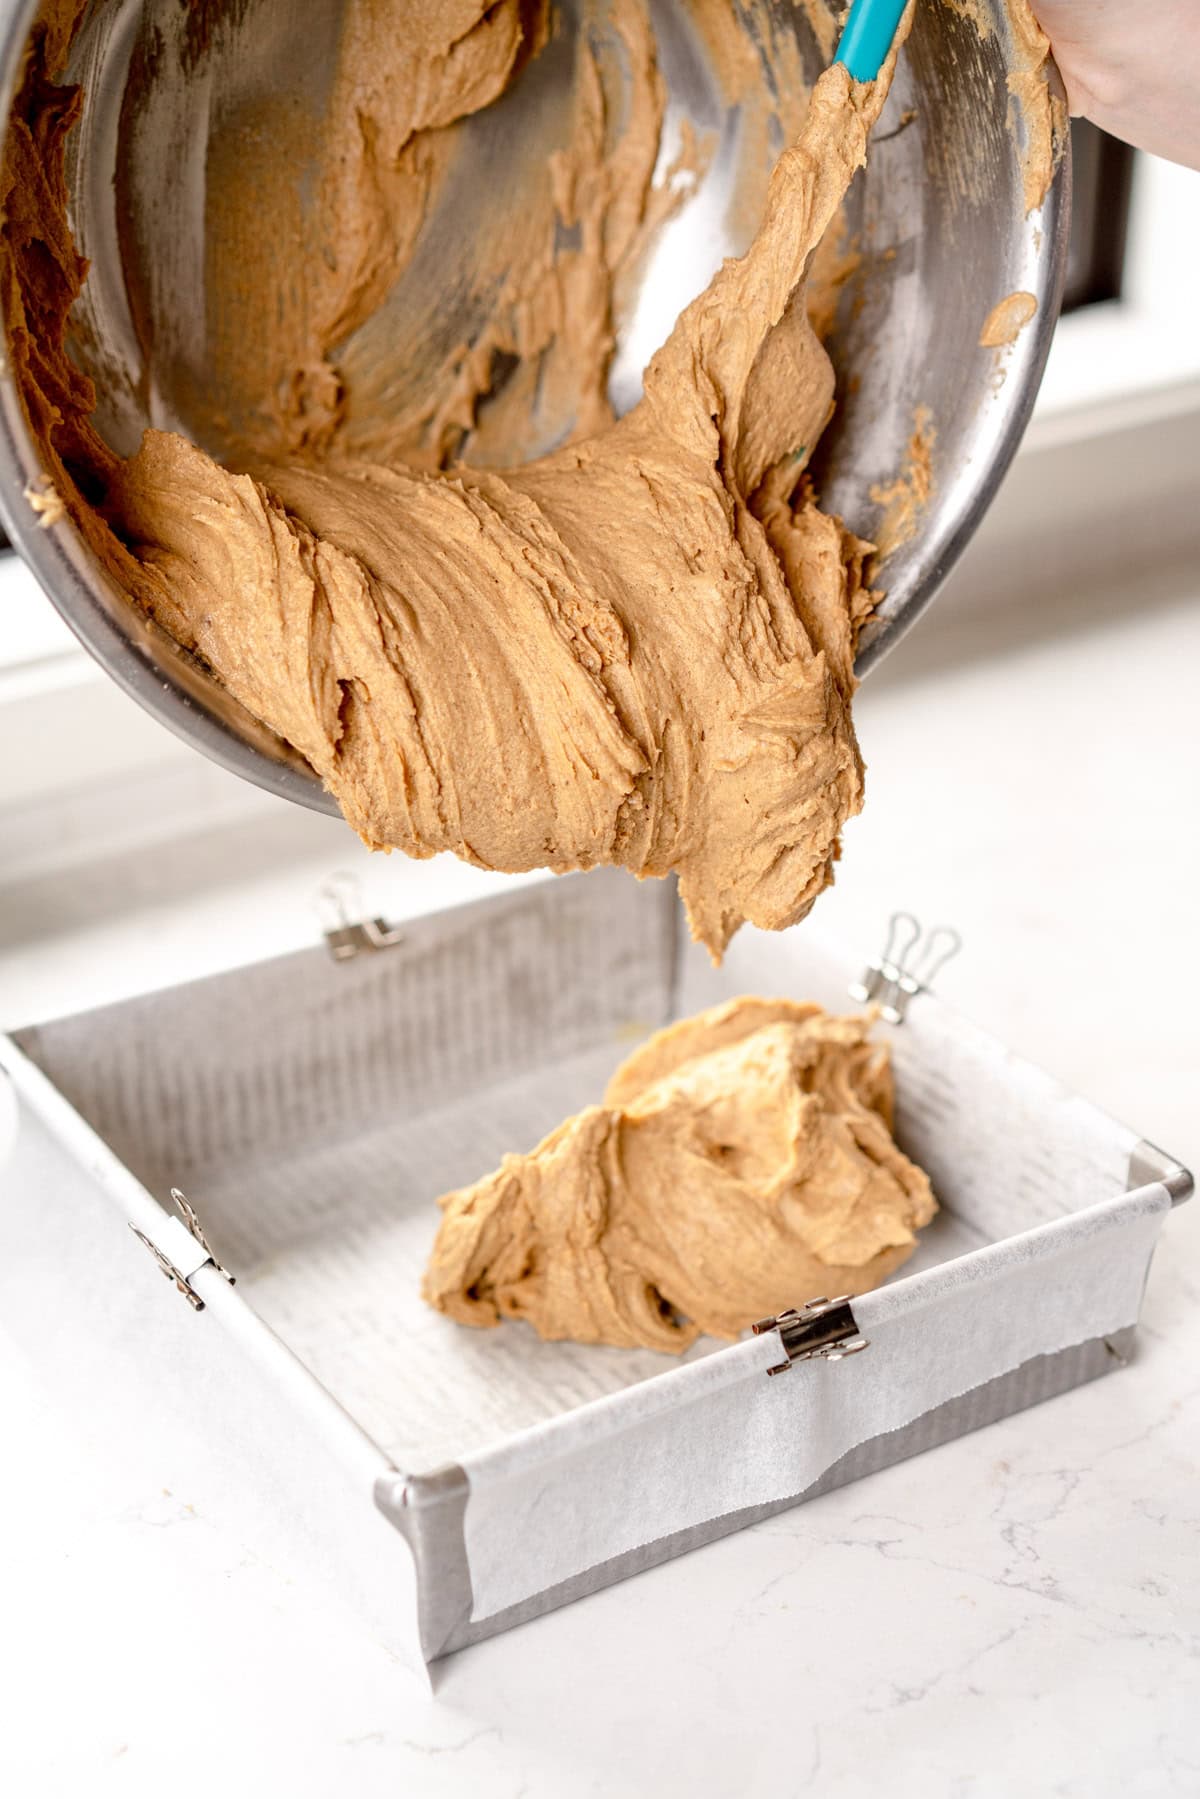
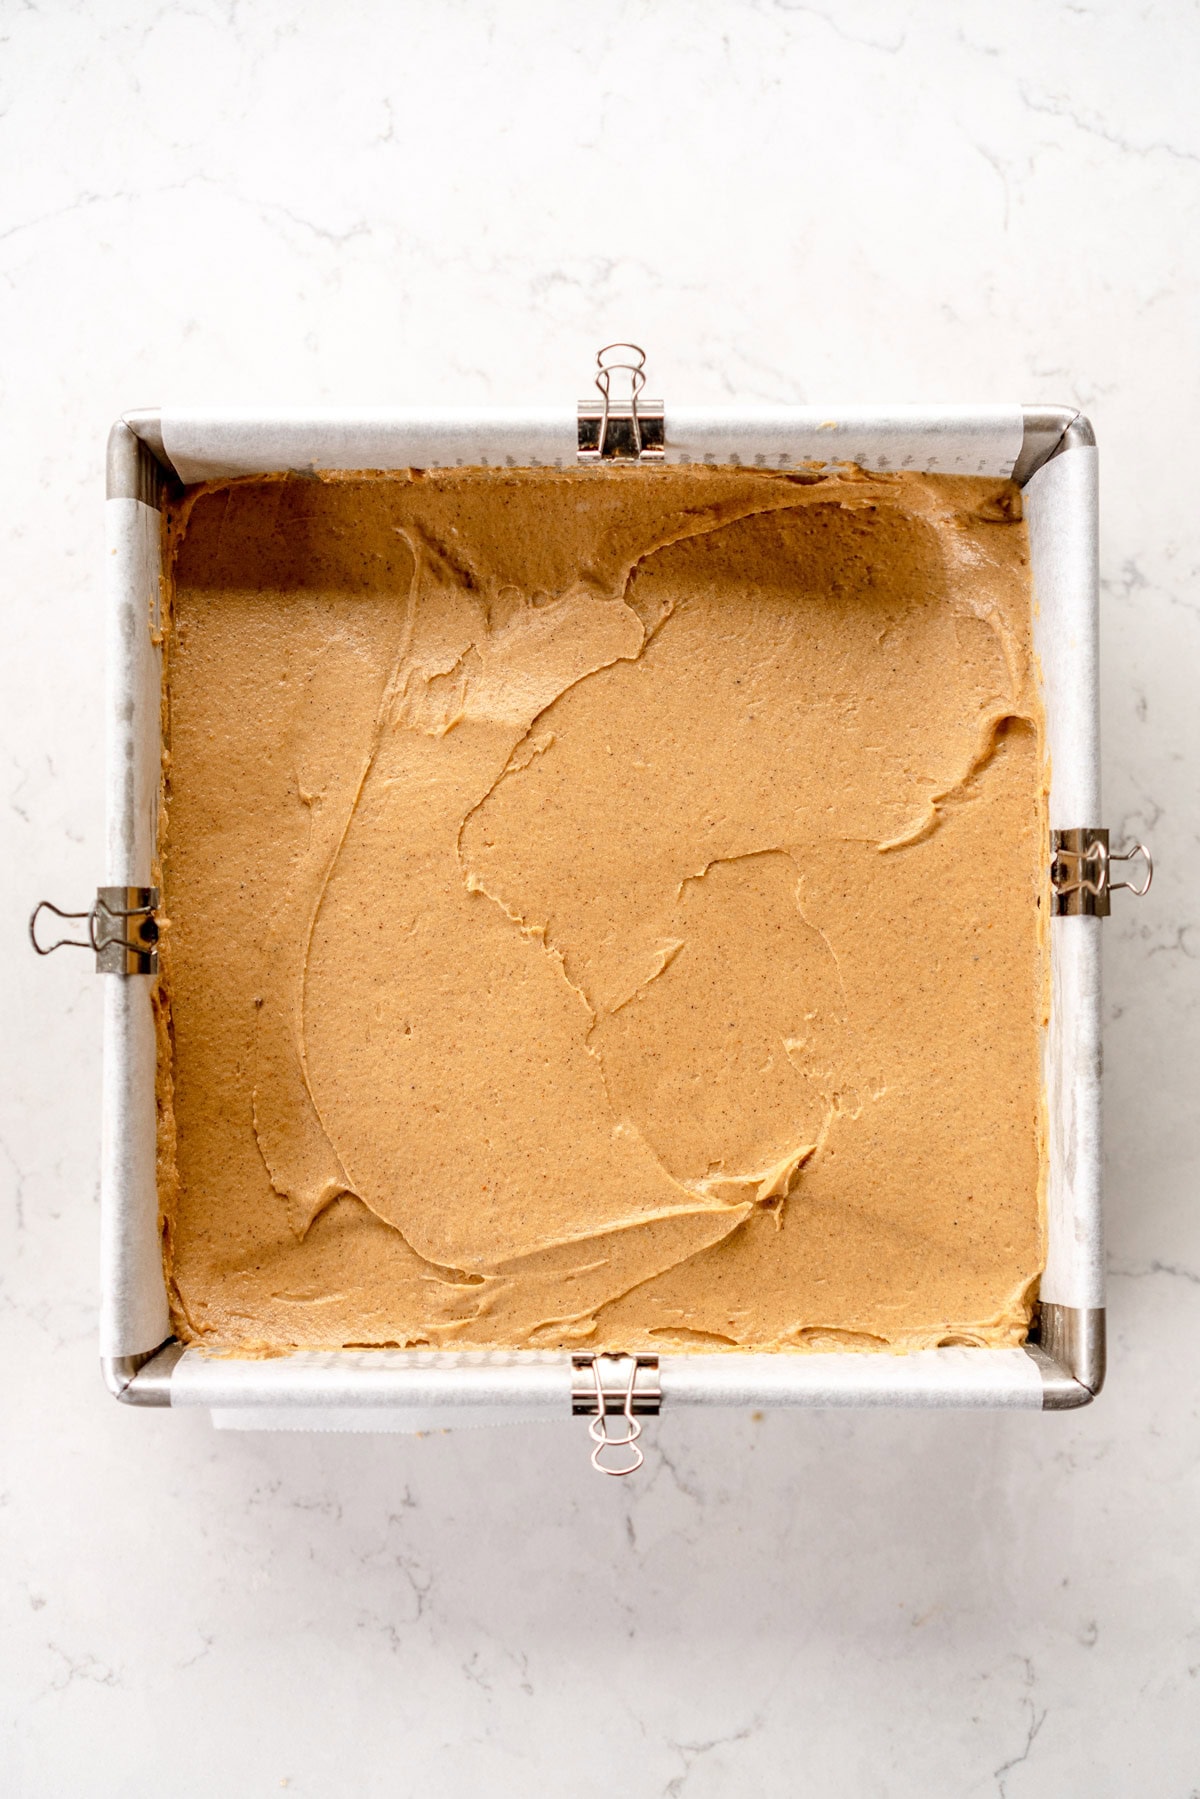
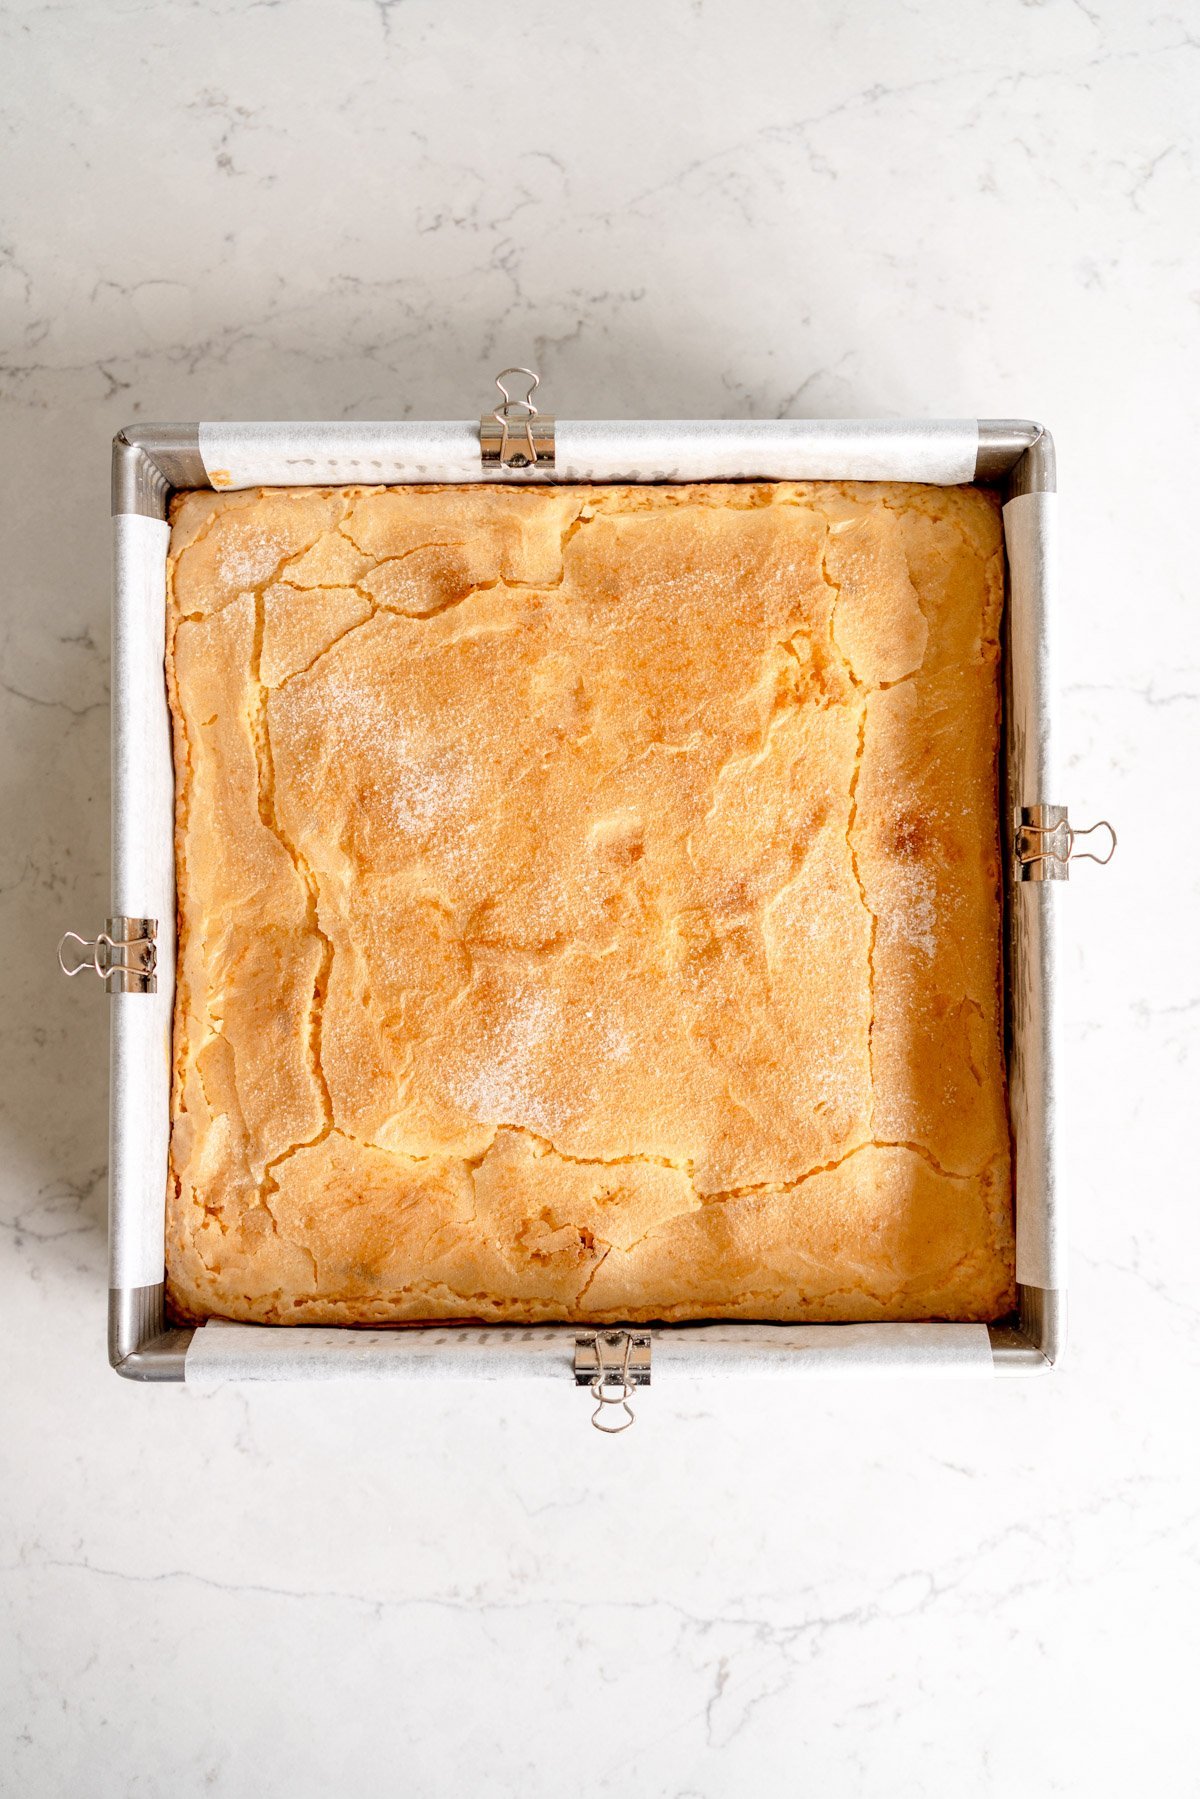
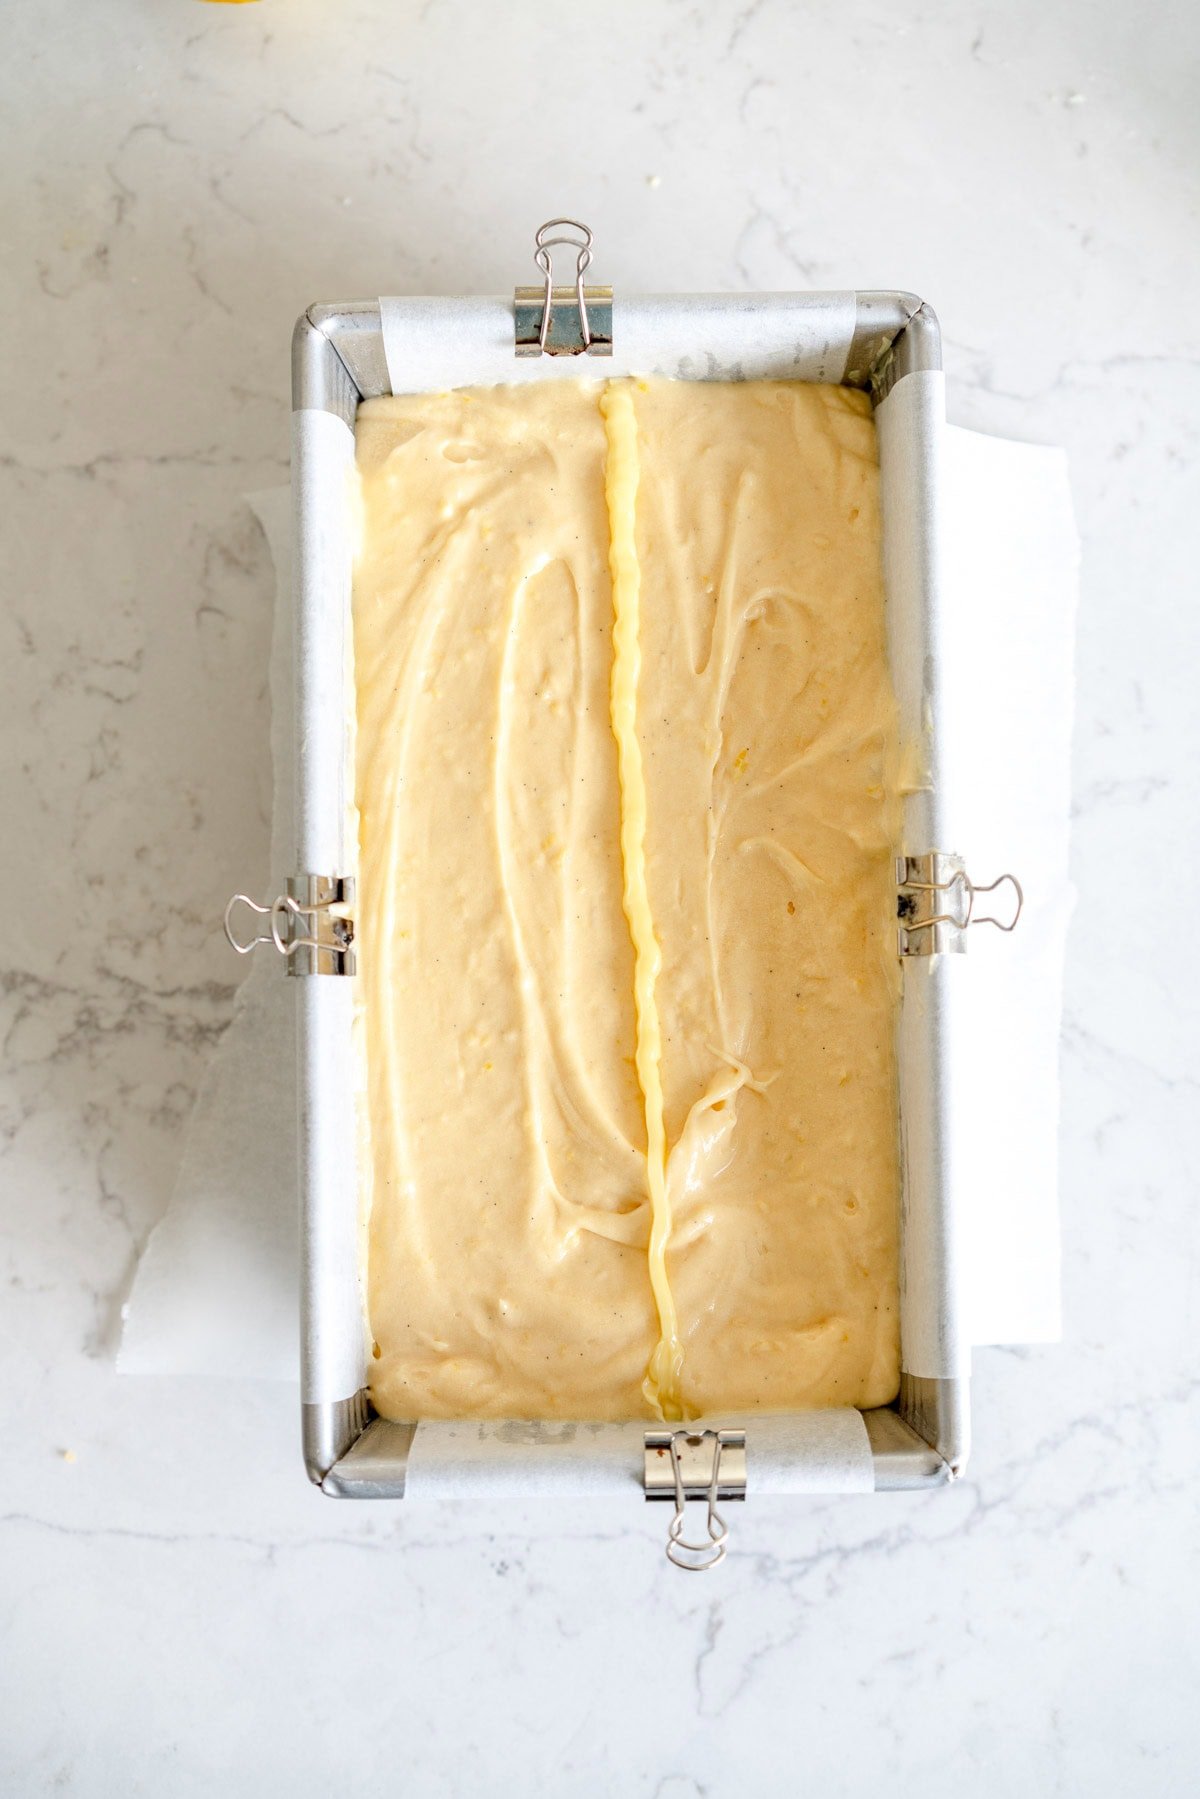
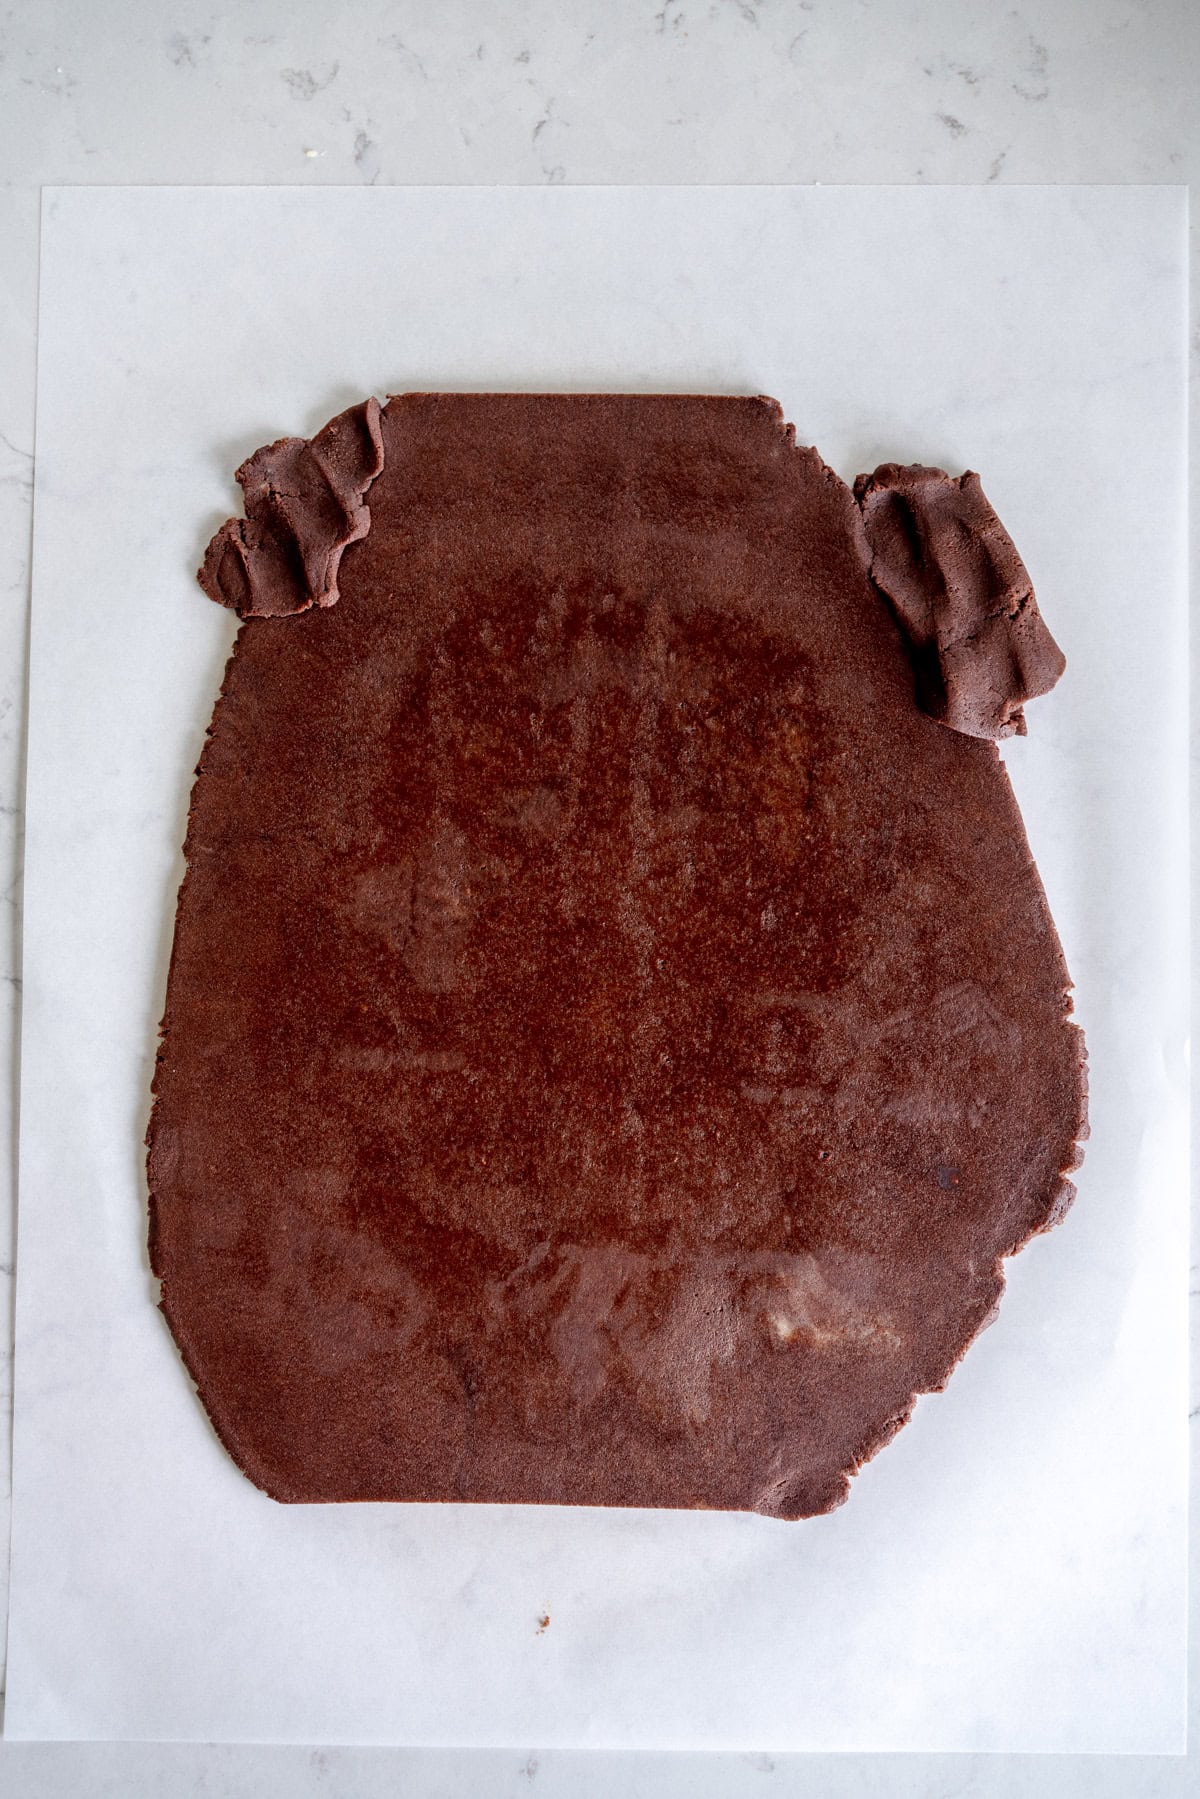
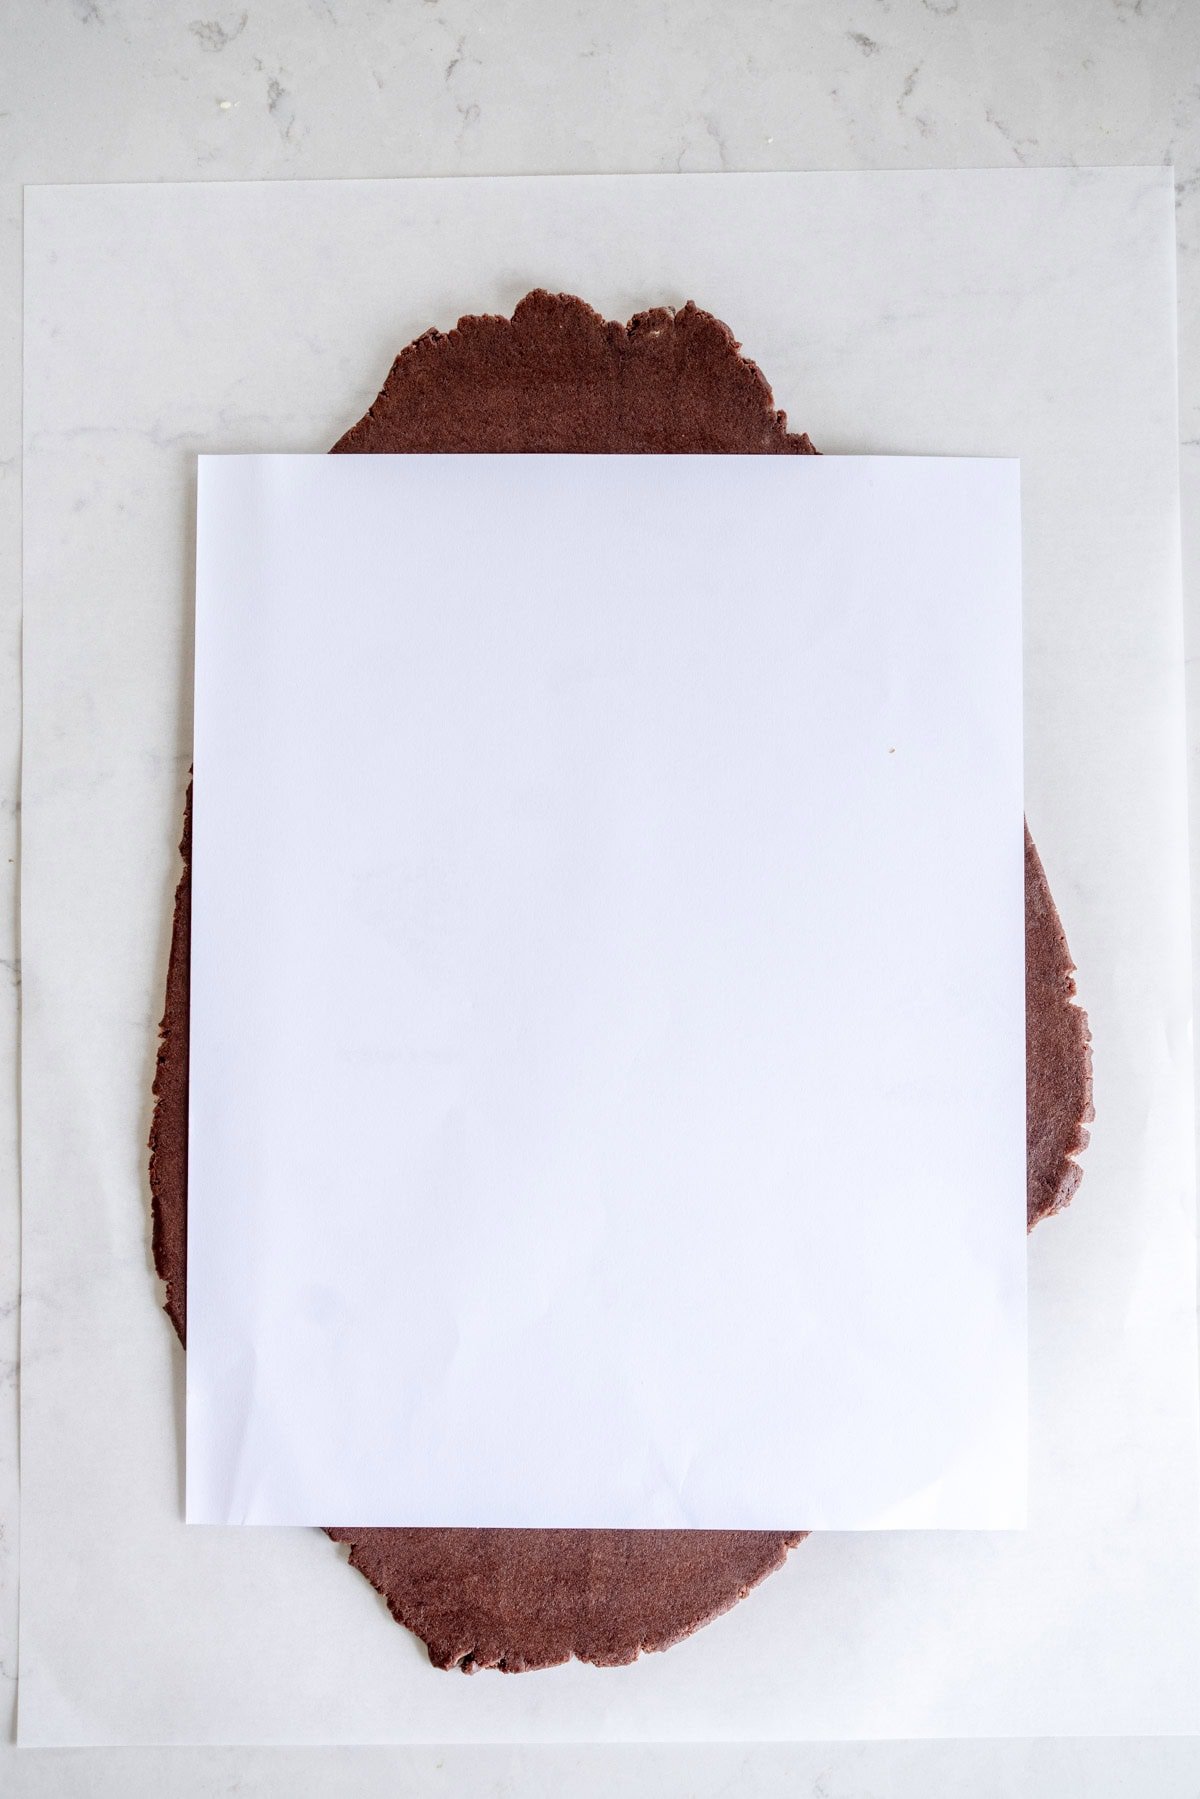
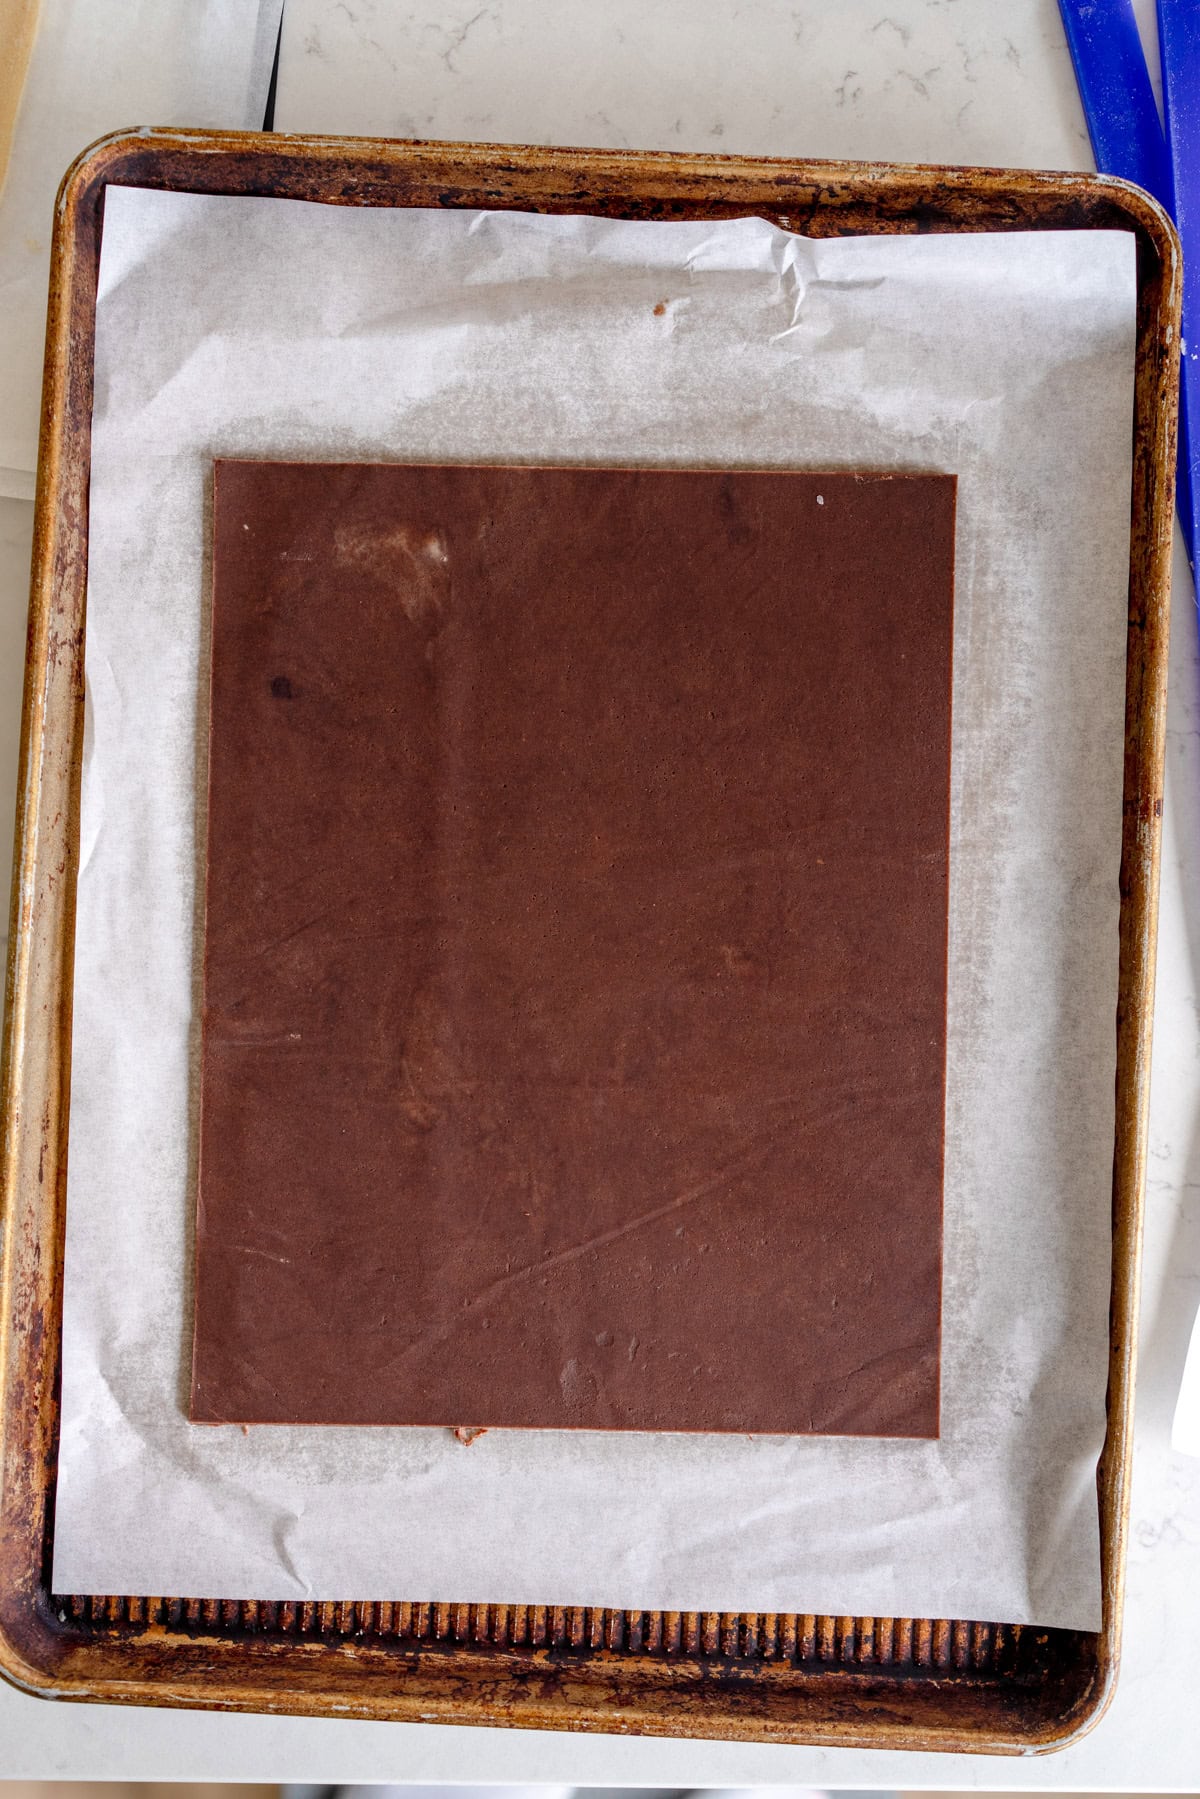
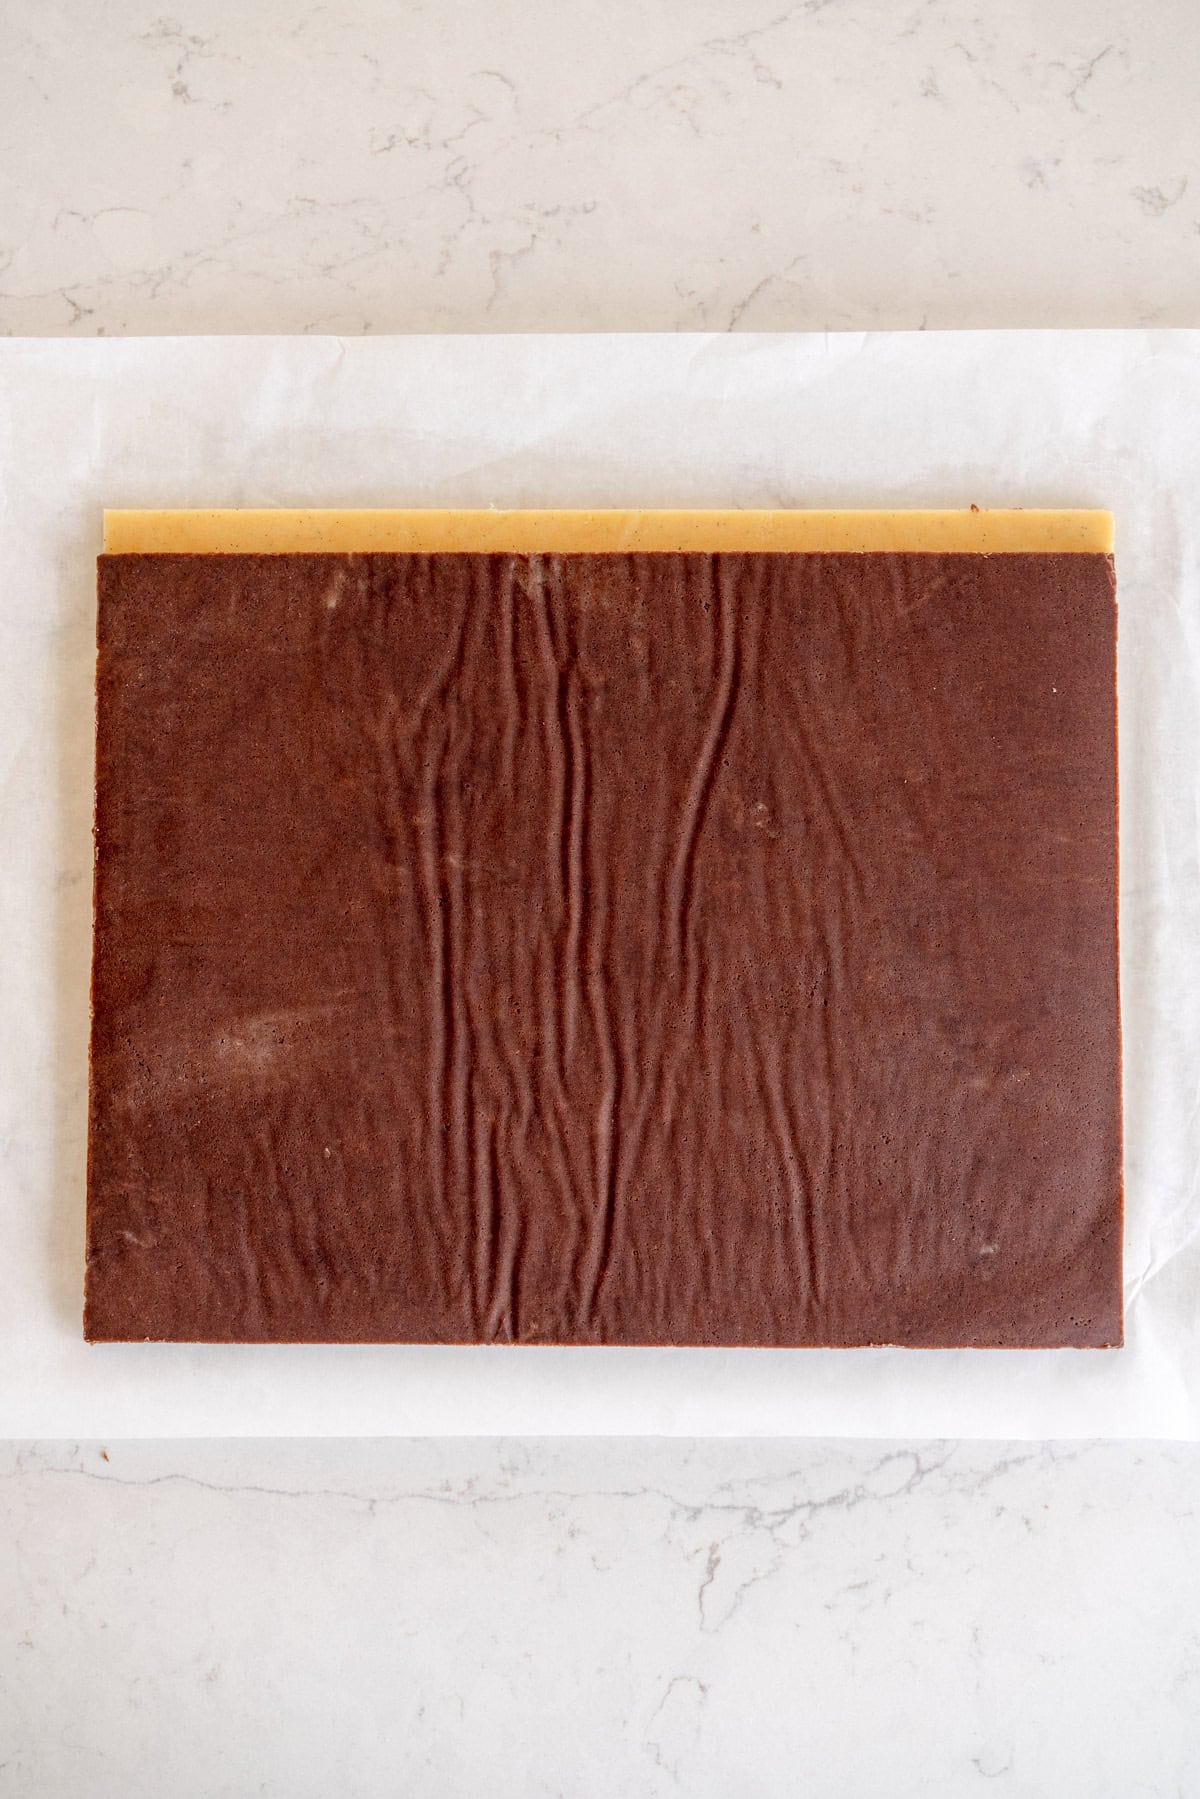
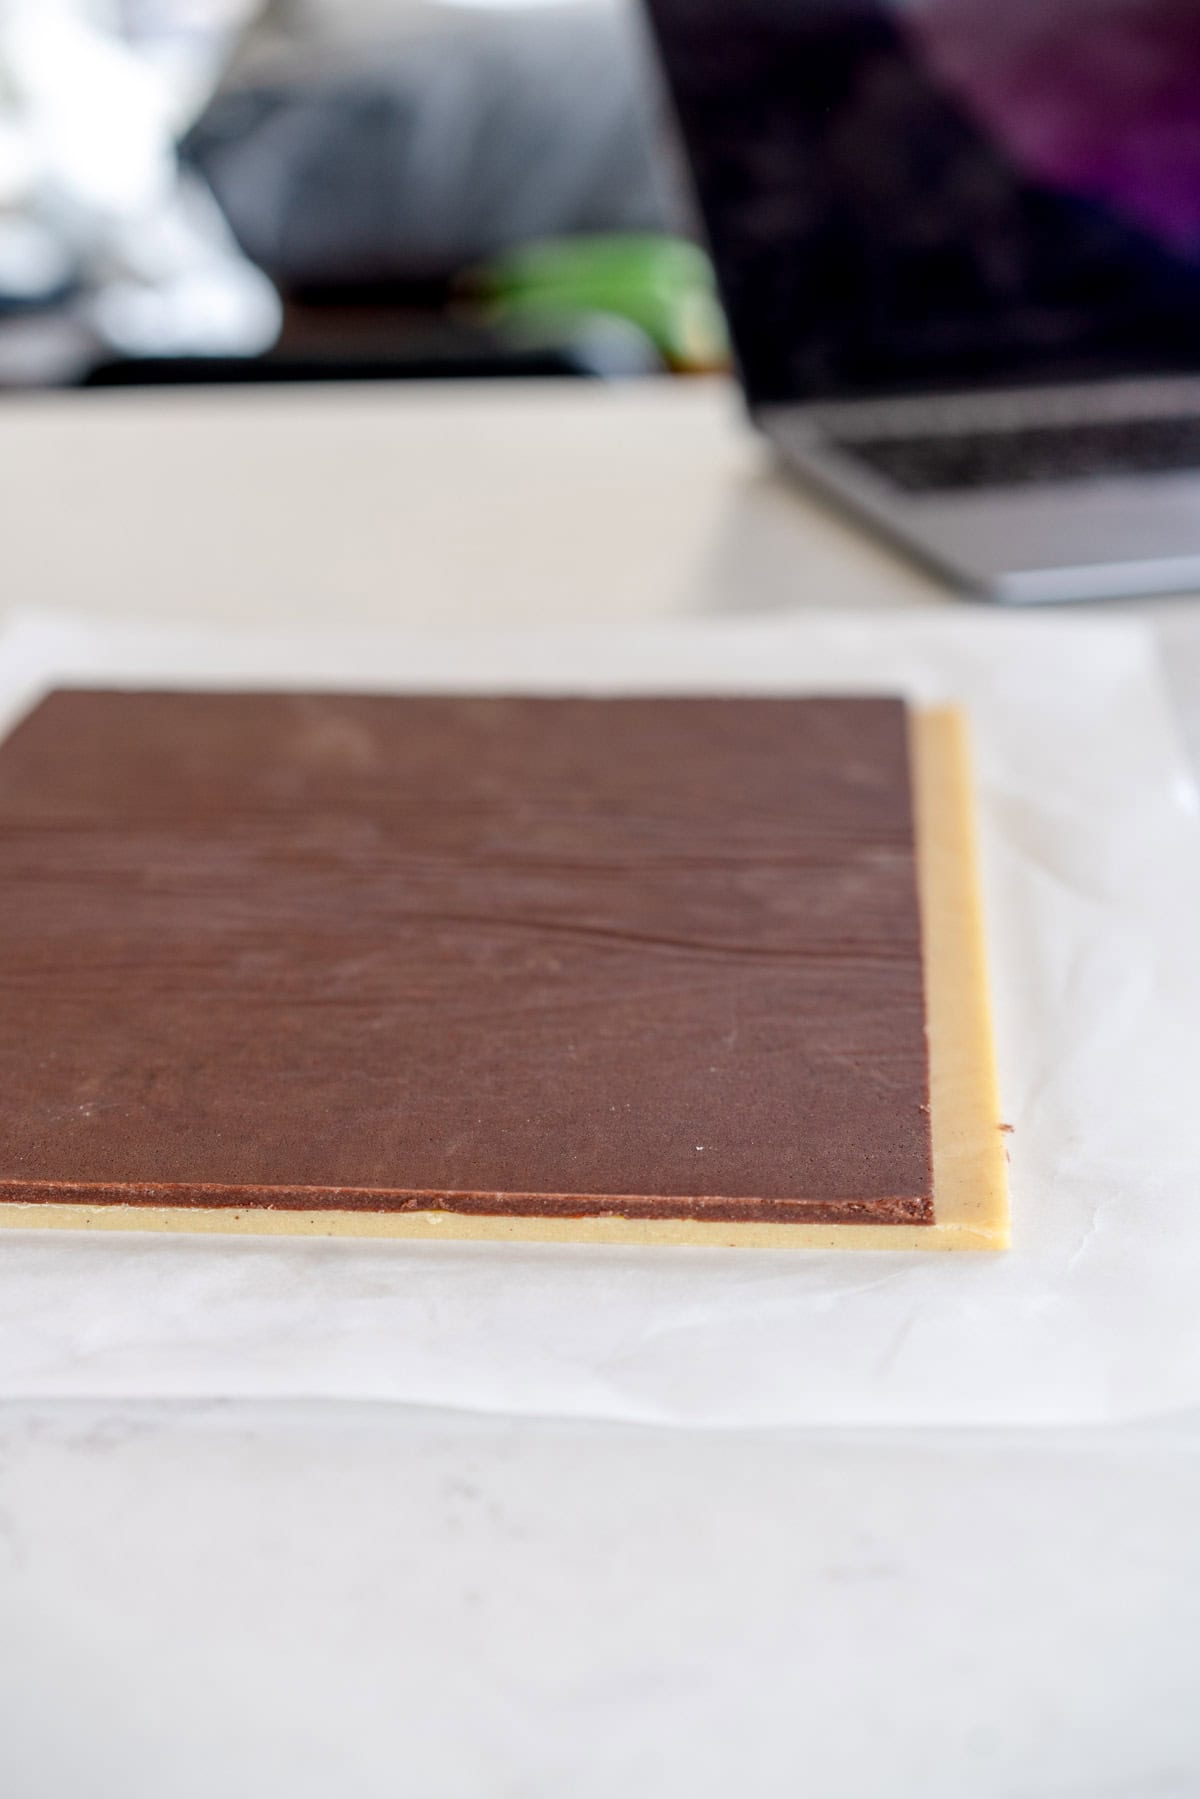
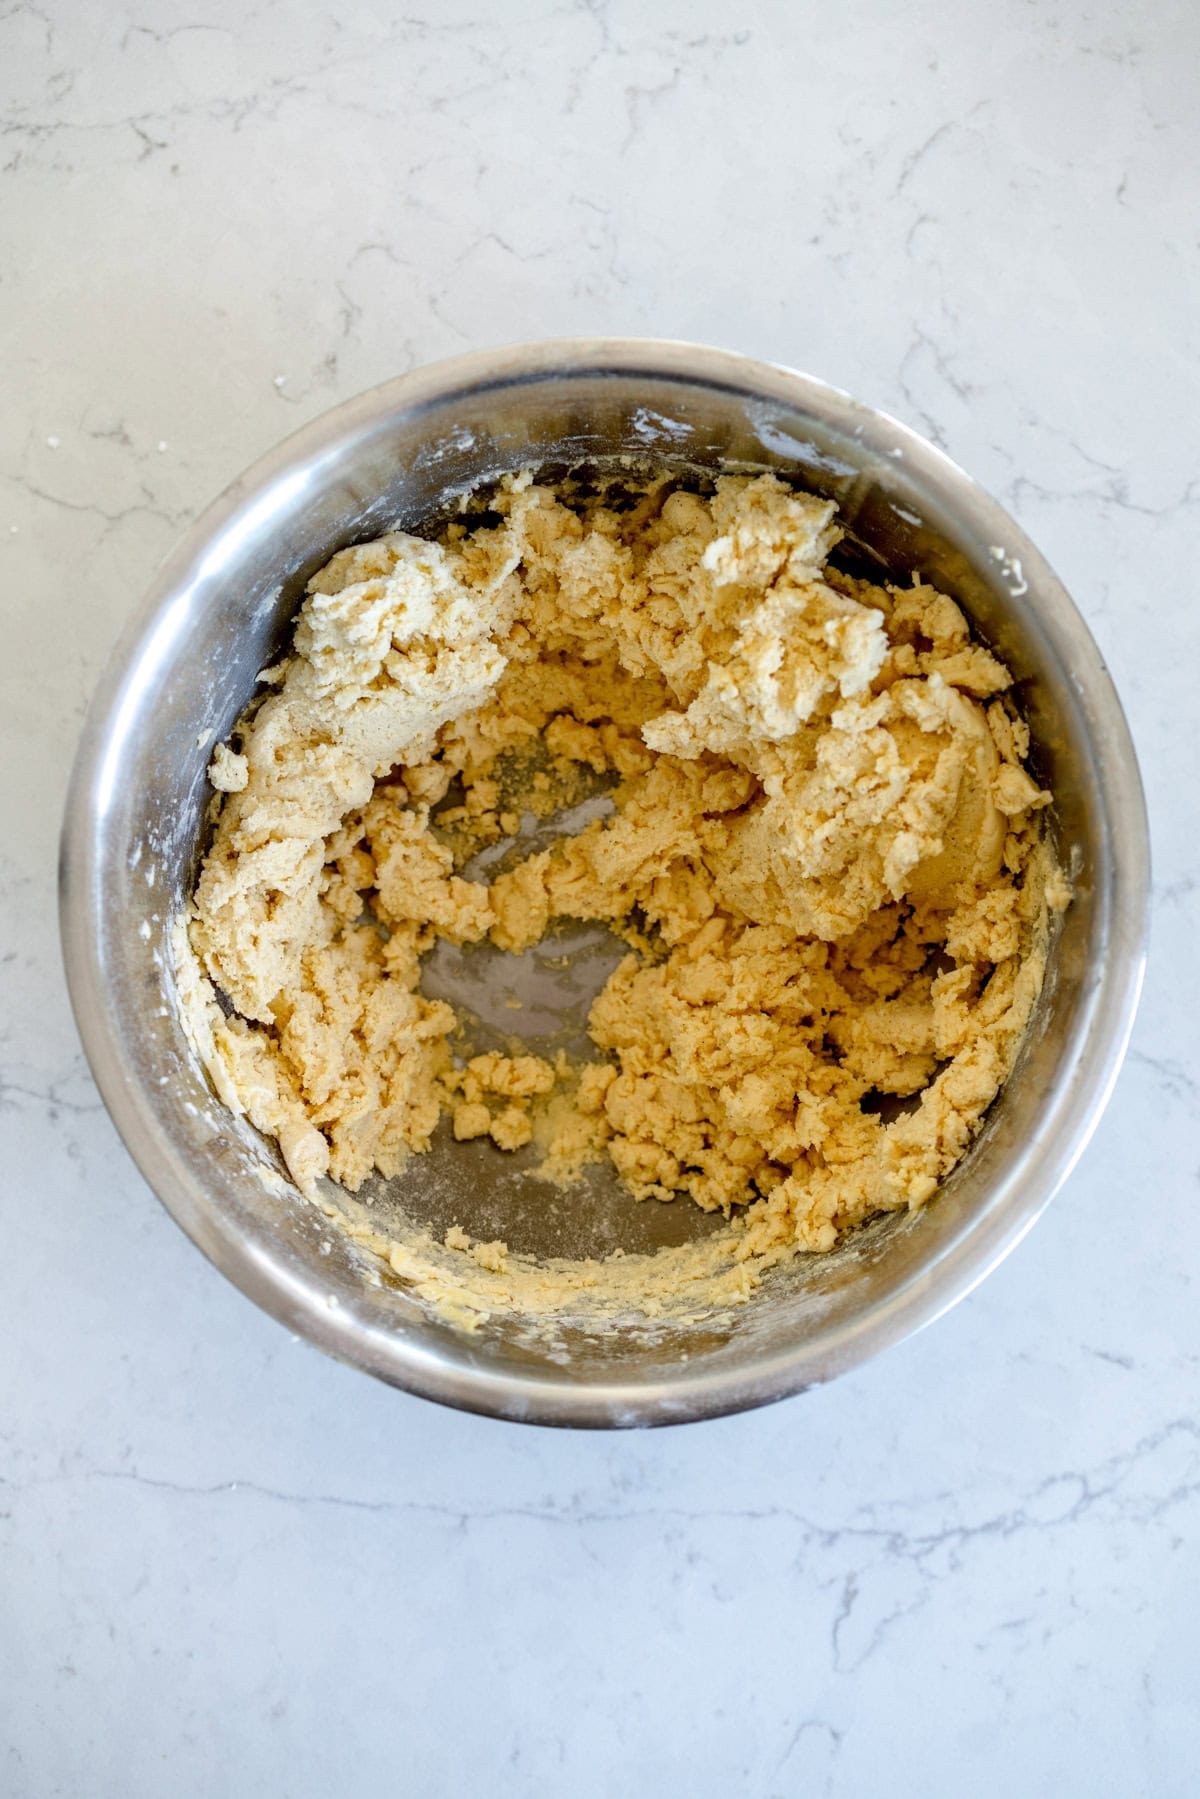
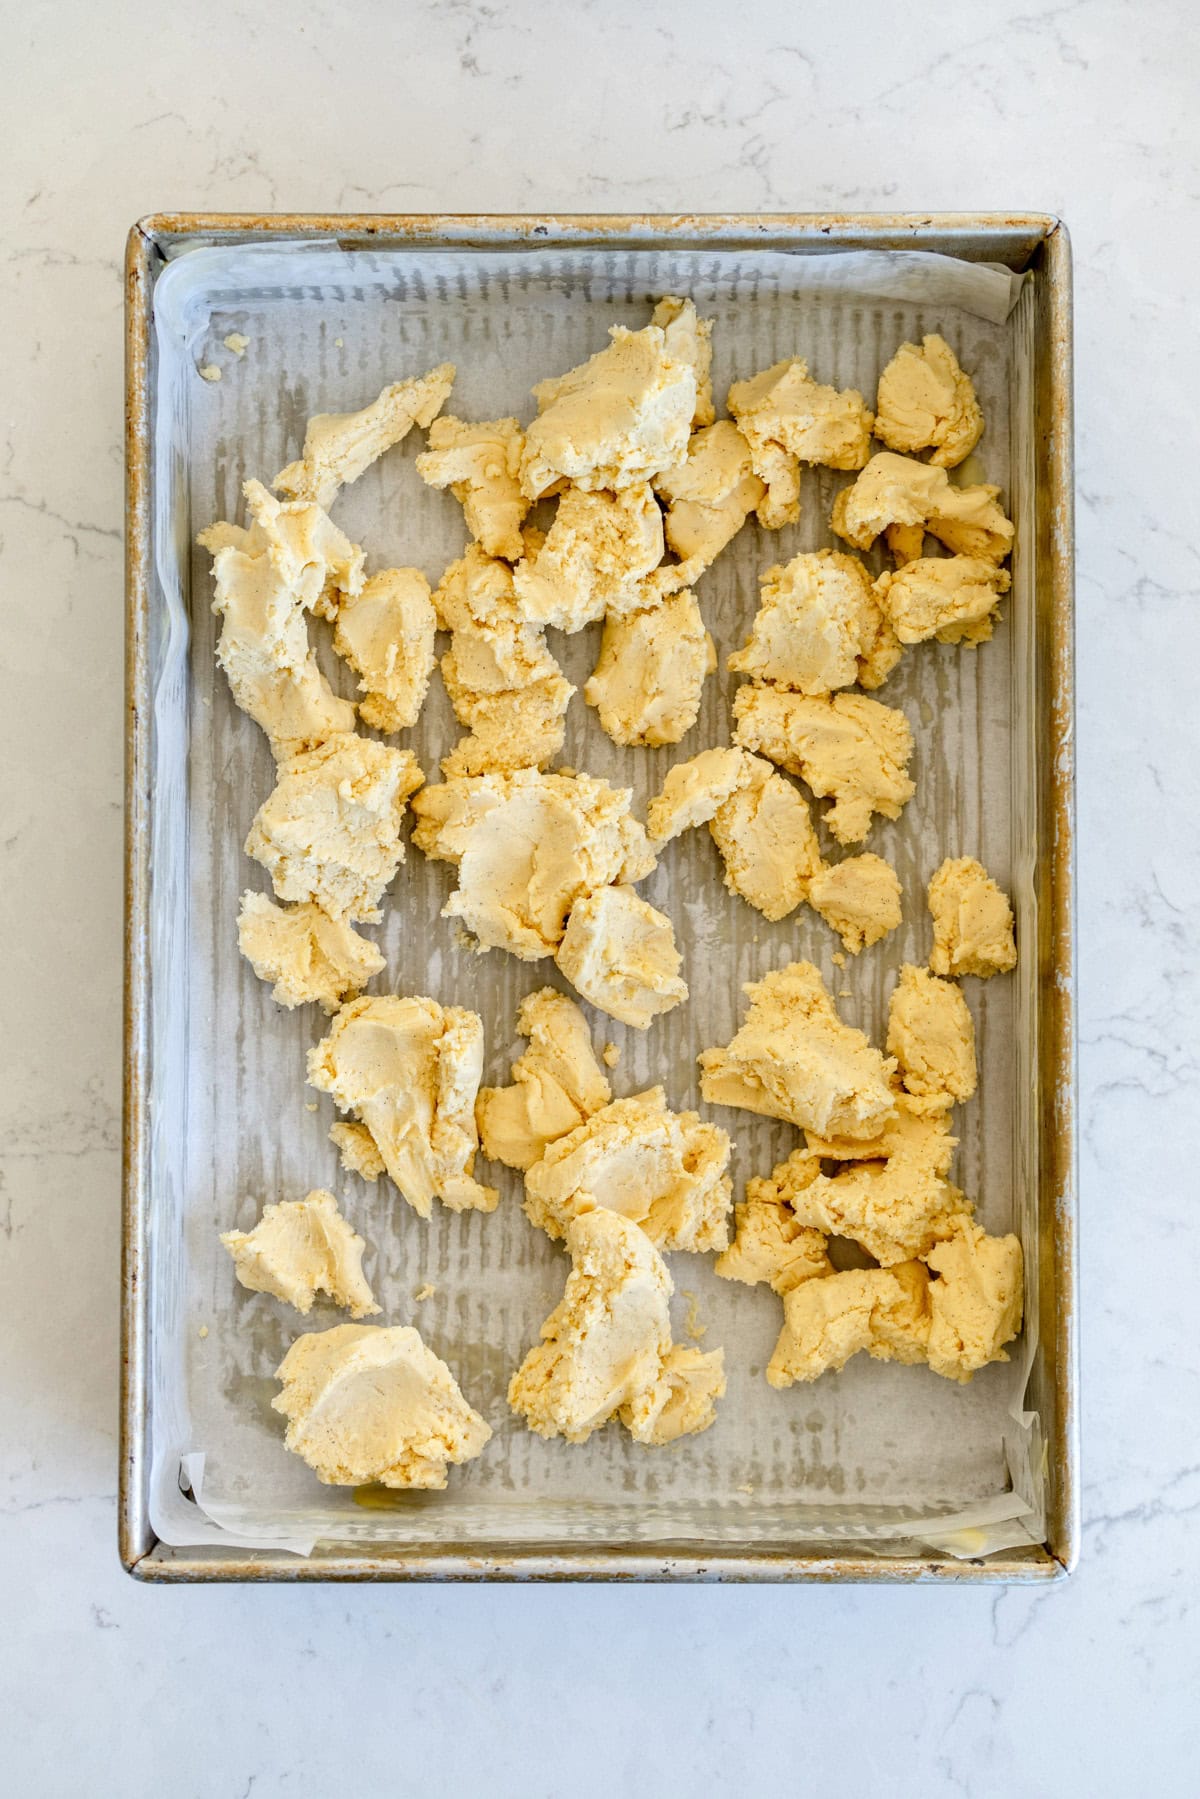
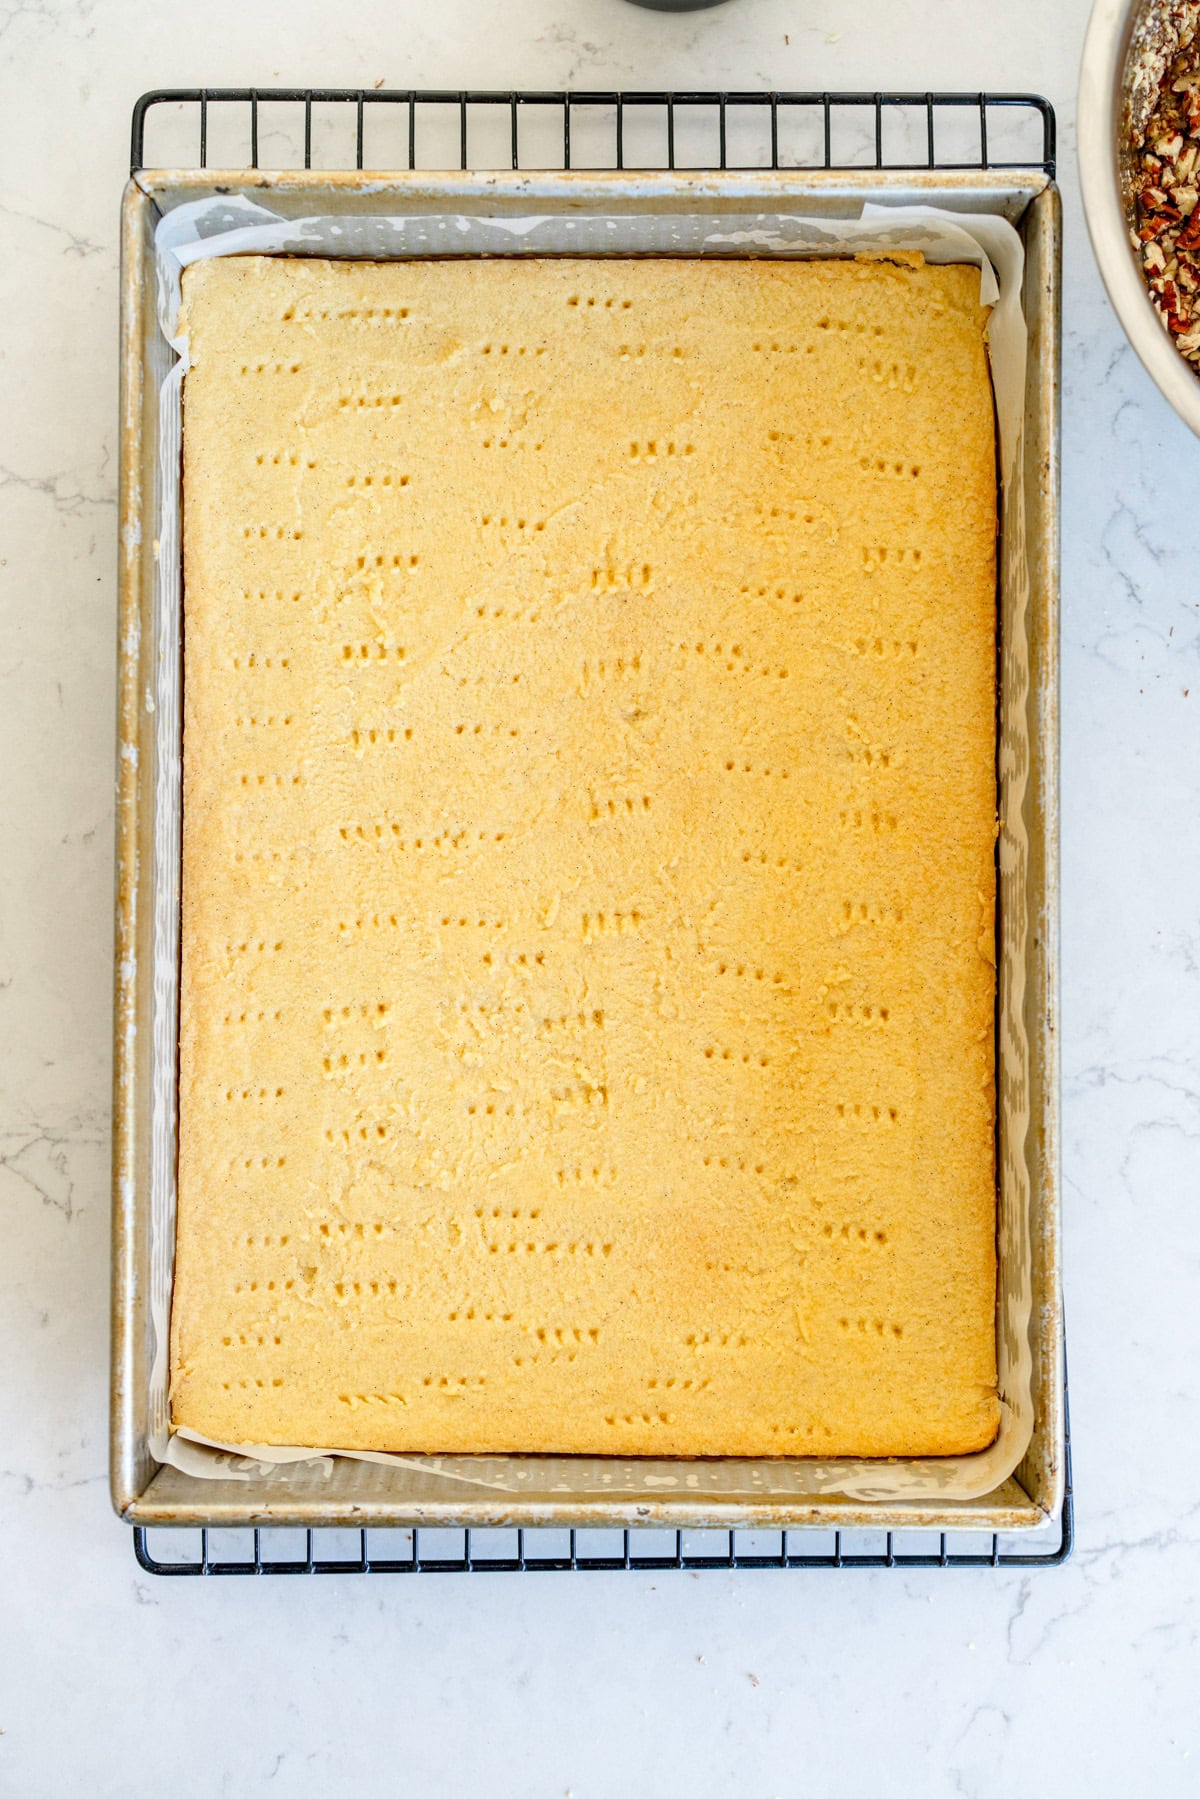
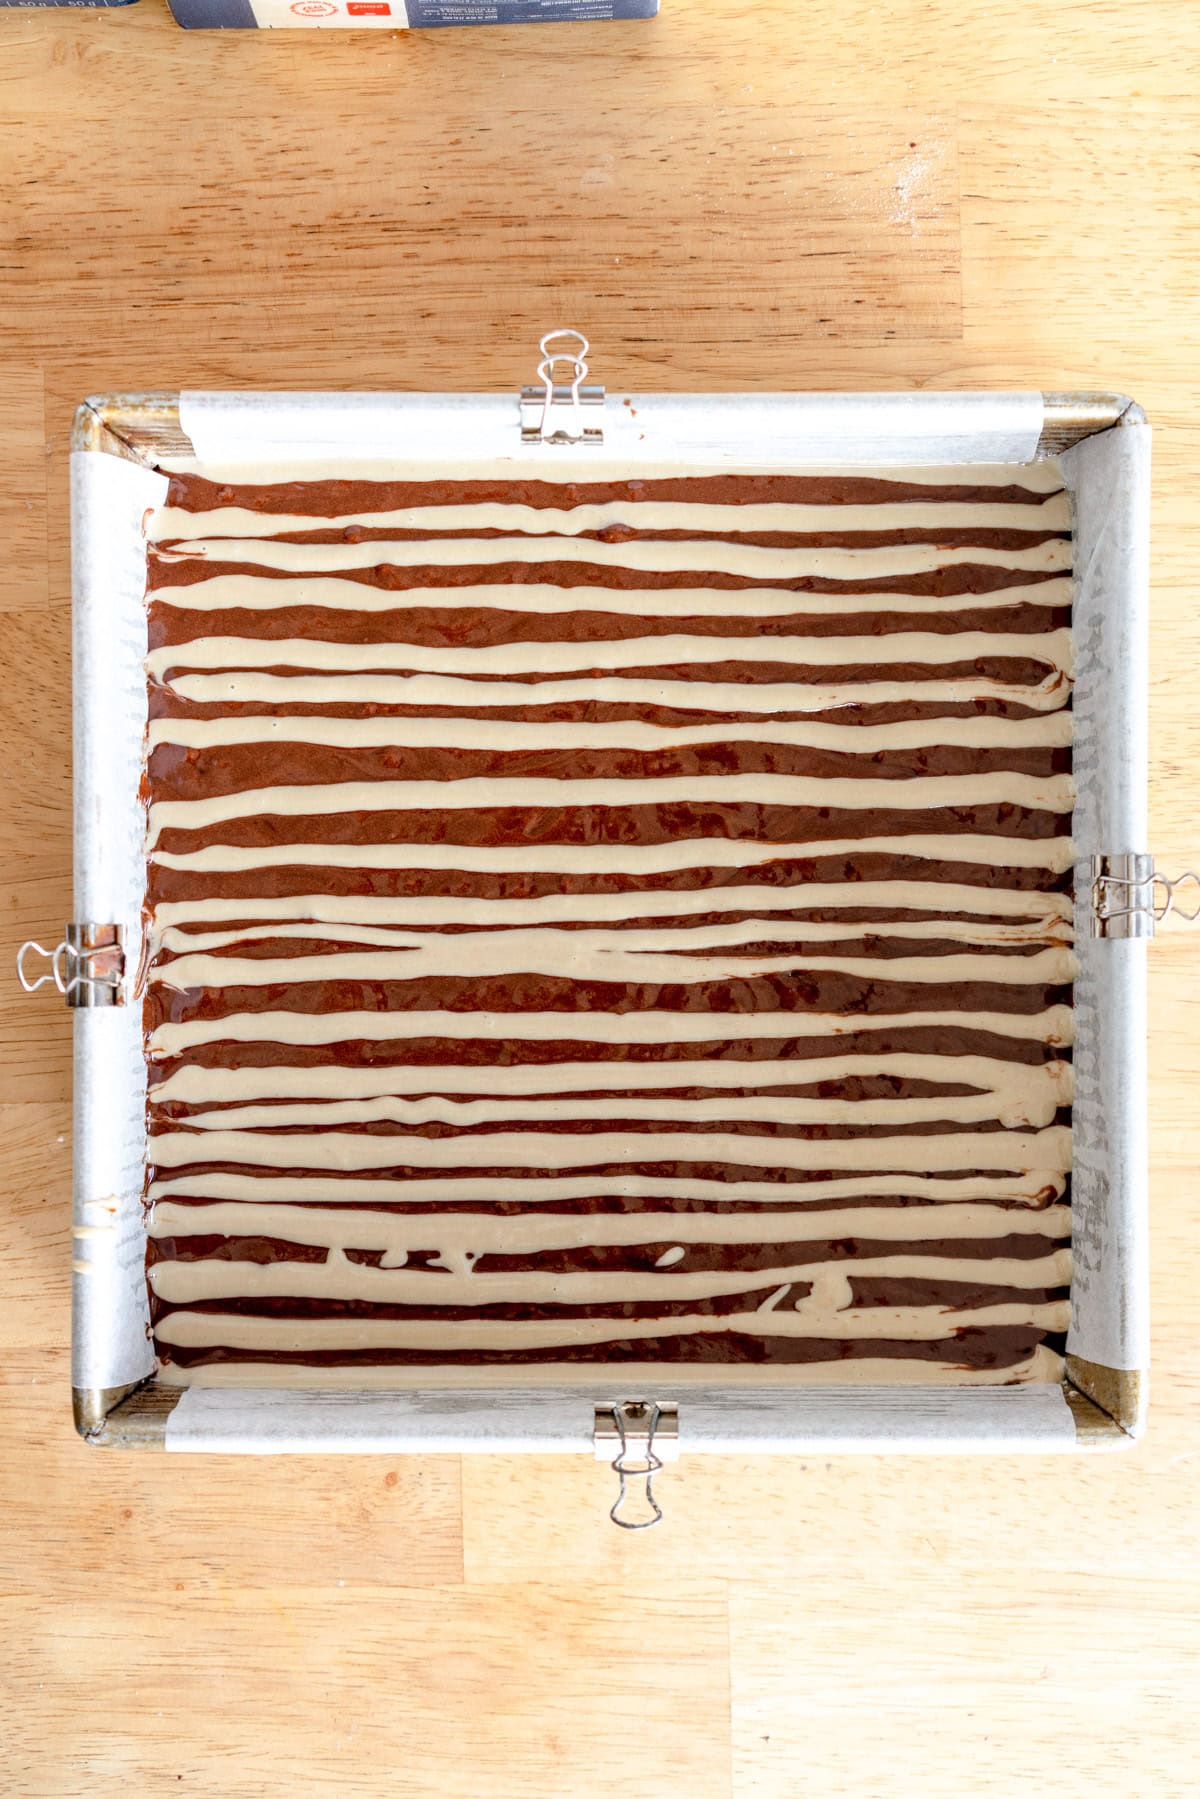
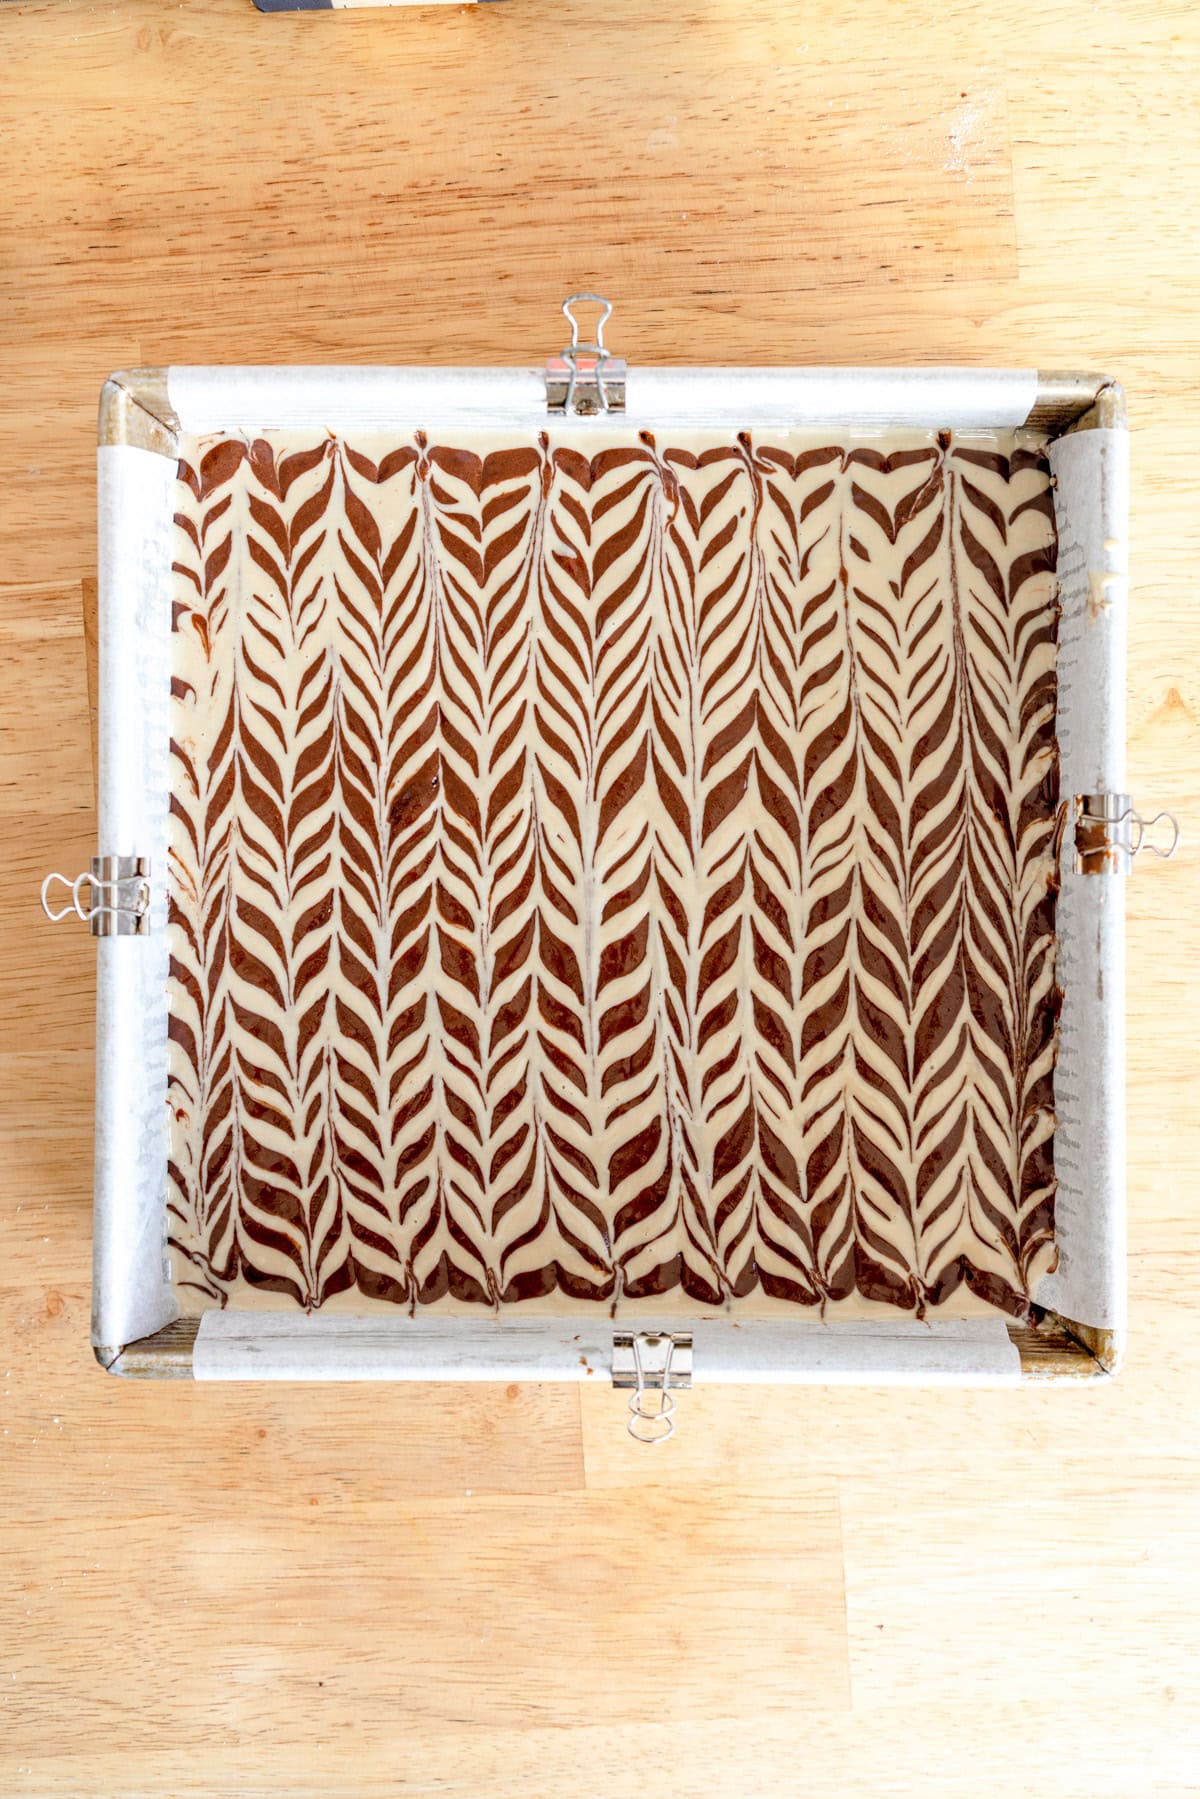
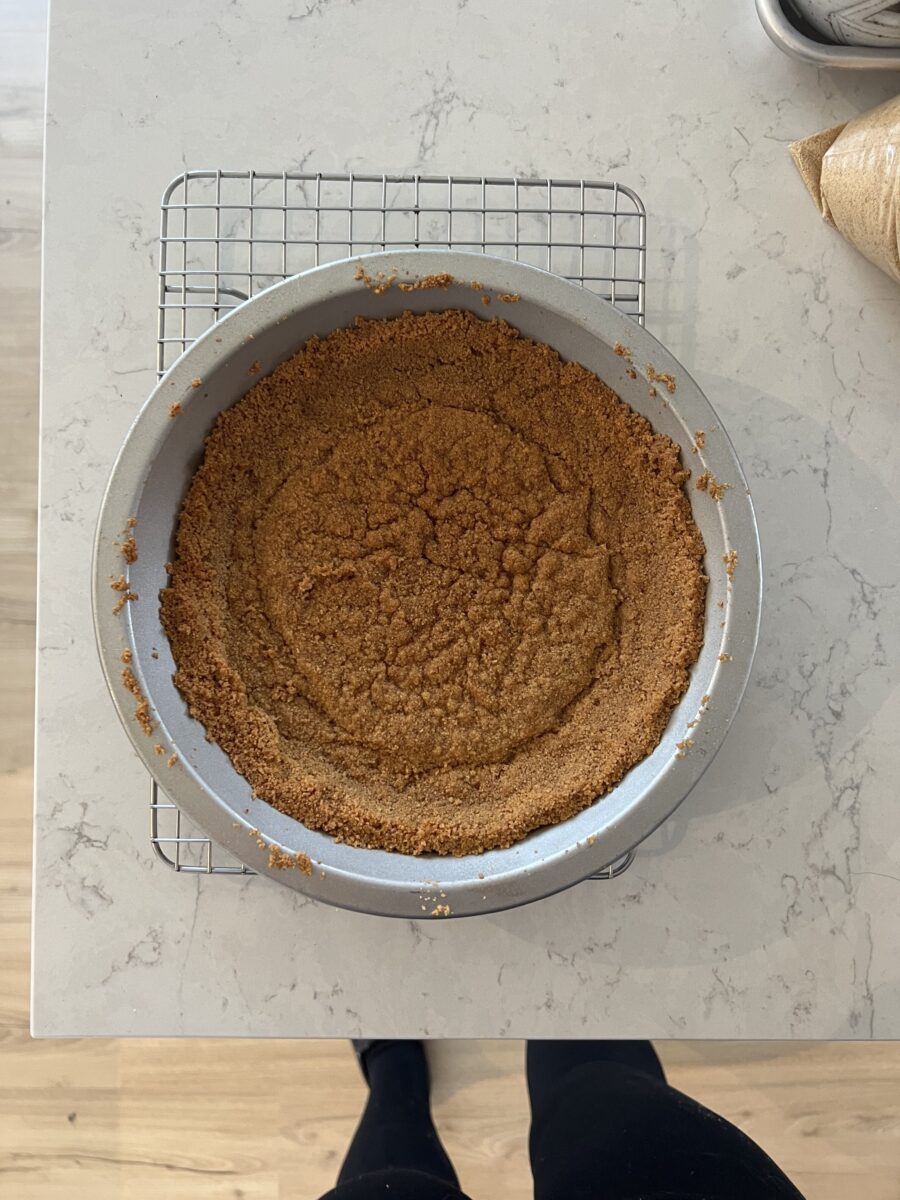
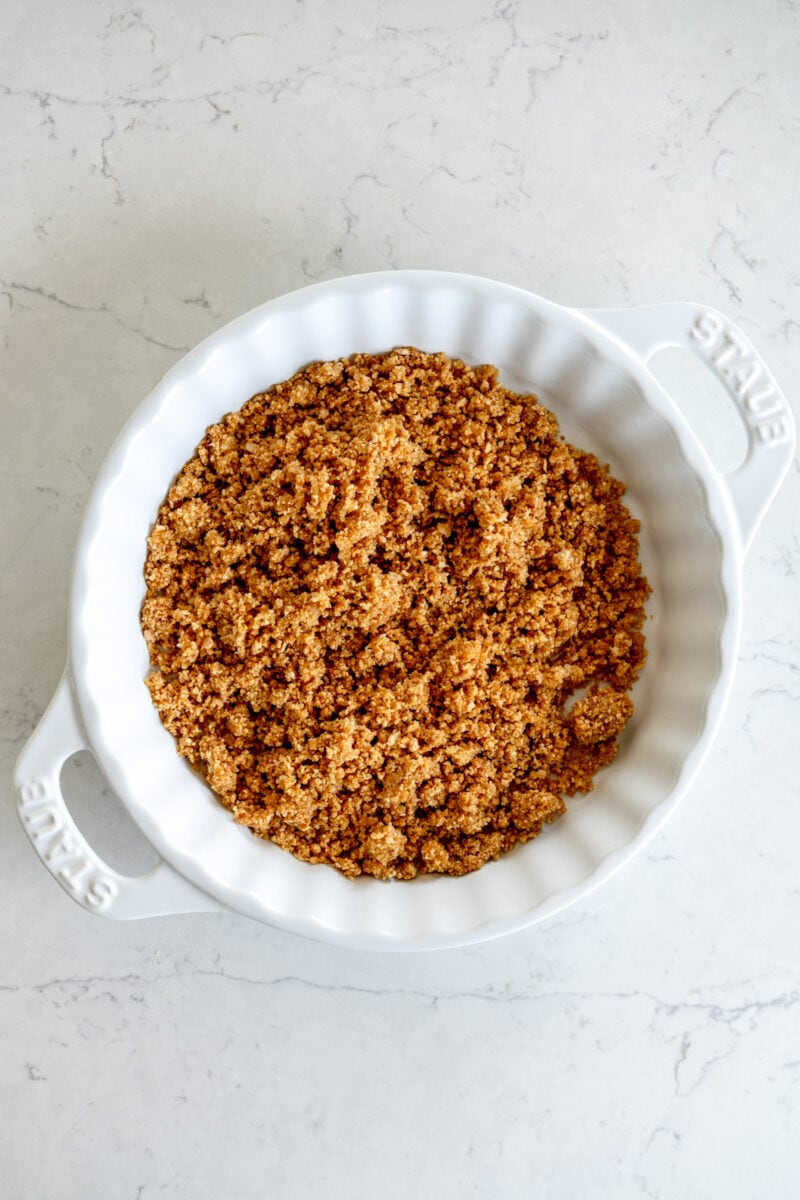
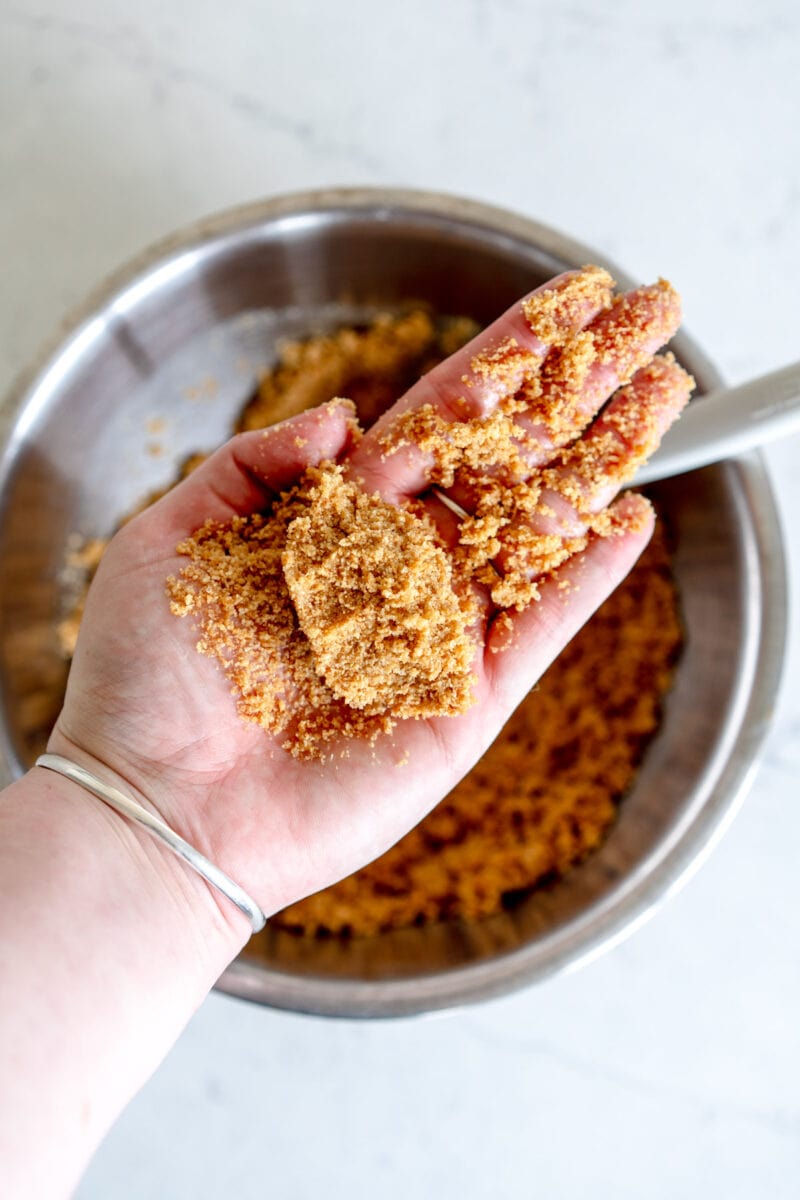
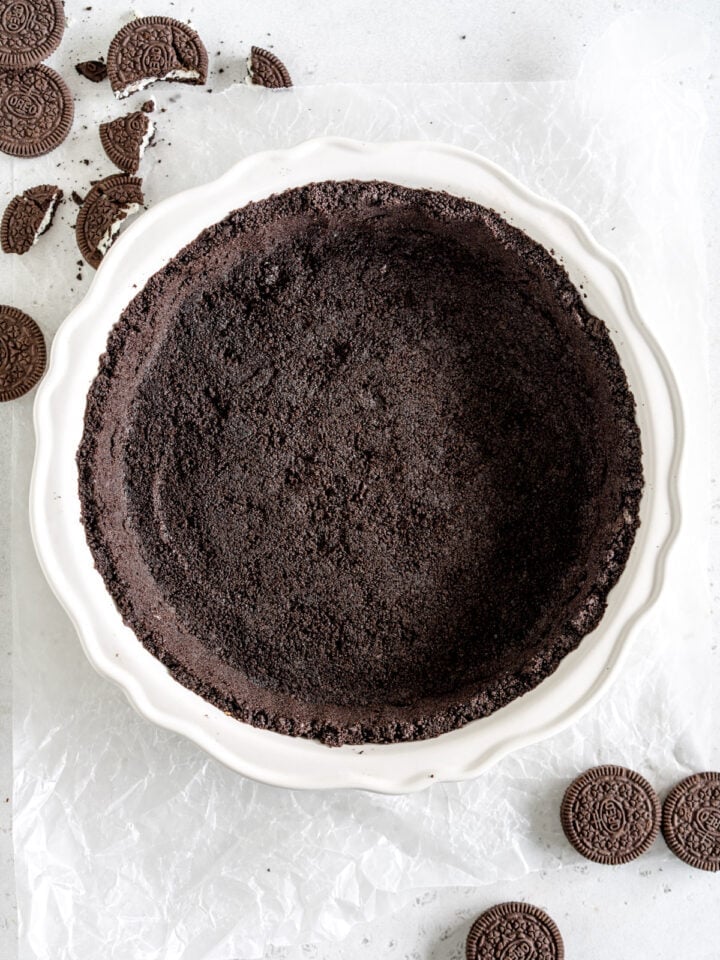
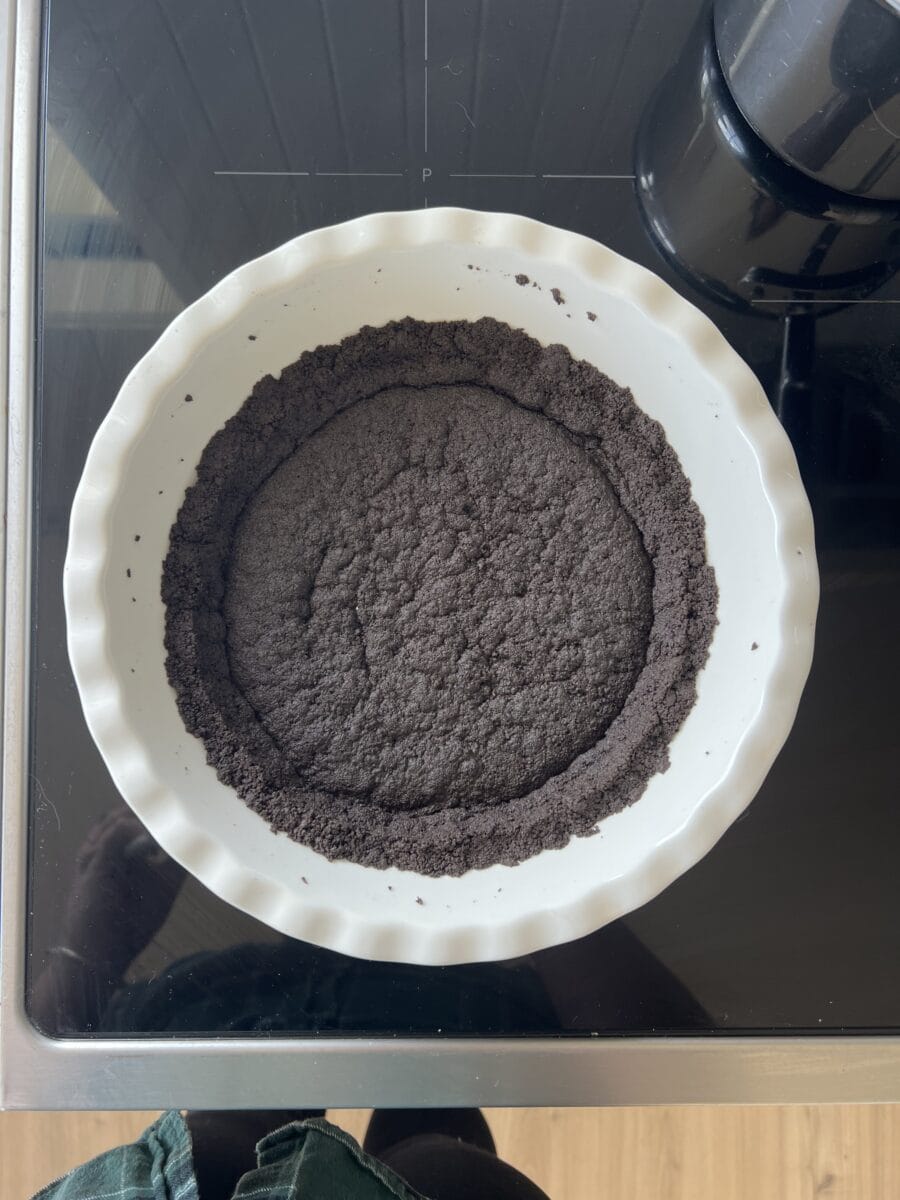
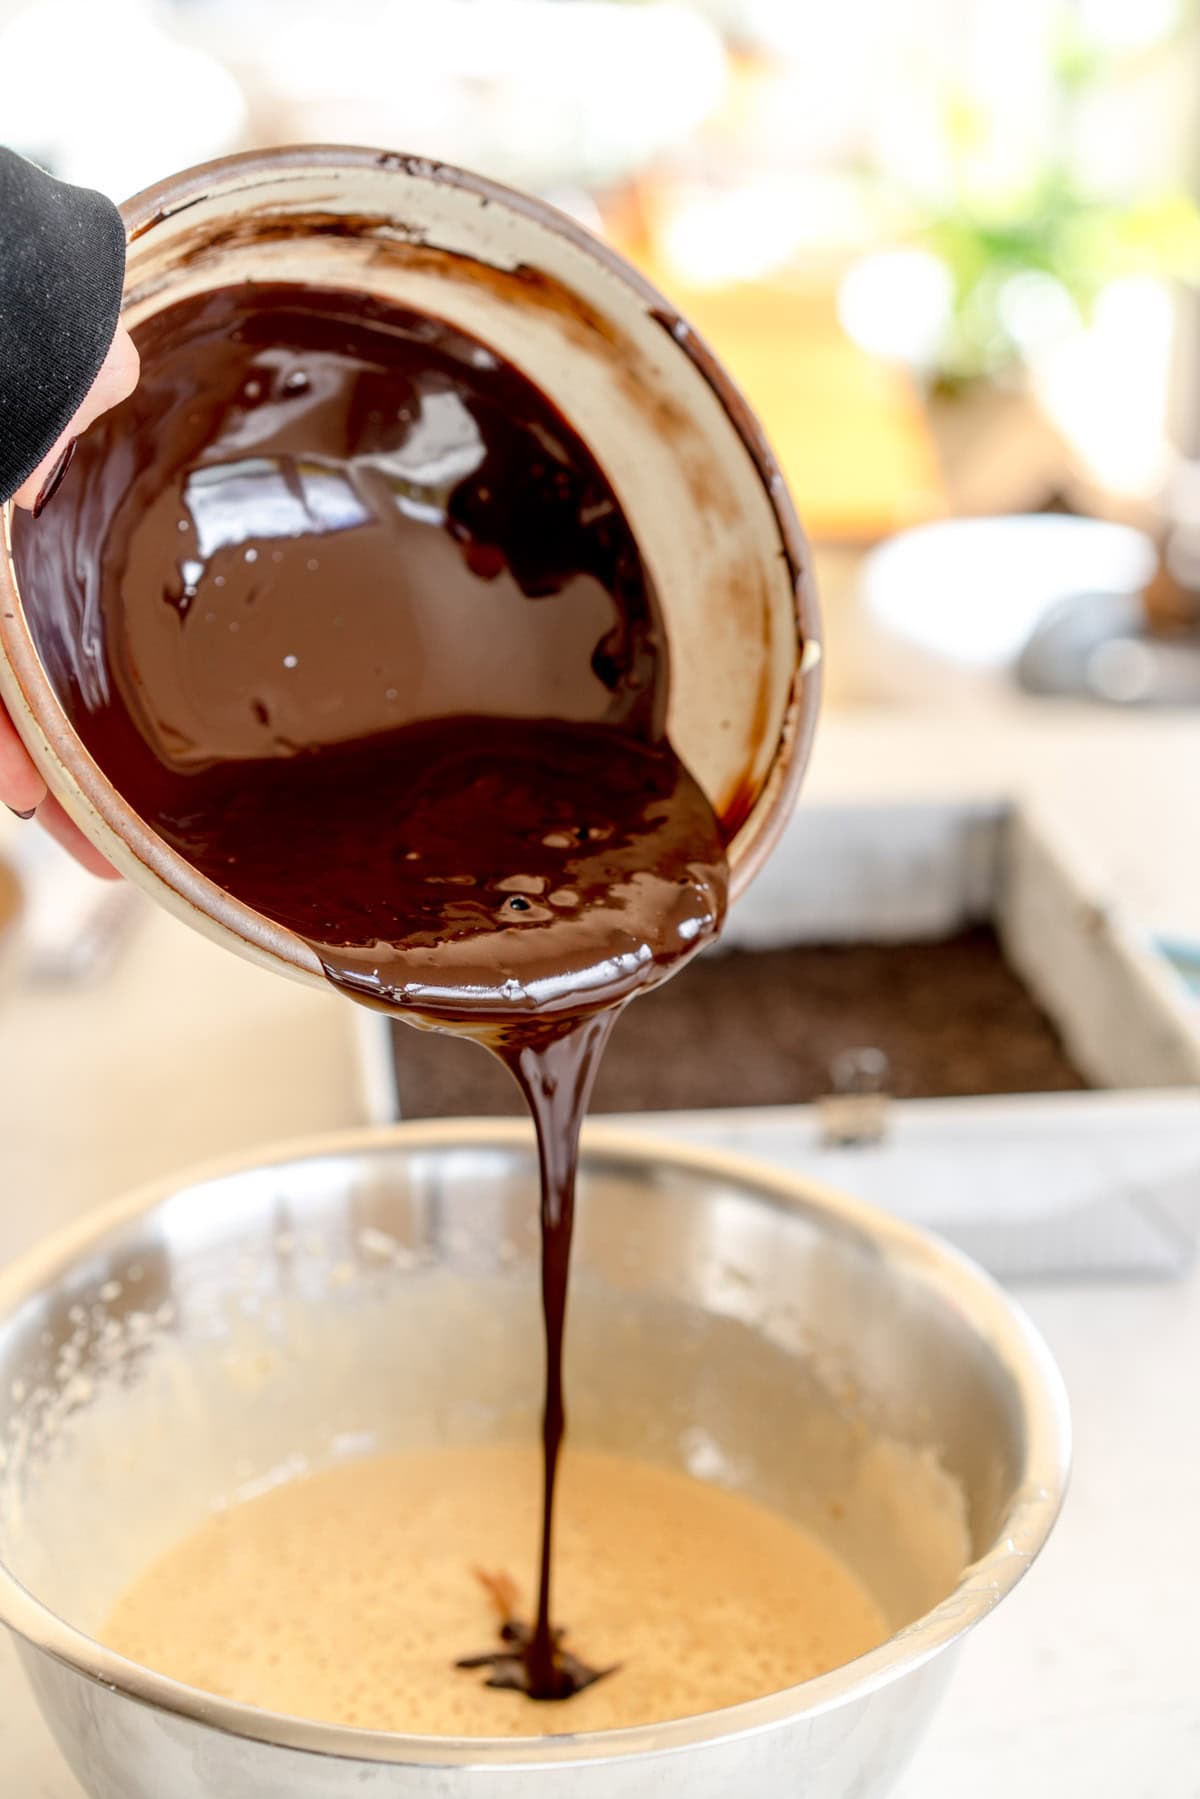
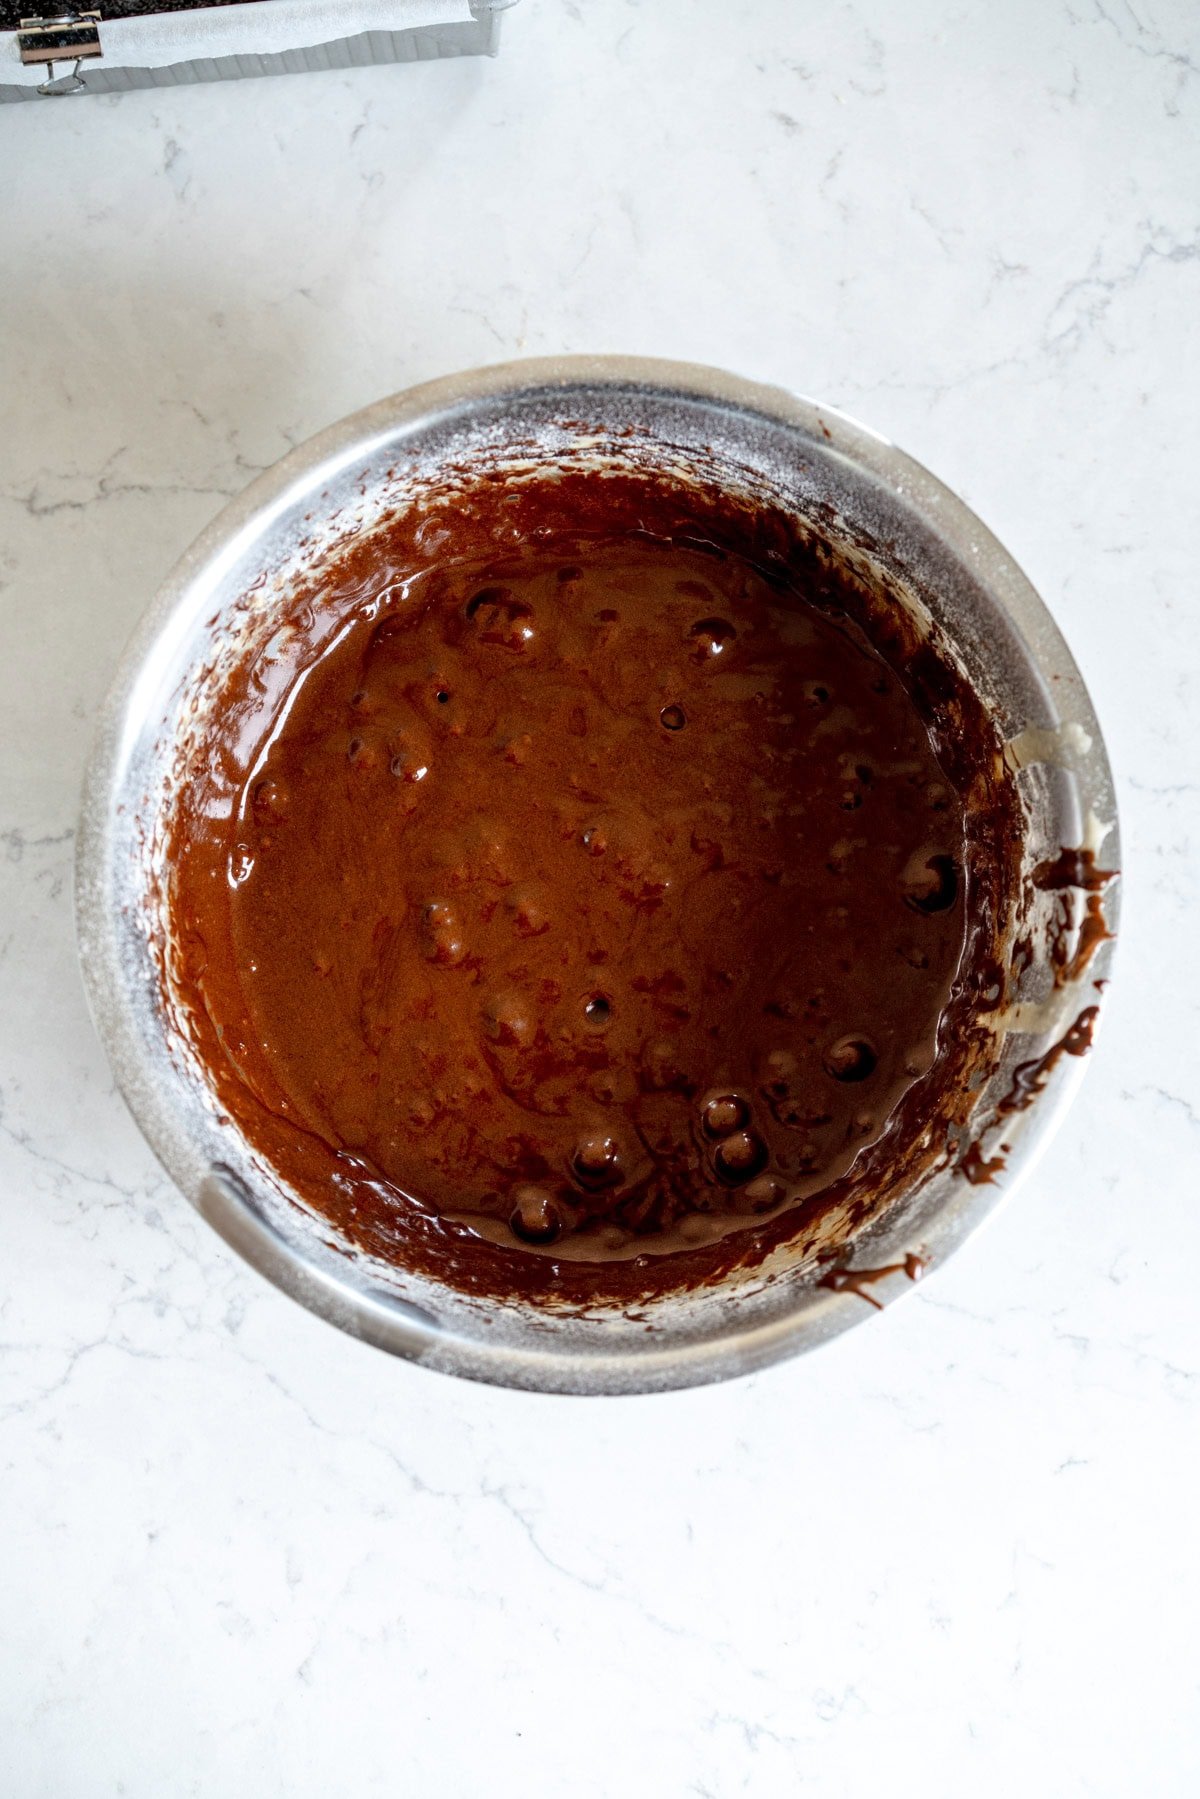
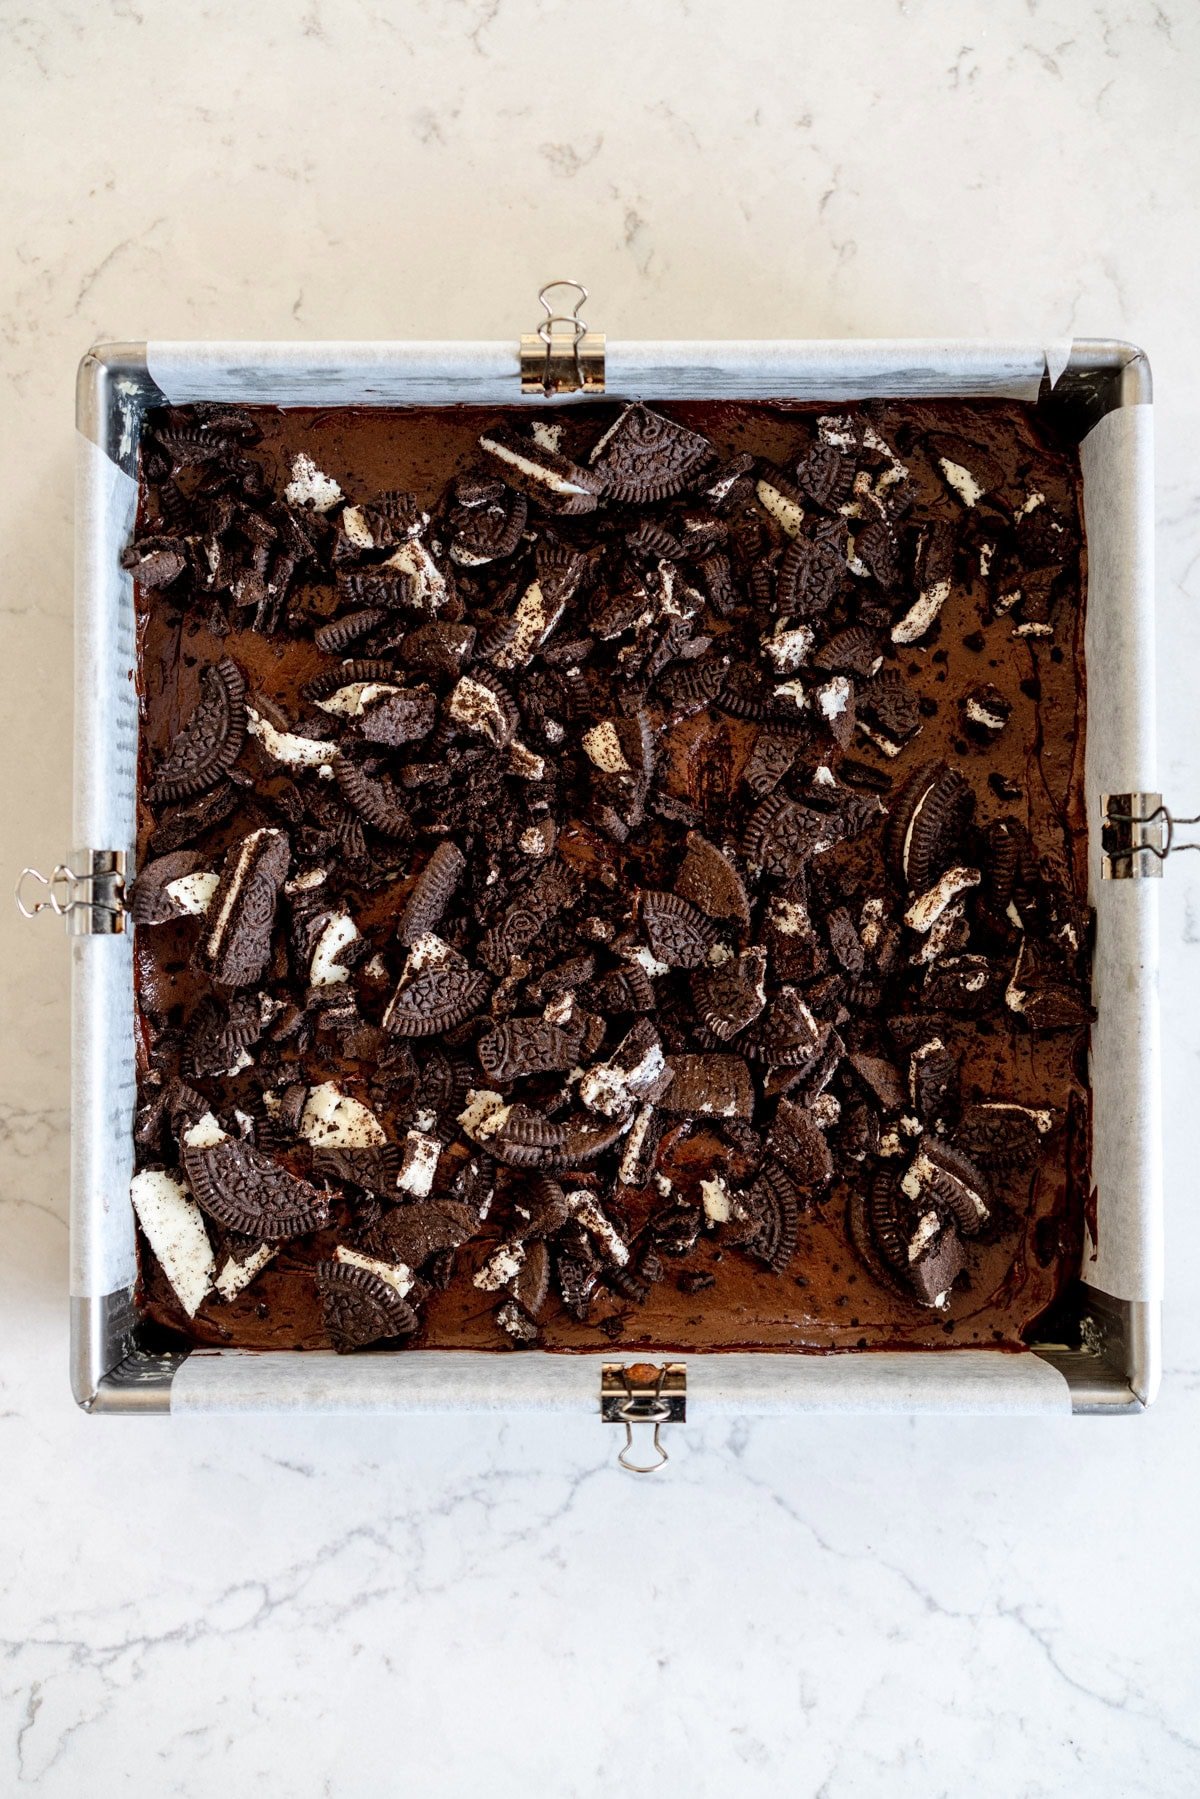
Hear me out: Oreo Brownie, but with an Oreo Crust. It is every bit as good as you think it will be, and requires 5 minutes extra work (no extra baking needed) to totally elevate these to the next level. I took my Oreo Crust recipe and popped it at the bottom of the pan, then topped with a brownie and finished with more crushed Oreos.
Absolute Game Changer. Let me tell you all about it.


Recipe testing: How to tweak a brownie recipe
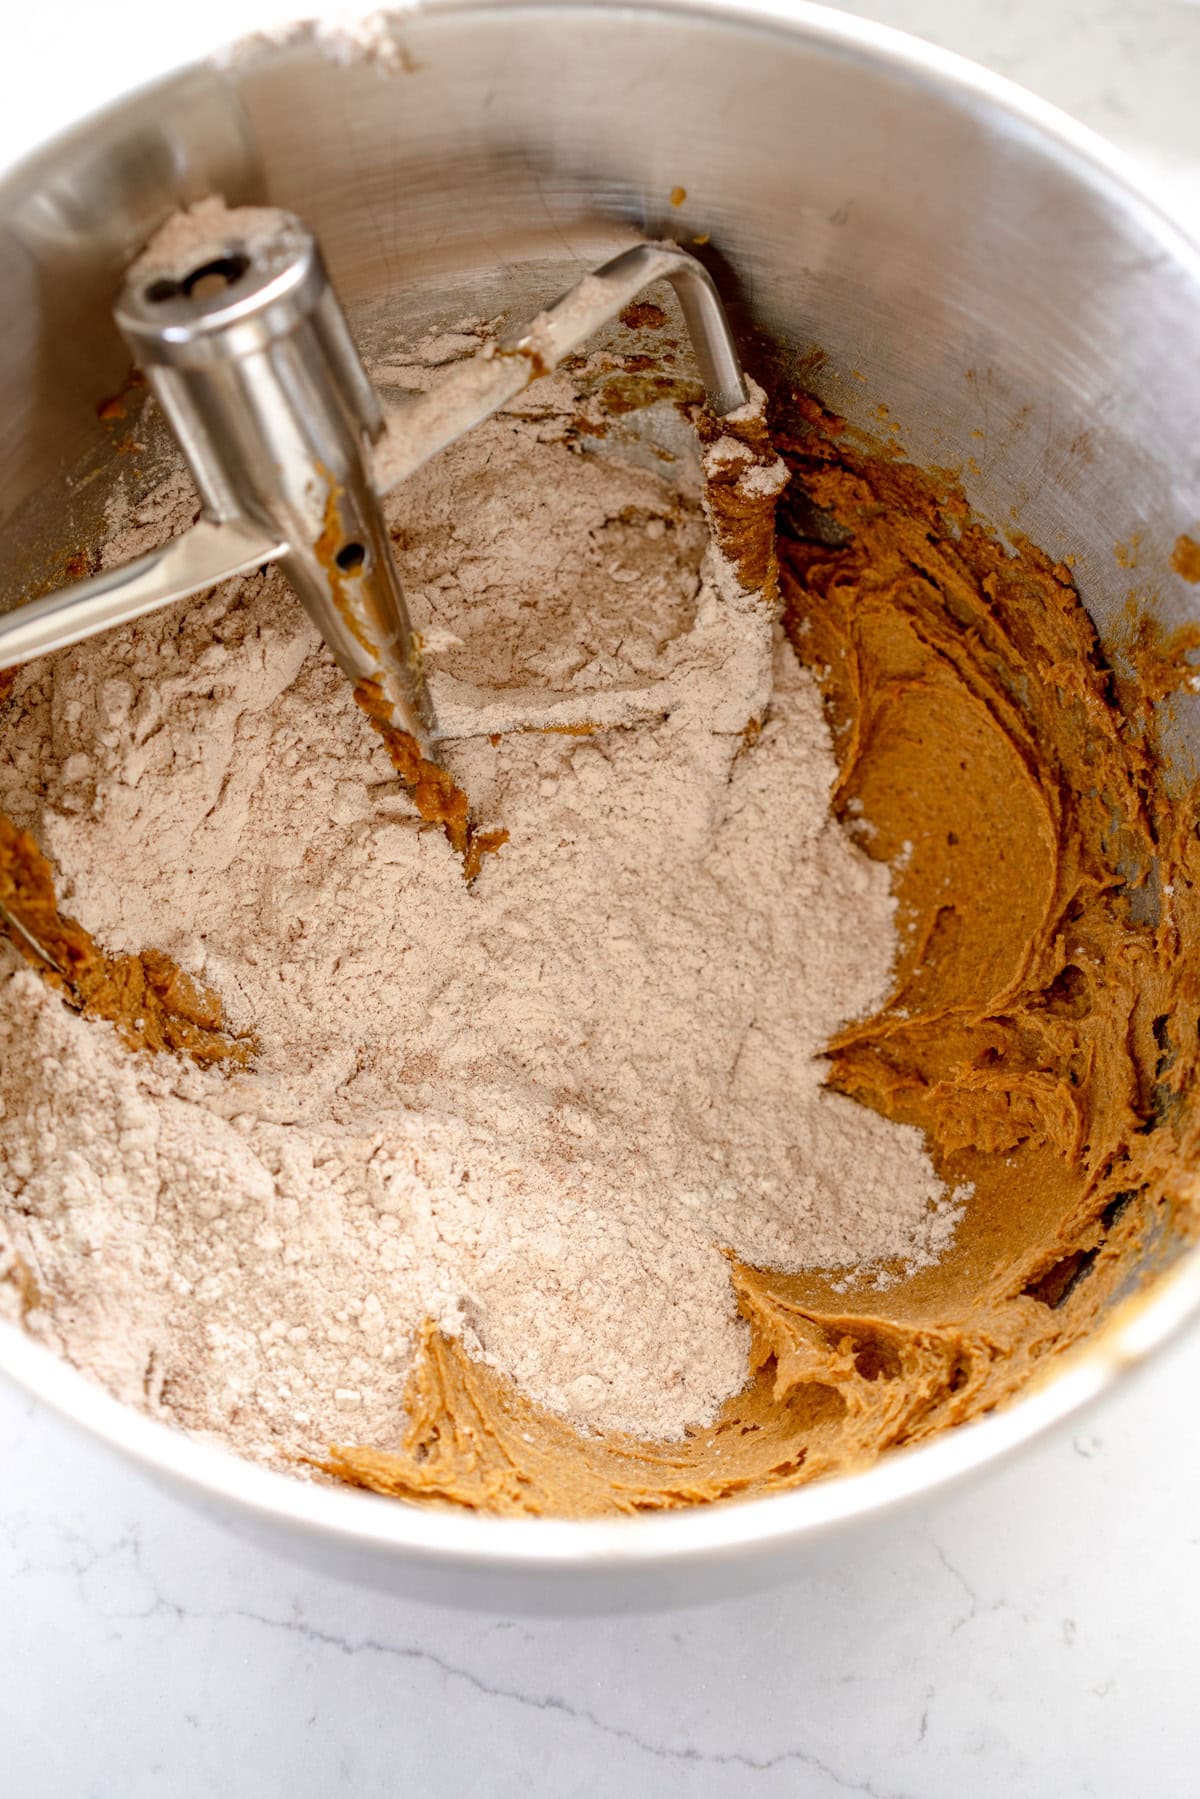
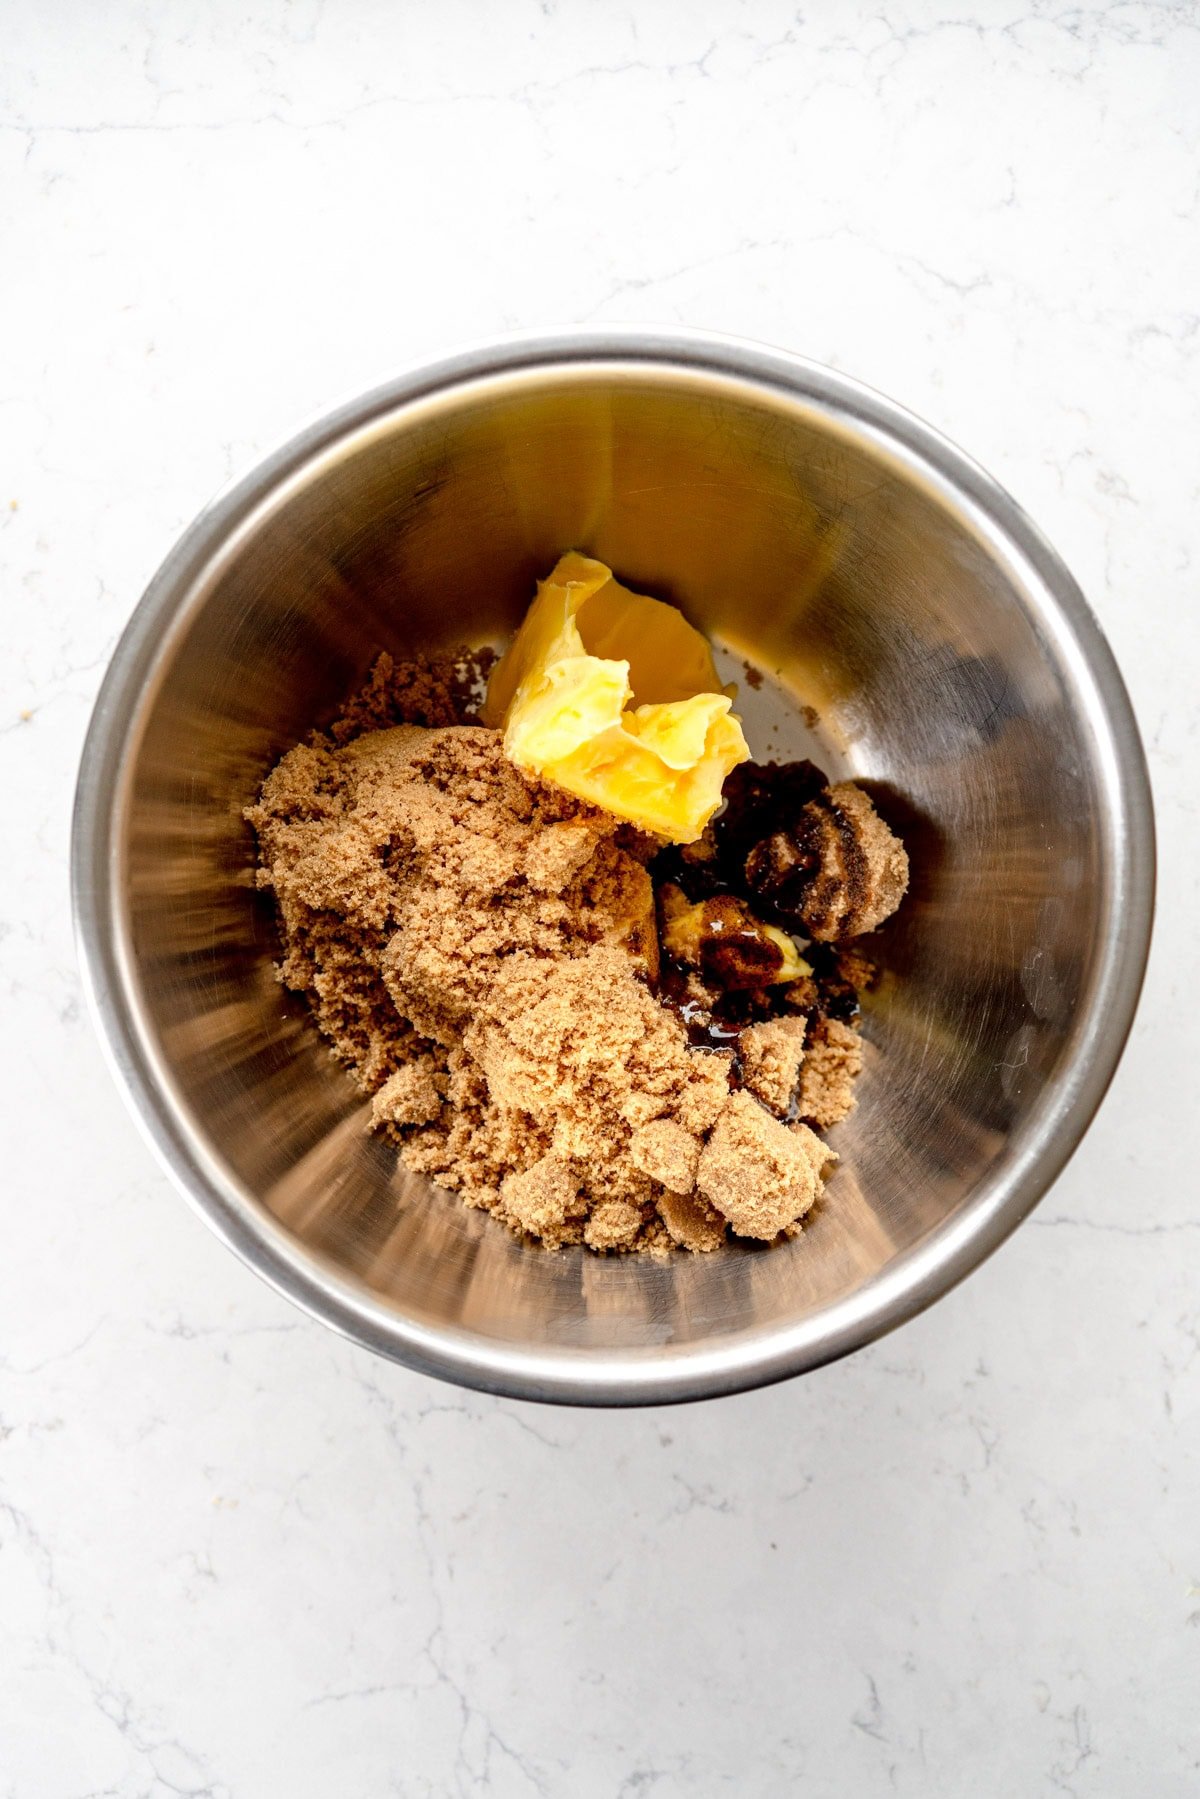
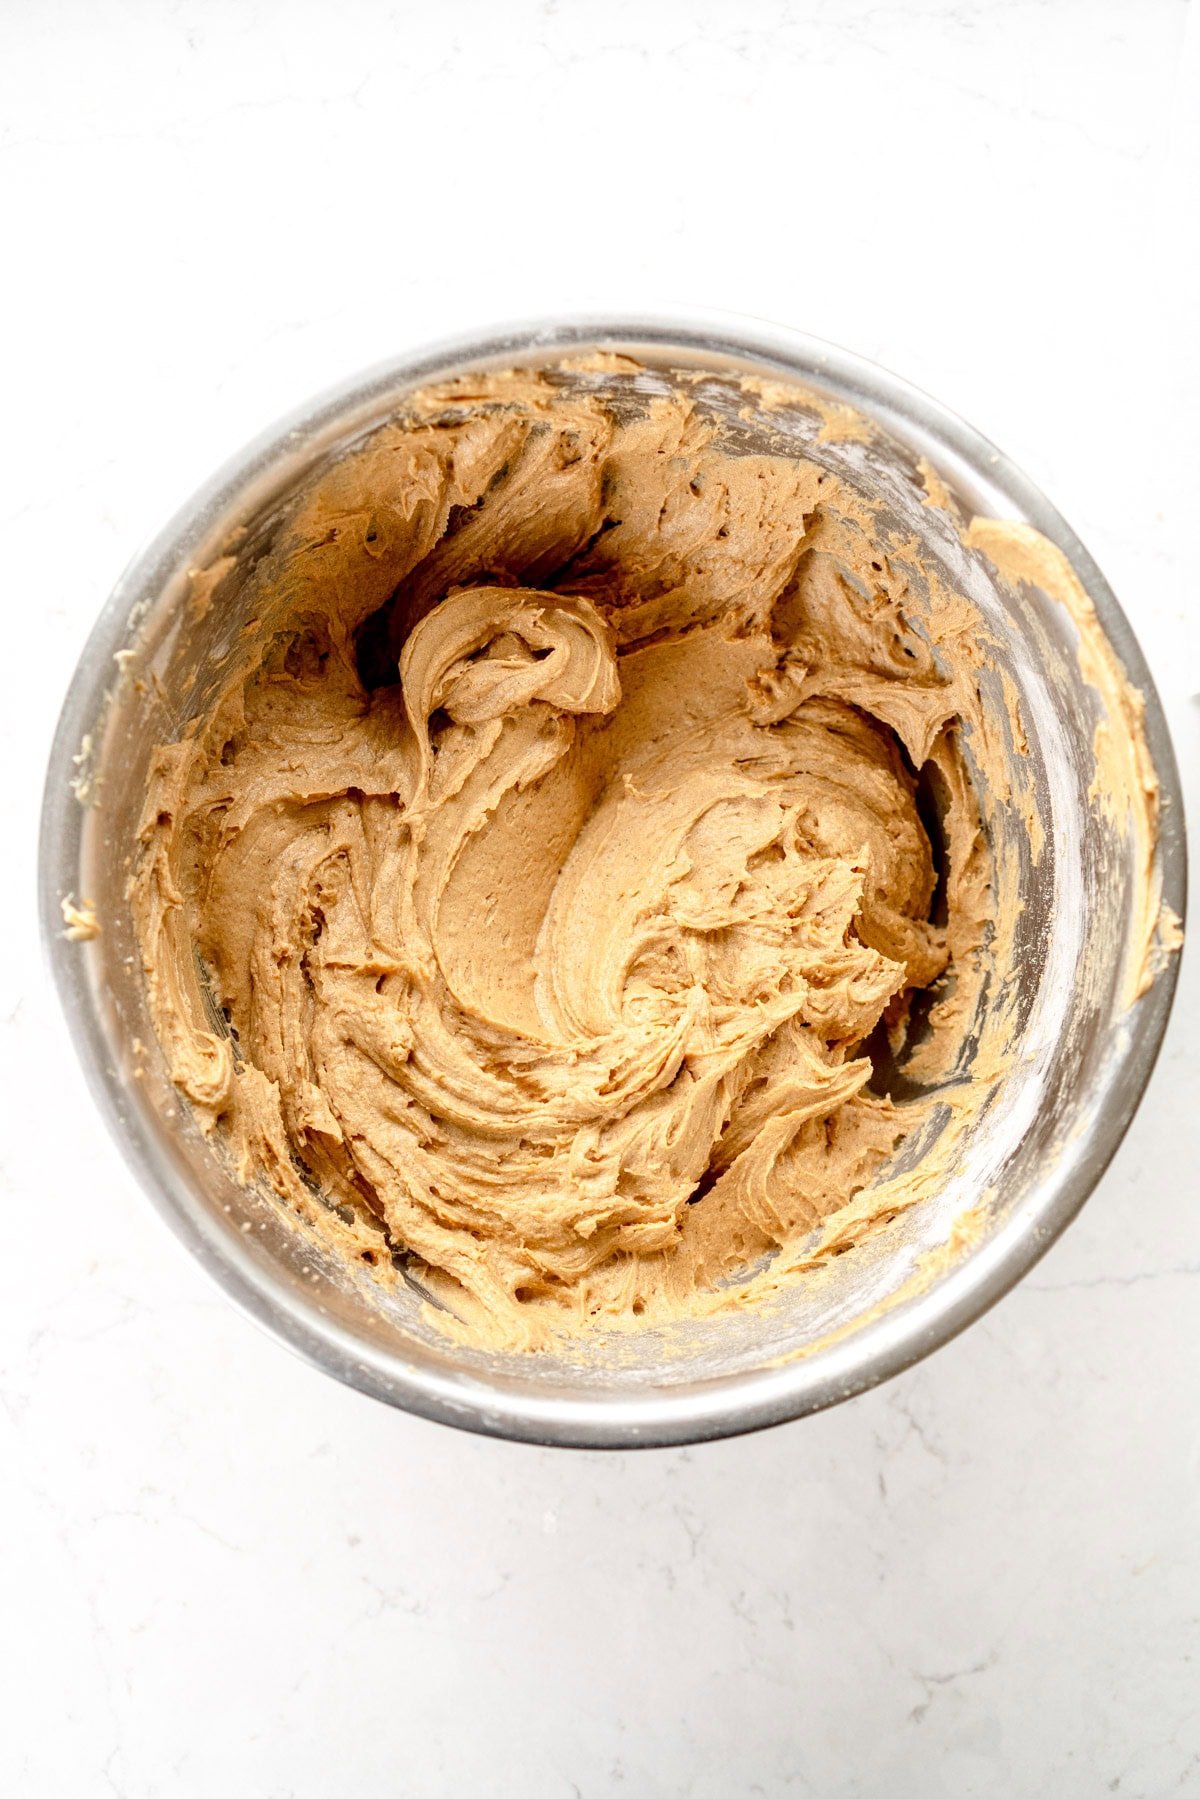
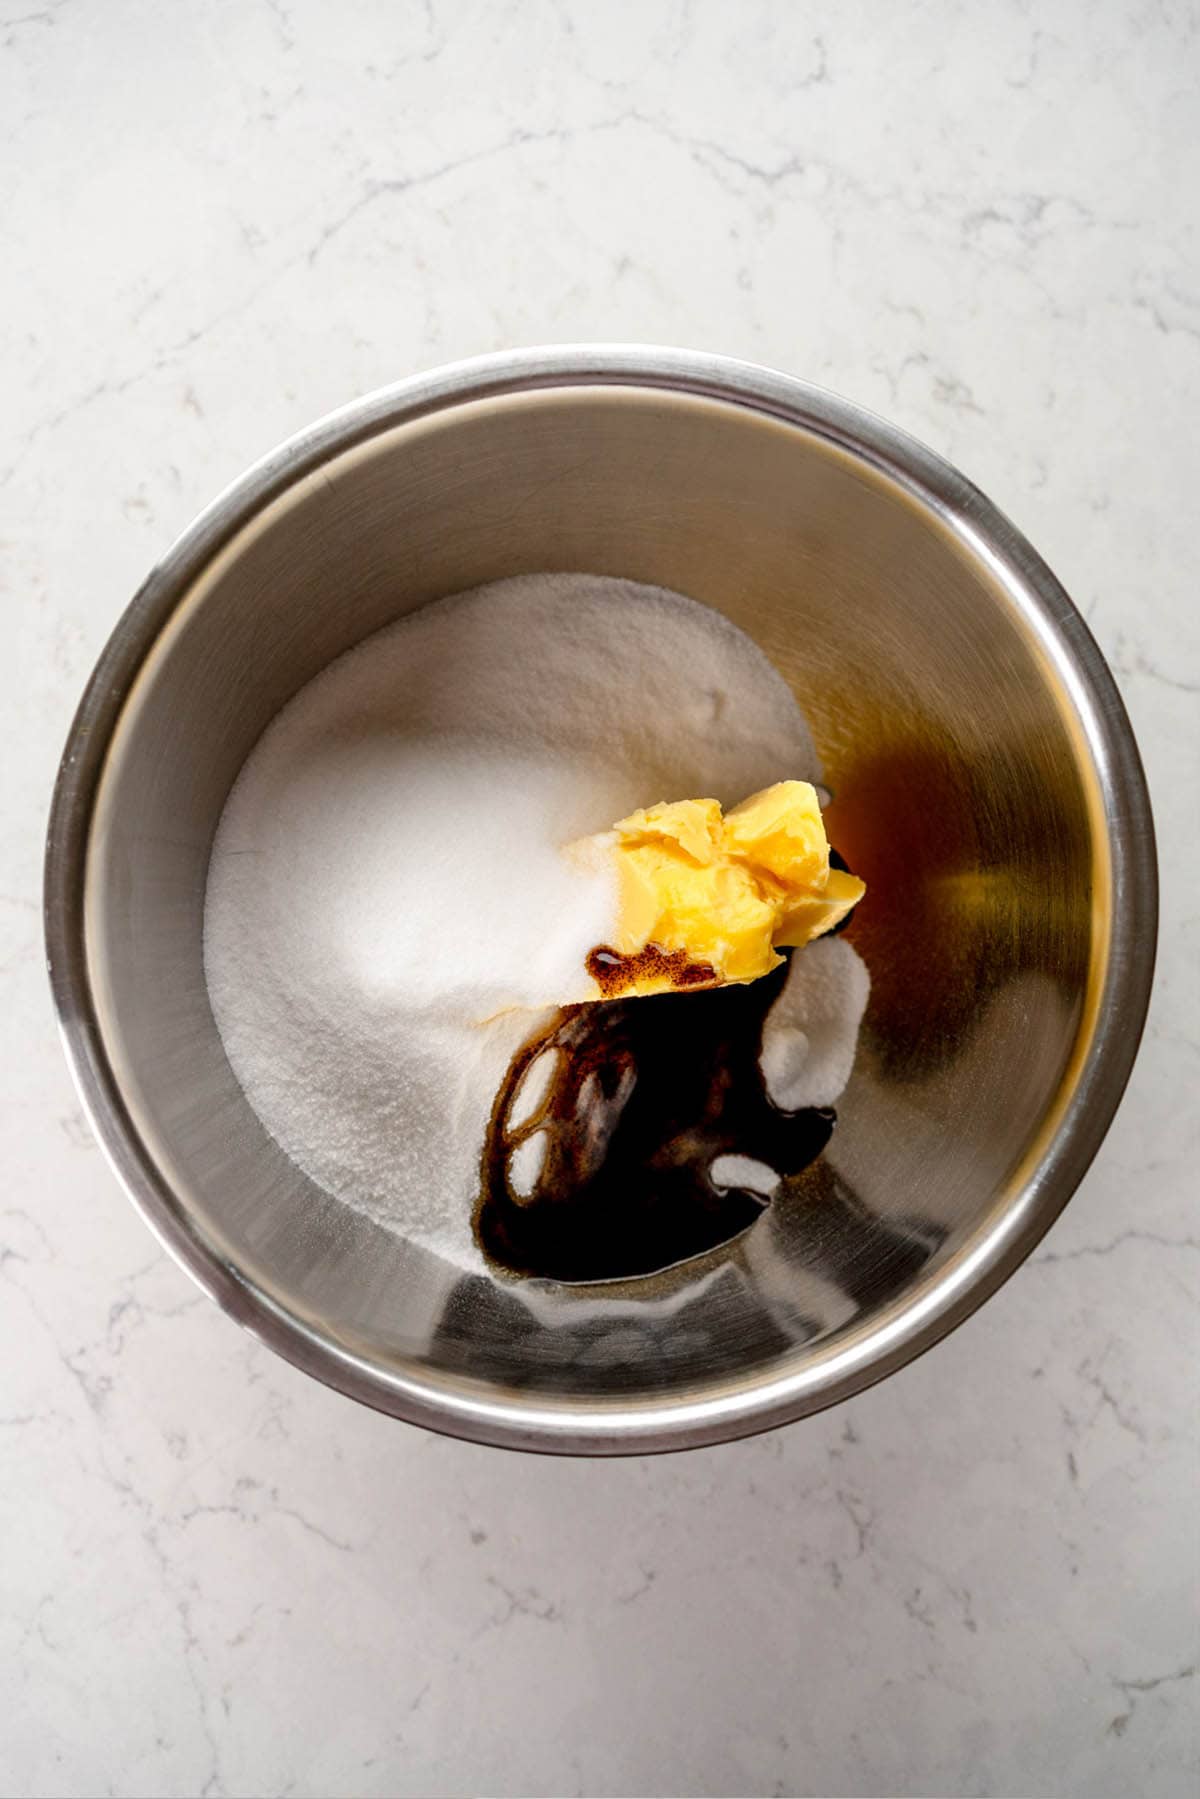
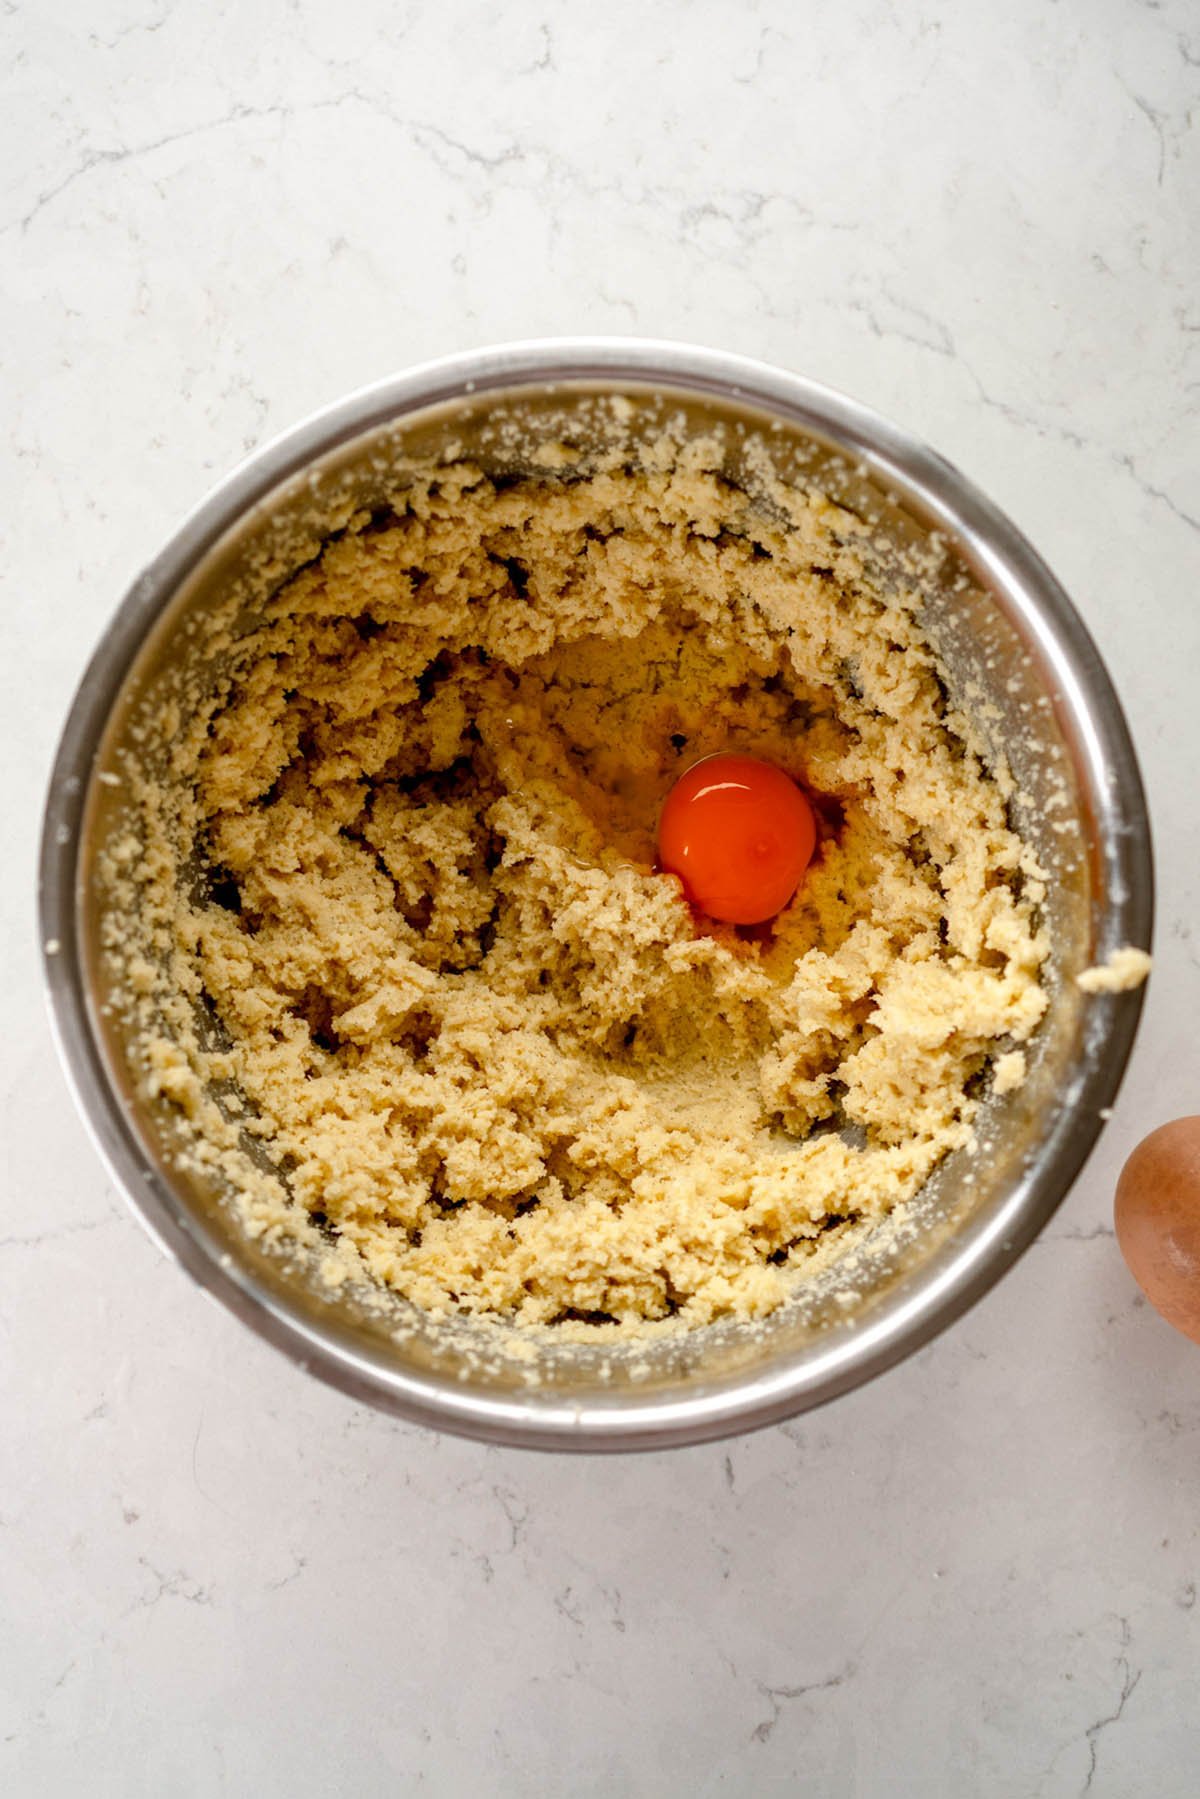
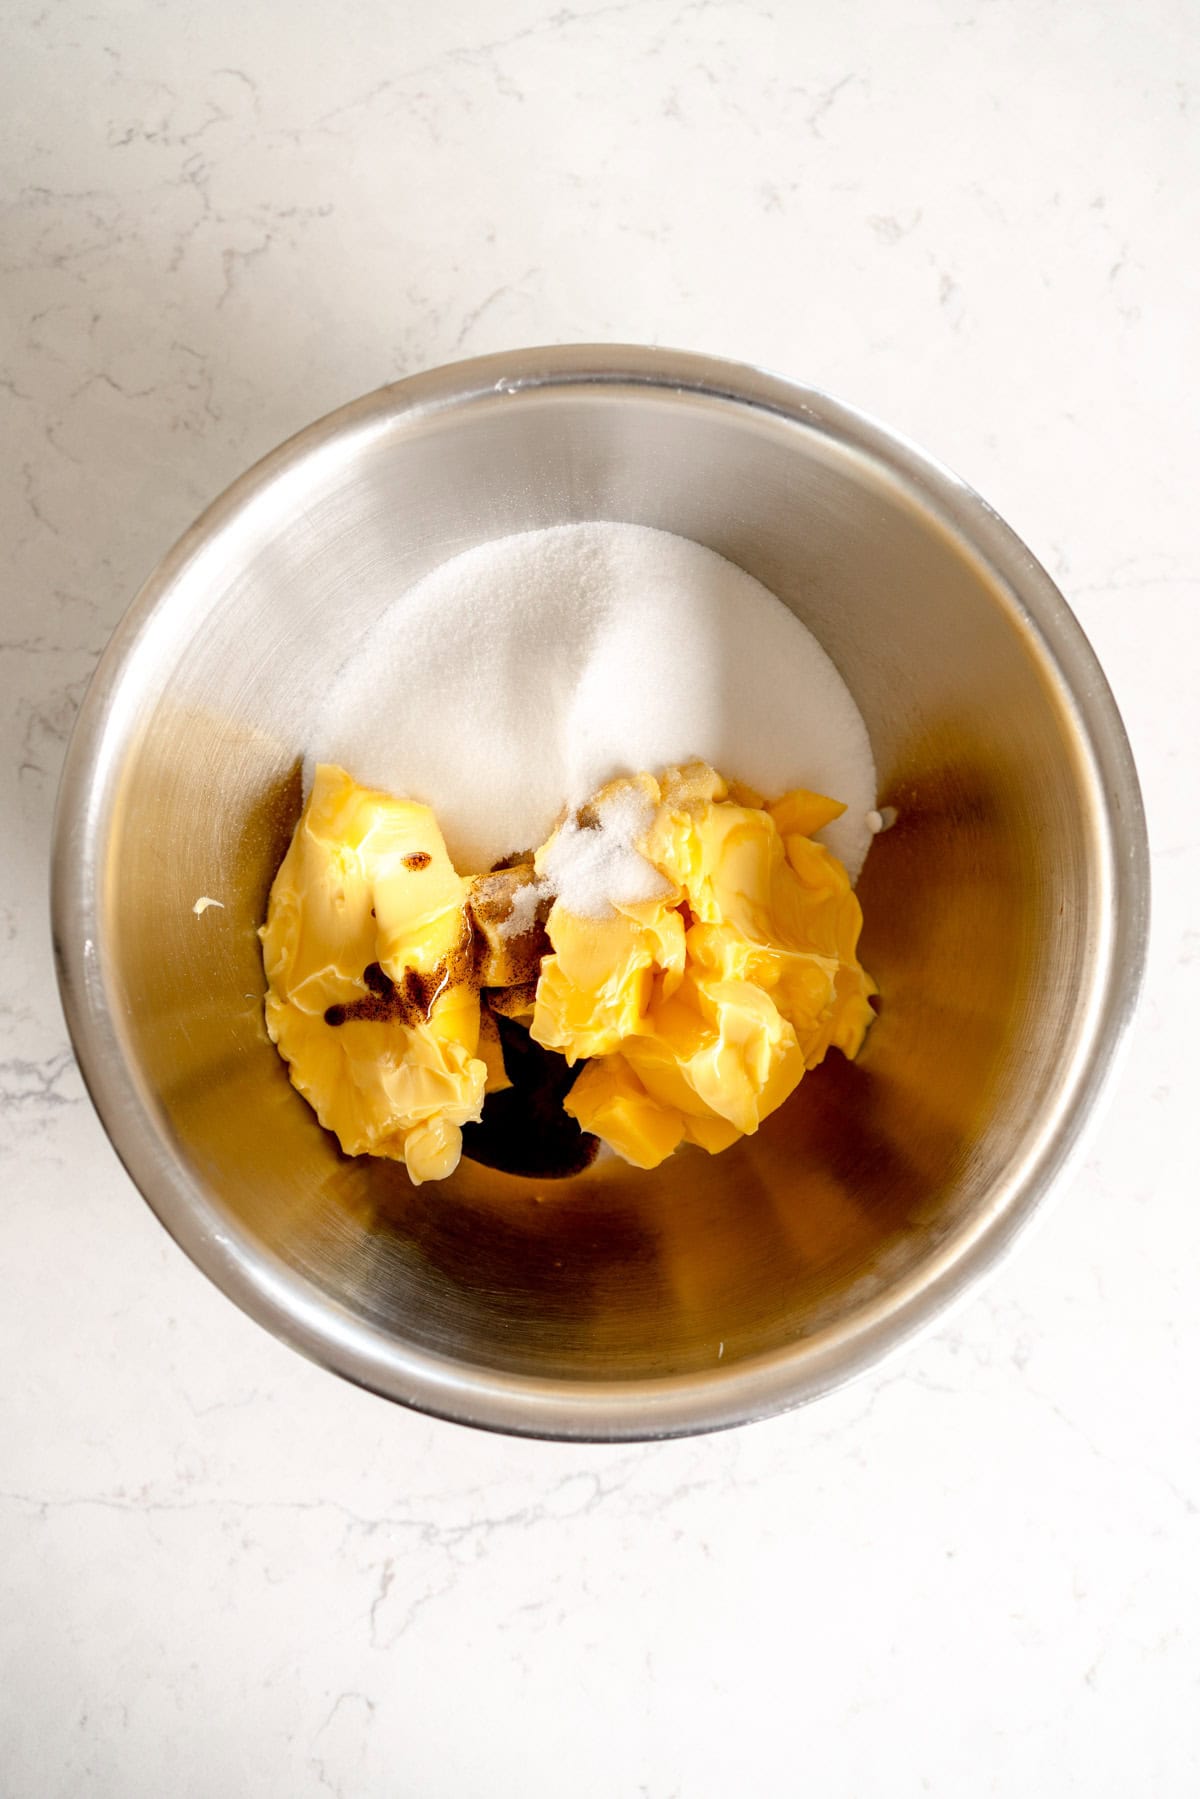
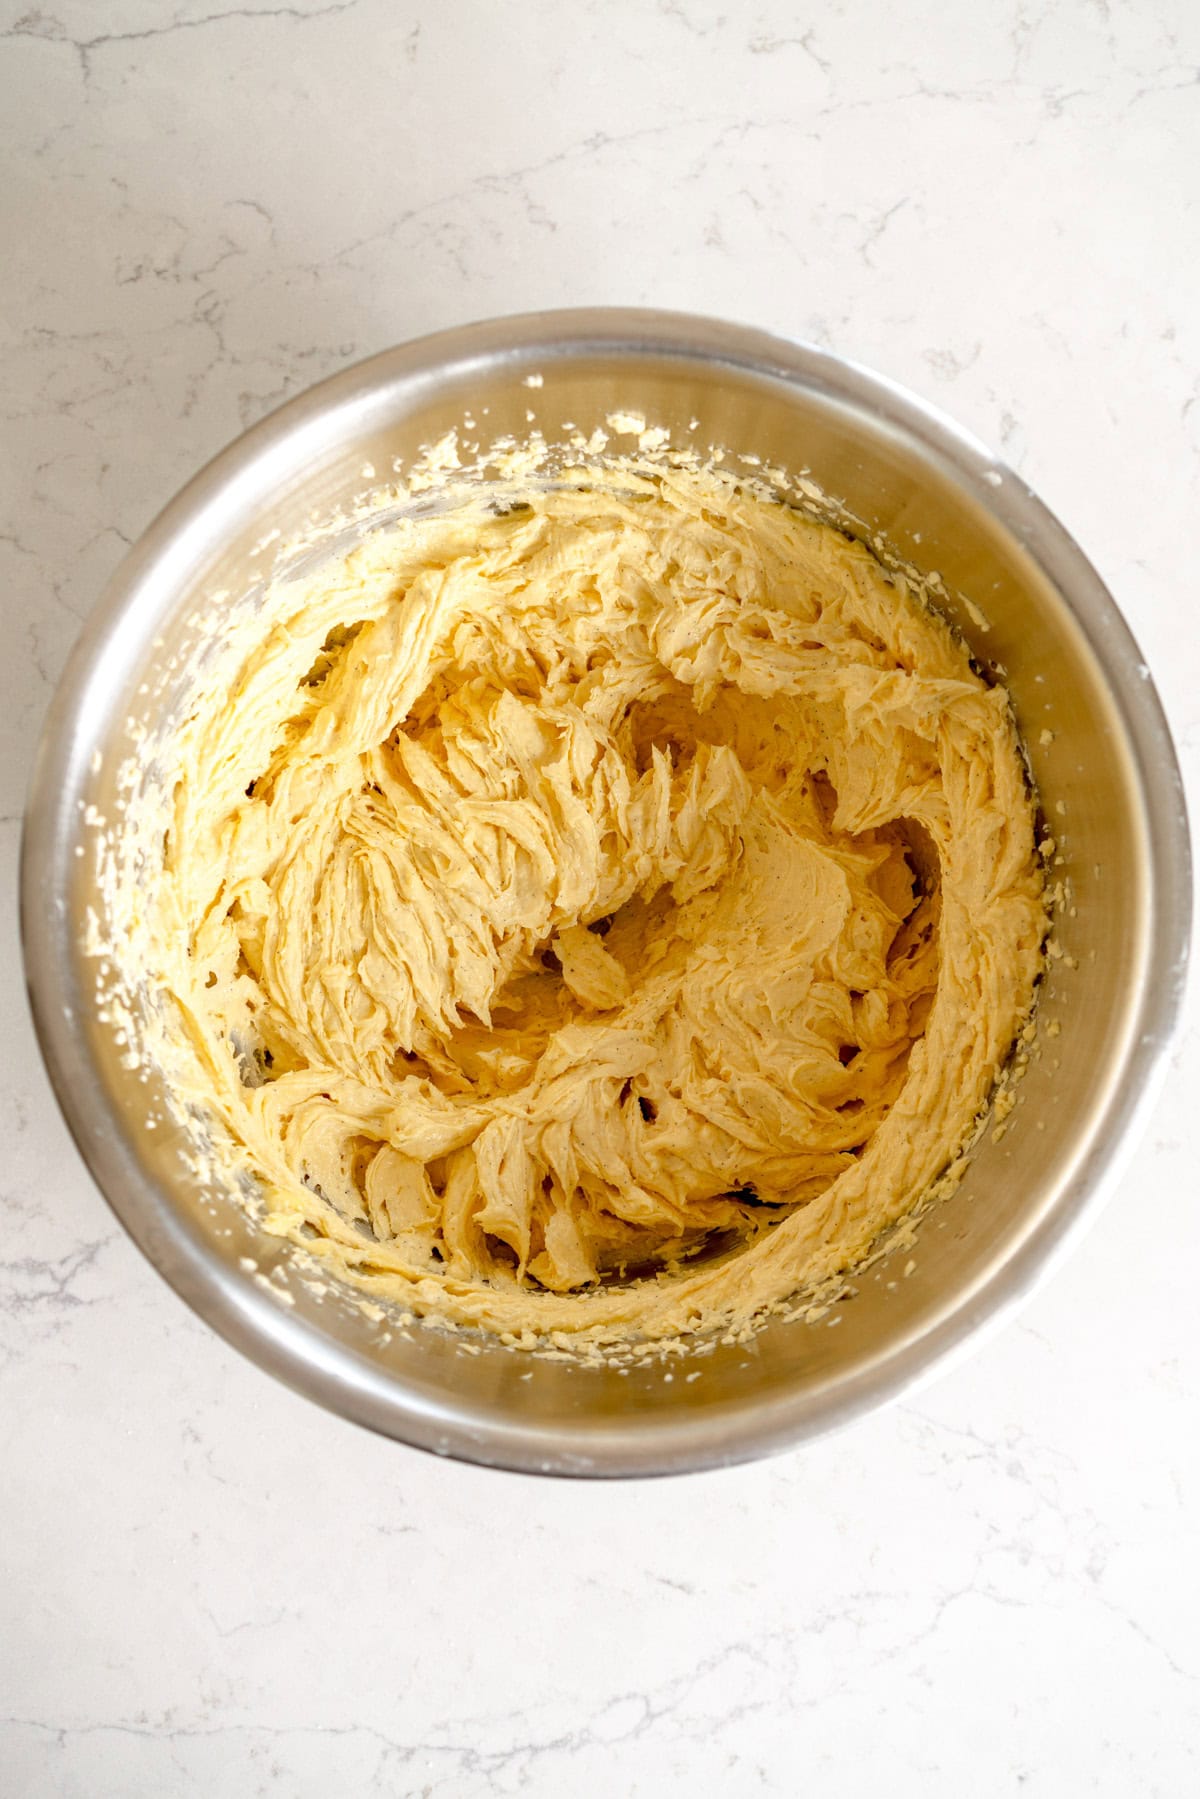
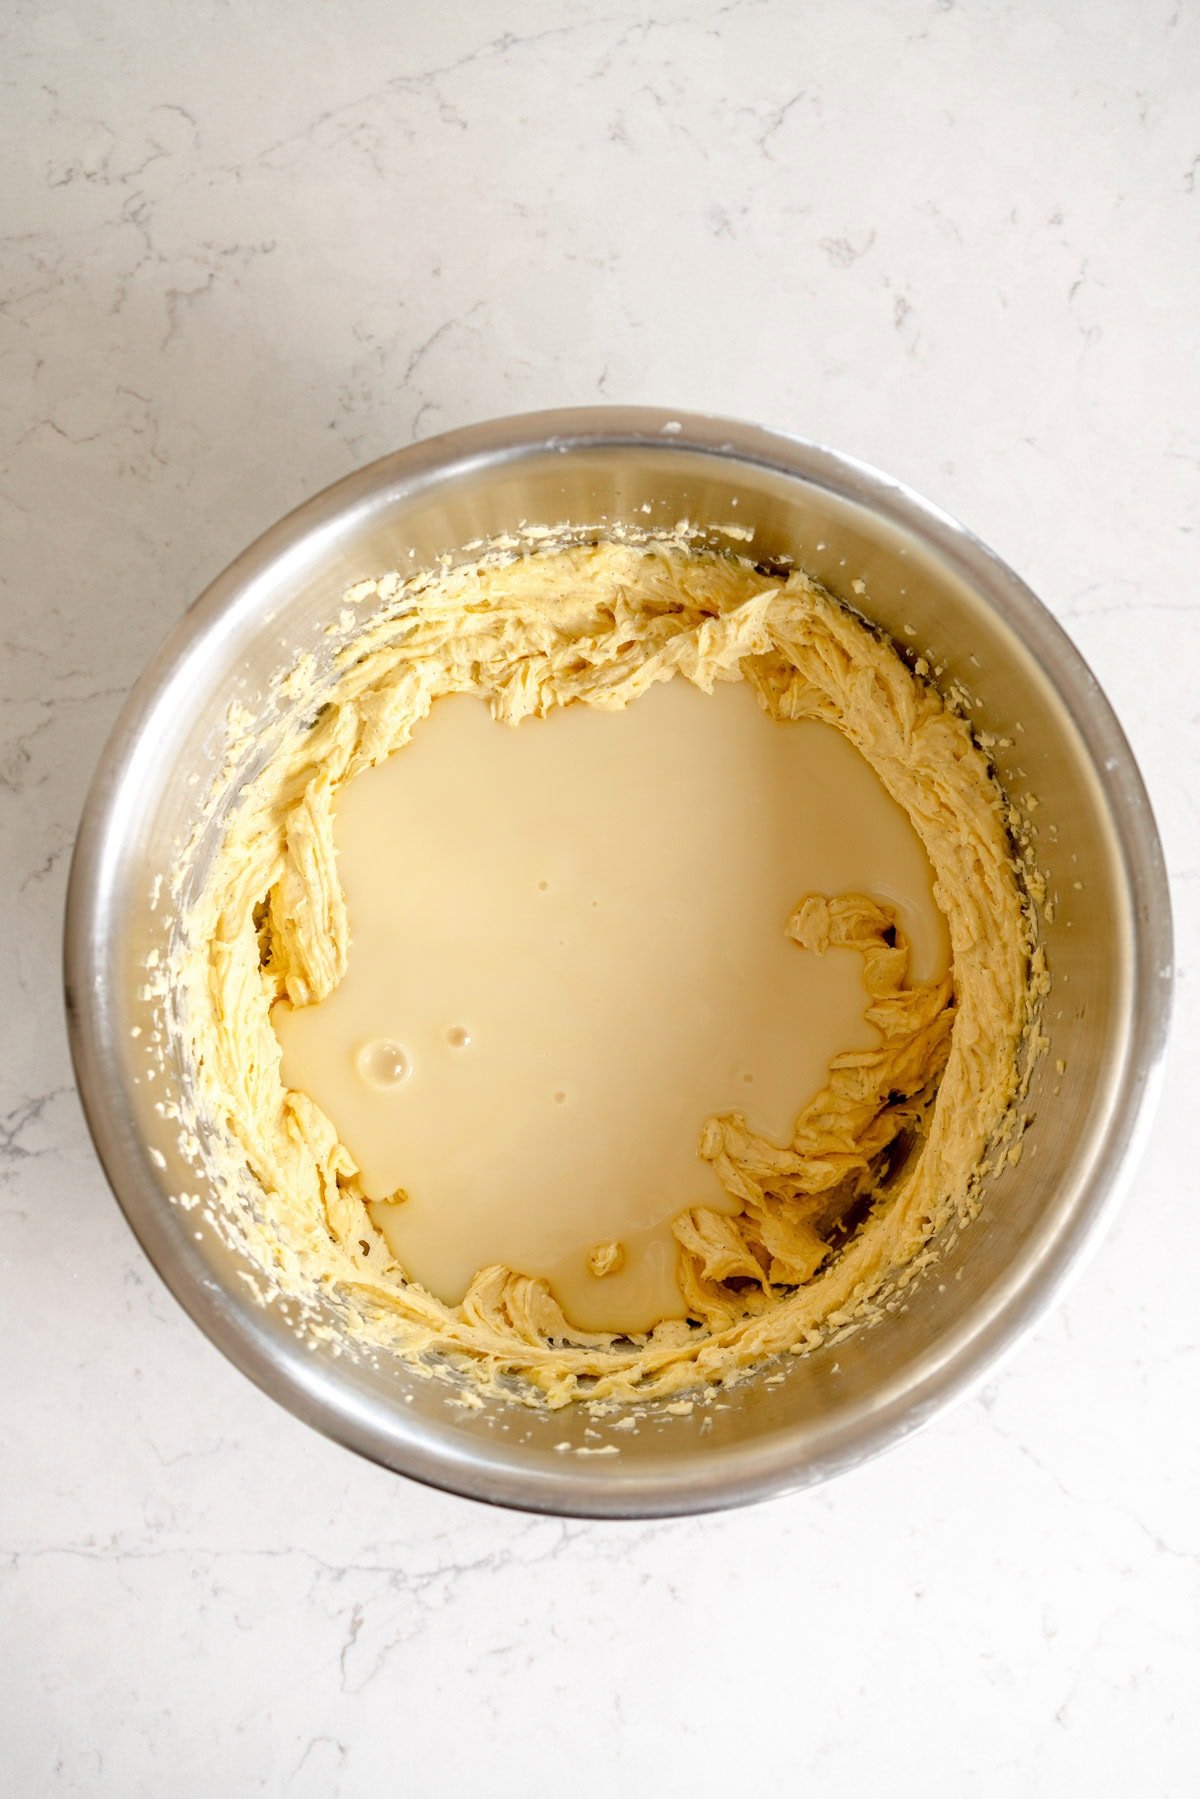
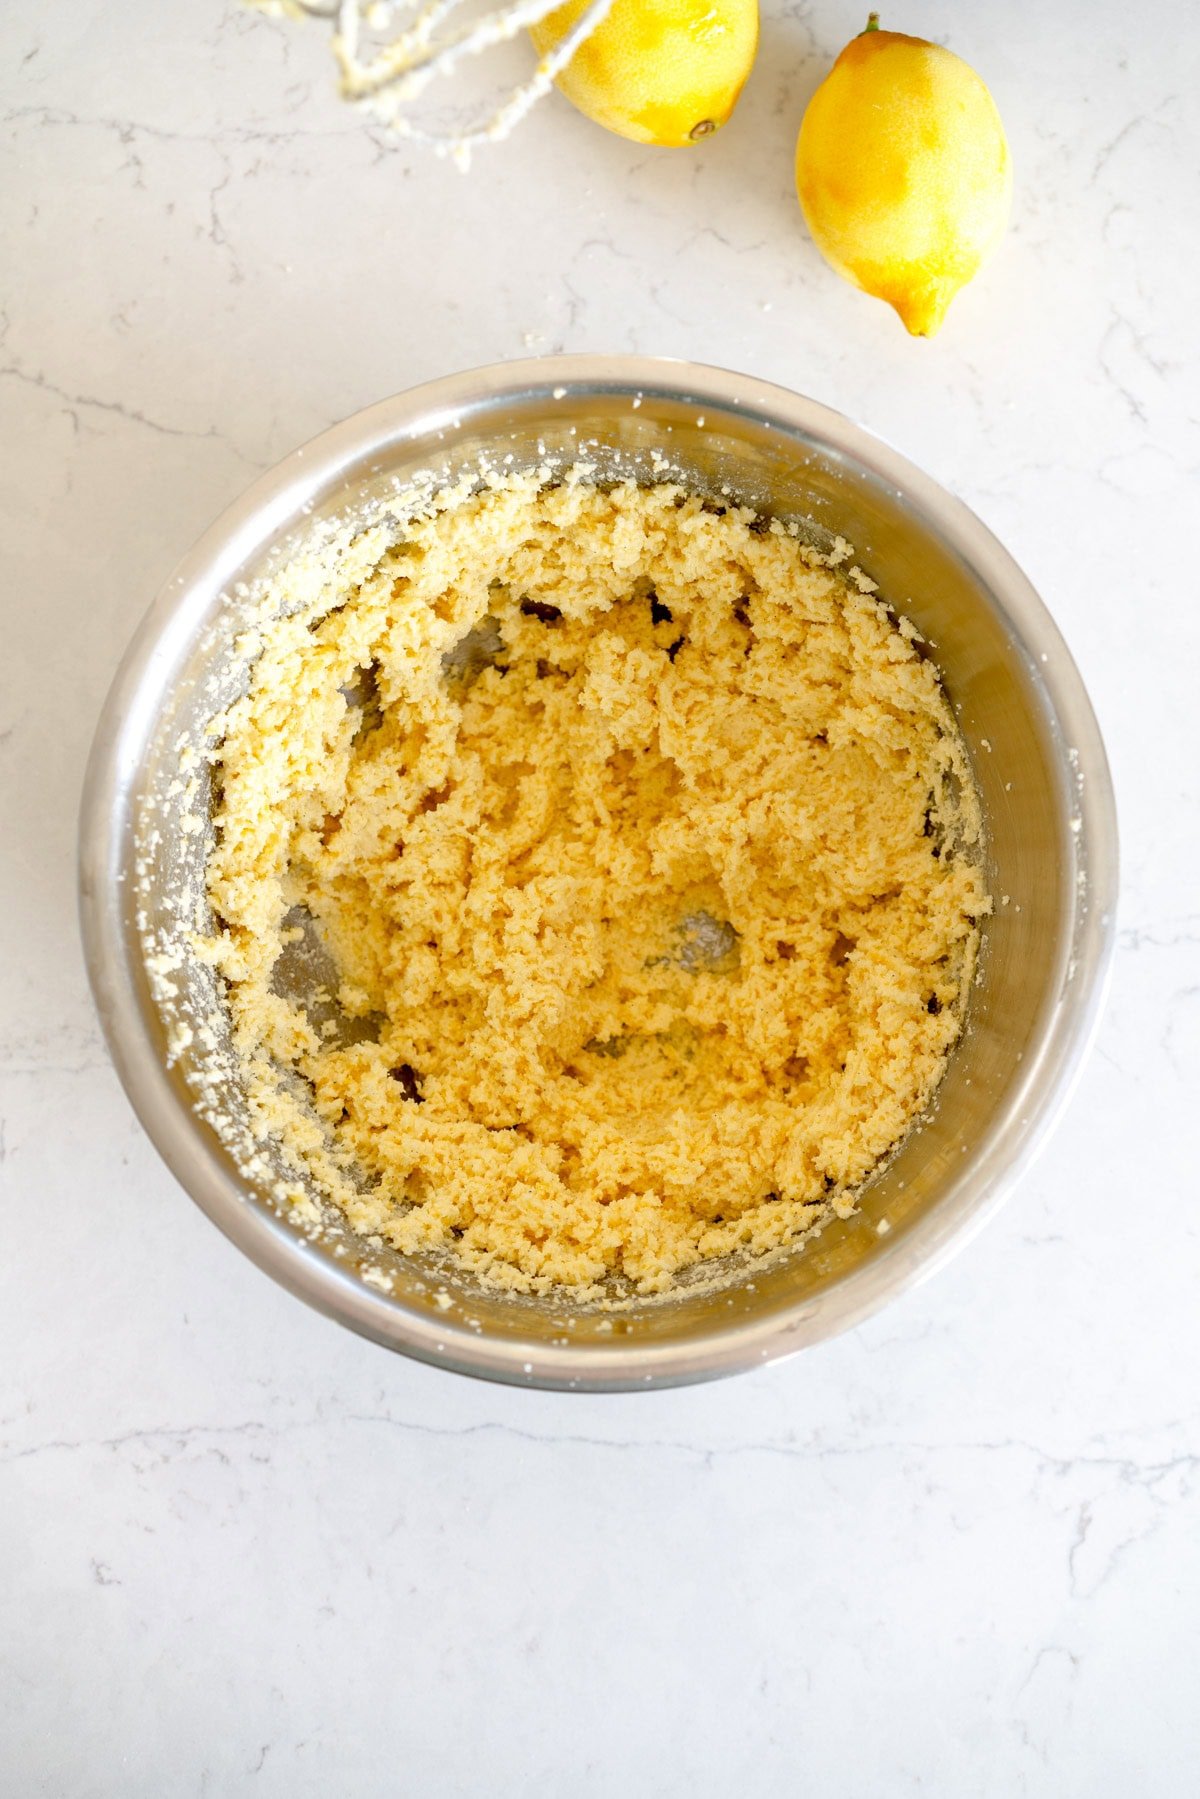
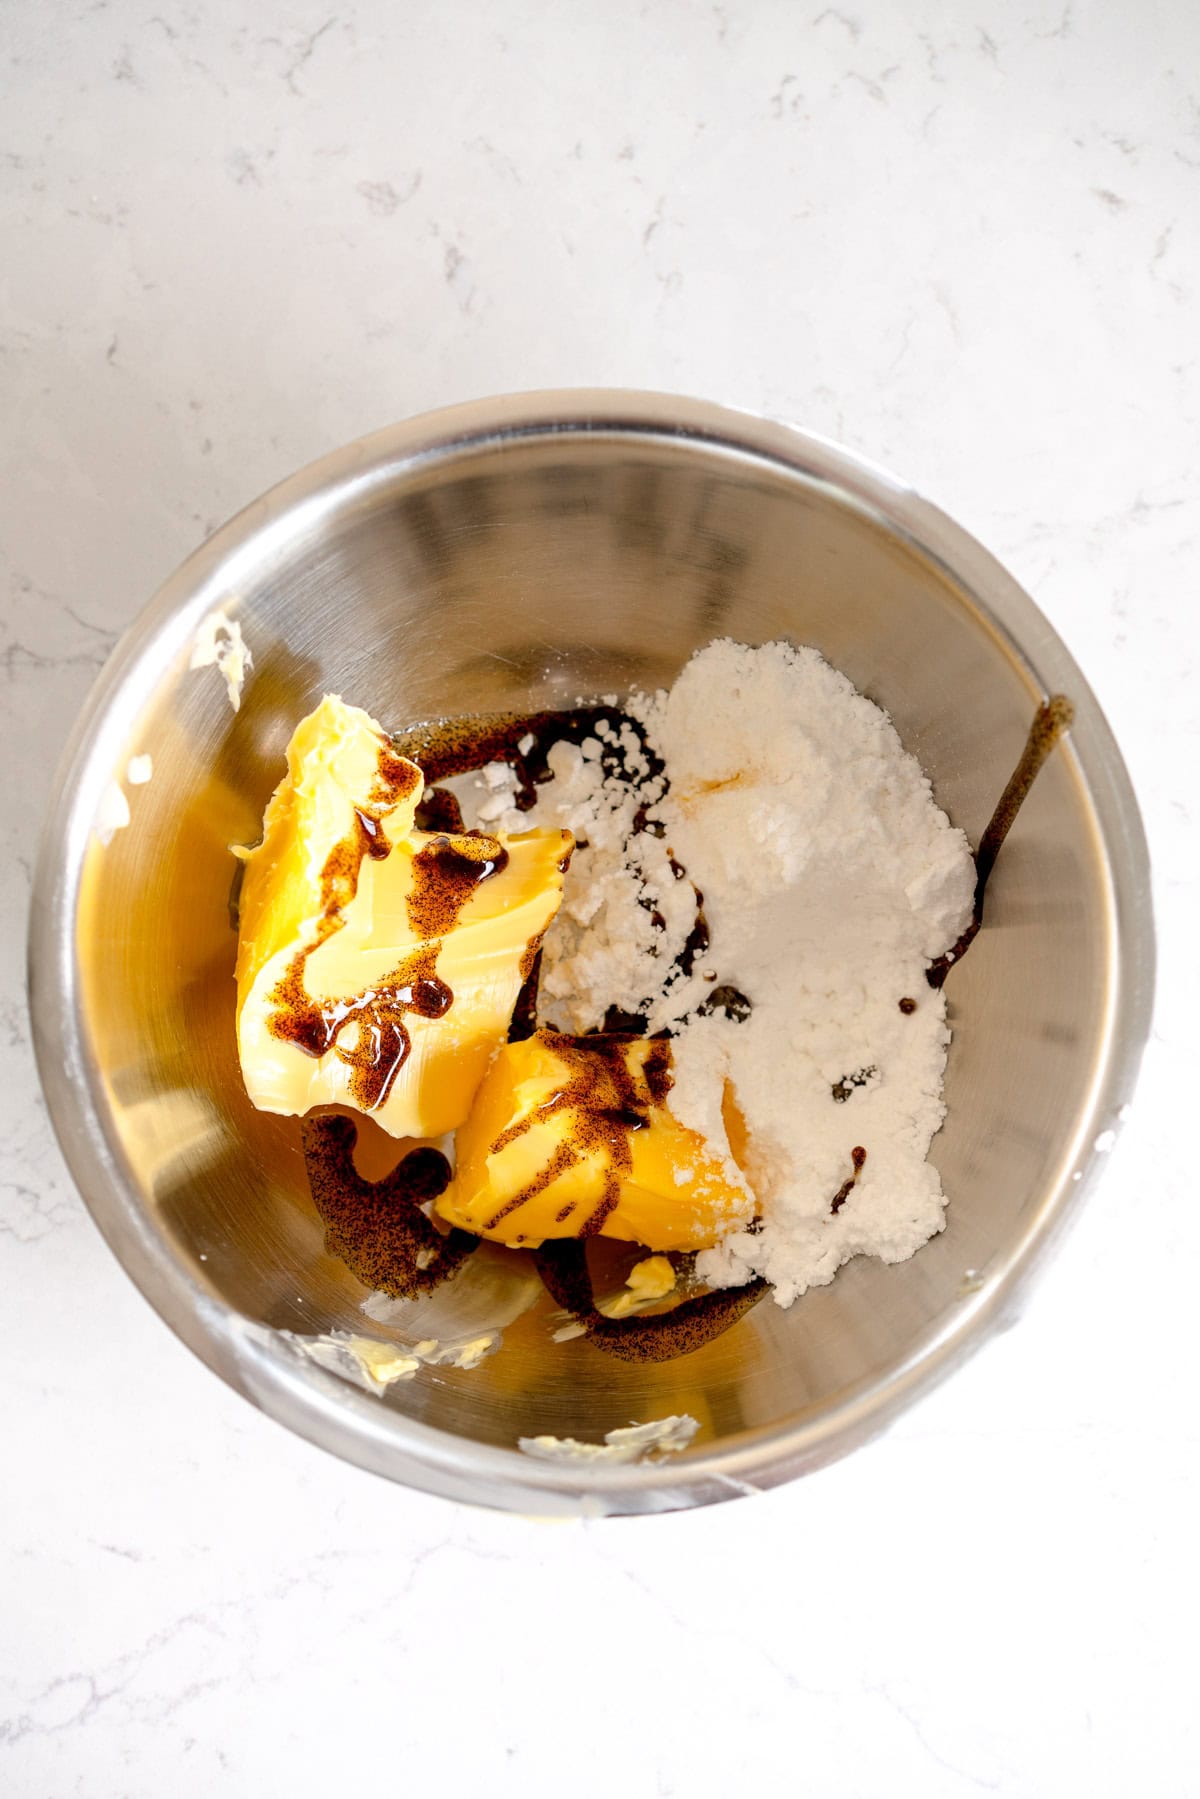
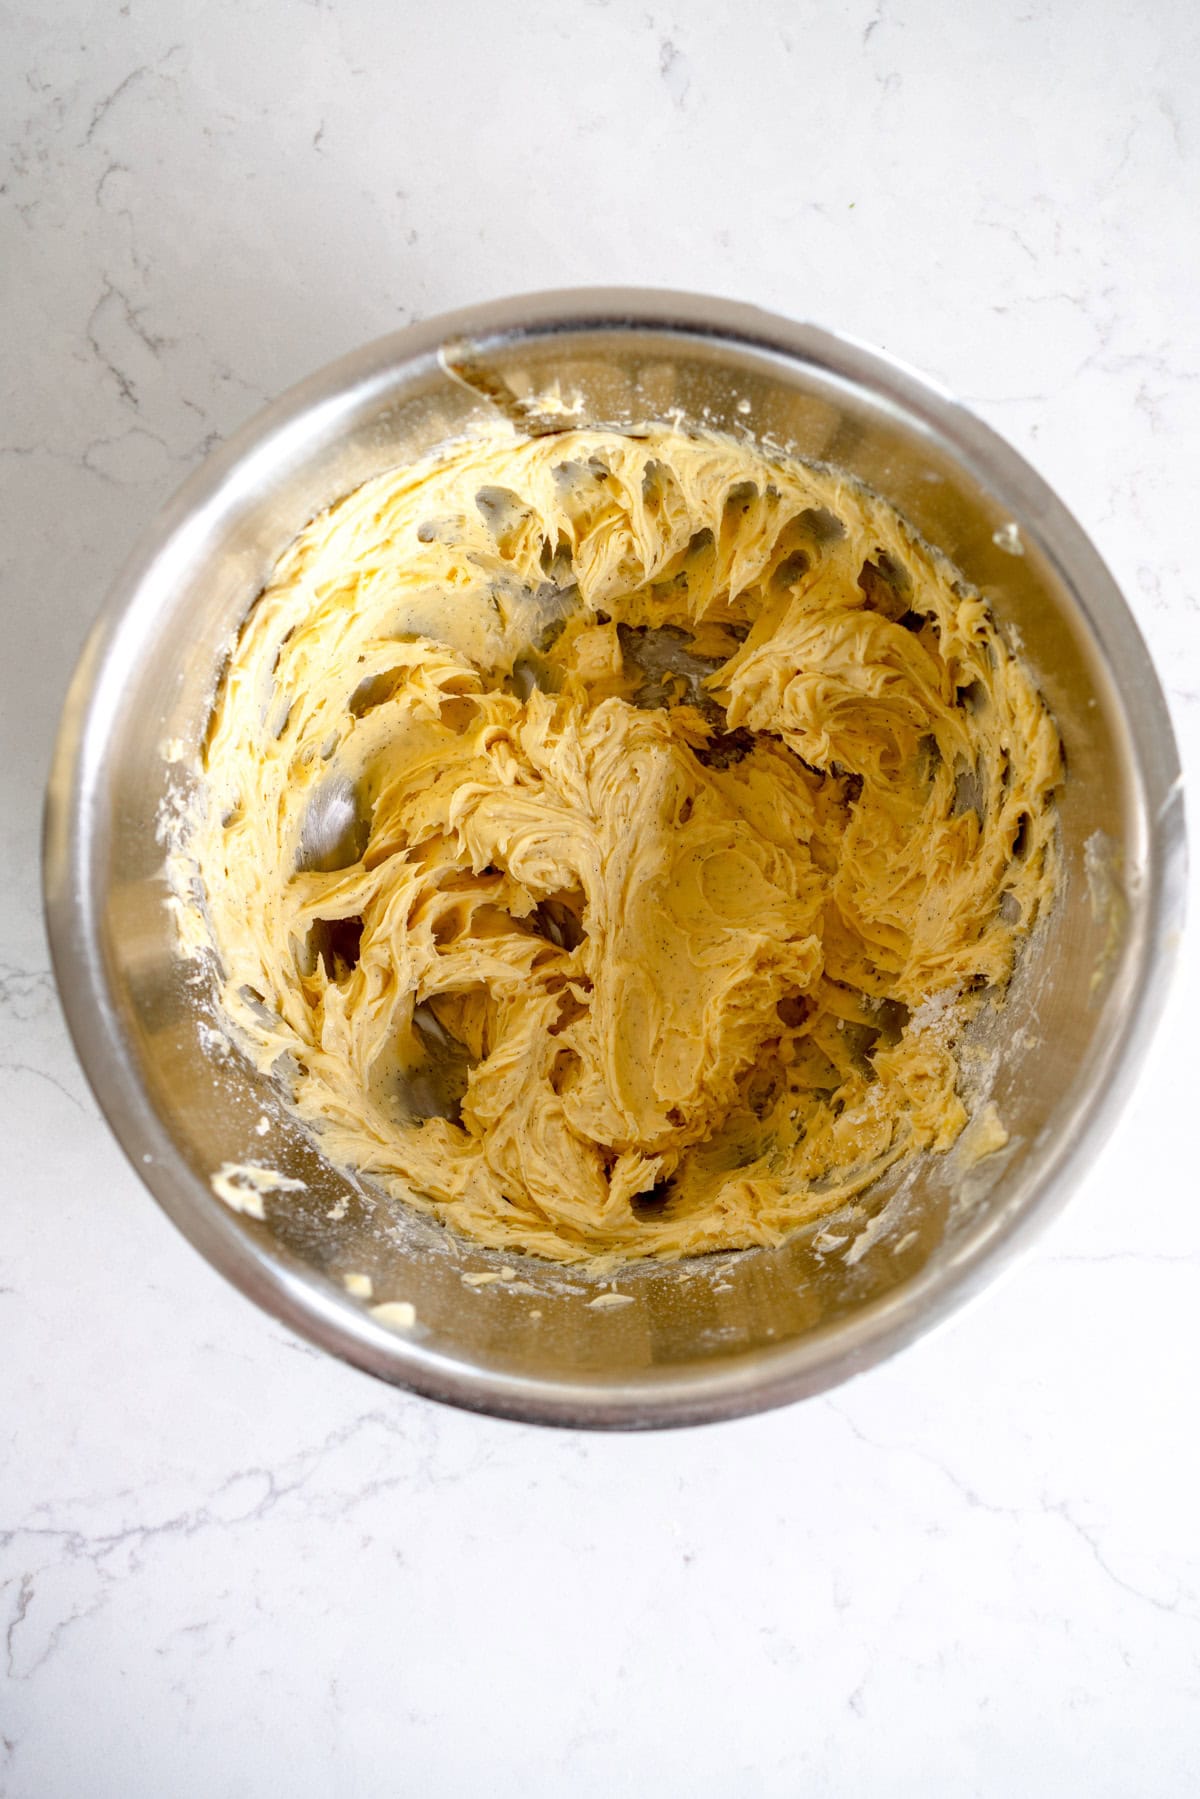
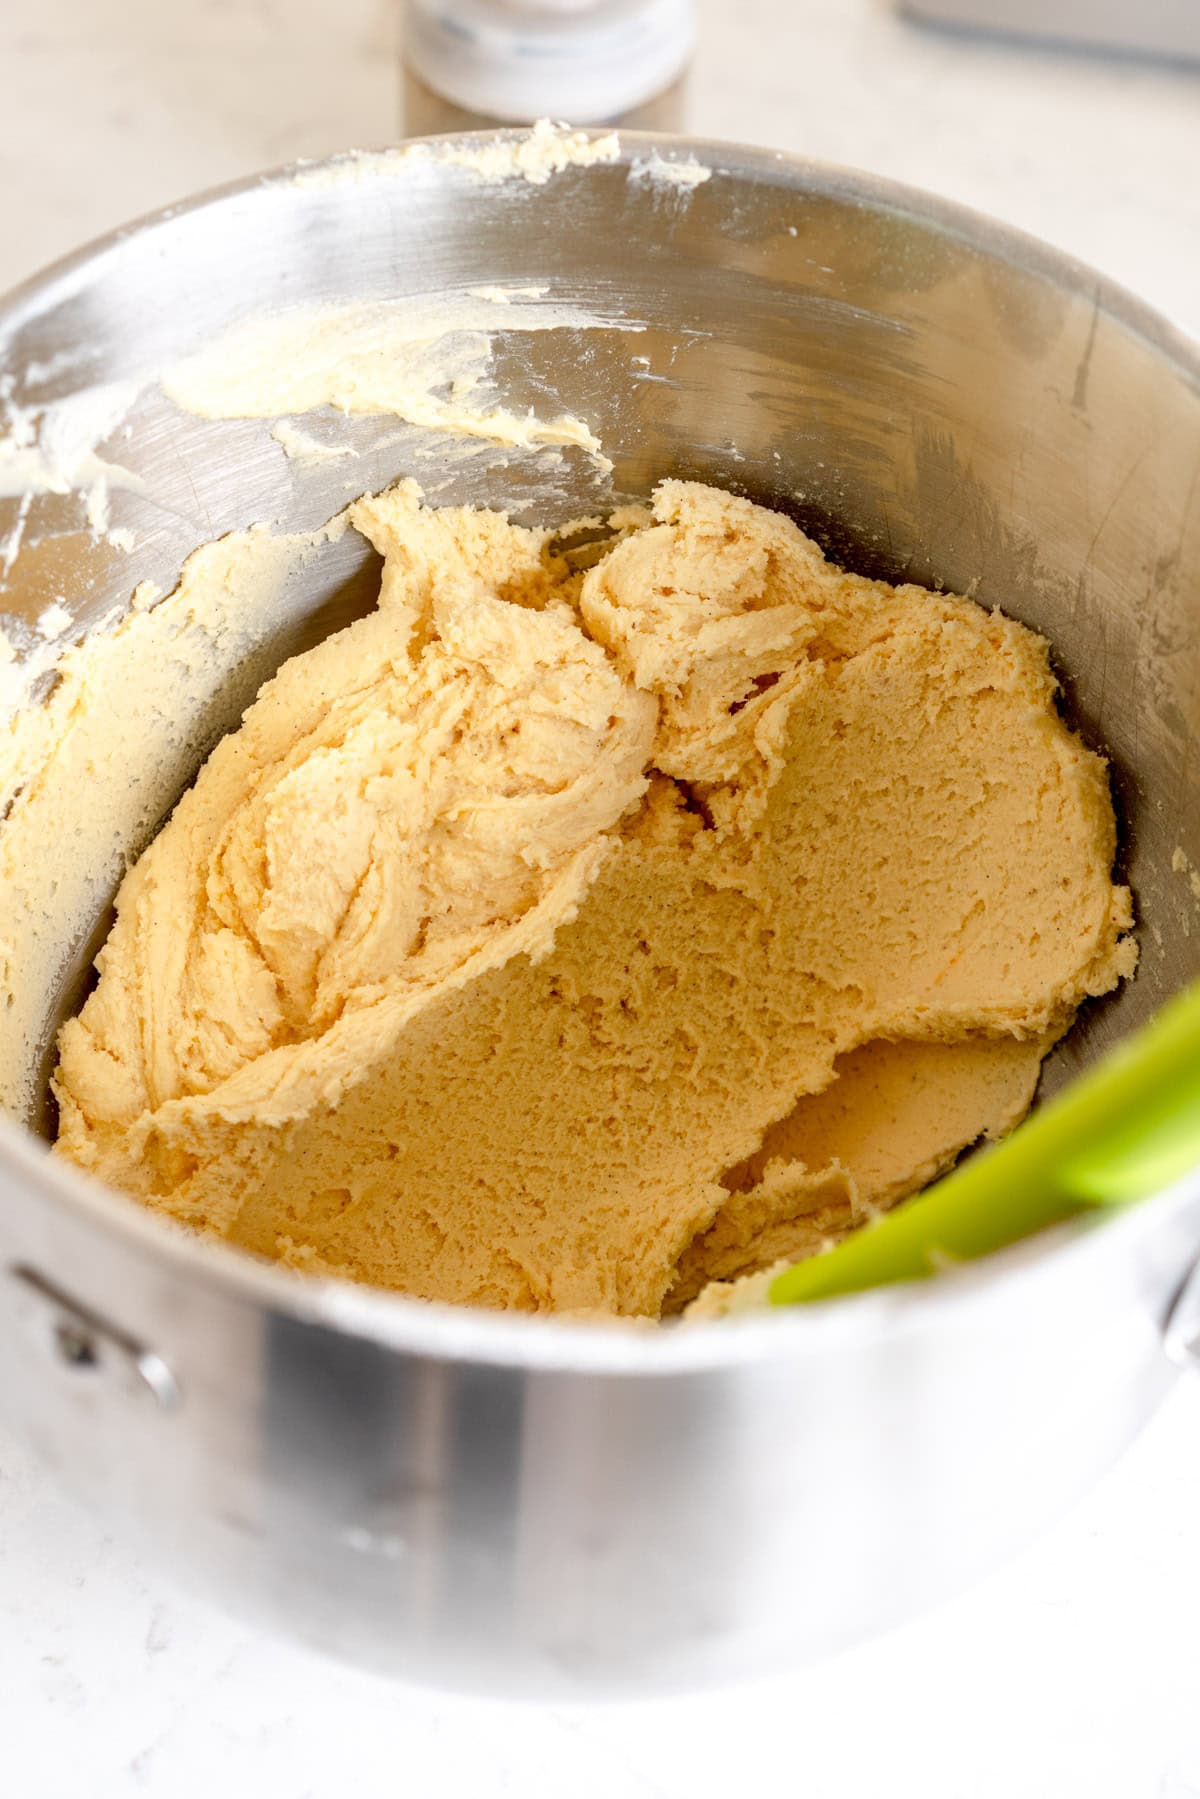
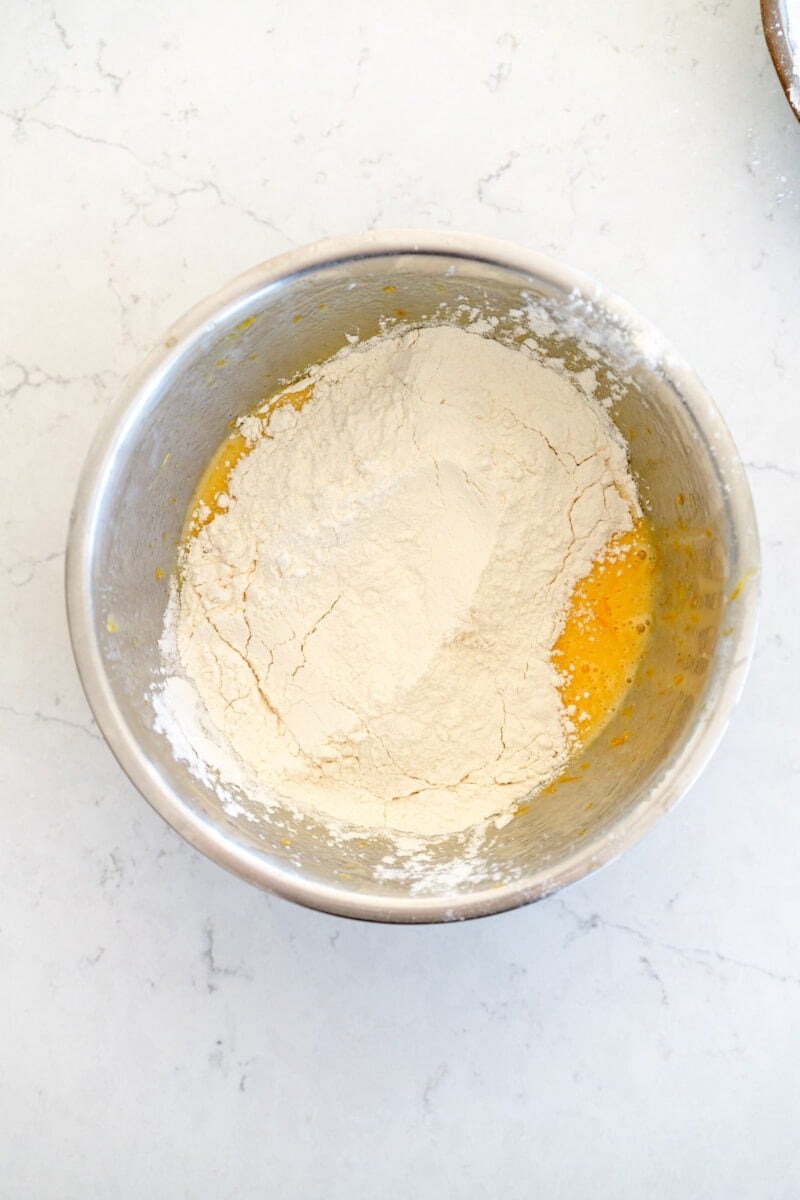
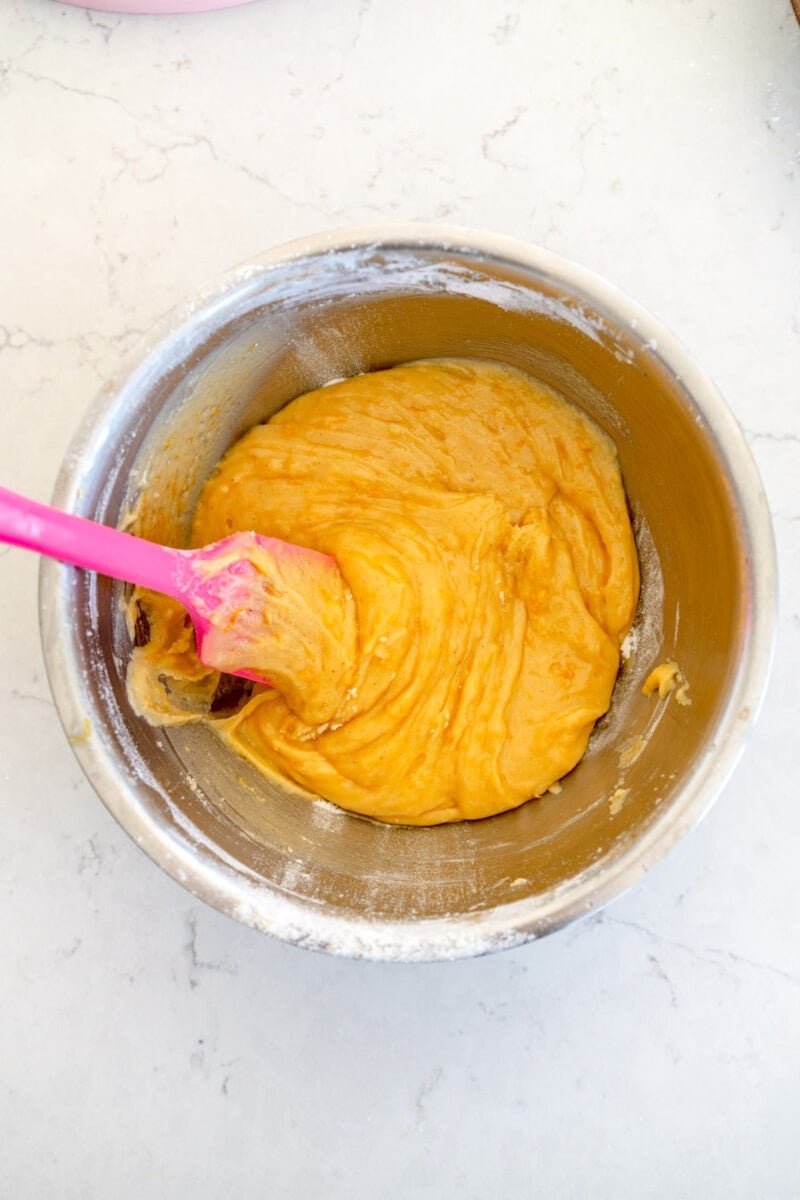
As a baking blogger, a huge part of my job is recipe testing. What has made my life significantly easier is as the years have gone by, I have developed base recipes which give me a kicking off point. Sometimes these work and sometimes I end up re testing the recipe 15 times, but my forever brownie recipe is a solid one and one that I know can stand up to tweaking. Here is how I took my classic brownie and made it into Oreo brownies:
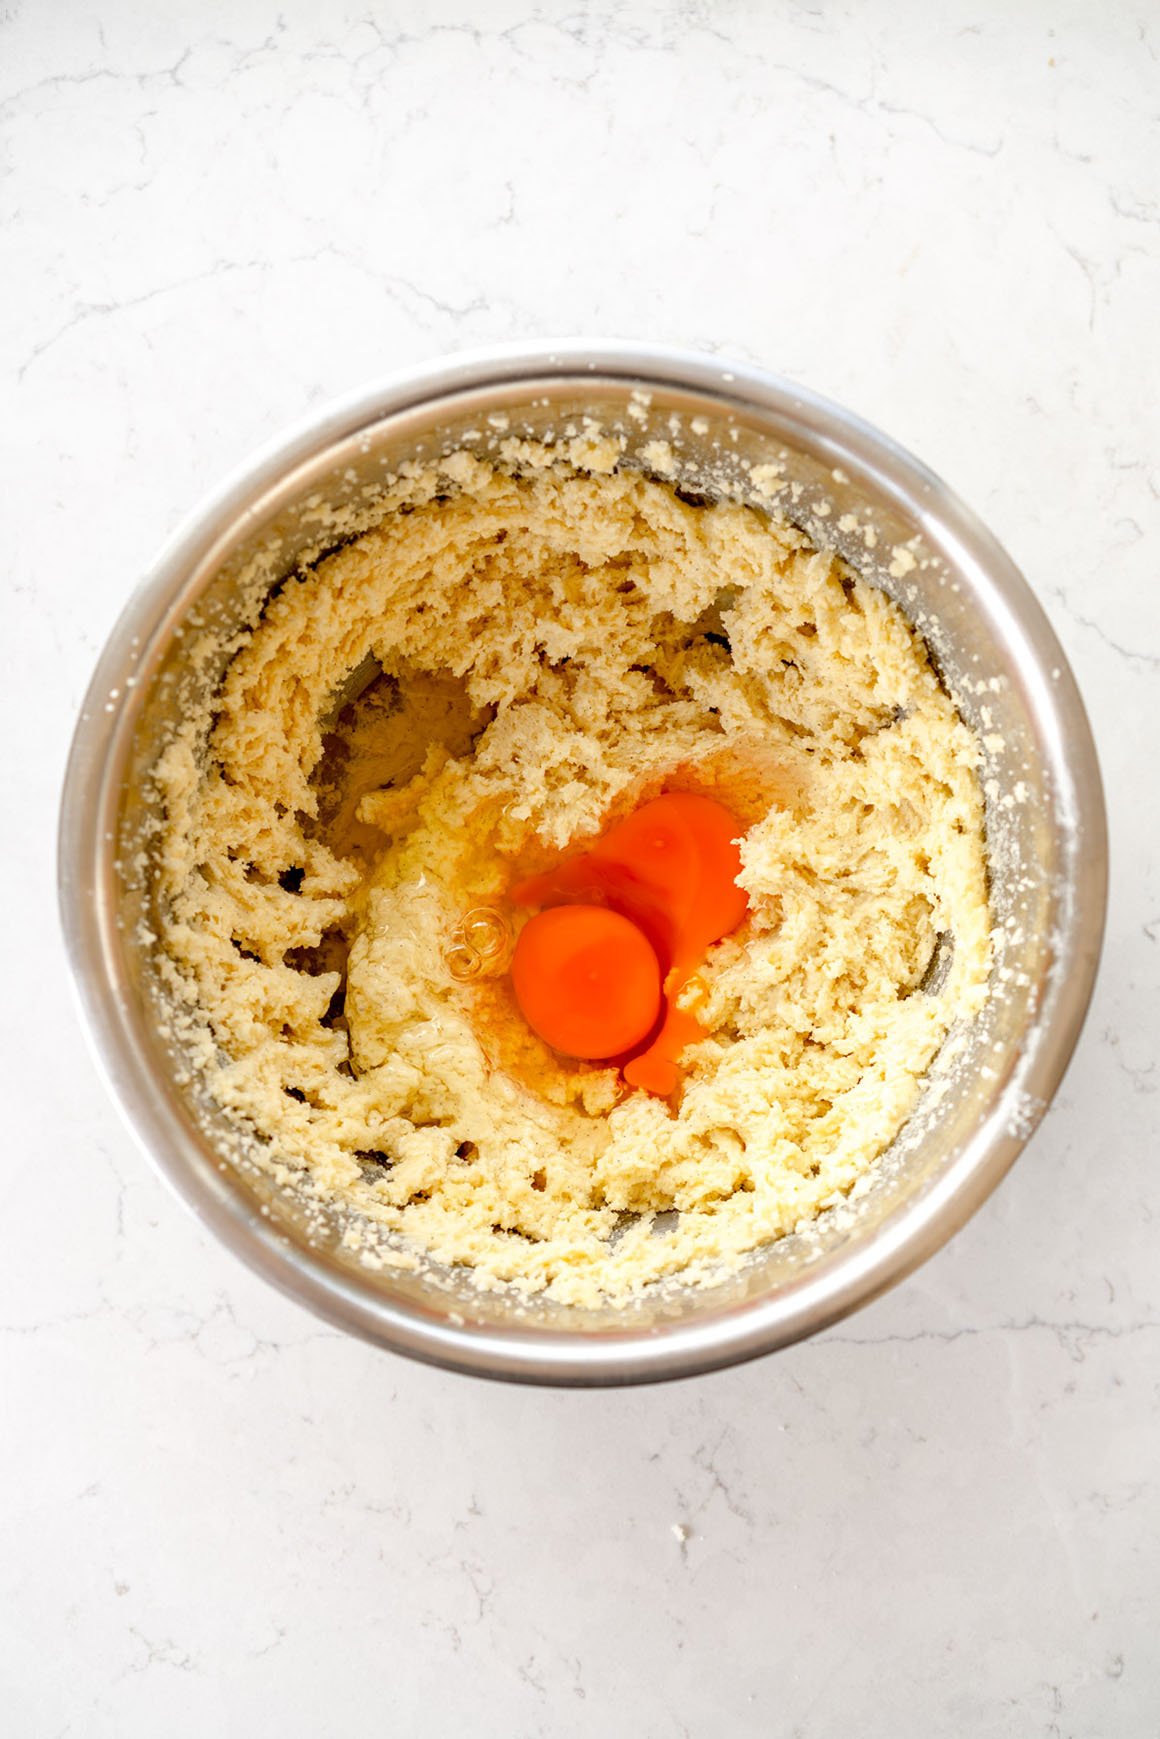
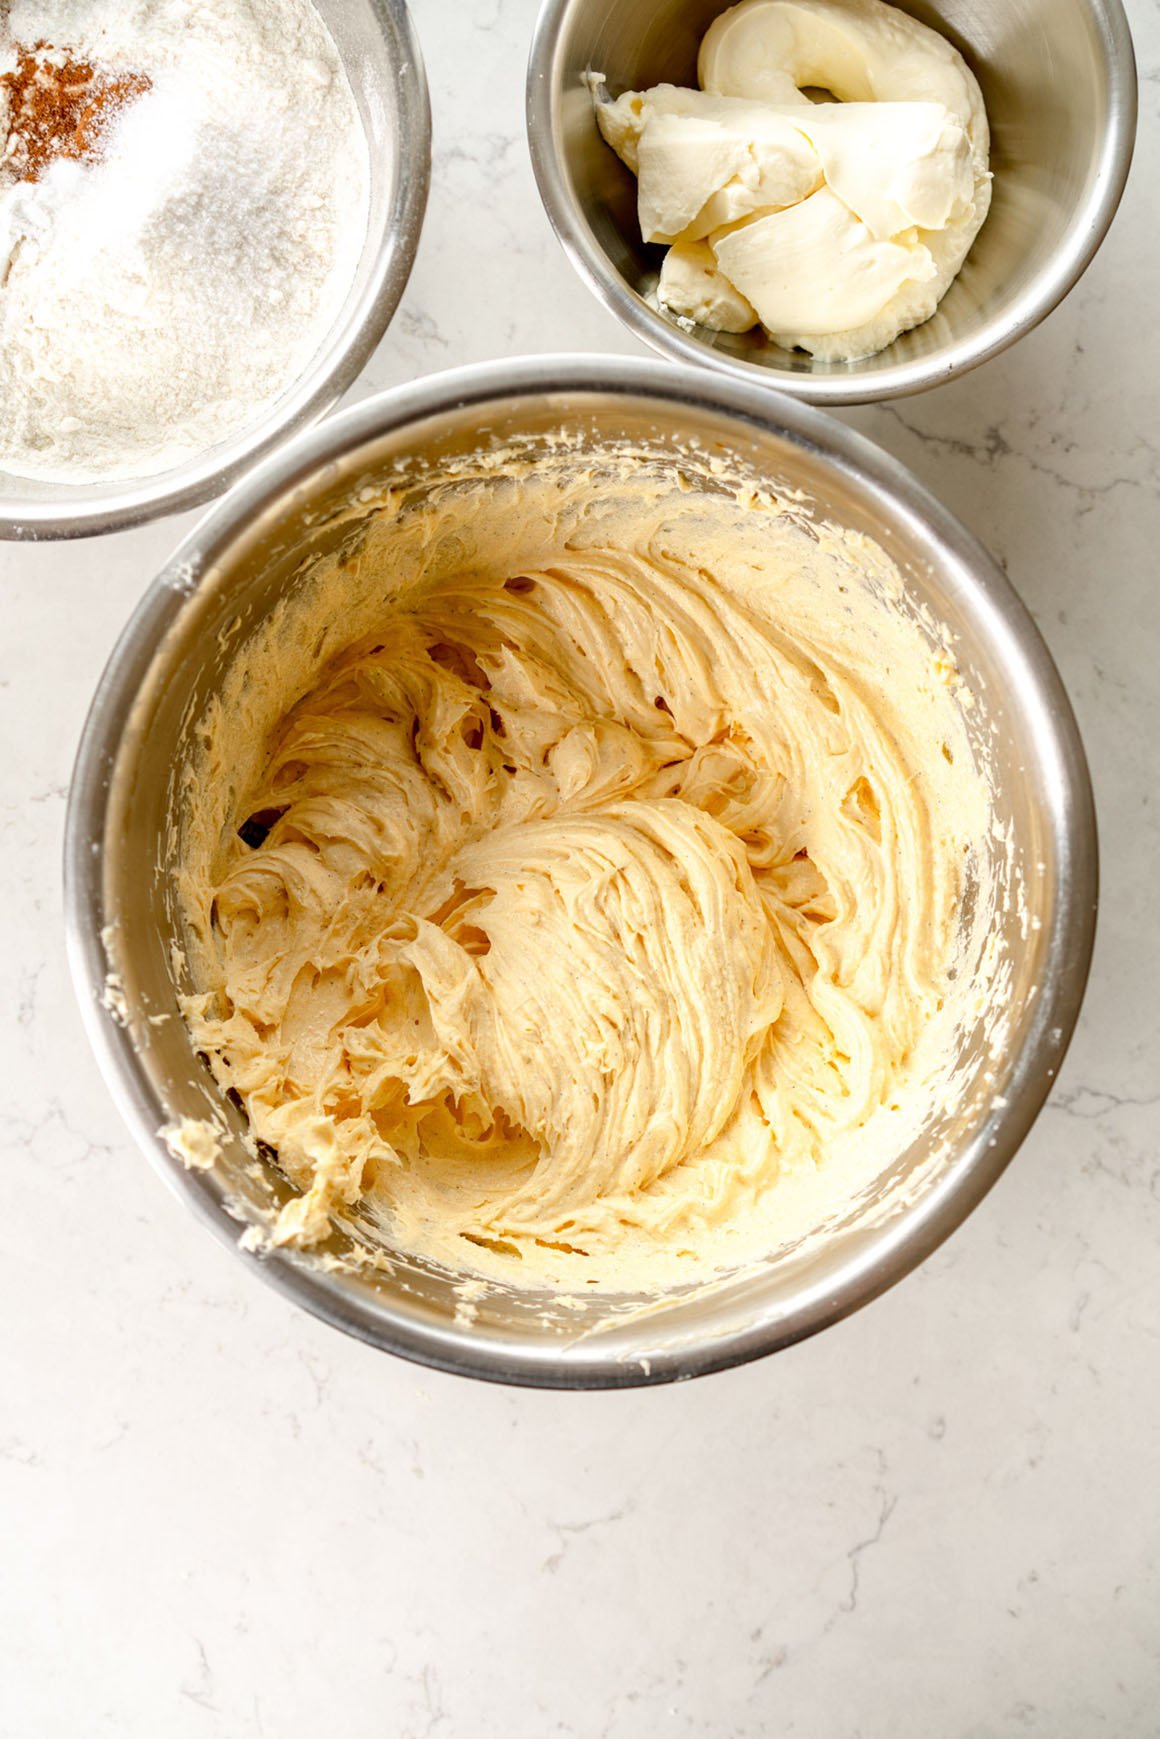
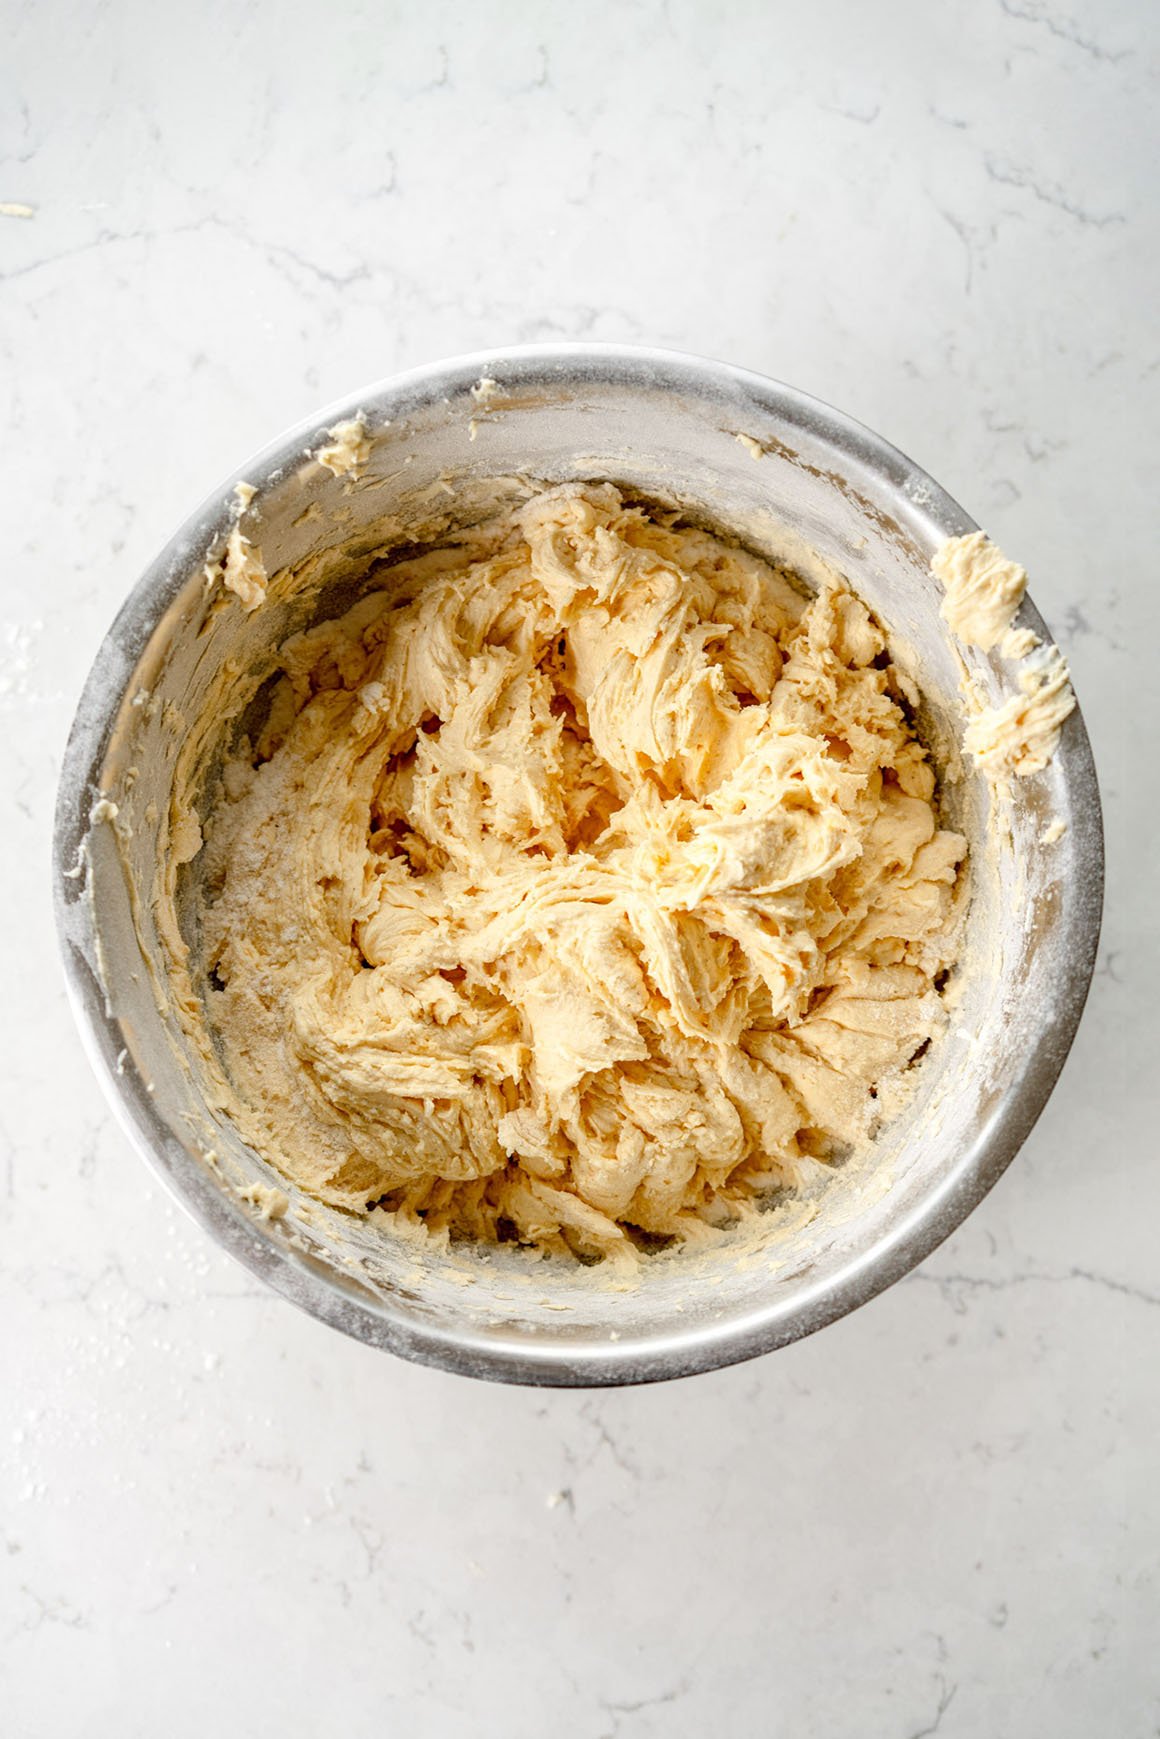
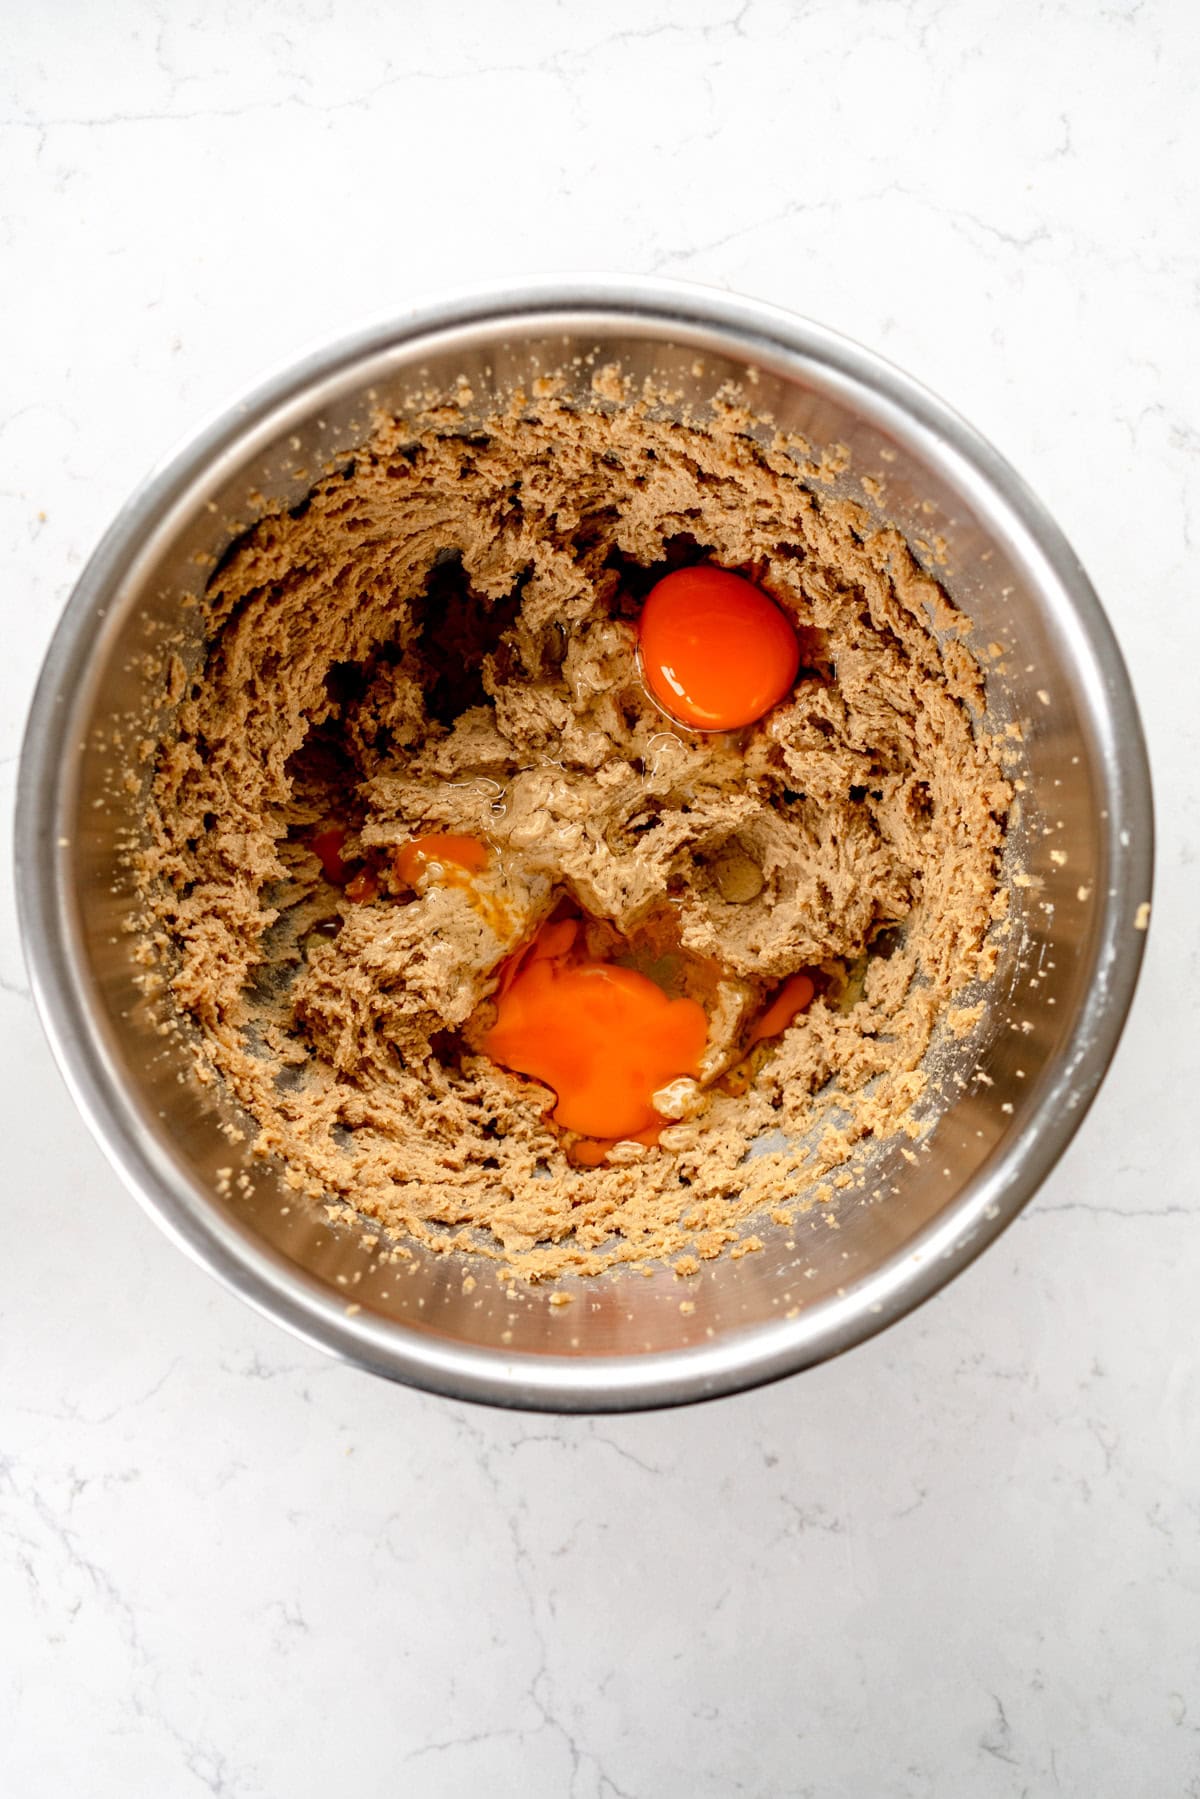
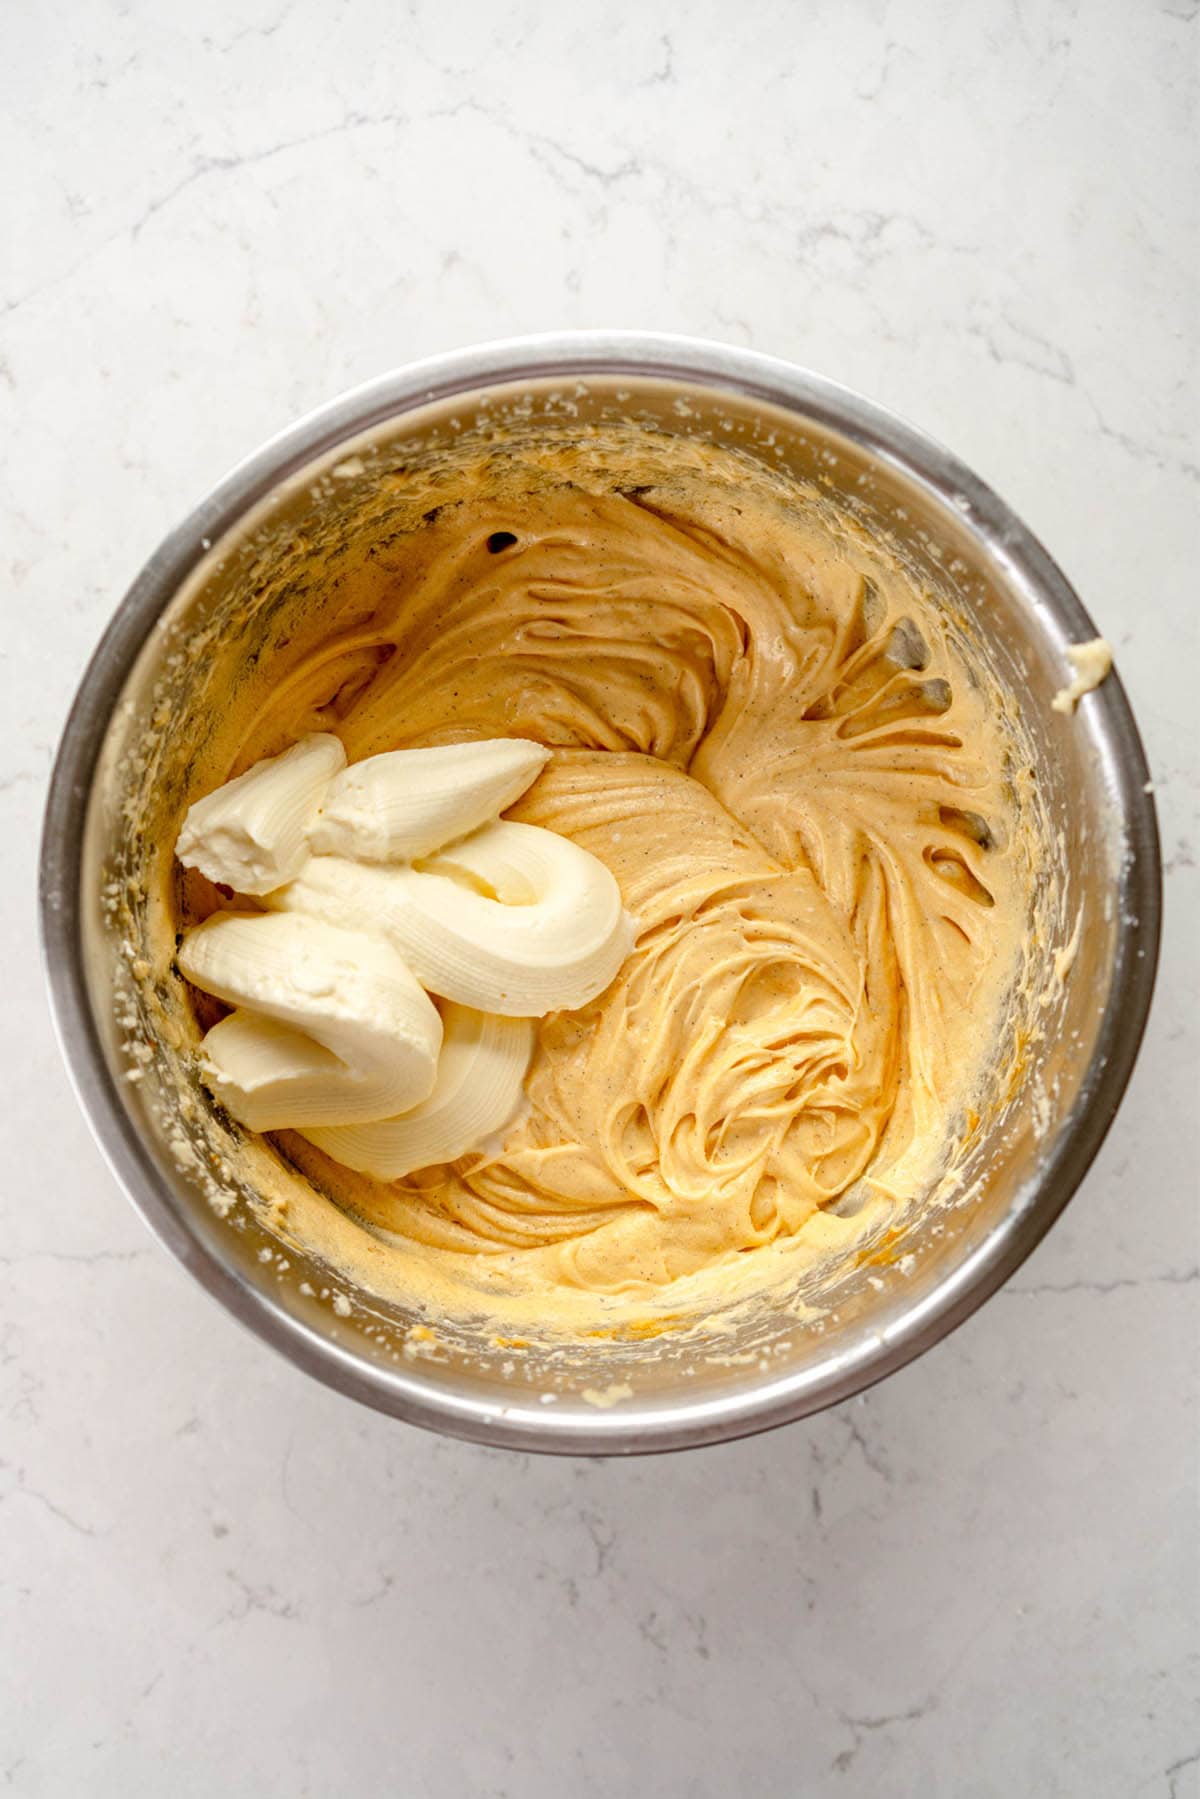
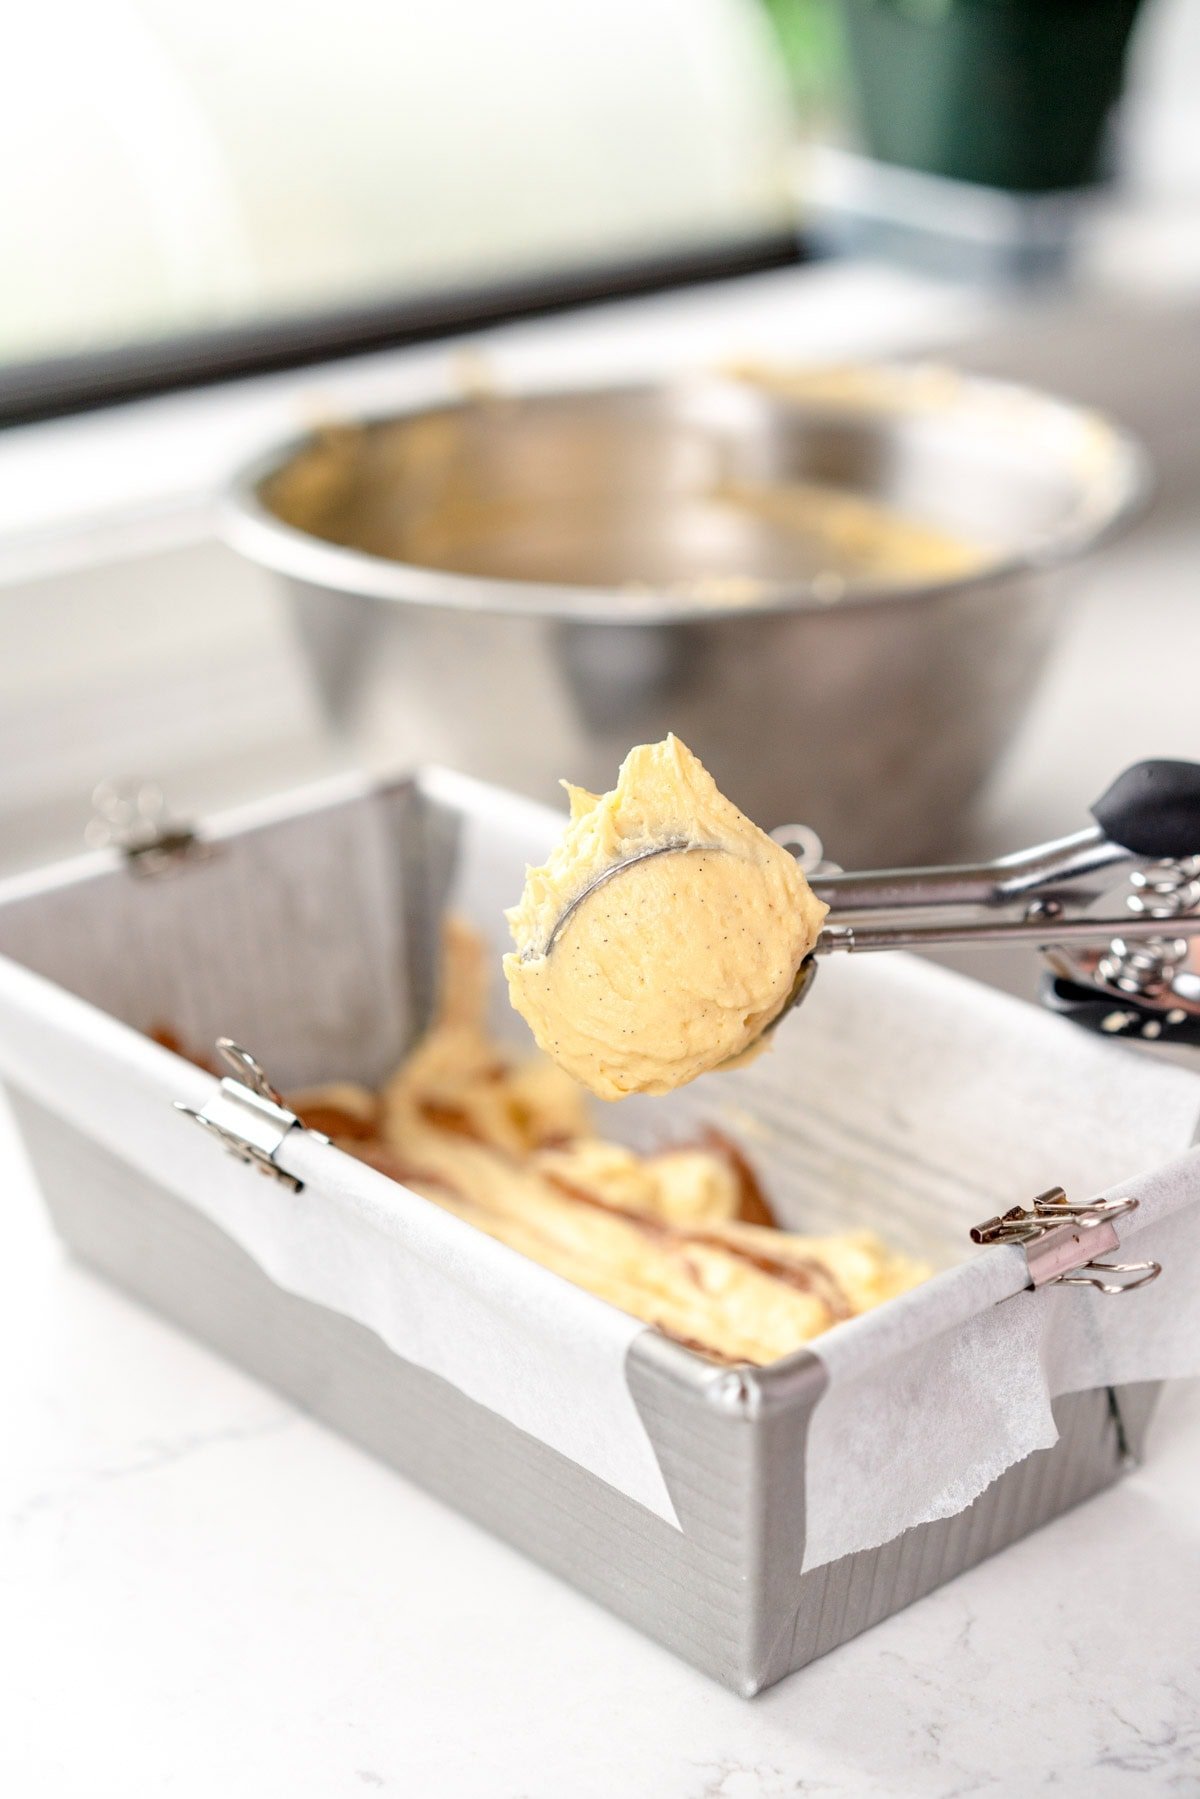
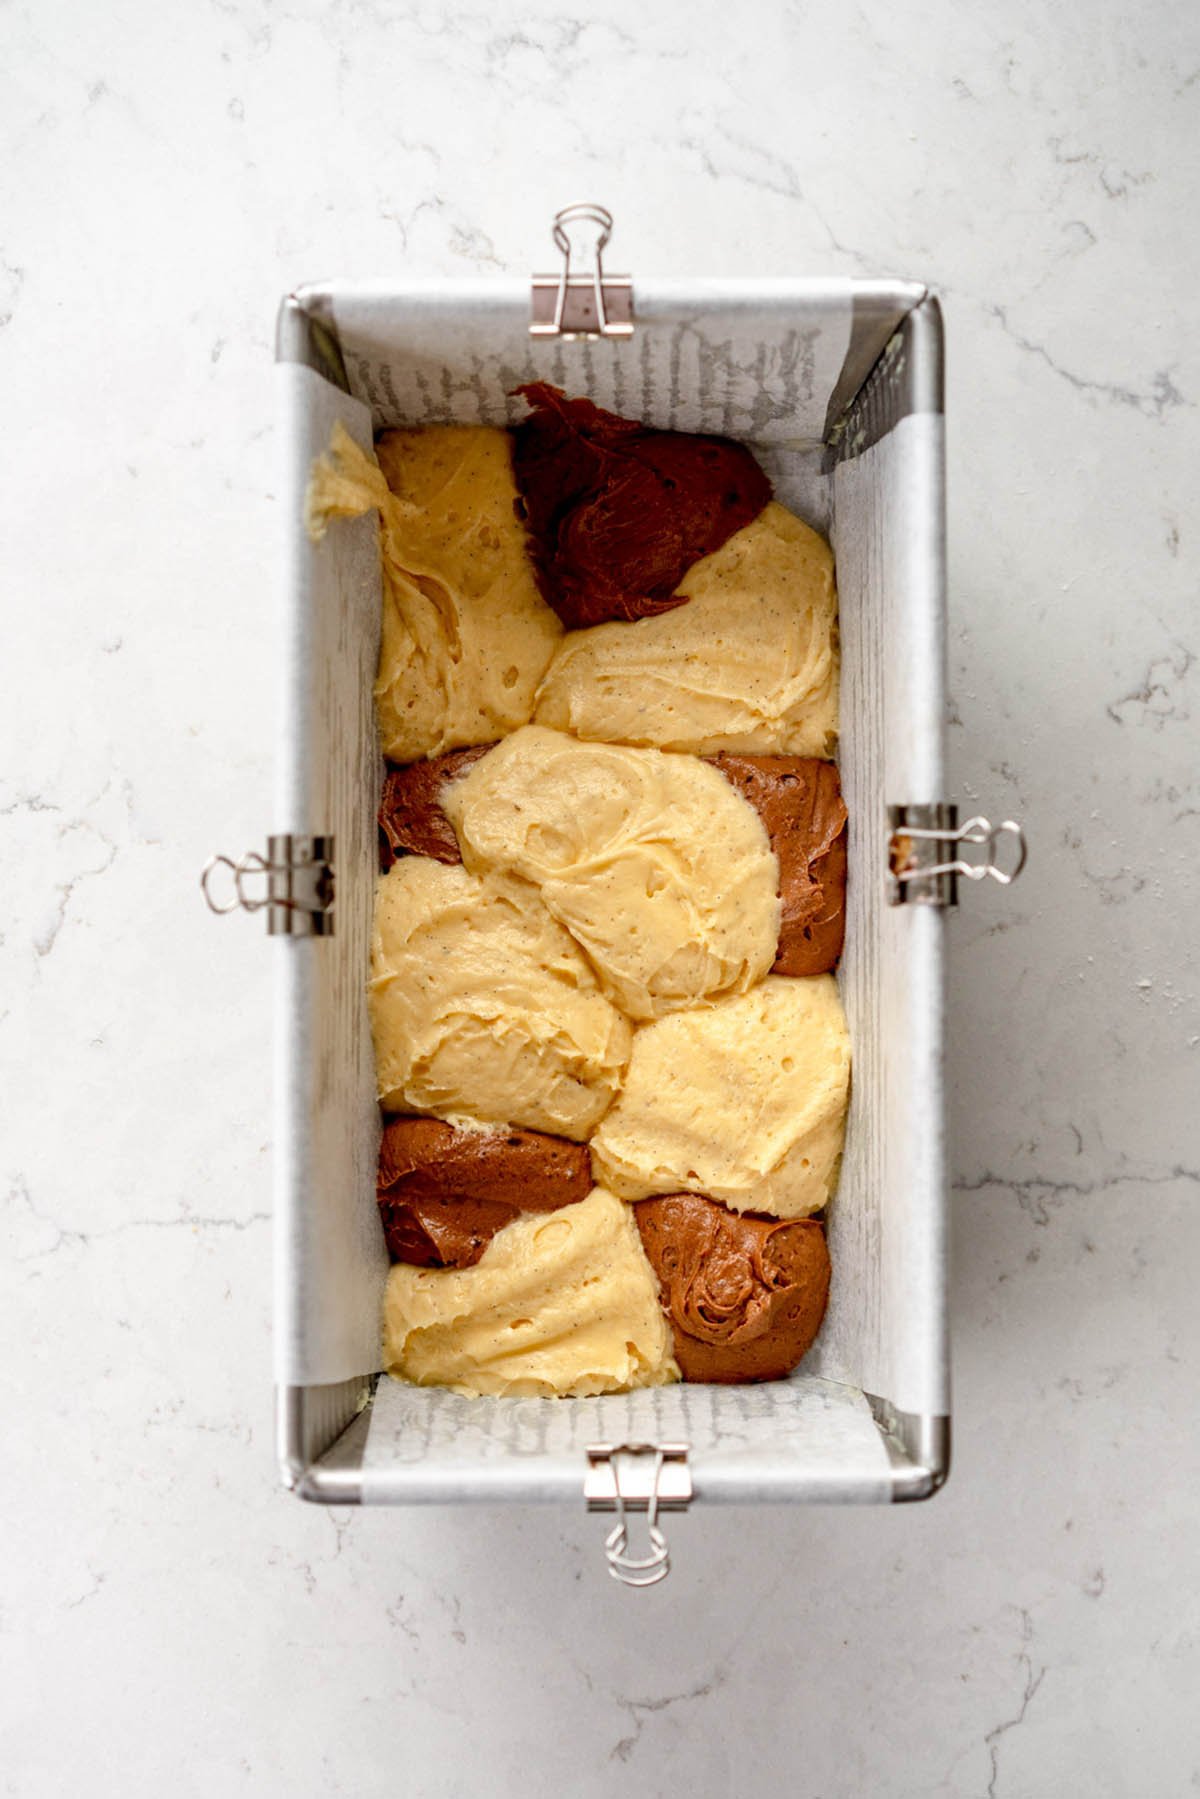
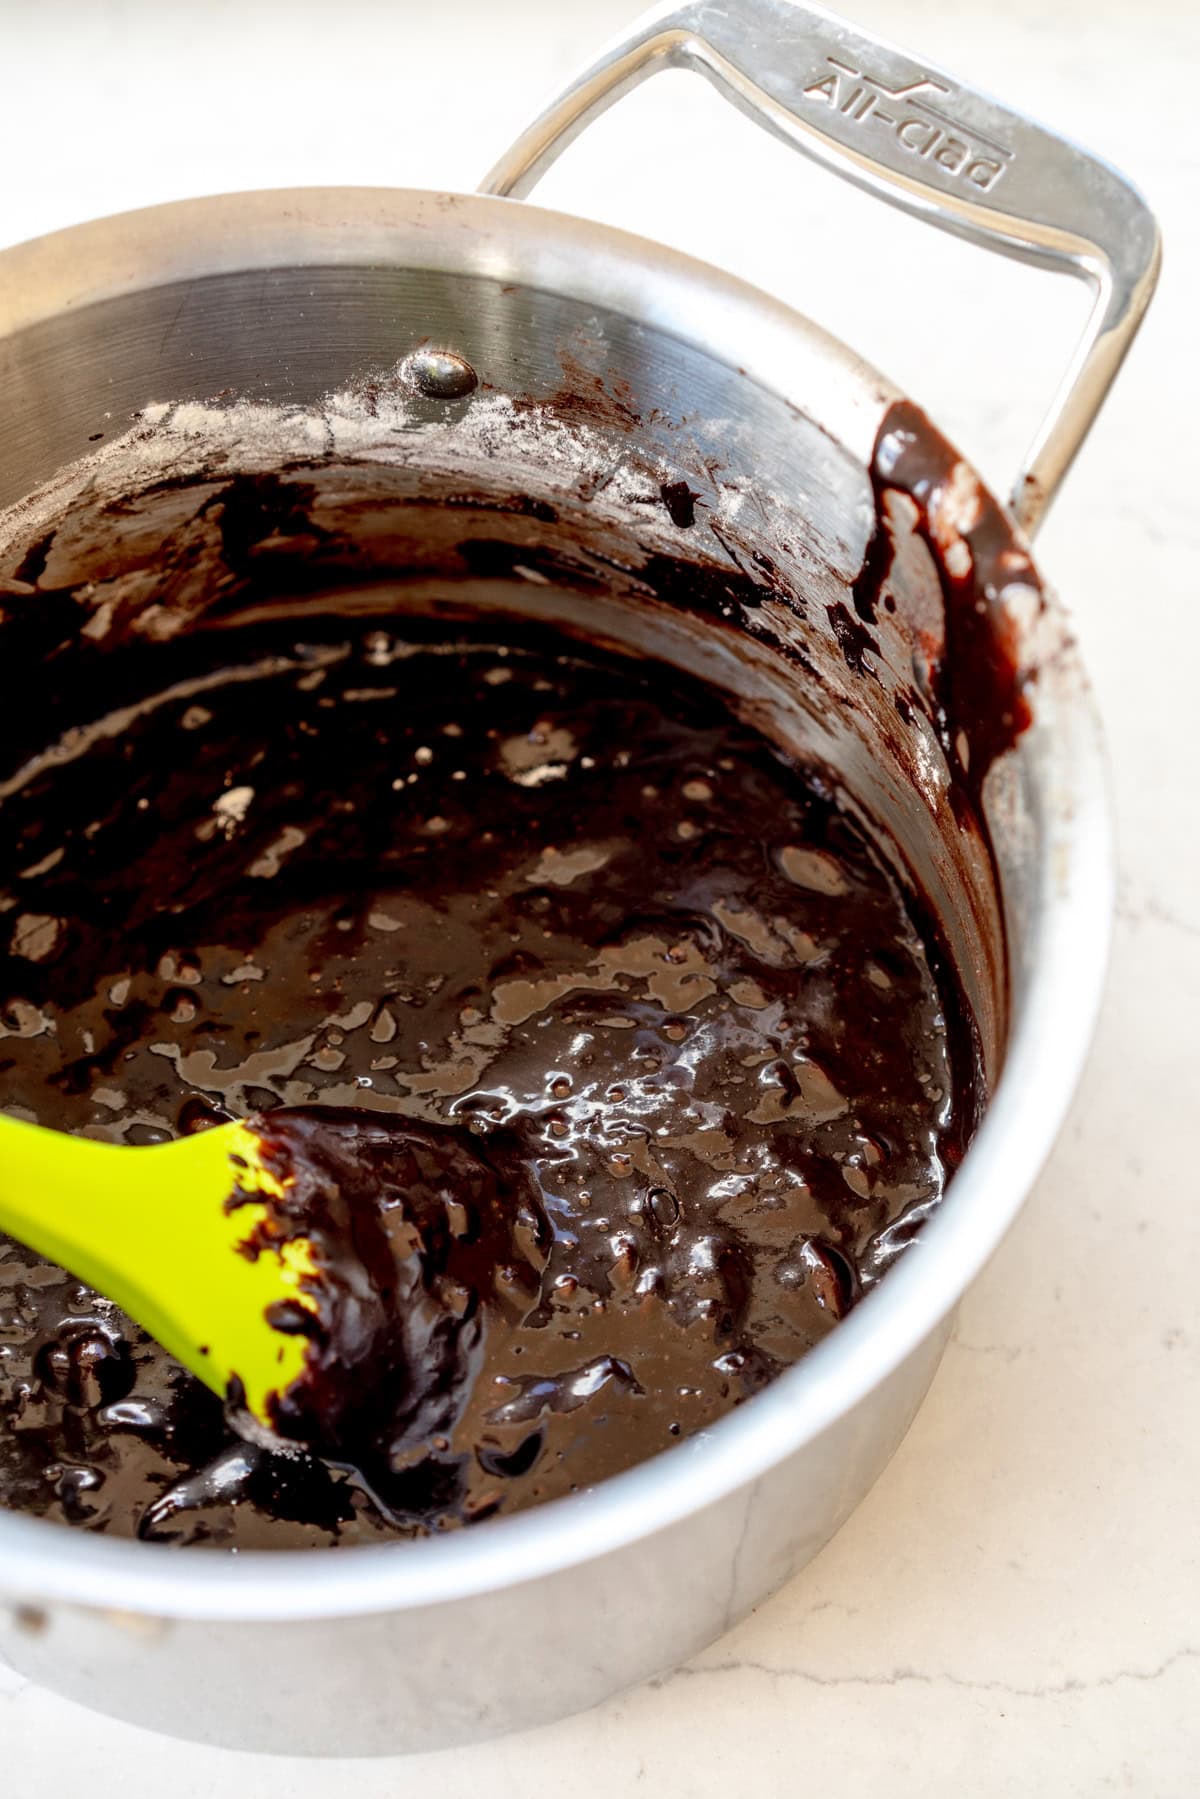
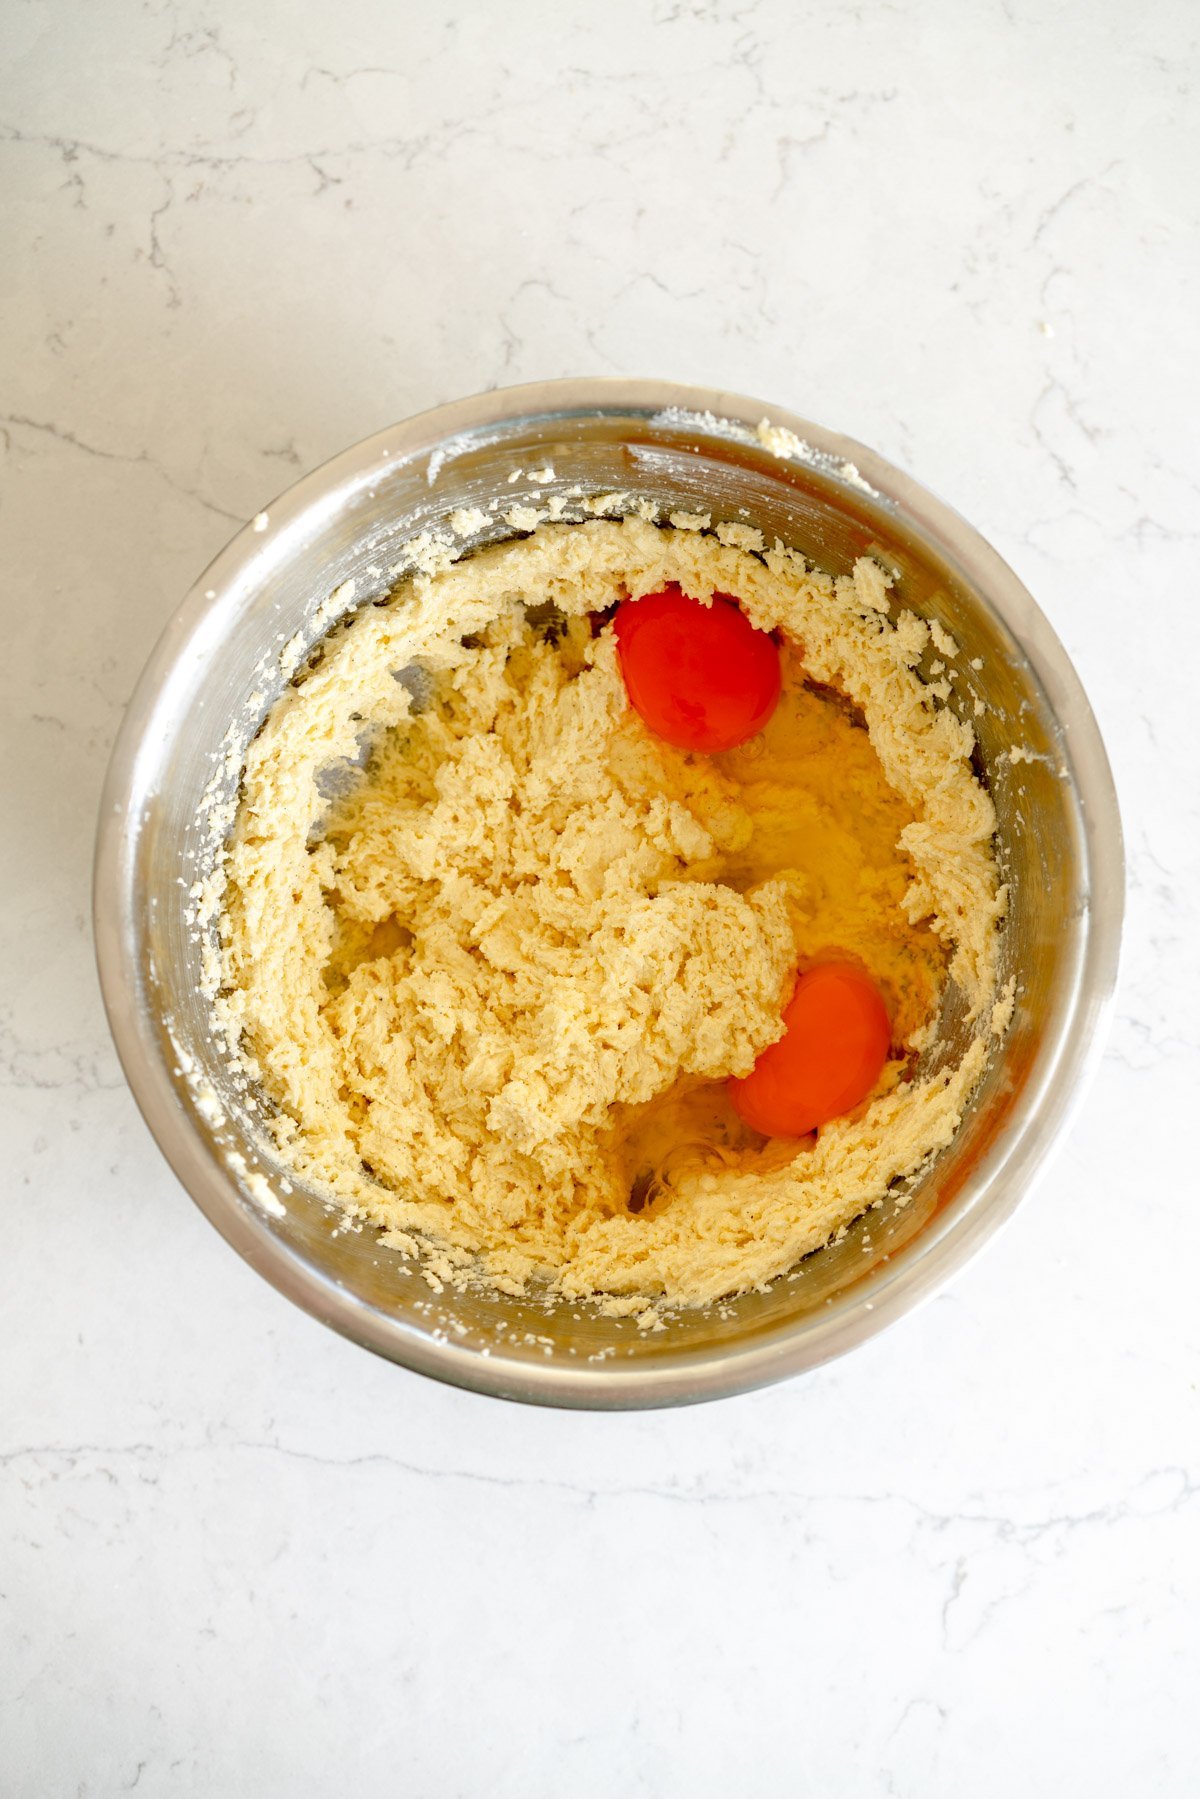
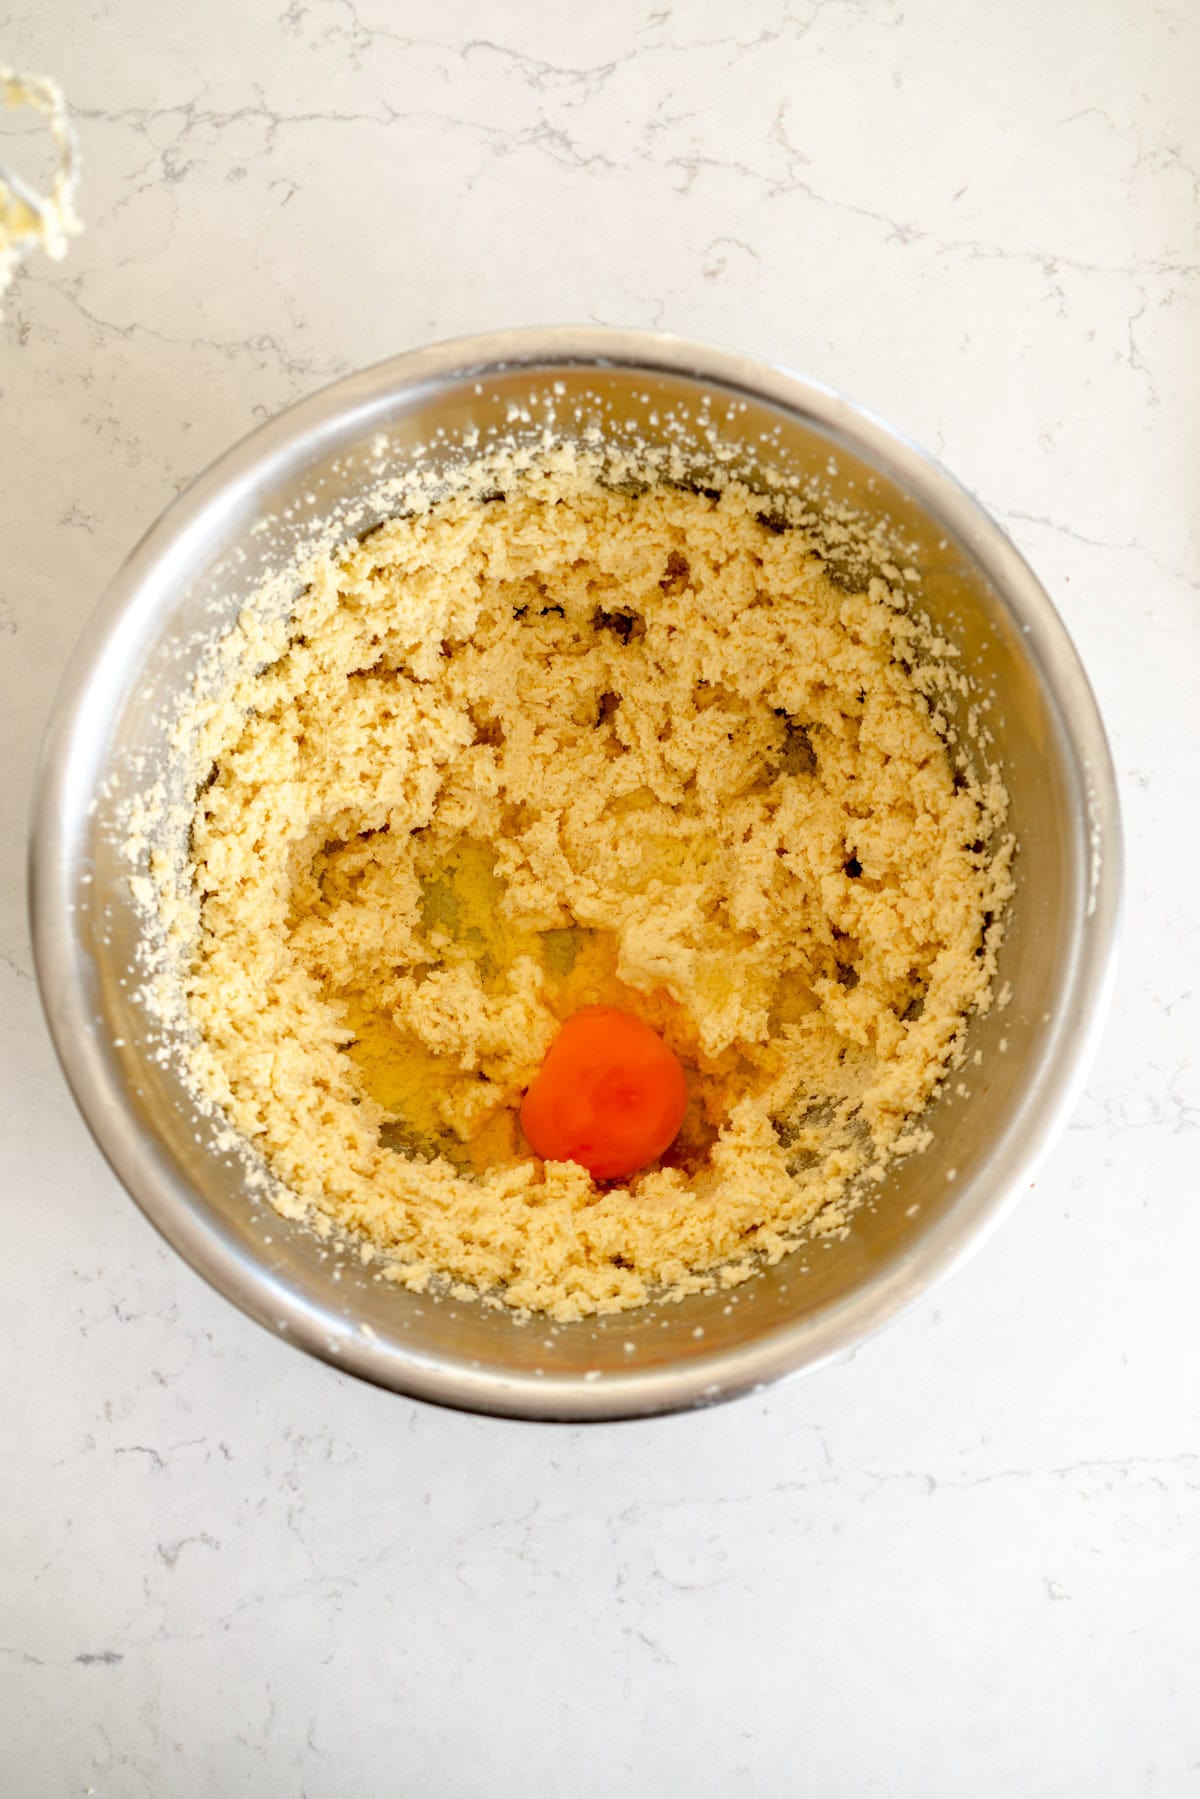
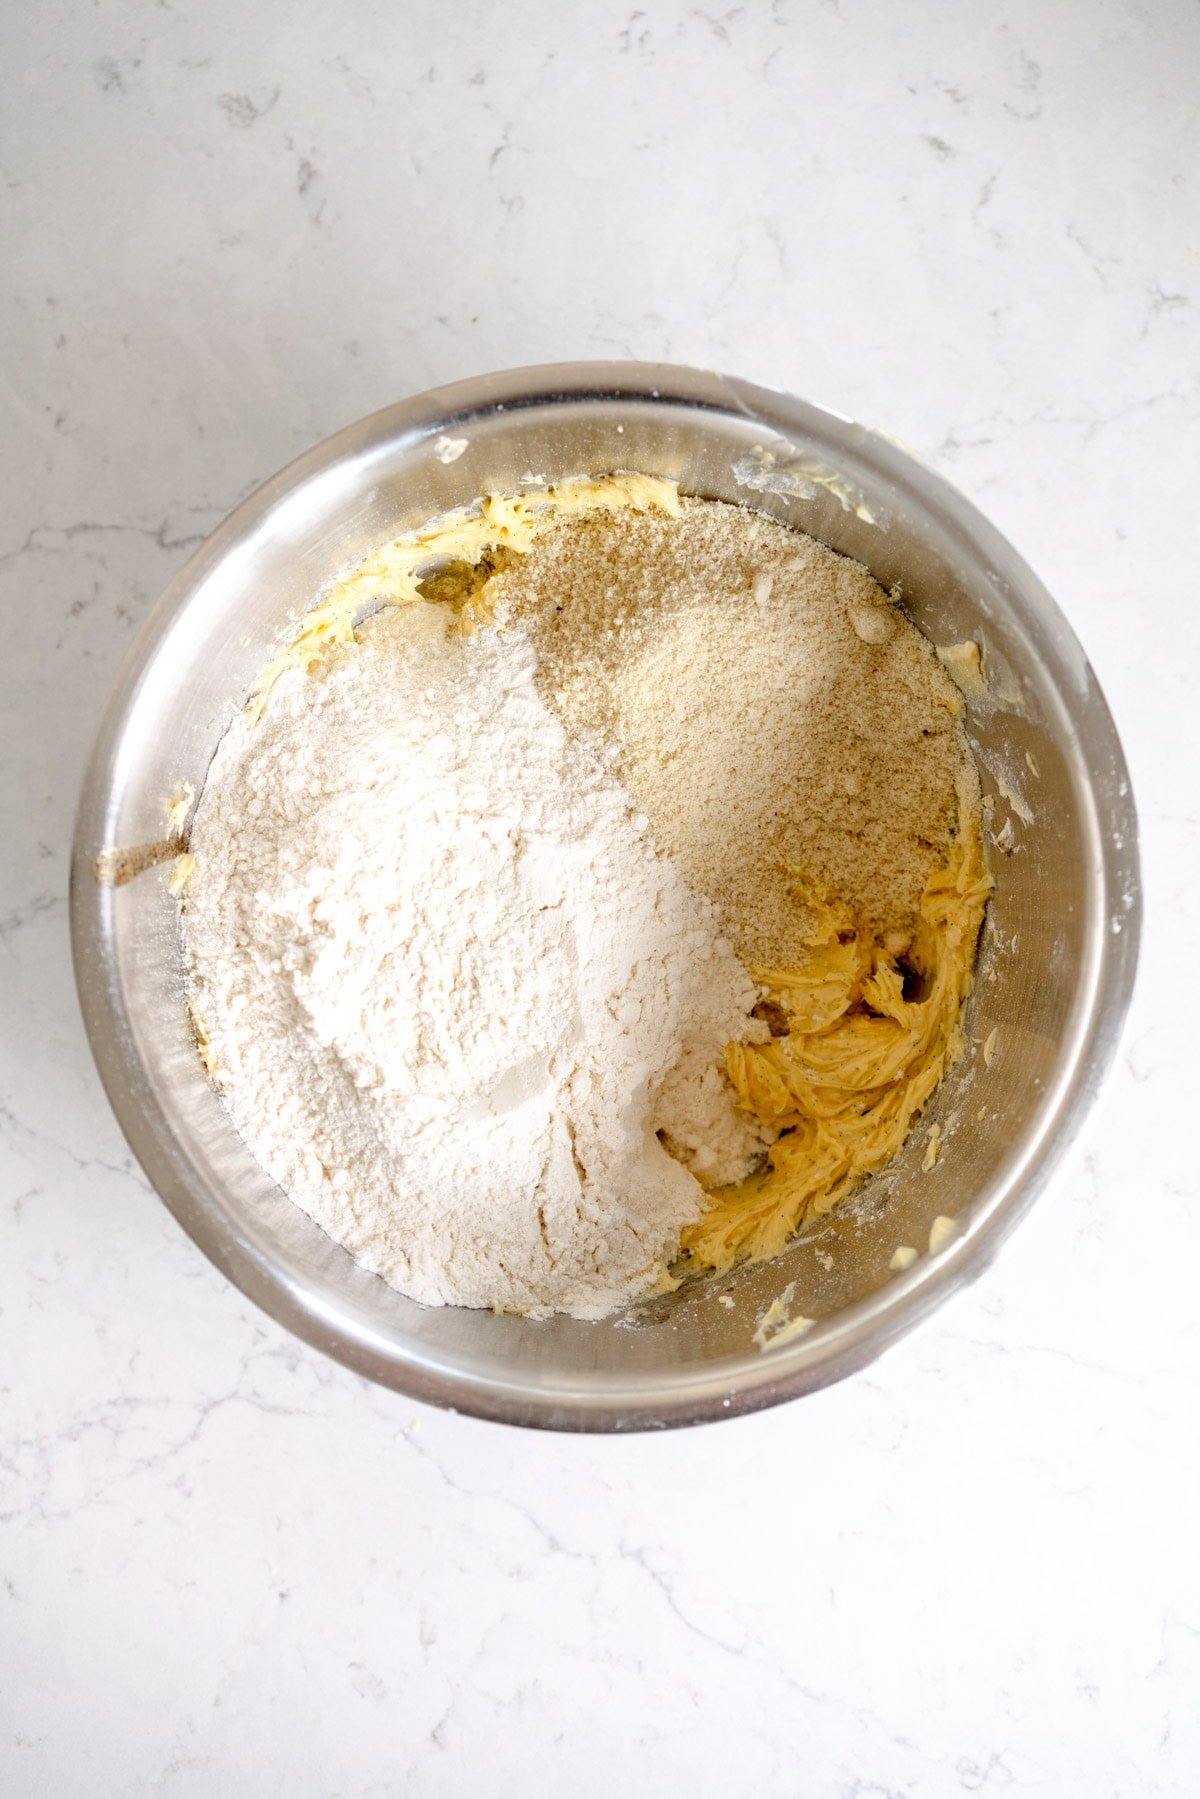
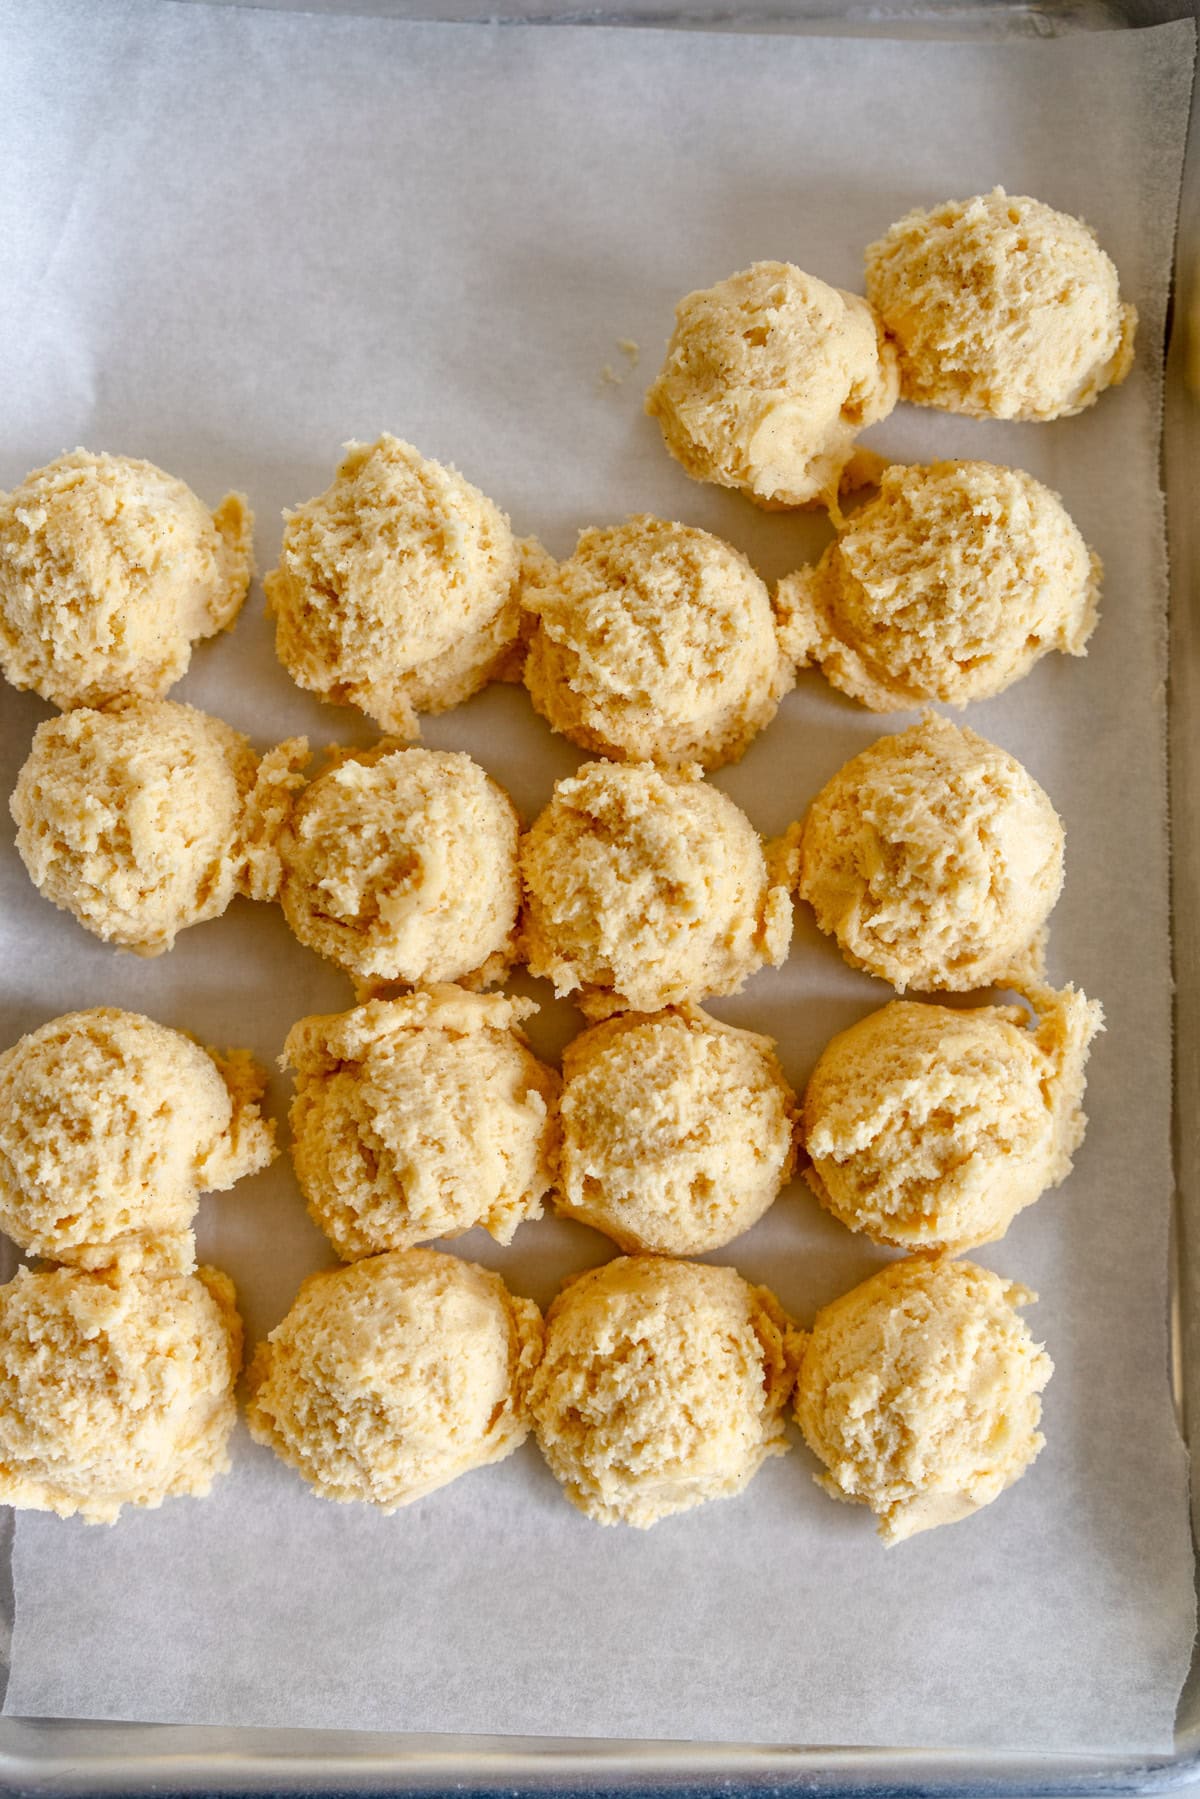
- Scaled it back a little. When I am adding a filling or a topping, like with my Peanut Butter Brownies, I like to have a little less batter. It is easiest to scale around eggs, so I scale from 3 eggs to 2 eggs worth of batter.
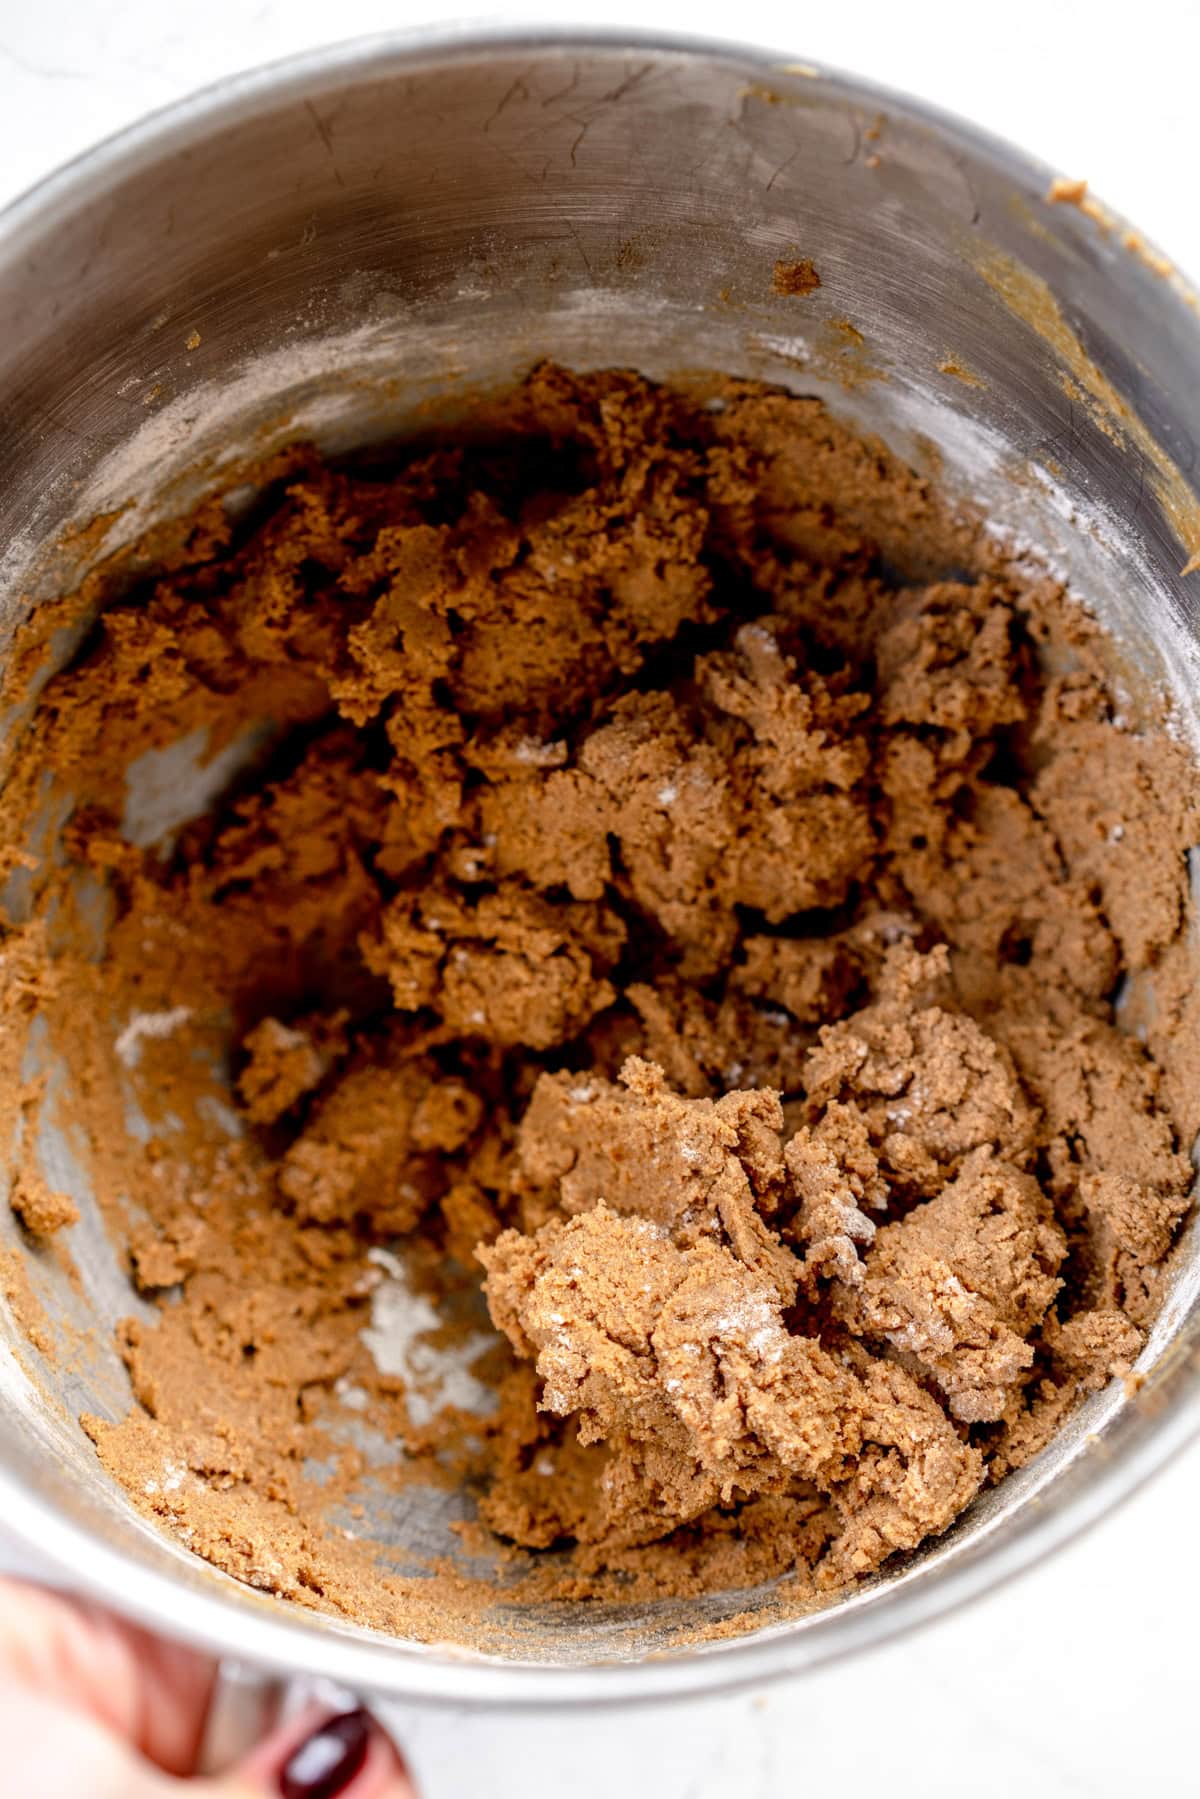
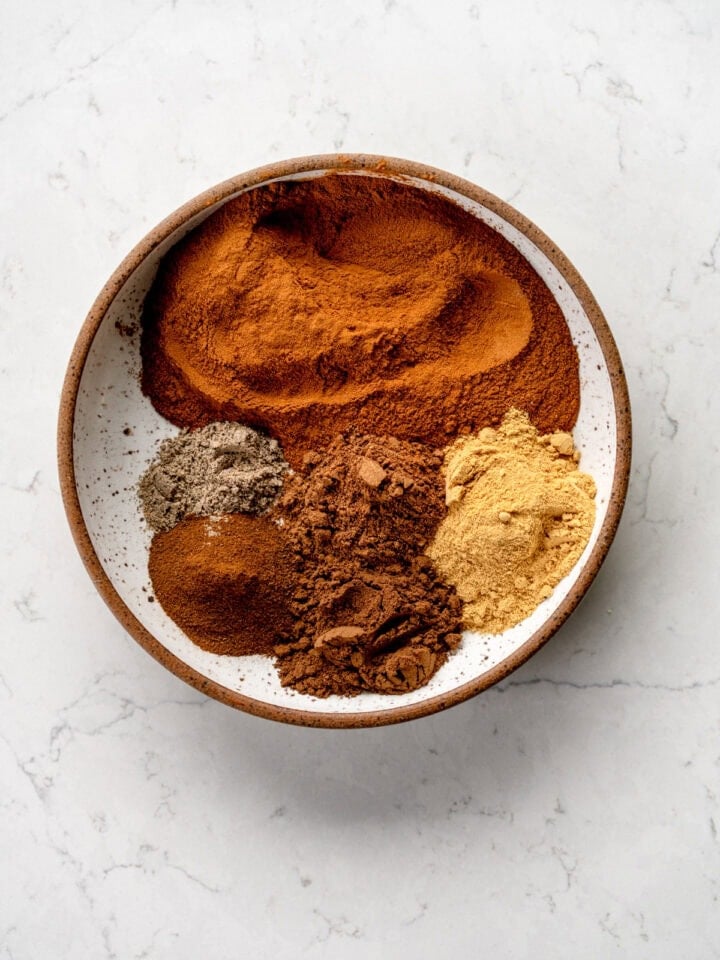
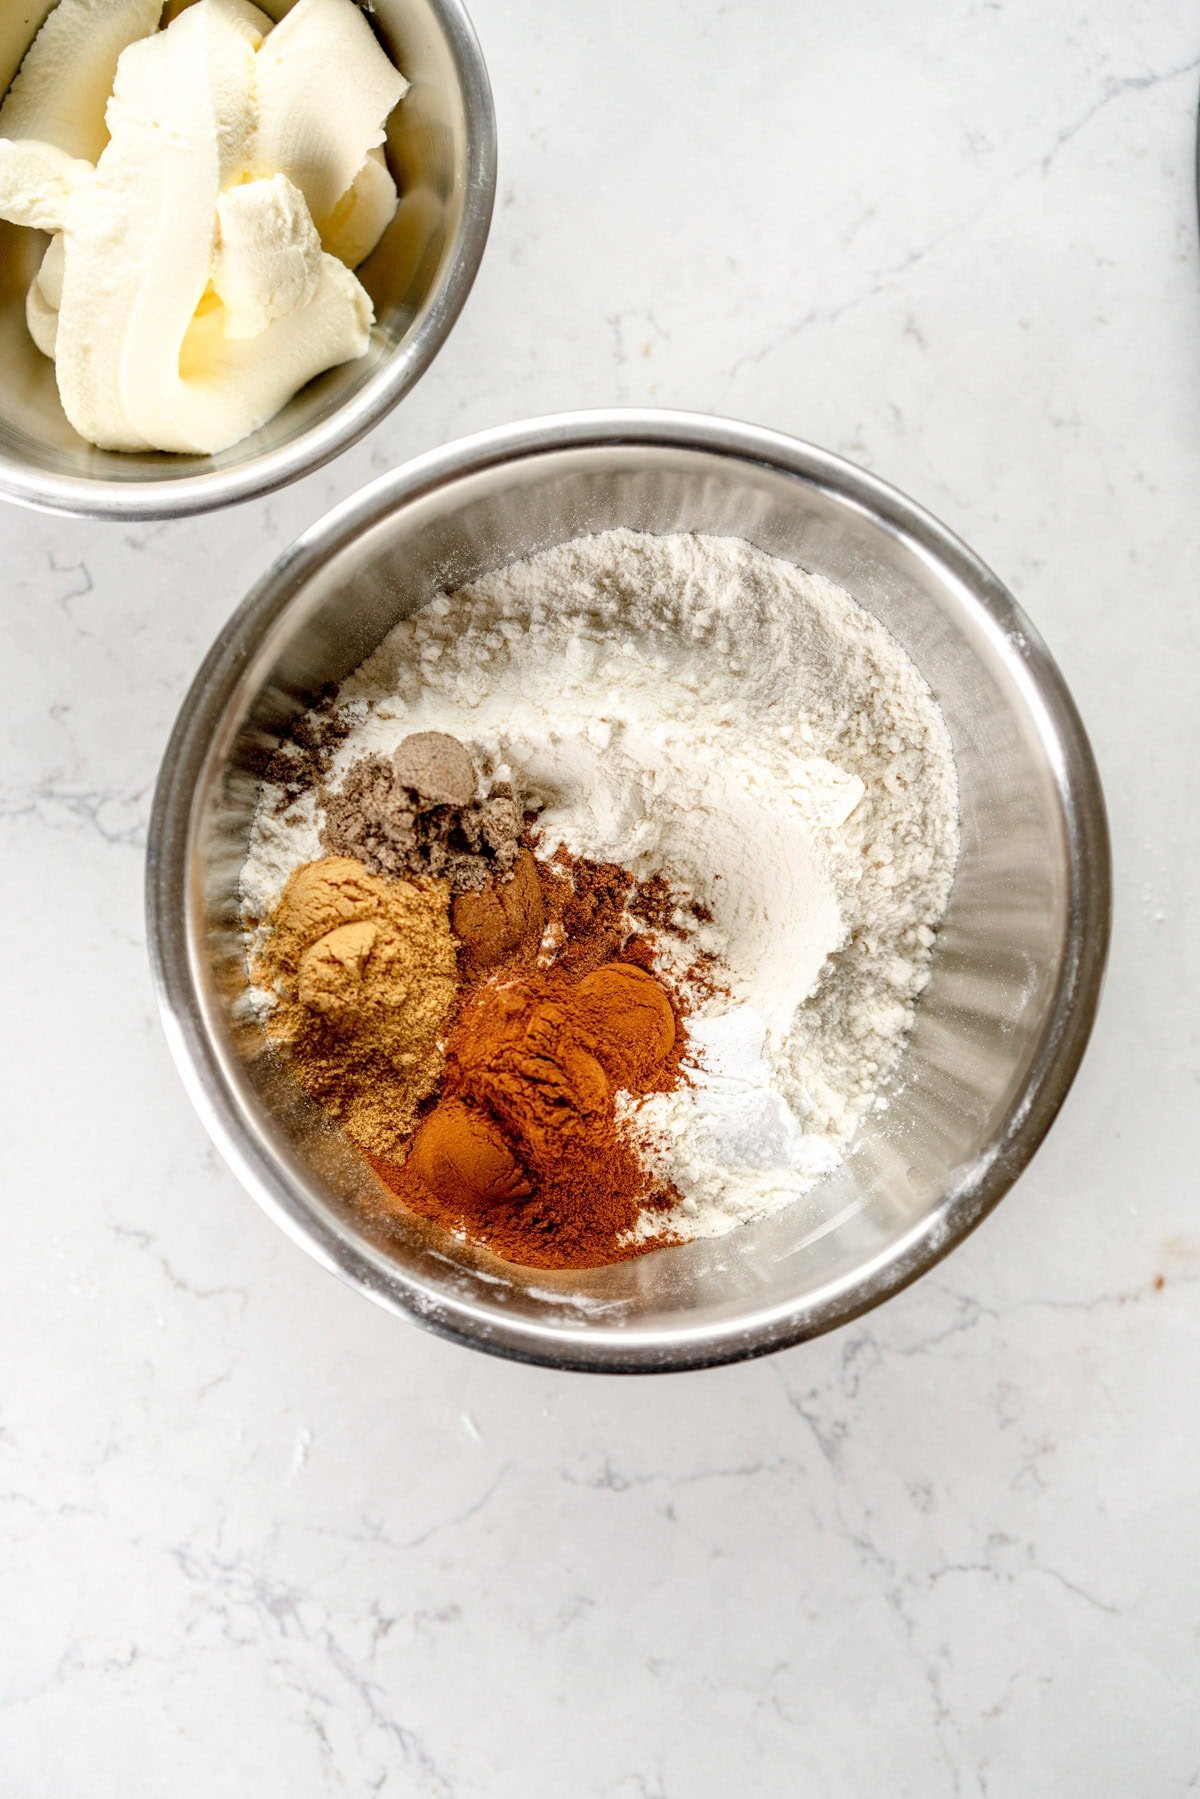
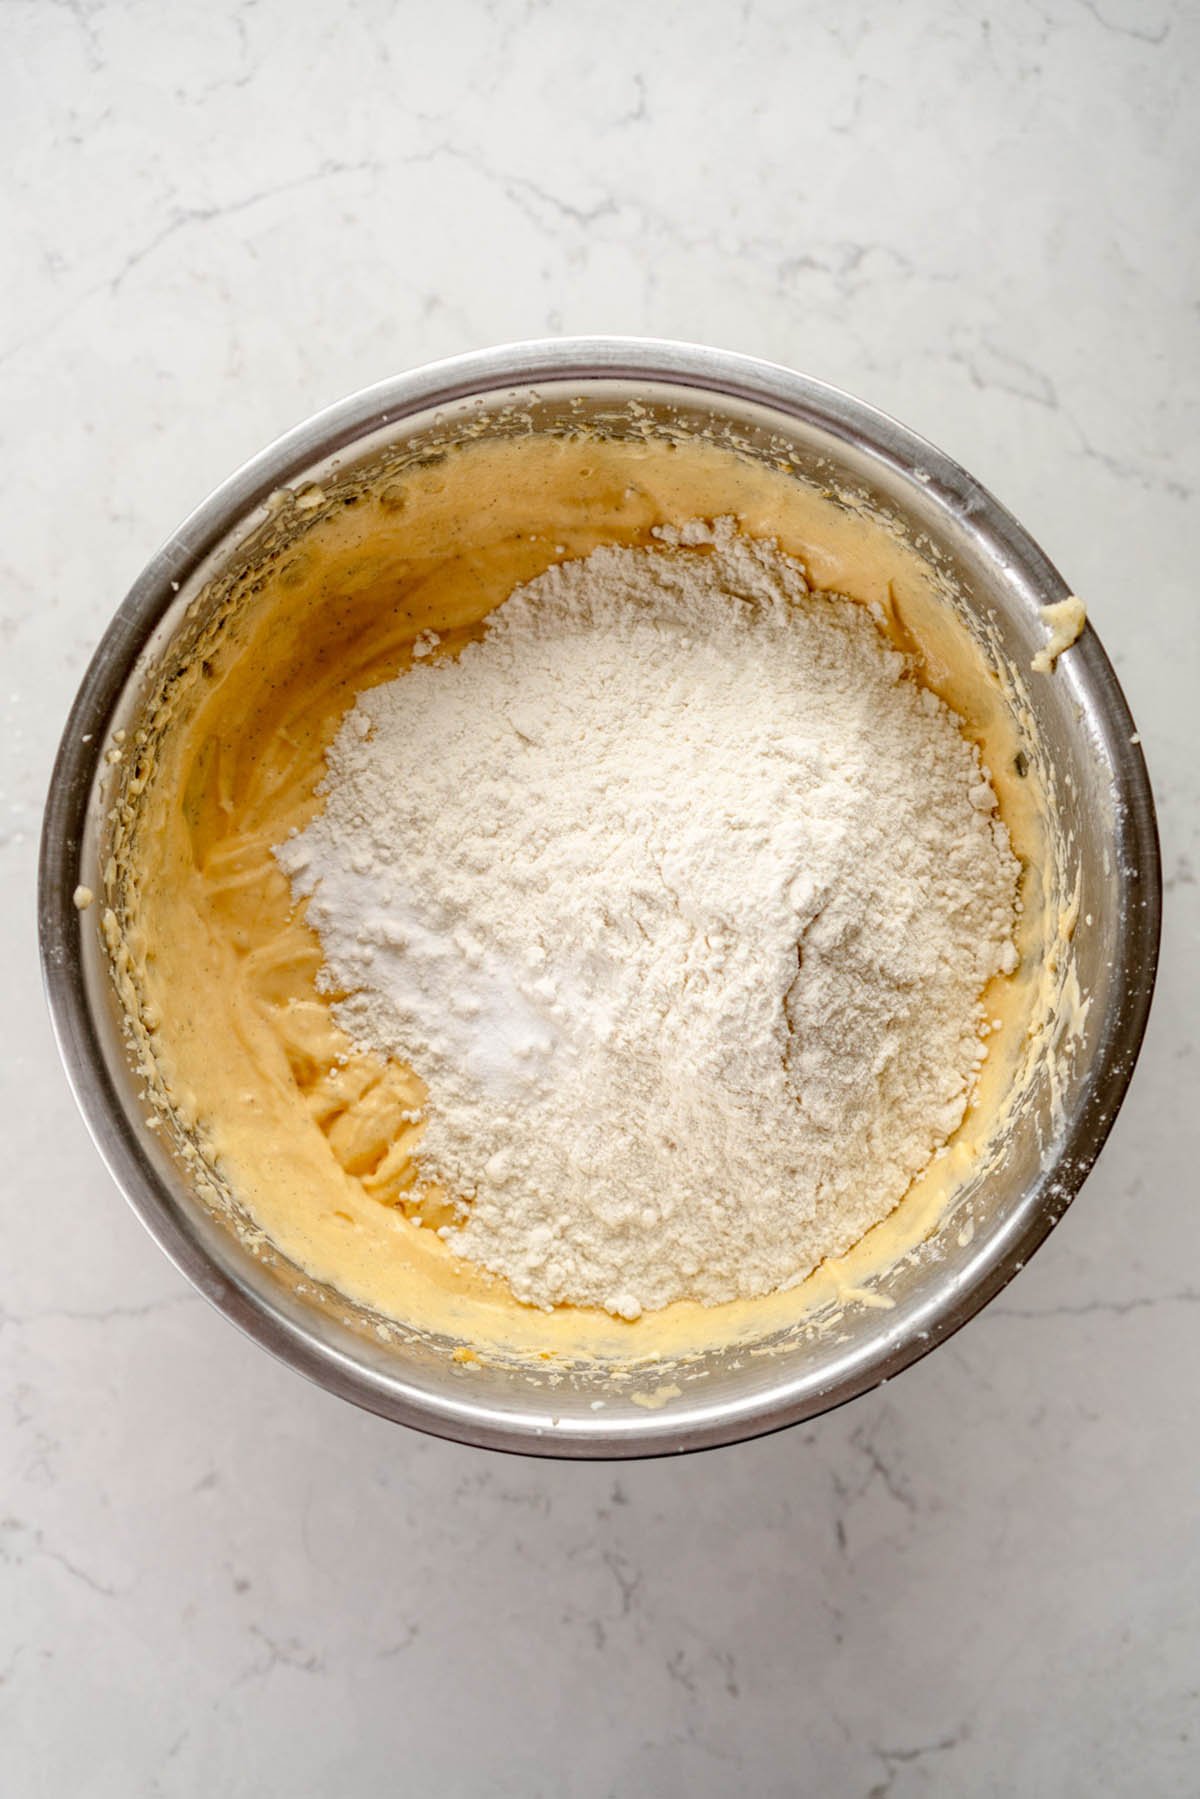
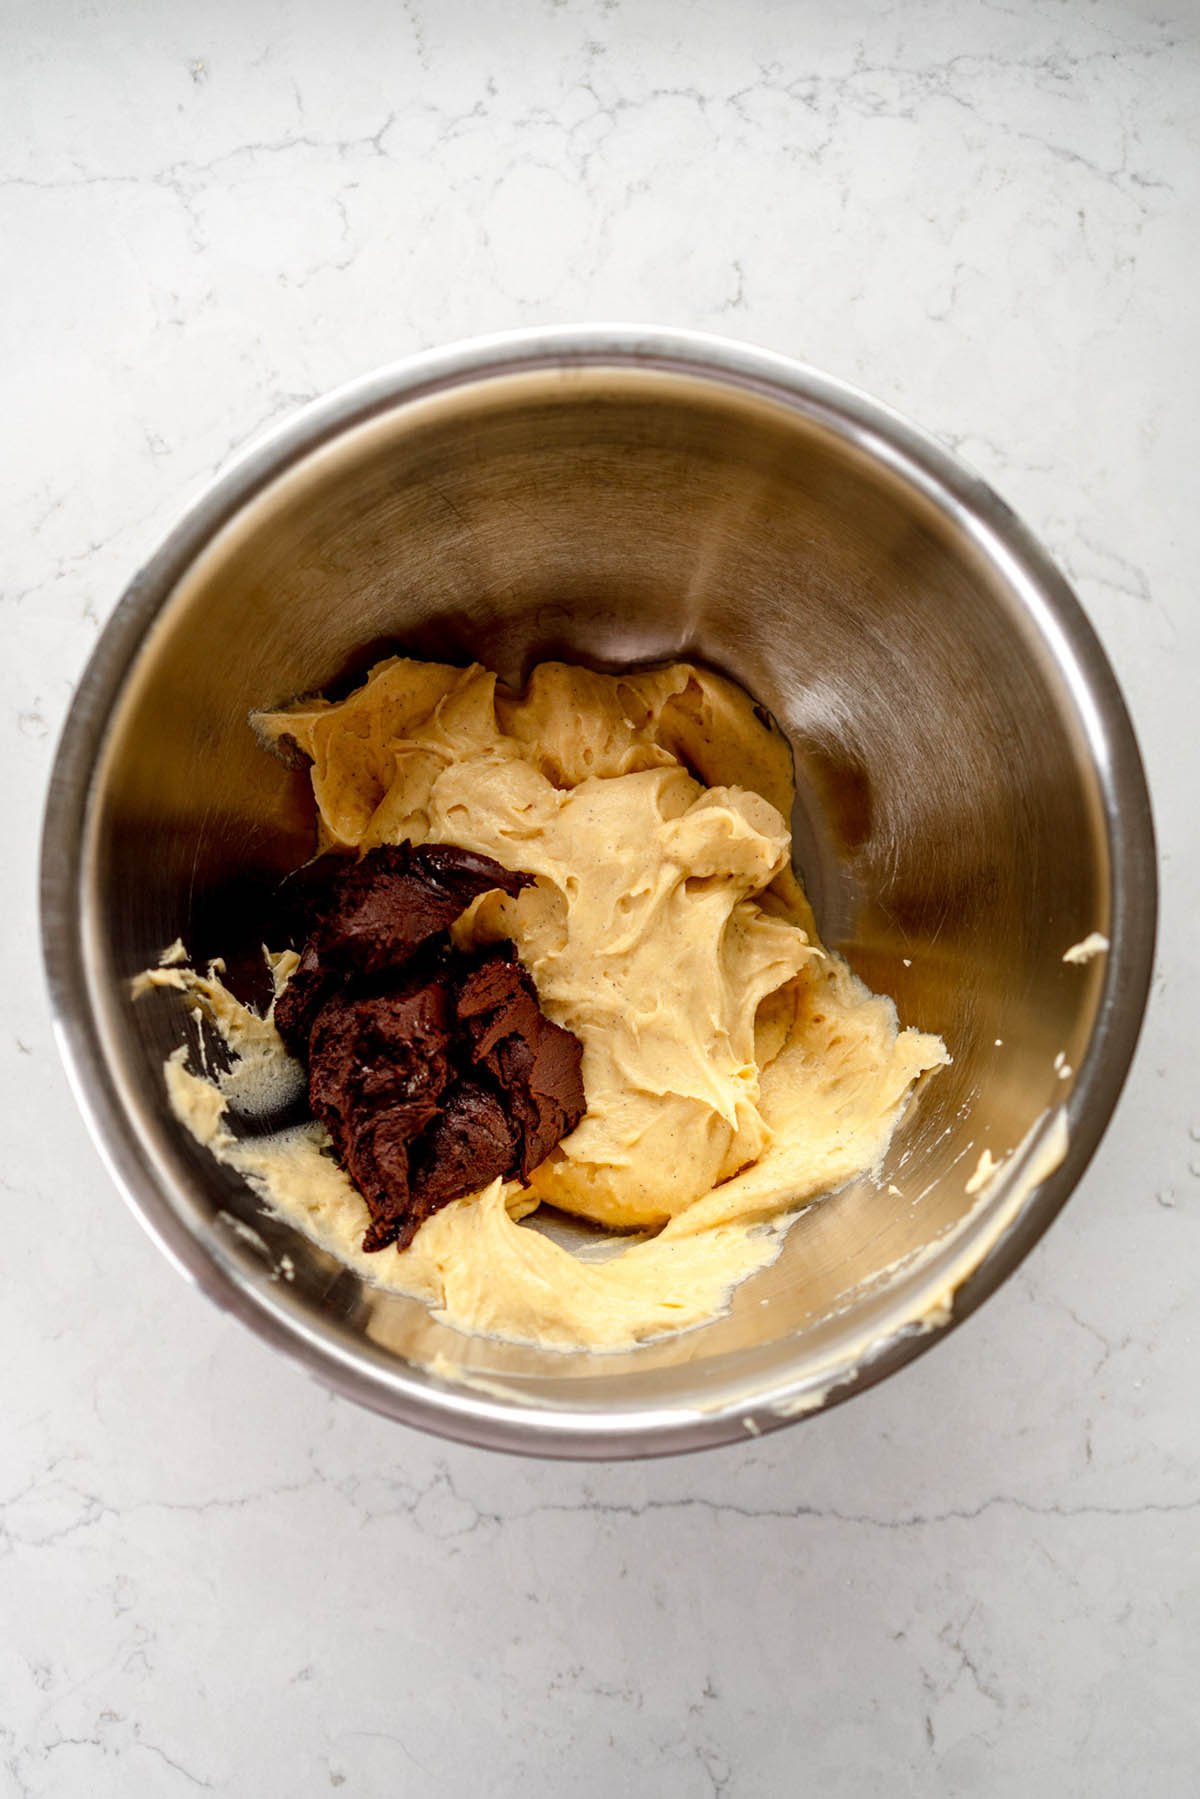
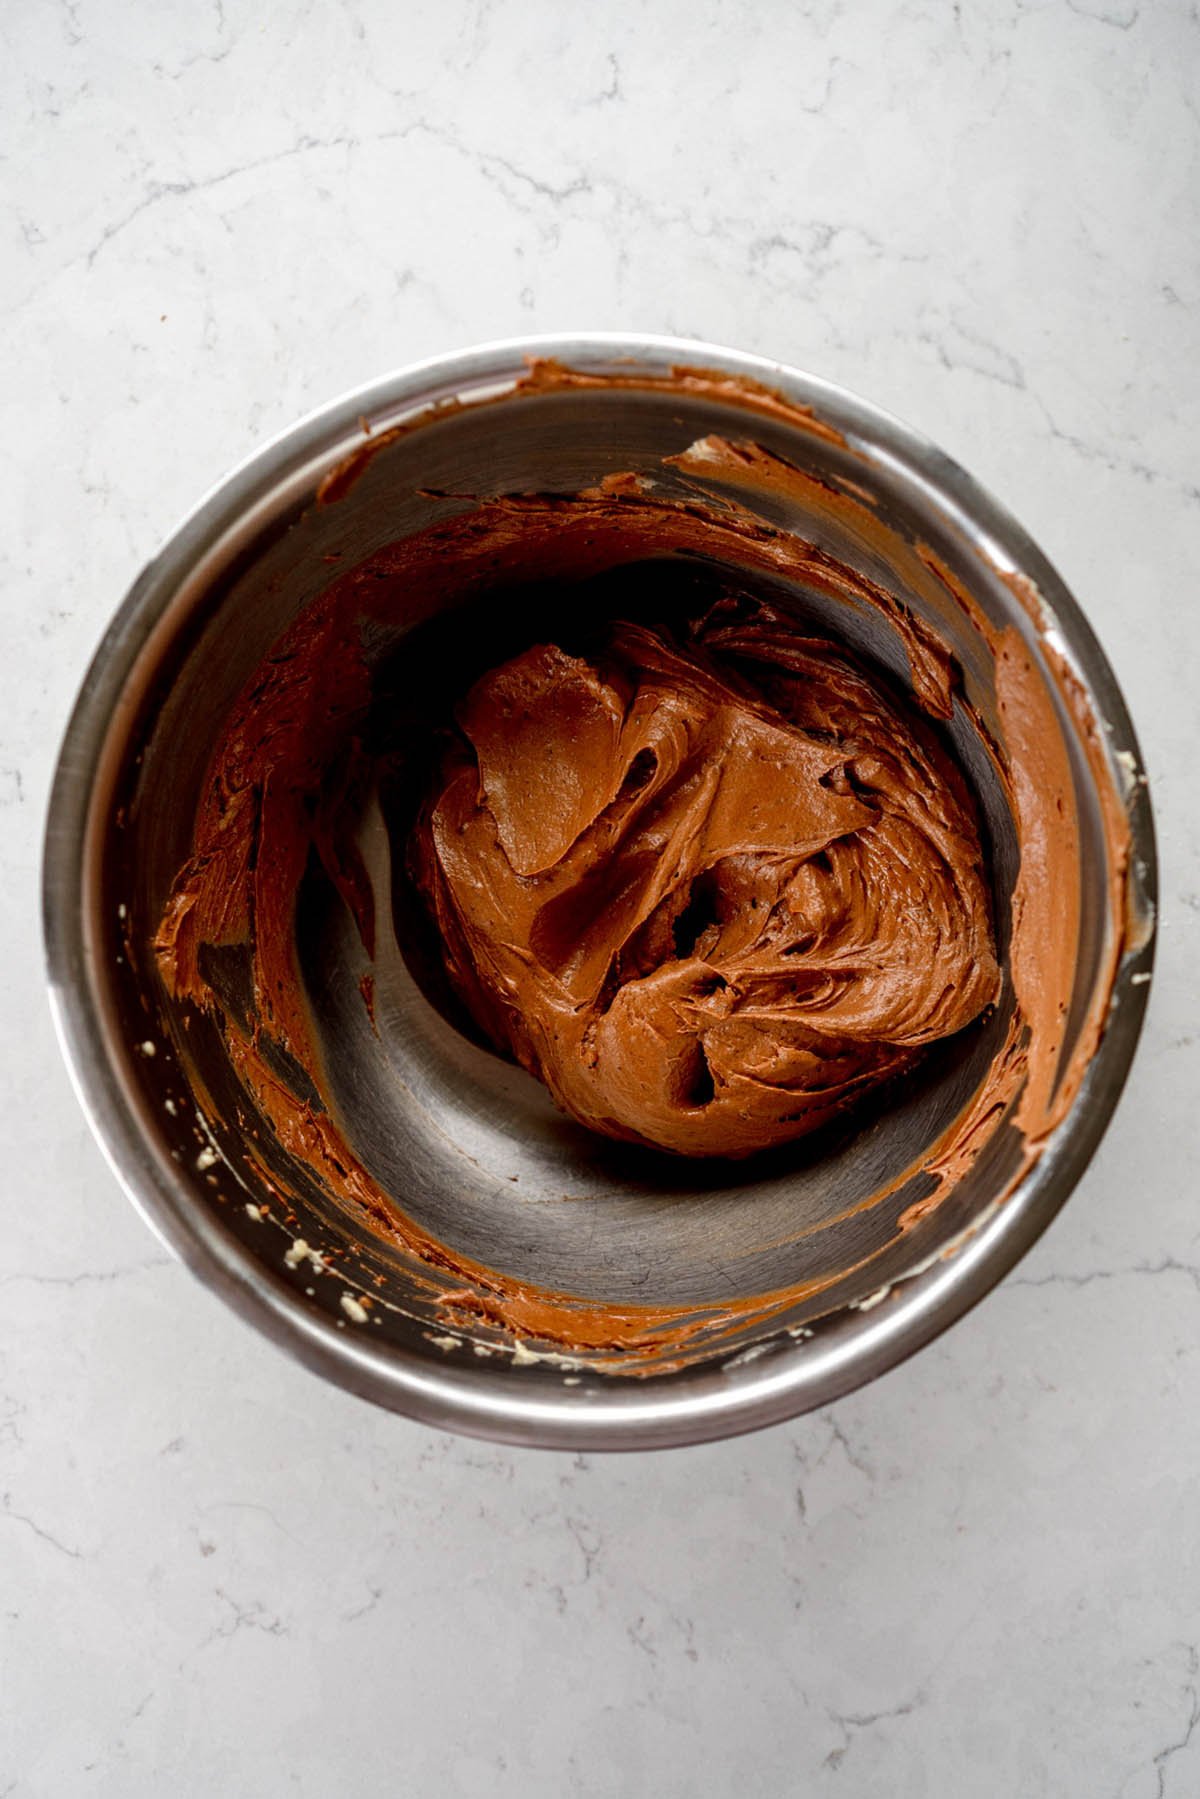
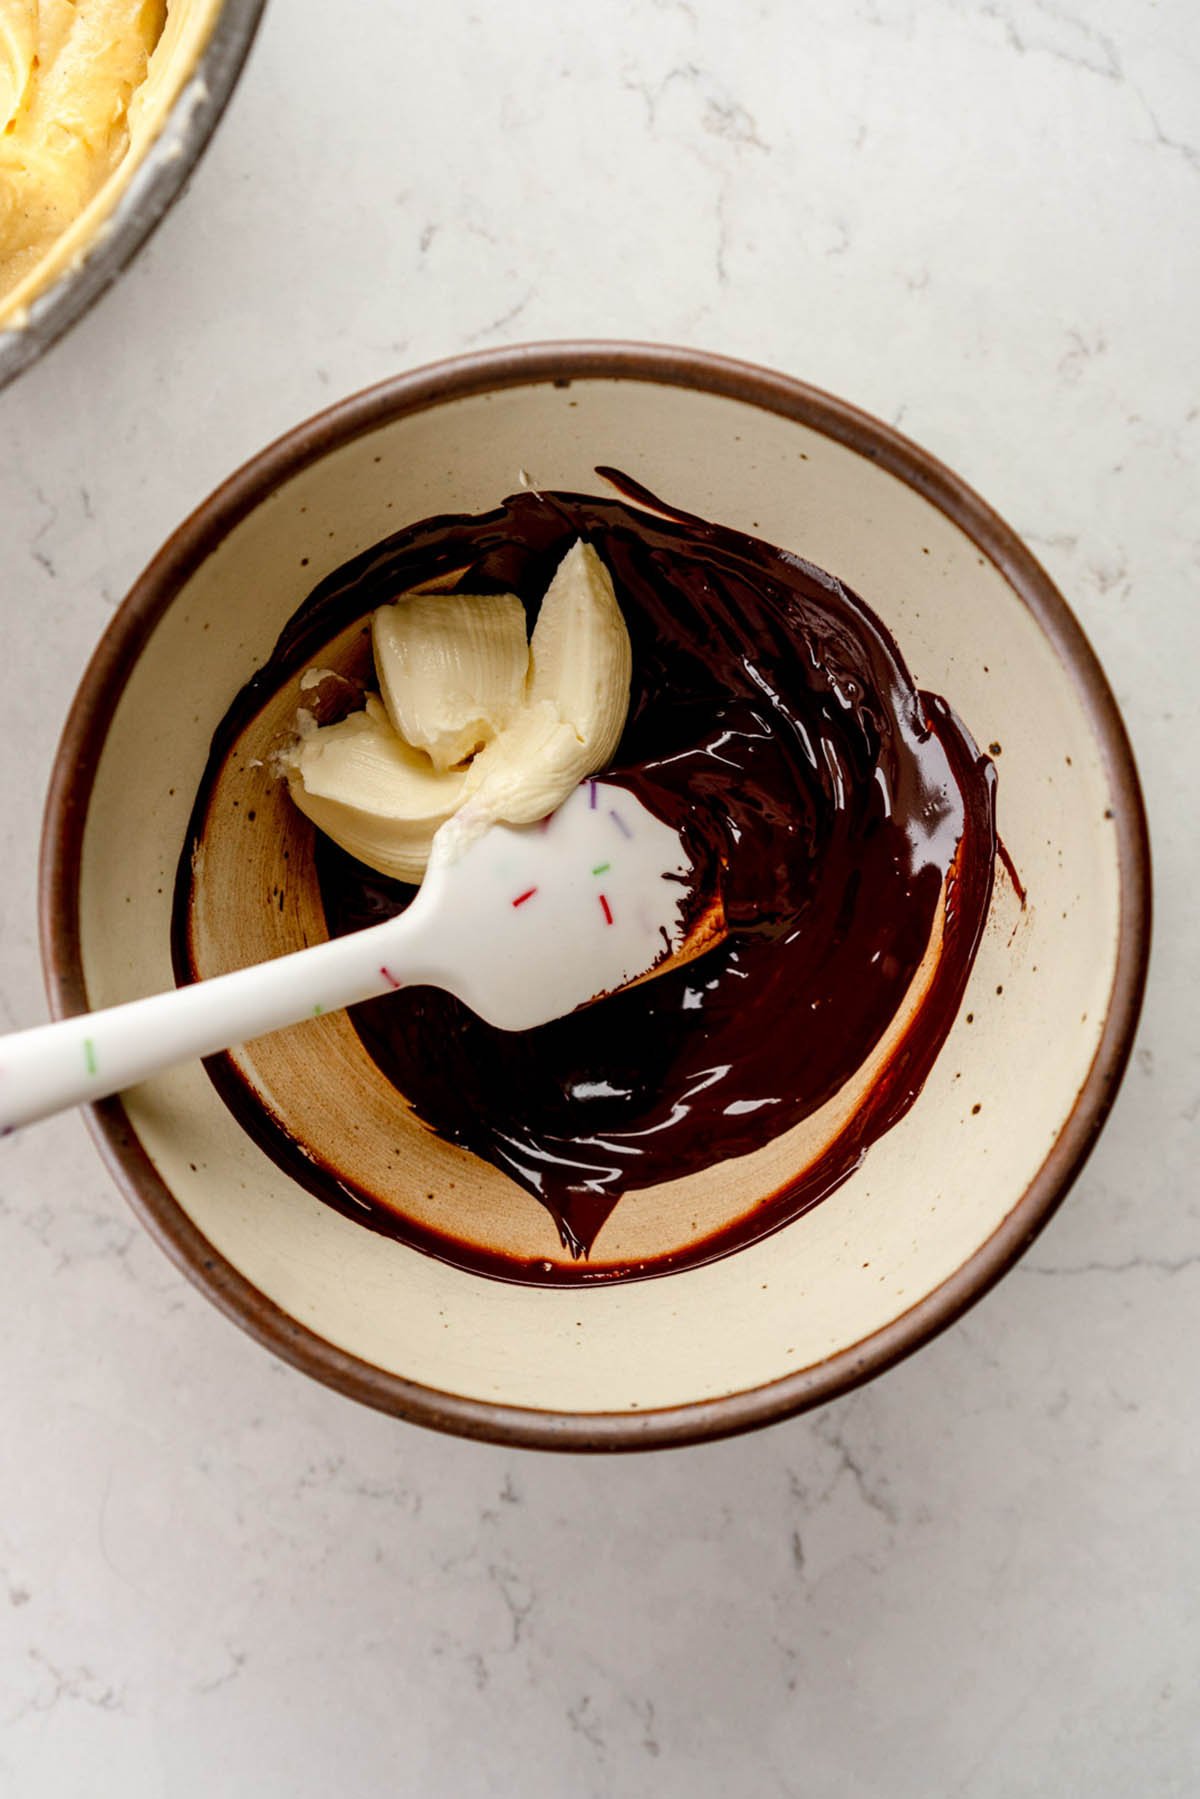
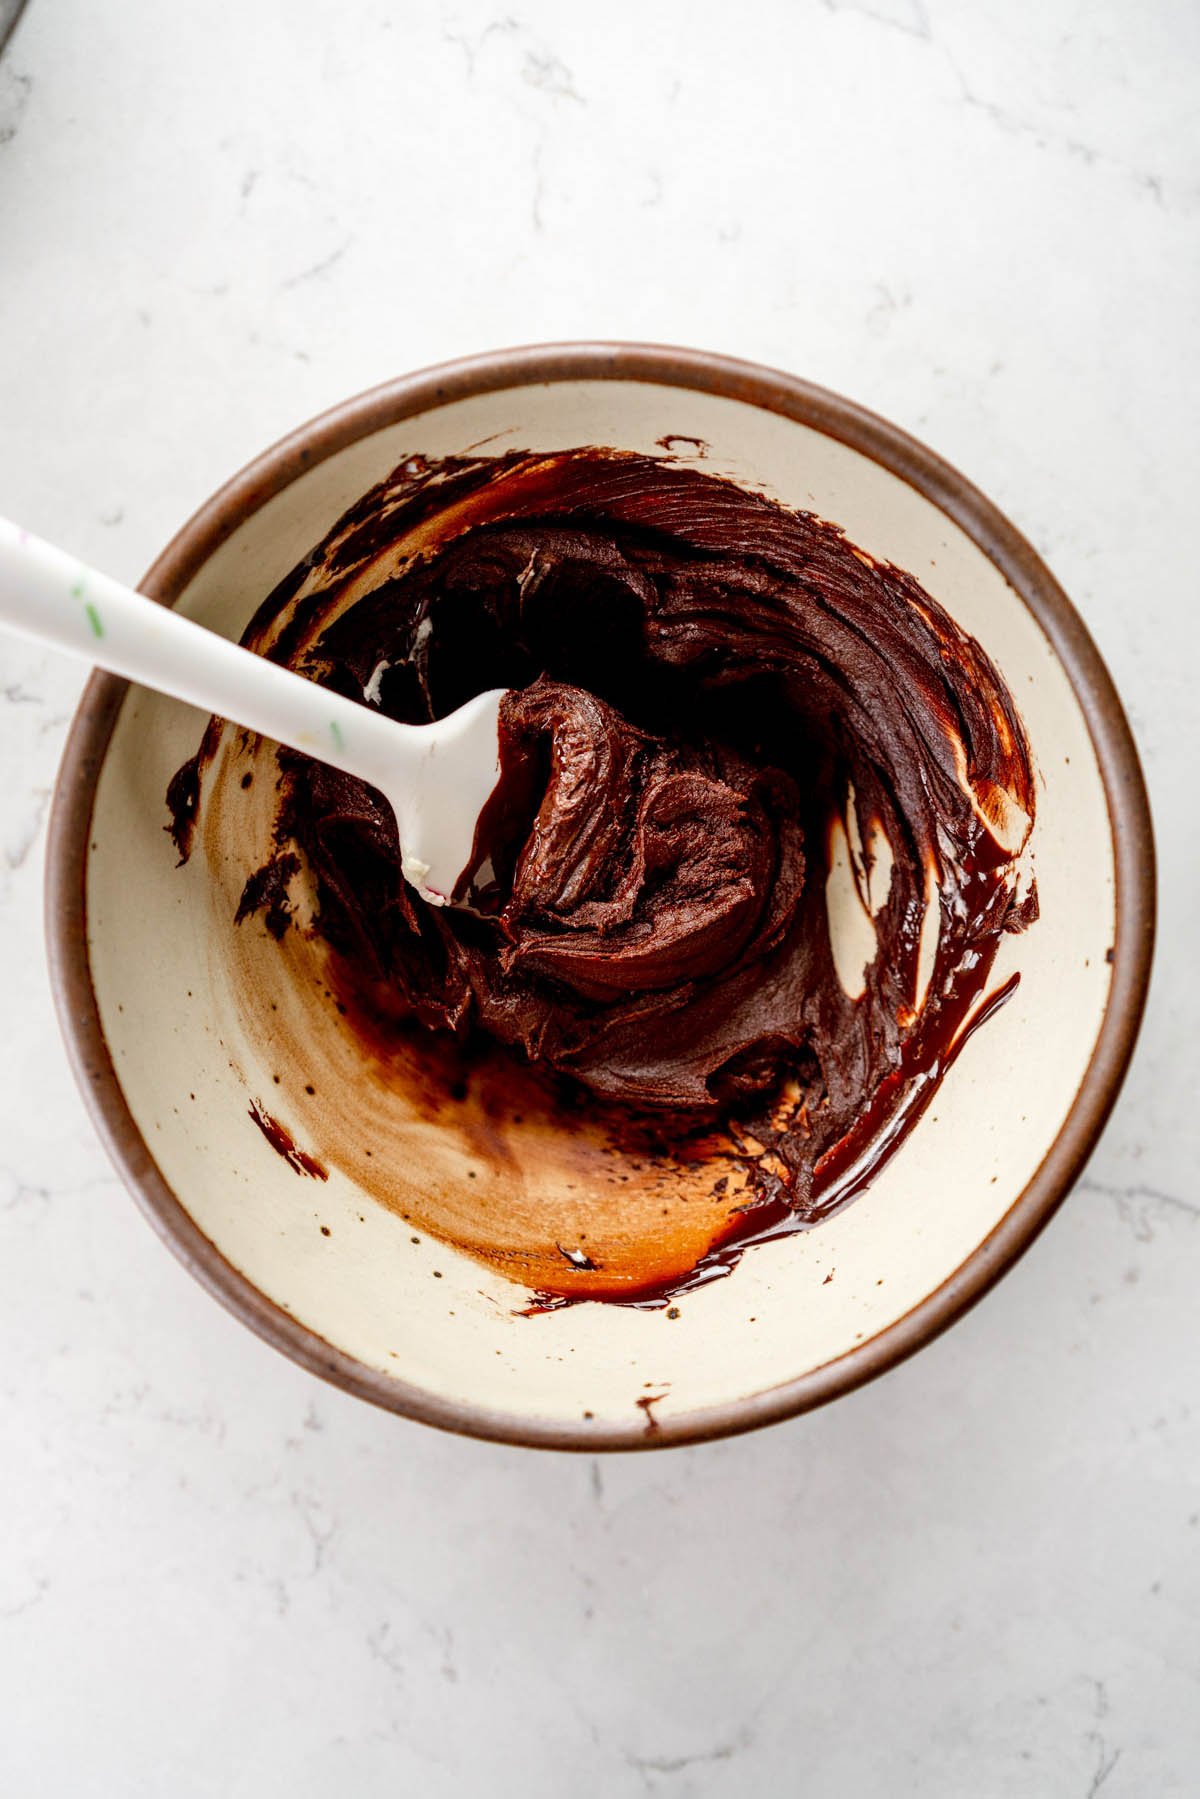
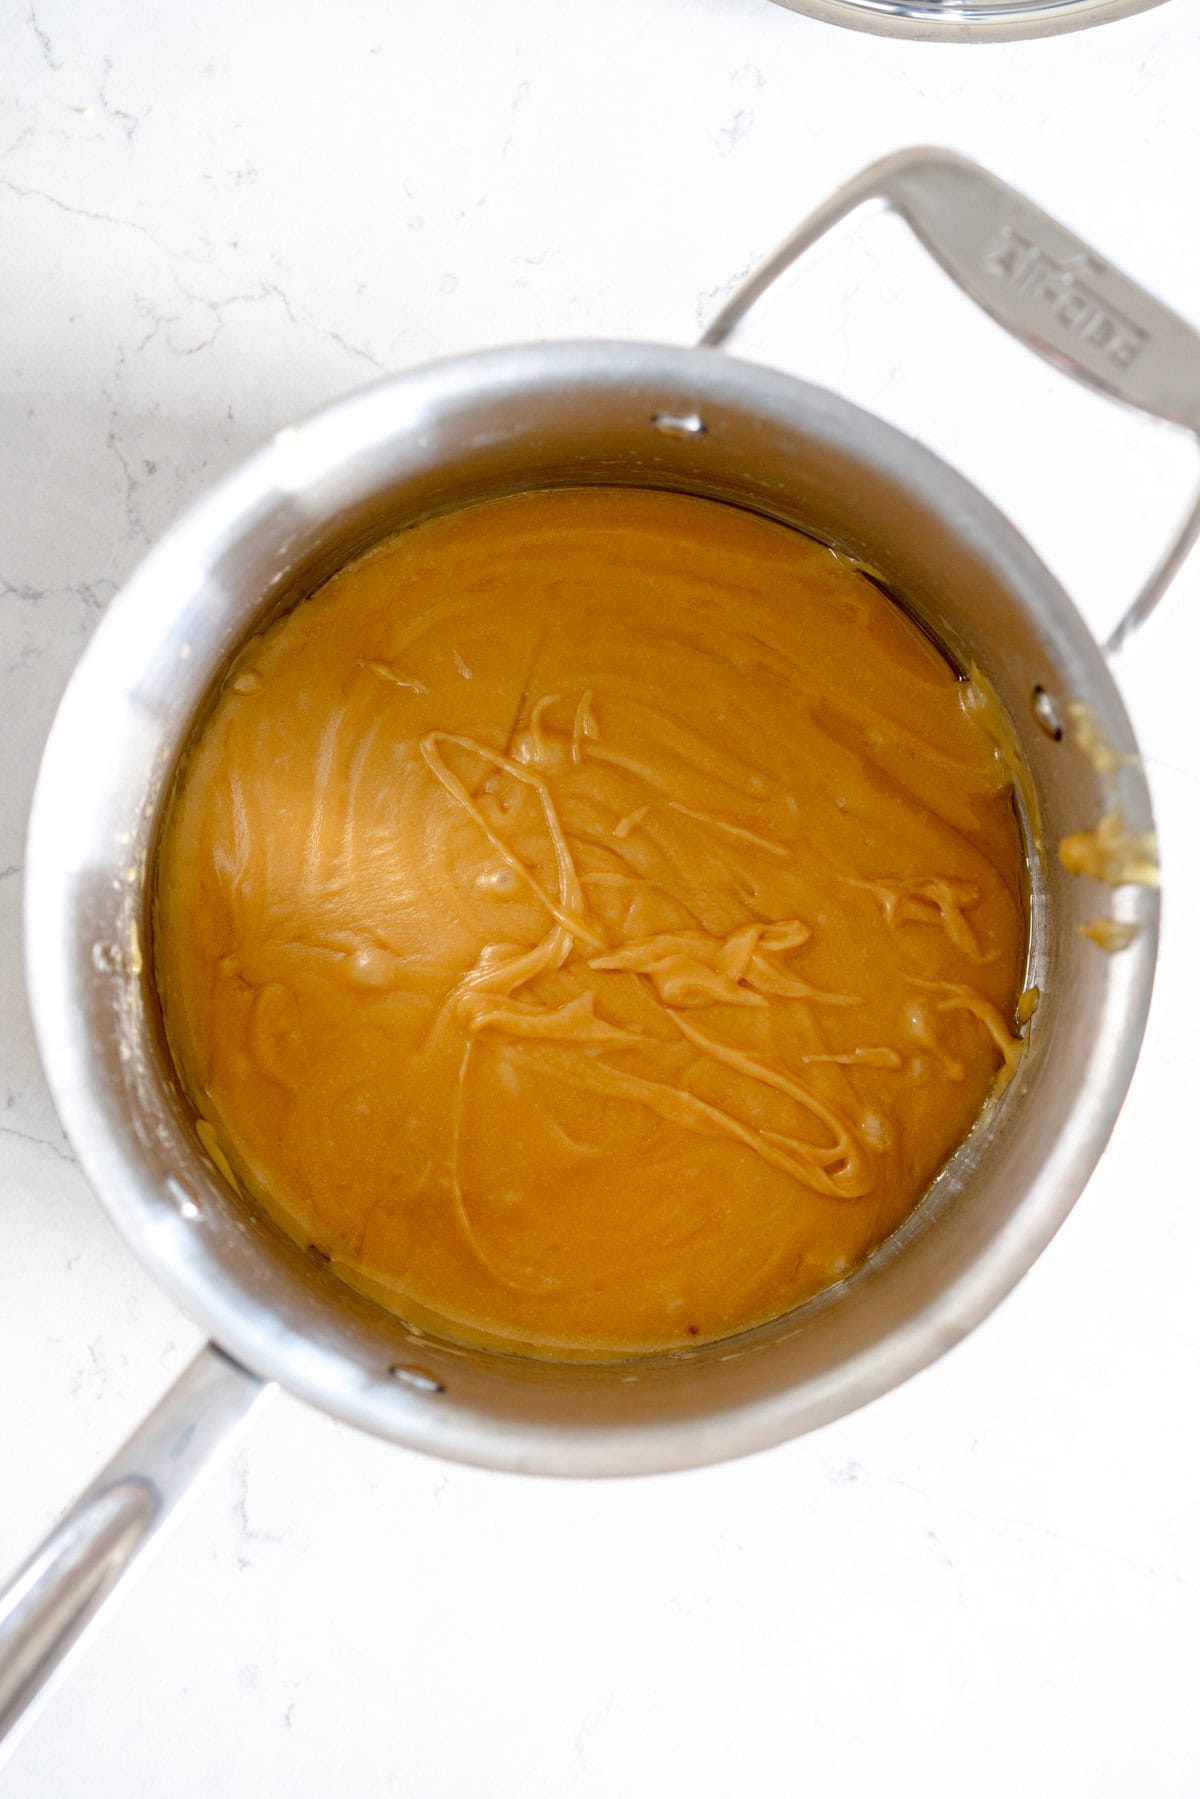
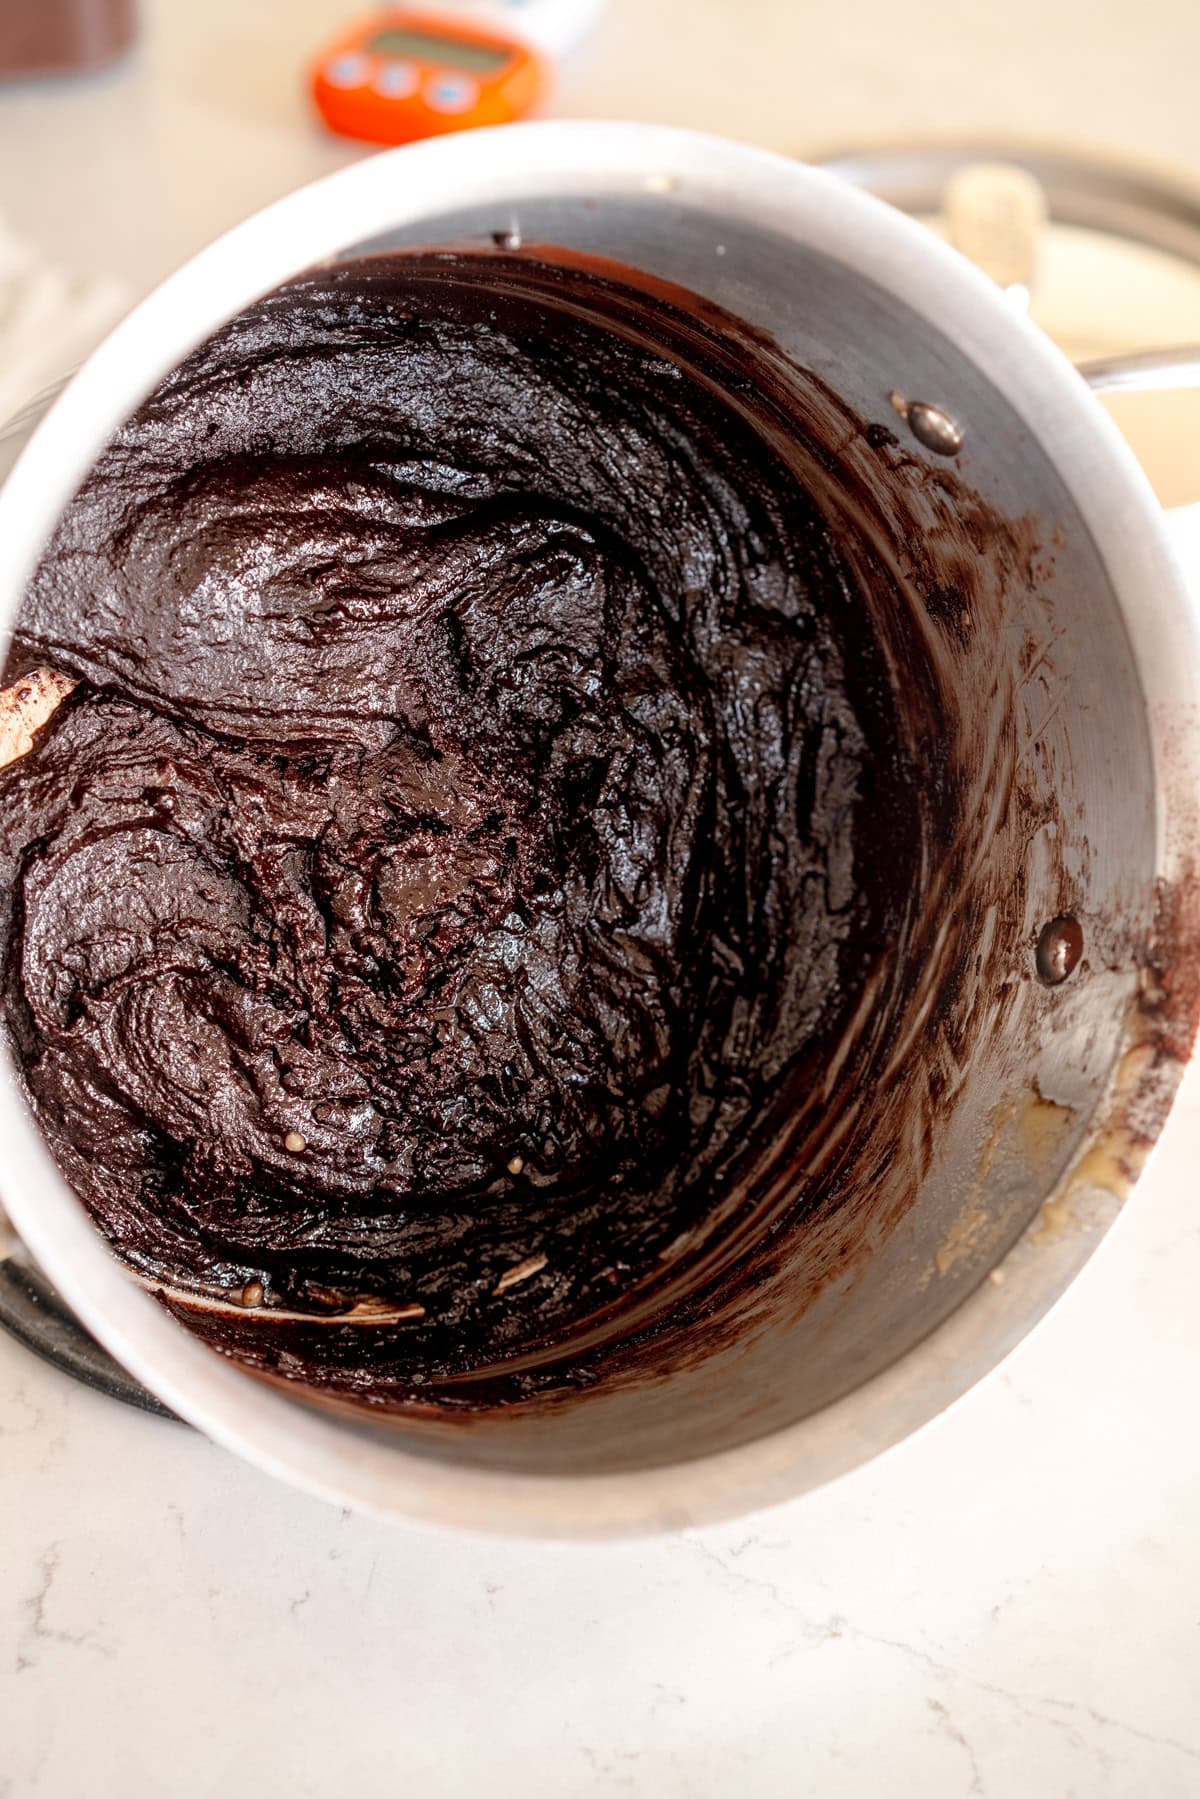
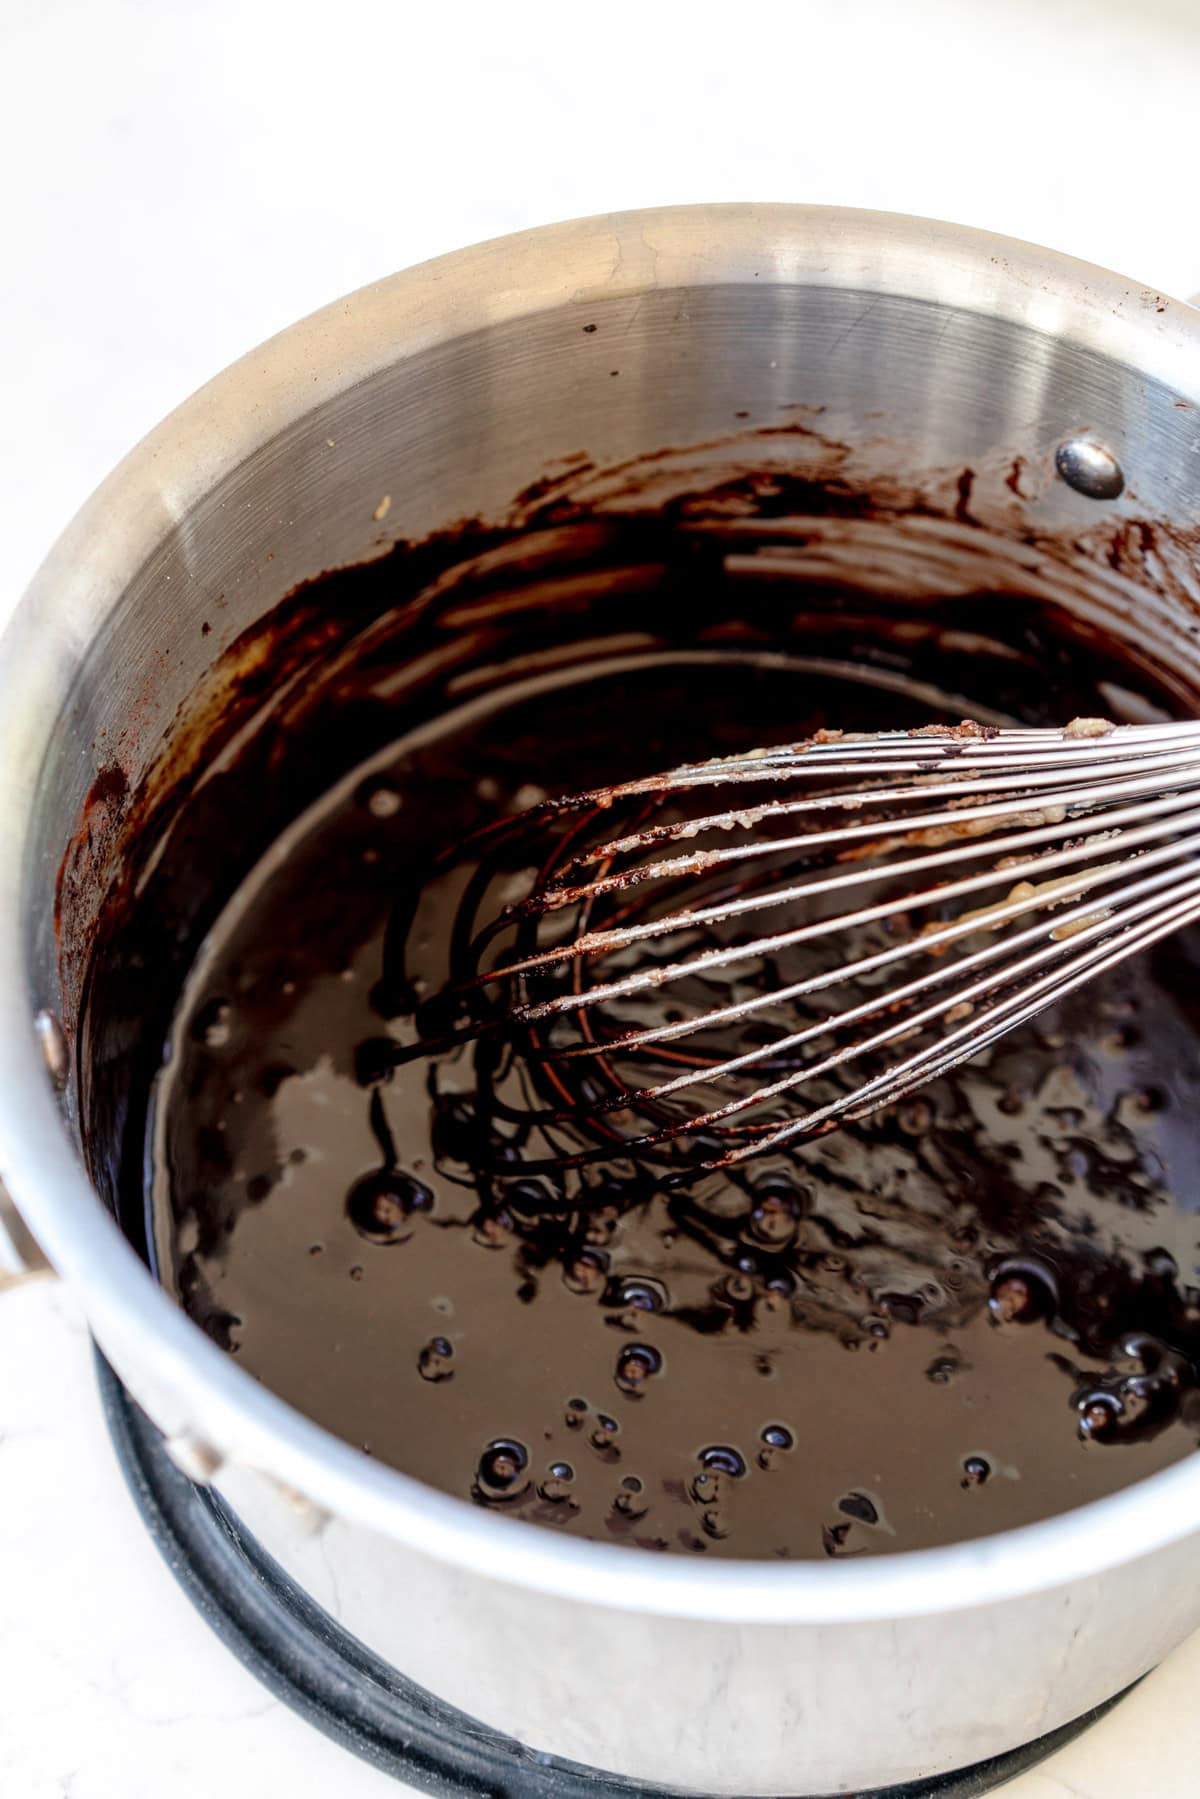
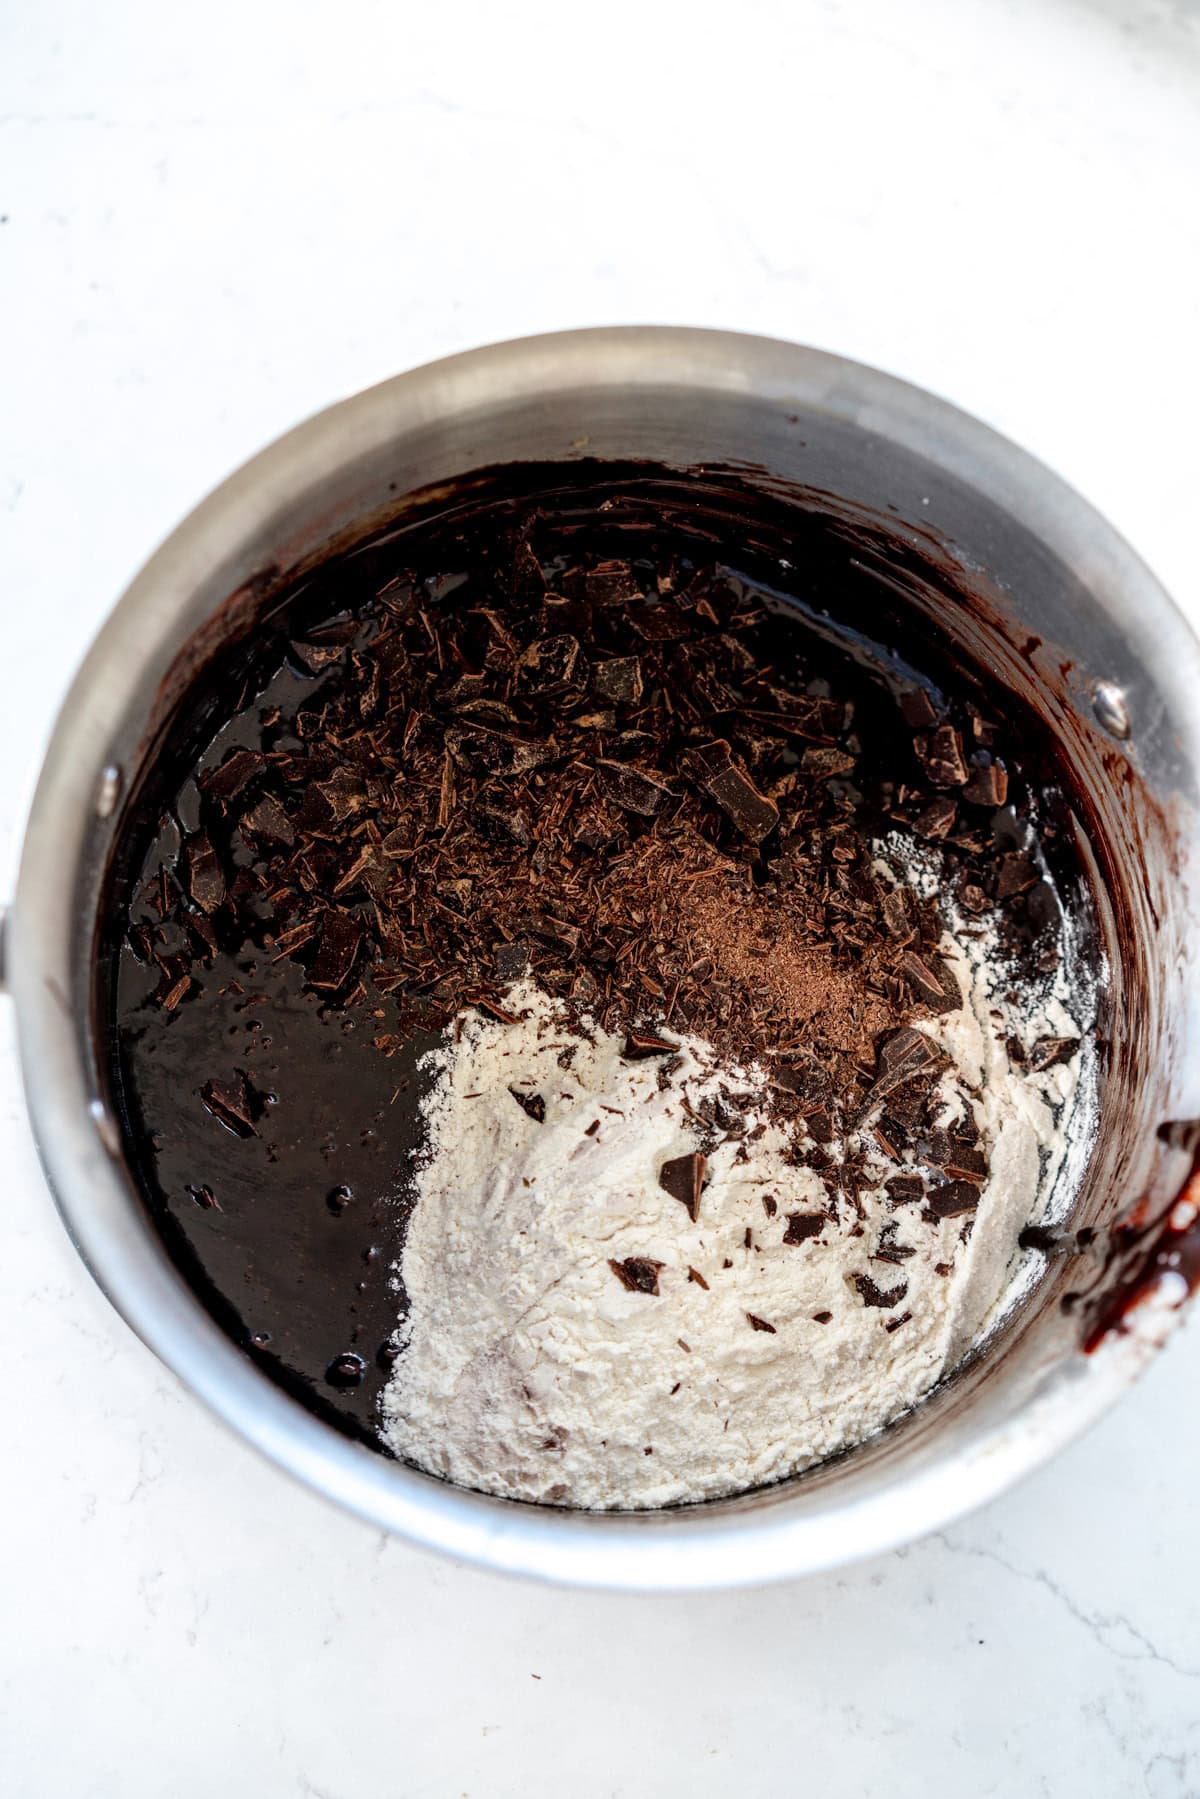
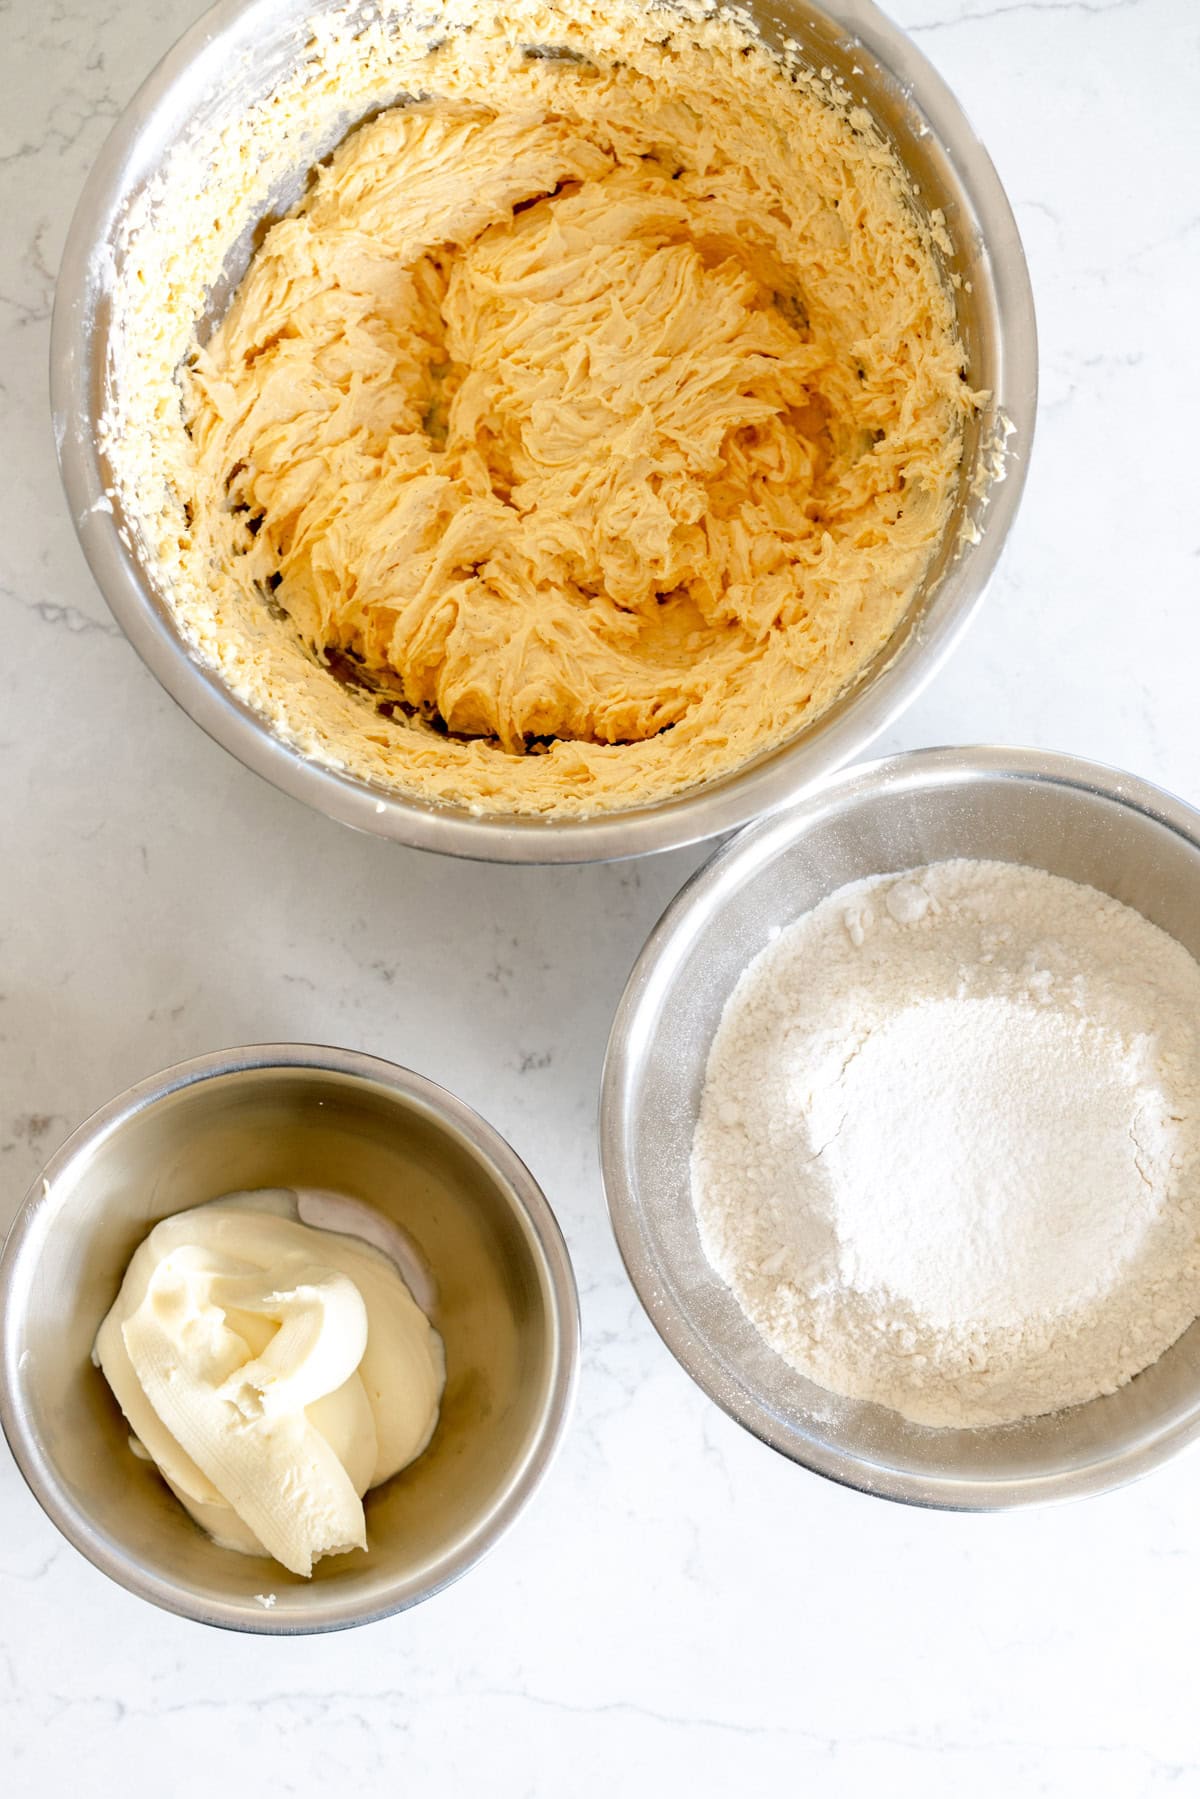
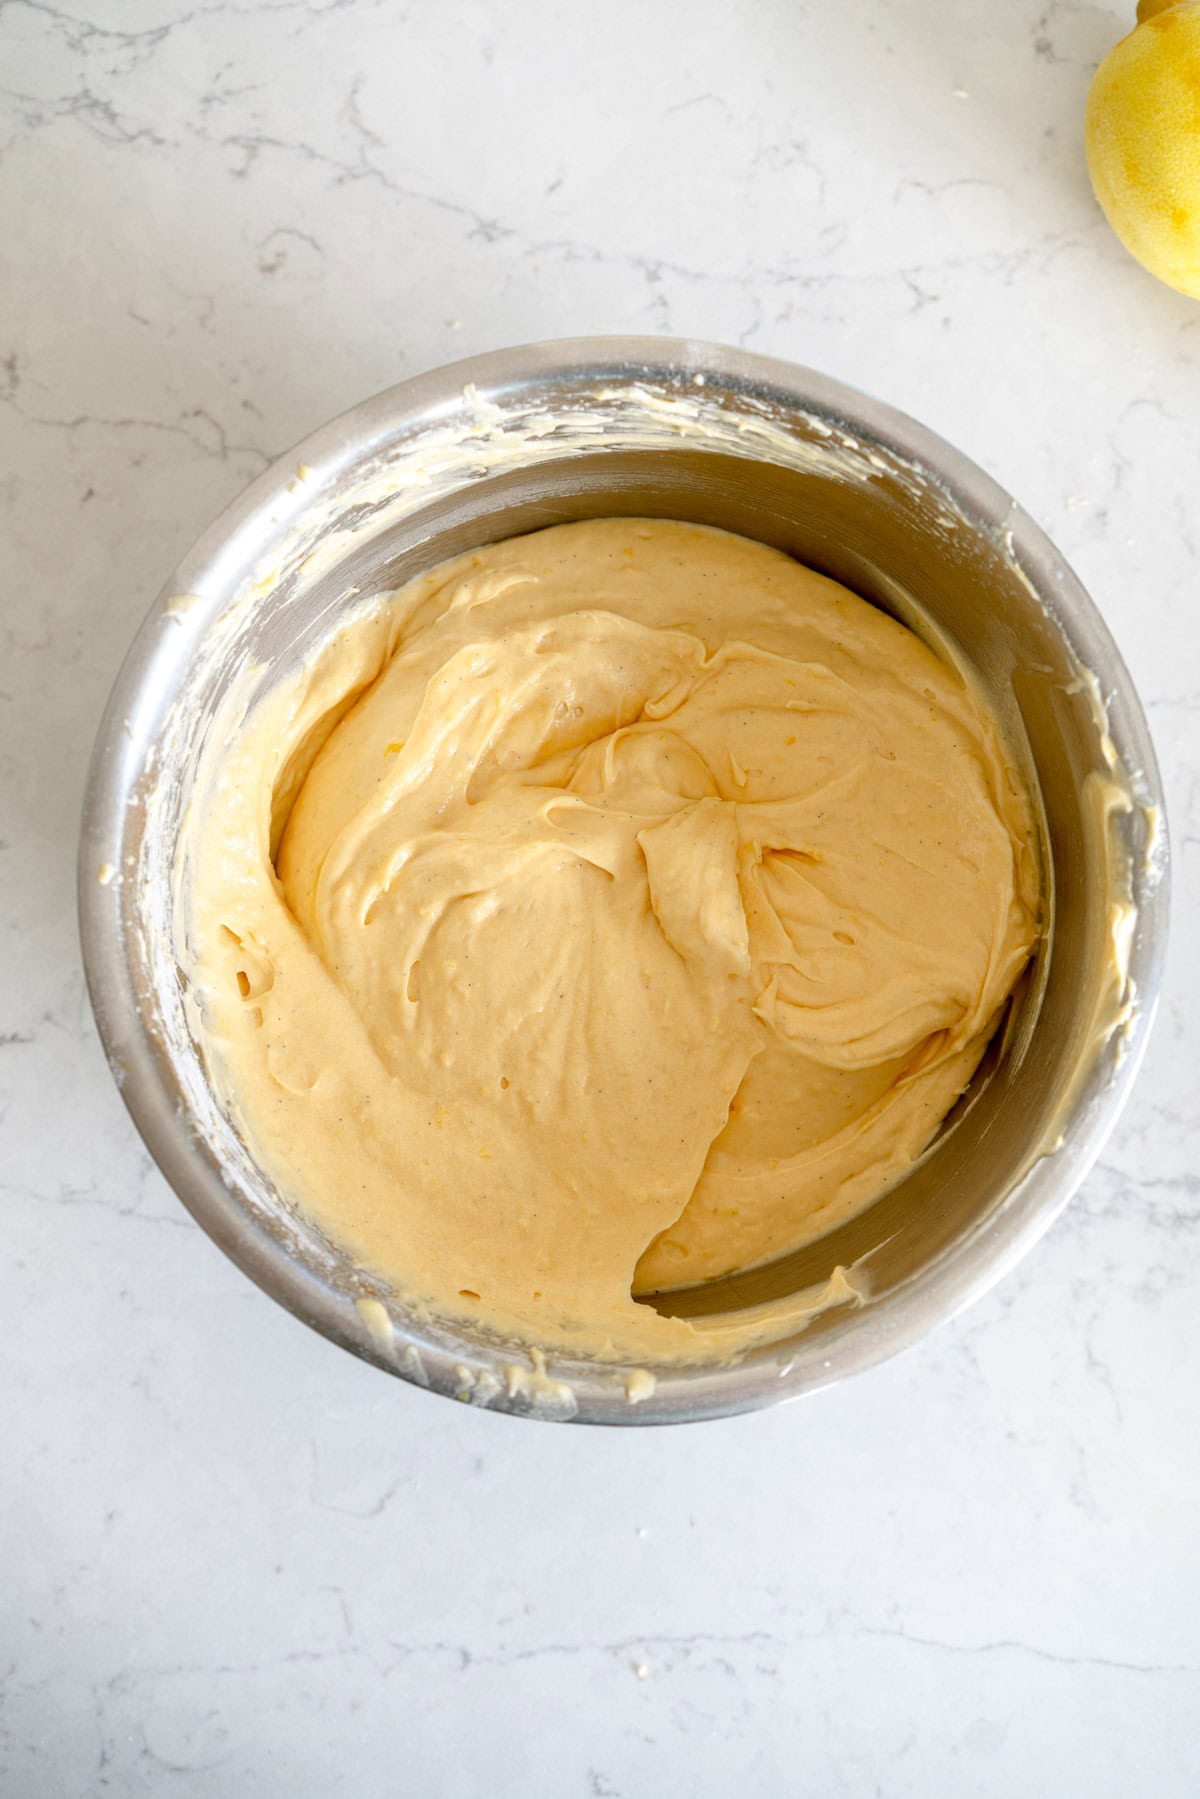
- Adjust the cocoa. Oreo brownies get their distinctive flavour from Black cocoa, which has been put through the 'Dutching' process or extra alkalised to give it the flavour. This gives a super rich dark flavour that is perfect for this brownie. If you don't have black cocoa, regular Dutch cocoa works too!
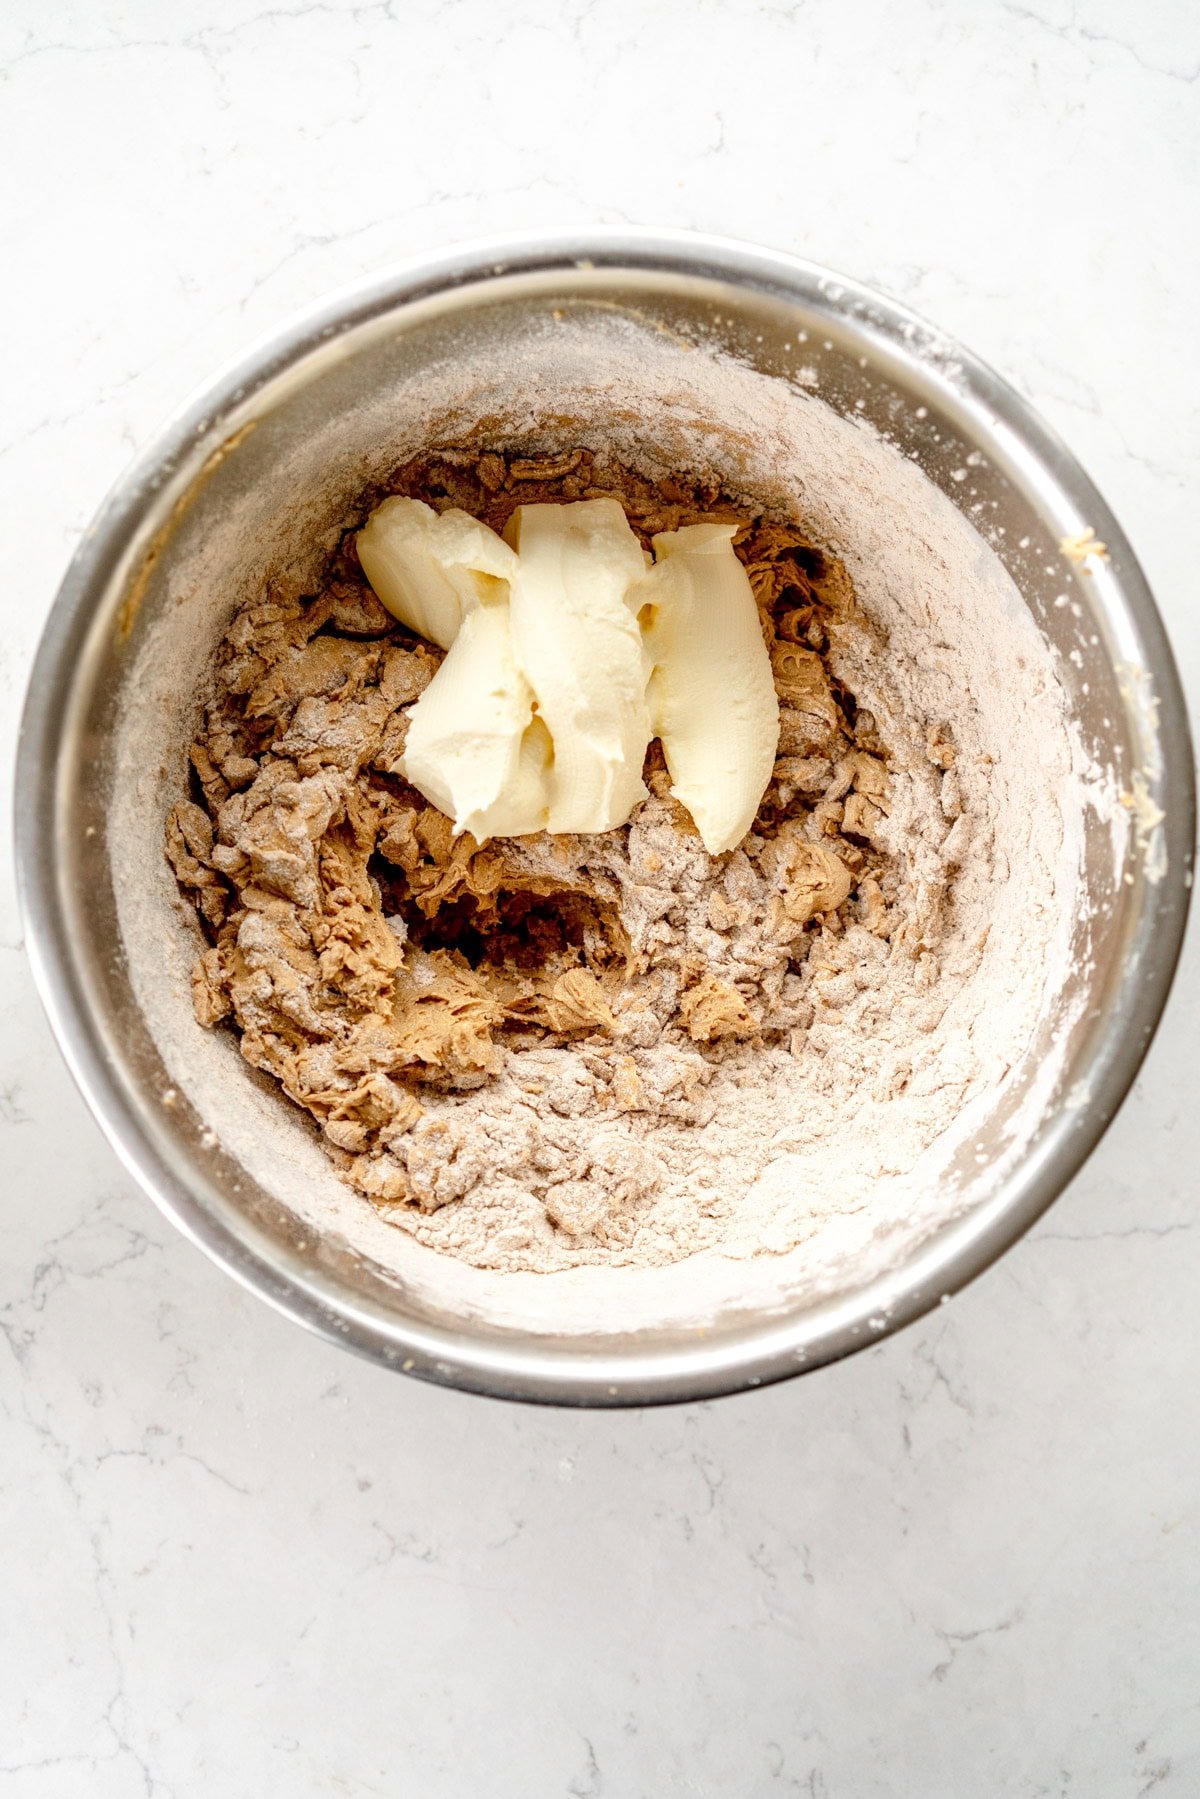
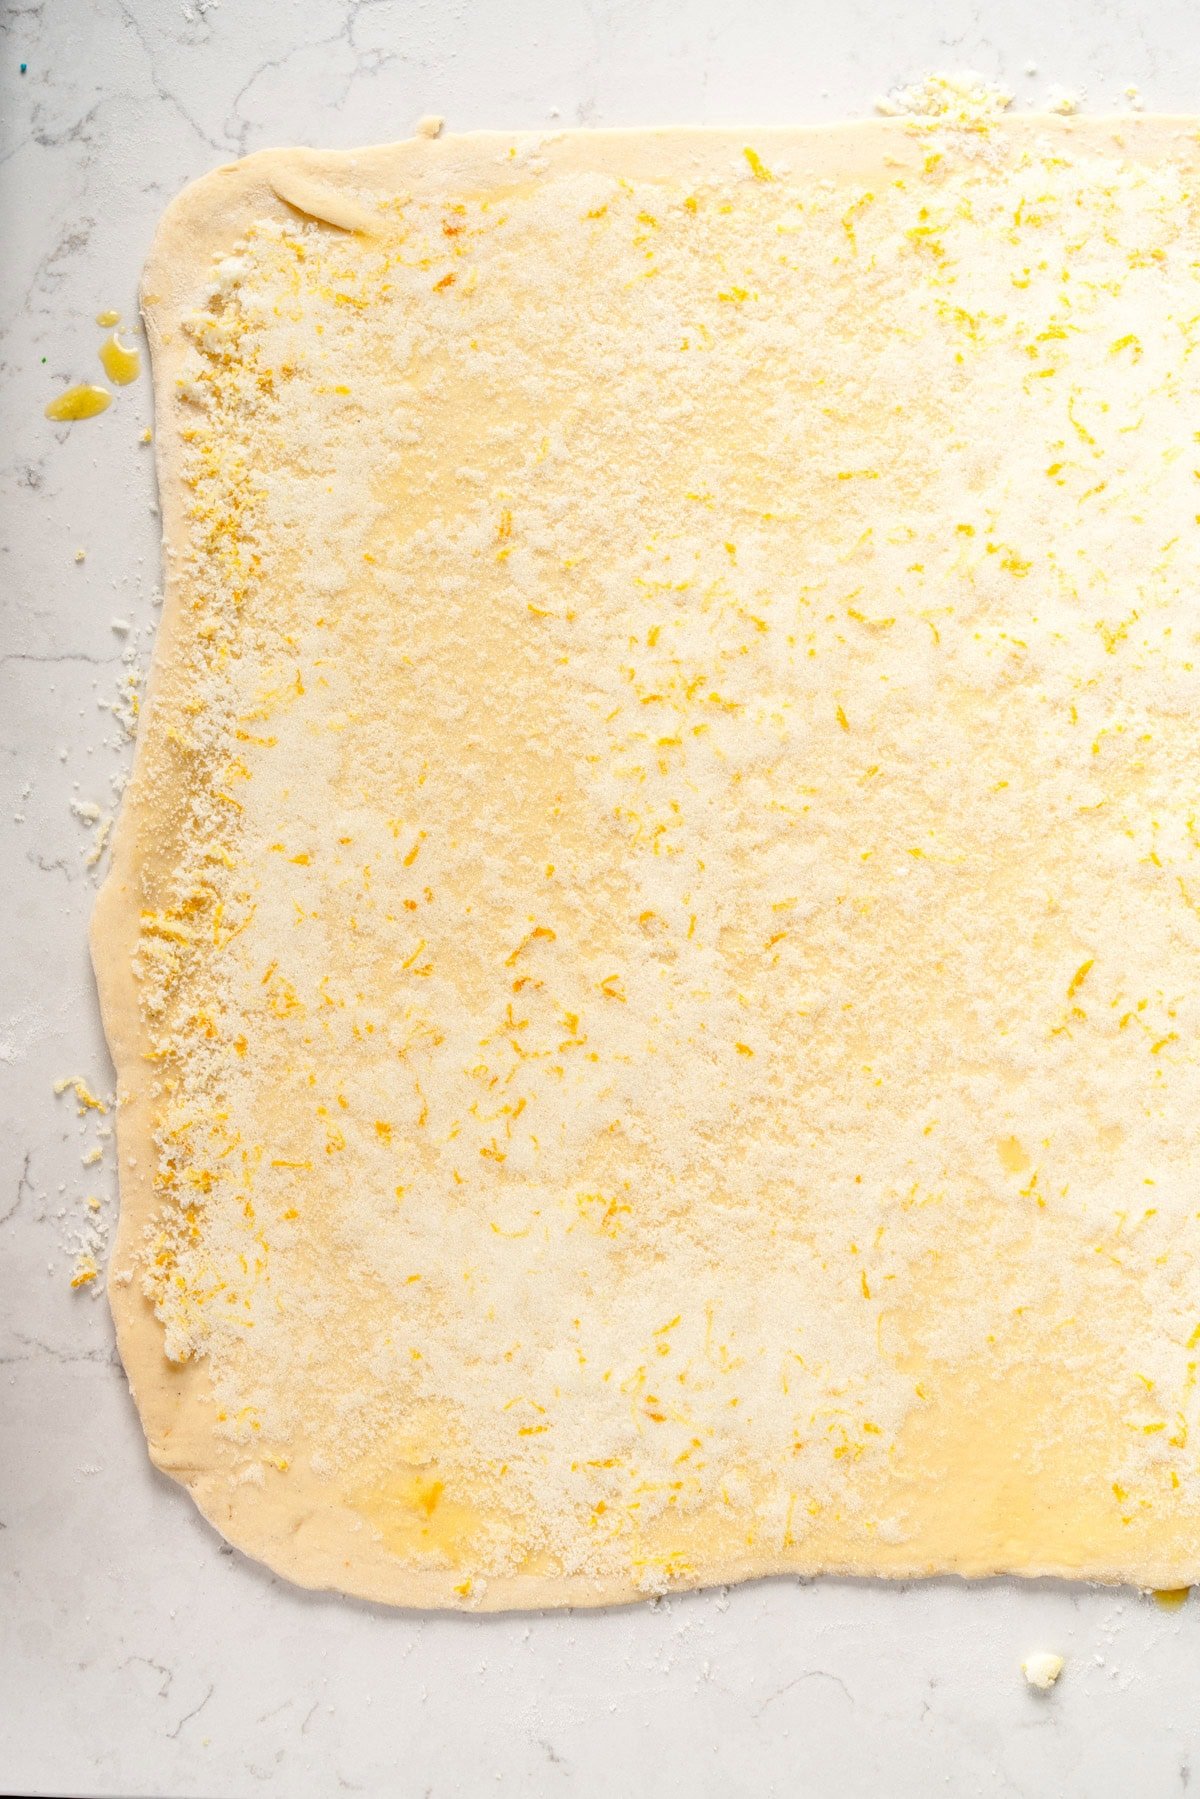
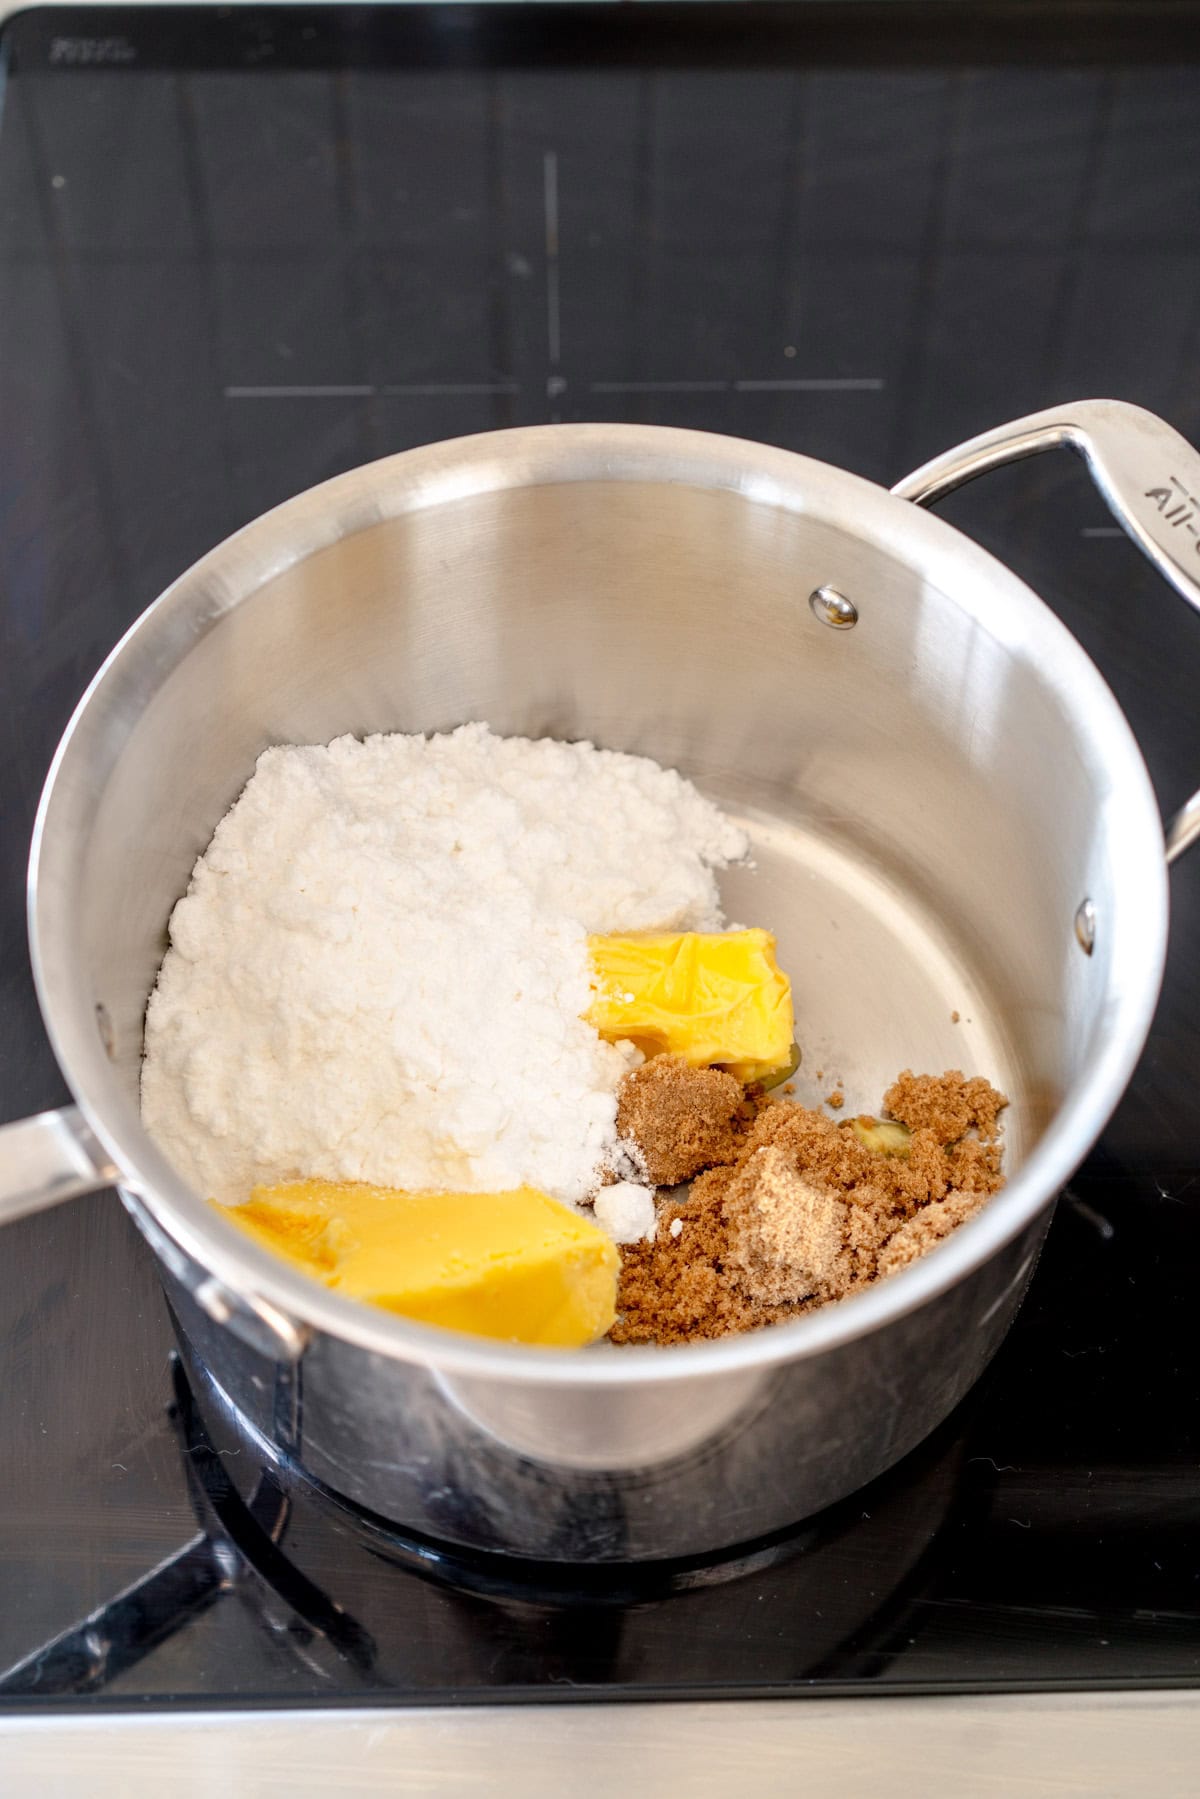
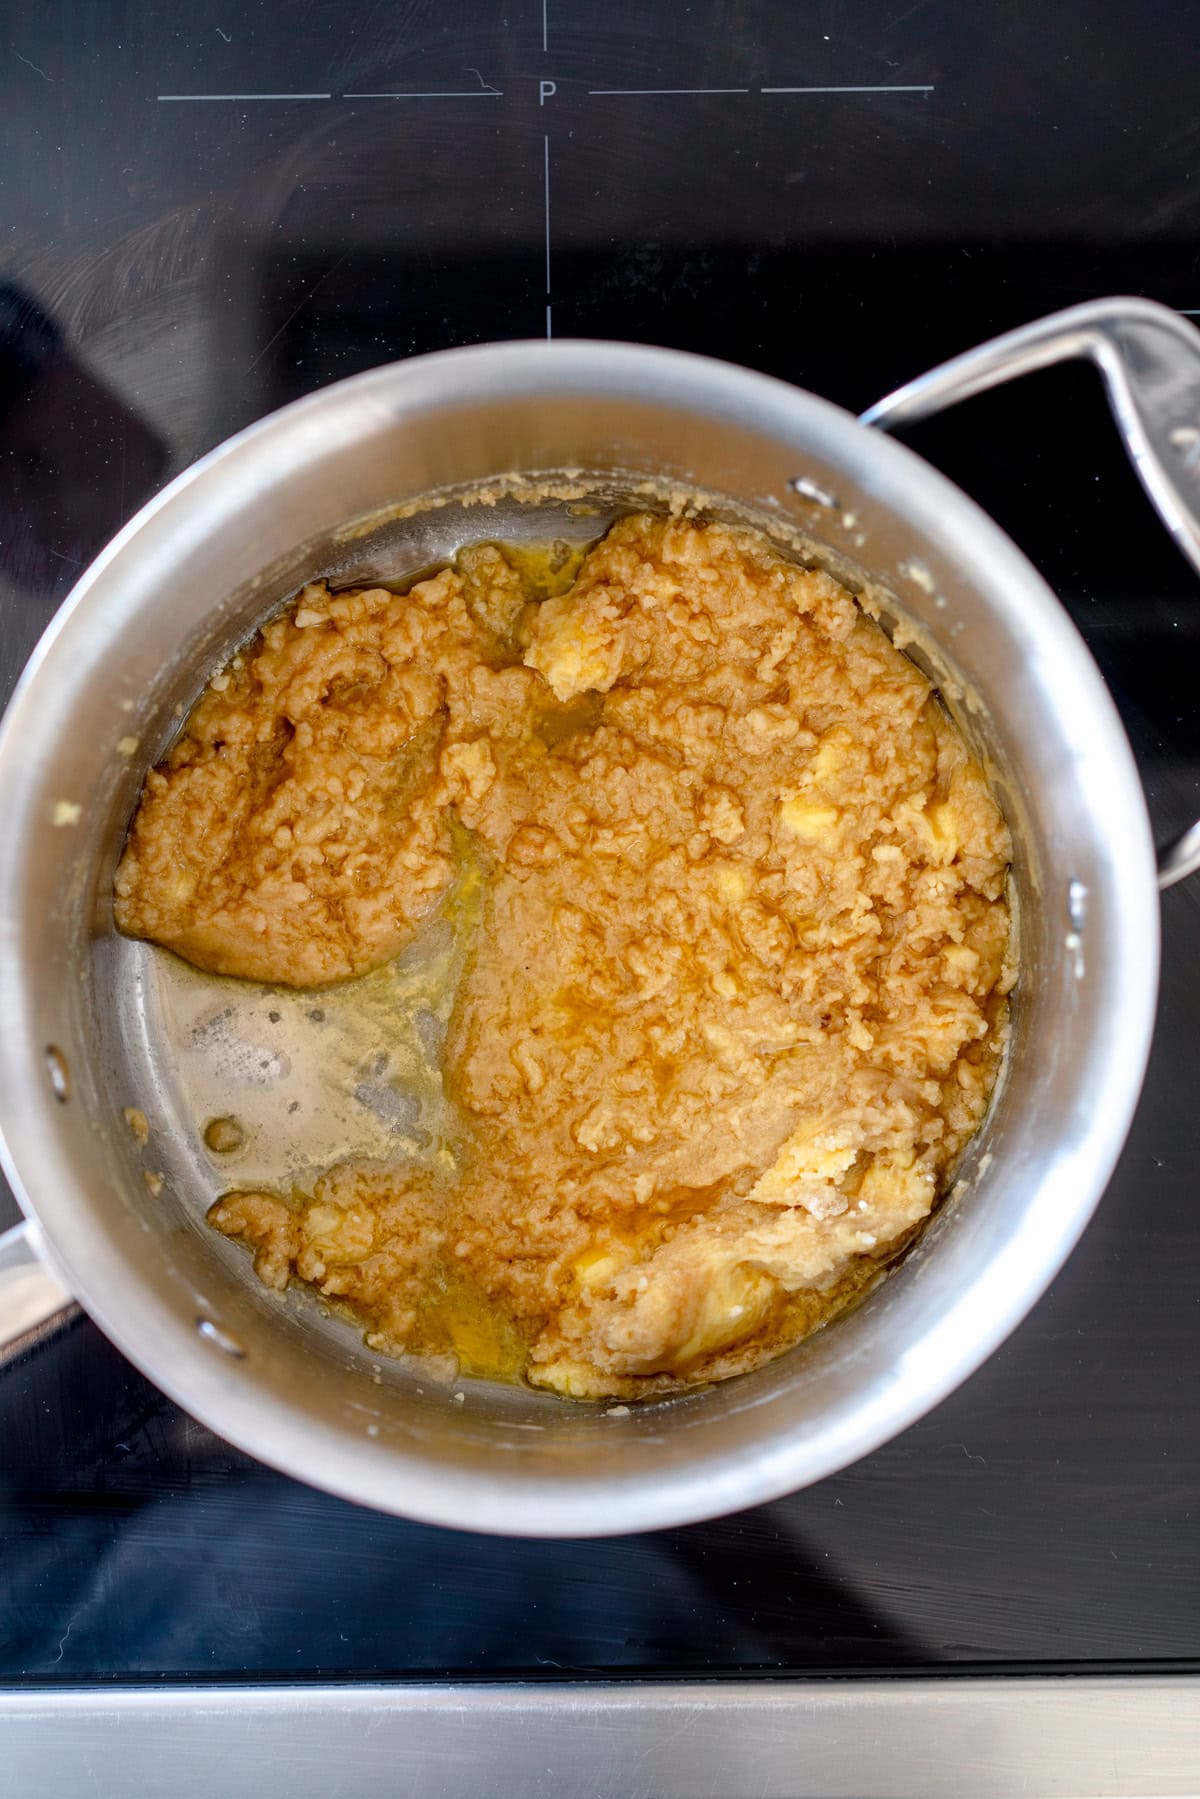
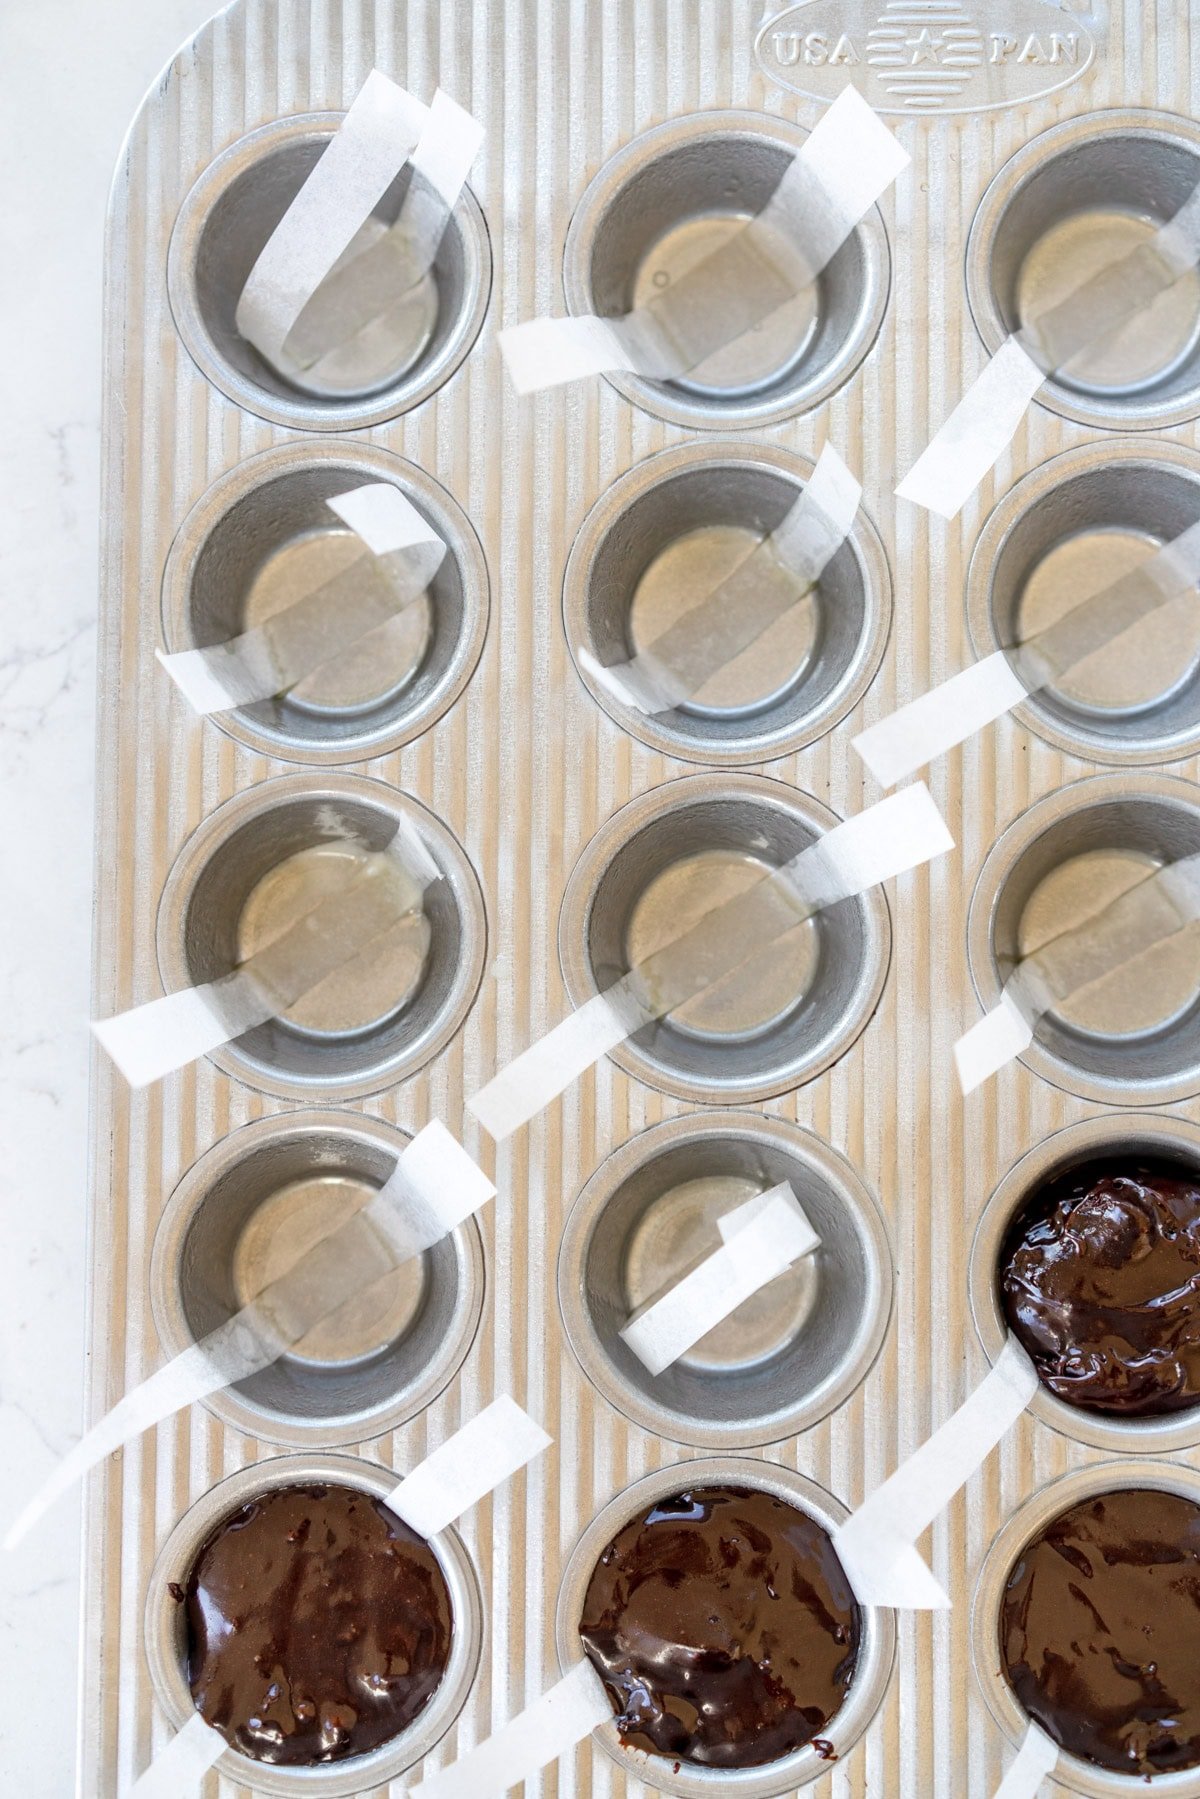
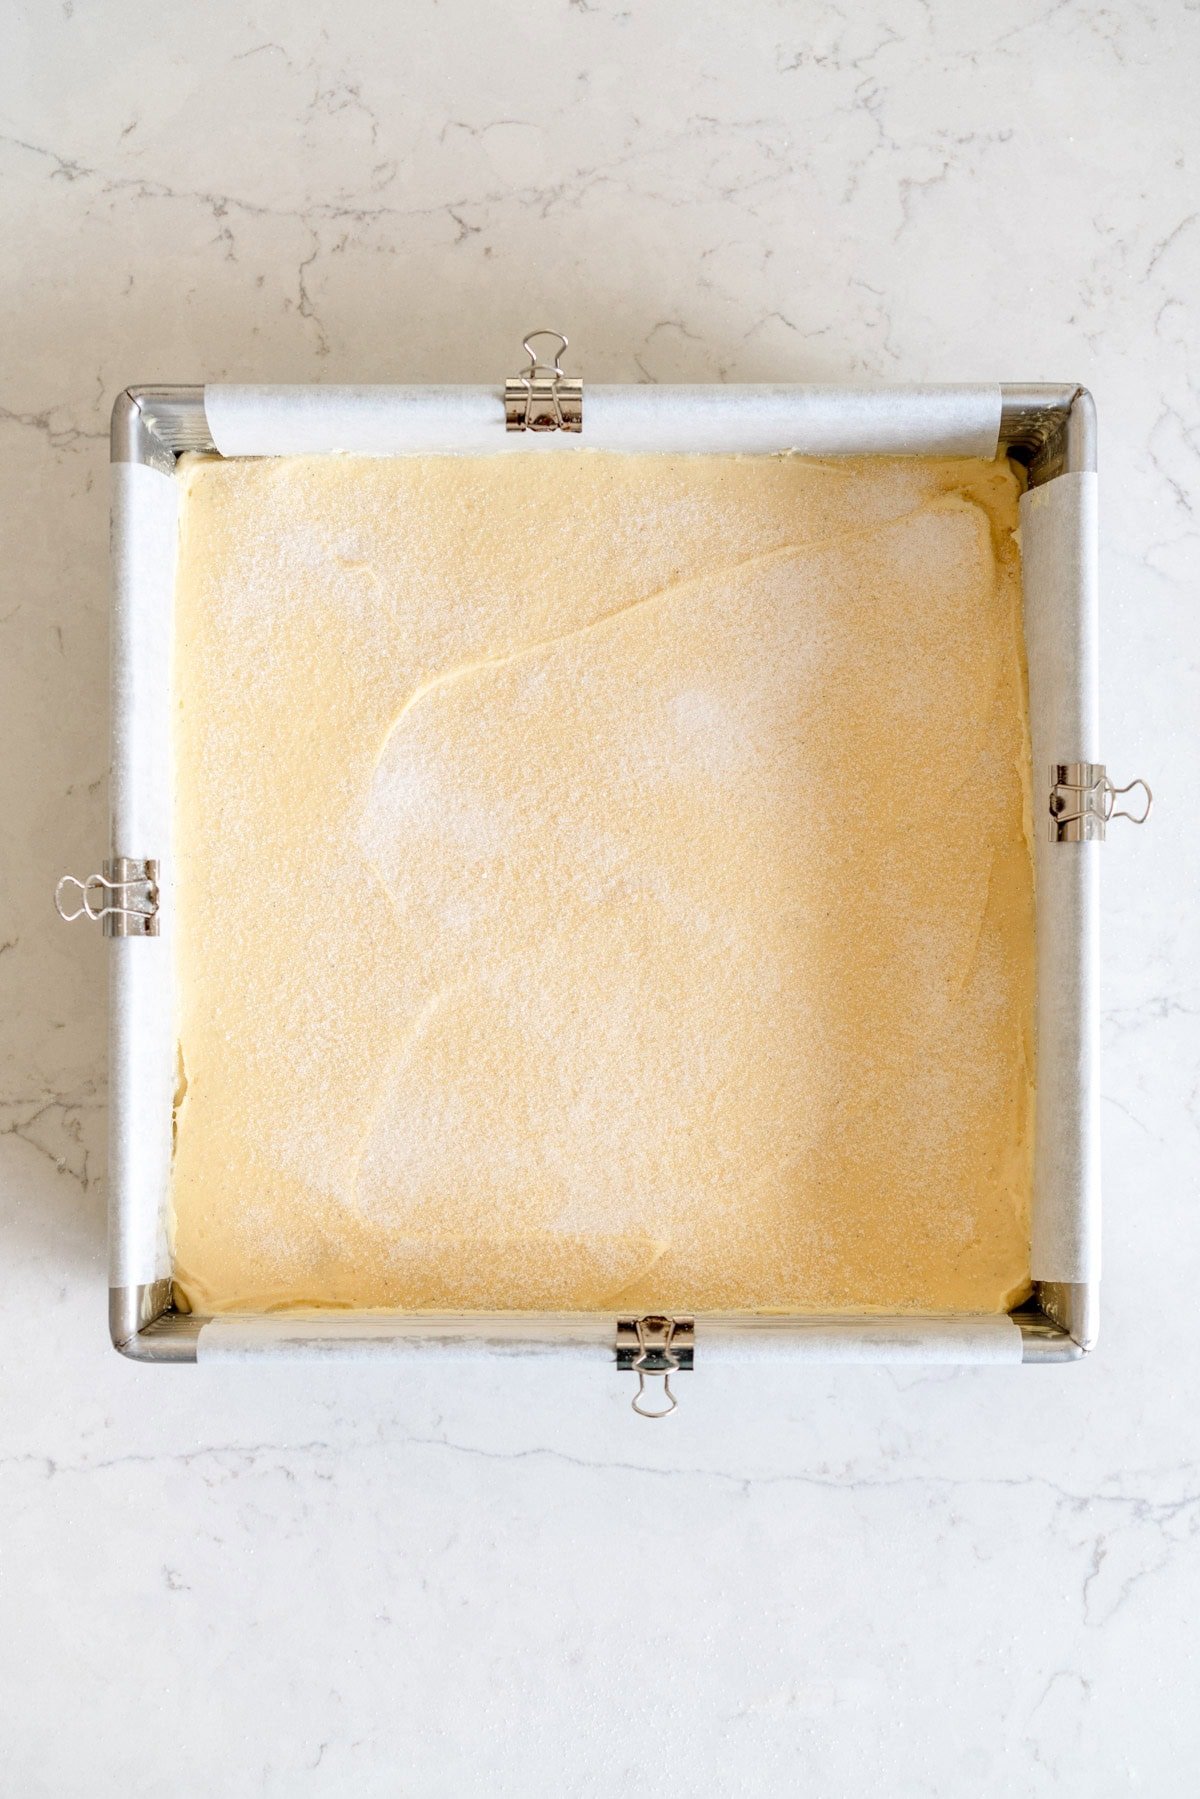
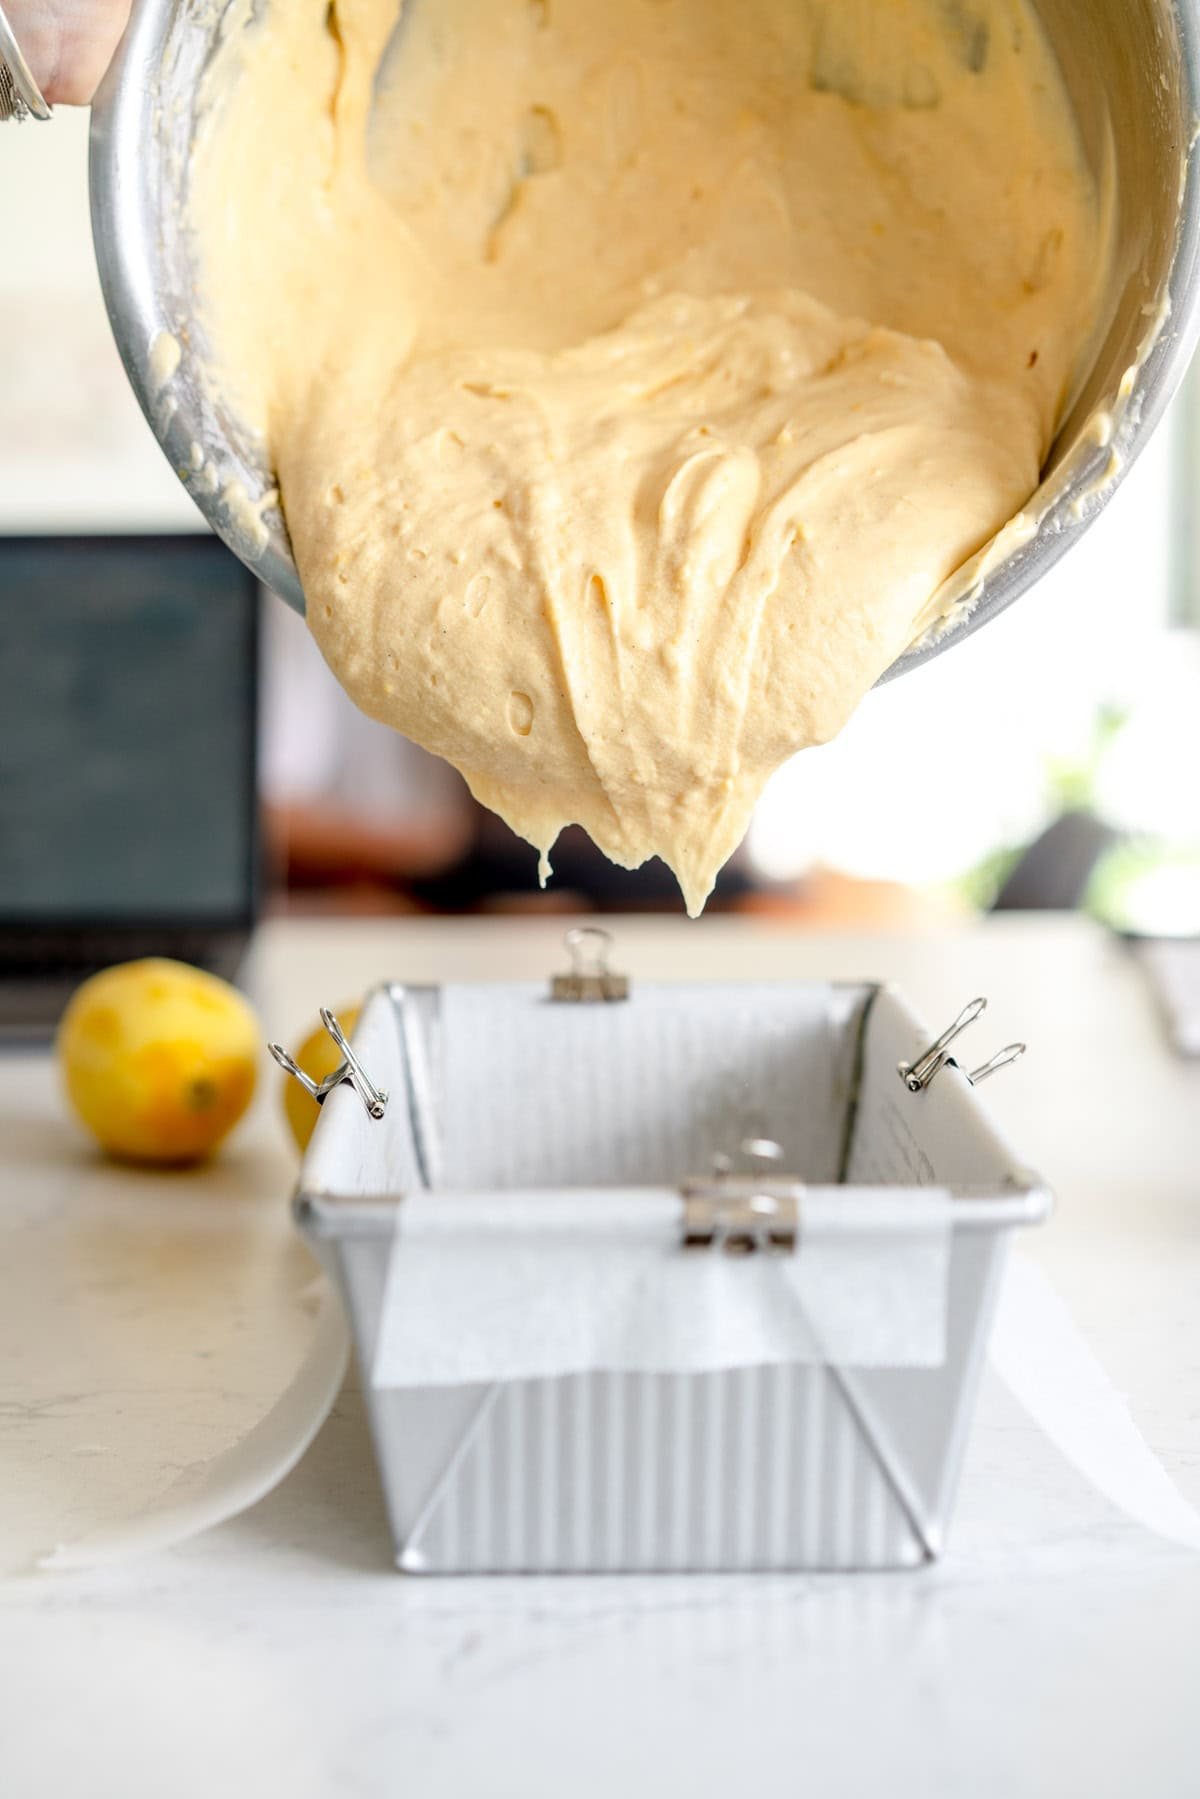
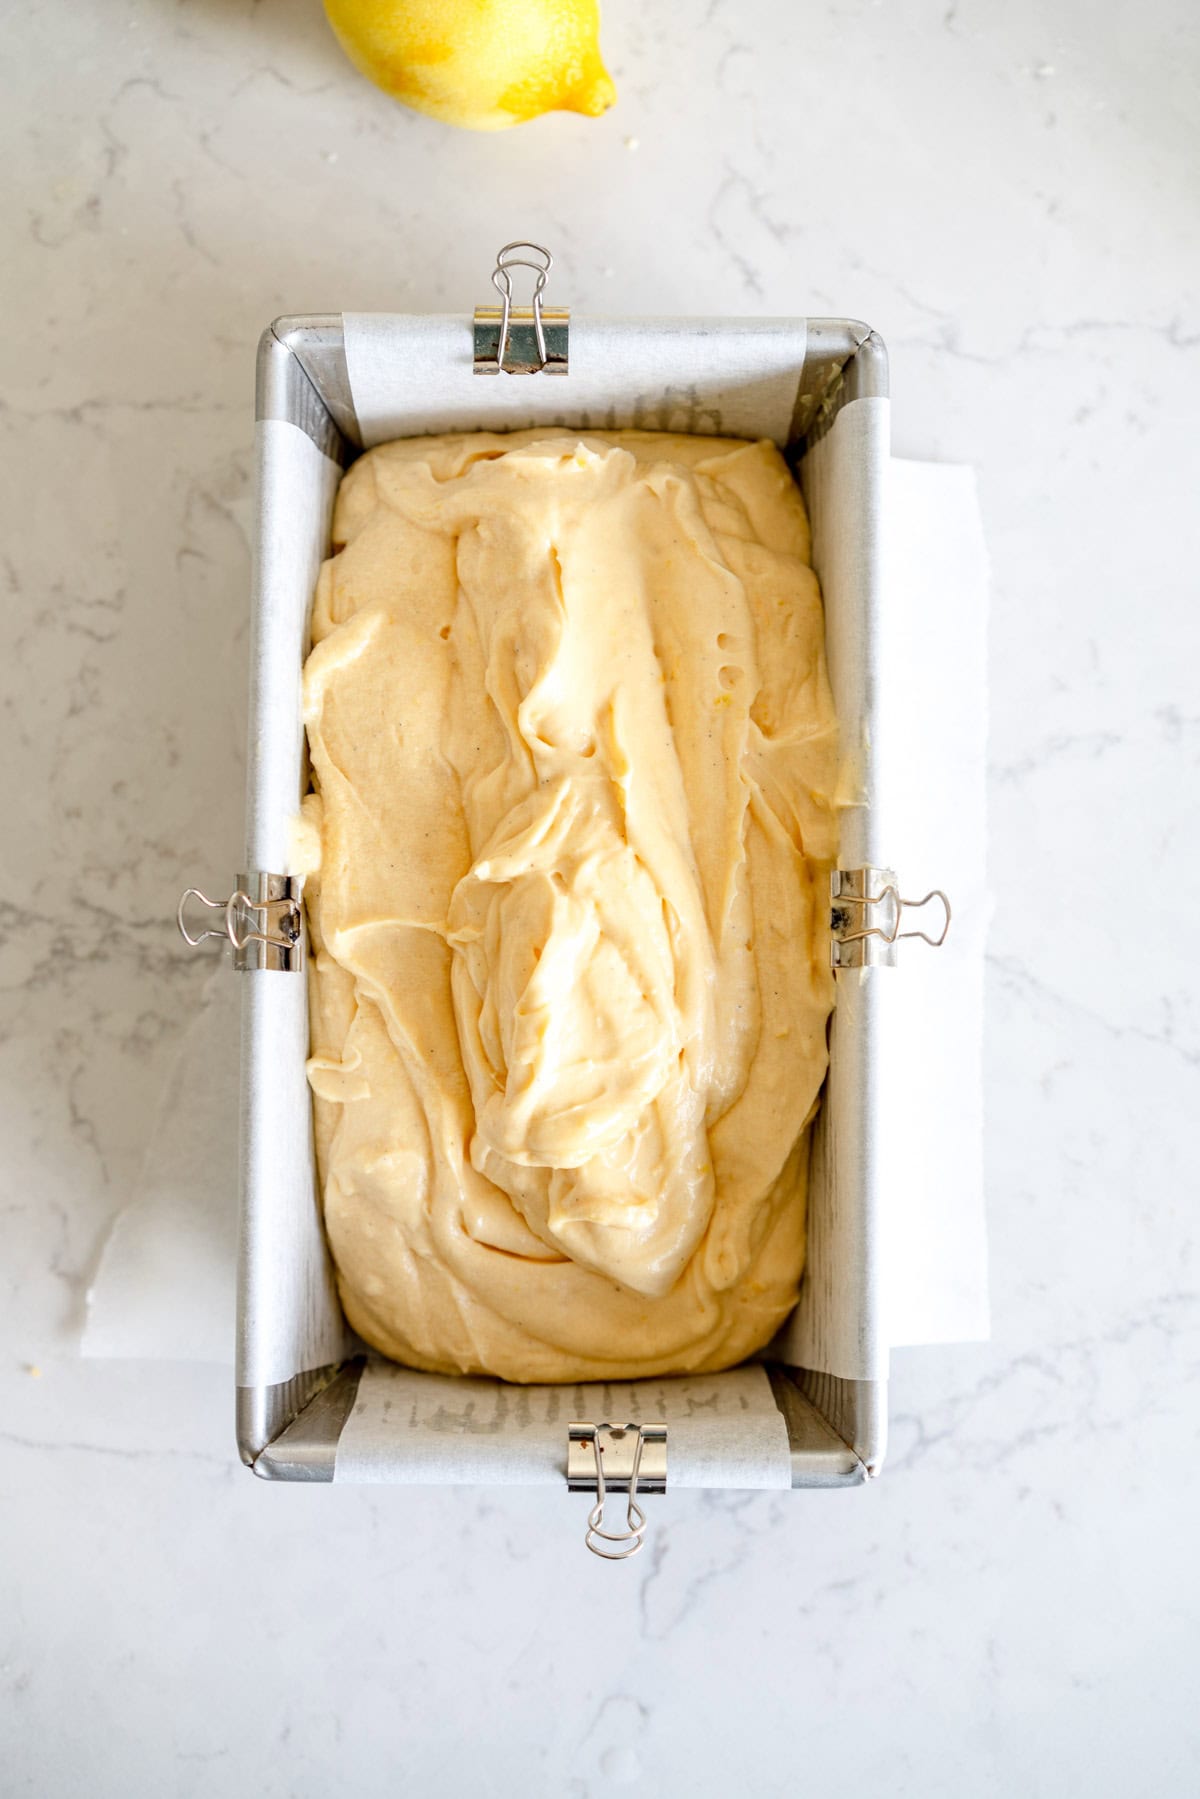
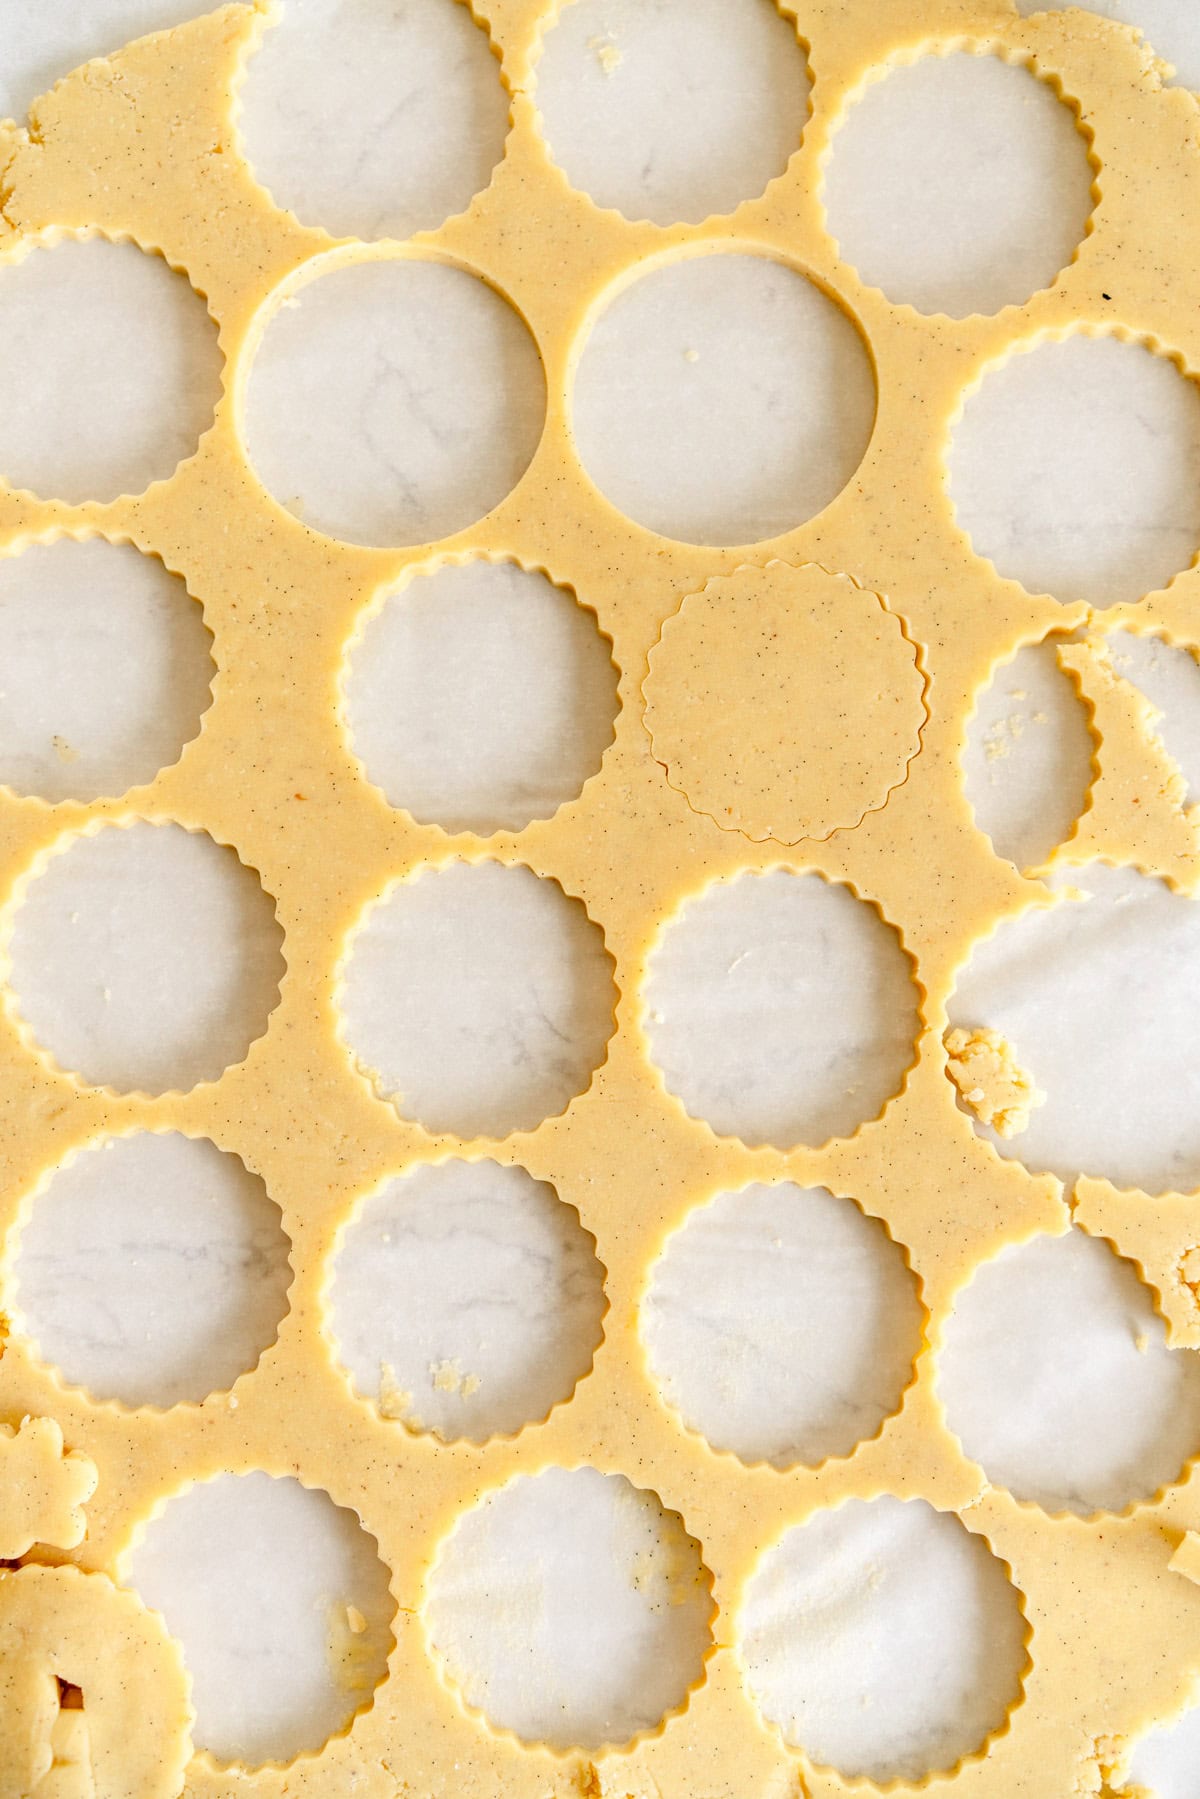
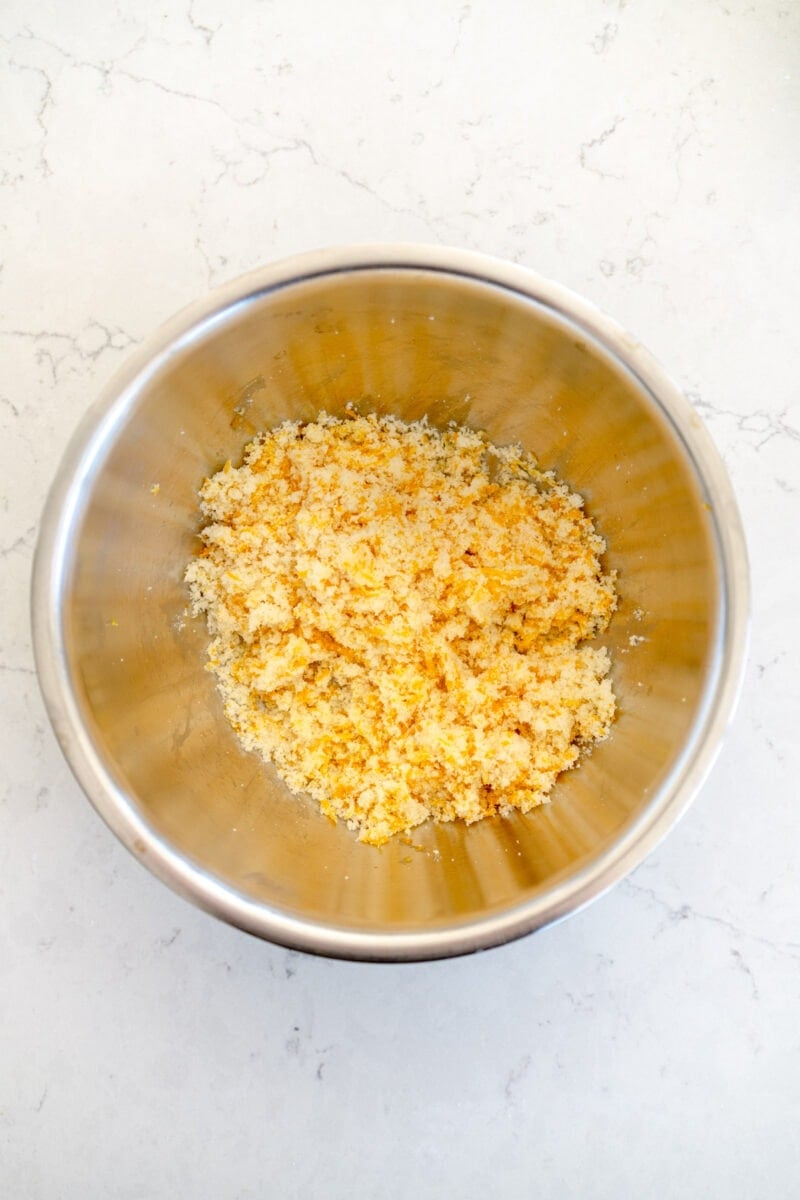
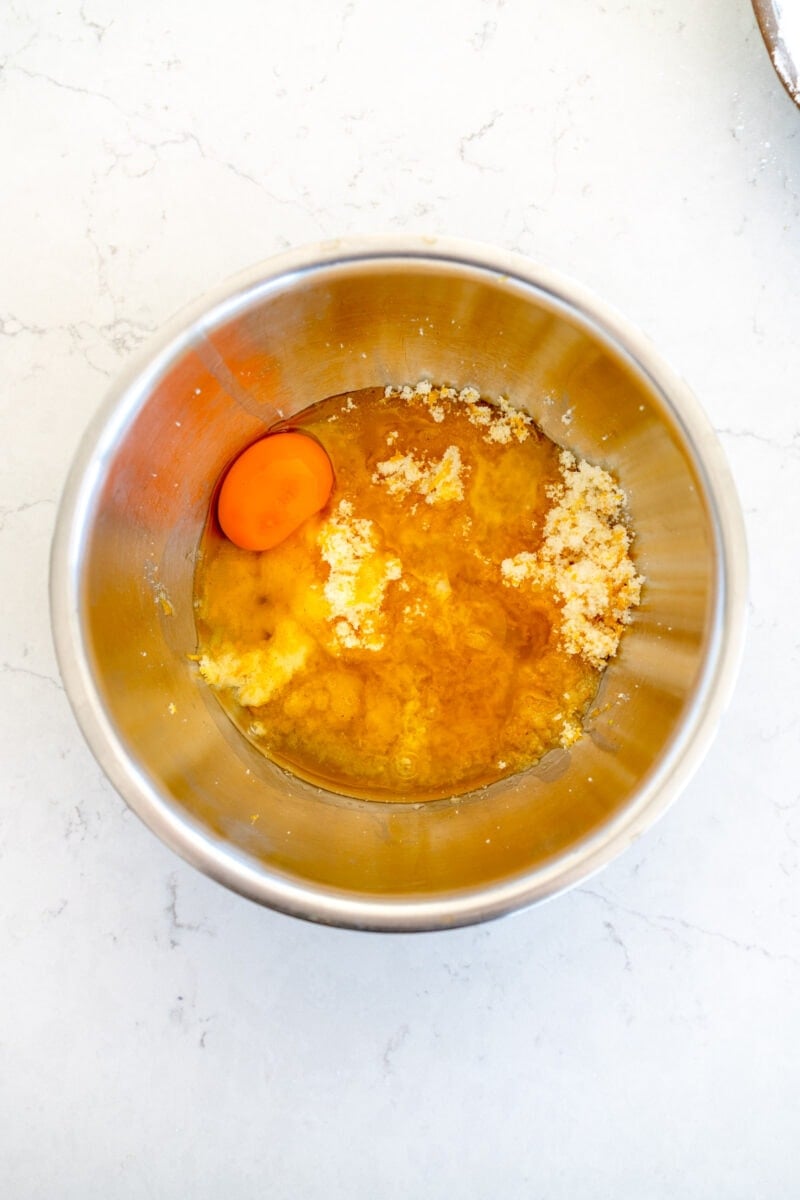
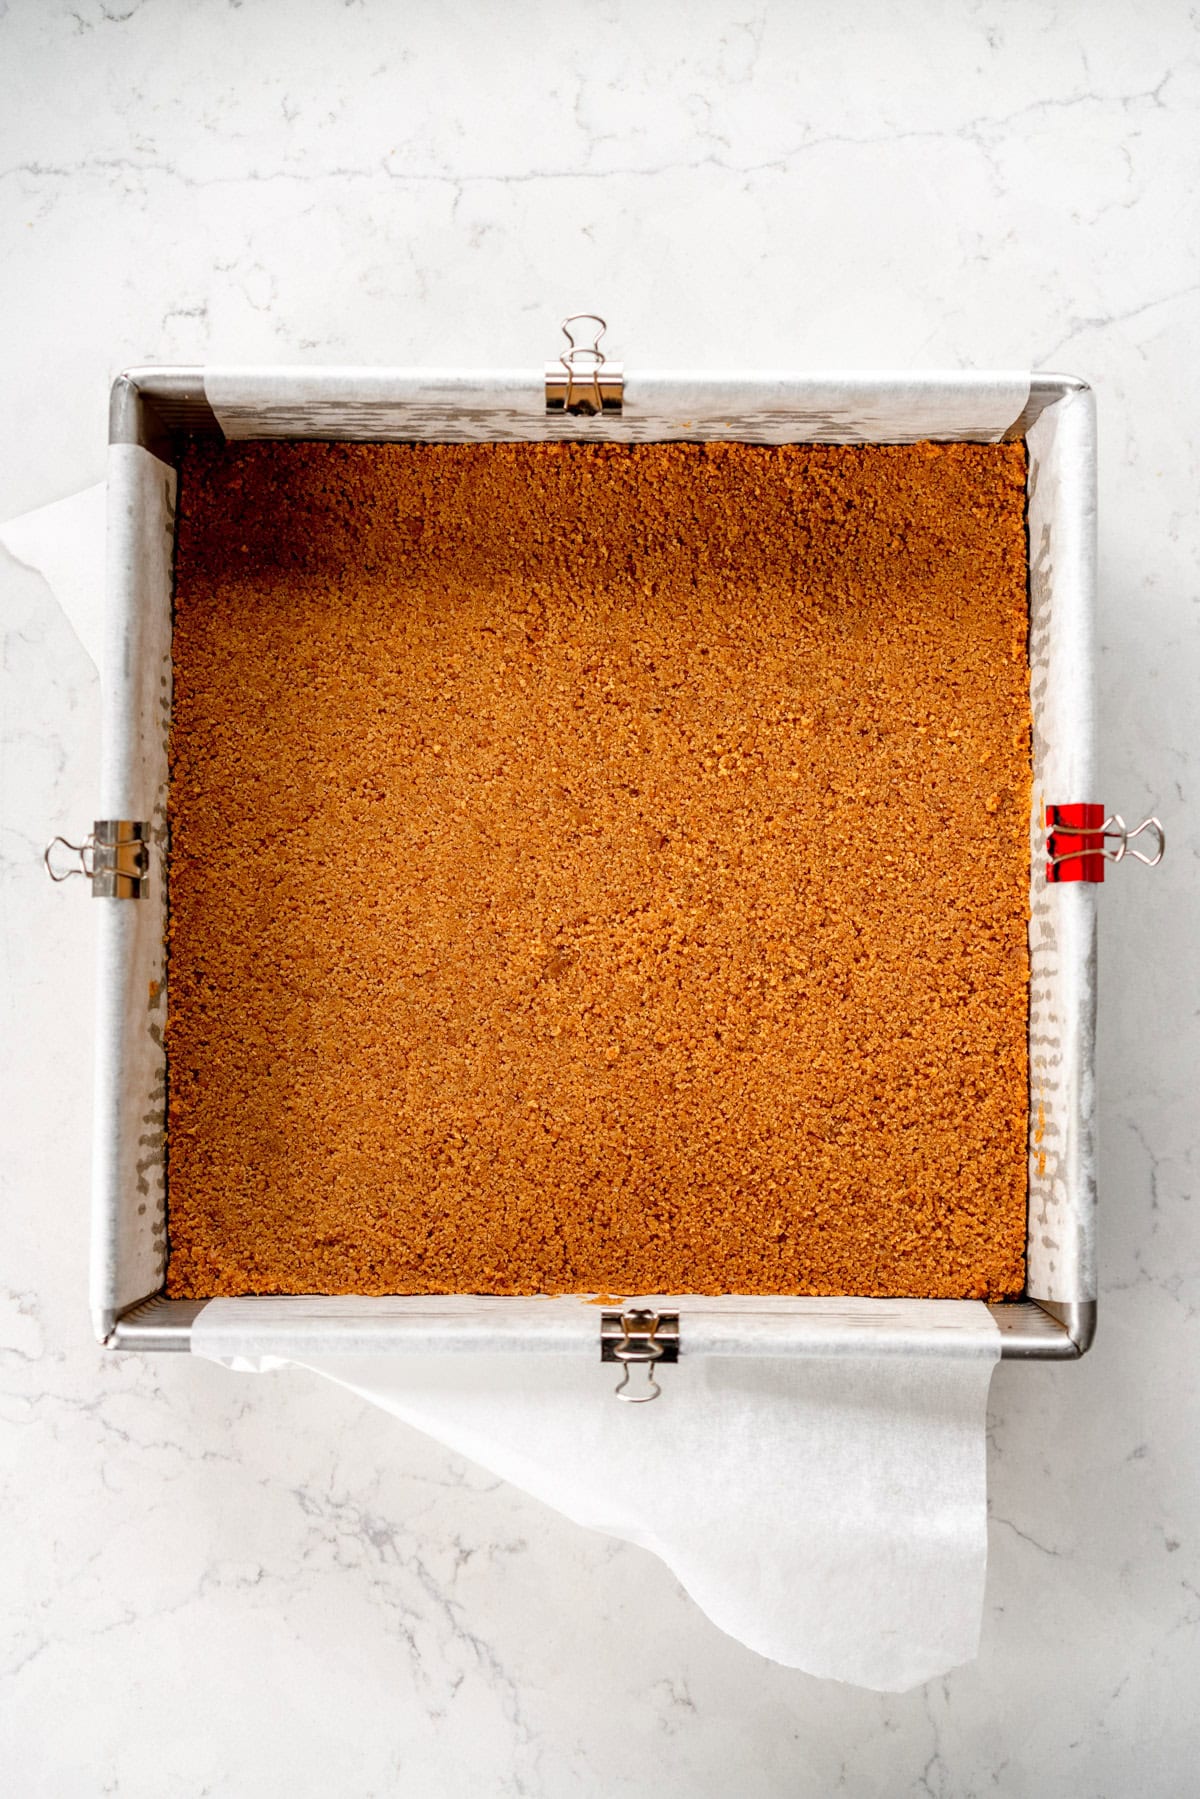
- Add a crust. I already have an existing 2 Ingredient Oreo Crust recipe which I added to the base of the brownie. Originally I tried par-baking it like I do for a pie but it does not need it and got too crumbly once baked, which also makes this recipe super easy as you can assemble the crust and then add the brownie directly on top.
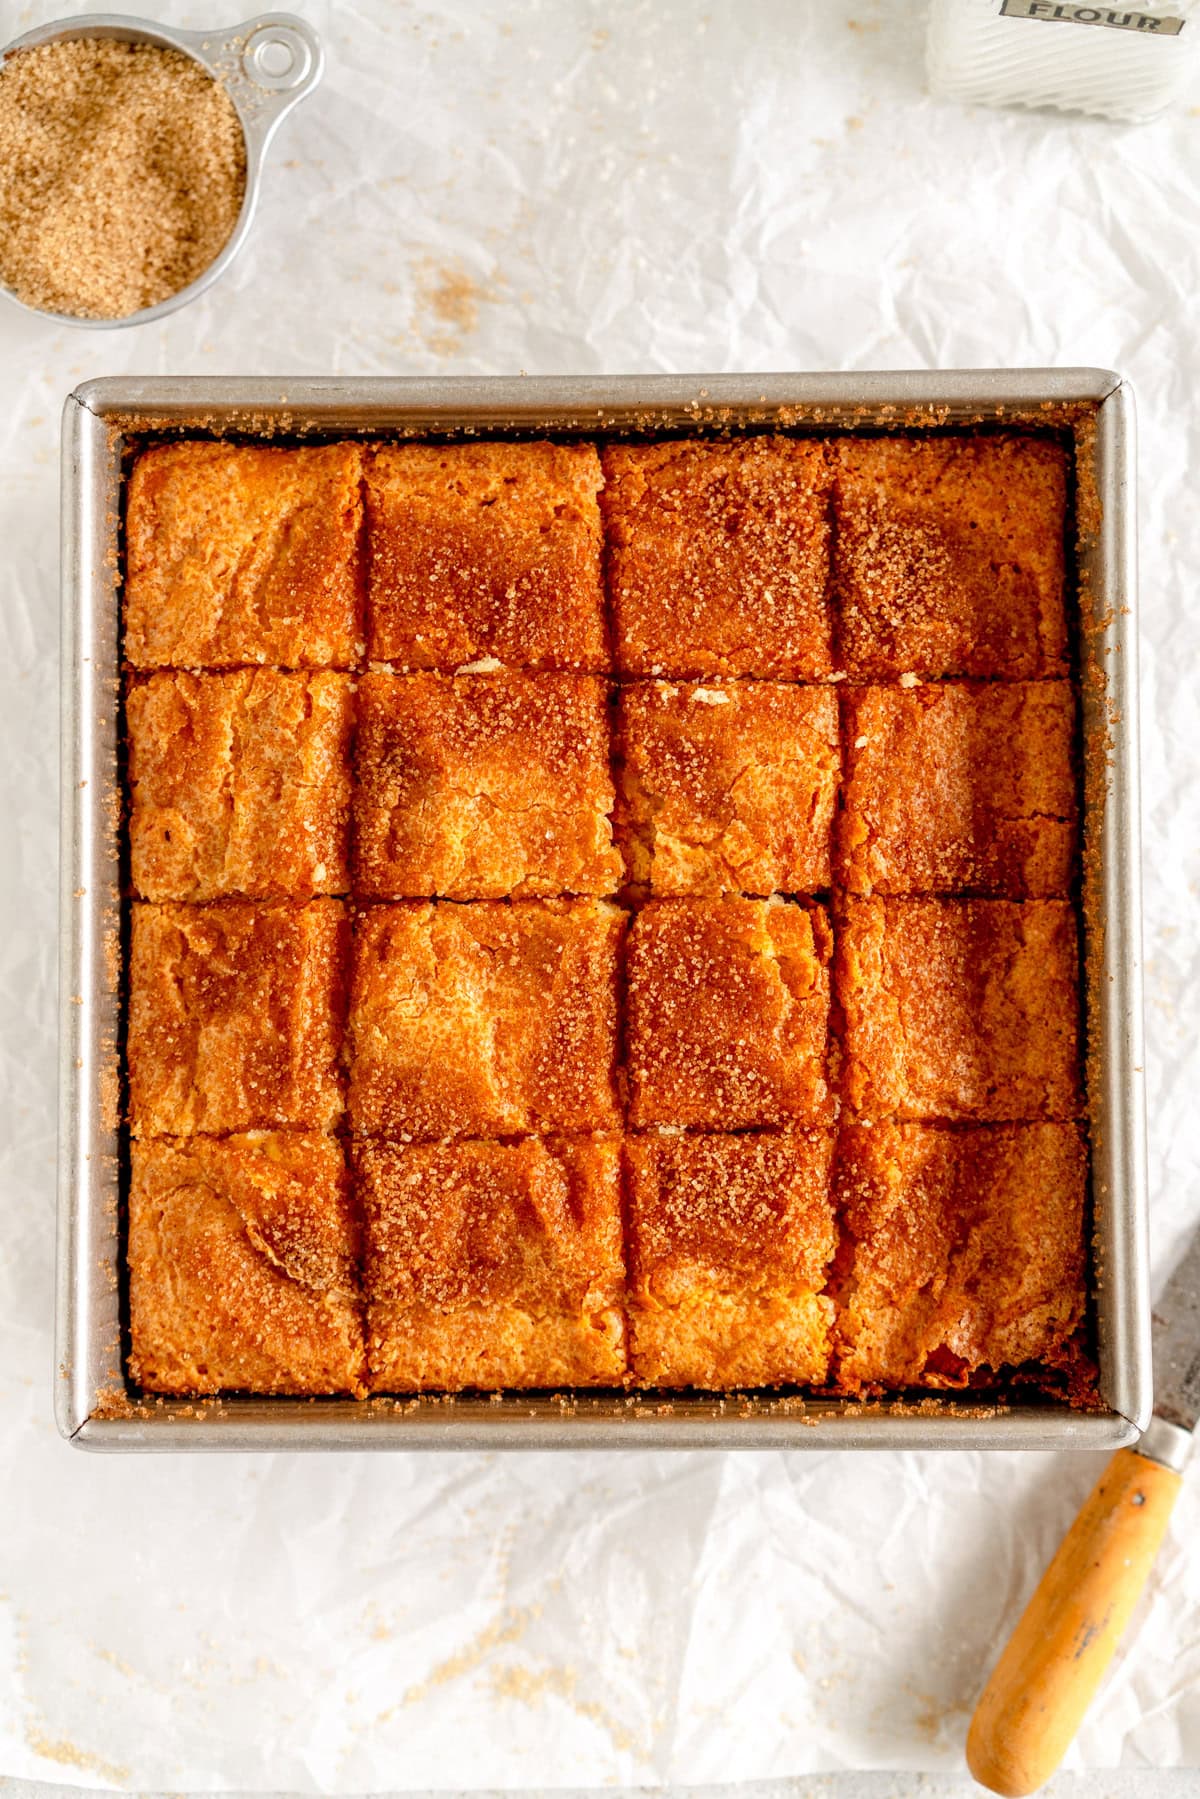
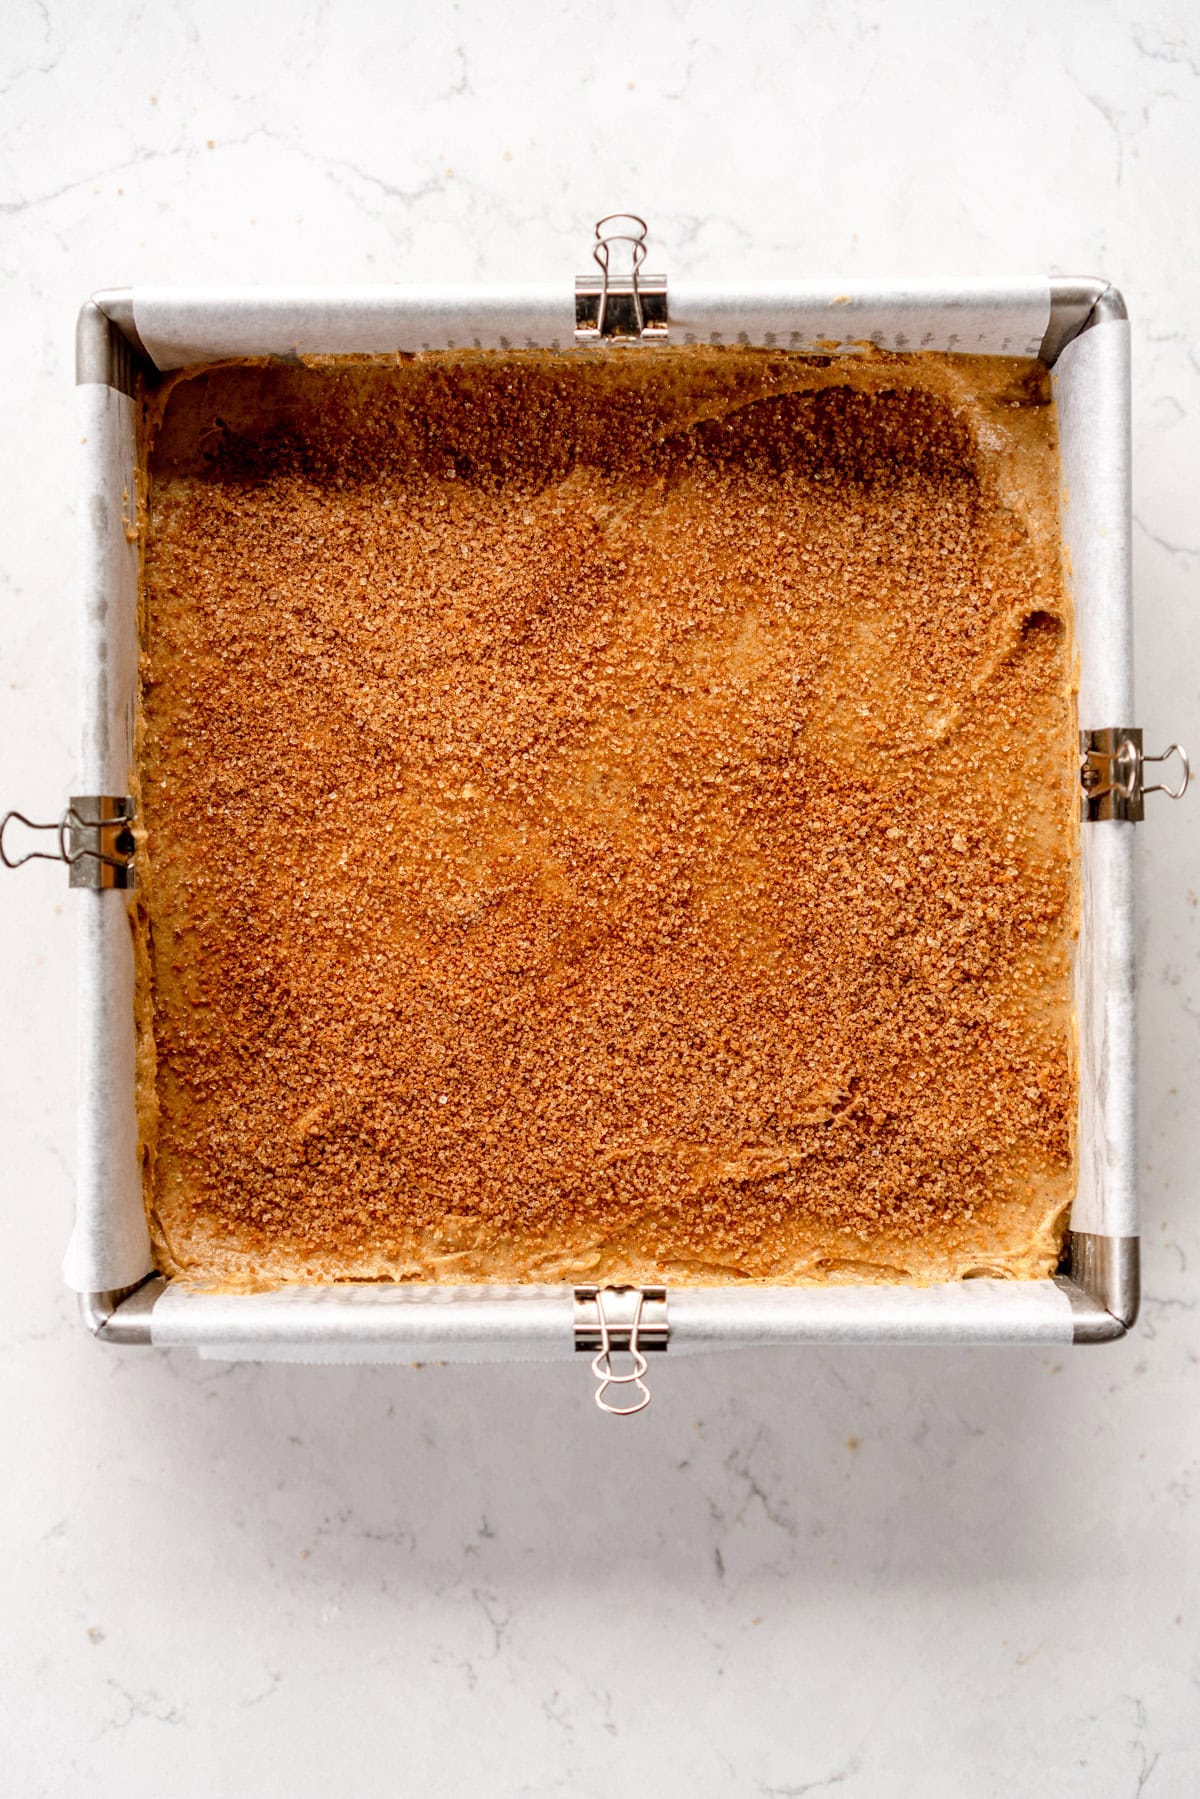
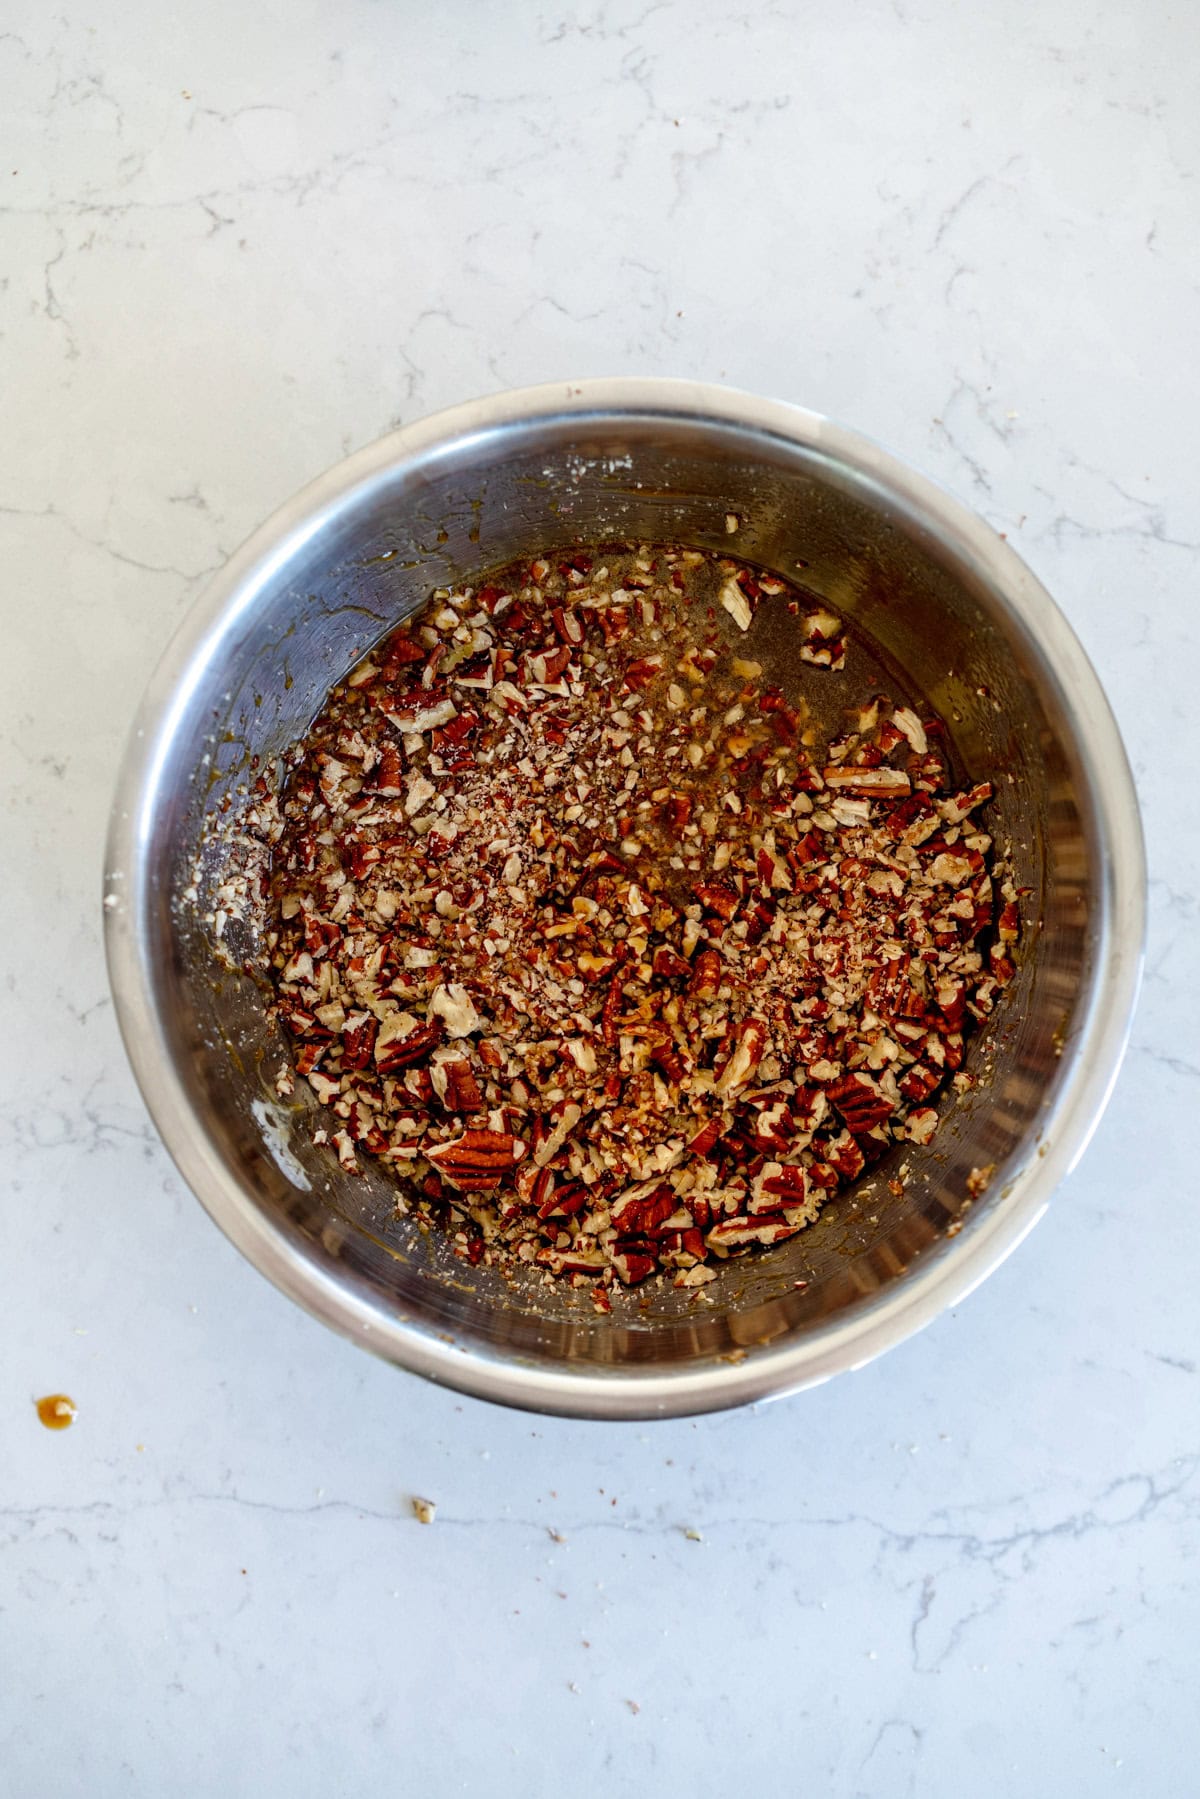
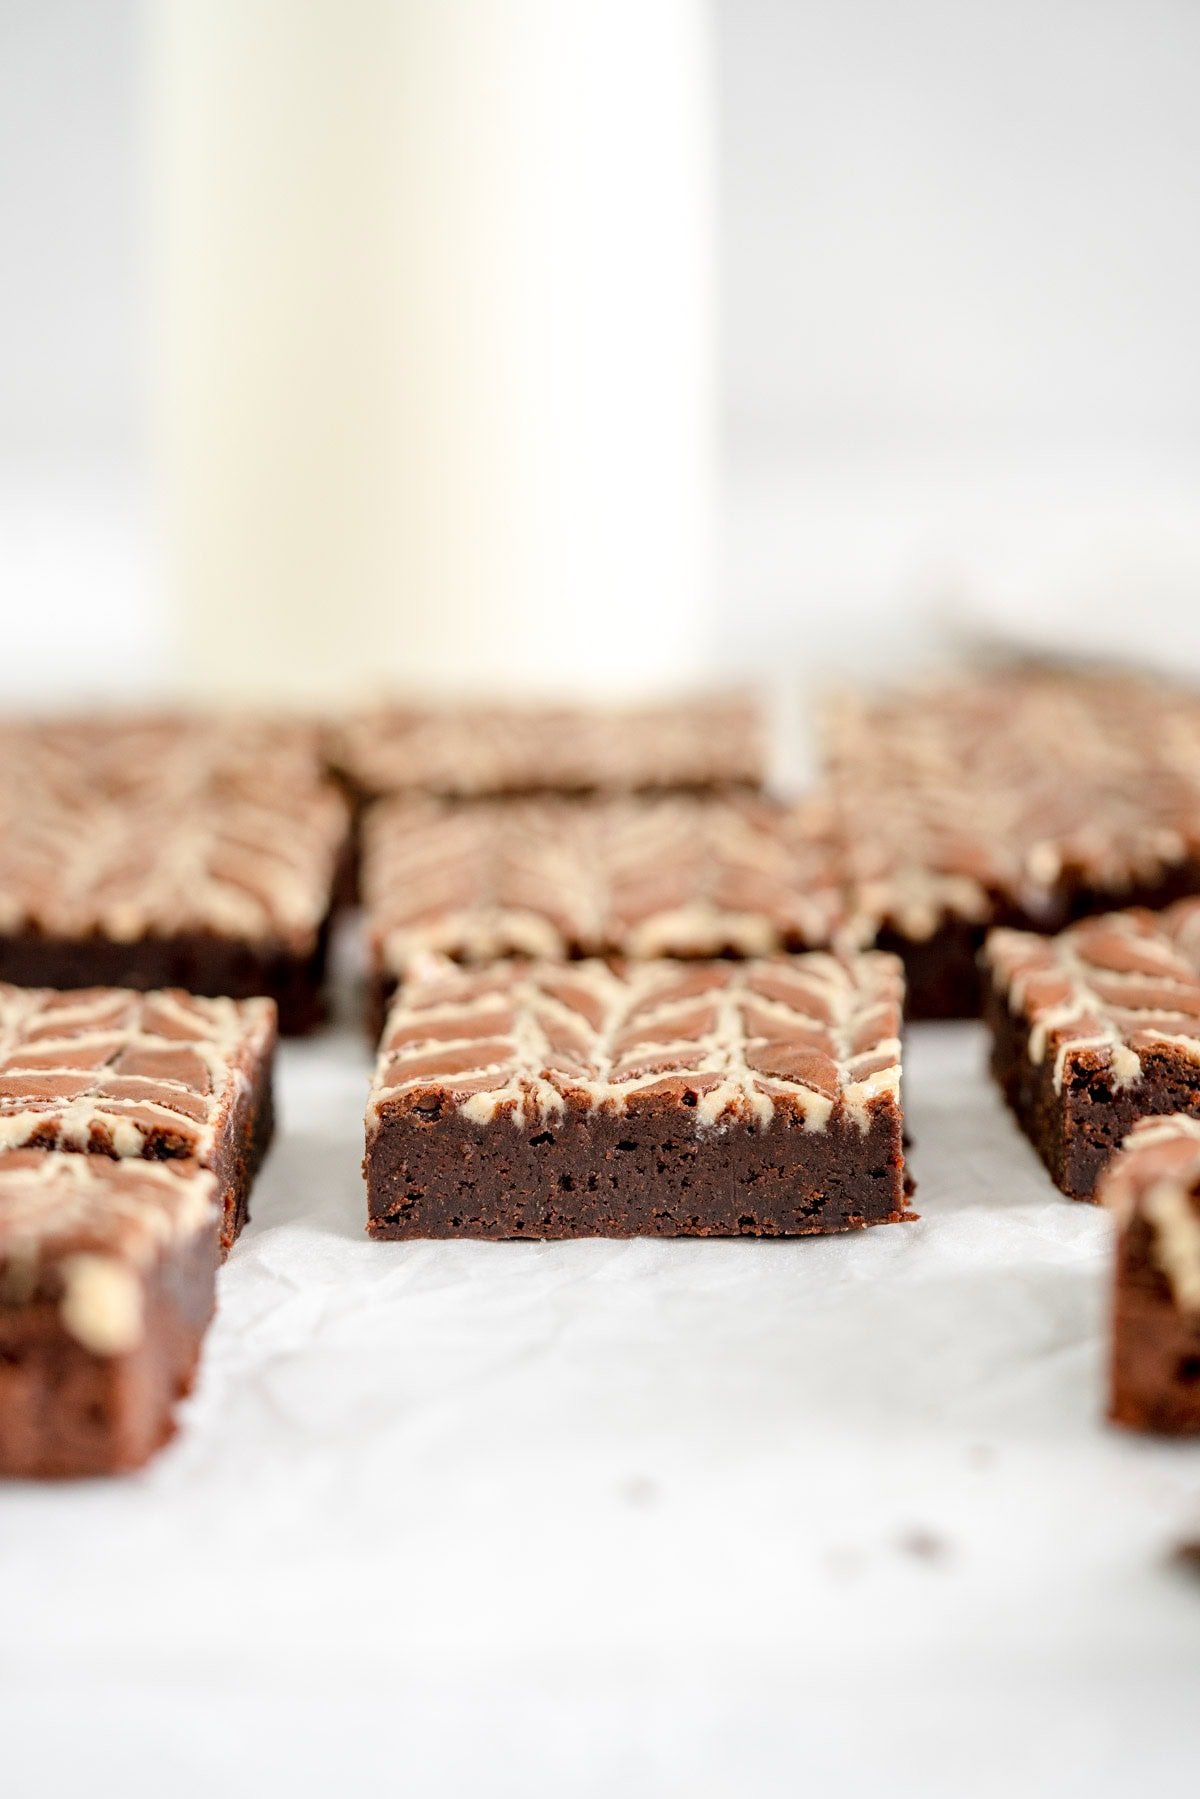
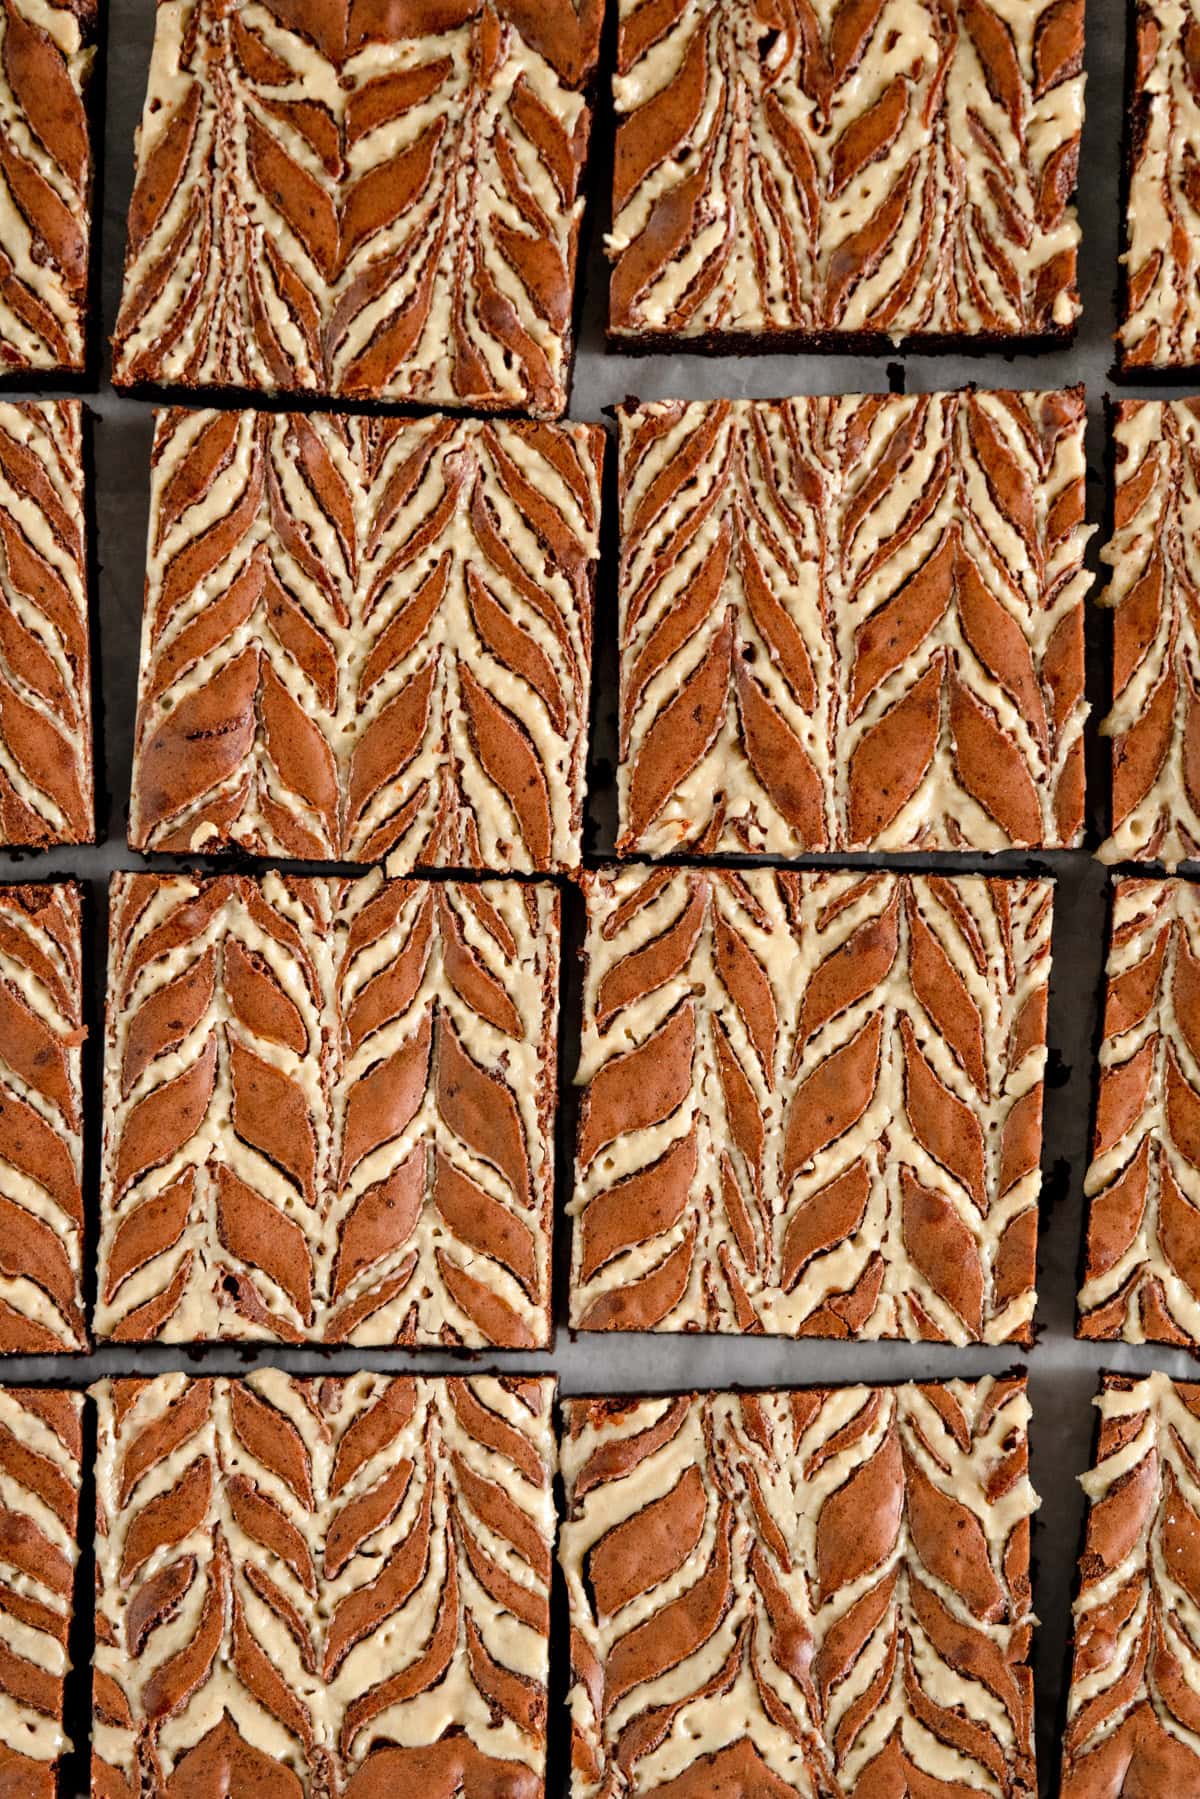
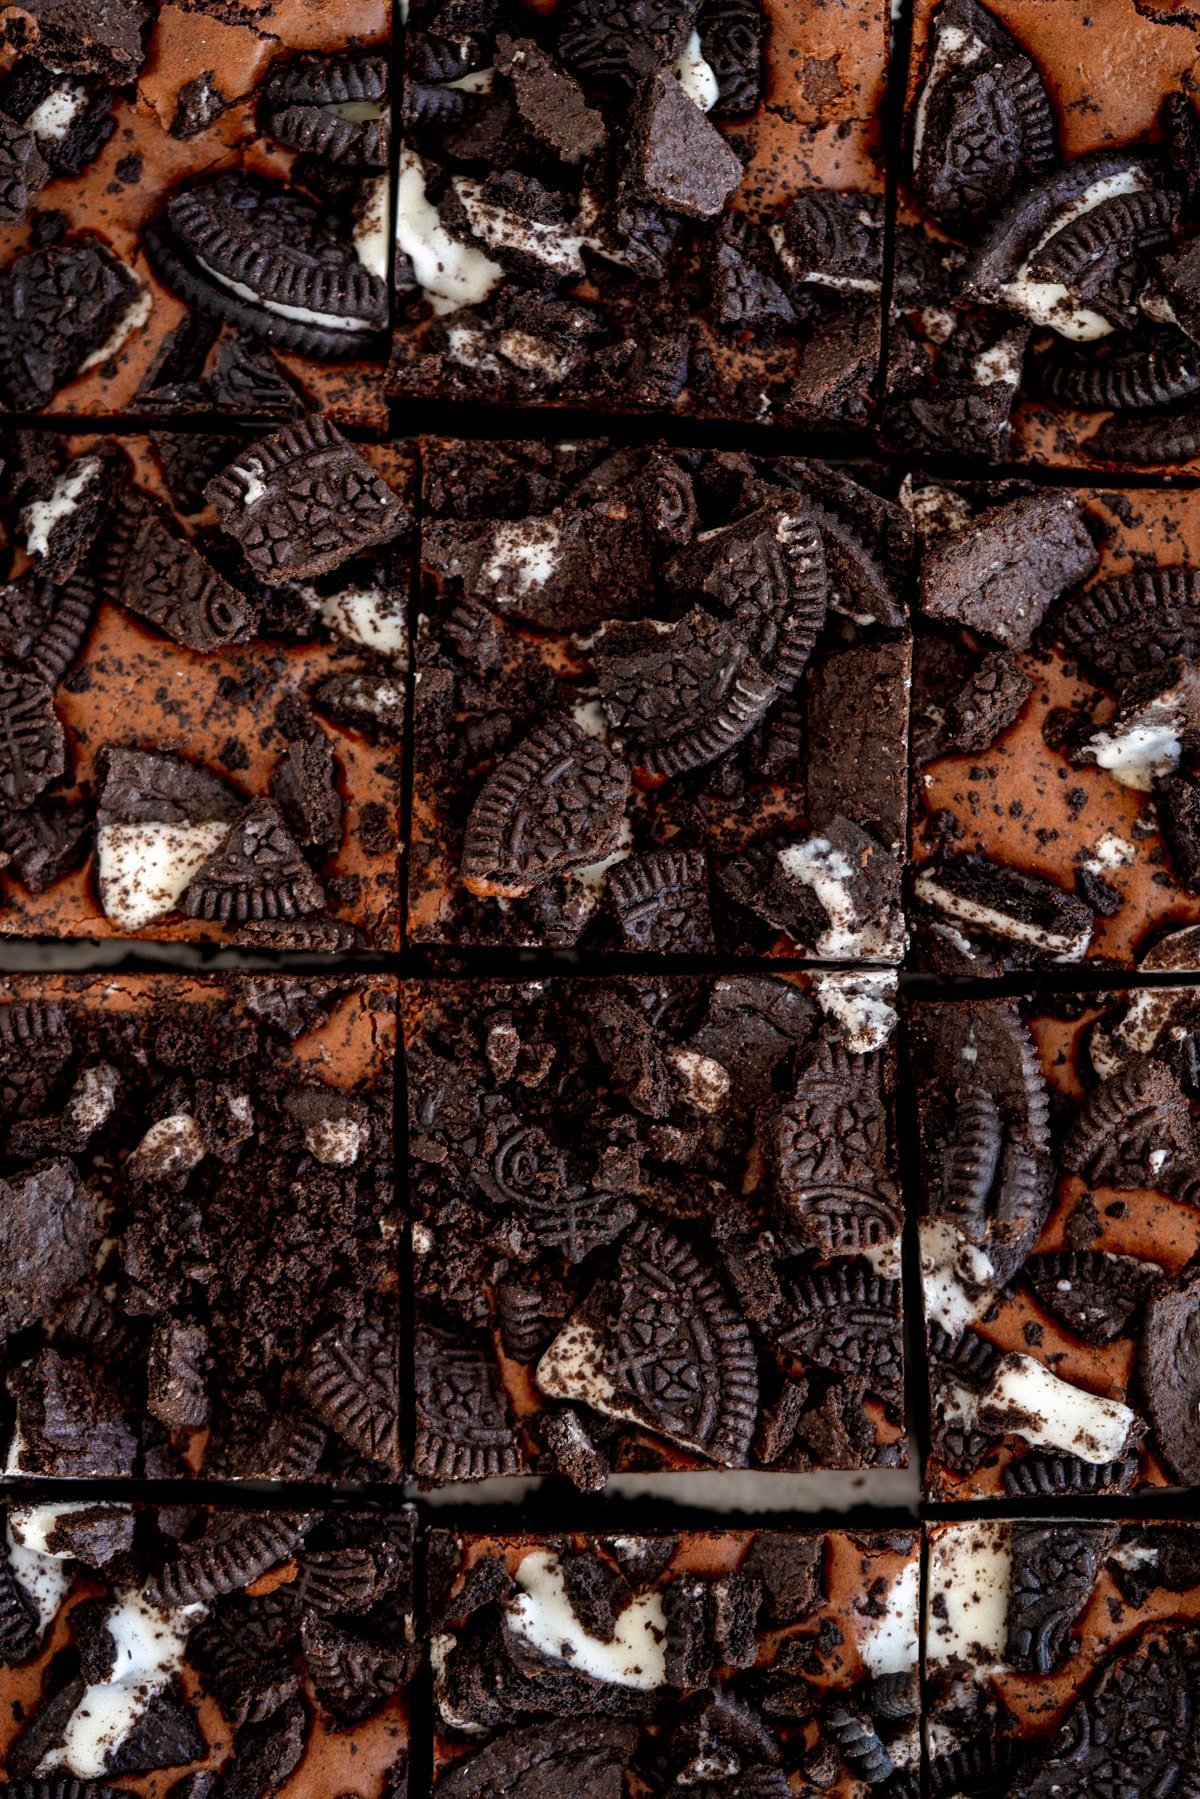
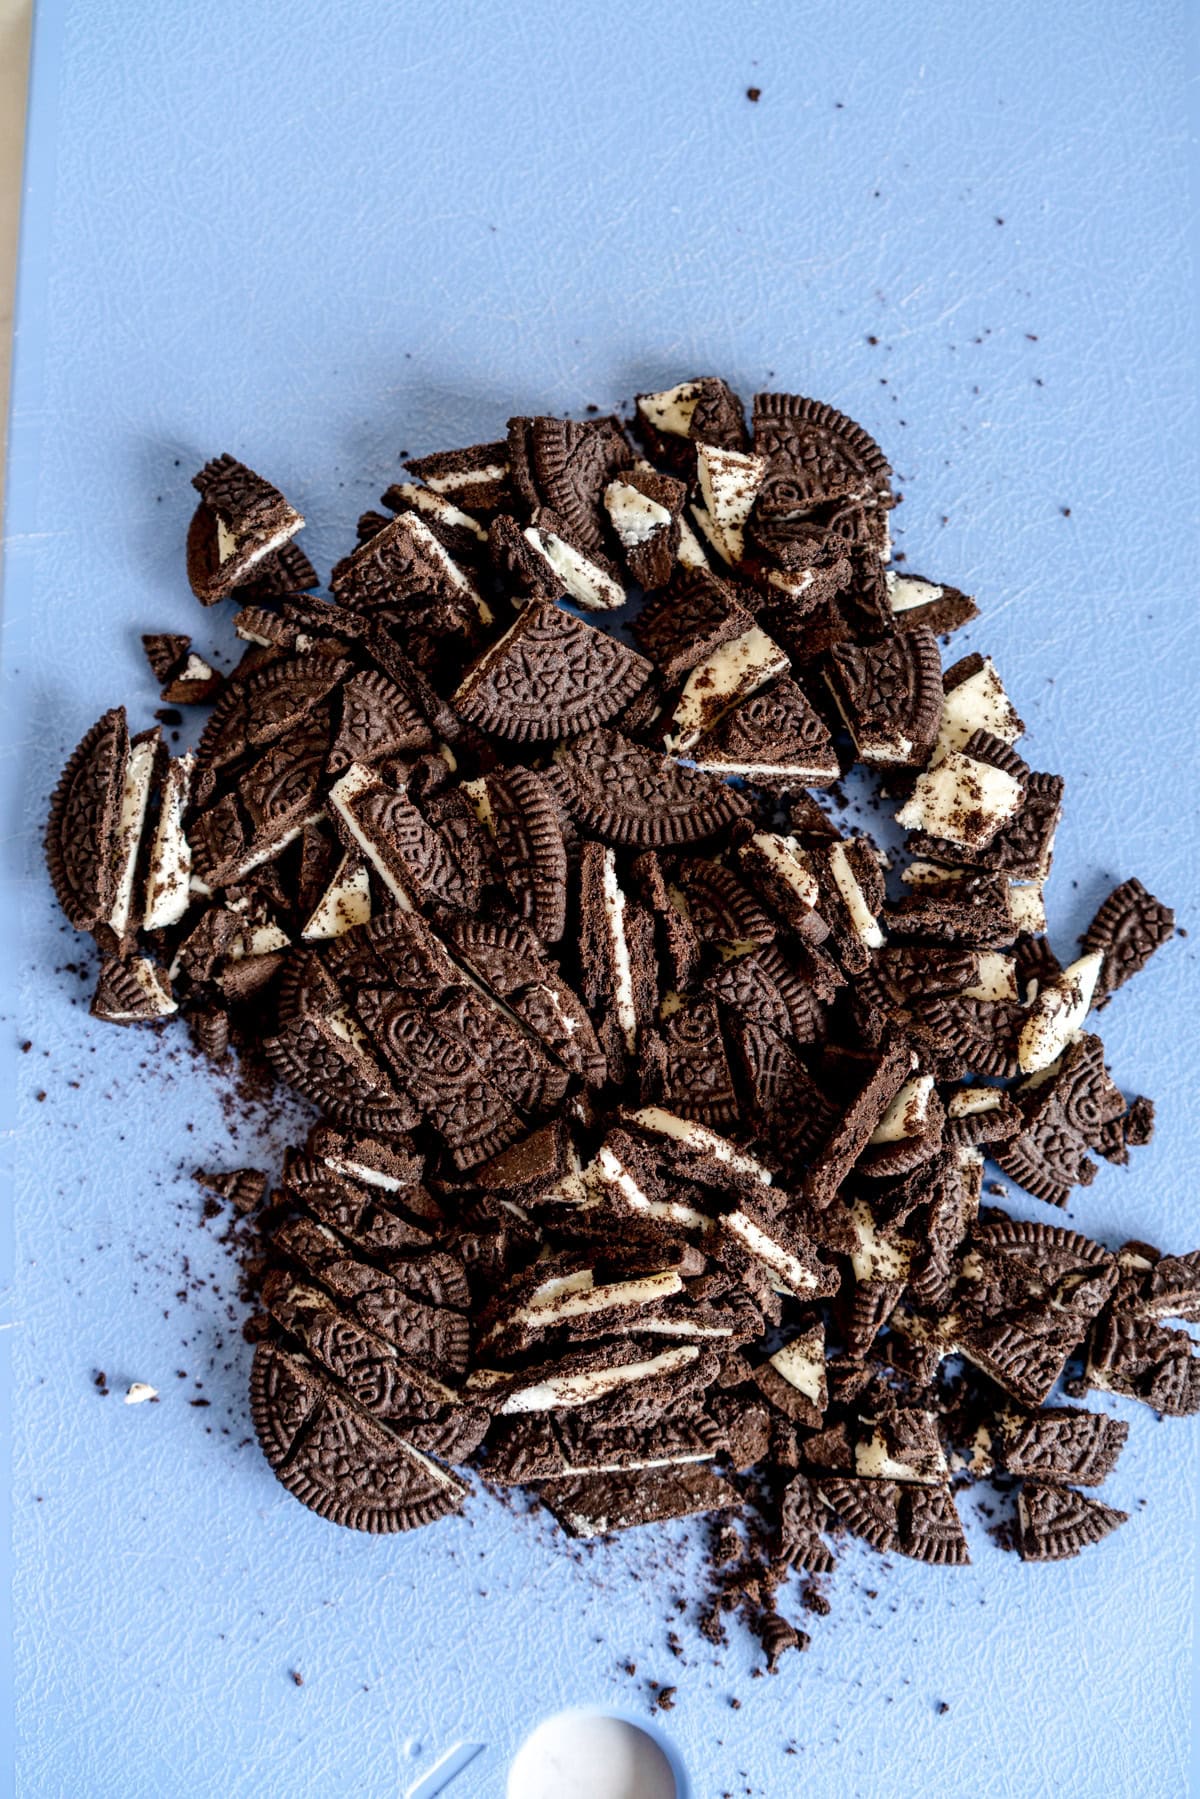
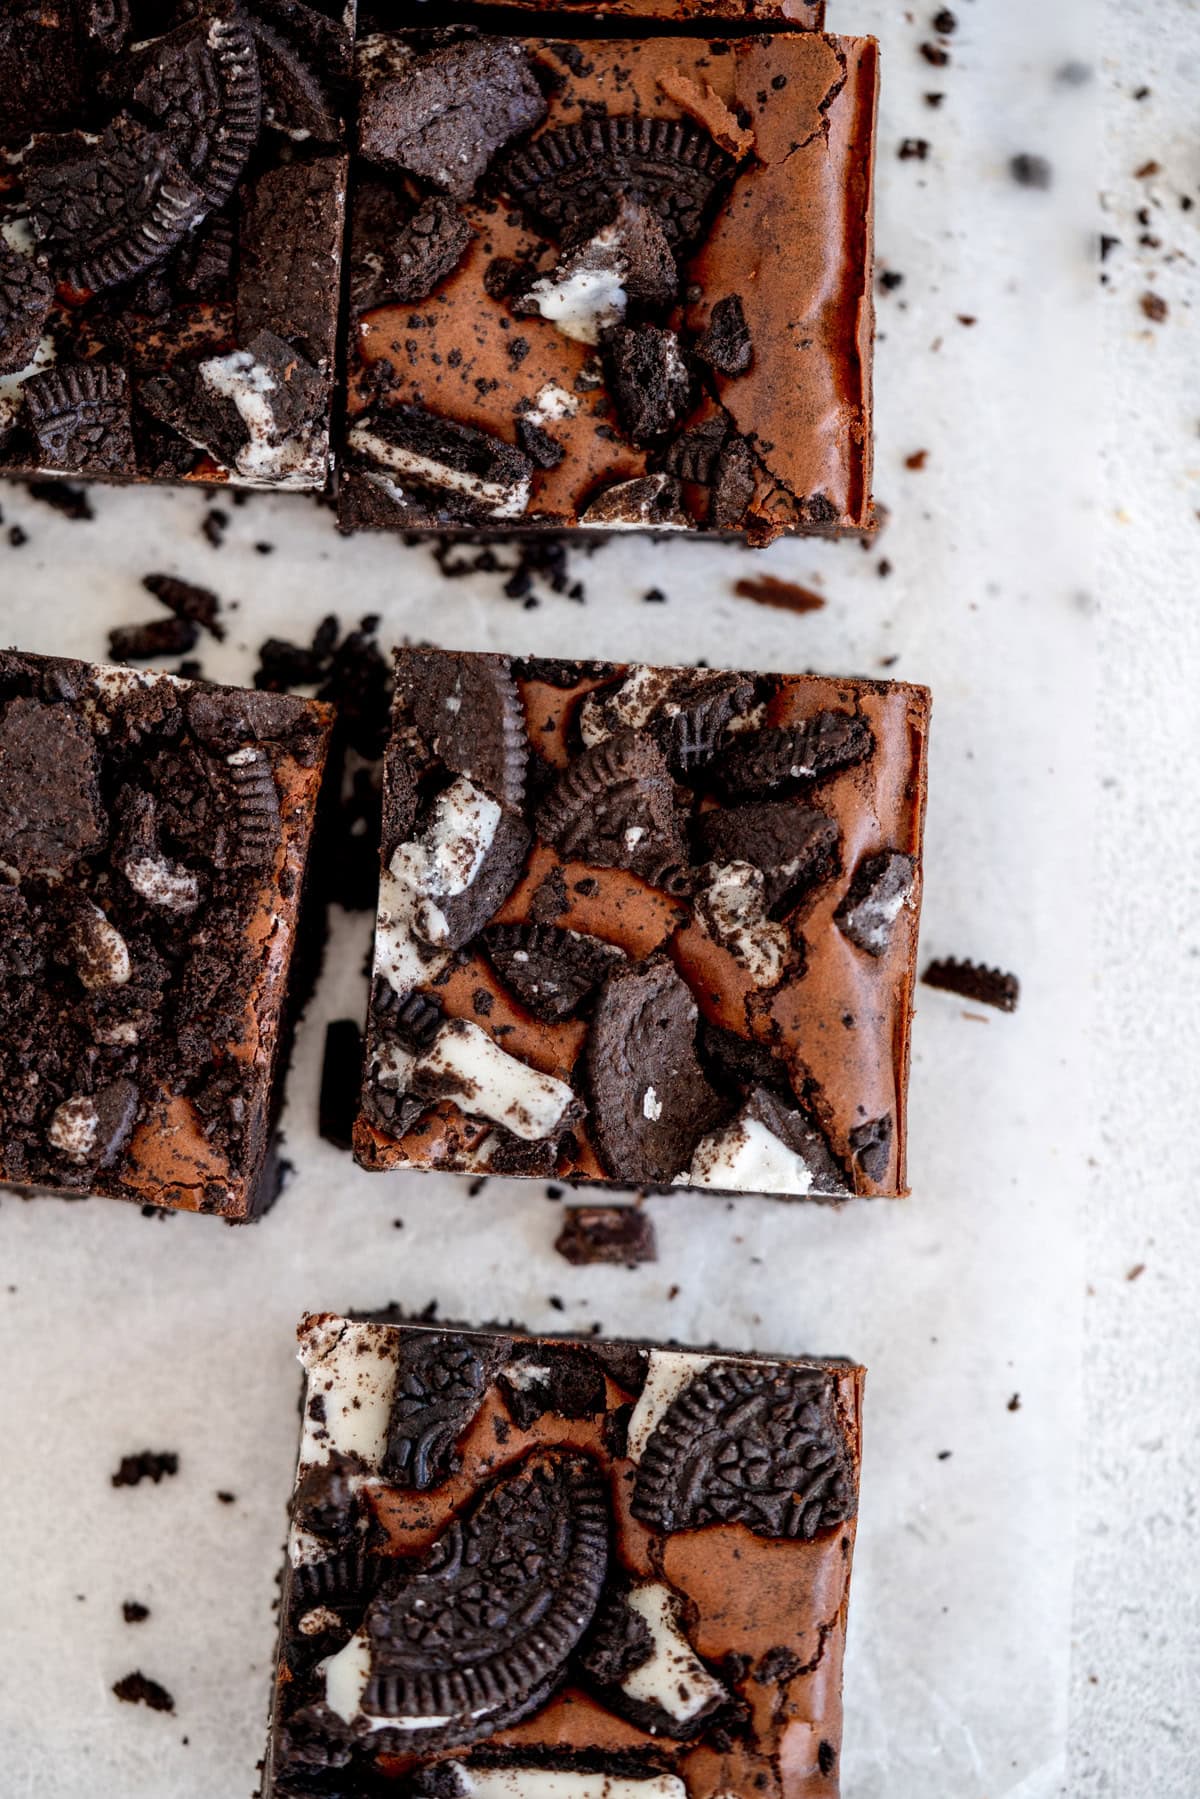
- Add Oreos. No explanation needed really - Oreo Brownies need to have extra Oreos on the top! I love the texture difference from the crust to the fudgy brownie to the Oreo topping.


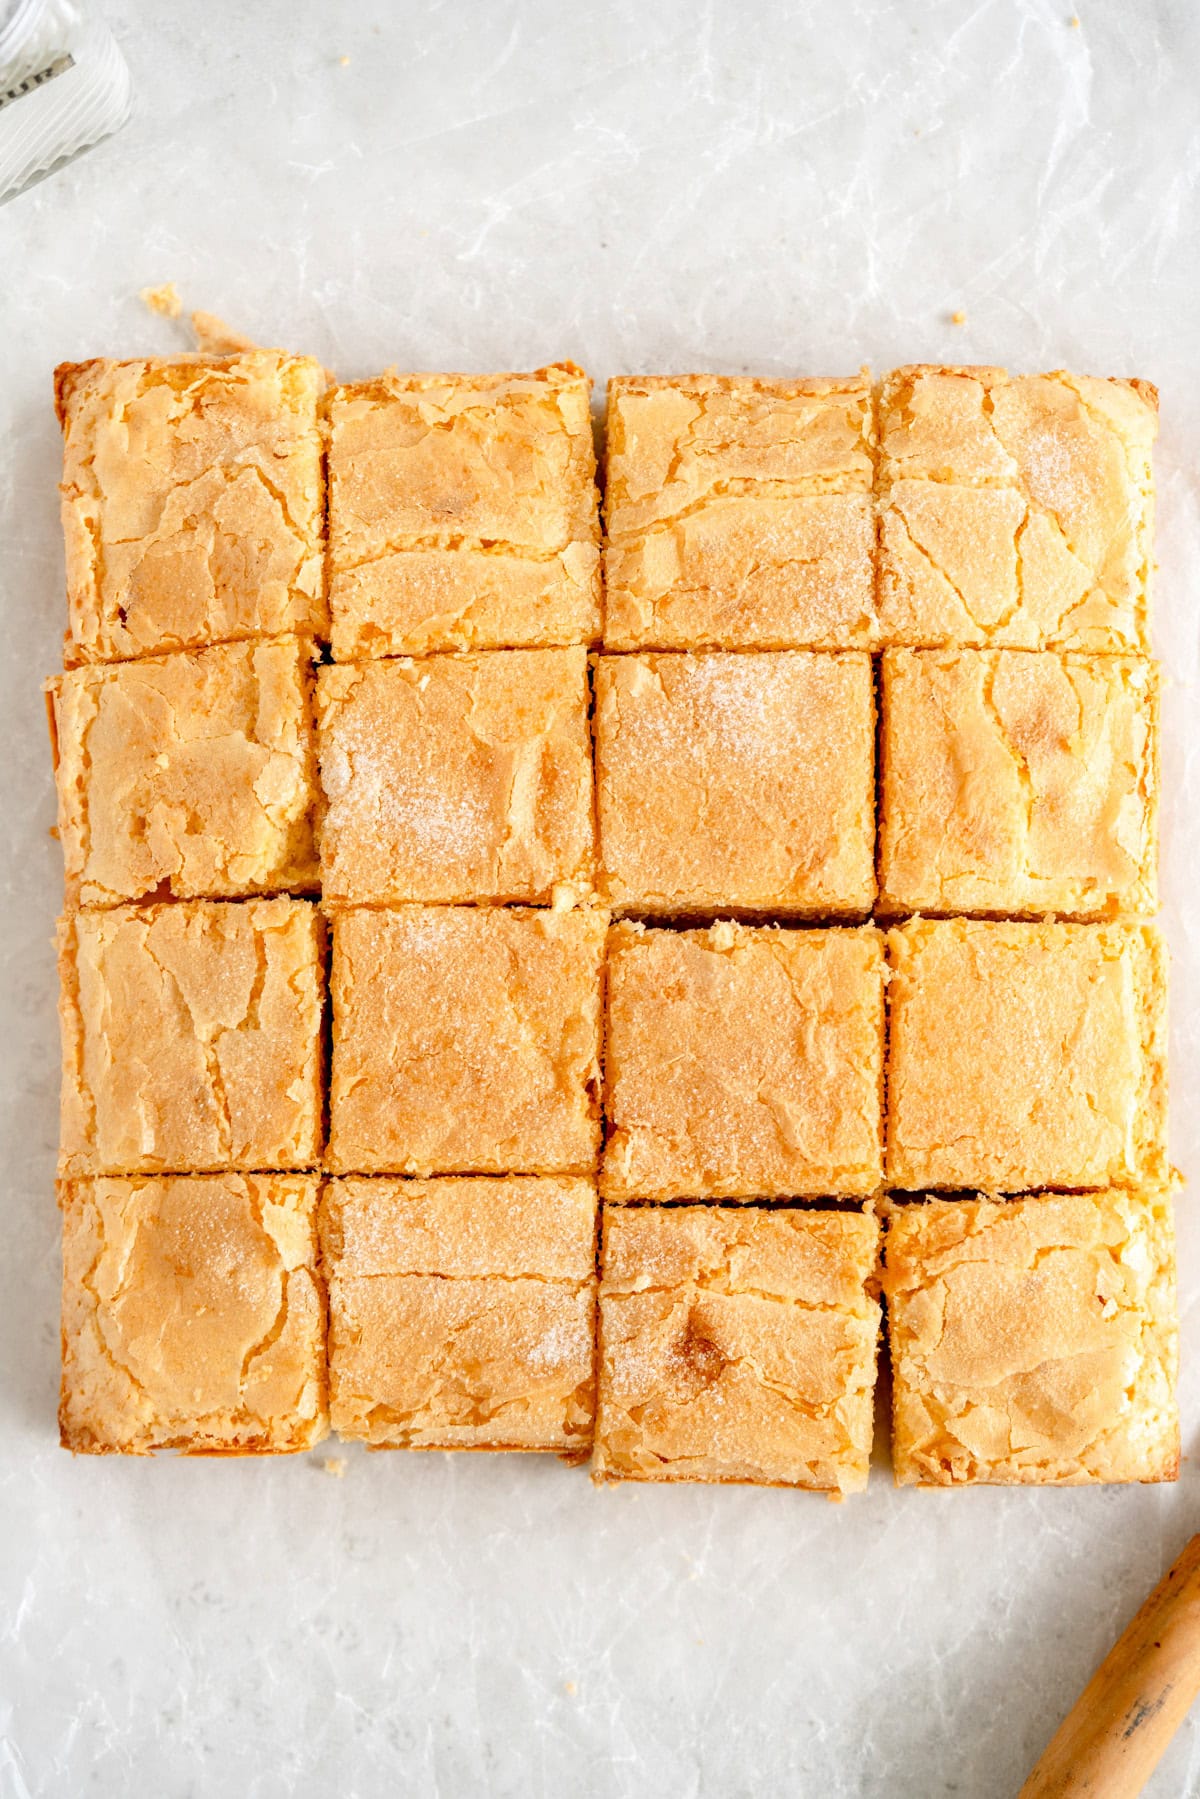
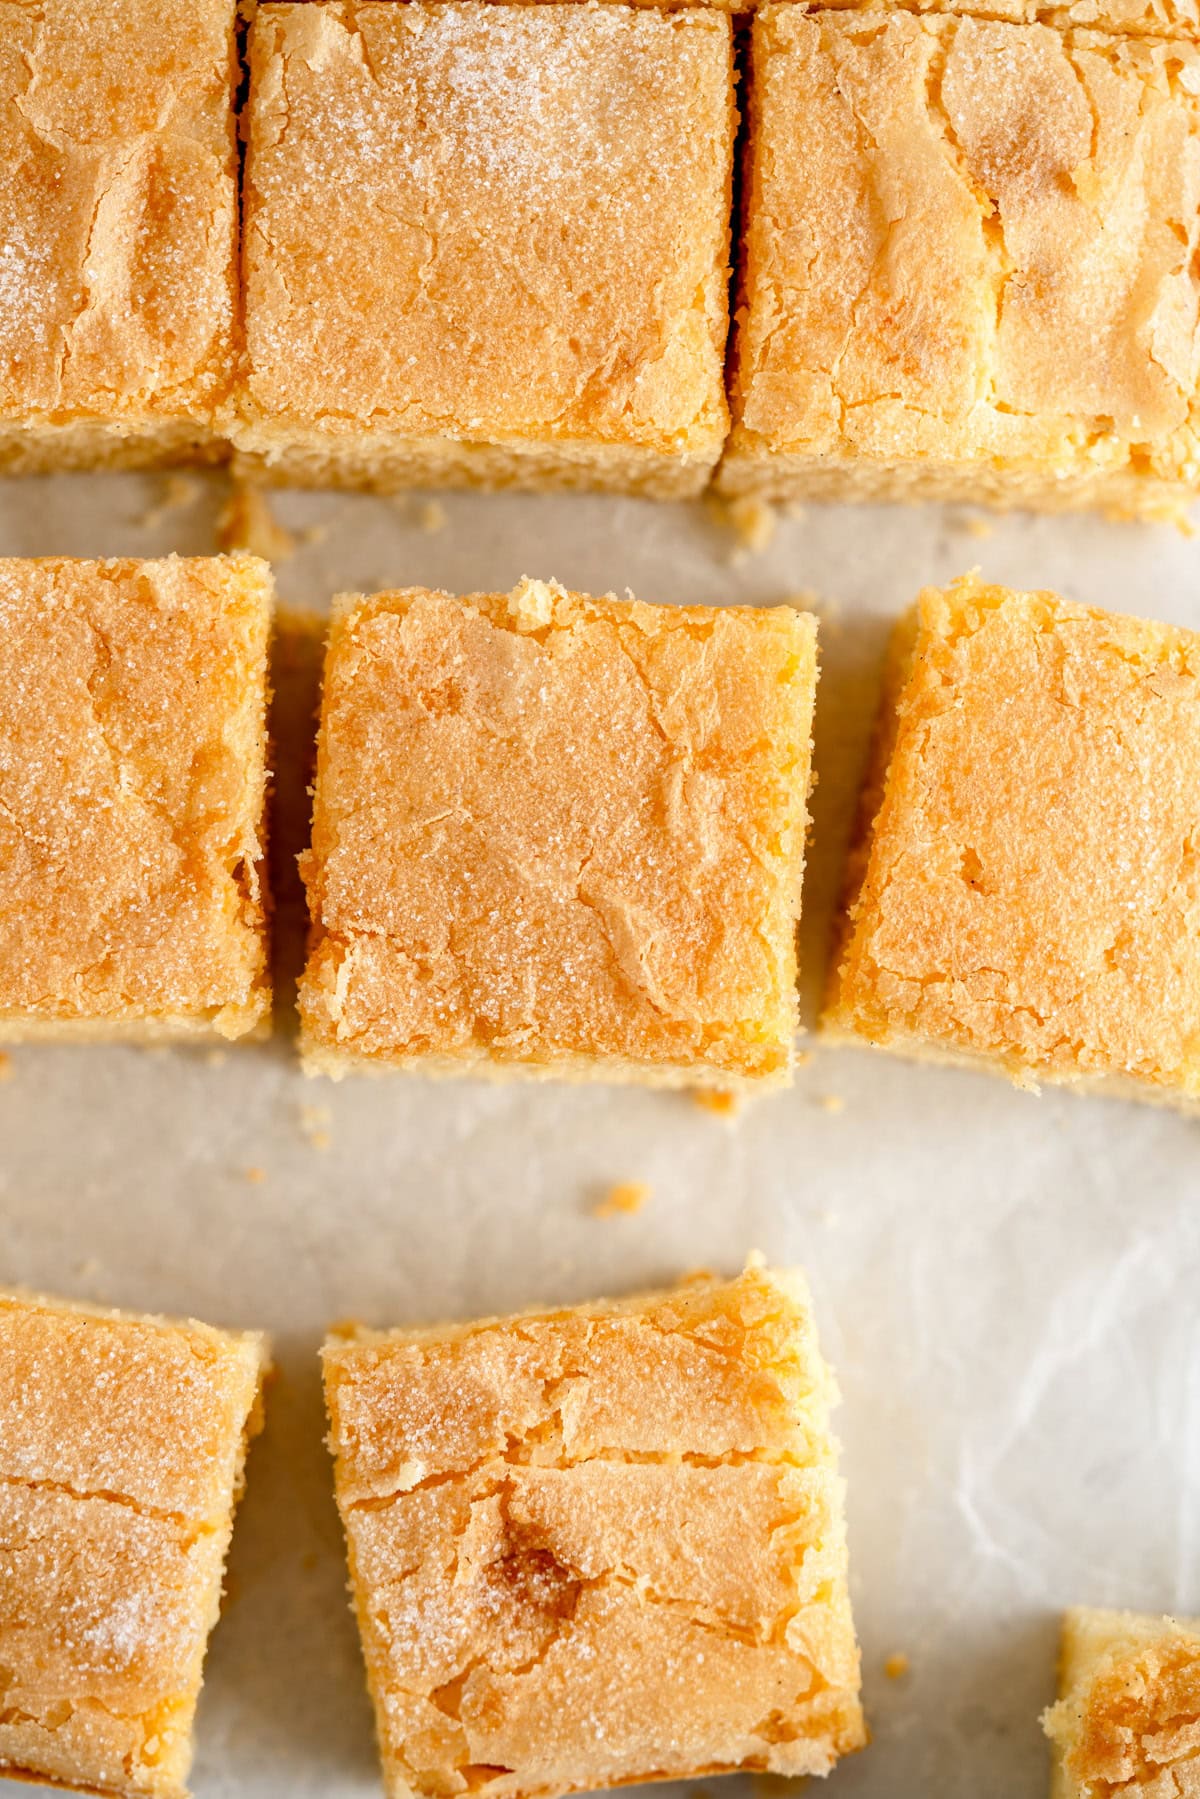
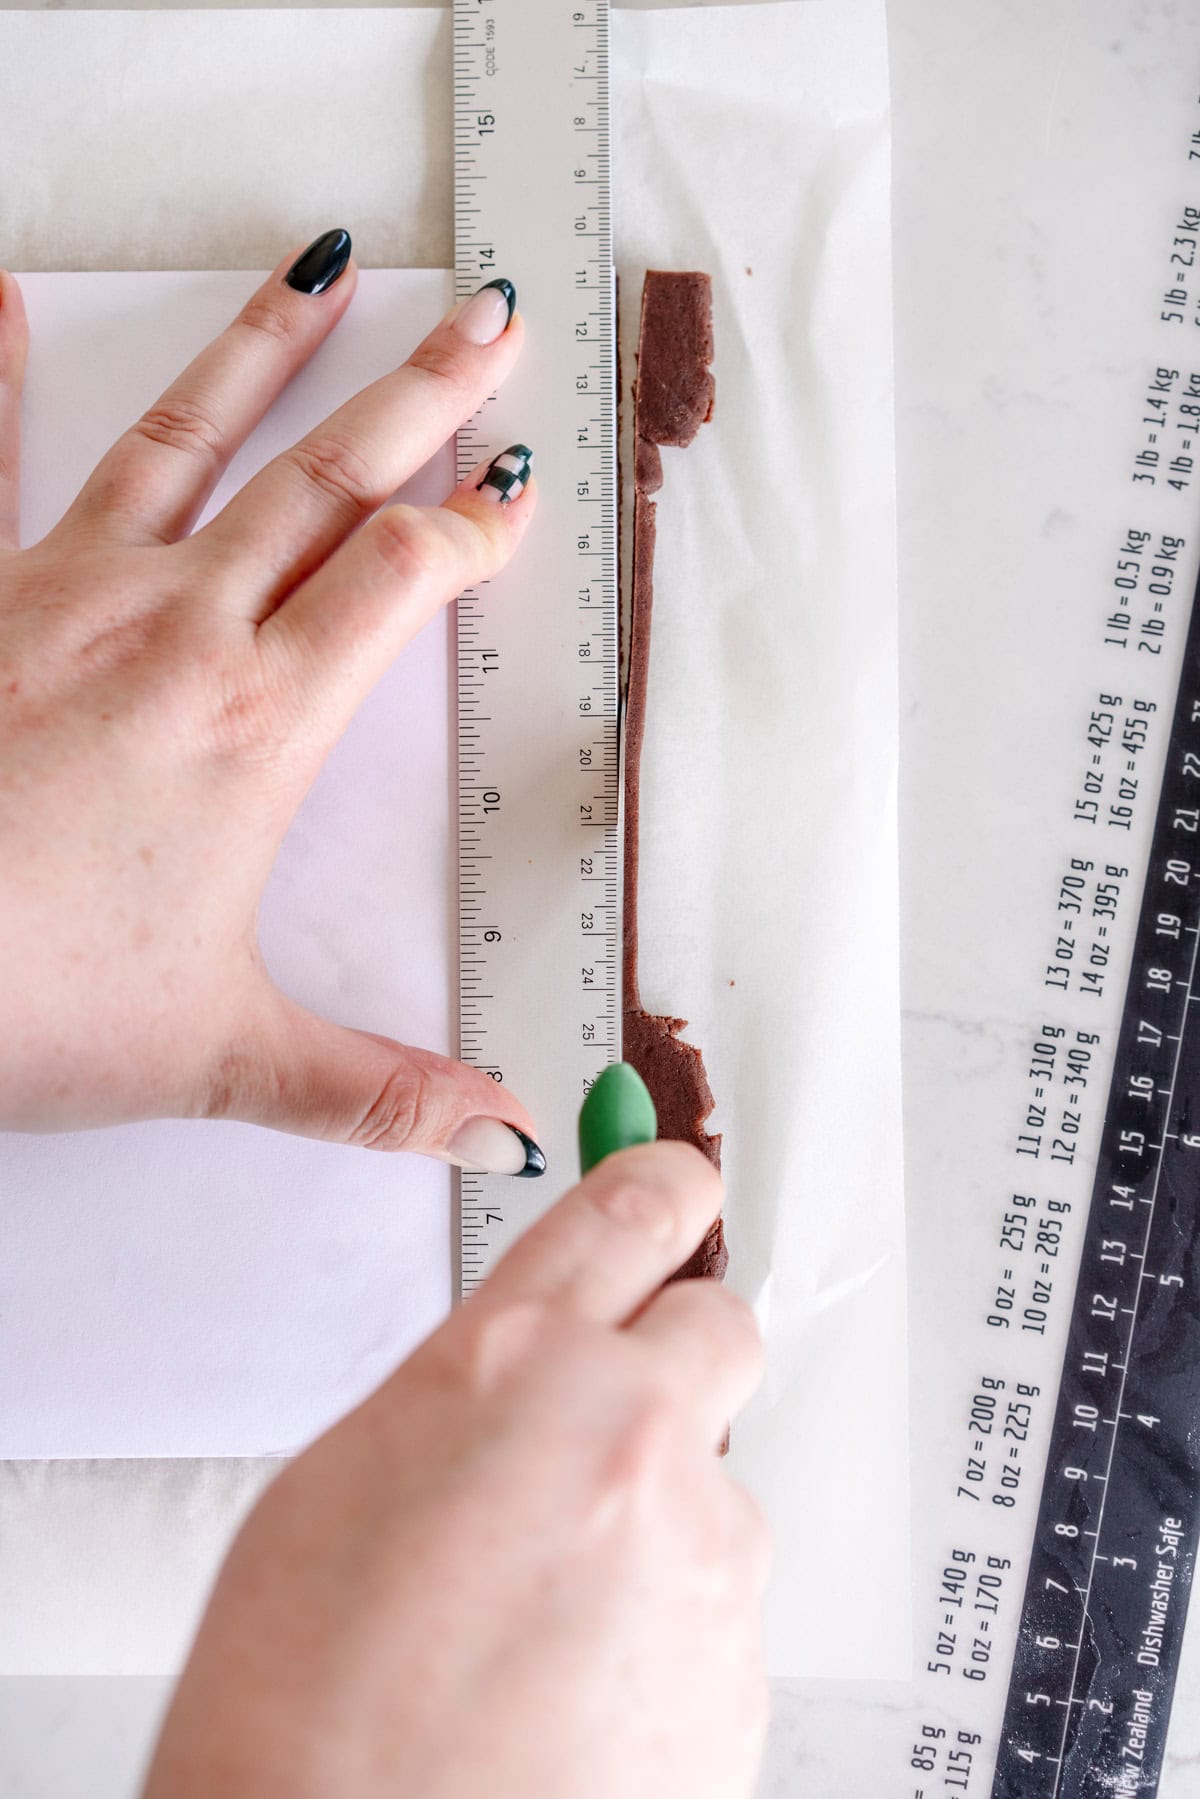
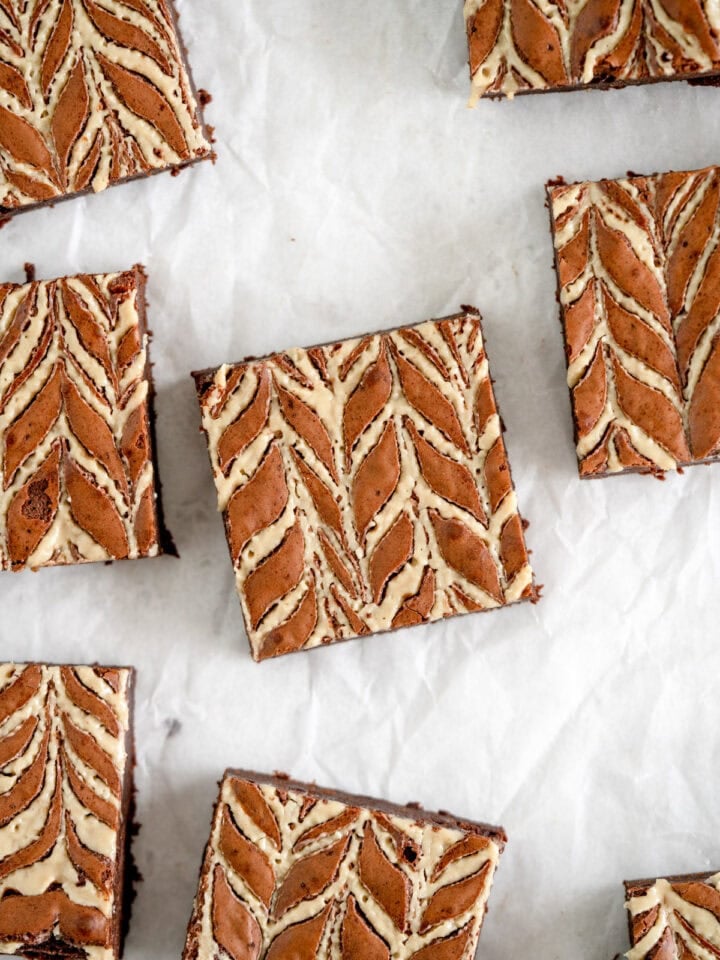
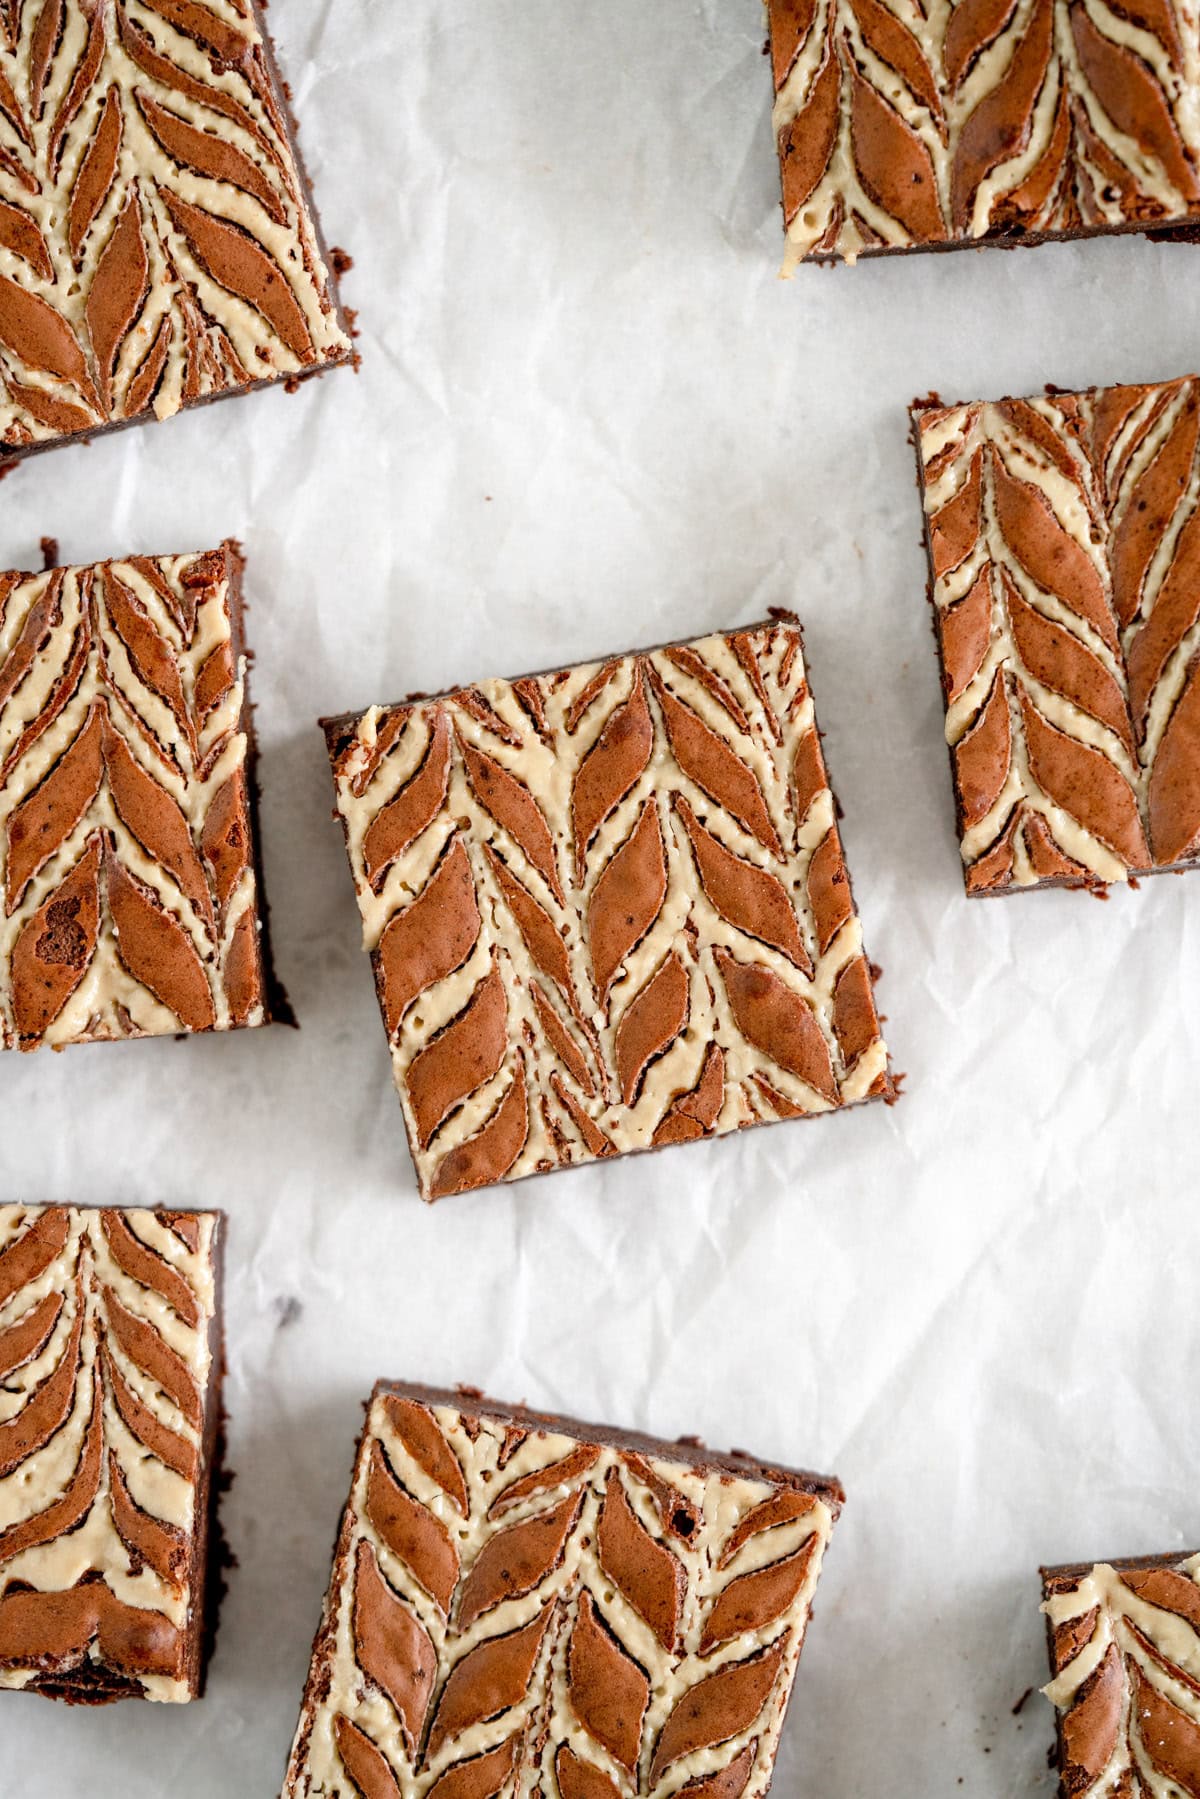
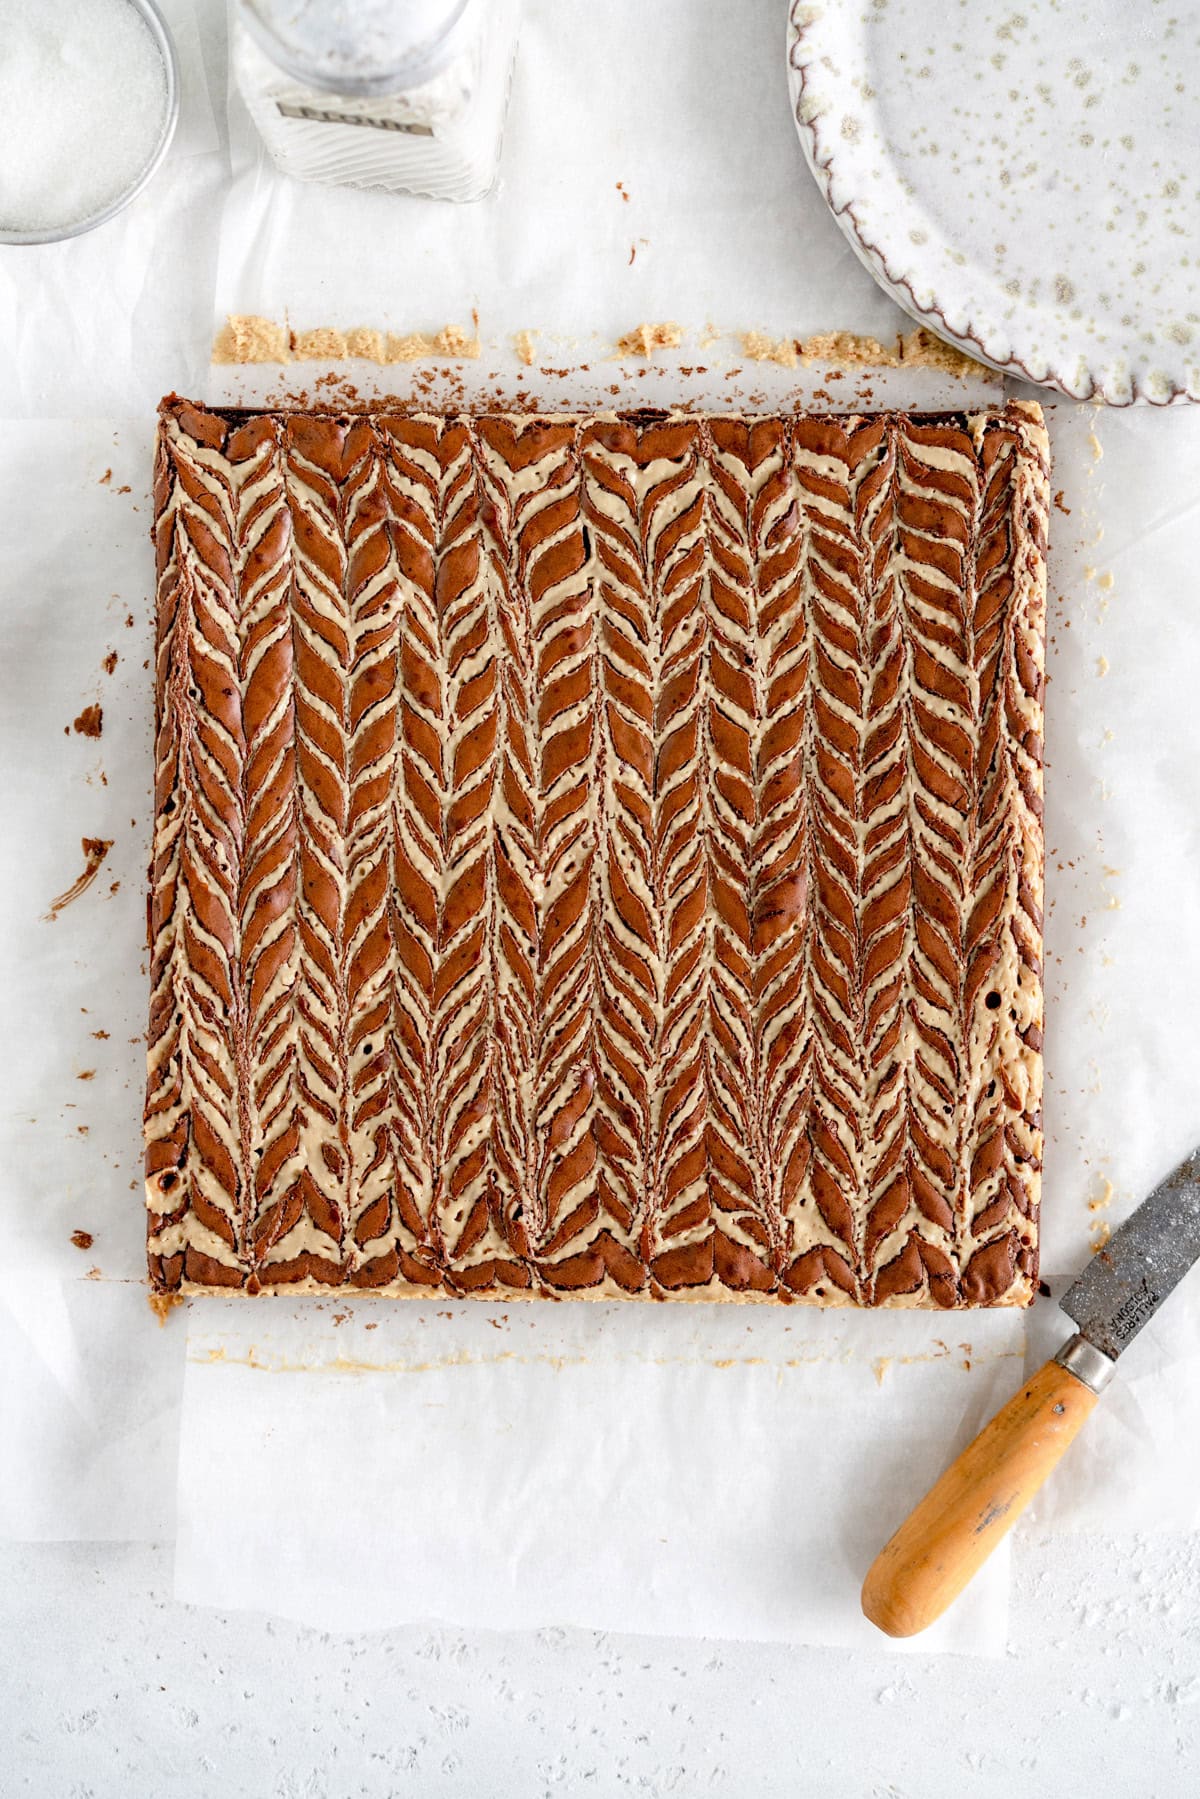
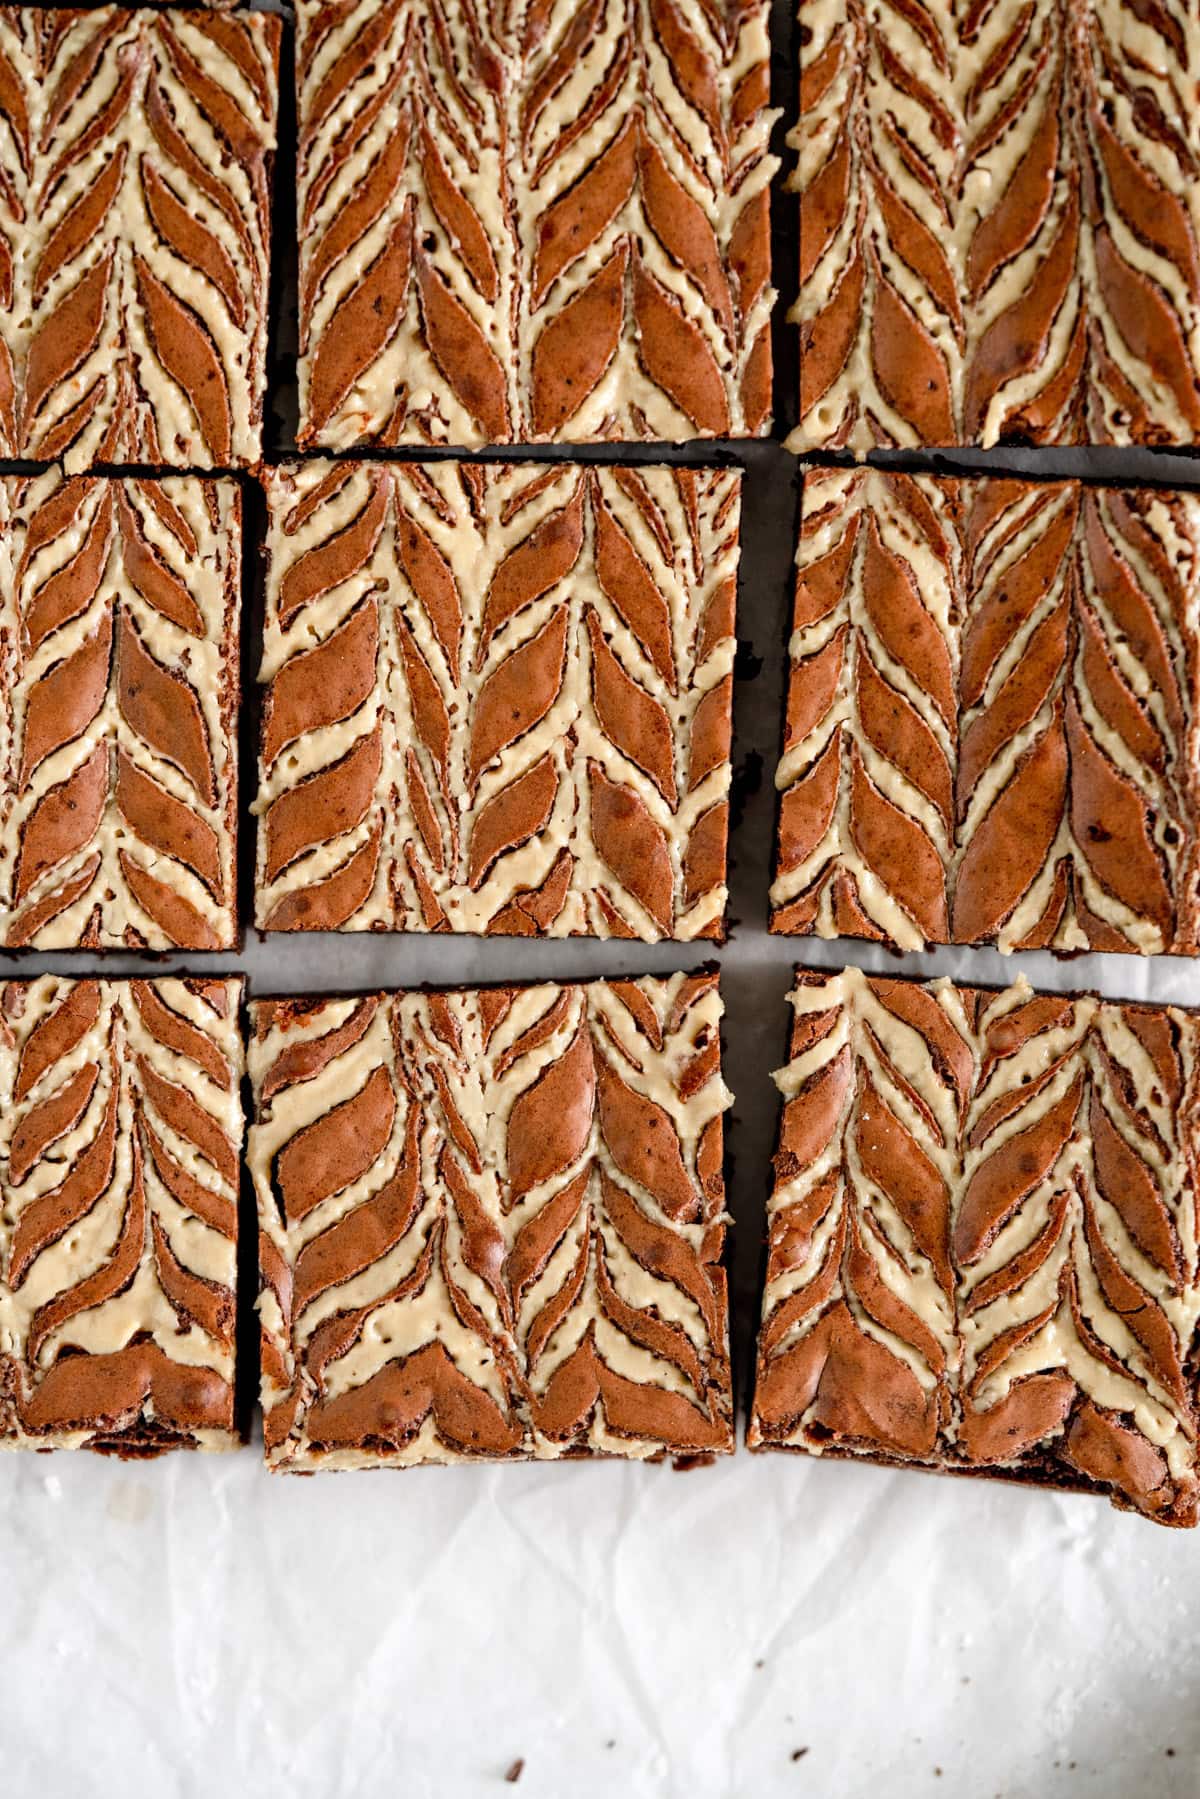
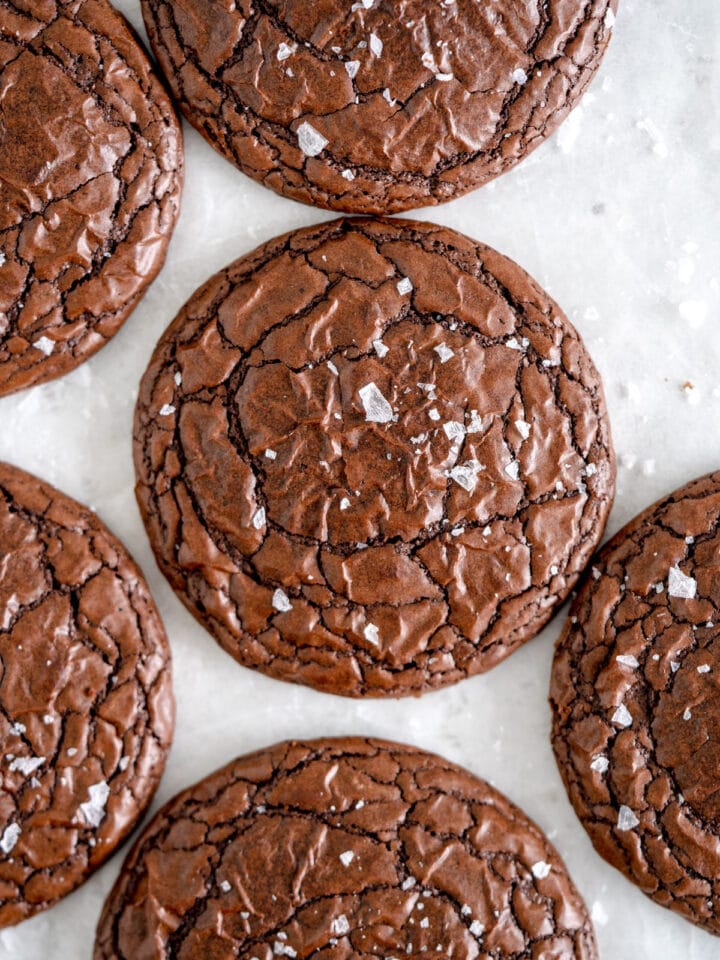
A question I always get - How do you get such clean cuts on brownies?!
I have a few wee tips here for you on this! My main tips are a sharp knife and cold brownies but I know there are lots of other ways to do it!
My Top Brownie Tips
- Get all my tips and tricks on how to get the perfect crinkly brownie top in my fudgy homemade brownie recipe.
- Plus, follow this easy Instagram video tutorial to cleanly cut homemade brownies!
❤️ Made this recipe and love it? ❤️
I would LOVE for you to leave me a review and star rating below to let me know how you liked it! Also, please make sure to tag me on Instagram!
Answers to your baking questions
Over the years, many of you have asked me questions about:
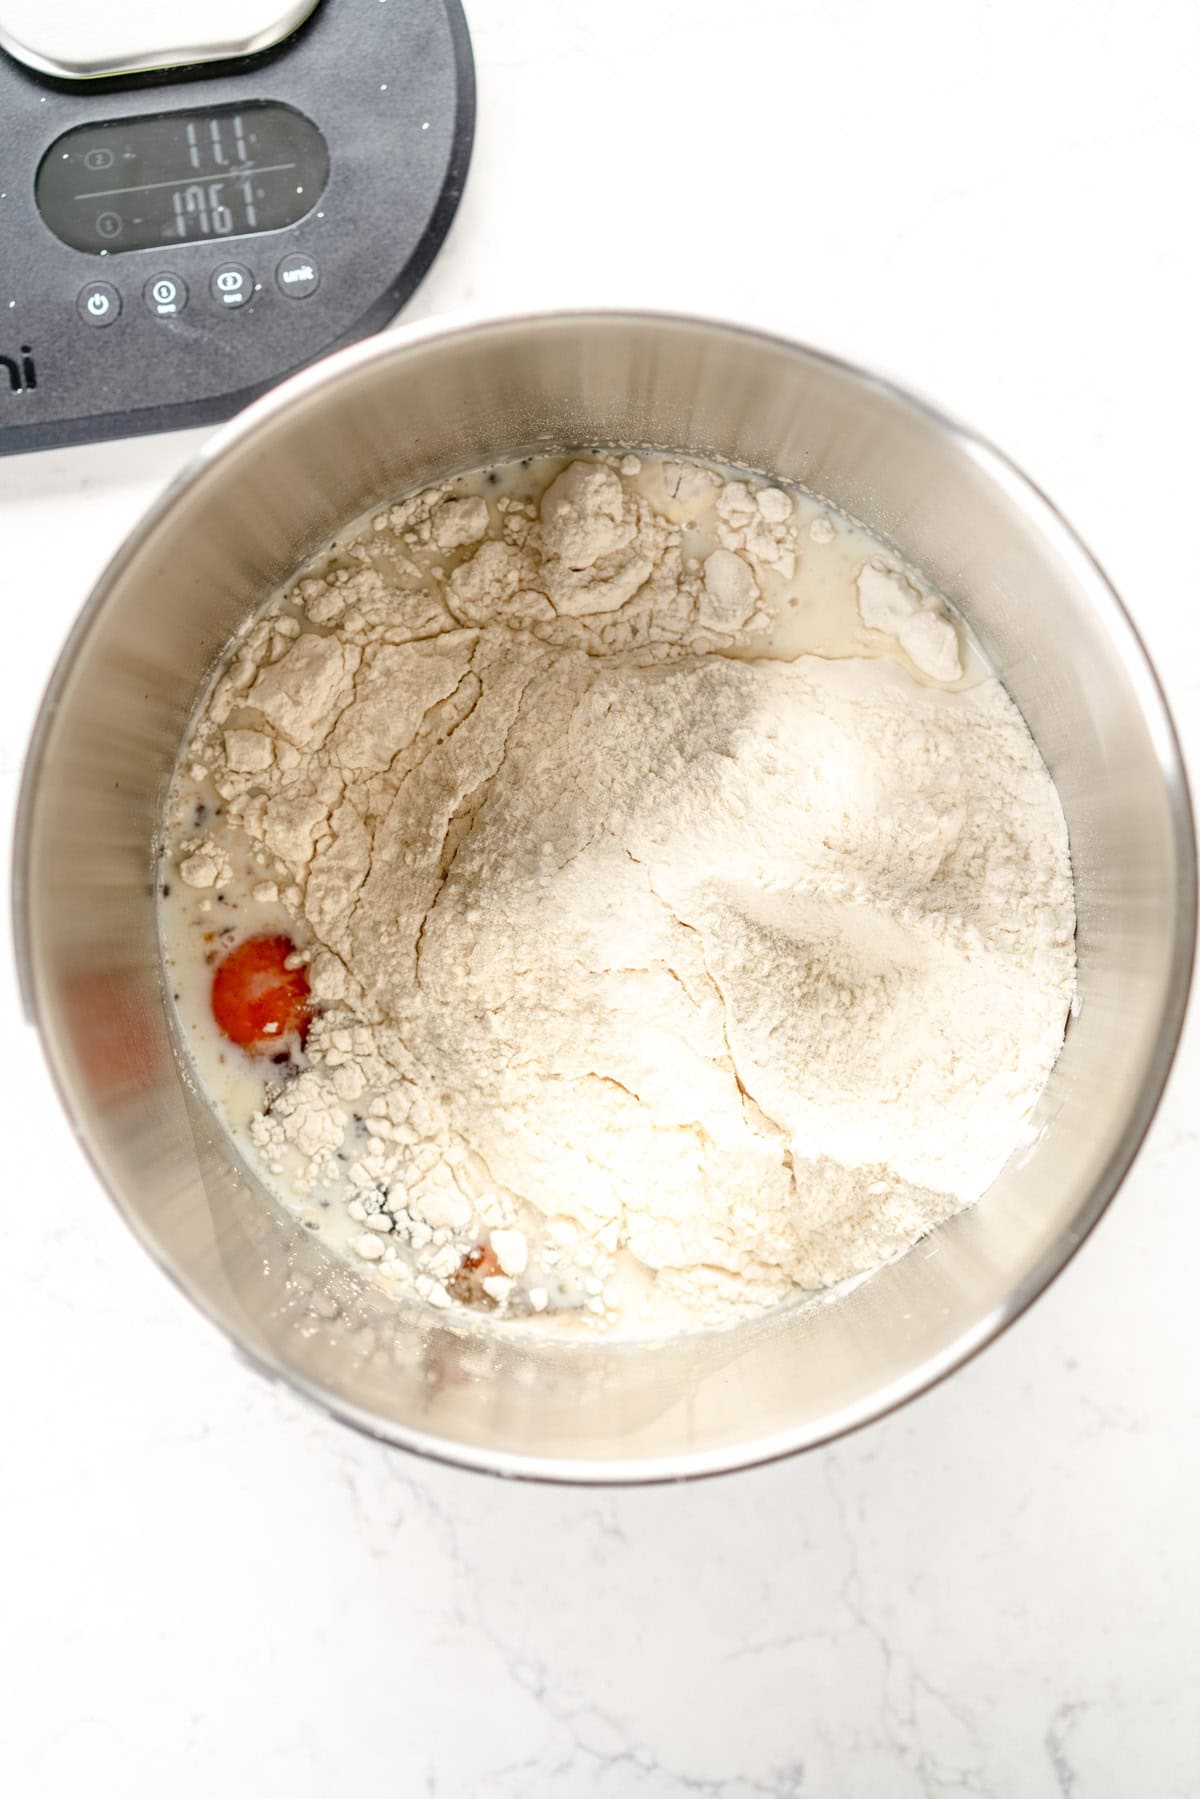
- baking in grams
- adjusting oven temperatures
- what kind of salt to use
- and many more!
I've curated and answered them all for your easy reference in this frequently asked questions post!