

Homemade Nanaimo Bars have a chocolate graham cracker crust, an easy custard Nanaimo Bar filling, and a smooth chocolate topping. They are the perfect no-bake recipe!

Hi hi! Just popping in to share this easy Nanaimo Bar recipe with you. I love making bar and slice recipes, and these Nanaimo Bars fit the bill - they have a chocolate graham cracker crust, a custard buttercream filling, and a smooth chocolate topping.
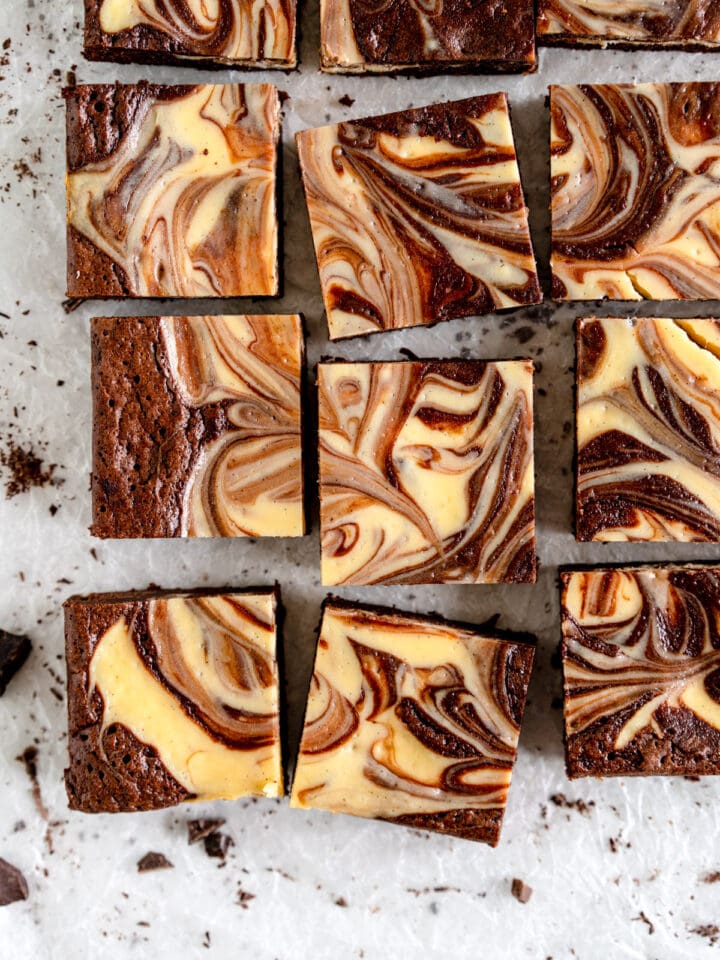
These no-bake Nanaimo bars are super similar to the New Zealand classic the peppermint slice. I love the custard filling paired with the chocolate topping - I have used the same Nanaimo Bar filling in my Squiggle Slice recipe.

How to make Nanaimo Bars
Nanaimo bars are named after a wee town on Vancouver Island in British Columbia, Canada, which happens to be super close to Port Alberni, where I have family! These are a no bake Nanaimo Bar, so have a base made from graham cracker crumbs and coconut rather than a baked base containing eggs. Here's how to make them:
- Make the base. This is a super easy crumb crust - combine all the ingredients, and add the butter and mix until it forms a wet sand consistency. Pat down firmly into the pan and place into the freezer to firm up while you make the filling.
- Make the middle layer: The filling for a Nanaimo Bar is basically just a custard flavoured American buttercream. Whip it up until smooth, then spread over the chilled base and chill again to firm up the custard layer.
- Add the chocolate layer. Melt chocolate with the neutral oil - either in the microwave or over a double boiler. The oil in the chocolate gives it a nice shiny finish that also means that it is nice and easy to cut. Pour over the filling to form the top layer, then chill in the refrigerator until fully set.
- Cut and enjoy! I like to use a super sharp knife to cut my Nanaimo Bars - I don't usually heat it up as I find that it makes the chocolate run, but you can if you like.

What is Custard Powder?
Custard powder is a powder made up of thickeners and flavourings, primarily corn starch (cornflour for those outside the US). It can be used to make instant custard, but it is also used to flavour this Nanaimo Bar recipe.
There isn't really a substitute for custard powder in a Nanaimo bar as it is what gives it the main flavour. You could leave it out if you just wanted a vanilla icing filling, but I highly recommend picking some up. If you are looking for other ways to use it (it keeps super well), I also use it in my squiggle slice recipe, my rhubarb custard buns recipe, and my Chelsea Buns recipe.

Tips and tricks for making Nanaimo Bars
- I like to really let these chill down before cutting them to ensure that they are nice and chilled and easy to cut. 2-3 hours in the fridge if you can manage it is great.
- A super sharp knife will be your friend when cutting the Nanaimo Bars.
- Store your Nanaimo Bars in the fridge in an airtight container for up to a week.
- You can get custard powder online, or it can be found in some supermarkets.
- If you are having issues getting your buttercream to a thick, smooth consistency, add 1-2 tablespoon cream to get it right. Add a little at a time and then beat to incorporate.
- If you cannot find graham cracker crumbs you can use a similar biscuit or cookie crumb - a digestive biscuit works well. You may need to adjust the quantity of the butter in the base layer - you want it to be like wet sand.

For more bar and slice recipes, check out:

❤️ Made this recipe and love it? ❤️
I would LOVE for you to leave me a review and star rating below to let me know how you liked it! Also, please make sure to tag me on Instagram!
Answers to your baking questions
Over the years, many of you have asked me questions about:
- baking in grams
- adjusting oven temperatures
- what kind of salt to use
- and many more!
I've curated and answered them all for your easy reference in this frequently asked questions post!

No-Bake Nanaimo Bars
- Prep Time: 45 minutes
- Total Time: 45 minutes plus cooling time
- Yield: One 9" pan, 16-24 bars 1x
Description
Homemade Nanaimo Bars have a chocolate graham cracker crust, an easy custard Nanaimo Bar filling, and a smooth chocolate topping. They are the perfect no-bake recipe!
Ingredients
Chocolate Graham Cracker Base
- 1 (14.4 ounce) box (408 grams) graham crackers, or digestive biscuits
- 50g granulated sugar
- 45g dutch process cocoa powder
- ½ teaspoon kosher salt
- 100 grams unsweetened desiccated coconut
- 260g unsalted butter, melted and cooled slightly
Filling
- 150g unsalted butter, at room temperature
- 30g custard powder
- 400g powdered sugar, sifted
- ½ tsp salt
- ½ tsp vanilla bean paste
- 1-2 tablespoon heavy cream, as needed (see notes)
Chocolate Topping
- 250g 70% cacao dark chocolate, chopped
- 3 tablespoons (45 grams) neutral oil such as vegetable or canola
Instructions
CHOCOLATE GRAHAM BASE
- Grease and line a 9” square baking pan with baking spray and two pieces of parchment paper which extend over the sides to give you a ‘sling’ (this helps with removing the slice easily once it is set).
- In the bowl of a food processor, place the graham crackers, sugar, cocoa, and salt, and pulse until mixture resembles fine crumbs. Transfer to a medium bowl, and add the coconut. Stir to combine. Add the melted butter and mix with a rubber spatula until the butter is incorporated - it should resemble wet sand.
- Transfer the crust mixture into the baking pan, and press down evenly with a flat bottomed glass or measuring cup until compacted and smooth. Place in the freezer for 20 minutes to firm up.
CUSTARD FILLING
- In the bowl of a stand mixer fitted with the paddle attachment, beat together the butter and custard powder until combined. Add the powdered sugar, salt, and vanilla bean paste, and mix to incorporate. Beat on high speed for a minute or so. Add cream if needed to give you a thick, smooth buttercream.
- Scrape the filling onto the graham cracker crust, and smooth down using an offset spatula, getting the surface as smooth as possible. Chill for 30 minutes.
CHOCOLATE TOPPING
- In a heat proof bowl set over a pot of simmering water, melt together the chocolate and the oil, stirring frequently, until smooth. Alternatively, melt together in the microwave in 30 second increments, stirring well after each.
- Pour over the set custard filling, and tilt the pan to evenly coat. Bang the pan on the counter several times to smooth out the topping and eliminate any bubbles.
- Chill in the fridge until completely set, at least an hour. Remove from the pan by using the parchment paper slings. cut into slices using a sharp knife, wiping between each. Store in an airtight container.
Comments
Joelle says
For st patrick's day, I swapped Bailey's Irish Cream for the milk in the custard. So good! Also did a combo of graham crumbs and ground walnuts in the base. Your chocolate topping cut so perfectly beautiful. They looked soooooo professional! We will definitely make again!!
Erin says
Yayyyy this sounds so, so good!
Dozza B says
A low calories treat that actually hardens your arteries as you make them. Eating them is like heaven on earth. A true Canadian tradition.
Megan says
These are delicious and super easy to make! Question: should they be stored in the fridge?
Megan says
I’m looking at other recipes and they say refrigerated. Will these be ok if left out overnight?
Erin says
Hi! Yep in the fridge. Food safety wise they are fine left out but the chocolate might melt
Vanessa says
Hi! This recipe looks amazing! Could I use vanilla pudding mix instead of custard powder?
Erin Clarkson says
Hi! No you will want to find custard powder 🙂
Nadia Bullivant says
So so good. This has to be my favourite bar of all time. Delicious and easy recipe here.
Grant says
I've made these a few times and they're delicious! It's a shame they're not more popular - I guess they're not well known outside Canada and not everyone has custard powder at hand, but they're sooo good. I especially like to keep them in the freezer (where they can easily last a month) and take them out a couple minutes before eating - makes for a really satisfying texture to bite into.
Erin Clarkson says
So happy that you loved them! I know - I love a Nanaimo bar so much!
Pip says
Yum! When the most time consuming parts of making this are turning the biscuits into crumbs (used a smaller, more annoying blender then mixed things in a bowl), waiting for the base to harden, and waiting for the chocolate to melt in a double boiler setup … well, that’s not exactly difficult. Will make again. Would be a good recipe to make with kids & you could use an electric beater for the custard icing if you don’t have a stand mixer. I added about 80g of chopped walnuts to the base to match the version from my childhood.
Ruth says
Hi there. Could I sub milk for the cream if needed?
Anne says
I made this last night and it is SO yum. I did have a minor issue with the middle layer lifting off the base layer when cutting (I am sure this is user error rather than any issue with the recipe)!! Do you think it's because I didn't make the buttercream 'wet' enough? ie. I didn't add enough cream? Many thanks
Erin Clarkson says
Hi! Yes that could be it - it might have set separately from the base if that makes sense? Hopefully it's still delicious! Warming up your knife and wiping it so that it is hot and dry before cutting can really help too!