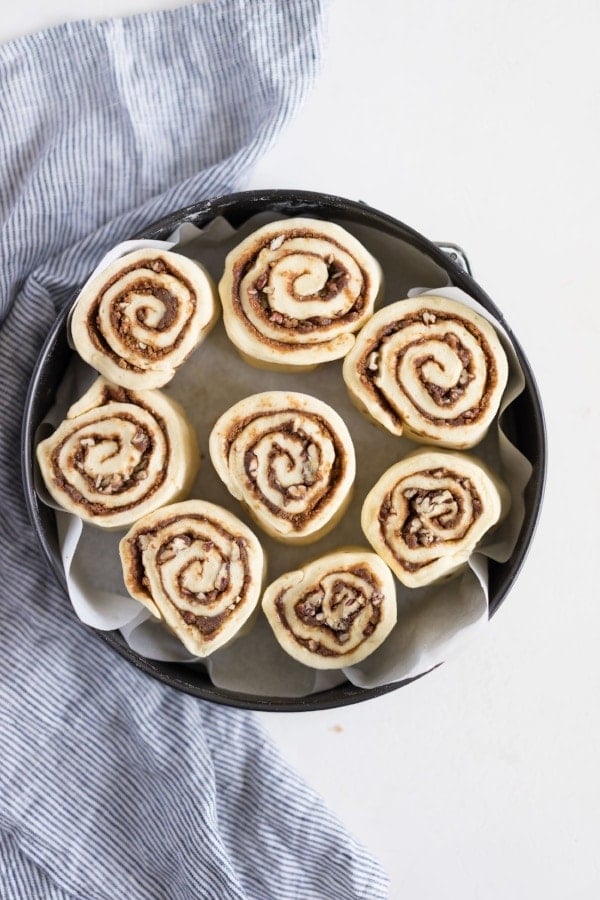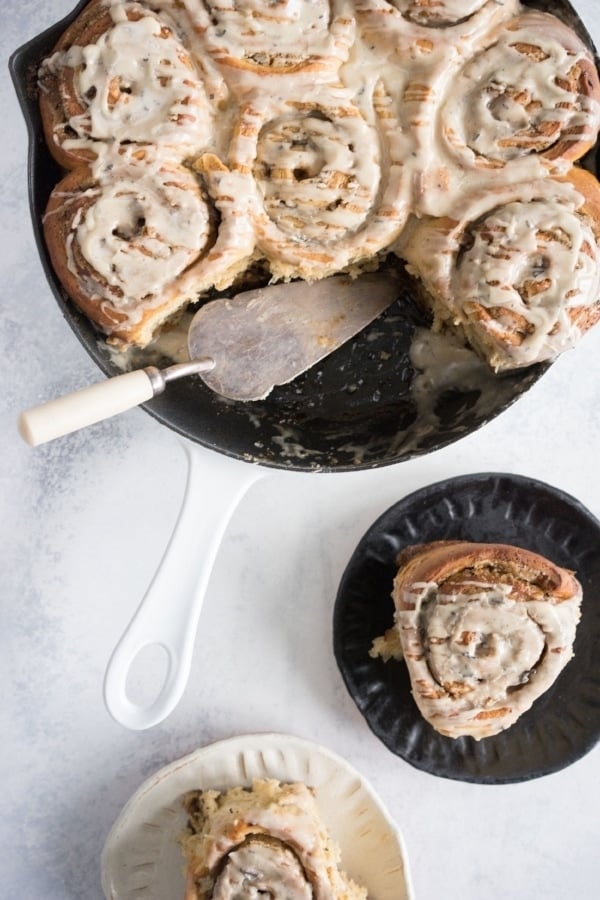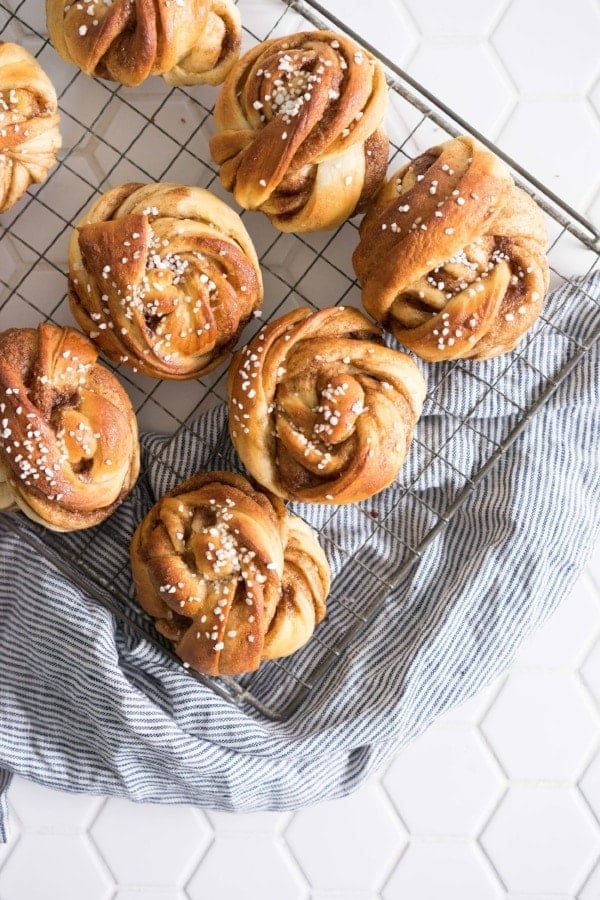
Swedish Cinnamon rolls - cardamom spiced dough is filled with a spiced filling, then rolled out and twisted into rolls. The rolls are finished with Swedish pearl sugar and baked until perfectly golden.


Swedish Cinnamon Rolls
Oooooohhh suddenly it's almost the end of the year. What. I'm not quite sure how this happened. It was March, and suddenly it's November. And Thanksgiving is on Thursday. I'm still not quite sure what to make of Thanksgiving - it's not something we celebrate in New Zealand, and i'm very unsure about all this hands up turkey butts stuff i'm seeing on Instagram Stories. It's so funny moving to another country and suddenly there is this whole new holiday you have never experienced before! I love it though - it seems to be all about family, which is my favourite part of the holidays! This year we are going to Jill's for Turkey Day - and if her regular food is anything to go by, the food is going to be next level amazing. I'm heading in tomorrow to help prep, and help out where I can. I'll most likely end up on pie duty, which isn't a bad place to be at all.
Another thing i'm planning on making for thanksgiving are these Swedish cinnamon rolls. I'm not sure about traditions, but it seems as if everyone gears up for a giant dinner, but i'm hoping I can sneak these in as a little morning tea treat, or take them as a quick and easy breakfast so it's one less thing for people to think about. Jill's family are insanely enthusiastic about cinnamon rolls, so I have no doubt that these will go down well!
The recipe for these came from one of my besties! It's her Mum's recipe, and she brought the swedish version over with her a few weekends ago, and we cozied up inside to make them. From what I have seen there are loads of amazing Swedish holiday baking recipes - so I can't wait to see what is next!
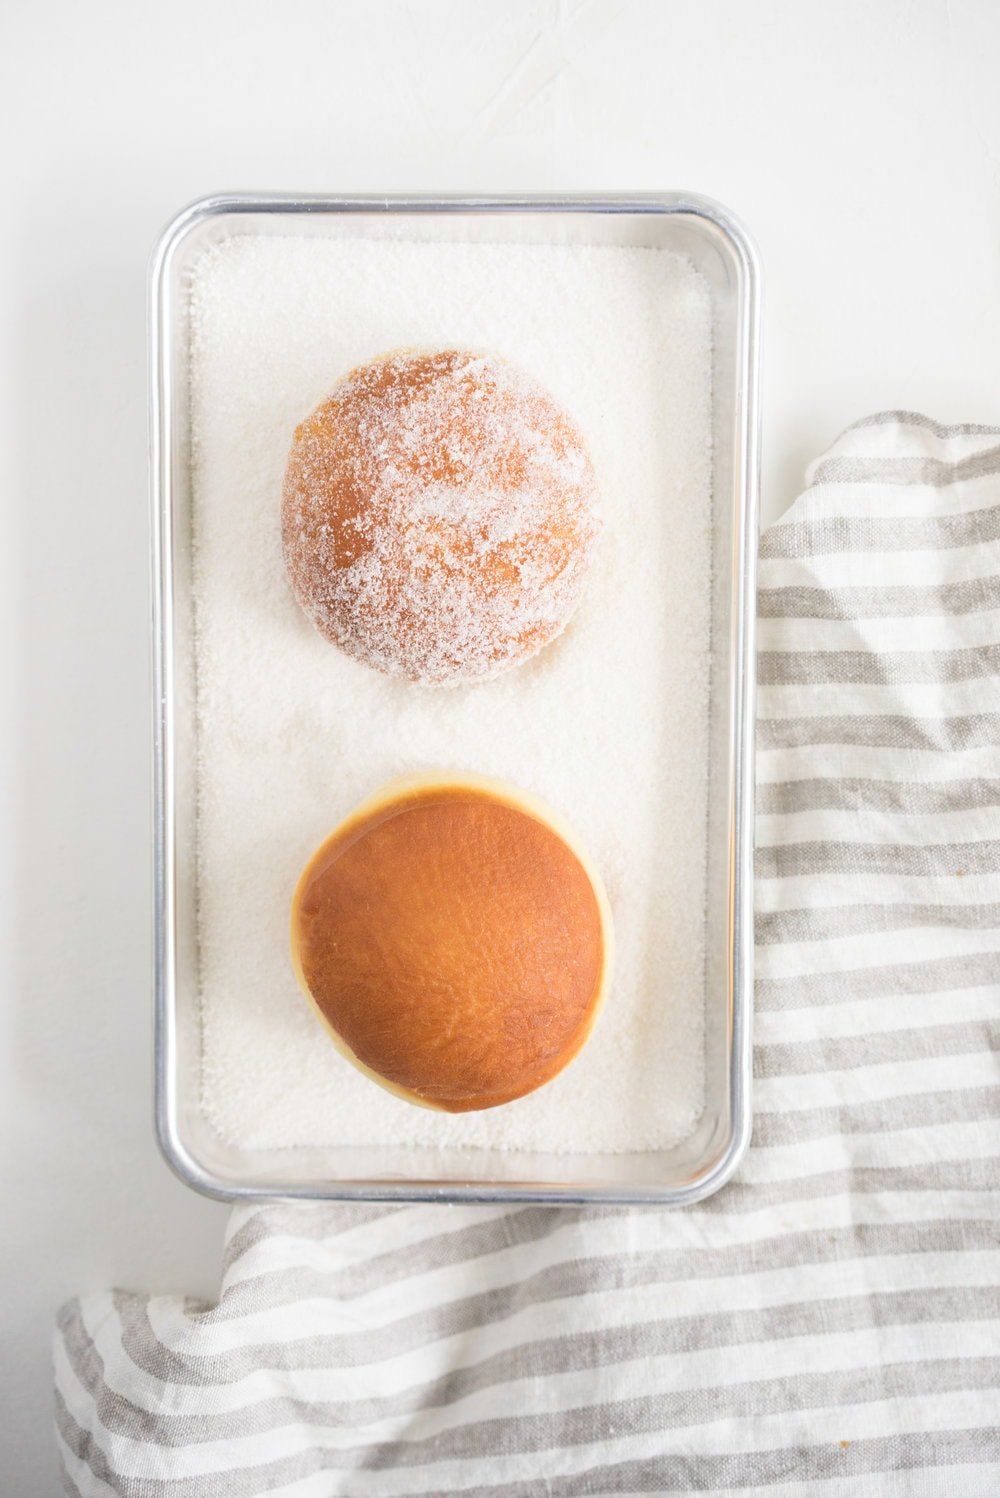
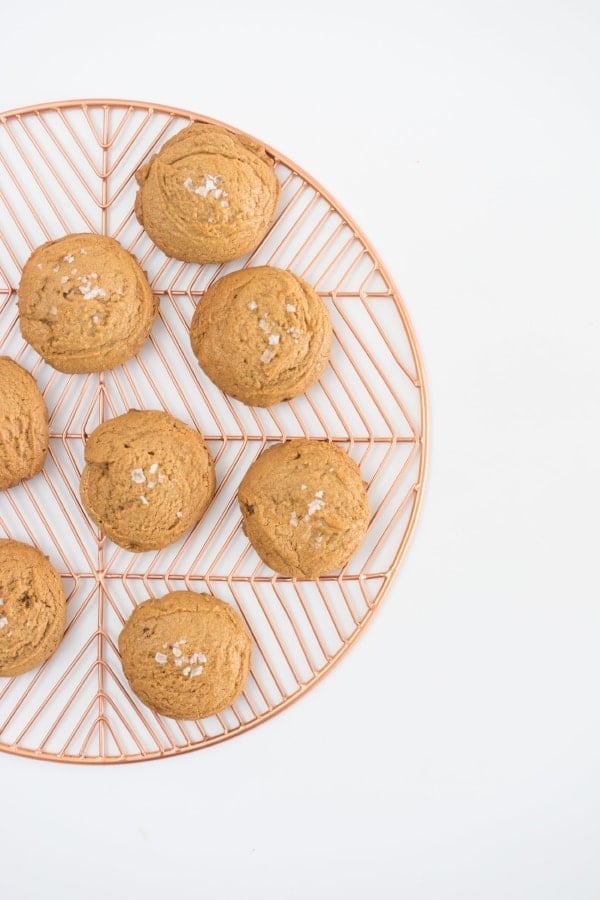
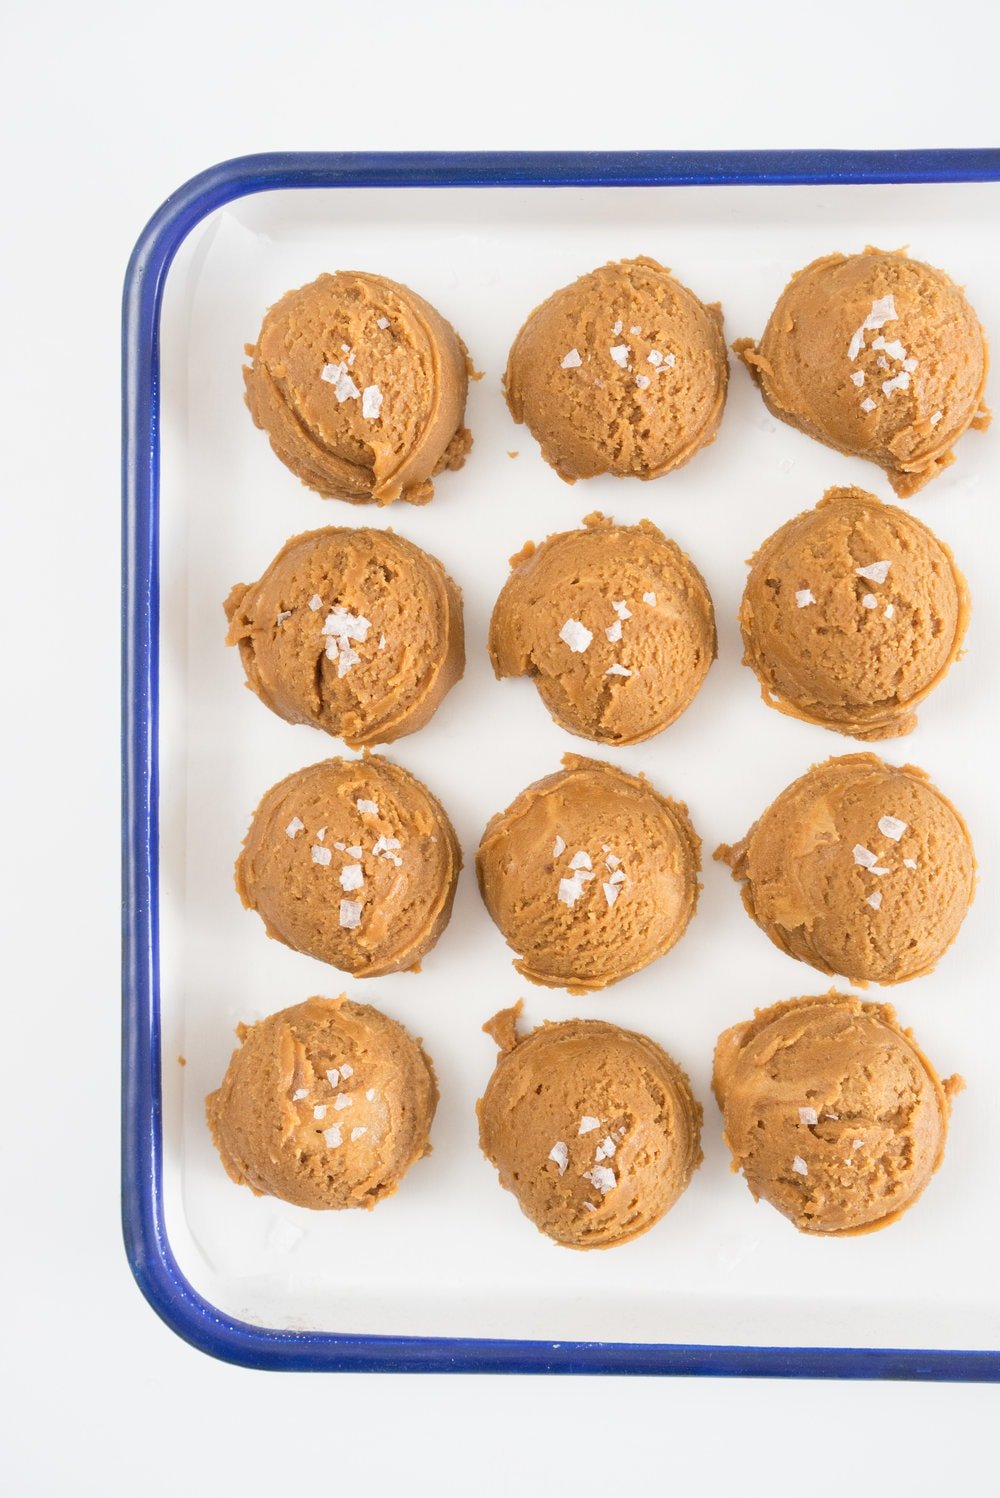
These are pretty simple - an enriched dough, spiced with a little cardamom, is rolled out thin, and filled with a spiced sugar and butter paste. You then fold it like a letter, pop it in the fridge for a quick second, then roll it out slightly more, before cutting it into strips. These strips are then twisted into pretty little knots, left to rise slightly, then loaded with swedish pearl sugar (aka the best thing ever), and baked off. The result is a lovely fluffy roll, with a delicious spiced filling swirled throughout. Quite possibly my new favourite.
A few wee tips for Swedish Cinnamon Rolls
- I watched this gif of Alana's about 20 times before I gave it a go, just to help work out where my fingers needed to go when I twisted them. Basically you go around your fingers and thumb twice, then take your thumb out before you take the strip over the top and tuck it under. Watch the gif. It makes it much less confusing. Even if they get a bit messy, I promise they will still taste amazing
- Want to make these for breakfast? The first proof can be done overnight in the fridge!
- The swedish sugar isn't necessary, but if you can get your hands on it, it's hugely worthwhile!
- If you don't have a stand mixer, no worries - you can do this by hand! Just make sure to carefully knead in the butter. It may pay to have a friend on hand too to help knead!
Related Recipes
- Dark Chocolate, Tahini, and Sesame Buns
- Brown Butter Cinnamon Buns
- Apple and Cardamom Babka
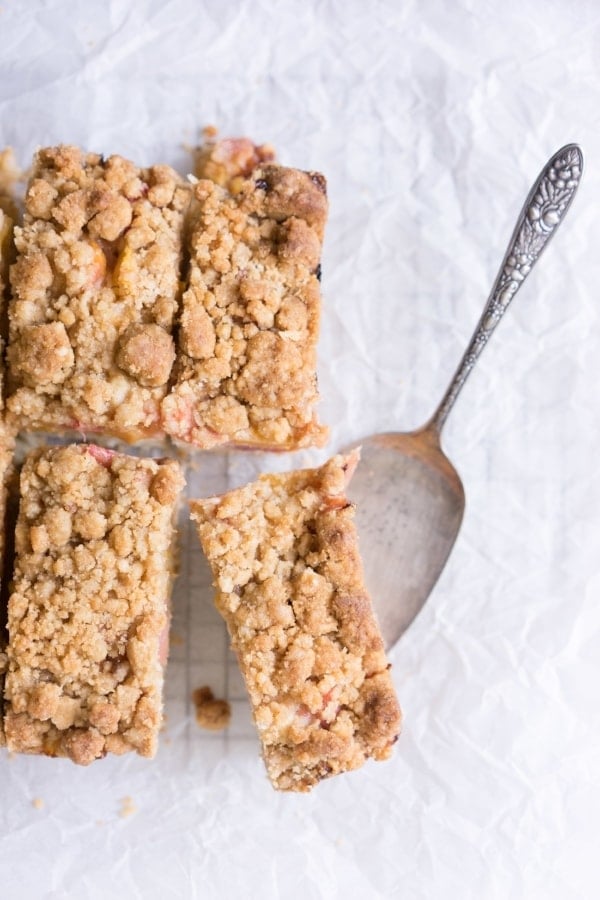
- Apricot Crumb Buns
❤️ Made this recipe and love it? ❤️
I would LOVE for you to leave me a review and star rating below to let me know how you liked it! Also, please make sure to tag me on Instagram!
Answers to your baking questions
Over the years, many of you have asked me questions about:
- baking in grams
- adjusting oven temperatures
- what kind of salt to use
- and many more!
I've curated and answered them all for your easy reference in this frequently asked questions post!