
Knowing how to make caramelized onions is a sneaky superpower - with some butter (or oil!), time, and salt, regular onions transform into a rich, sweet, jammy delicious caramelized onion mixture that is amazing for pizzas, dips, bread - the options are endless! This post covers how to make my caramelized onions on the stovetop and in the slow cooker. Make them in bulk and freeze them - they defrost beautifully!
Hi hi! I am just popping in to share this easy 101 on how to make caramelized onions! I have been making these for years, and figured it was finally time to get how I make them on the internet. If you haven't caramelized onions before, you really have to give it a go - they are a great thing to have going while you are doing something else, and your kitchen will smell amazing.
While I usually make caramelized onions on the stovetop, I have also made them in the slow cooker and it worked amazingly for a hands off option (and will probably be my preference going forward!). There are notes in the recipe for both options!
Caramelized onions are good on almost everything - I love to use them as the base of my cheeseburger pizza!
Do you REALLY want me to cook these for that long?!
Don't be put off by how long these take. I promise that it is worth it. I make them in bulk and store them in my freezer in 100g bags. These are one of those recipes that you might as well make a ton of because it is the same amount of work either way, so I start with 1.5kg of onions, which is what I can fit in my largest skillet. If you wanted to do two pans at once to do more that would also work.
Slow cooker caramelized onions
I made these for the first time recently and was blown away at how well they worked - again I did 1.5kg of onions (I could have done more!), and they took about 12 hours. I started them on low, and flicked them to high when I was around to stir them more frequently. Because you're not evaporating the moisture on the stove like you do with the stovetop method, I cracked the lid open a little bit for the last few hours of the cooking process to help the water cook off - make sure you're around to monitor them if you do this!
Please make sure you brown your onions enough.
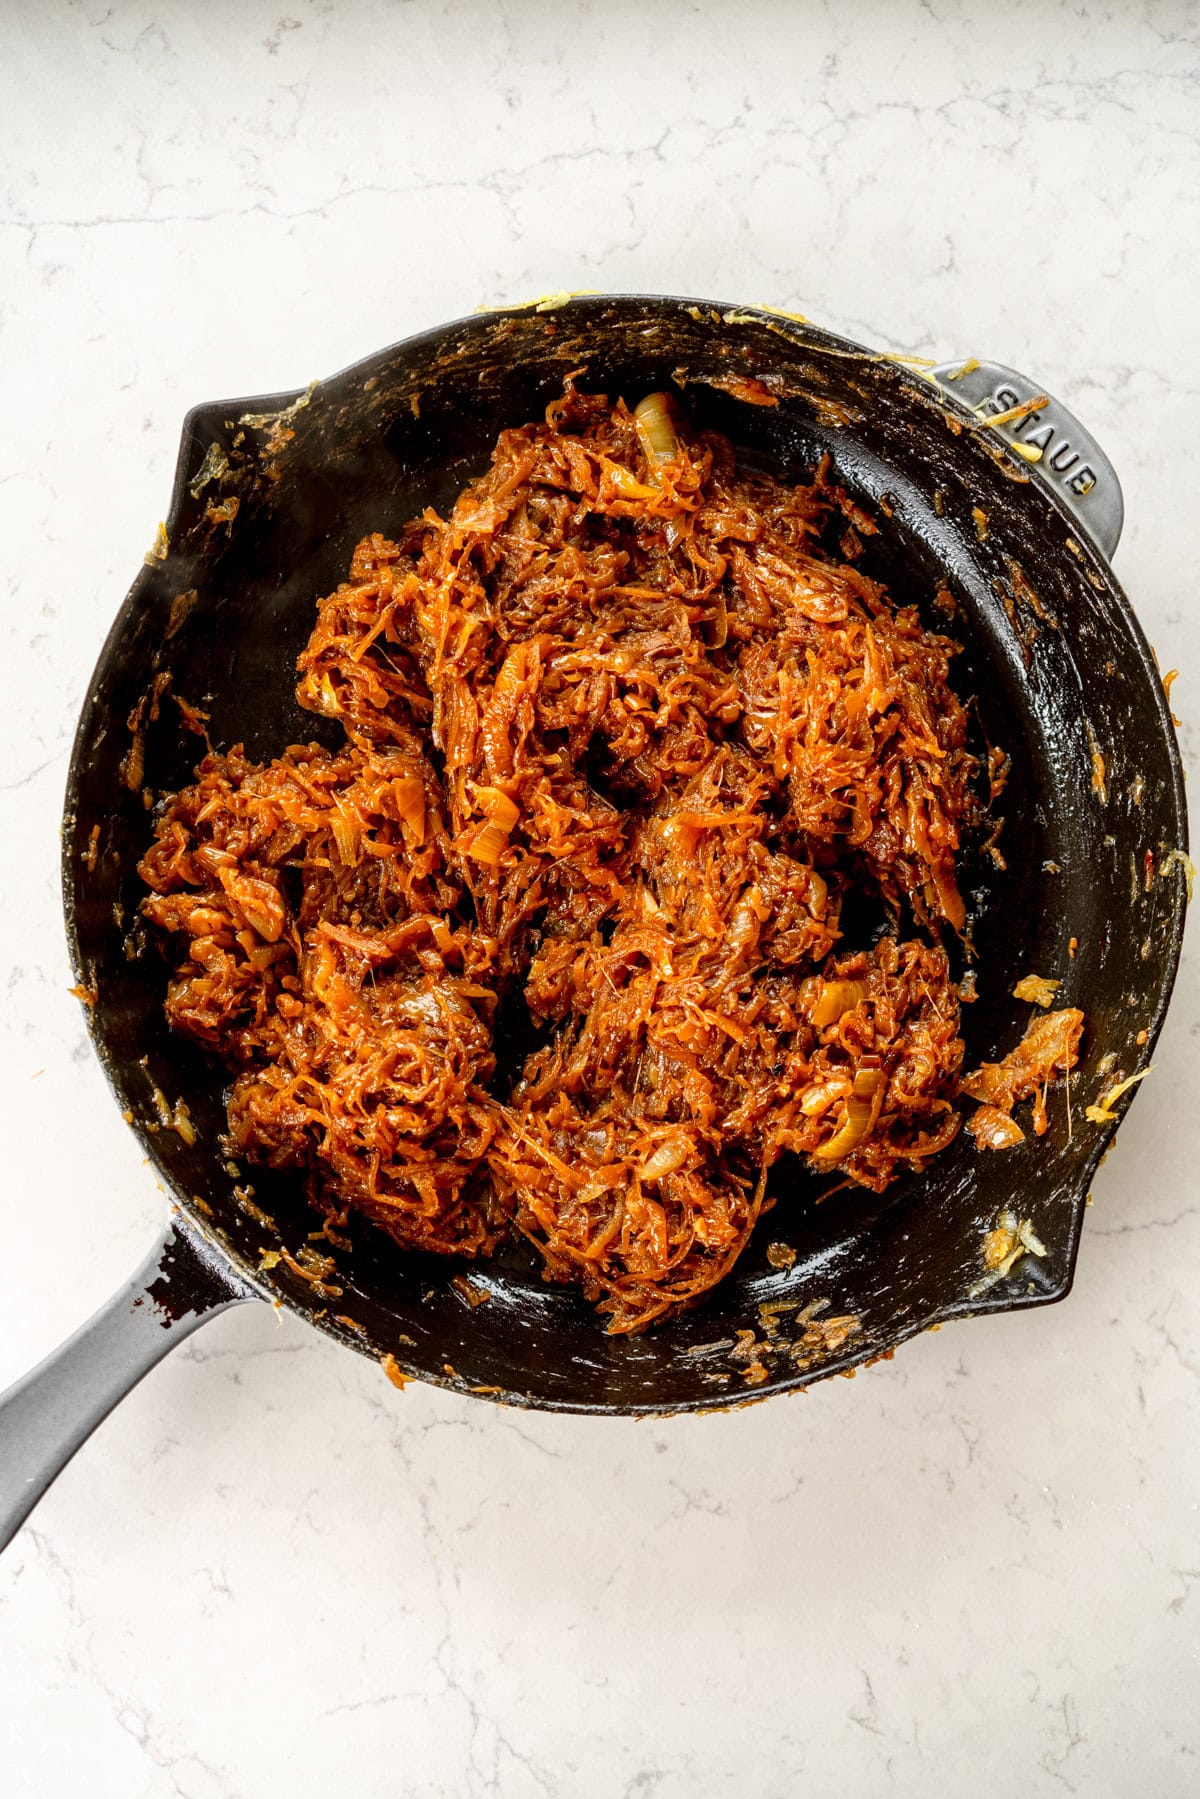
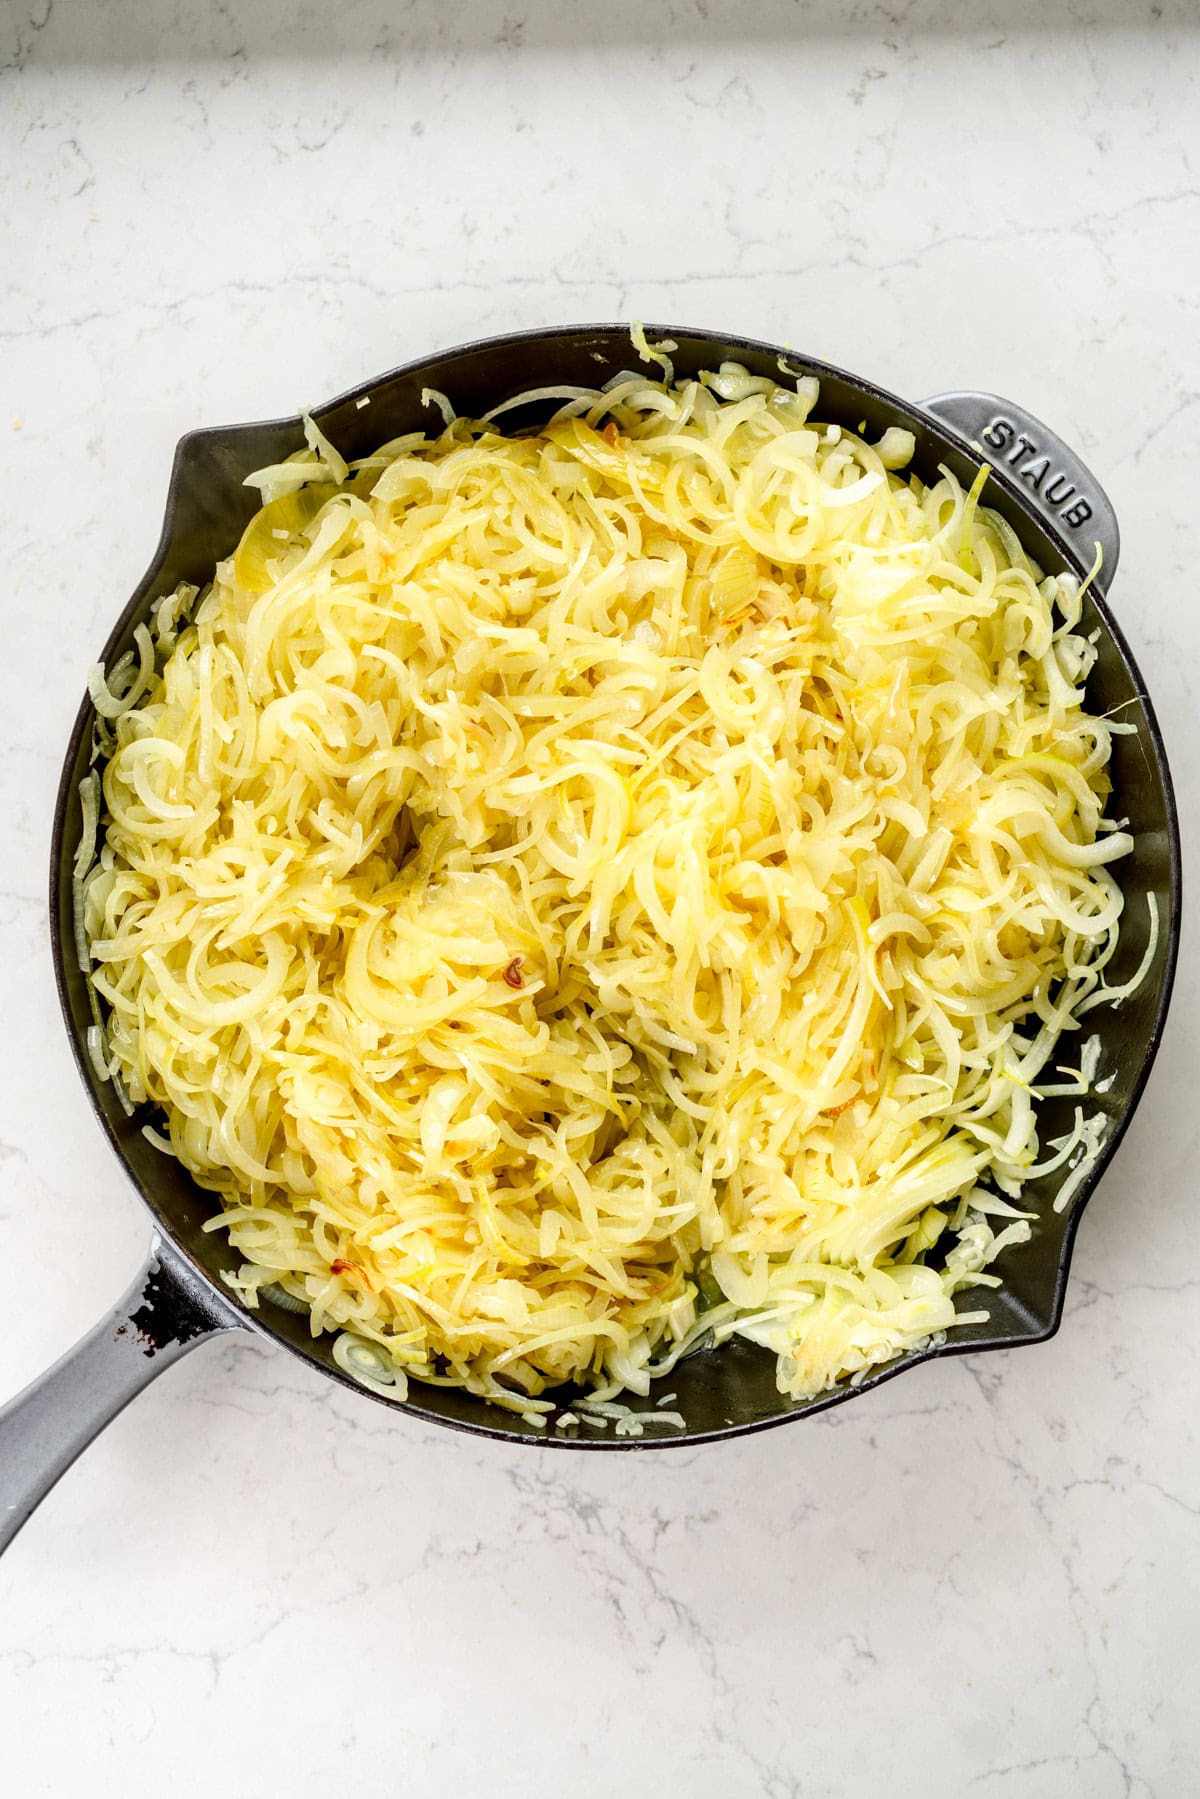
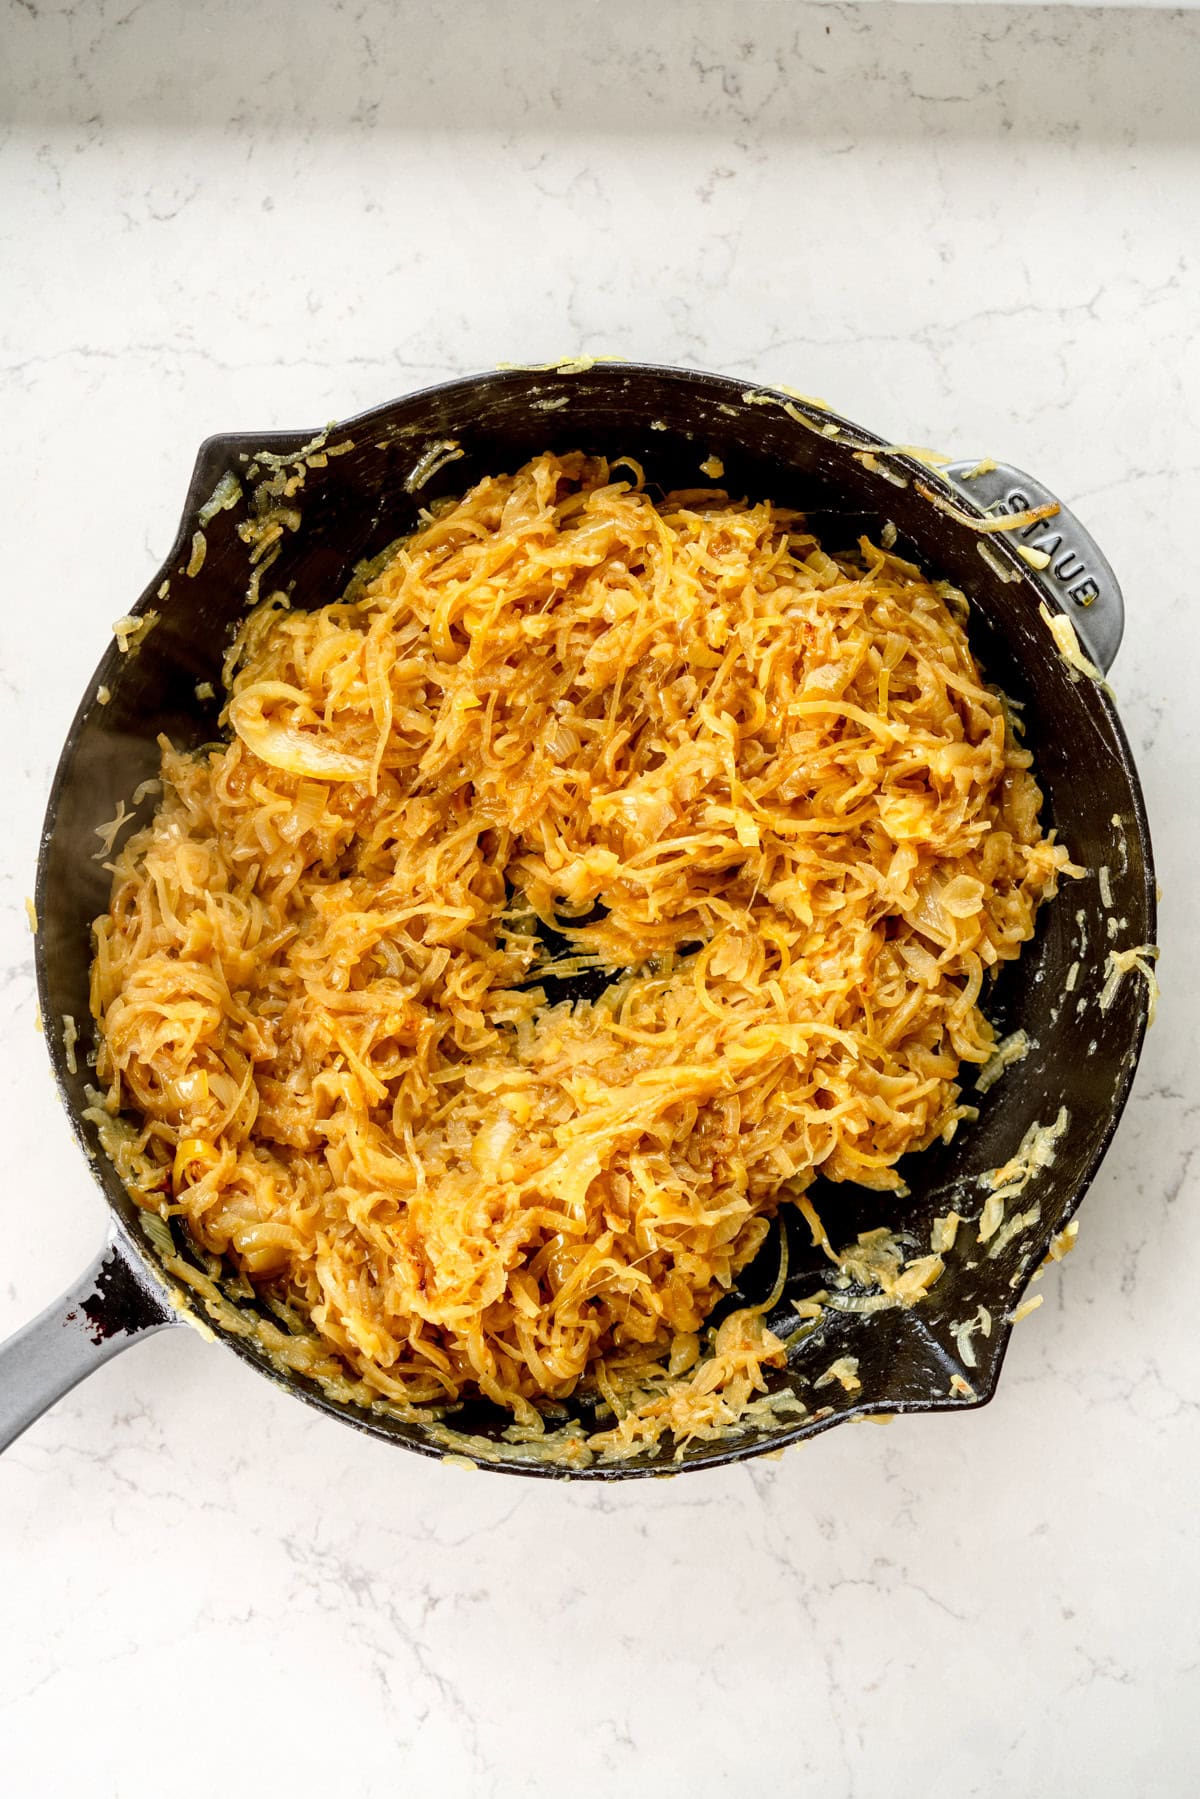
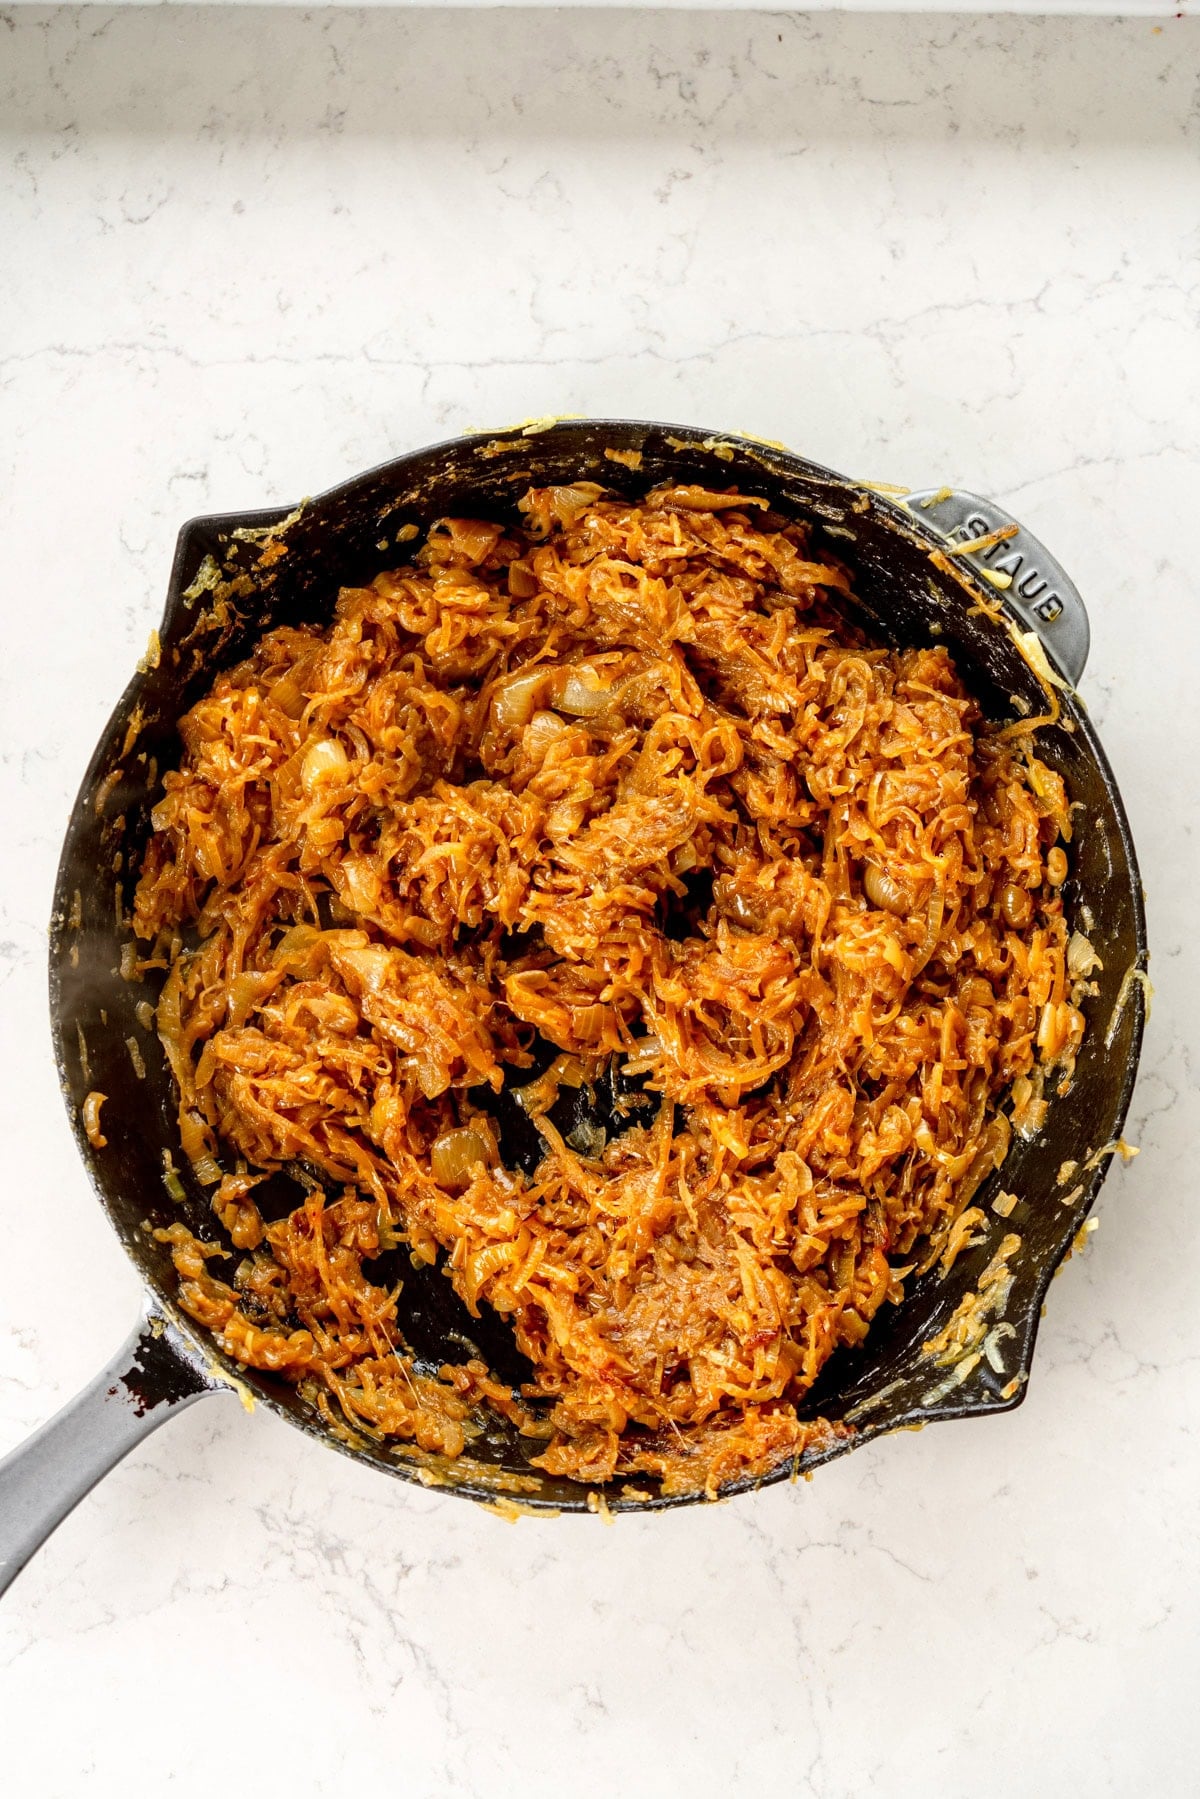
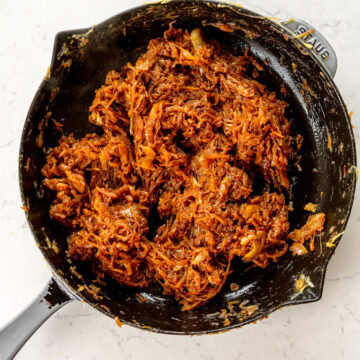
Don't trust a recipe that says that you can caramelize onions in 20 minutes. There will be all sorts of shortcuts - adding baking soda (I think this gives them a weird taste), adding sugar, la la la - onions have a ton of natural sugar in them, and cooking them low and slow is the best way to harness this and get the best flavour. With time you'll have the most amazing collapsing brown jammy onions that taste nothing like raw onions. I have included images with the time it took me to make stovetop caramelized onions below - you can see they really don't even start to brown properly before the hour mark.
❤️ Made this recipe and love it? ❤️
I would LOVE for you to leave me a review and star rating below to let me know how you liked it! Also, please make sure to tag me on Instagram!
Answers to your baking questions
Over the years, many of you have asked me questions about:
- baking in grams
- adjusting oven temperatures
- what kind of salt to use
- and many more!
I've curated and answered them all for your easy reference in this frequently asked questions post!
Perfect Every Time Caramelized Onions
- Prep Time: 10 minutes
- Cook Time: 1 hour 15 minutes
- Total Time: 2 hours
- Yield: 20 servings 1x
- Category: Savory
- Method: Stovetop
- Cuisine: American
Description
Knowing how to make caramelized onions is a sneaky superpower - with some butter (or oil!), time, and salt, regular onions transform into a rich, sweet, jammy delicious caramelized onion mixture that is amazing for pizzas, dips, bread - the options are endless! This post covers how to make my caramelized onions on the stovetop and in the slow cooker. Make them in bulk and freeze them - they defrost beautifully!
Ingredients
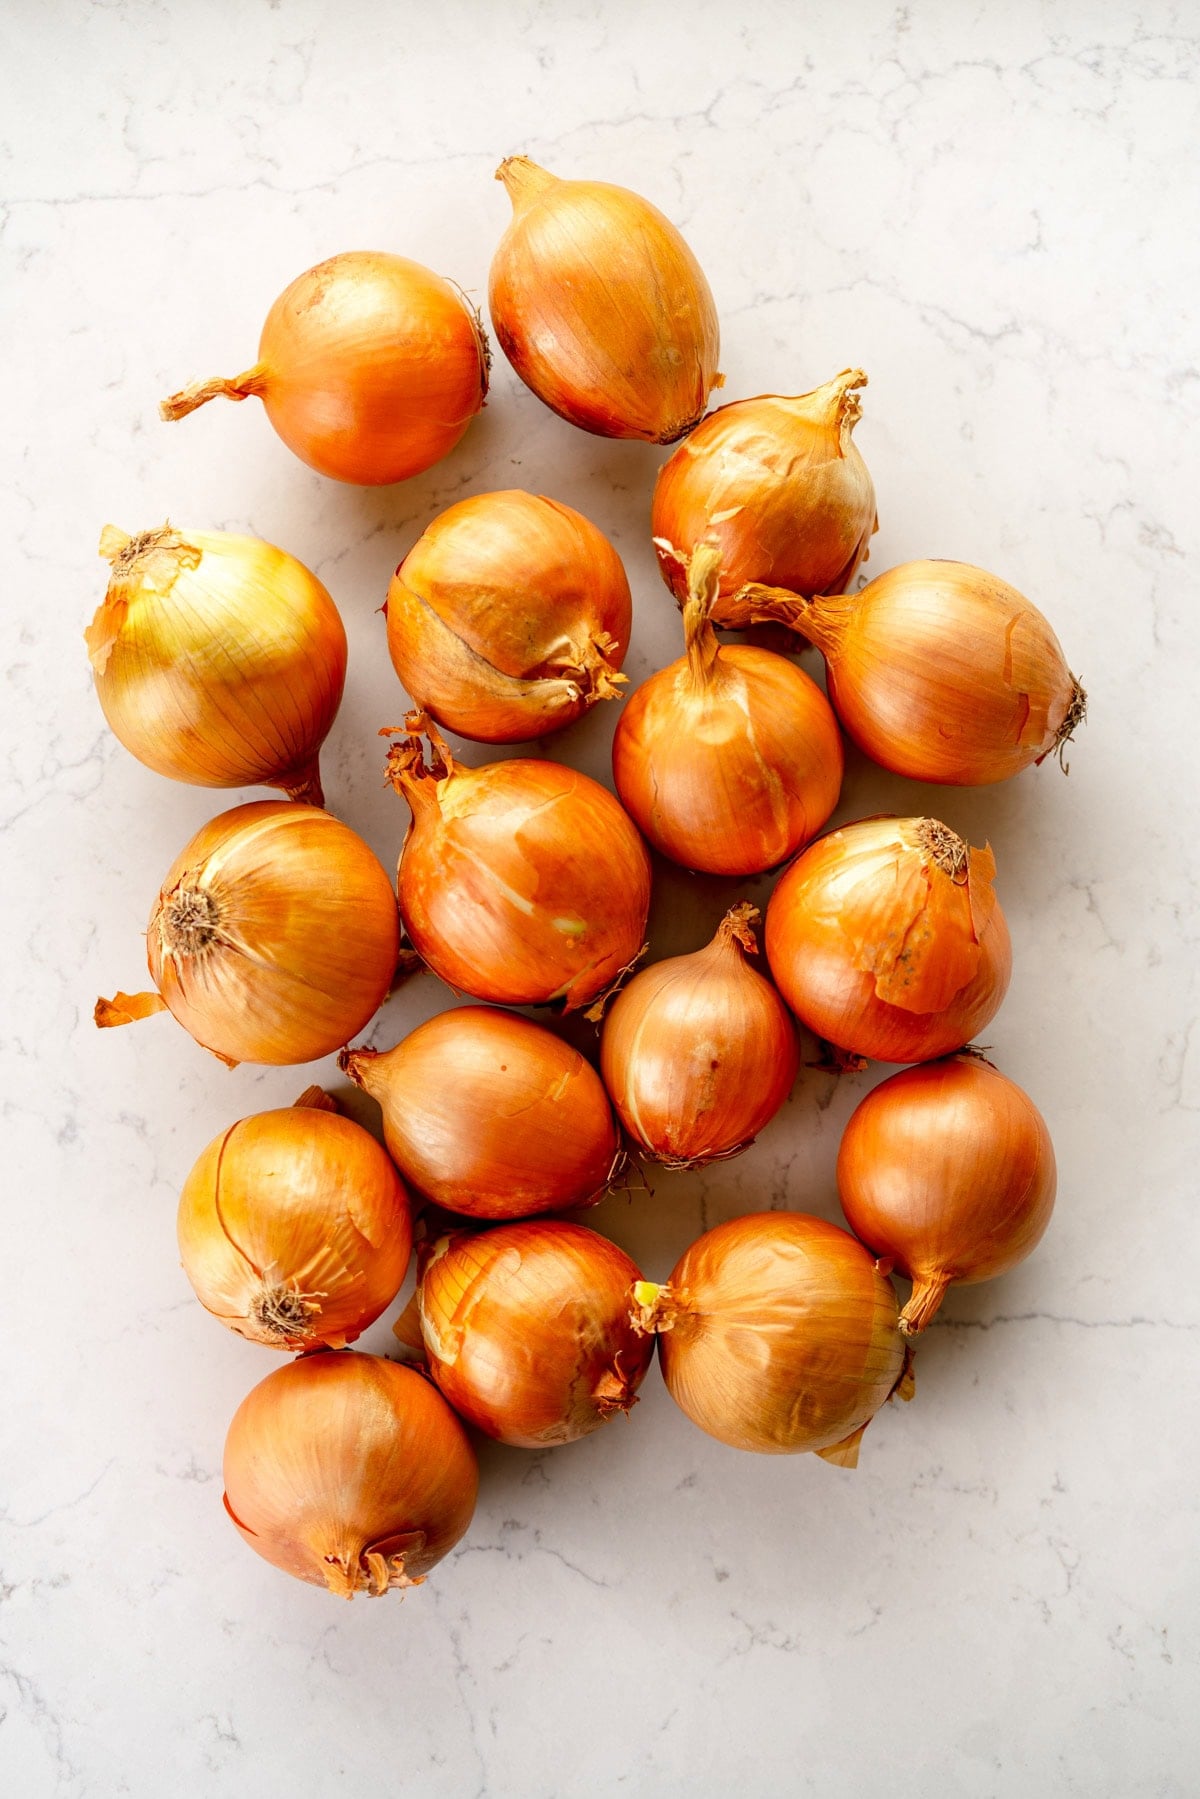
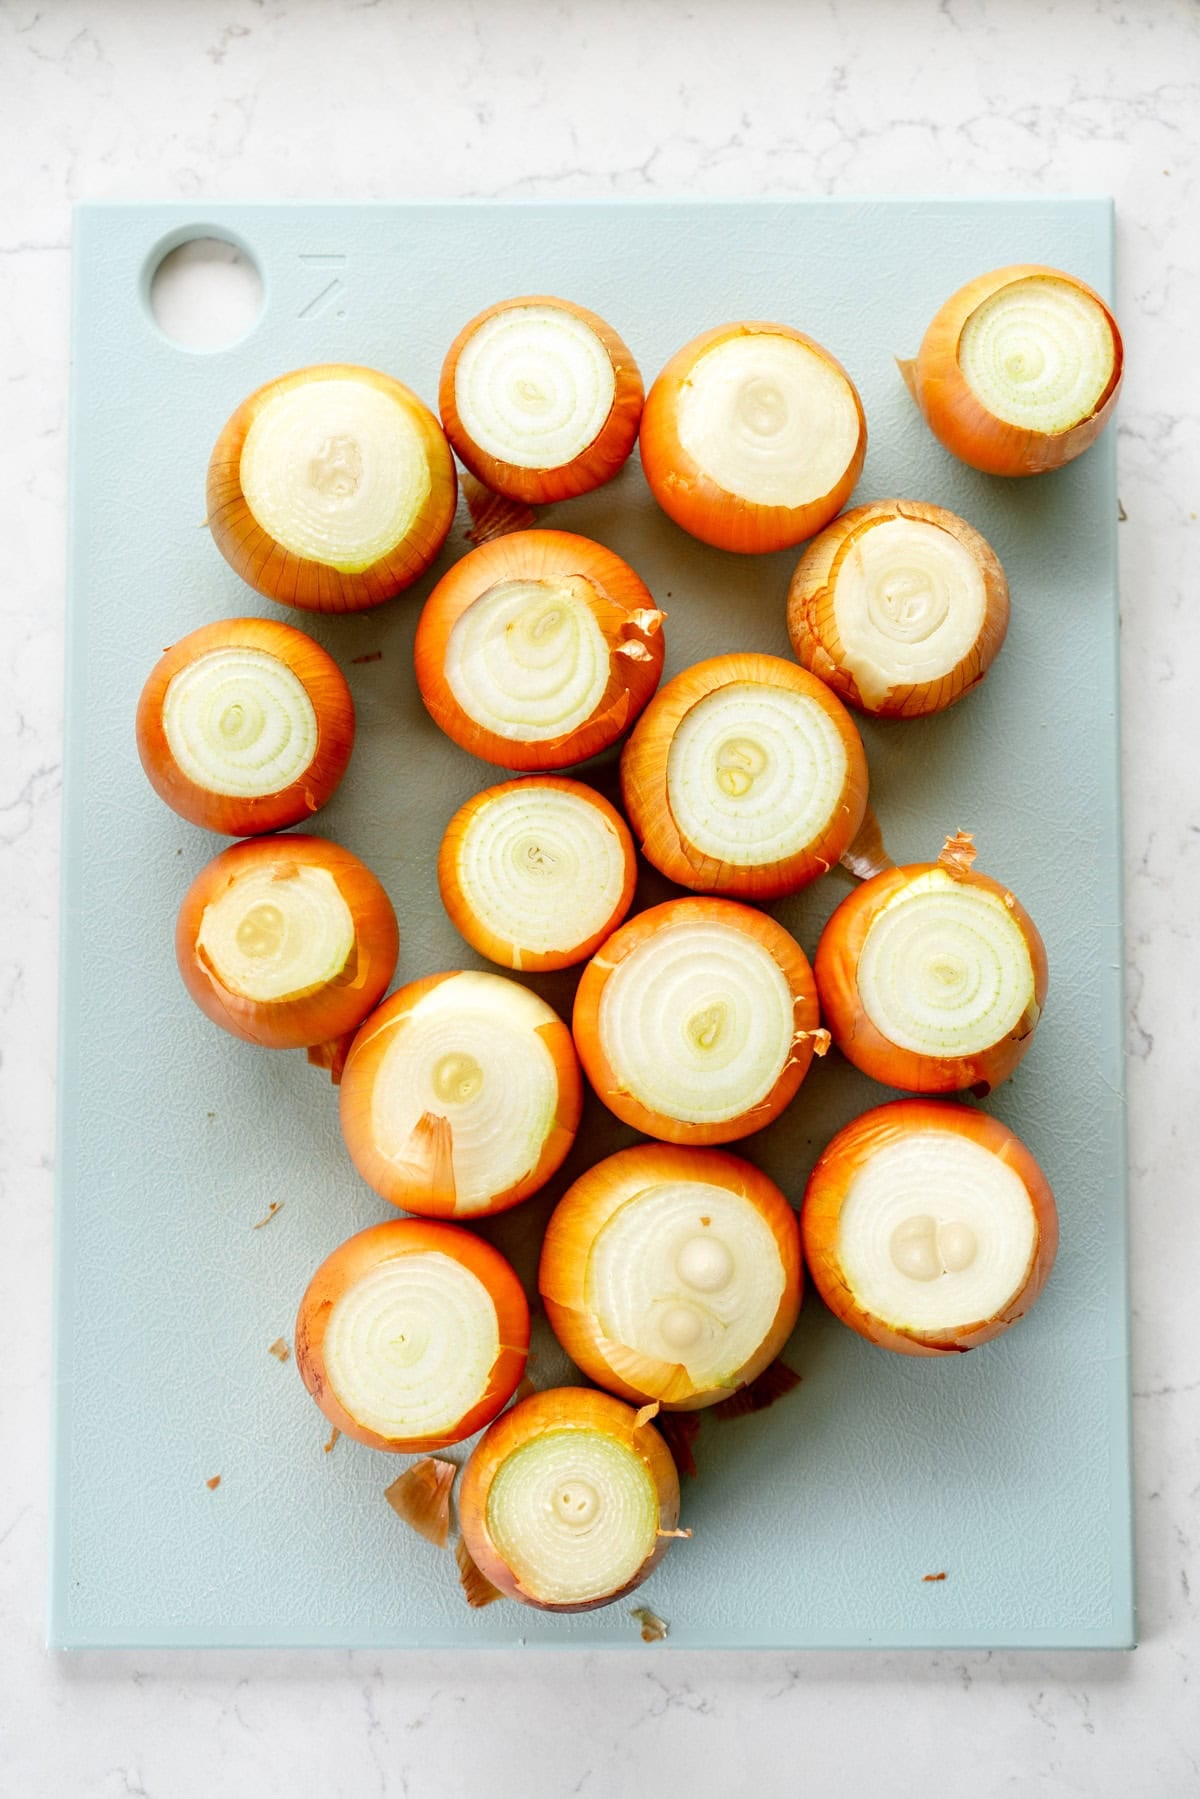
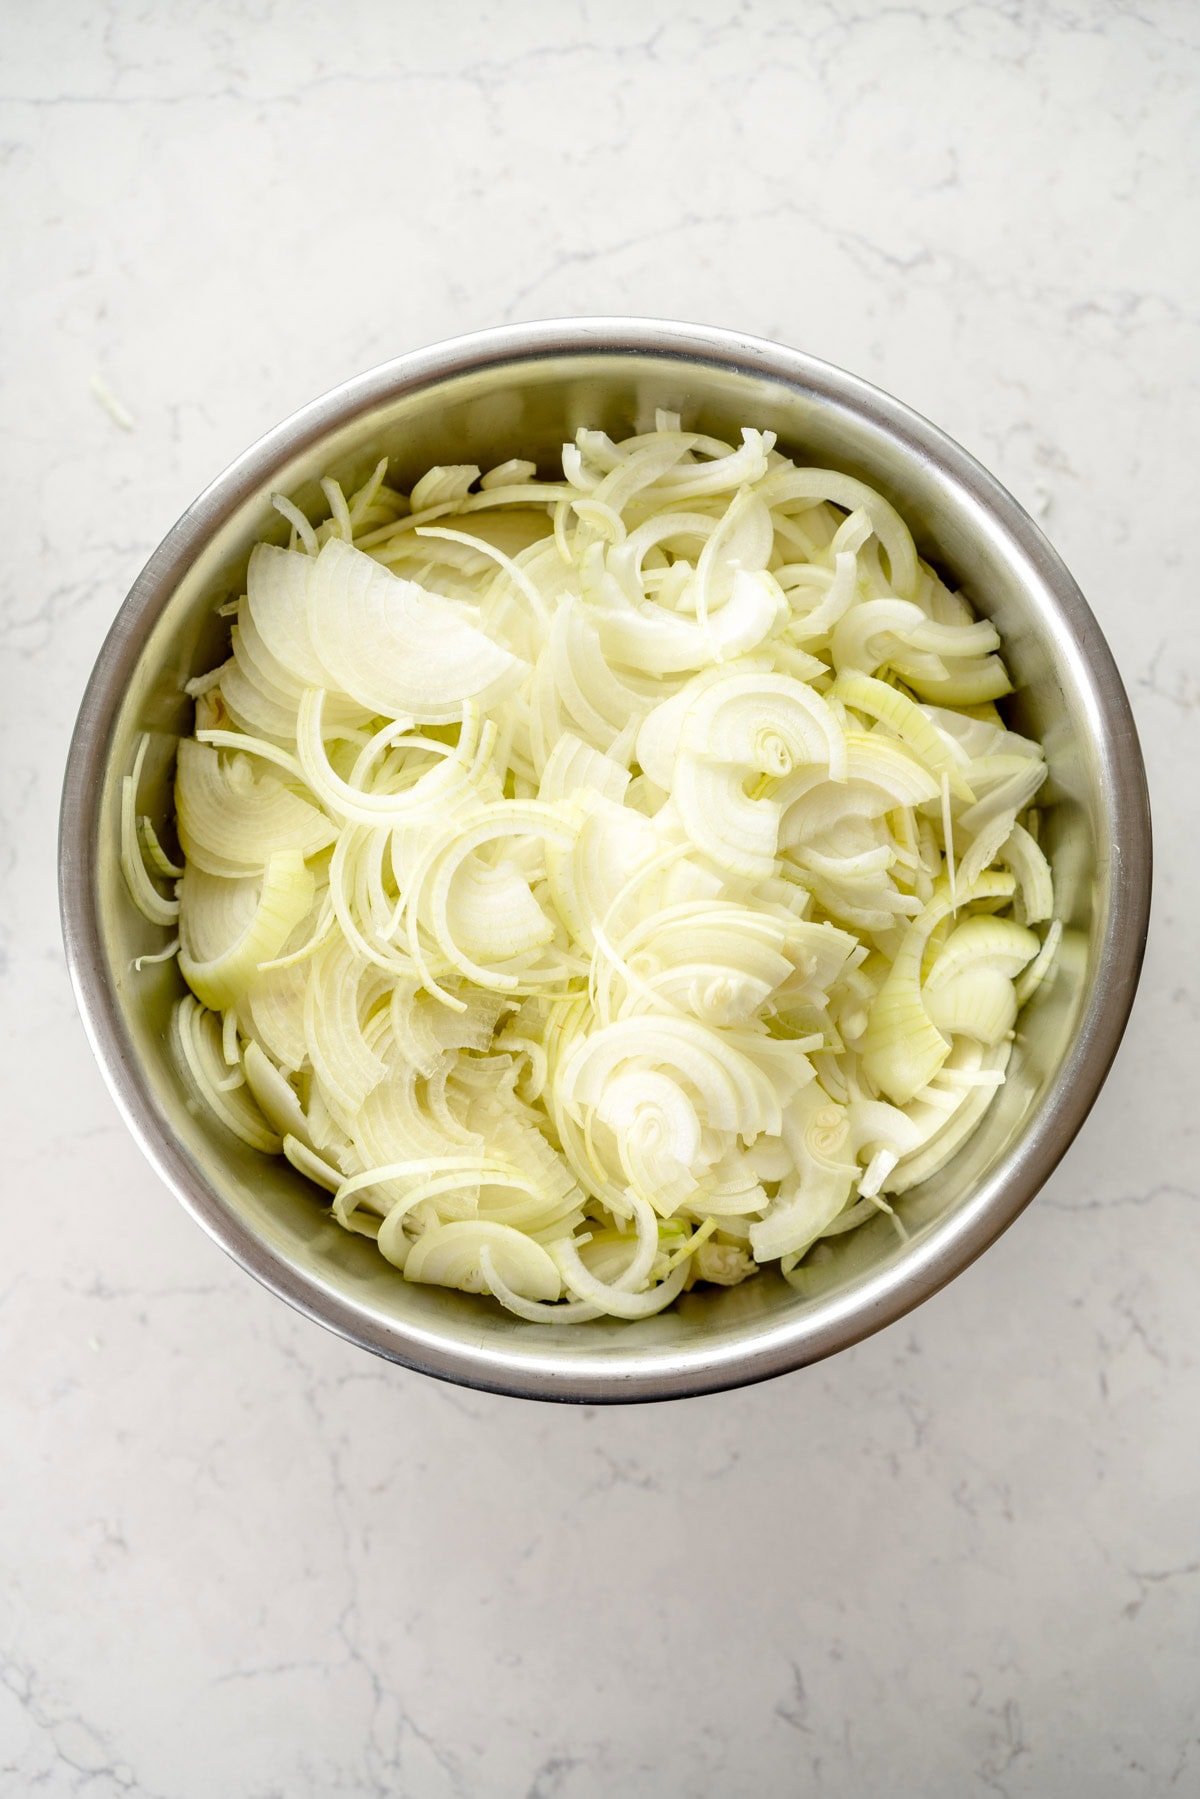
- 1.5kg onions (I used brown, use whatever you have in your pantry, a mix is fine), peeled, halved, and finely sliced
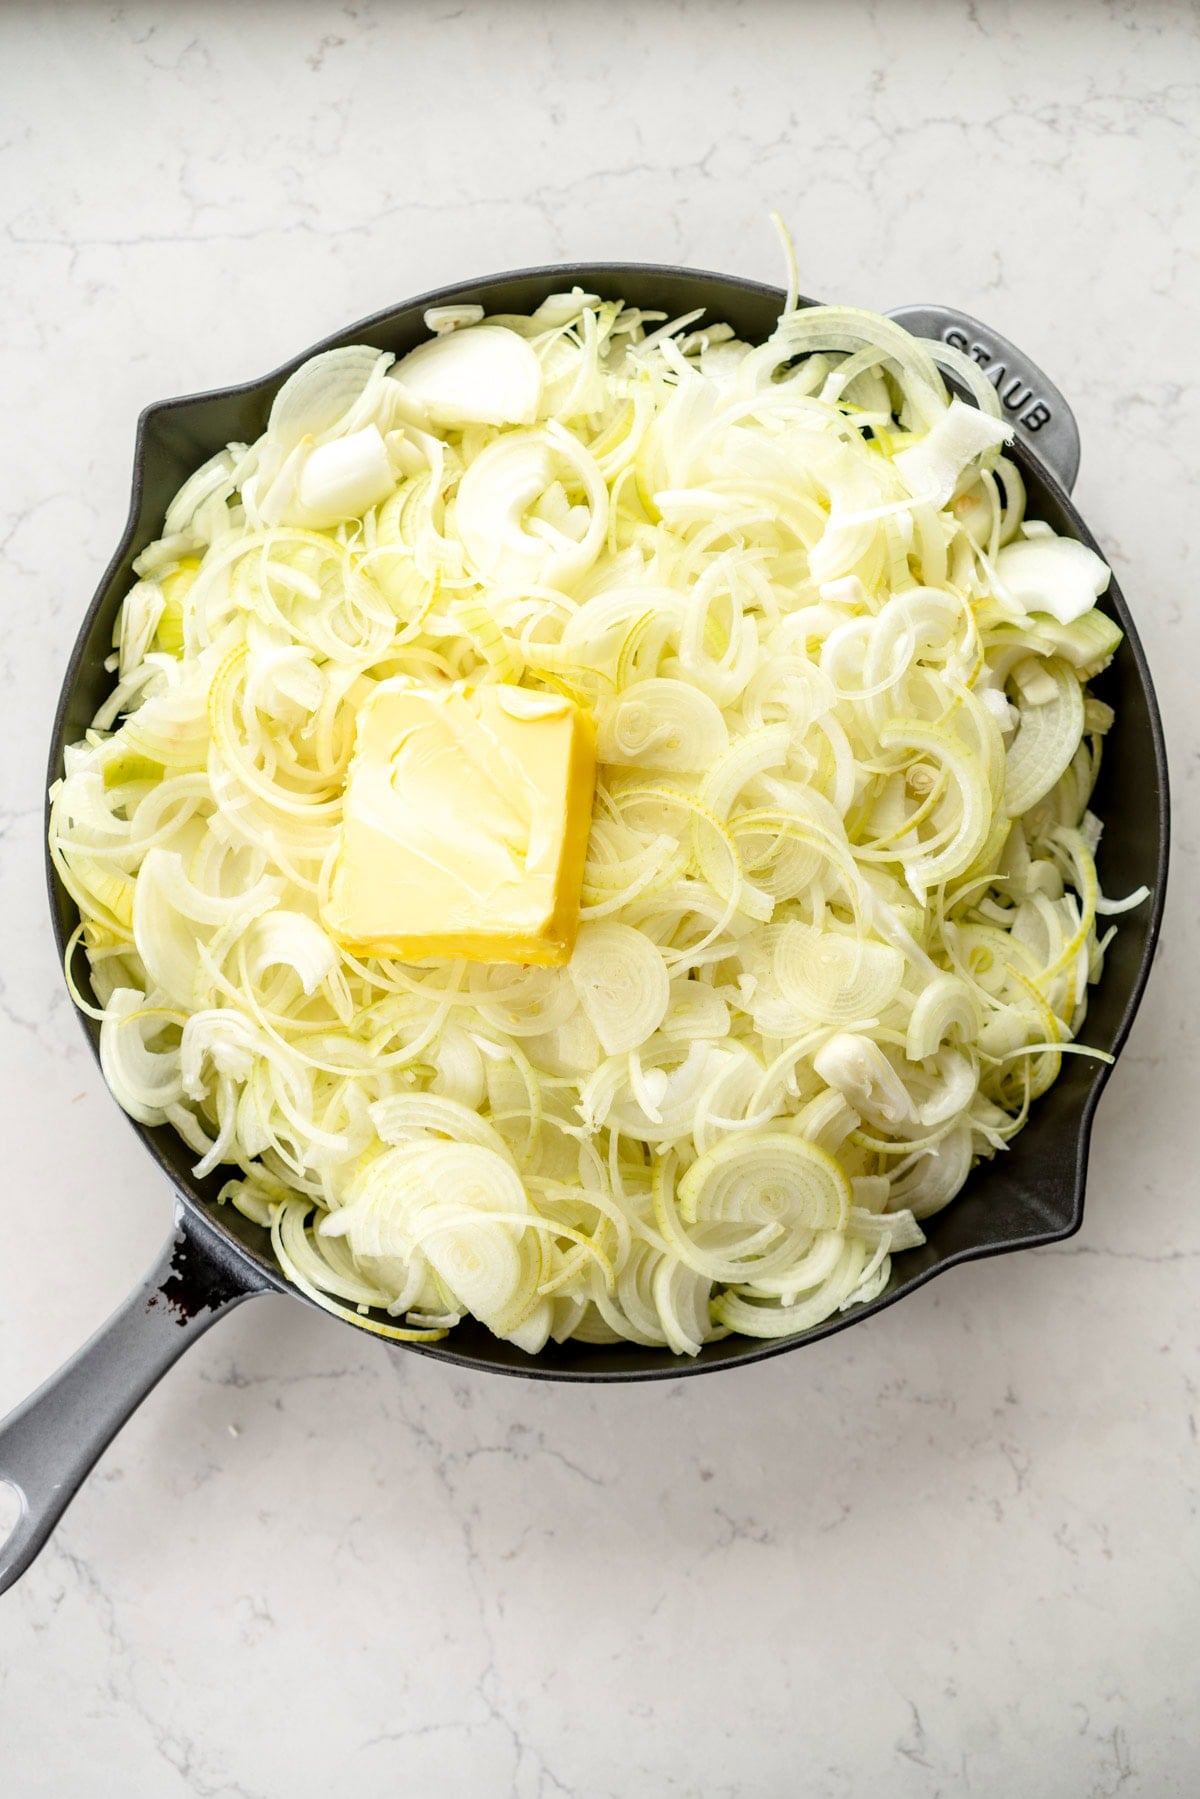
- 100g butter (salted or unsalted is fine), cold from the fridge is fine or about 75g of extra virgin olive oil or neutral tasting oil
- Salt to taste
Instructions
STOVETOP METHOD
- Place the onions and the butter in a large skillet.
- Place over medium heat. Once the butter has melted and the onions start to cook, cover the pan with a lid or a sheet pan and drop the heat to medium low. Cook for about 10-15 minutes covered, until the onions turn translucent and start to go floppy.
- Remove the pan and turn the heat to low (you will need to play around with the heat to find what works for you).
- Cook the onions, stirring often, for about an hour and 15 minutes, depending on how high you have your heat and your preference for how brown you like your onions. If you are ok stirring them more often you can do them on a higher heat, if you don't want to worry about them, do them a little lower. If the onions look like they are threatening to burn, you can deglaze the pan with a splash of water to help scrape the fond off the pan. Using water is a good way to make things go a little quicker if you need. See the photos in the post for how my onions progressed over time.
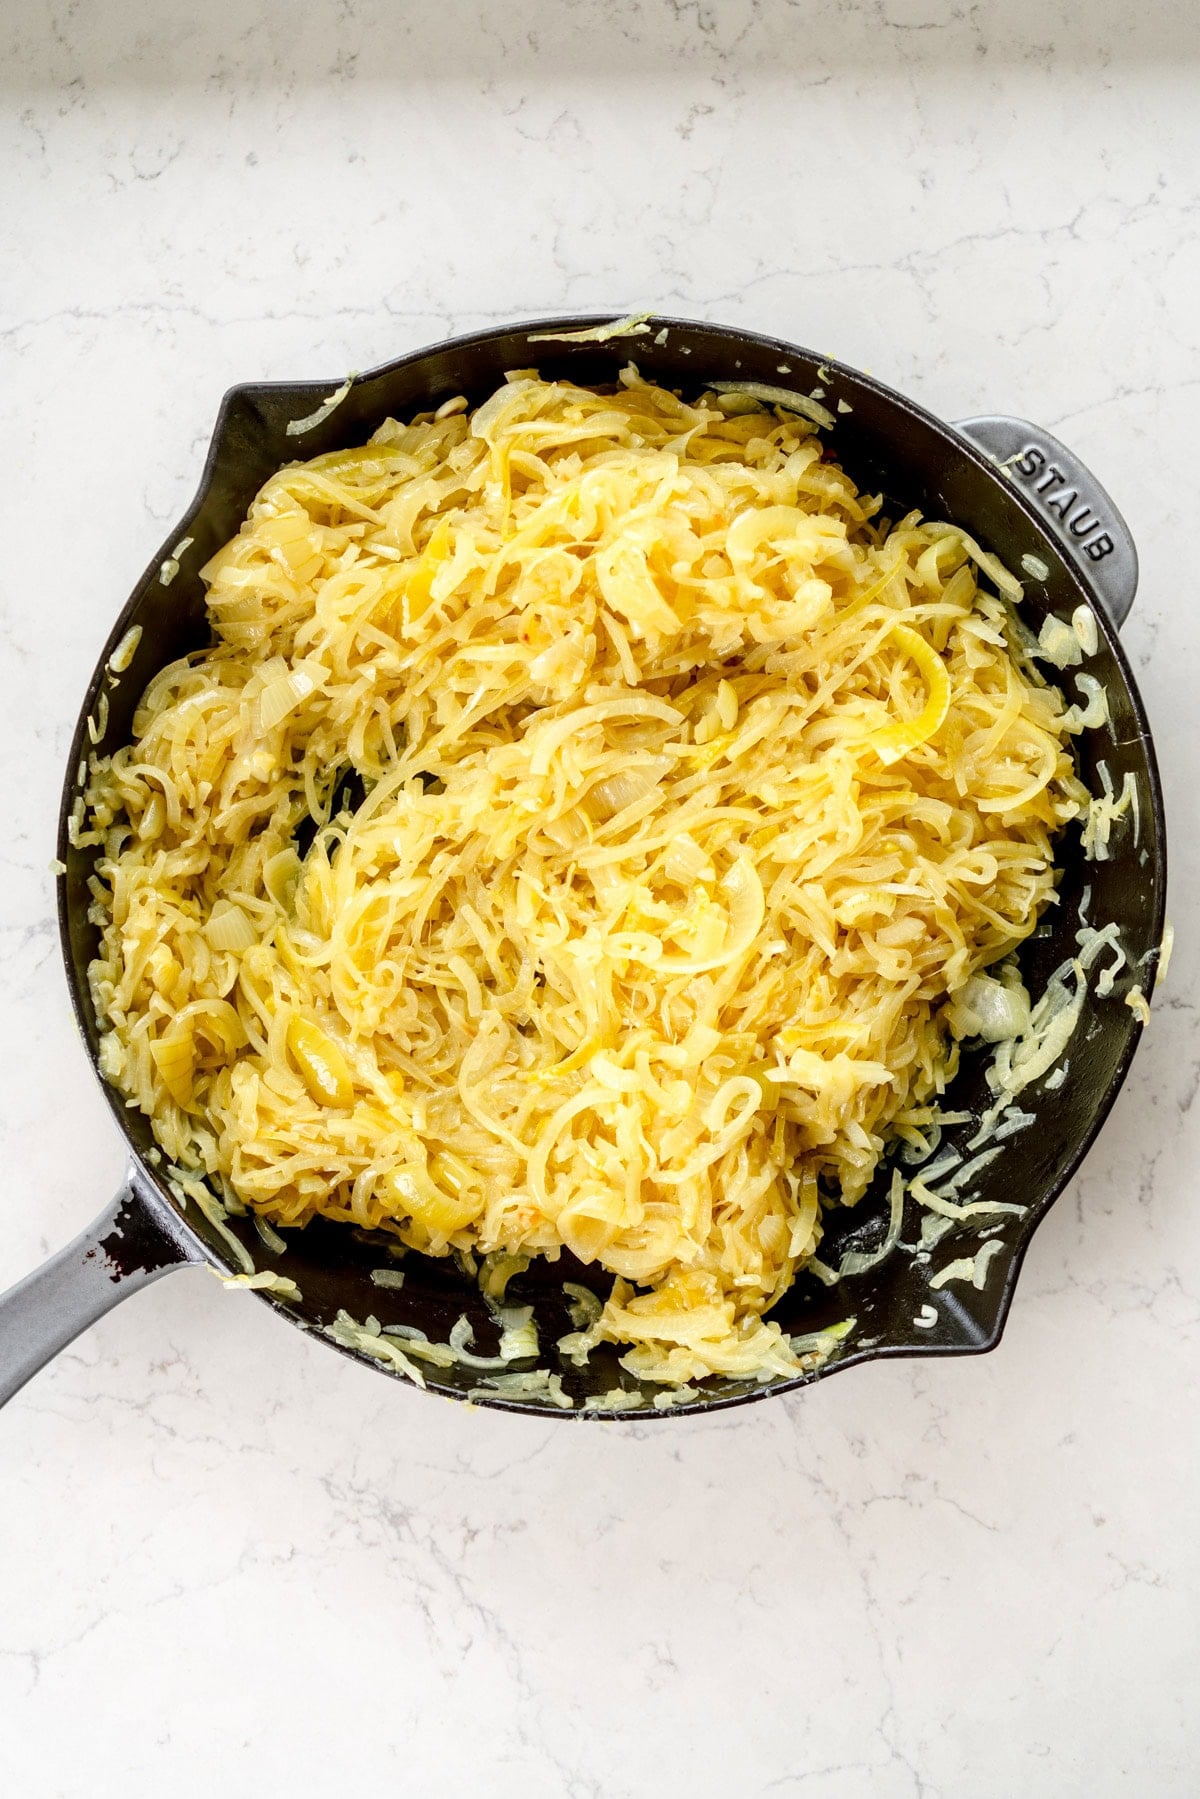
- Cook the onions until they are your desired level of brown - I like to take mine quite far. Remove from the heat and add salt to taste - you will need more or less depending on if you used salted butter or not.
- Leave the onions to cool before transferring to an airtight container or ziploc bag. Store in the fridge for up to a week or in the freezer for up to 3 months.
SLOW COOKIER METHOD
- If you want to speed things up, you can fill your bowl of your slow cooker with boiling water, which helps to heat it up before you start the cooking process. I do this while I prepare my onions then empty it and dry it before using. Place the onions and butter in the bowl of your slow cooker. If you want to you can melt the butter and pour over the onions, or it will melt by itself. Cover with the lid.
- Cook on high for the first 30 minutes to an hour to get things going, then switch the slow cooker to low. Cook, stirring occasionally, for 10-12 hours, until your onions are your desired level of doneness. Once they have started to brown and if you are monitoring them, you can turn the slow cooker to high, just make sure that you check on them often and flick it to low if needed. If you want to evaporate some of the moisture from the onions to make them more jammy and a more similar consistency to the stovetop version, crack the lid a few cm the last 2-3 hours of the cooking process to help evaporate some of the water. You will need to watch them more carefully if you do this. Because the slow cooker has the lid, there is no need to use water to deglaze.
- Once the onions are your desired level of brown, salt to taste.
- Transfer to an airtight container or ziploc bag and store in the fridge for up to a week or in the freezer for up to 3 months.
Bring to room temperature before using from the fridge if you need them to be spreadable as the fat will have solidified in the fridge. If you are just throwing them into something then they are fine to use from the fridge.
Notes
The amount of onions I have used is just a guide - use as many or as few as you like. I just prefer to make them in bulk so that I have them on hand.
I like to use a cast iron skillet for this - a stainless steel or nonstick would work well too, or you can do this in a dutch oven style pot however I find that the larger the pan, the quicker things go
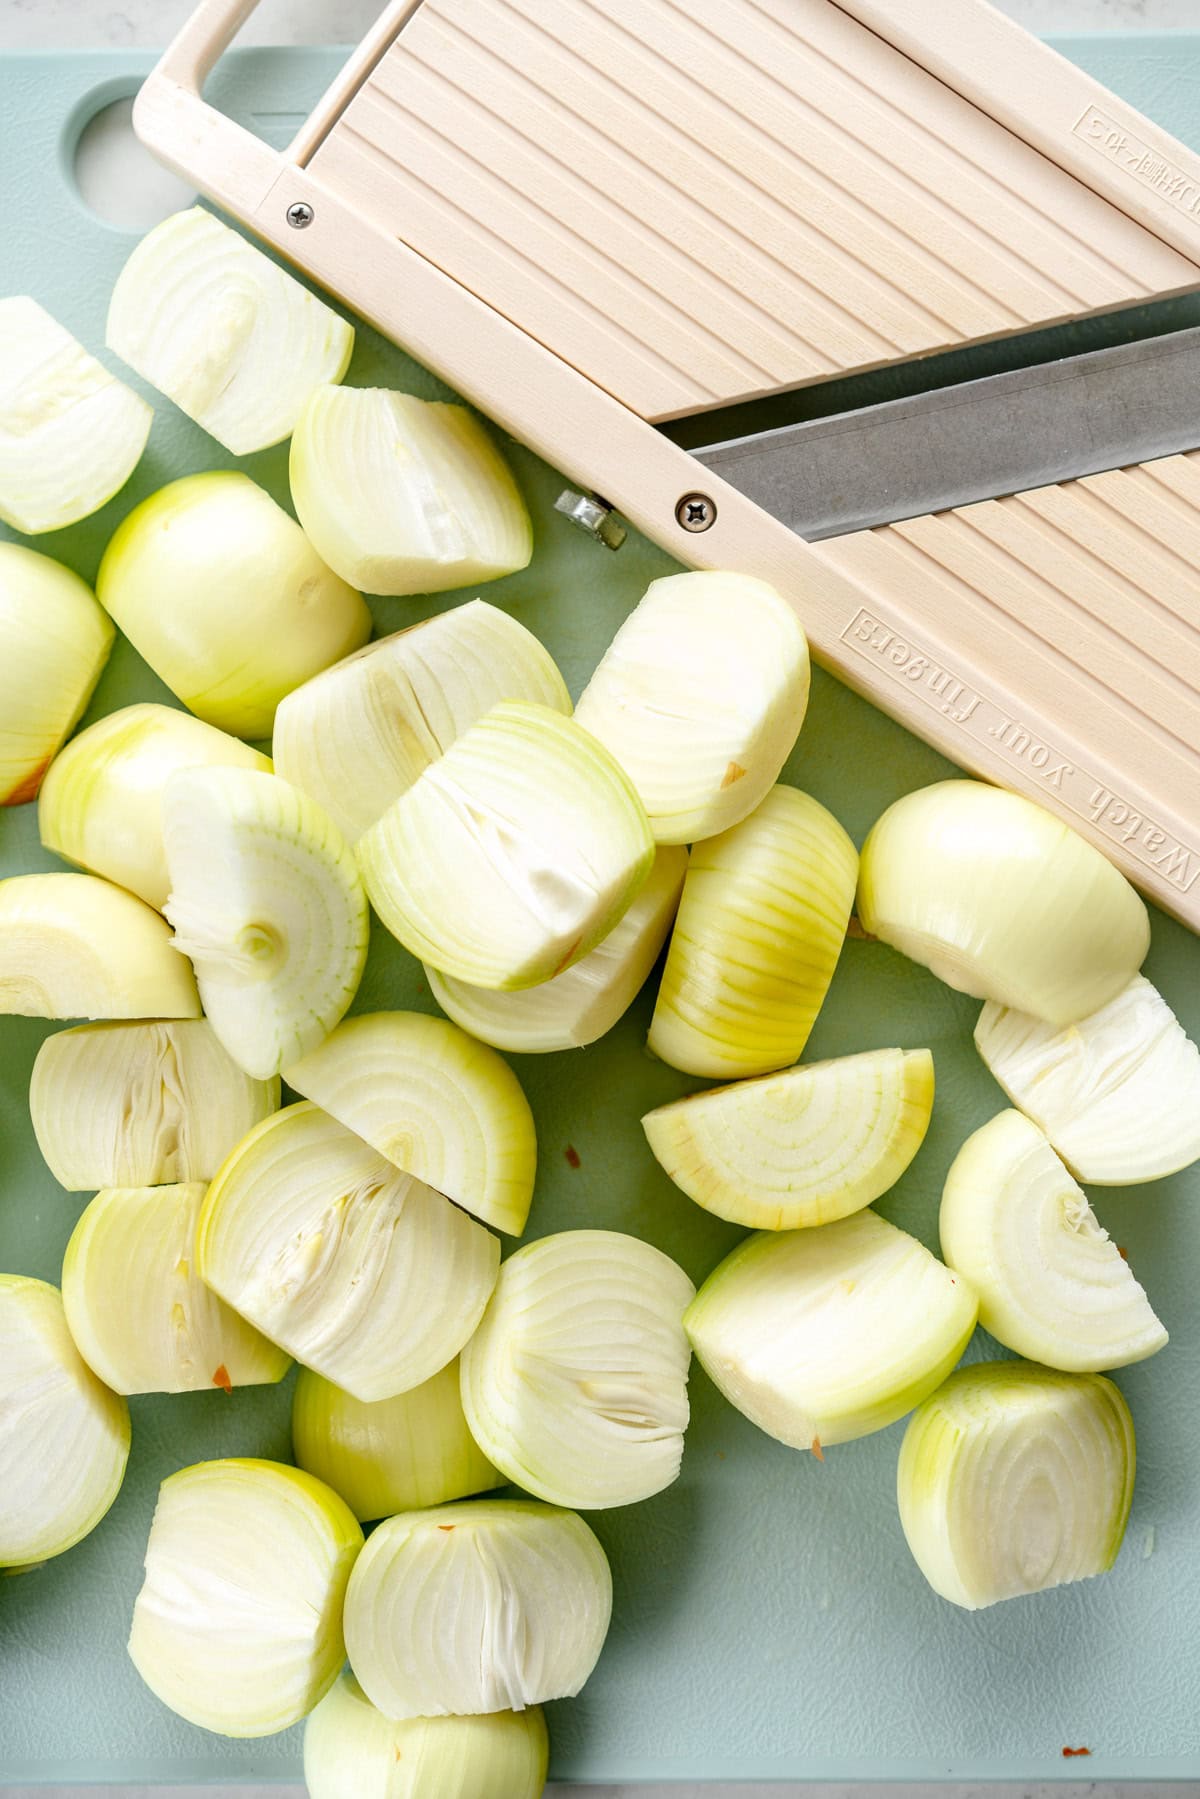
When it comes to cutting onions a mandolin is your friend - it makes the process so quick and easy. Mine is from the brand 'benriner' - make sure that you also get a cut-proof glove to use with it (I have two - one for stinky things like onions and another for less pungent things like apples so I don't cross contaminate)
If you don't want to use butter, you can use Olive oil or a neutral oil of your choice which will make these dairy free / vegan.
To freeze caramelized onions I do them in 100g portions in a ziploc bag. I just squish them flat in the bag and press out all the air, and then freeze them flat. You could also do them in ice cube trays then pop them out and store them in a bag - these are great for throwing into anything you want some easy depth of flavour in. Alternatively you could do them the way I freeze garlic and tomato paste - flatten them in a large ziploc and then just break a chunk off when you need it. They don't freeze super solid so are really easy to break off. Either use straight from frozen if you are throwing them into something, or defrost at room temperature or in the fridge.
If you want a super hands off approach you can probably do these overnight in the slow cooker on low if you are comfortable with this. I don't like leaving my slow cooker on when I am sleeping as I have an irrational fear of my cats knocking it over, but you do you here!
Comments
Rosie says
Perfect every time! Easy to make and worked surprisingly well when I froze them for future use.