
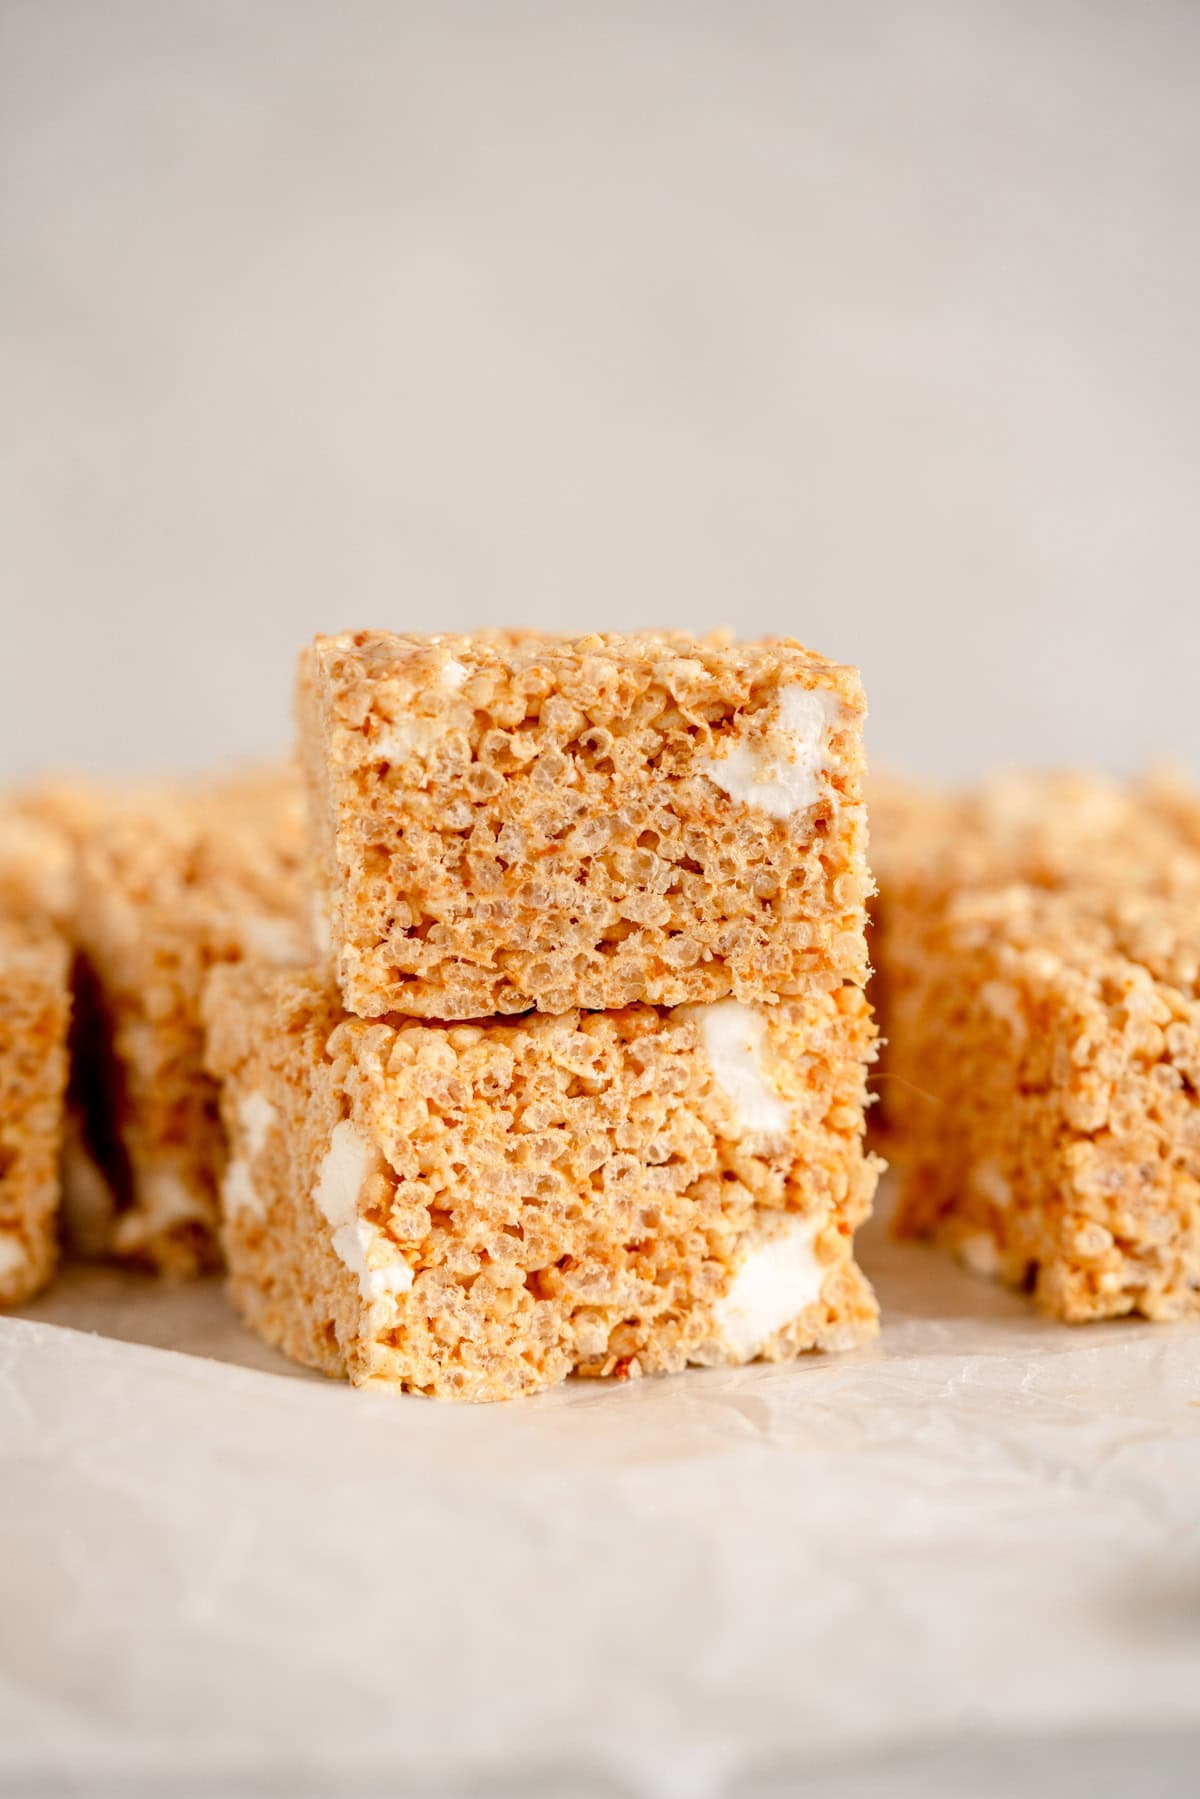
These aren't your standard Rice Krispie Treats - these are My Rice Krispie Treats wearing a party dress! A few simple tweaks to the classic recipe and a whole lot of Brown Butter elevates this easy no-bake recipe to one that will be a crowd pleaser for ALL ages!
Hi hi! I am just popping in with this recipe for Brown Butter Rice Krispie Treats! I make these all the time and they are always requested by family and friends so I wanted to share the recipe with you!
I know there are so many rice krispie treat recipes already on the internet. But this one is special, I promise you. We are doing a few things to take these from just another rice krispie treat to something you can't stop thinking about. The Brown Butter Really Makes it.
I promise you these are worth a try.

How I fancy up my Rice Krispie Treats
There are a few things here that make these brown butter rice krispie squares just that little bit better with only a tiny bit more effort. Here's how I do it.
- Brown the butter with milk powder. If you haven't tried adding in milk powder when you brown your butter, now is the time. Brown butter gets its amazing flavour from the toasted milk solids, and adding in milk powder gives you extra milk solids to toast, so gives even more of an amazing nutty flavour.
- Toasted Coconut. The theme of these rice krispie treats is toasty. Toasting things gives an amazing depth of flavour, which is super important when you're working with something like marshmallows. I add in a good amount of toasted shredded coconut which also adds texture. If you're not a coconut person you can leave it out, there are notes in the recipe. If you haven't toasted coconut before check out my guide on how to toast coconut!
- Properly salted. There is nothing sadder than a sweet that isn't salted properly. I like to use salted butter when I am browning, and also add in a little more salt with the vanilla to really help balance out the flavours.
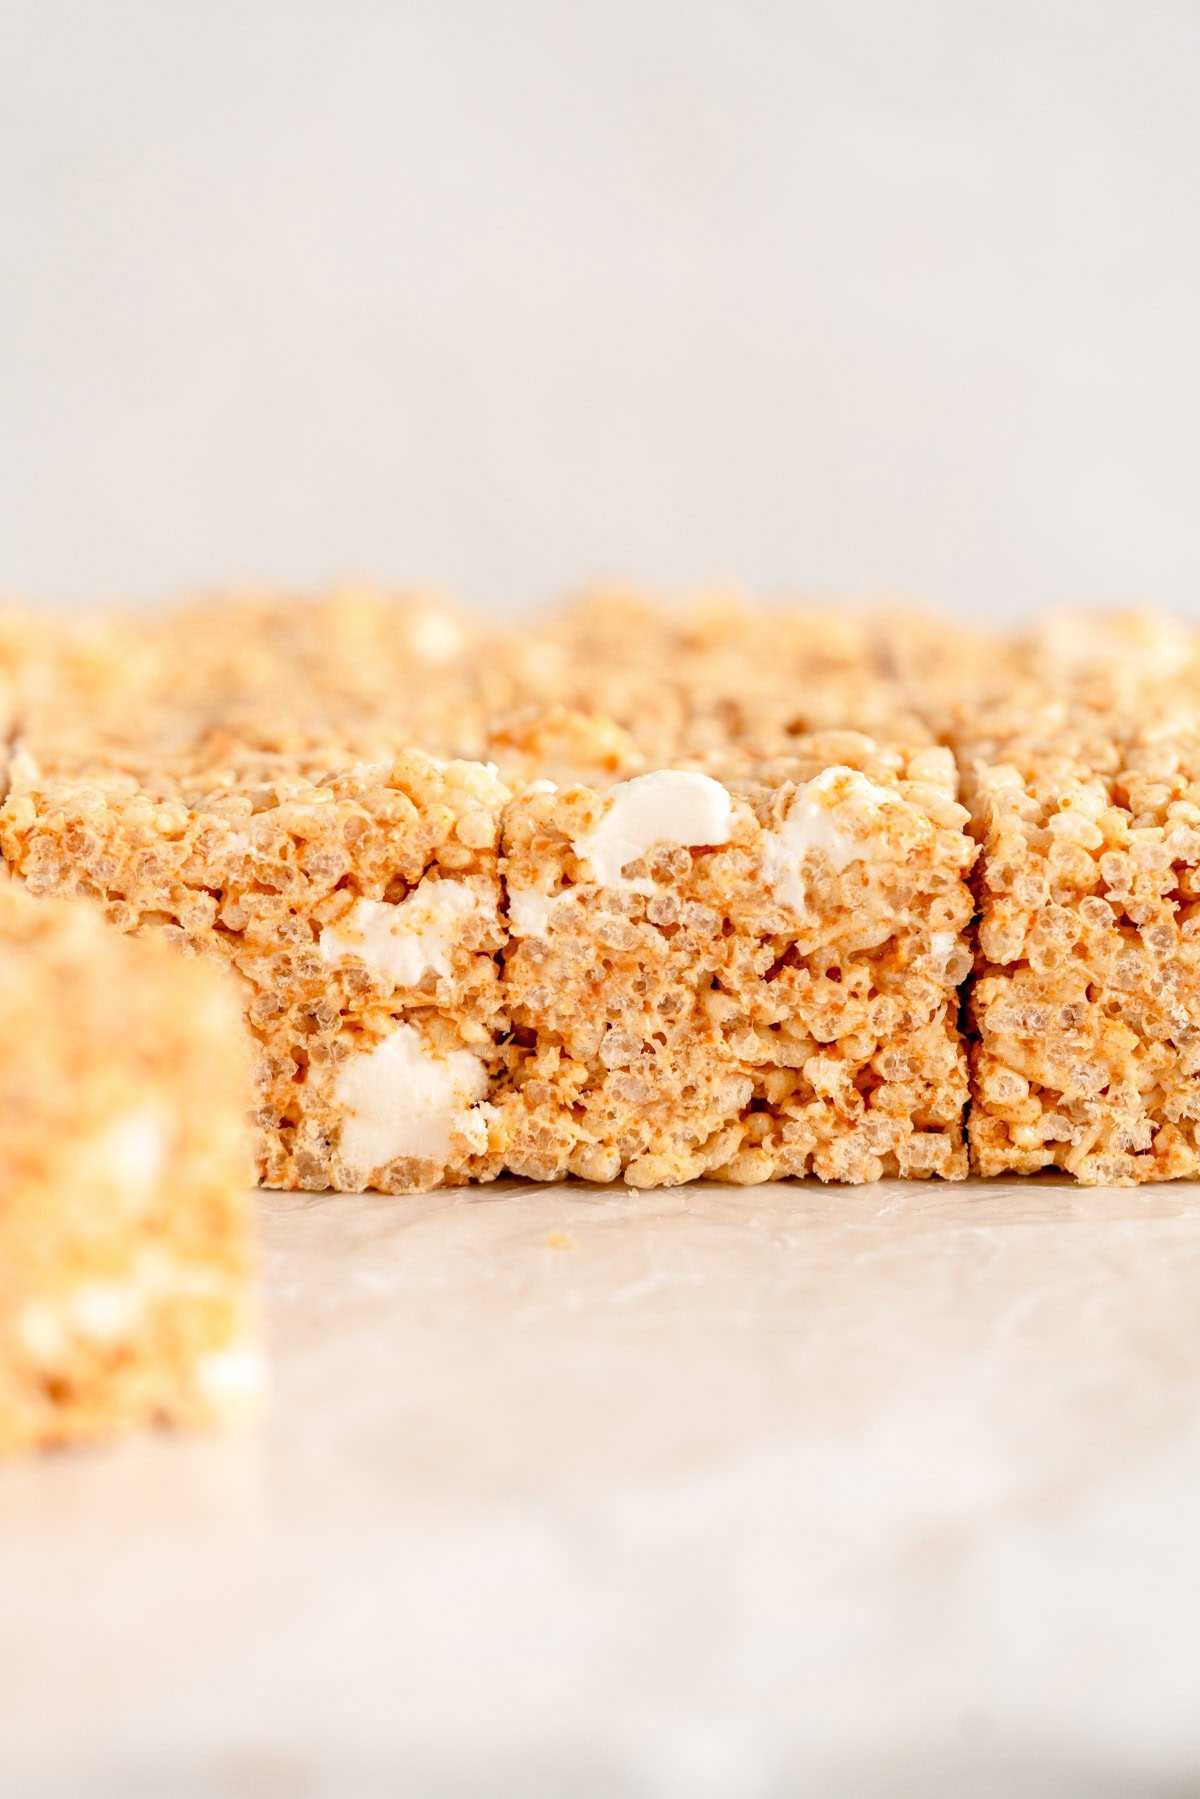
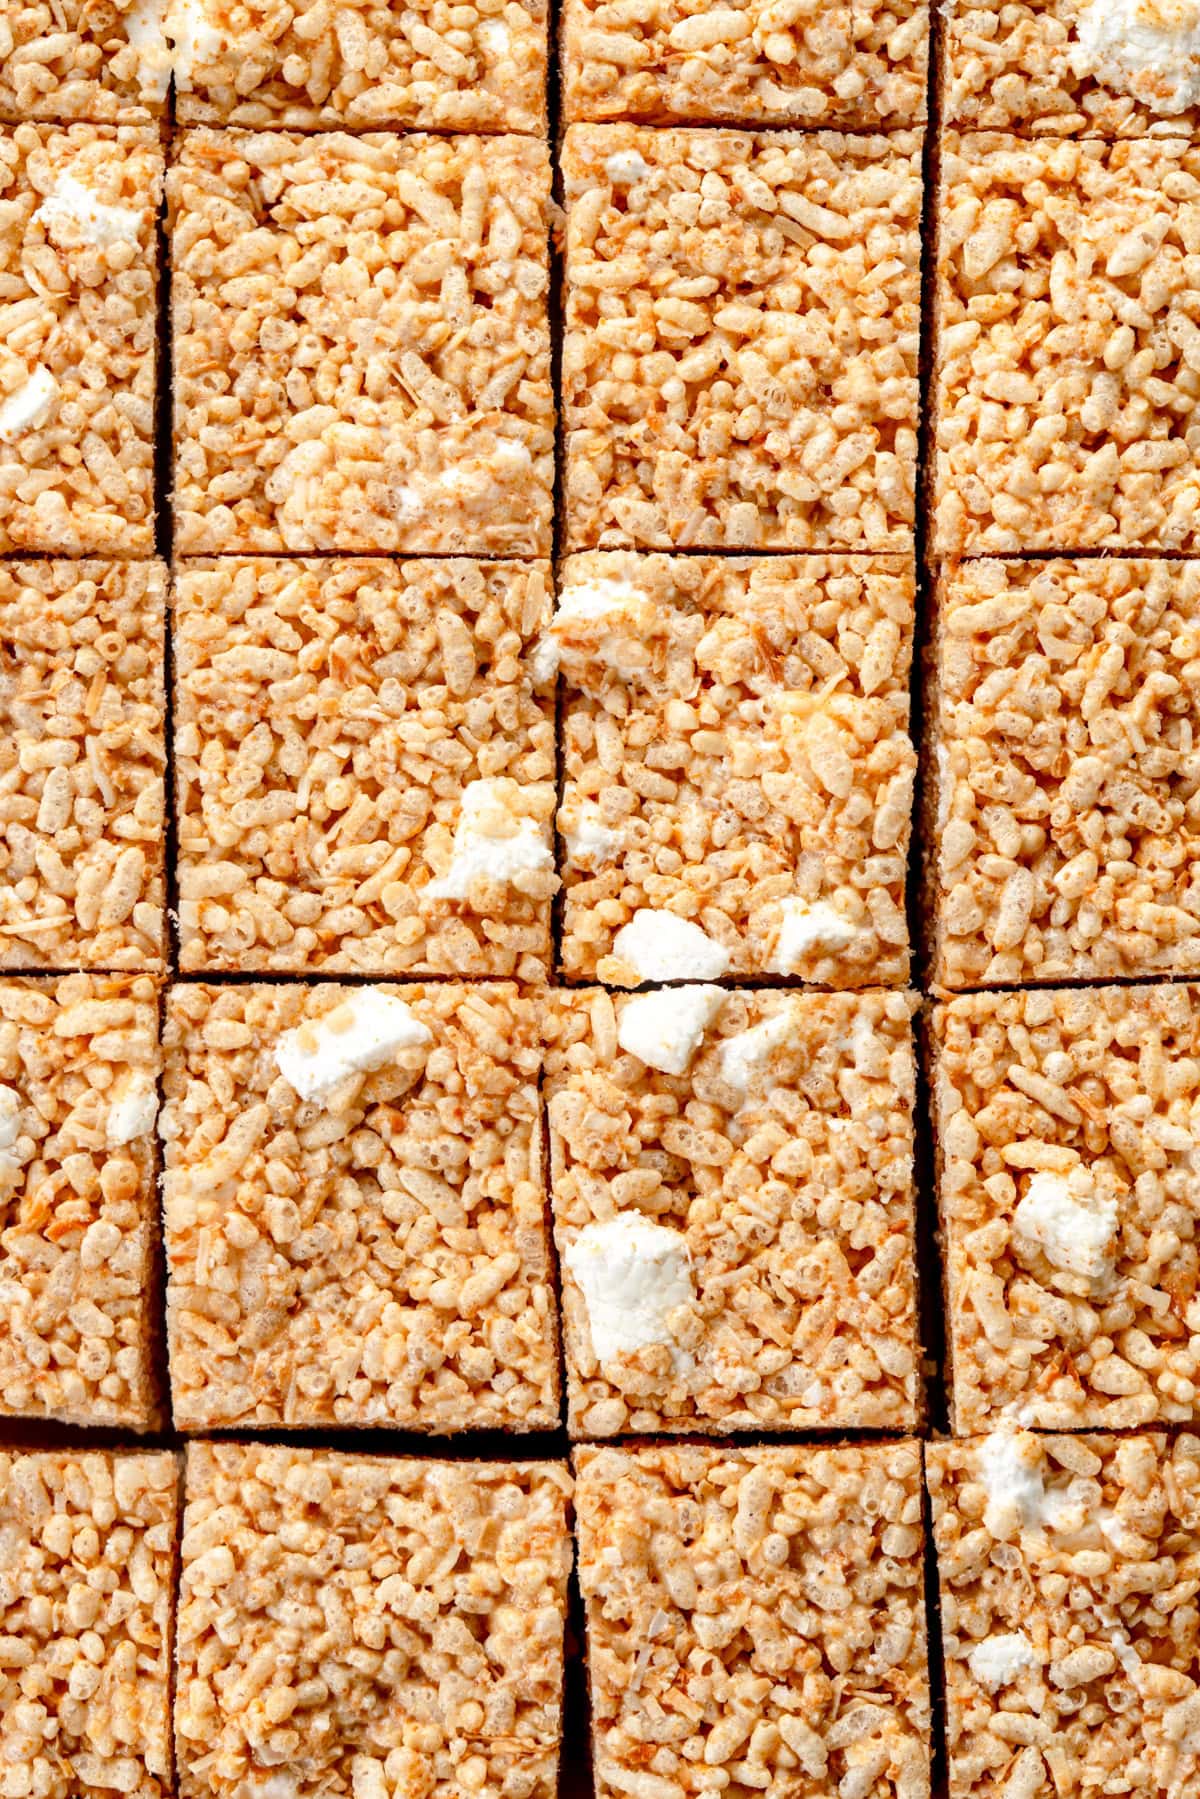
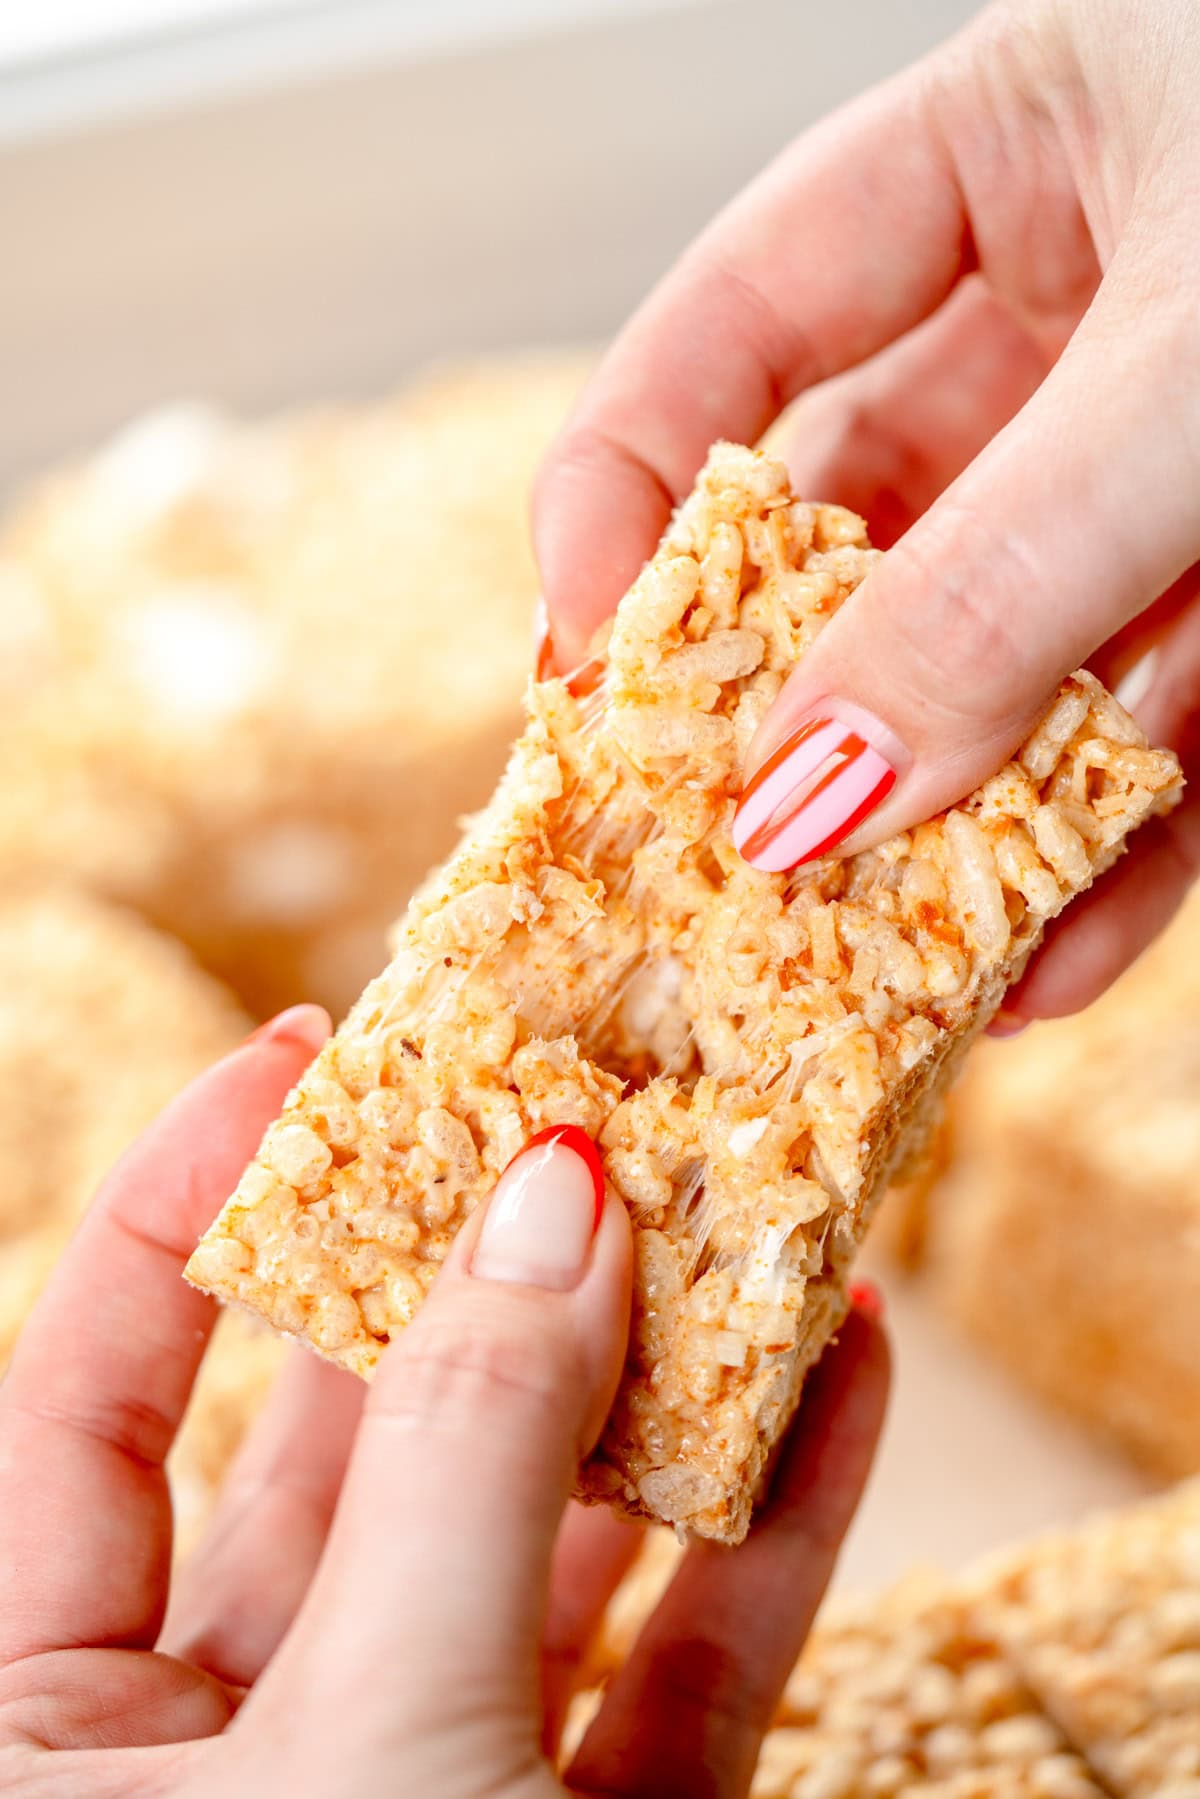
- Pockets of marshmallow. In the recipe there are two measures of marshmallow - the larger quantity gets dumped in with the brown butter like a regular rice krispie treat recipe, but I also get you to chop some up and mix them with the rice cereal to give little pockets of marshmallow and to make them super gooey.
If you want to learn more about browning butter if you haven't done it before I have a full guide for you - Brown Butter 101: The Ultimate Guide

A few top tips to make your life easier
While this is a super simple recipe, things can get really sticky really quickly. There are a few things that can help here to make making these rice krispie treats as uneventful as possible.
Have everything ready to go. I like to toast my coconut while I am cutting up the marshmallows to mix in with the rice krispies. That way when you are ready, you can just dump everything in. Once the marshmallows are melted you don't want to let them set too much as that is when things really start sticking to you.
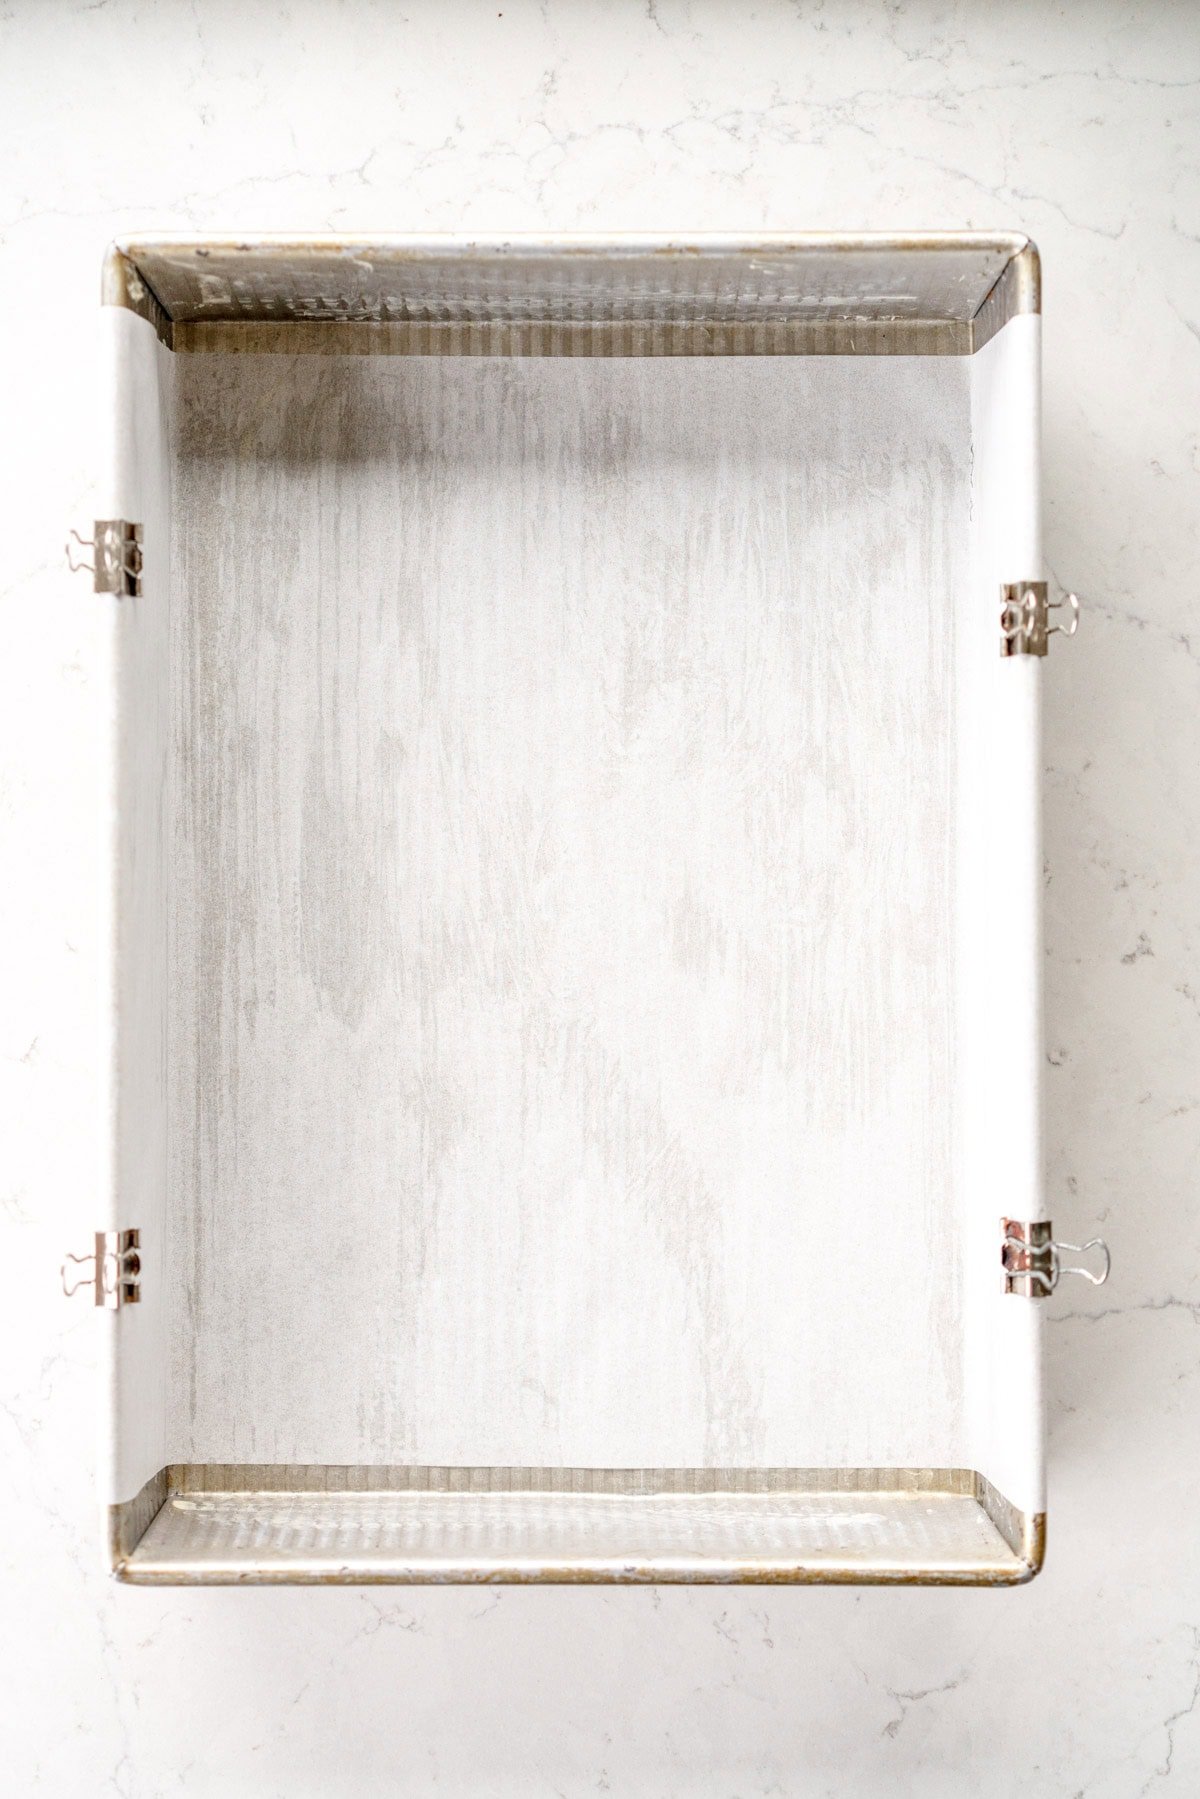
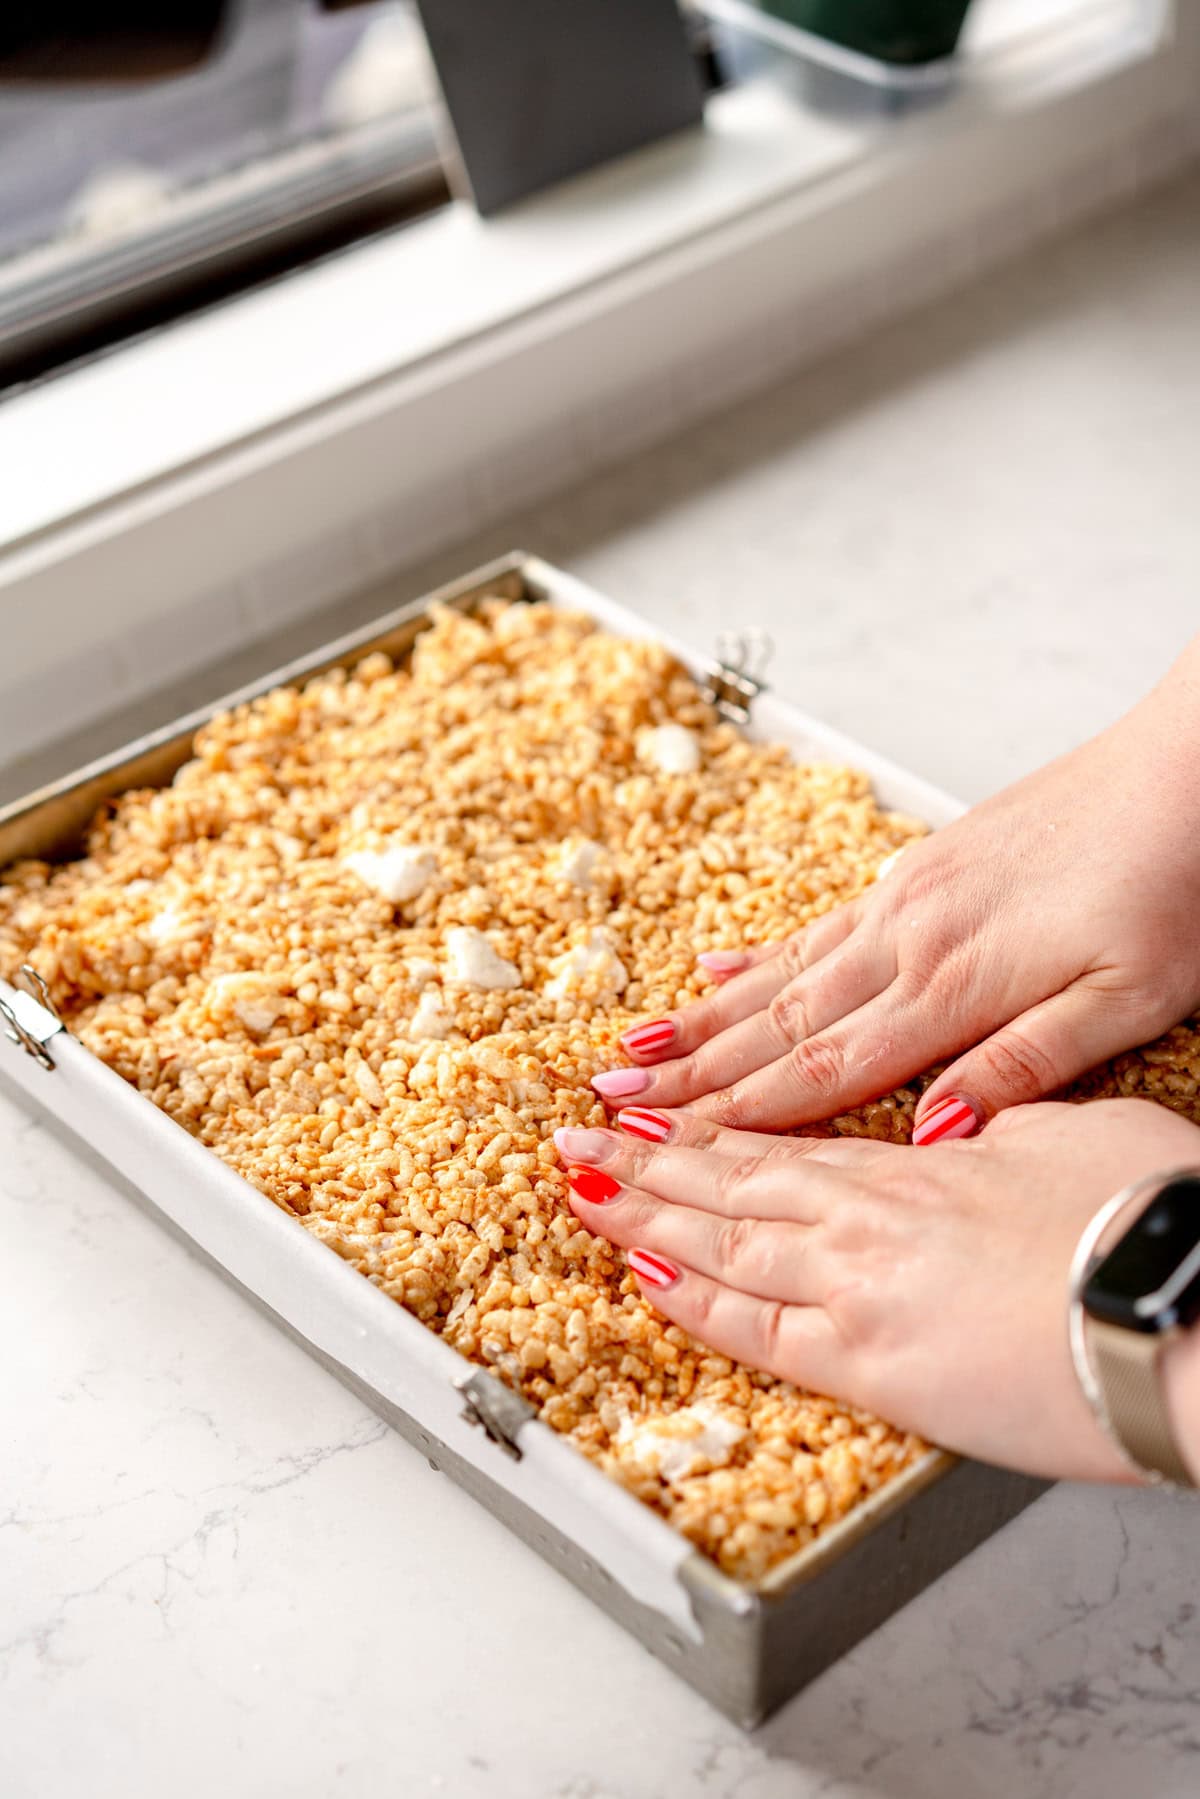
Prep your pan. I use a 9x13 (20x30cm) non-stick baking pan to make these rice krispies. I like to butter it, then line it with a piece of parchment paper that I clip over the edges just so that it is easy to pull the whole thing out. Have your pan sitting and ready to go.
Use a big pot. I use an 8 litre stock pot to make these in, you want to use something that is large enough that when you stir rice krispies into sticky marshmallow you don't flick it all over the kitchen. Something big is your friend. To wash it, simply fill it with water and place it back onto the stove and bring to the boil and all the sticky melts away.
Butter your spatula. A buttered spatula or wet hands will be your friend when you shape the rice krispie treats into the pan. You can also press a piece of parchment paper onto the top of the treats to help make them nice and flat.
❤️ Made this recipe and love it? ❤️
I would LOVE for you to leave me a review and star rating below to let me know how you liked it! Also, please make sure to tag me on Instagram!
Answers to your baking questions
Over the years, many of you have asked me questions about:
- baking in grams
- adjusting oven temperatures
- what kind of salt to use
- and many more!
I've curated and answered them all for your easy reference in this frequently asked questions post!
Mega Brown Butter Rice Krispie Treats
- Prep Time: 15 minutes
- Cook Time: 10 minutes
- Total Time: 1 hour 30 minutes
- Yield: 20 servings 1x
- Category: Dessert
- Method: No-bake
- Cuisine: American
Description
These aren't your standard Rice Krispie Treats - these are My Brown Butter Rice Krispie Treats wearing a party dress! A few simple tweaks to the classic recipe (mega brown butter and optional toasted coconut!) elevates this easy no-bake recipe to one that will be a crowd pleaser for ALL ages!
Ingredients
- 120g long thread coconut or coconut of your choice (unsweetened)
- 265g rice krispies / puffed rice cereal
- 180g marshmallows, chopped into small pieces (mini marshmallows would work well here too)
- 210g butter (I used salted), cold from the fridge is fine
- 50g milk powder (I used full fat)
- 430g marshmallows, left whole (mini or regular are fine)
- 1 tsp vanilla bean paste or vanilla extract
- ½ tsp kosher salt, or more to taste
Instructions
- Generously butter a 9x13” (20x30cm) pan and line it with a parchment paper sling for easy removal once the rice krispie treats are done. I like to clip down the parchment with binder clips so that it does not move when you are adding the mixture to the pan.
- Place the coconut into a medium non-stick pan over medium low heat, stirring often with a spatula to make sure that it does not catch. Toast until the majority of the coconut is golden brown - it will feel like it is taking a long time and then suddenly be ready, so make sure that you keep a close eye on it. Remove from the heat and transfer to a bowl to stop the cooking process and leave to cool. I like to toast the coconut while I prepare the chopped marshmallows and rice krispies.
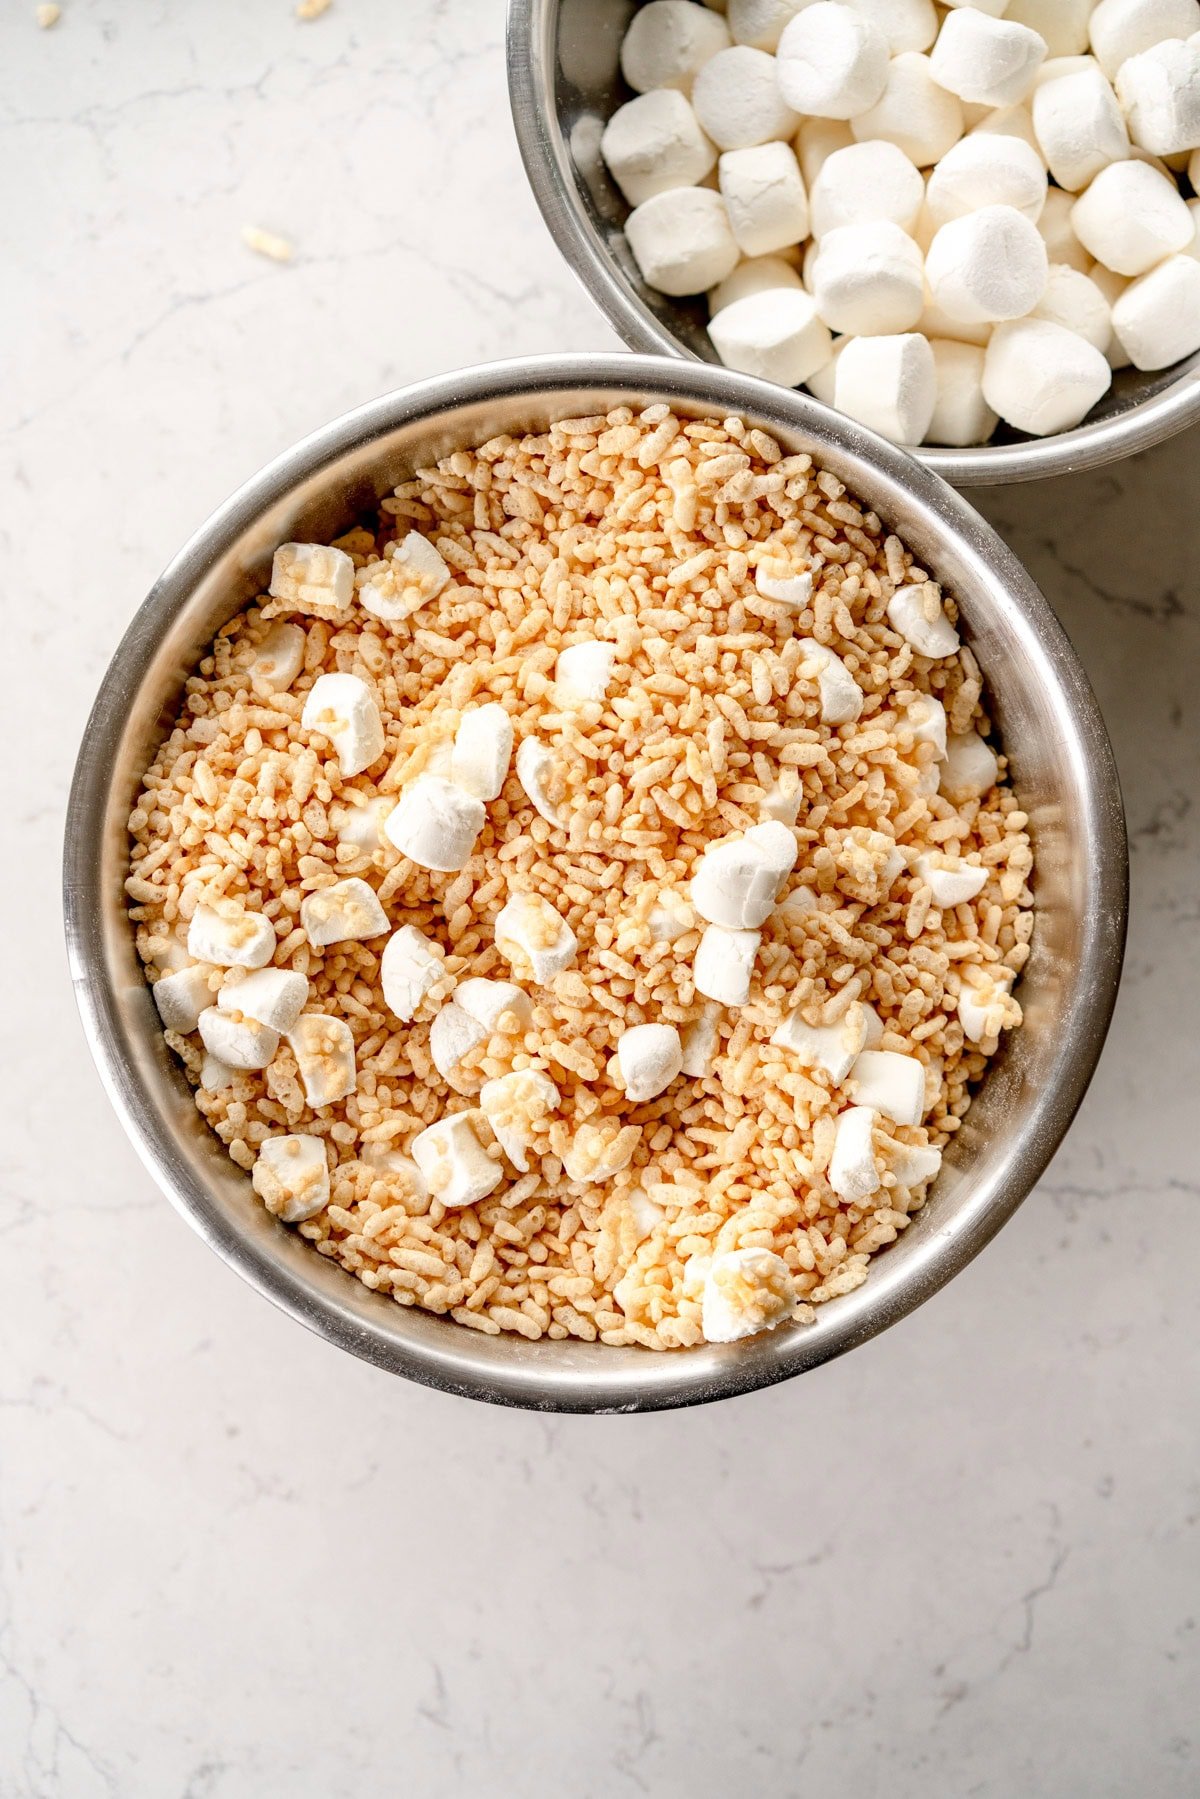
- Combine the Rice Krispie Cereal / rice bubbles and the chopped marshmallow in a large mixing bowl. I like to mix it all so that the cut edges of the marshmallows get some of the rice bubble dust on them so that they don’t stick together.
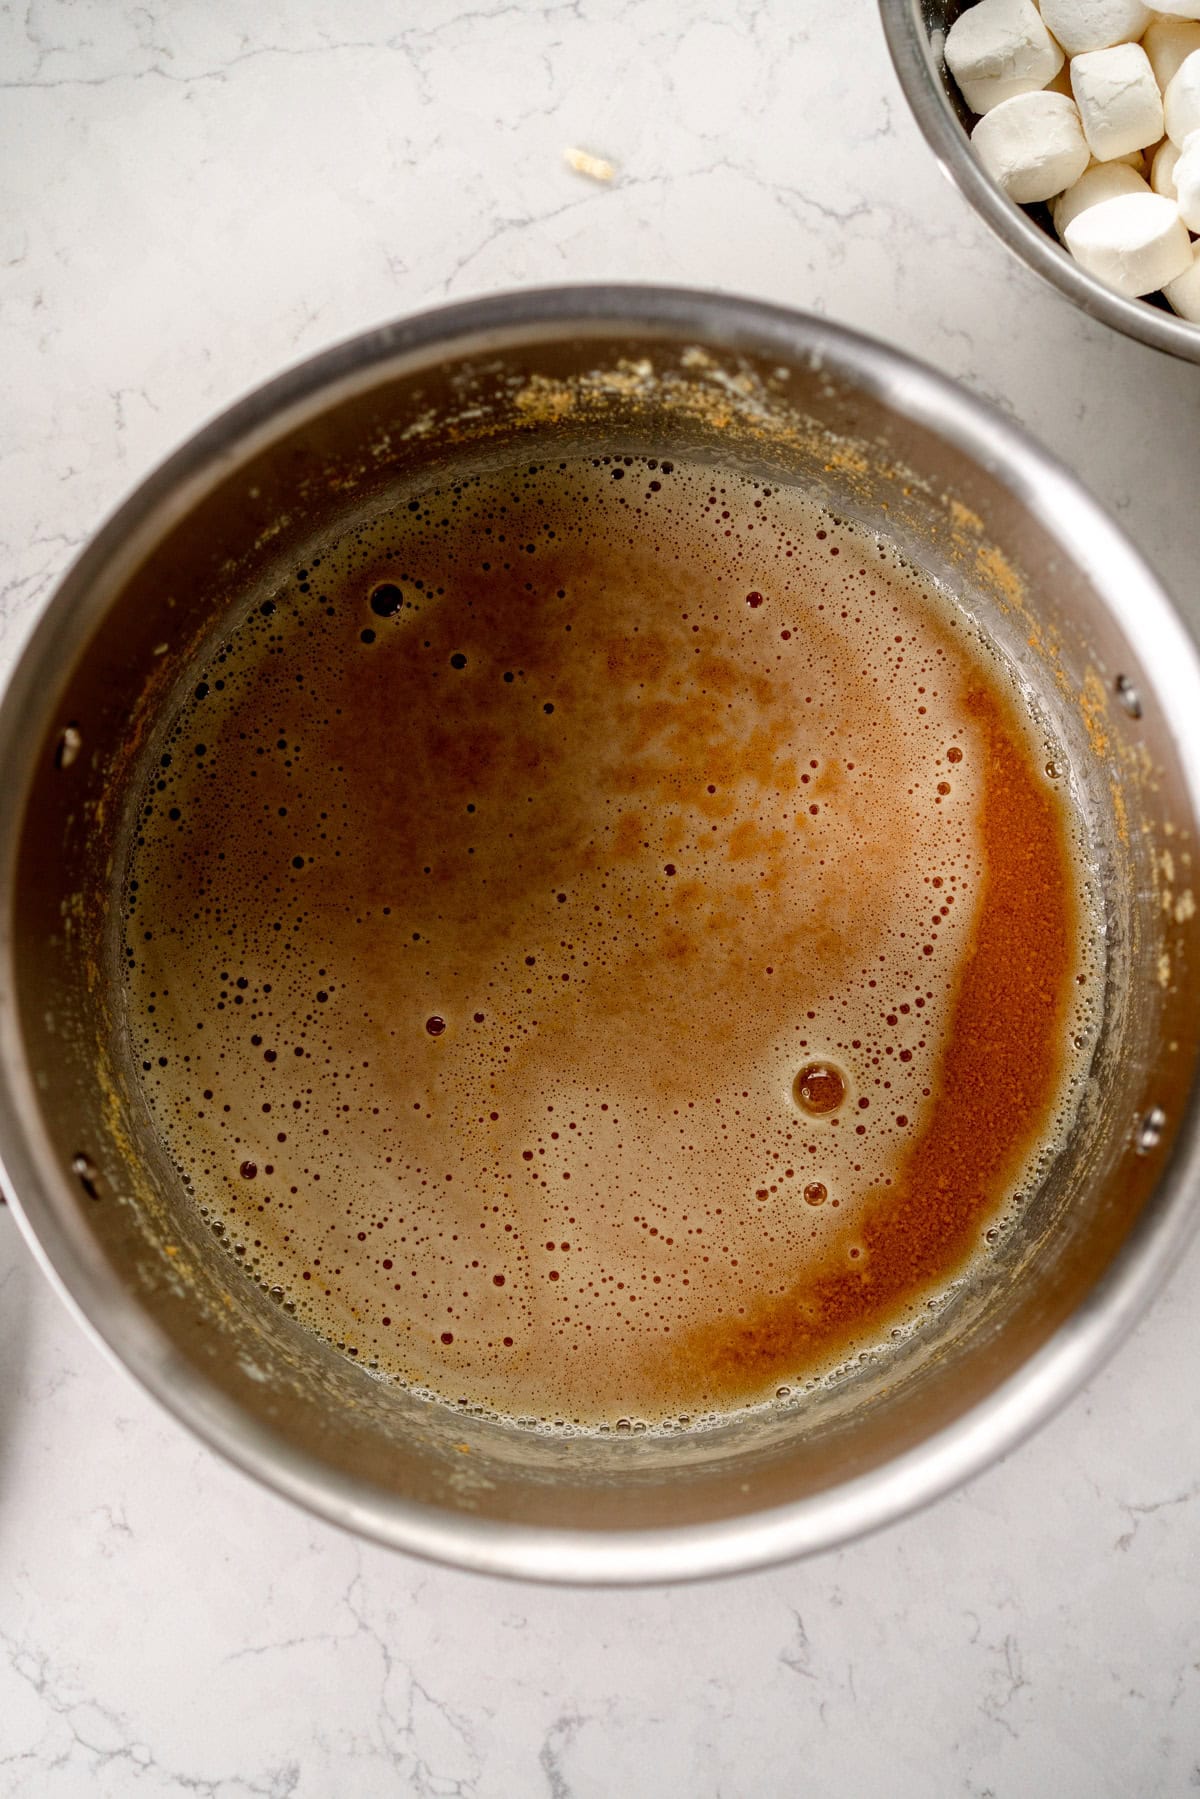
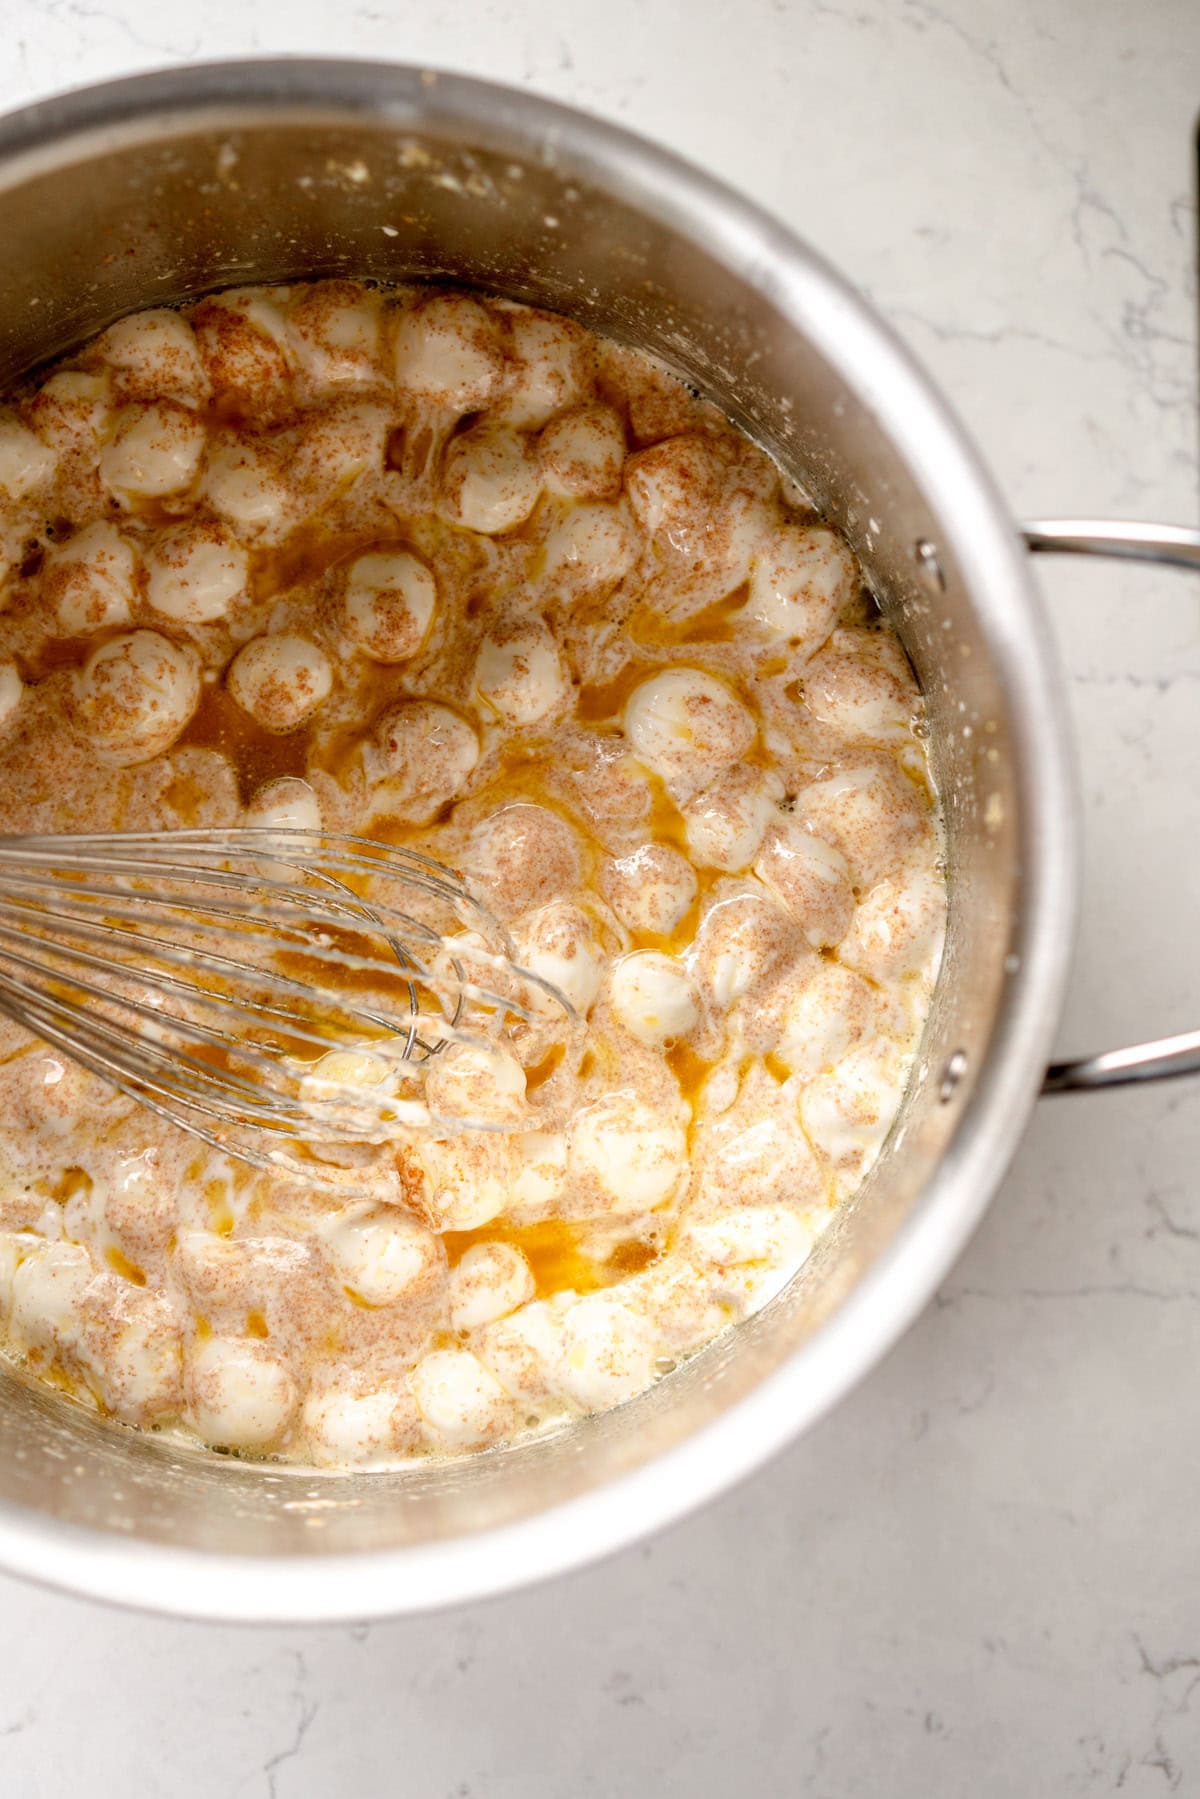
- In a large pot (this is the pot you are going to mix the rice krispie treats together in so make sure that it is big enough), melt the butter over medium heat. Add the milk powder and whisk to combine. Cook the butter, whisking frequently, until the milk solids begin to brown. Continue to cook until the butter and milk mixture is medium brown and nutty smelling. It is important to whisk thoroughly as the milk powder will clump slightly.
- Remove the pot from the heat and add the 430g measure of marshmallows and mix well to combine - the butter will coat the marshmallows. Continue to mix until the marshmallows melt completely. You should not have to return it to the heat, but if you are finding it is stubborn, you can pop it back onto the heat just briefly.
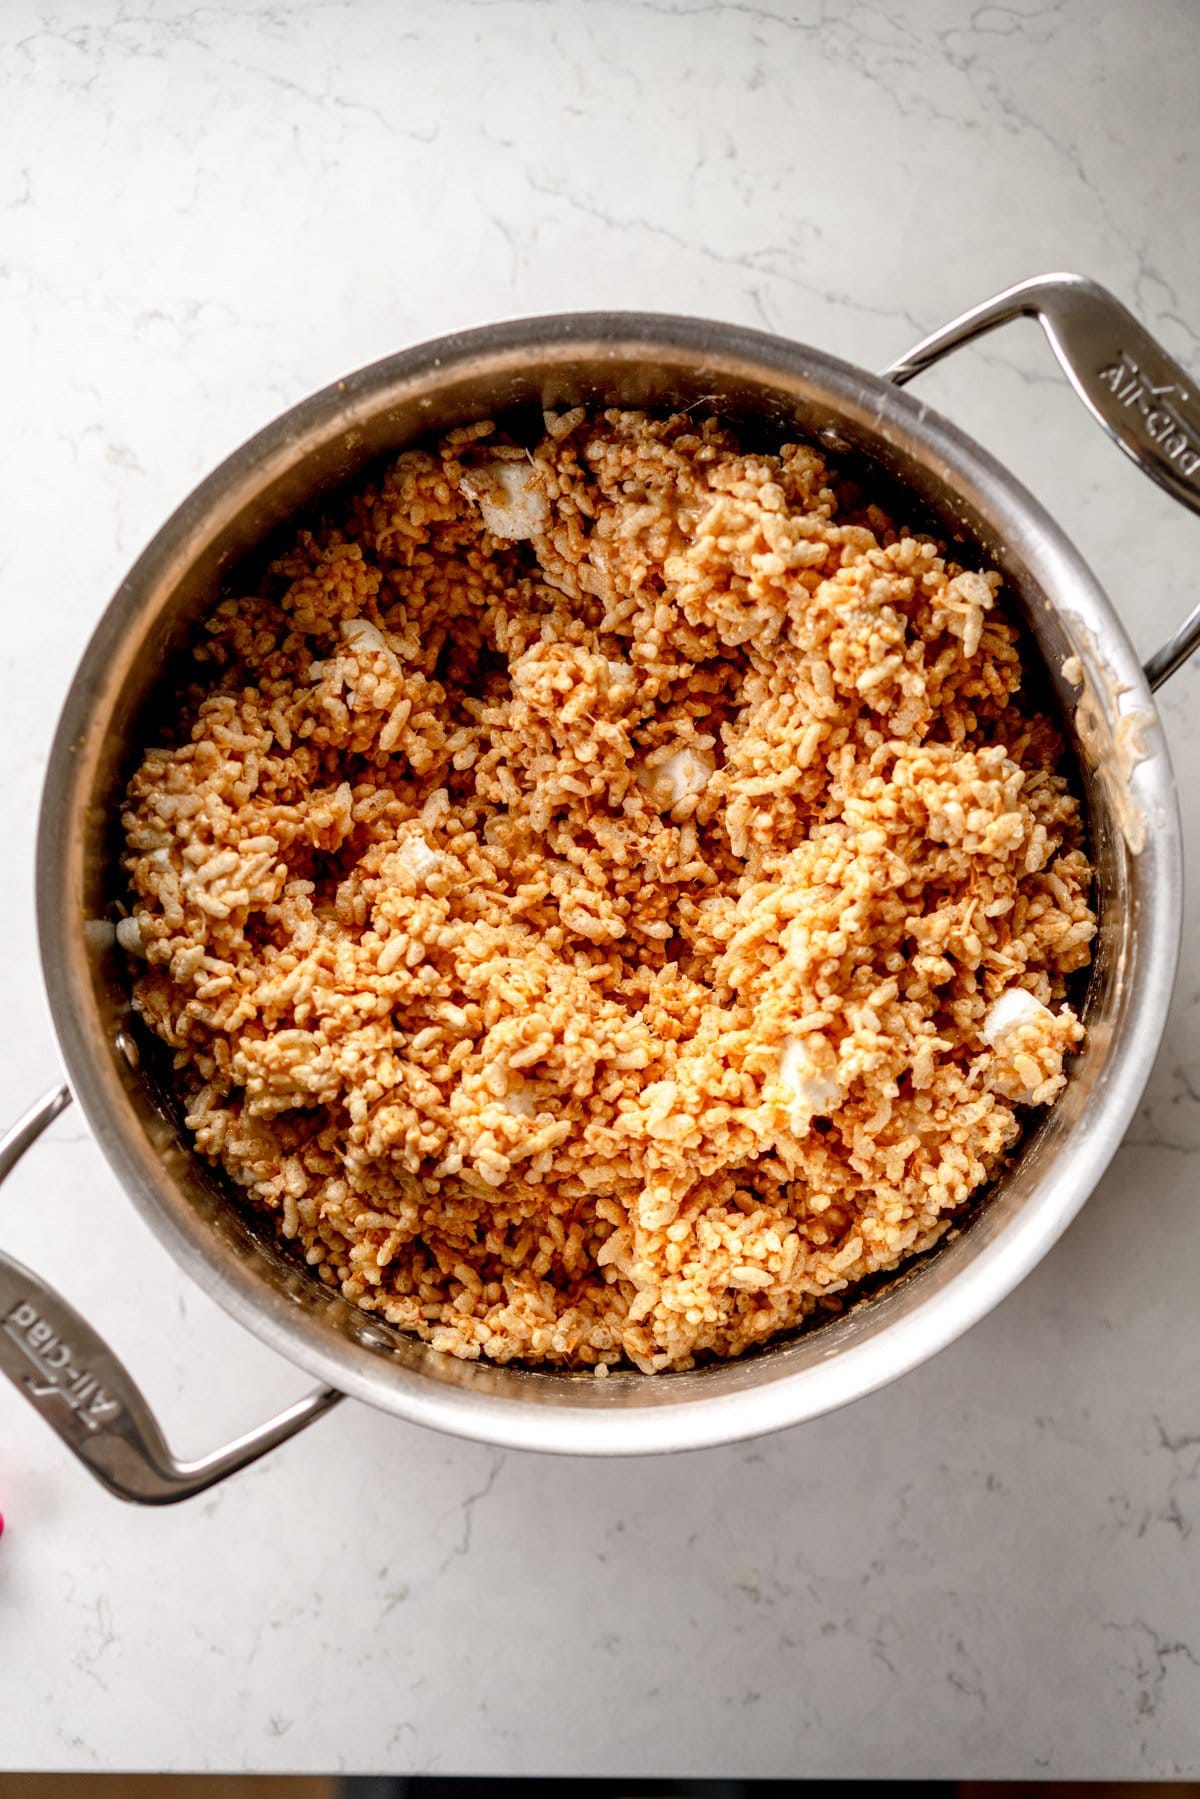
- Once the marshmallows are melted, add the vanilla and salt, then switch to a rubber spatula and add the rice krispies, chopped marshmallows, and the coconut. Working relatively quickly, stir the mixture until it is well combined. Make sure that you get the pockets of marshmallow from the bottom of the pan.
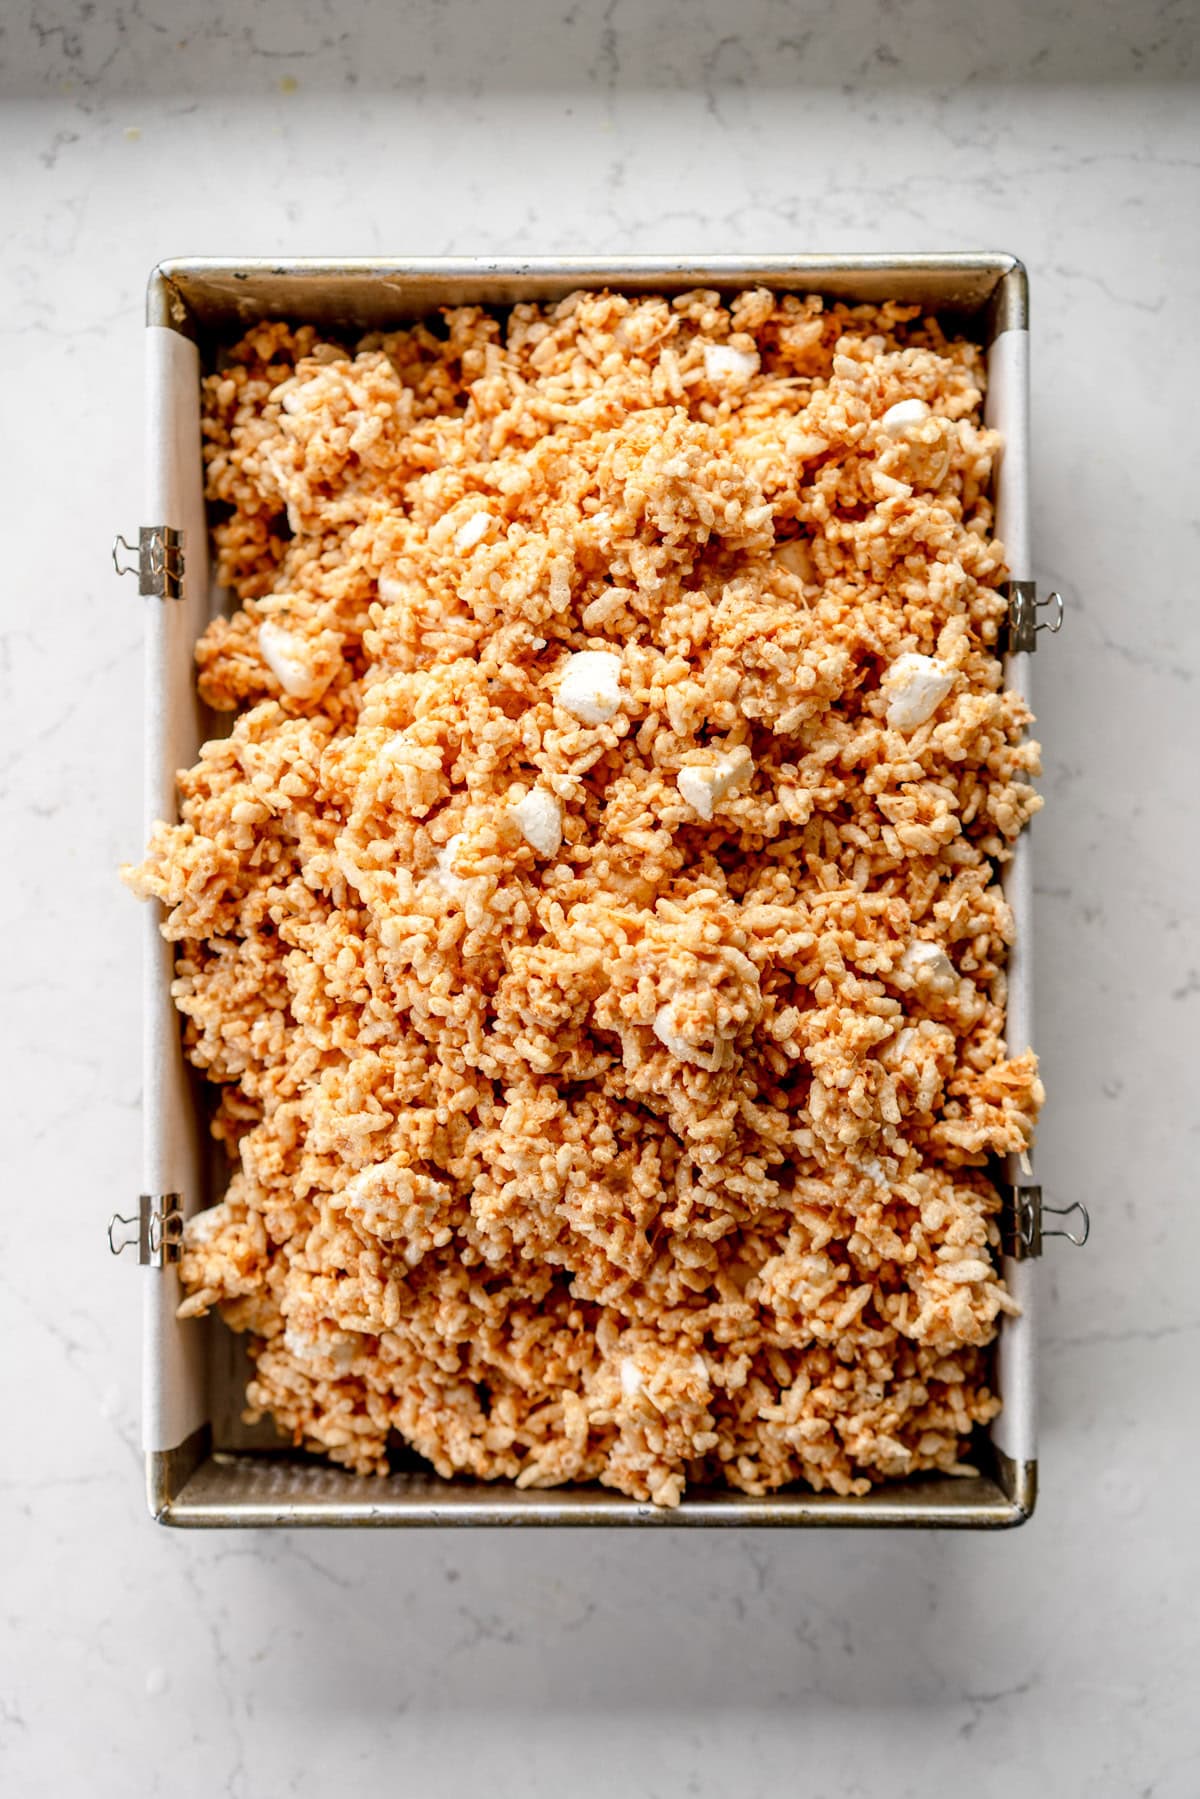
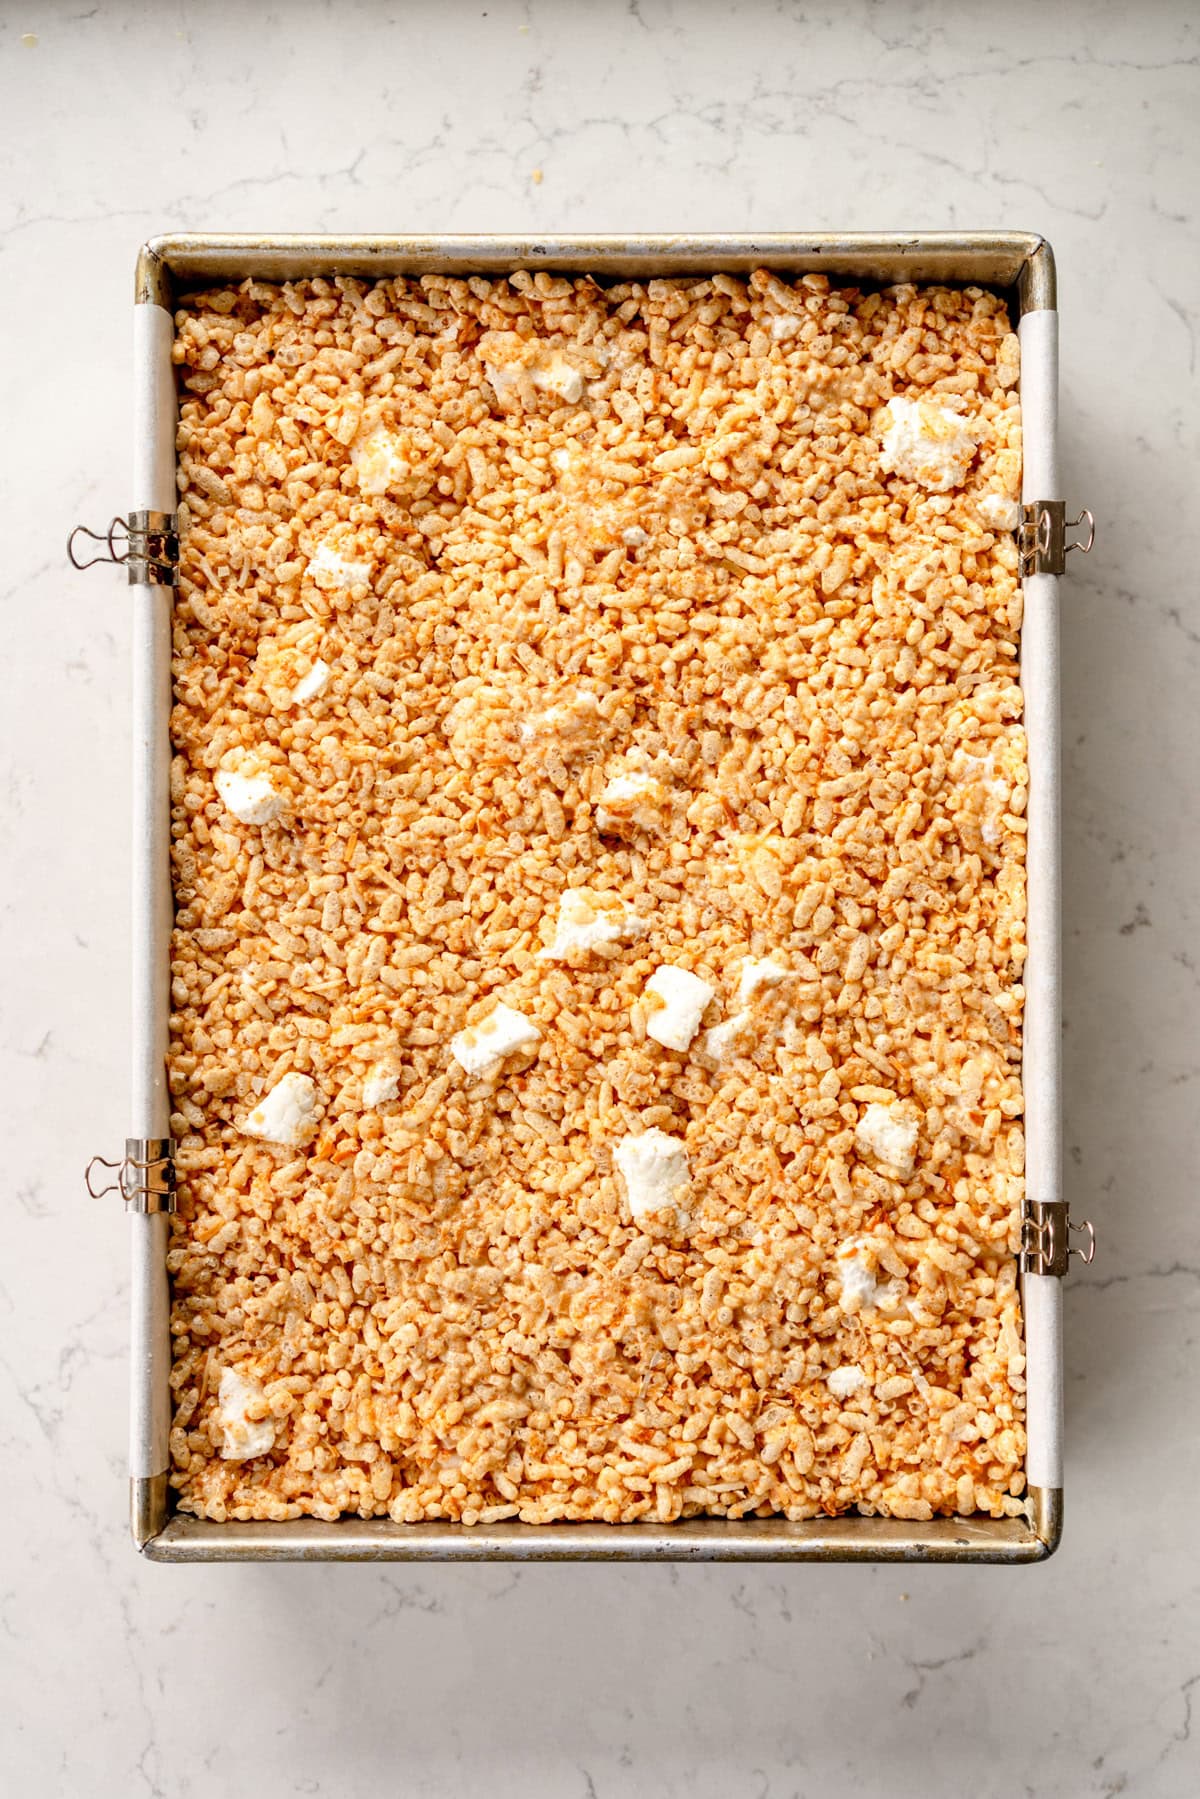
- Transfer the rice krispie mixture into the prepared pan. Press it down with your spatula, getting it as even as possible, then lightly wet your hands and use them to press down the remainder of the rice krispie treats until they are as flat and even as possible.
- Leave them to set at room temperature, at least an hour or up to overnight. If making ahead of time, cover the pan tightly with plastic wrap.
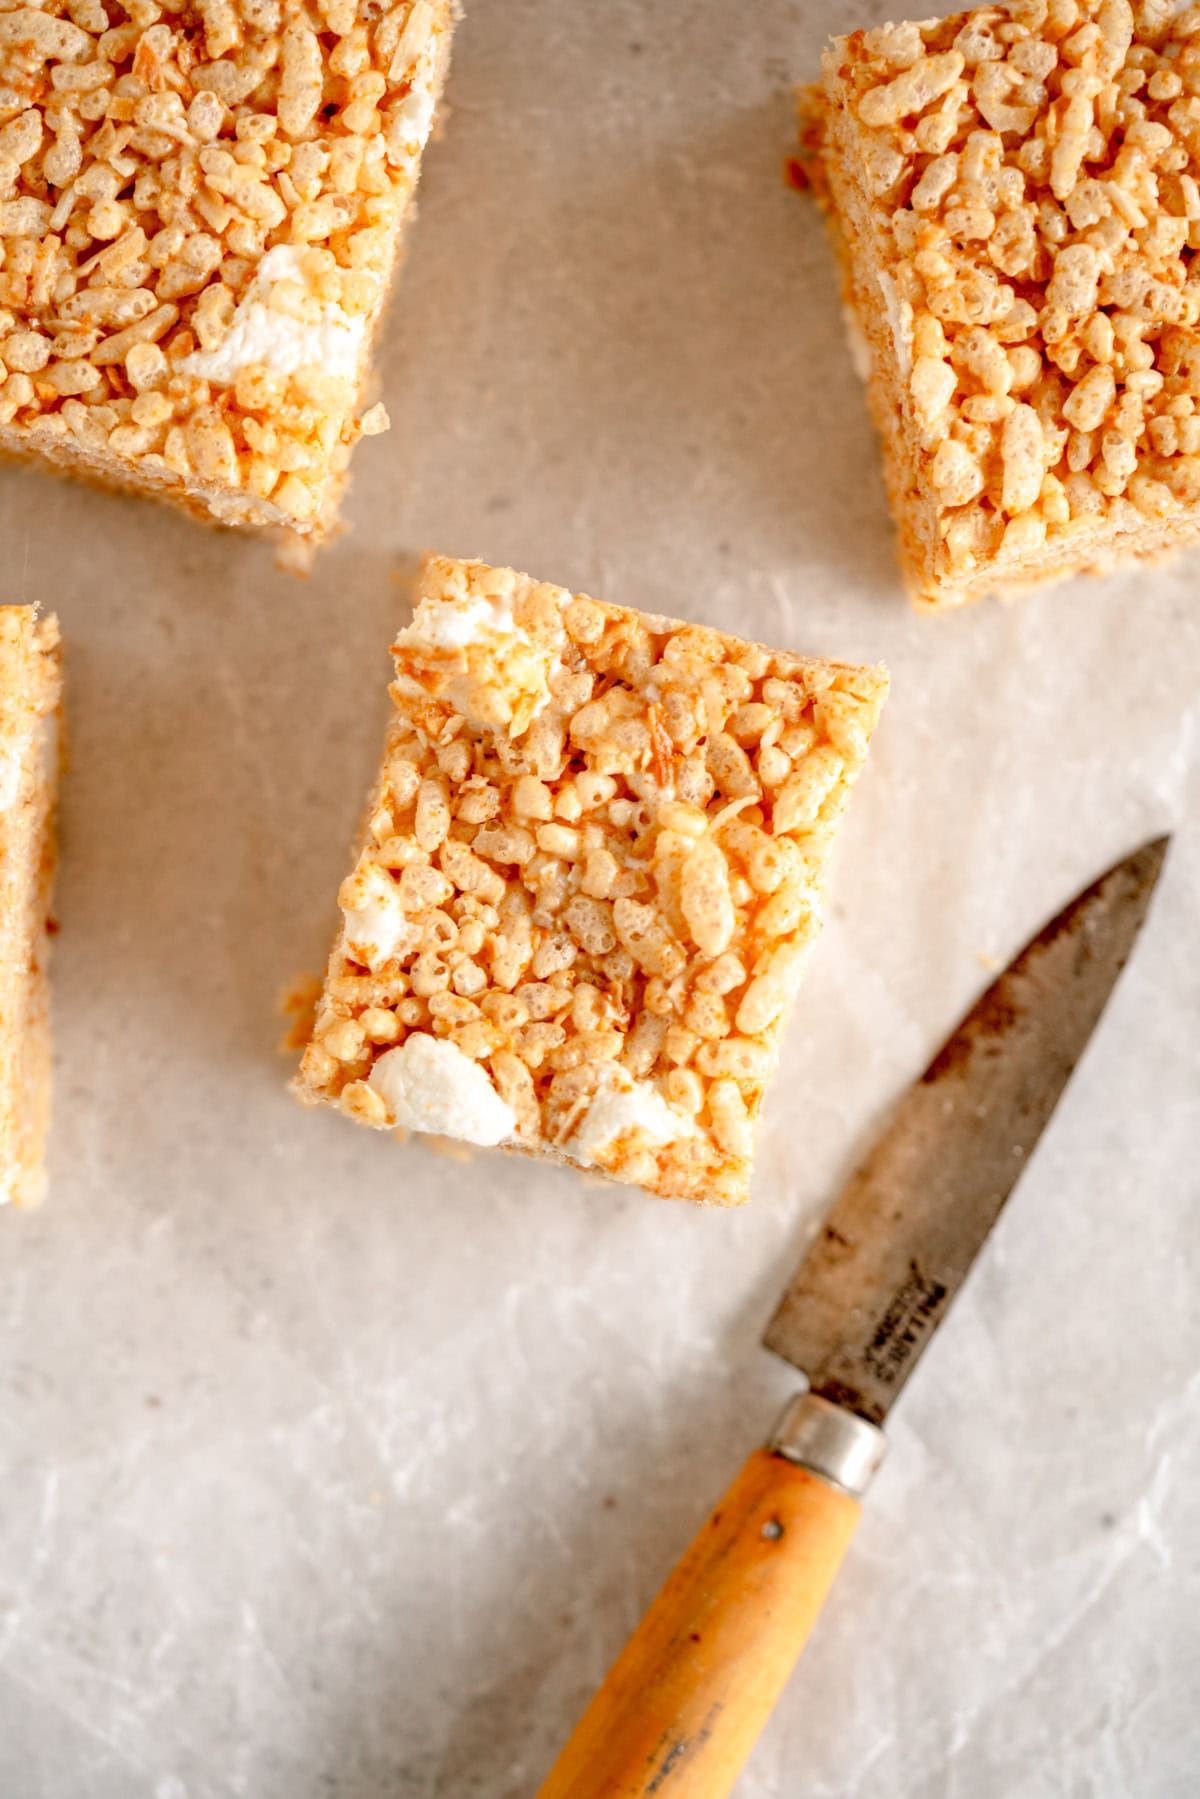
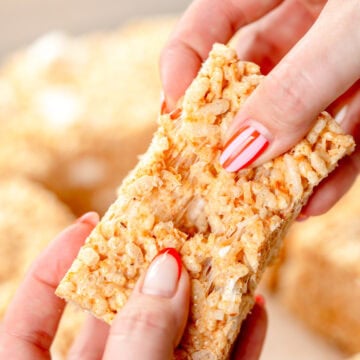
- Using the parchment sling, remove the set bars from the pan and transfer to a cutting board. Cut into pieces using a sharp knife.
- Store rice krispies in an airtight container at room temperature for 3-4 days with parchment paper in between the layers.
Notes
You will need a total of 610g of marshmallows for this recipe.
I know that a lot of my brown butter recipes have you re-weigh the butter after browning but this is a recipe where you can get away with not doing that, so I left out that step as it is all made in the same pan, so would be annoying to remove from the pan, weigh, then remove again.
If you are not using the toasted coconut, reduce the starting weight of the butter down to 190g.
You want to get everything ready before you go as things move quickly when you have a mass of rice bubble mixture to get into the pan, so make sure that your pan is greased and lined, and your marshmallows are chopped and mixed with the rice bubbles and ready to be added.
Rice Krispies are also called Rice Bubbles, so you will see me use the name interchangeably.
I use New Zealand marshmallows which are from the brand Pascall. I have also tested these with US style marshmallows and they work well.
If you want to make a slightly thicker version of these, the quantities are:
160g coconut
350g rice bubbles
240g chopped marshmallow
280g butter
65g milk powder
570g marshmallows
1 ¼ teaspoon vanilla
½ teaspoon salt or to taste
If you are leaving out the coconut the butter quantity is 250g.
To make with Lucky Charms:
I followed the recipe as written, using the version without coconut (so starting quantity of the butter is 190g). I added in the 180g chopped up marshmallows, but this definitely wasn't needed as it made them quite gooey. I used a 300g box of Lucky Charms and held back a few of the marshmallows and the cereal to press on the top. They were easiest to cut after being in the fridge to set.
Comments
Lisa Cook says
With or without the toasted coconut, the milk powder and browned butter takes these to another level. Just amazing!
Beck says
This is levelling up your Rice Krispie Treats game! I won’t be going back to the plain old RKT, it’s this way all the way!
I only had chocolate malted milk at home, so I went for it and I was not disappointed.
Debra says
I went to search for the Diamond Crystal salt but too many options. Mind showing us which one? Also, which milk powder do you use?
Thanks. I cannot wait to make these!!
Erin Clarkson says
Hi, I use diamond crystal kosher salt. Any milk powder is fine - I use a full fat one.
MJ says
Stop what you’re doing and make these right now! These have yet to make it more than 24 hours in this house. I often make a larger batch and stash the extras. The milk powder is such an incredible choice I never would have thought of but it makes a HUGE difference. One thing I do slightly differently is I actually toast my rice cereal before because I am going full send into the toasty bits. Not a necessity, the recipe is amazing on its own I’m just a toasted gremlin.
Helen says
These came out great, browning the butter gives them so much flavour! I subbed corn flakes (the same weight!) instead of Rice Bubbles because that's what I had in my cupboard that I'm trying to use up and the recipe worked great!
Amy says
These are absolutely divine, will have this on repeat!!