
Stop looking - this is the only Vanilla Cake Recipe I bake! Whether you're after a cake that is perfect for making a layer cake or a classic vanilla sheet cake, my vanilla cake recipe can do it all. One batter, multiple formats, endless frosting opportunities. The combination of buttermilk and sour cream product a moist and tender vanilla cake which will be your new back-pocket recipe.
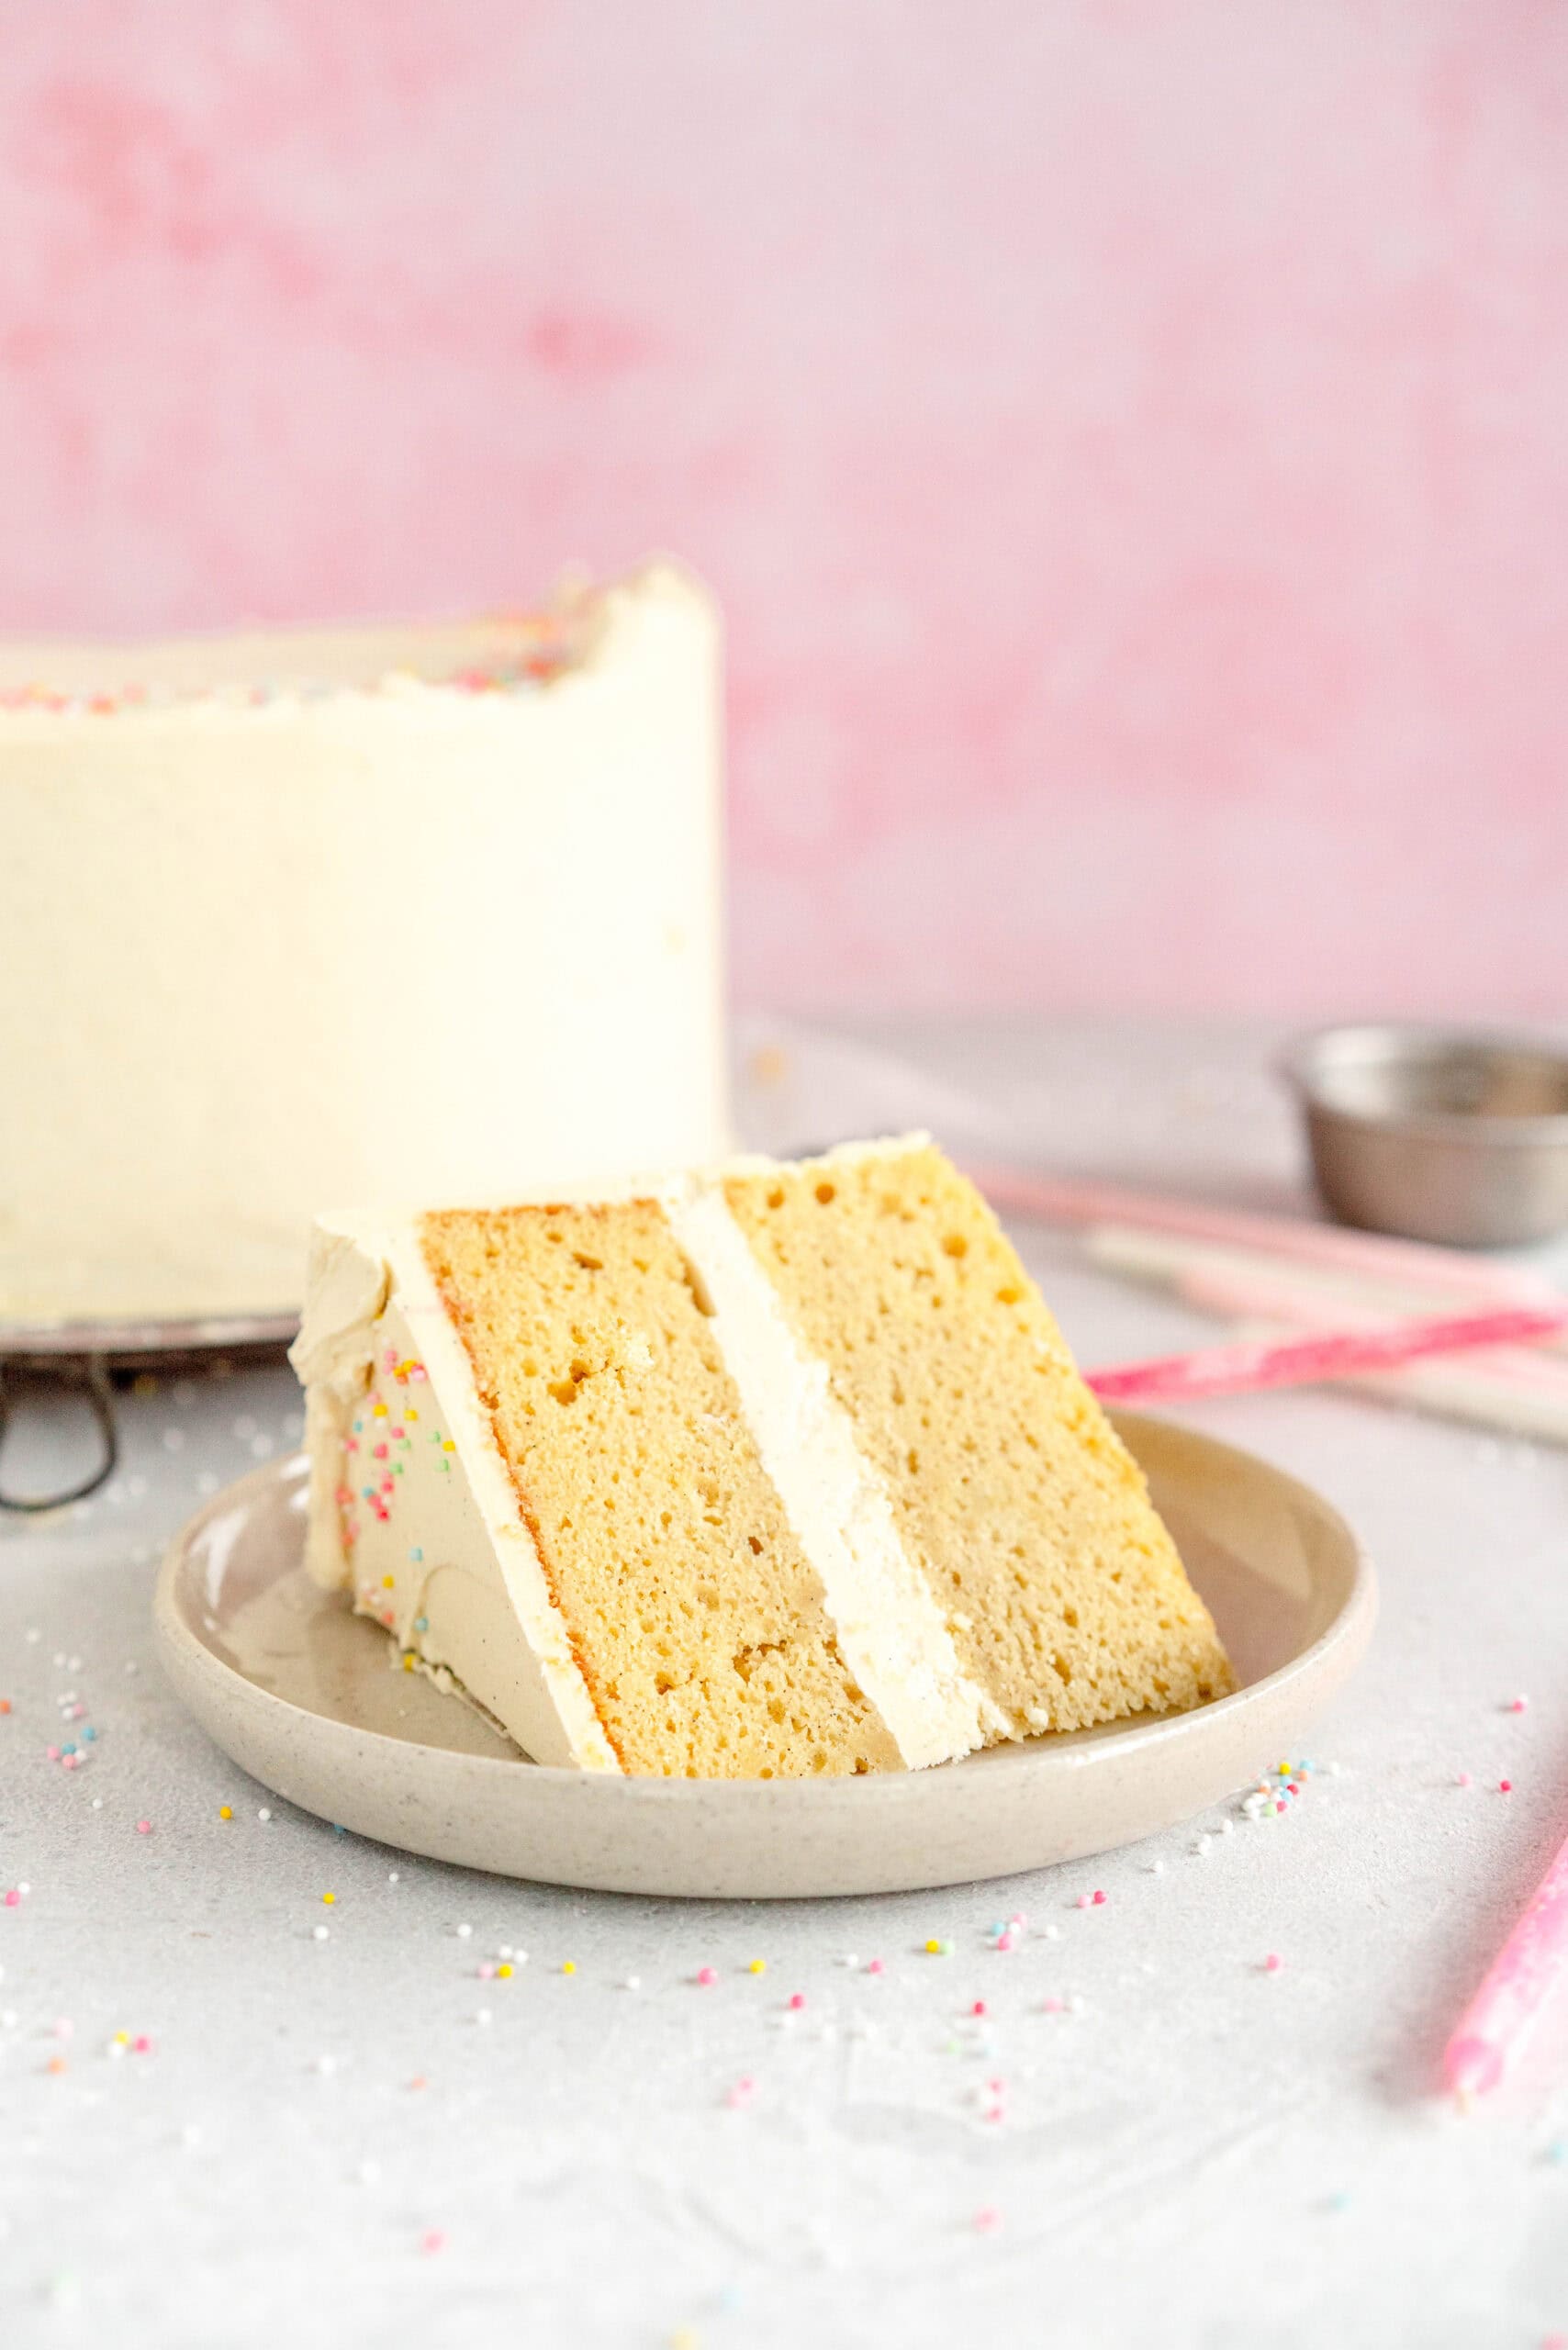
Hi hi! I am just popping in to share another base cake recipe with you - this time for my go-to vanilla cake. While this may look like a basic vanilla cake recipe (and it is), I have tested different iterations over and over again to come up with something that is not only easy and versatile, but amazing served either as is with some fruit and yoghurt, or dressed up with a super easy vanilla buttercream or whipped chocolate frosting.
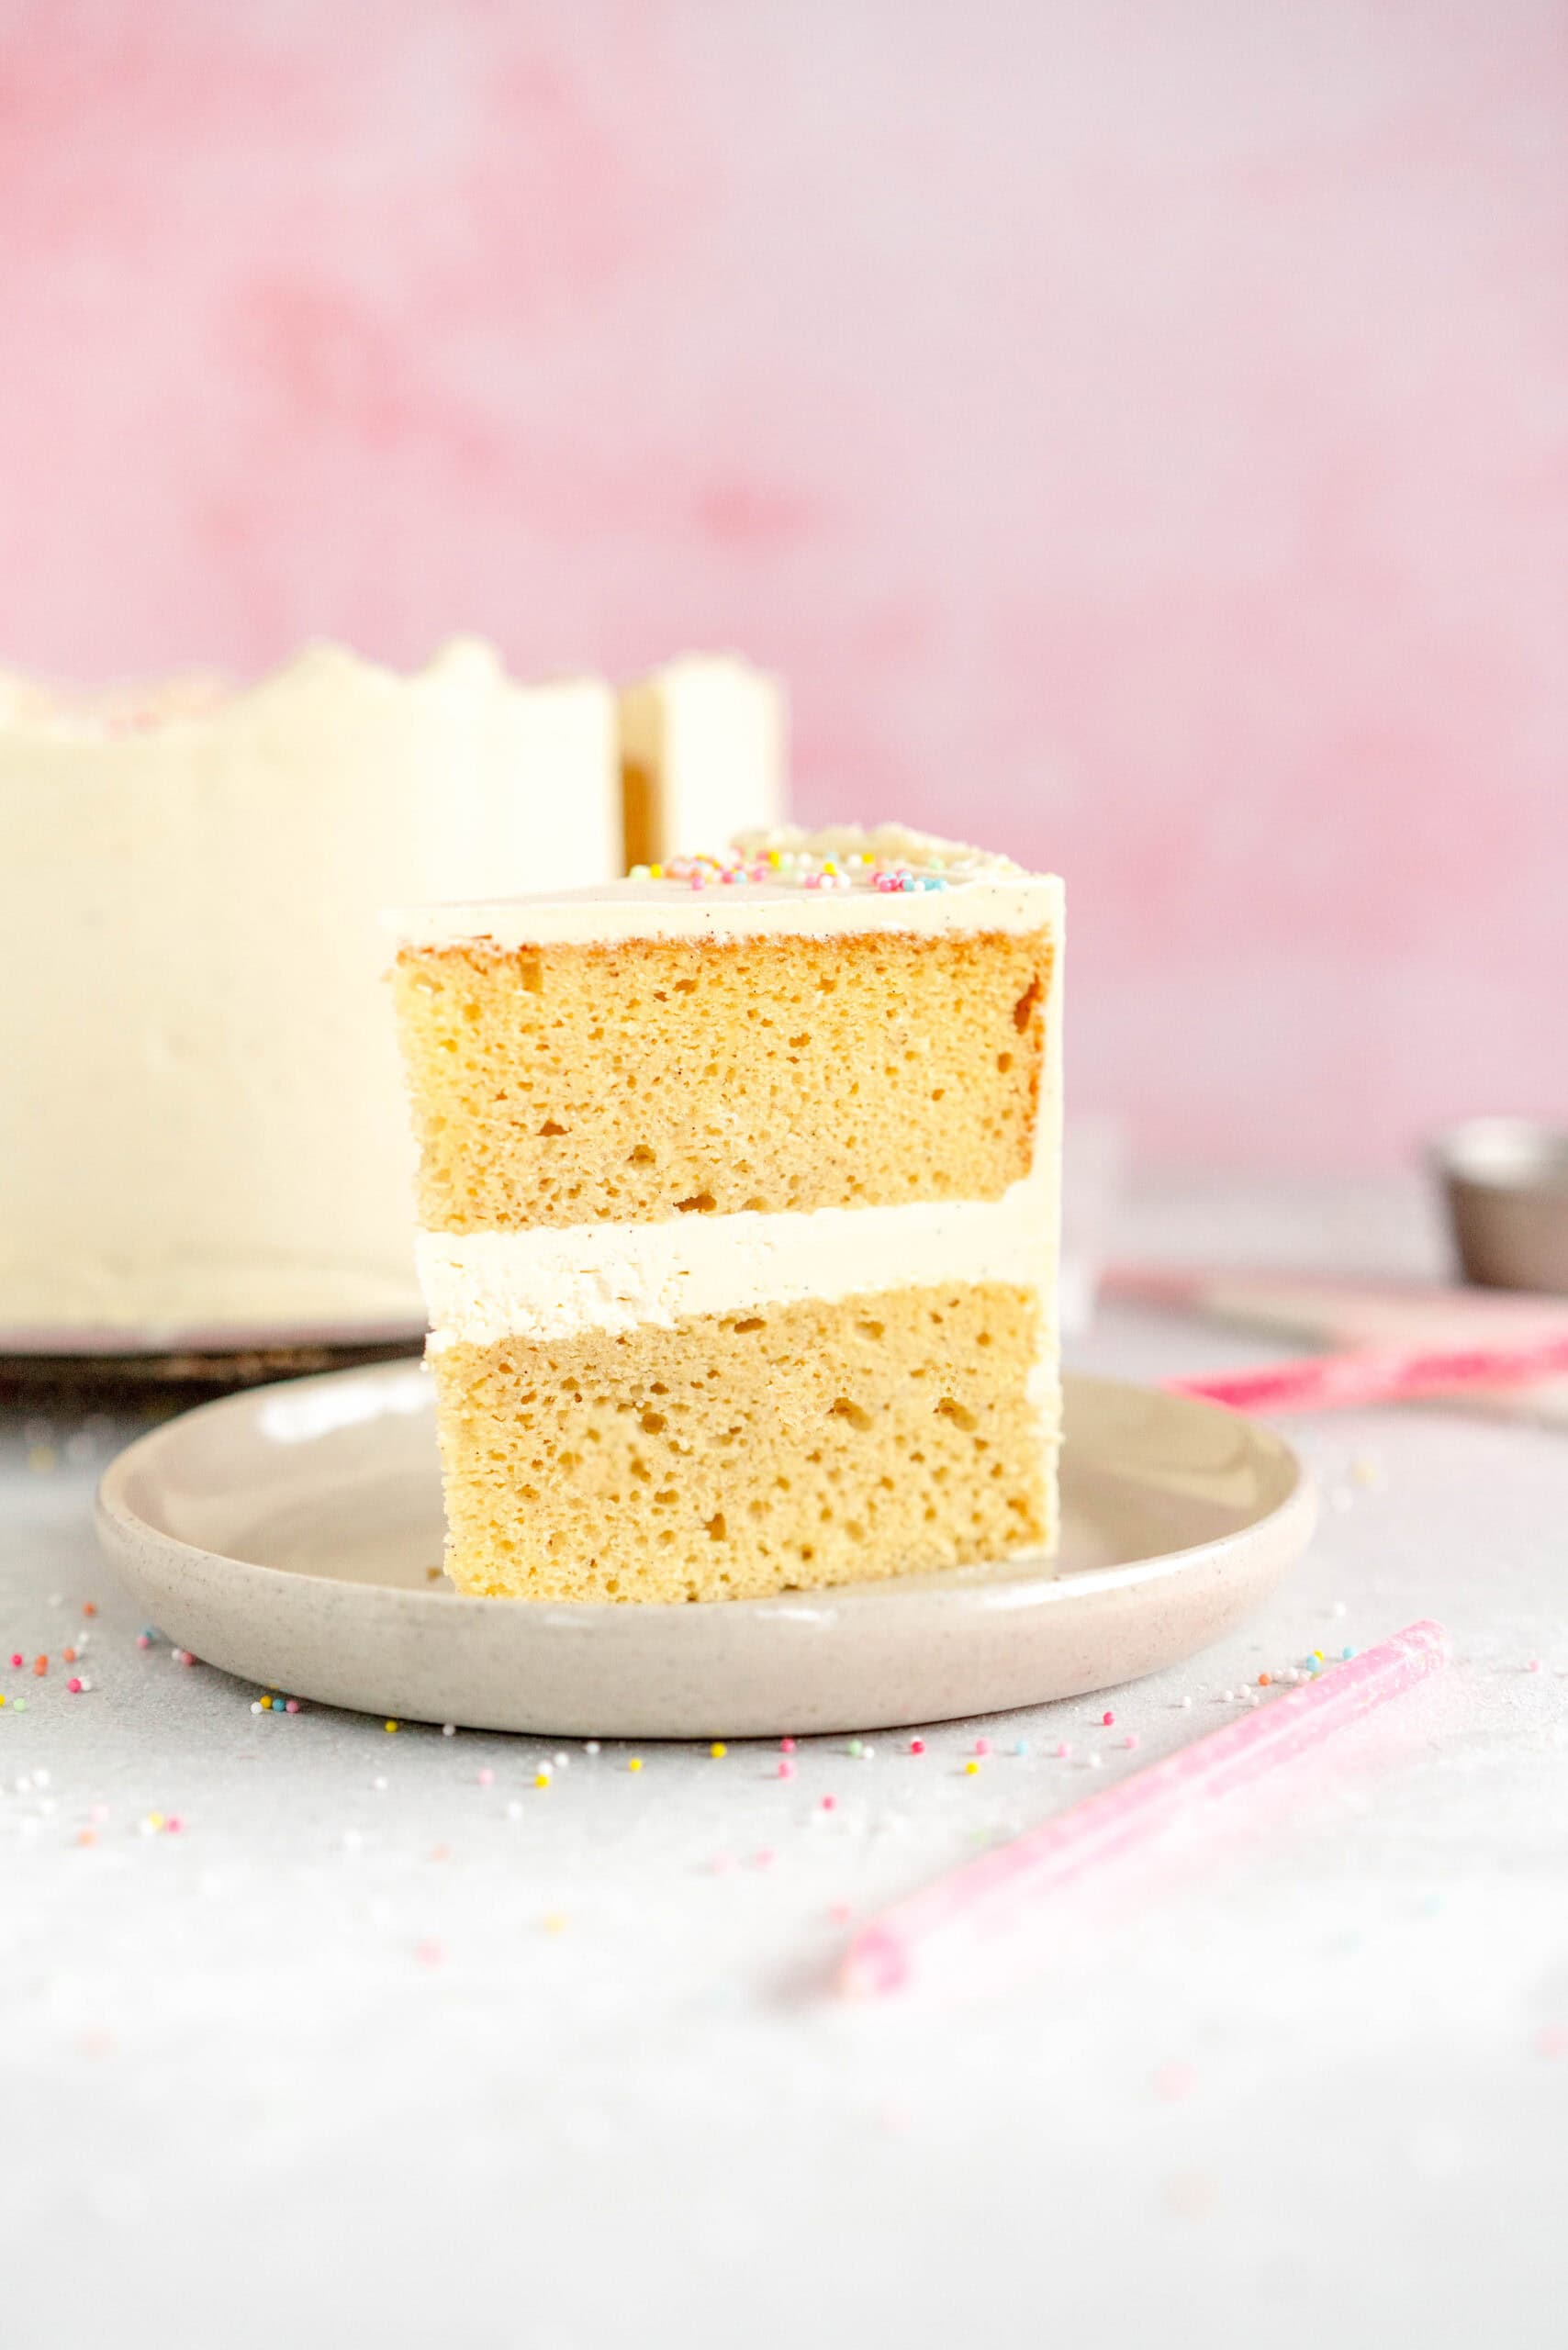
This vanilla cake recipe can be baked into two 8" rounds, which I often serve individually, or it can be made into a 9x13" vanilla sheet cake. We love options. We also love this cake - my husband once took down six slices alone in one day.
I make my vanilla cake with buttermilk and sour cream, which work together - buttermilk providing extra moisture and sour cream giving that super lush texture, making this a great cake to make ahead of time (it also freezes like a dream!). My Vanilla cake is also great for making shaped themed cakes for kid's cakes, as it is nice and stable.
One batter, three cakes: A Cloudy Kitchen Classic
One of the things that I love so much about this cake is that you can bake it in multiple formats depending on what you are needing it for. I am using this format for all of my base recipes, so that there are lots of options. The recipe is written for two 8" (20cm) cakes, but here are all the options:
As a Layer Cake
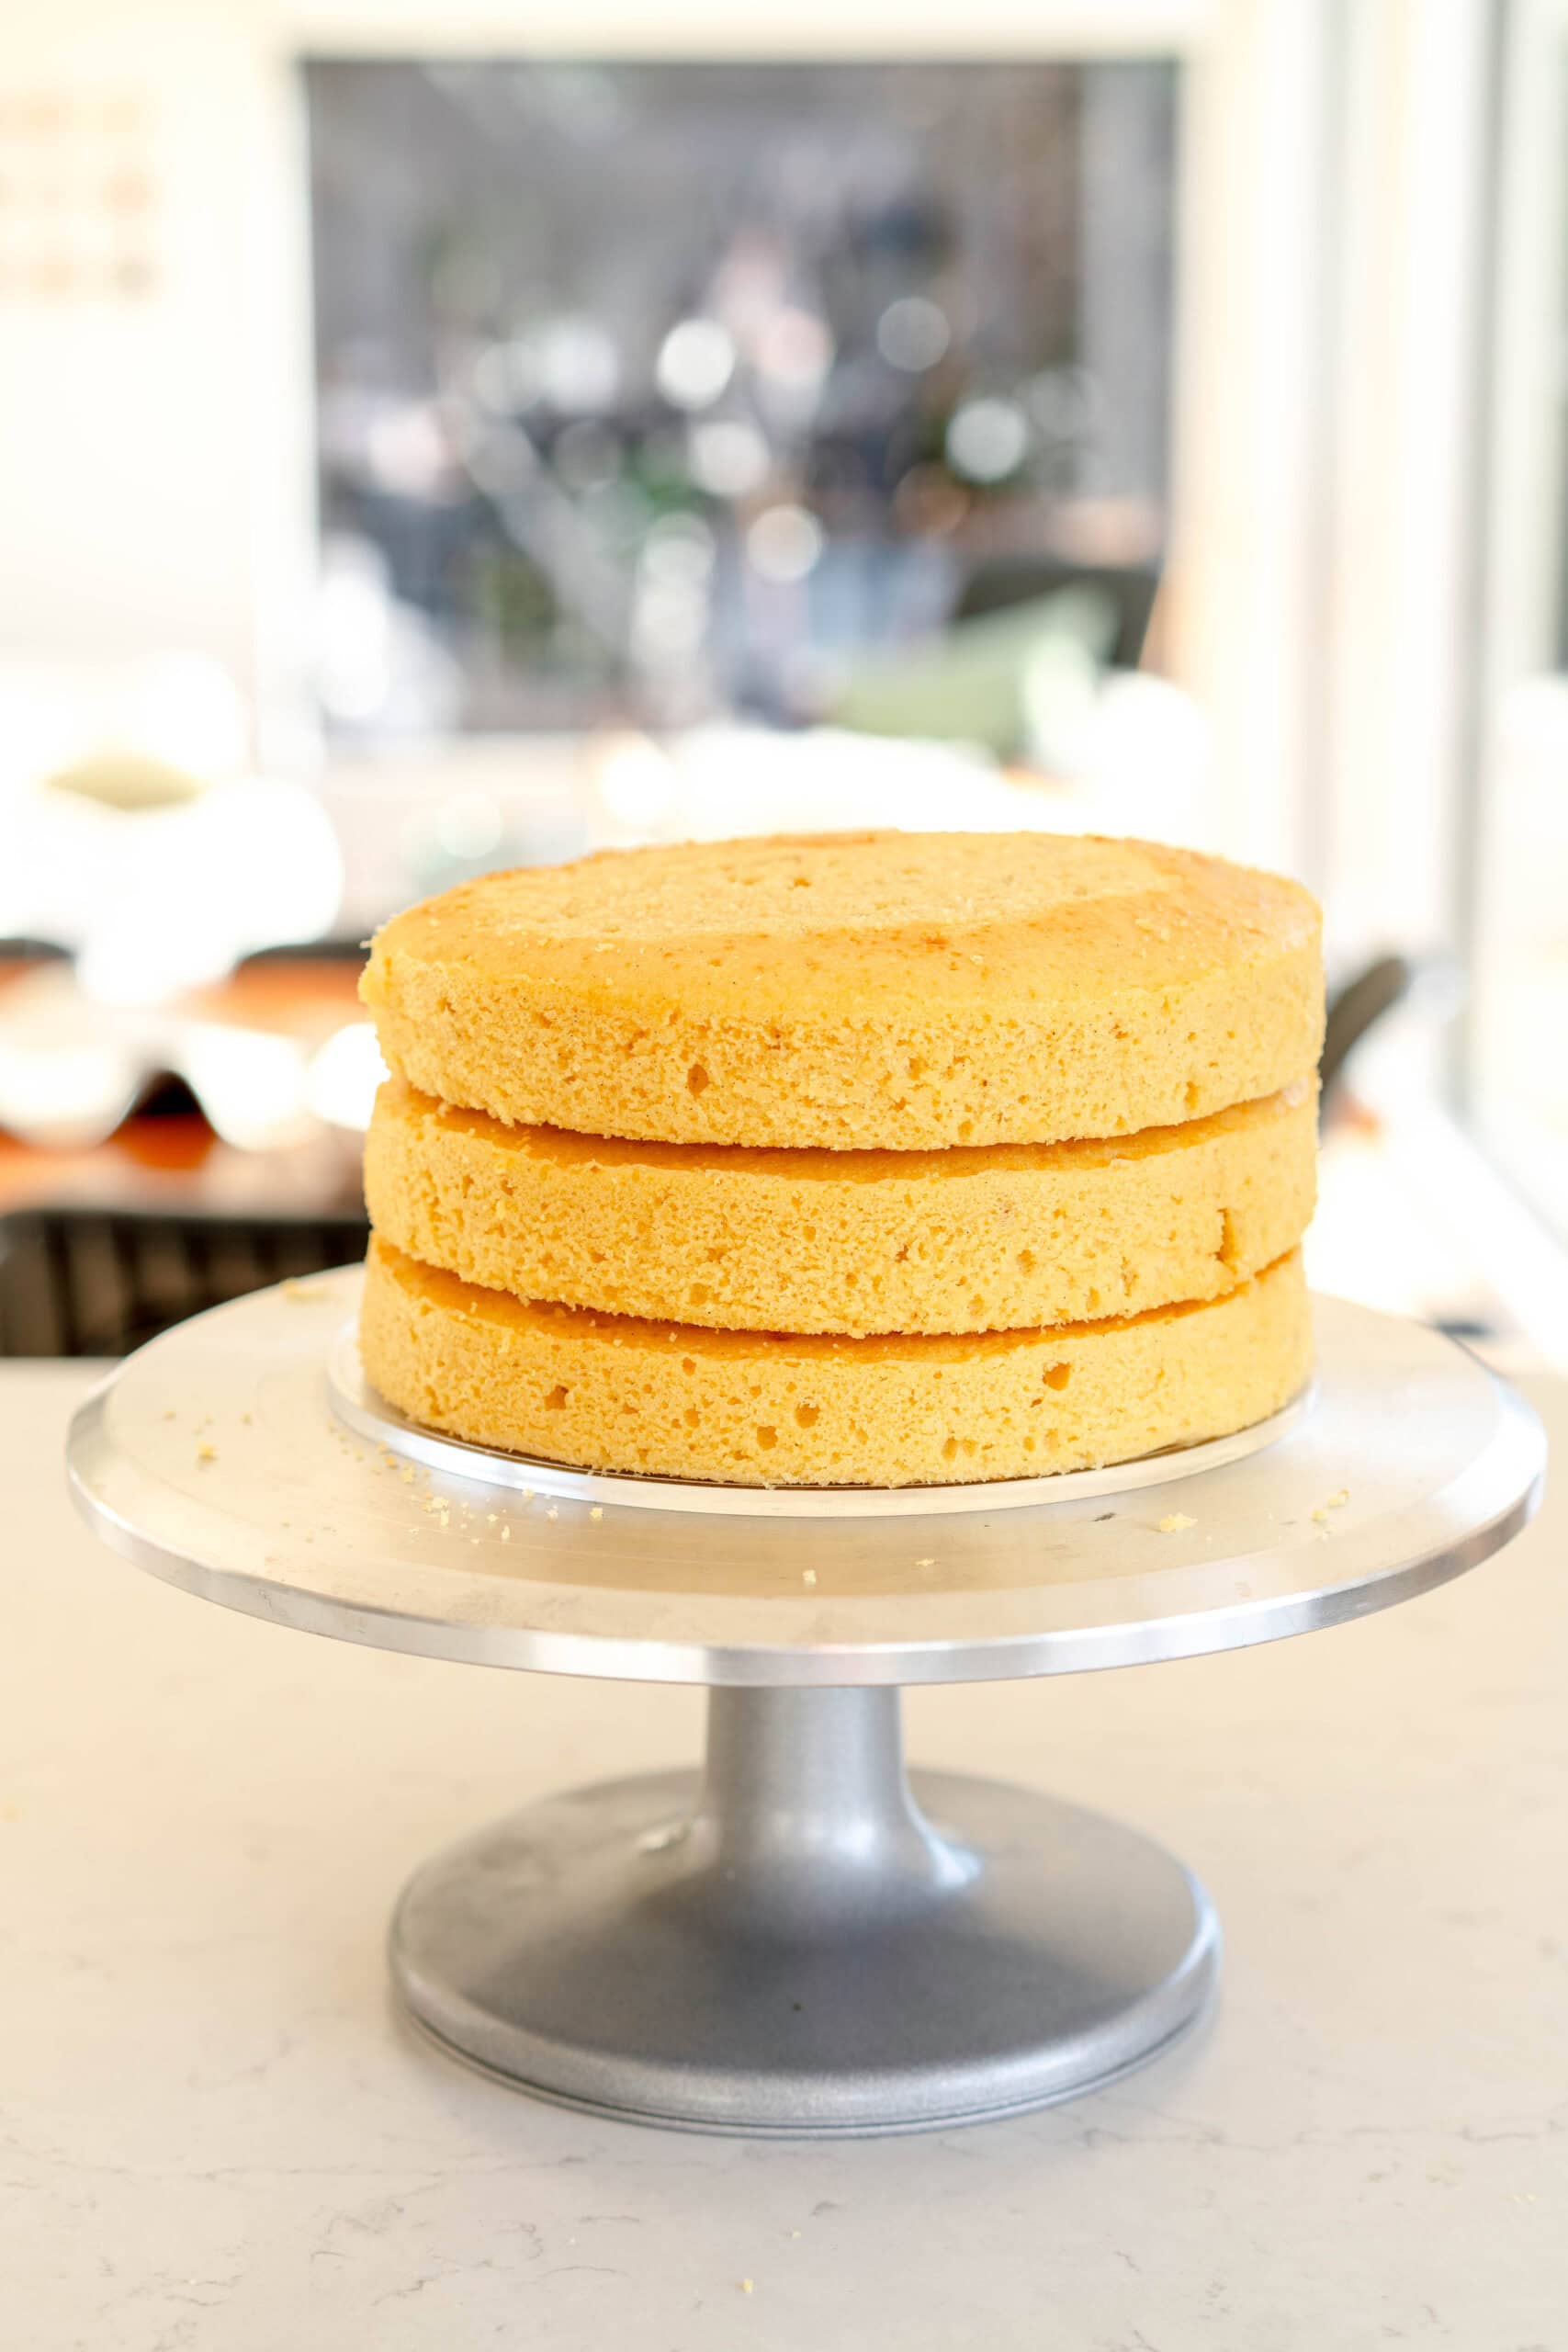
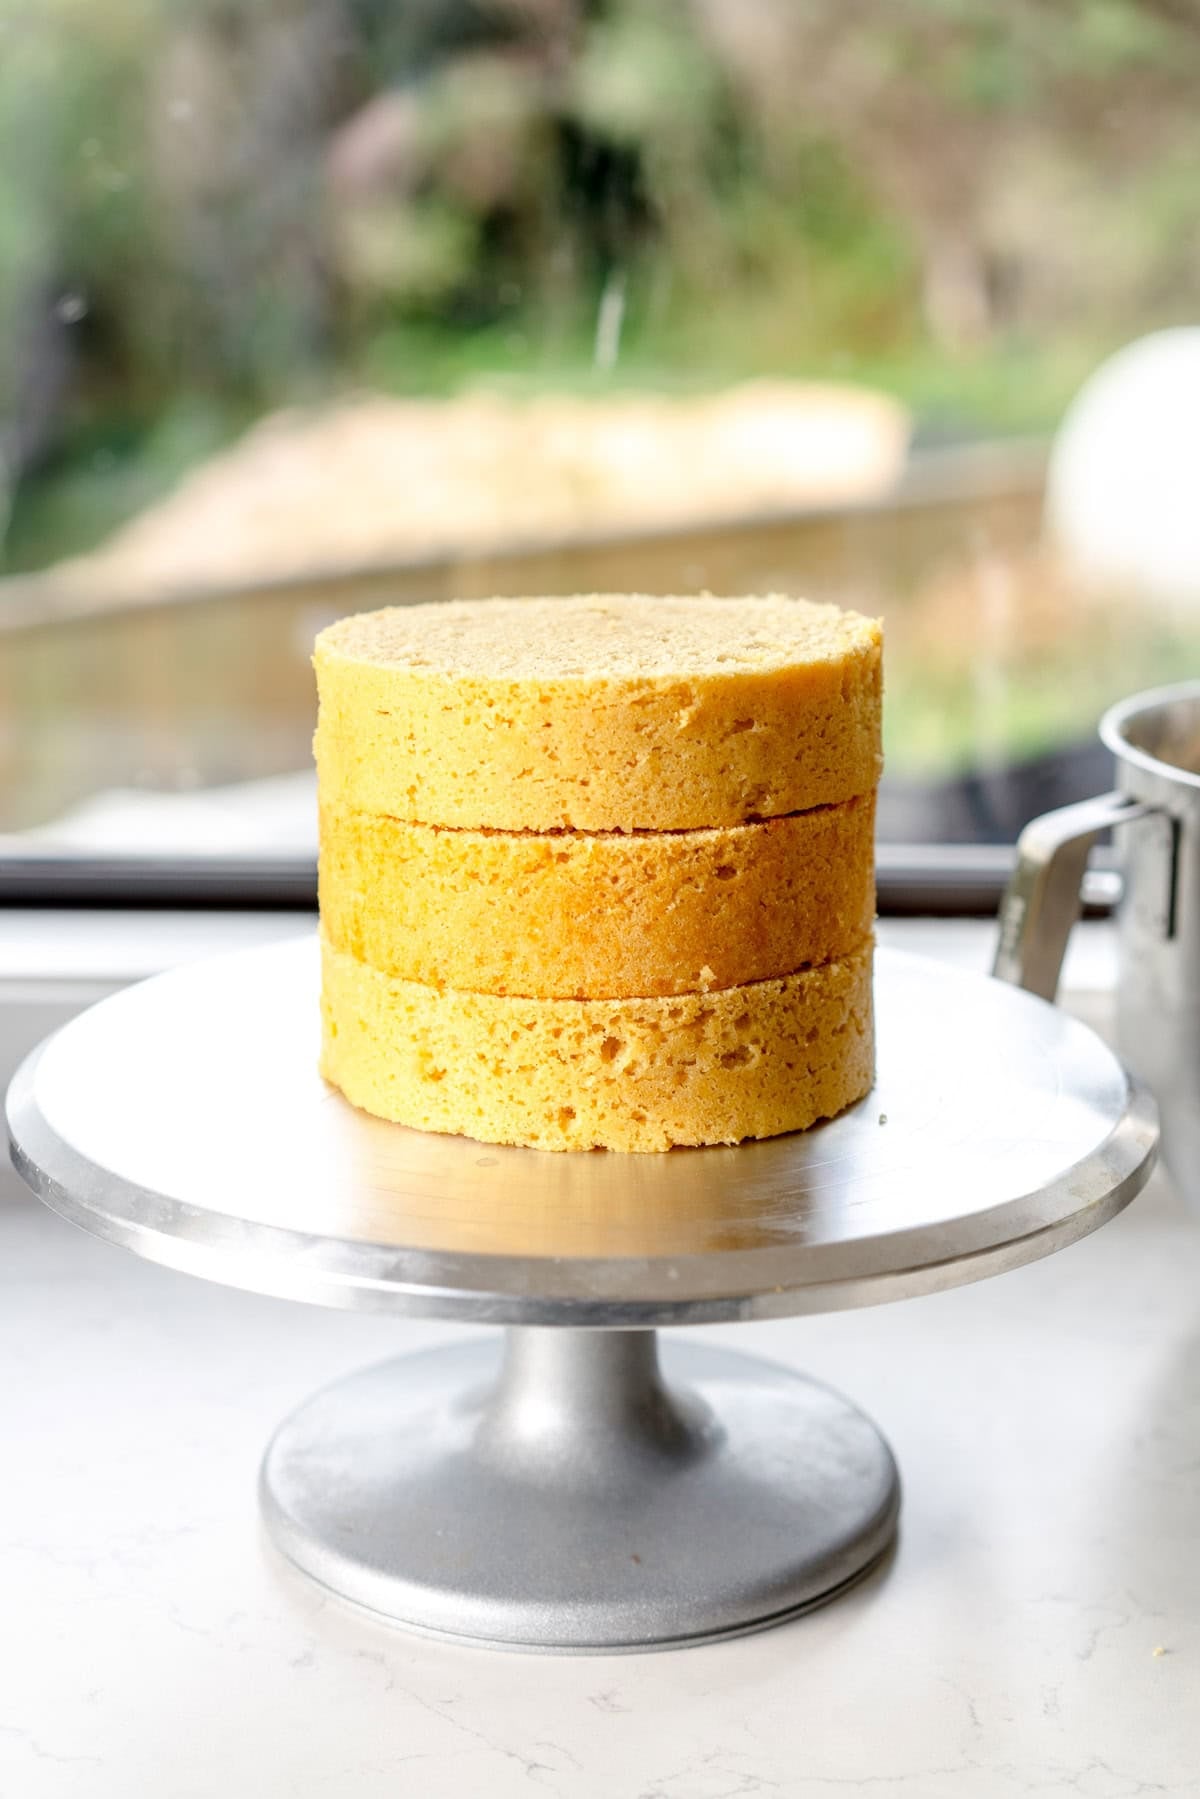
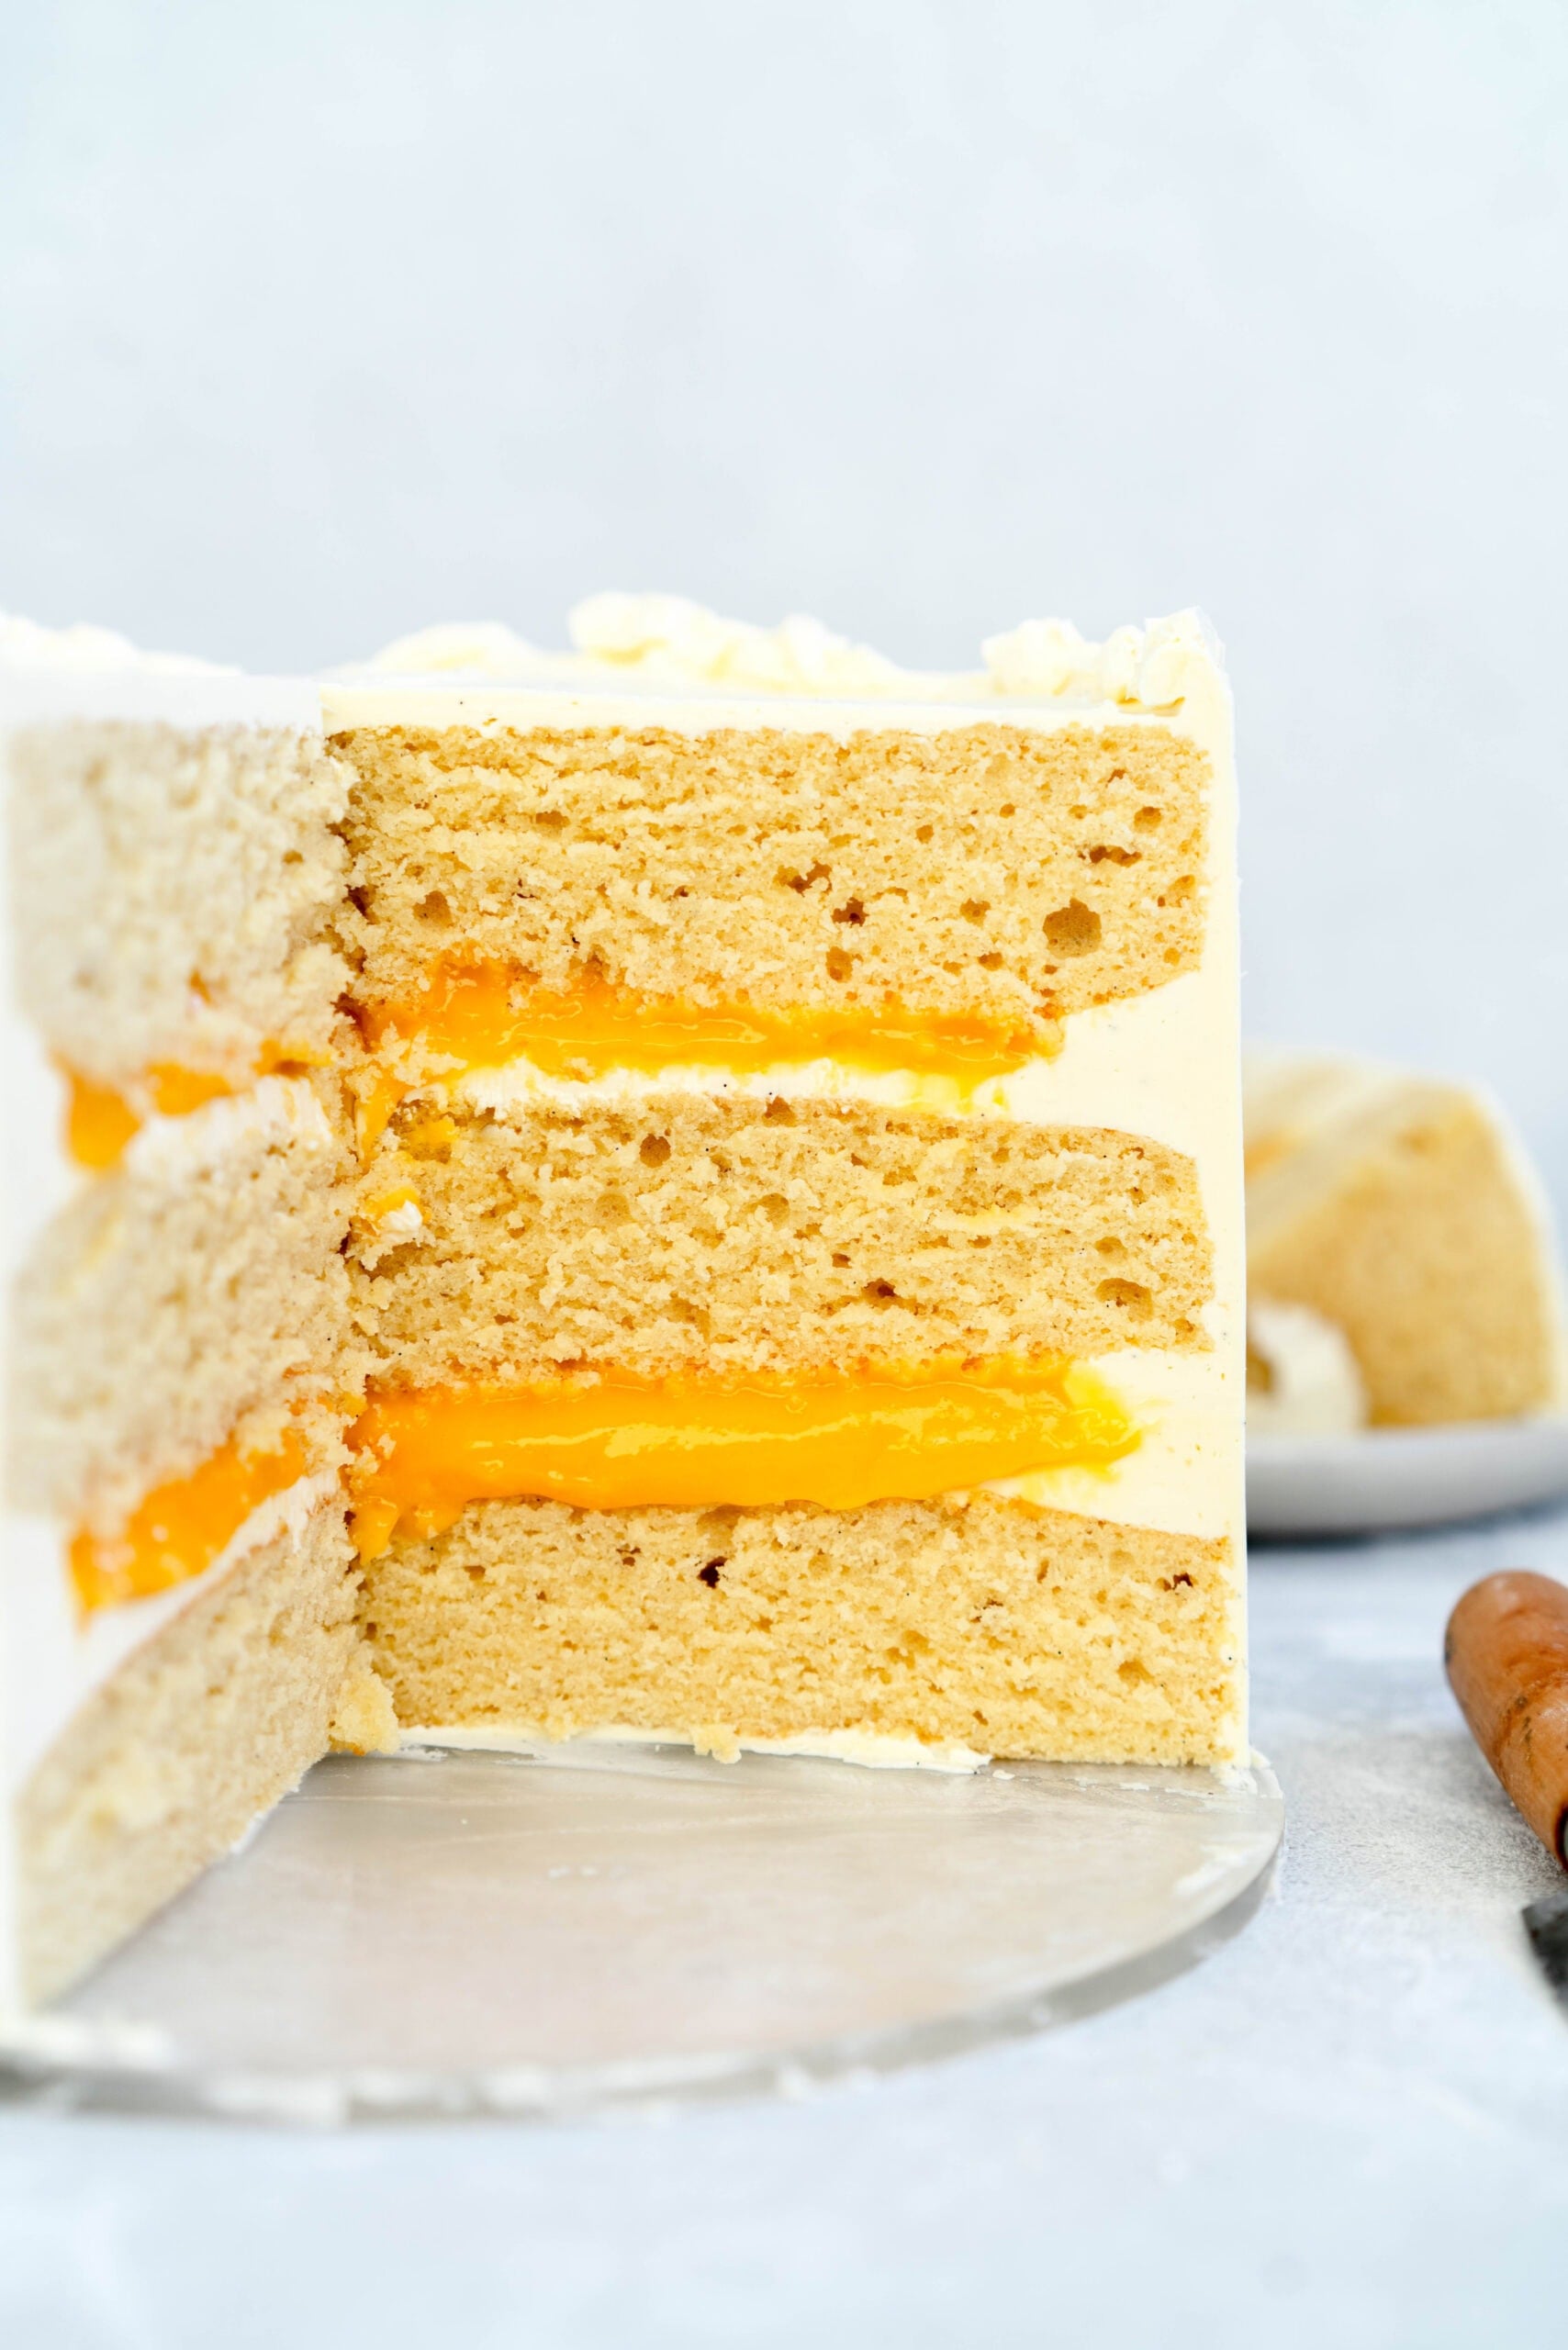
My vanilla cake recipe makes two 8" (20cm) cakes, which are perfect for layering into a two layer cake. Pair it with whatever frosting you like. The recipe notes as written are for two 8" (20cm) cakes. Dividing it between three 8" (20cm) pans also works perfectly for a three layer cake, or you can make 1.5x the recipe and divide it across three pans for a chunkier cake.
As a Sheet Cake
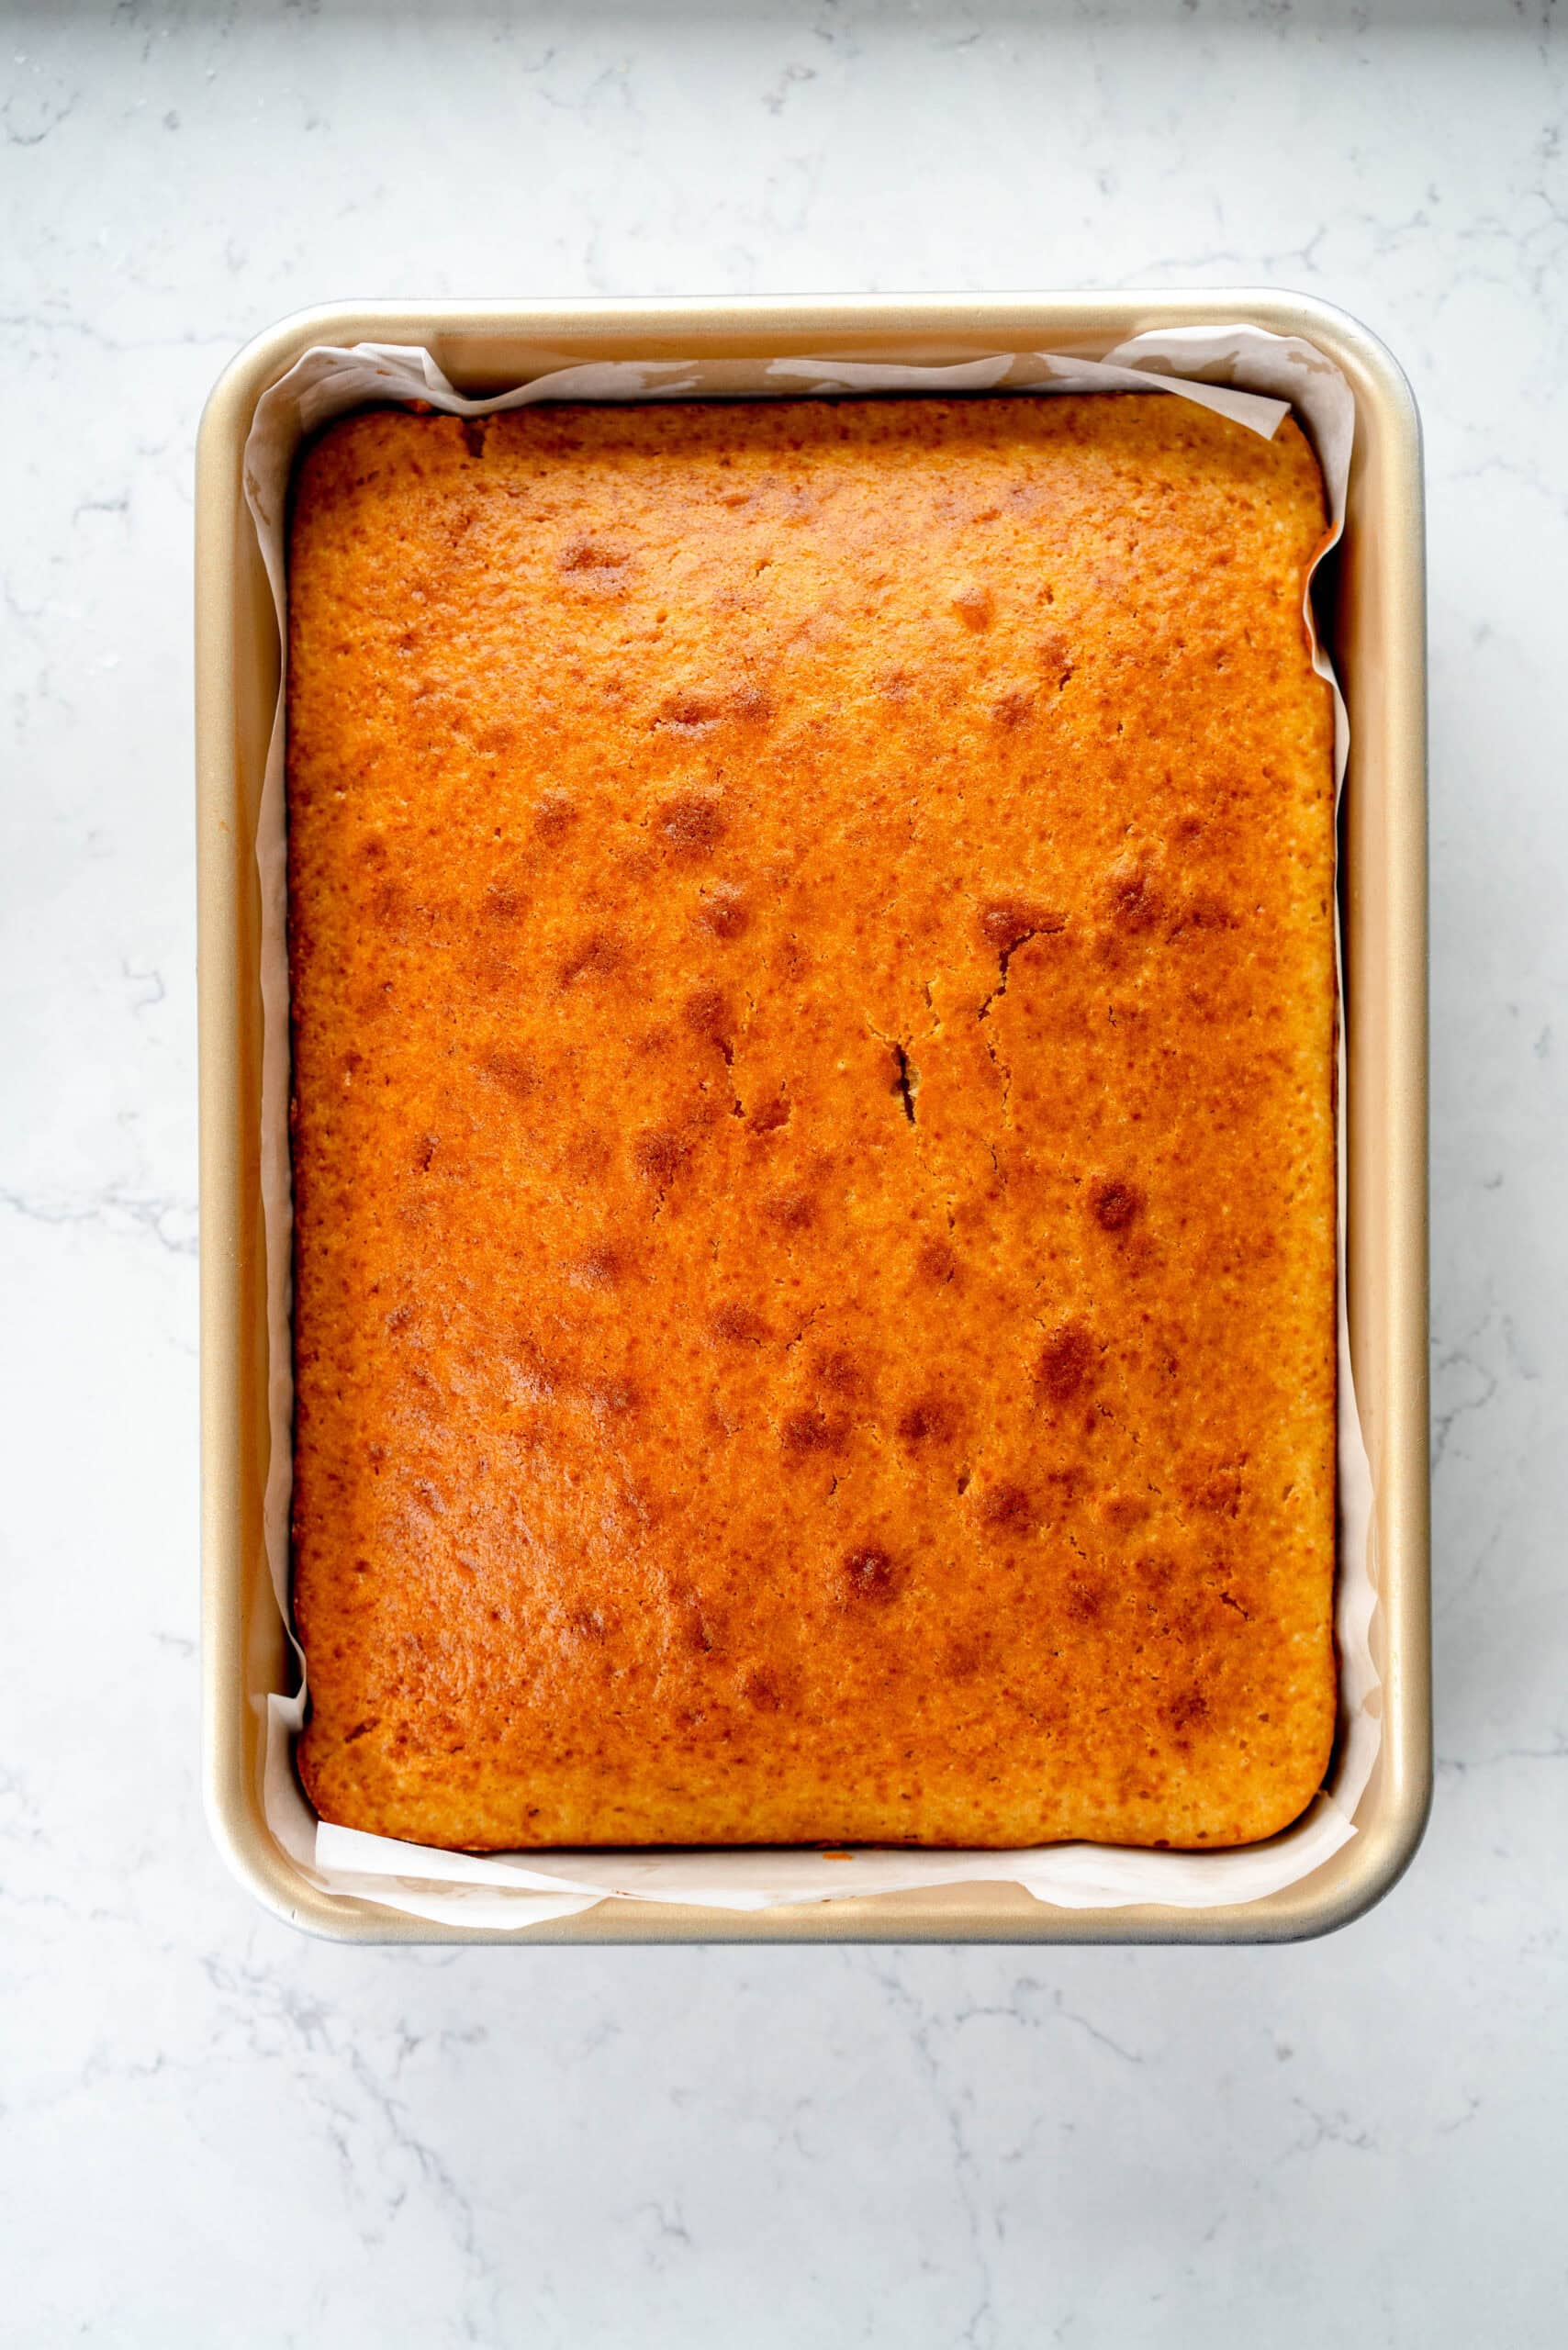
This vanilla cake recipe also makes a perfect 9x13" sheet cake. The baking time is almost exactly the same as the layer cakes as they are a similar thickness - I have found that in my oven they take about 37 minutes, I start checking after 35 and sometimes leave them in for 40 depending on how they are going. I like to bake on a lower temperature for a sheet cake to help it bake up flat. You can also spread it across a half sheet pan for a thin sheet cake.
As Single Layer Cakes
This vanilla cake recipe is also great if you wanted to serve them as individual cakes for a more chill single layer situation - either mix up the frostings, or freeze one for another time - you can just pop it out and frost (or even just serve with some whipped cream and berries for a really easy dessert)
For all my tips and tricks on stacking a layer cake, check out my guide: How to stack and frost a cake
Mixing method for Vanilla Cake: to cream or to reverse cream?
There are two main methods you will likely come across if you look at vanilla cake recipes on the internet: a traditional creaming method, and the reverse creaming method (plus probably a few others but these are the ones we are going to discuss today).
Basically, you can take the exact same ingredients, and how you manipulate them will determine the final product of the recipe. Here are the two that I tested:
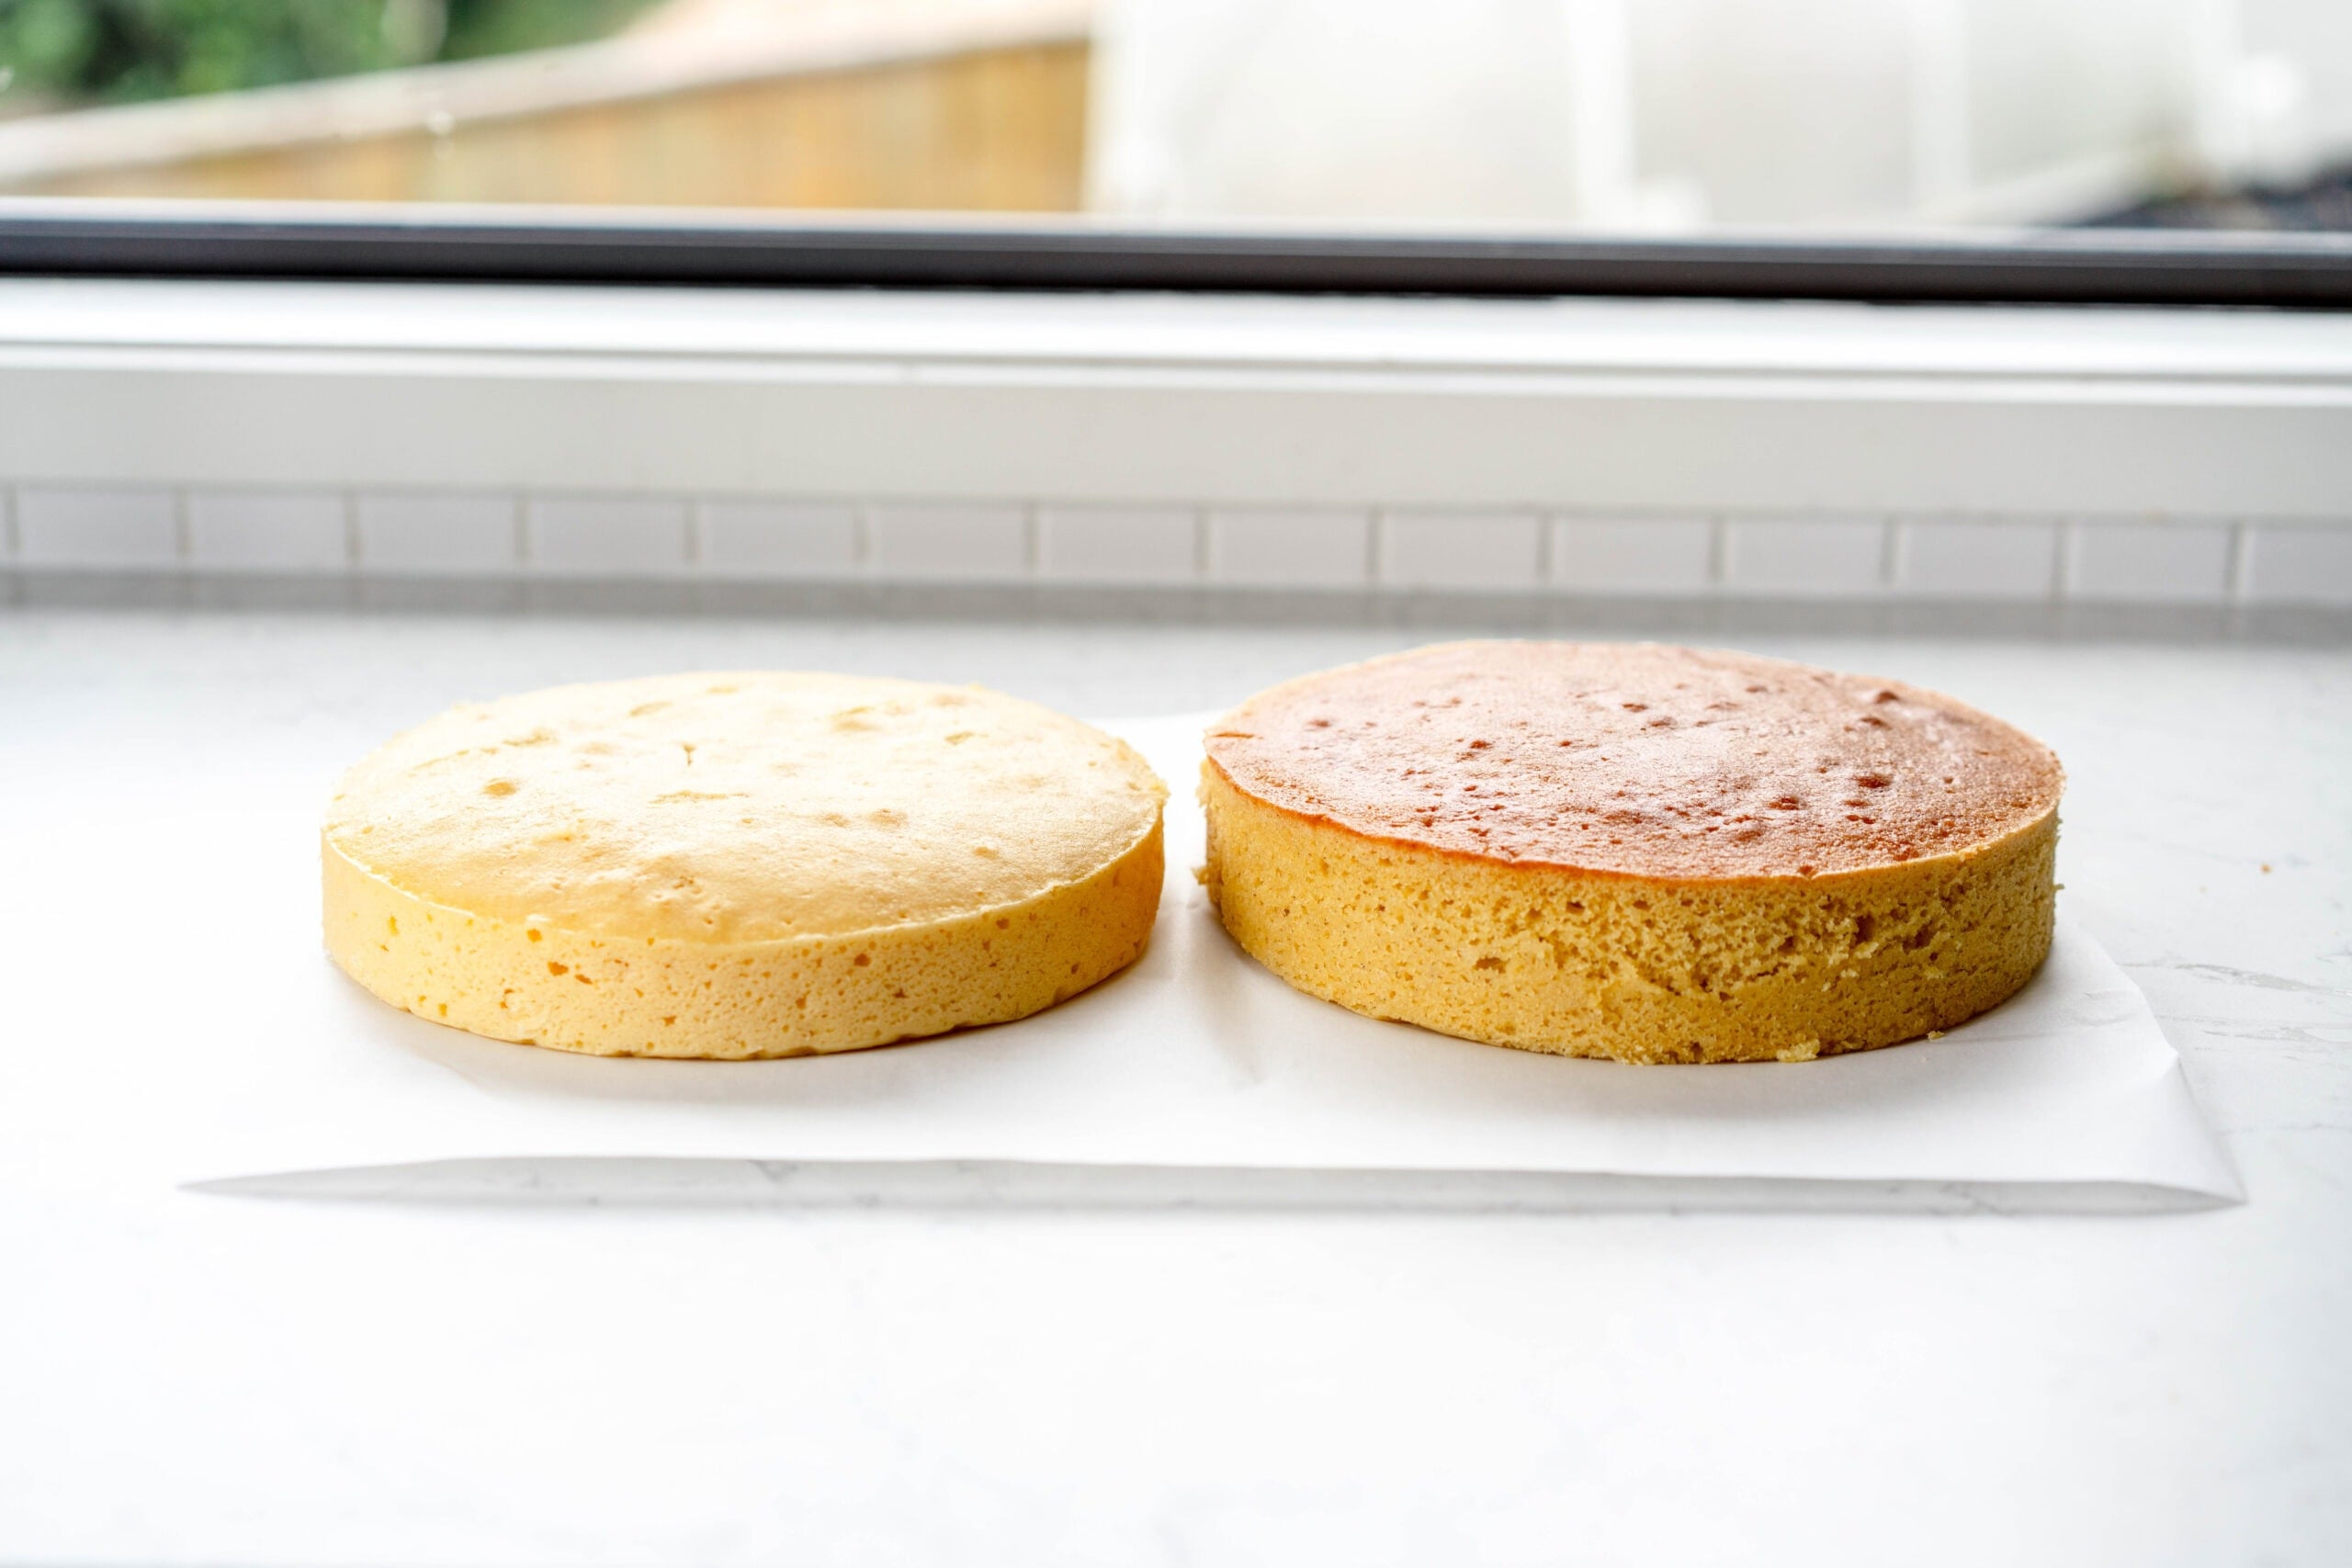
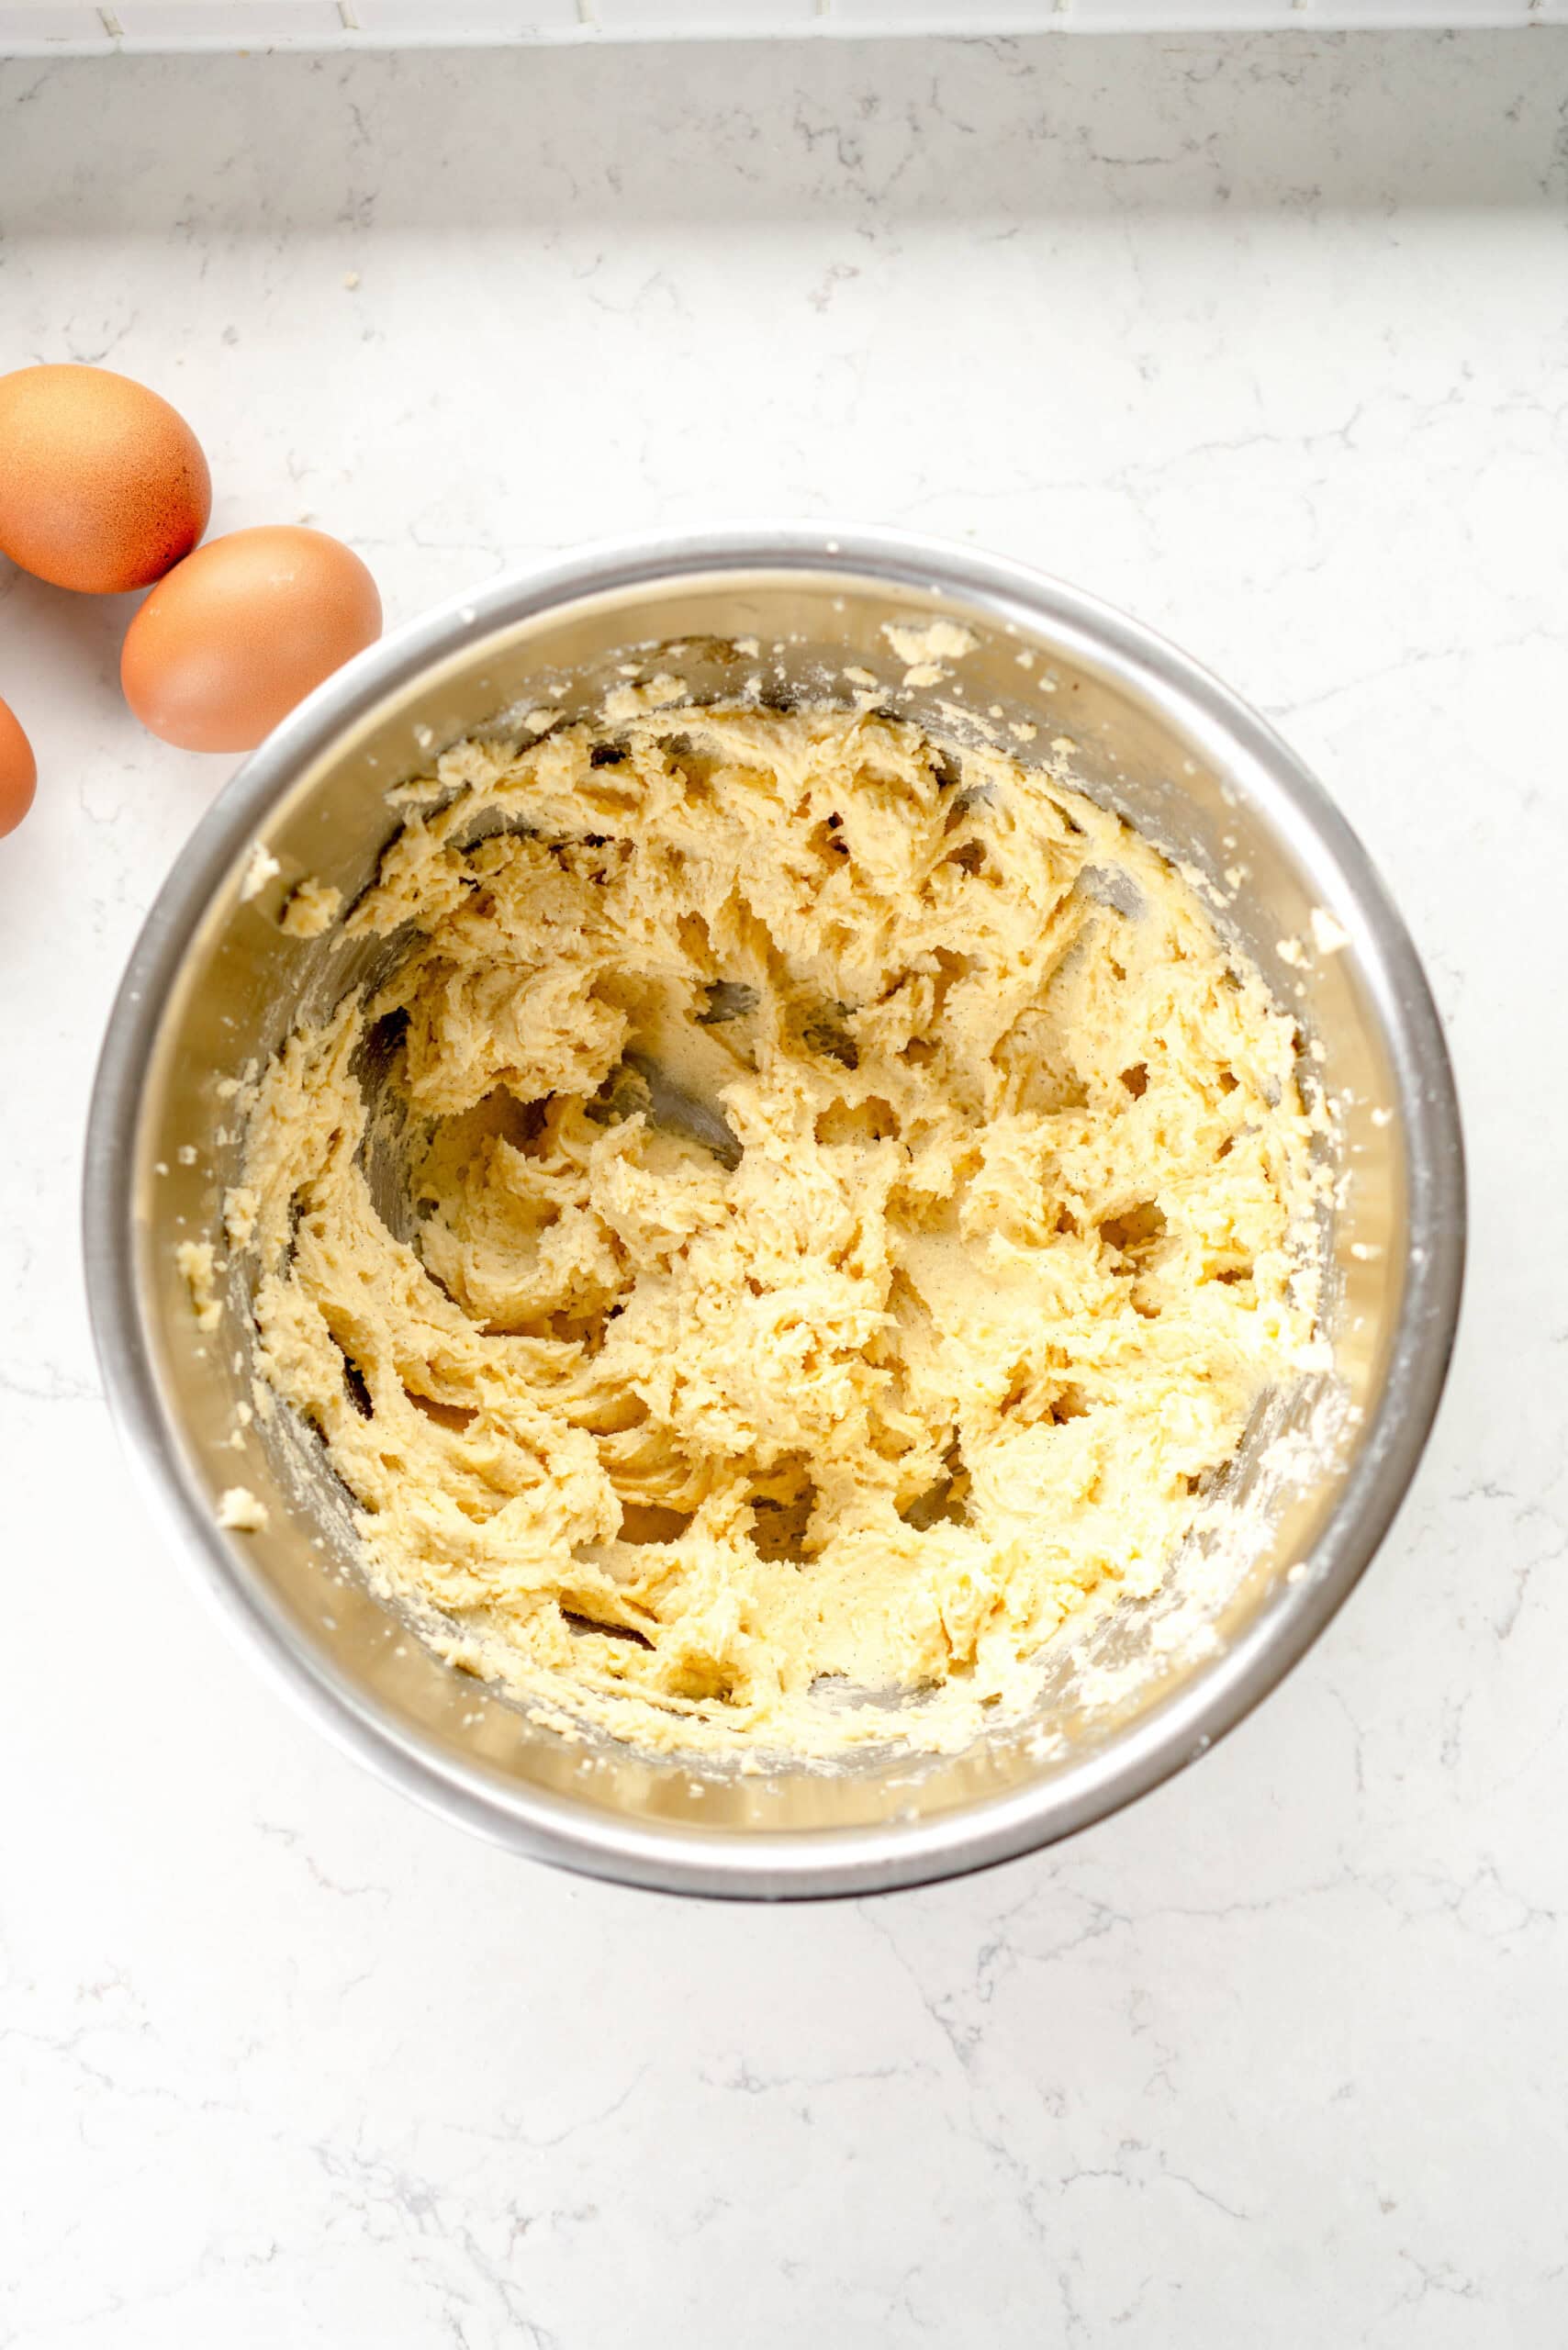
Traditional creaming: This is what we are used to seeing in most cookie, shortbread, frosting recipes etc. You whip the butter and sugar together for an extended period of time, until they fully incorporate, and the mixture becomes thicker and fluffier. This is incorporating air into the batter, giving the baked good lift and texture (which is extra important in a recipe like shortbread which doesn't use baking powder or soda).
This method is the classic for a reason - it works great. However, the risk that you run when you make a cake such as this vanilla cake is over working the batter, causing gluten to form when you add the flour, which can lead to a slightly tougher texture in the cake. Some recipes get around this by using cake flour, which is a lower protein flour, but I prefer to just be careful with how I incorporate my flour - this is also why we add in the wet and dry ingredients alternately to avoid over mixing.
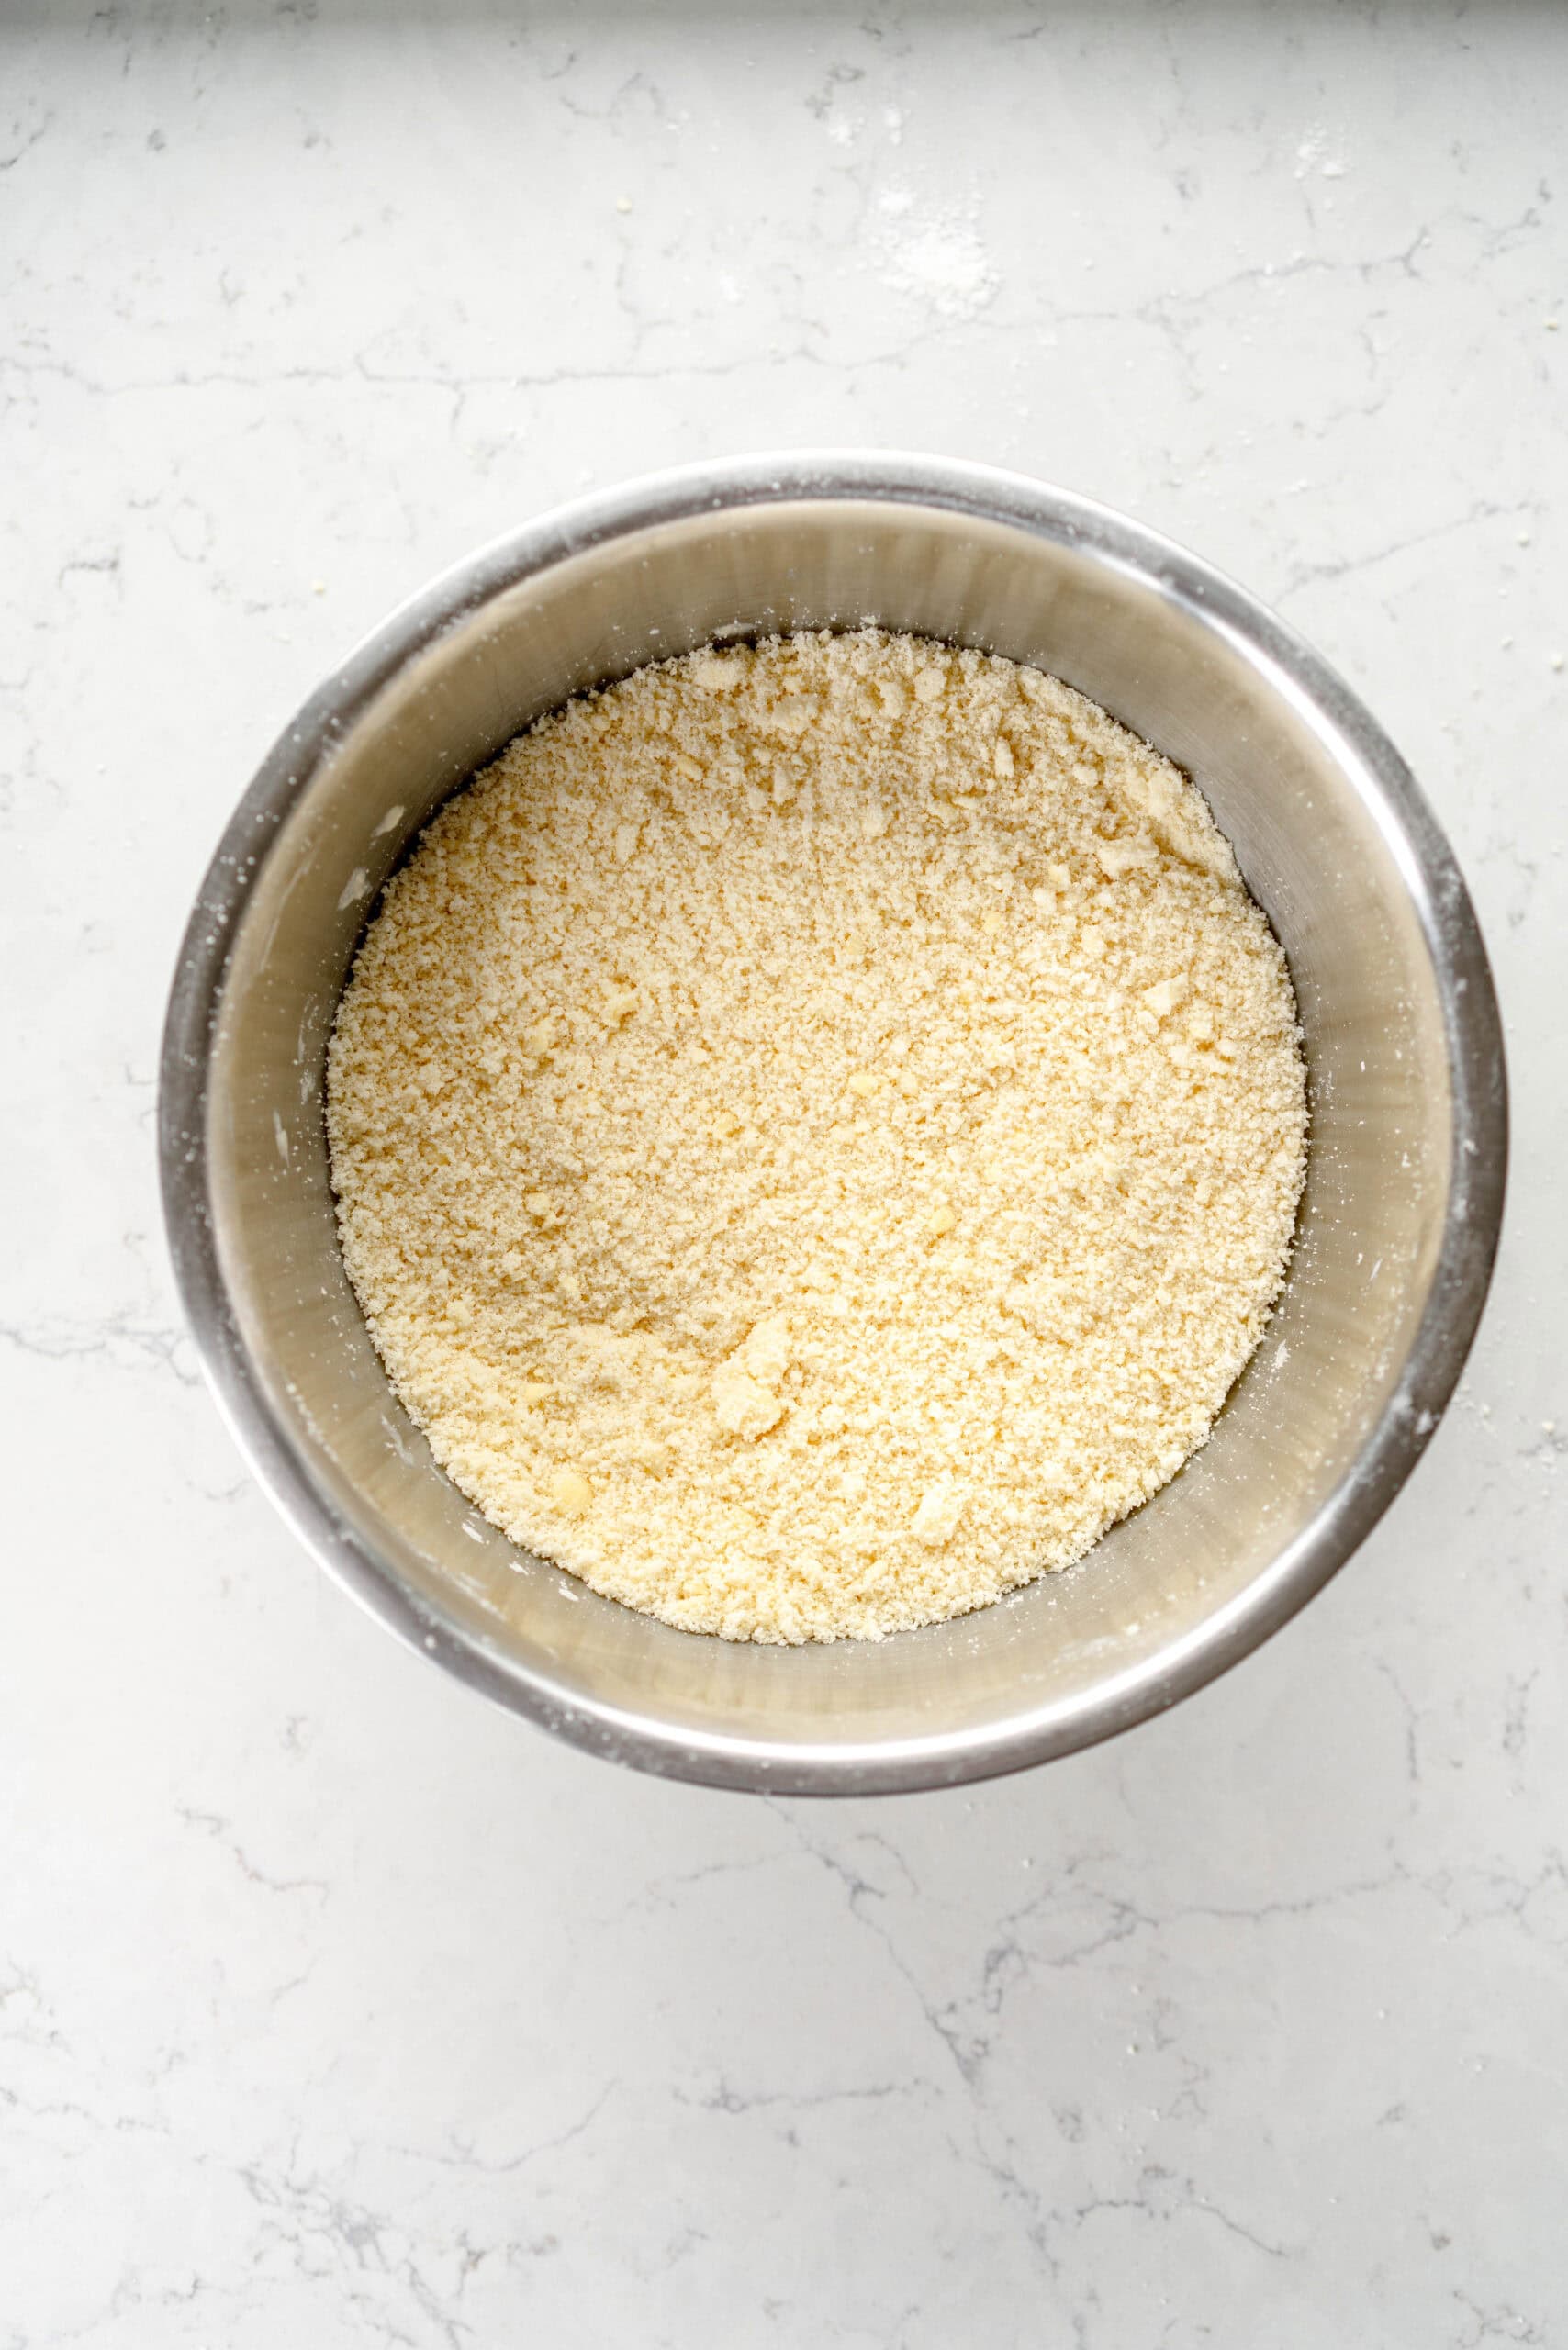
Reverse creaming: This technique involves adding all the dry ingredients including the sugar into the bowl, then slowly incorporating the softened butter in until it looks like wet sand, then adding all the wet ingredients in in one go.
What this does is the butter coats the flour particles in fat, which prevents the formation of gluten within the cake batter. This gives you a more dense but also very tender textured cake. The density comes from not incorporating air during the creaming process, and the tender texture from the reduced gluten formation in the flour.
Which did you choose and why?
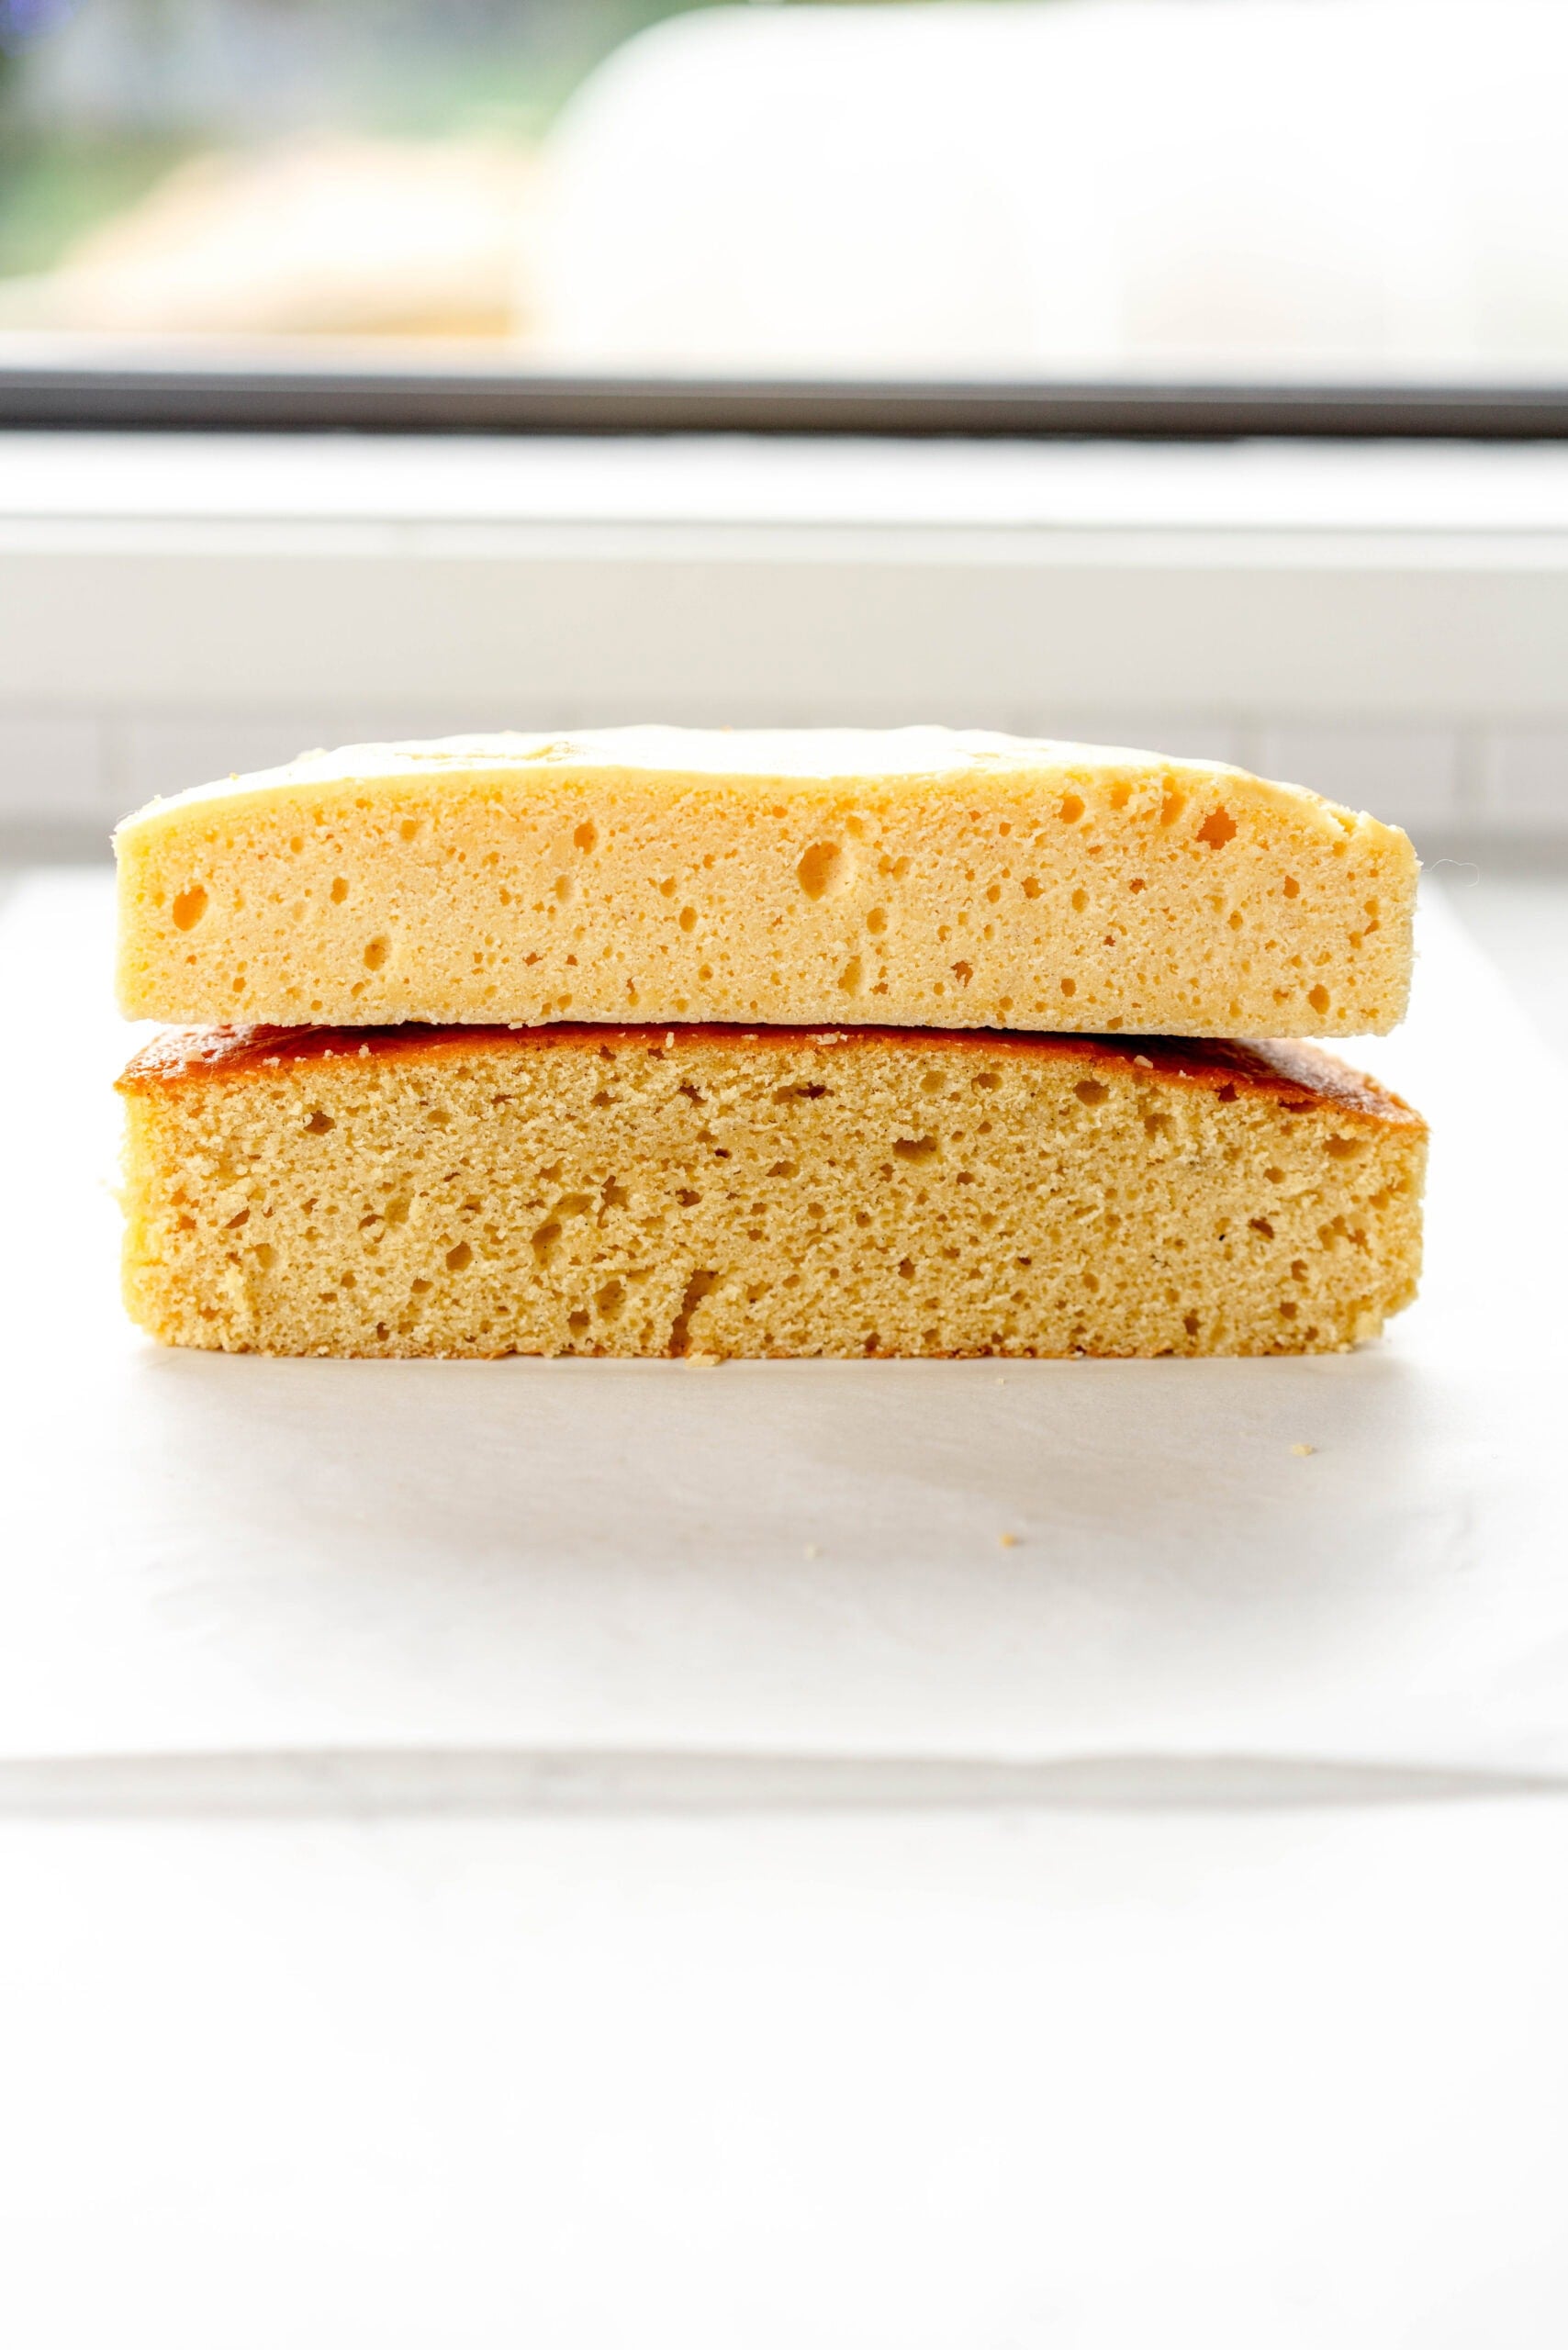
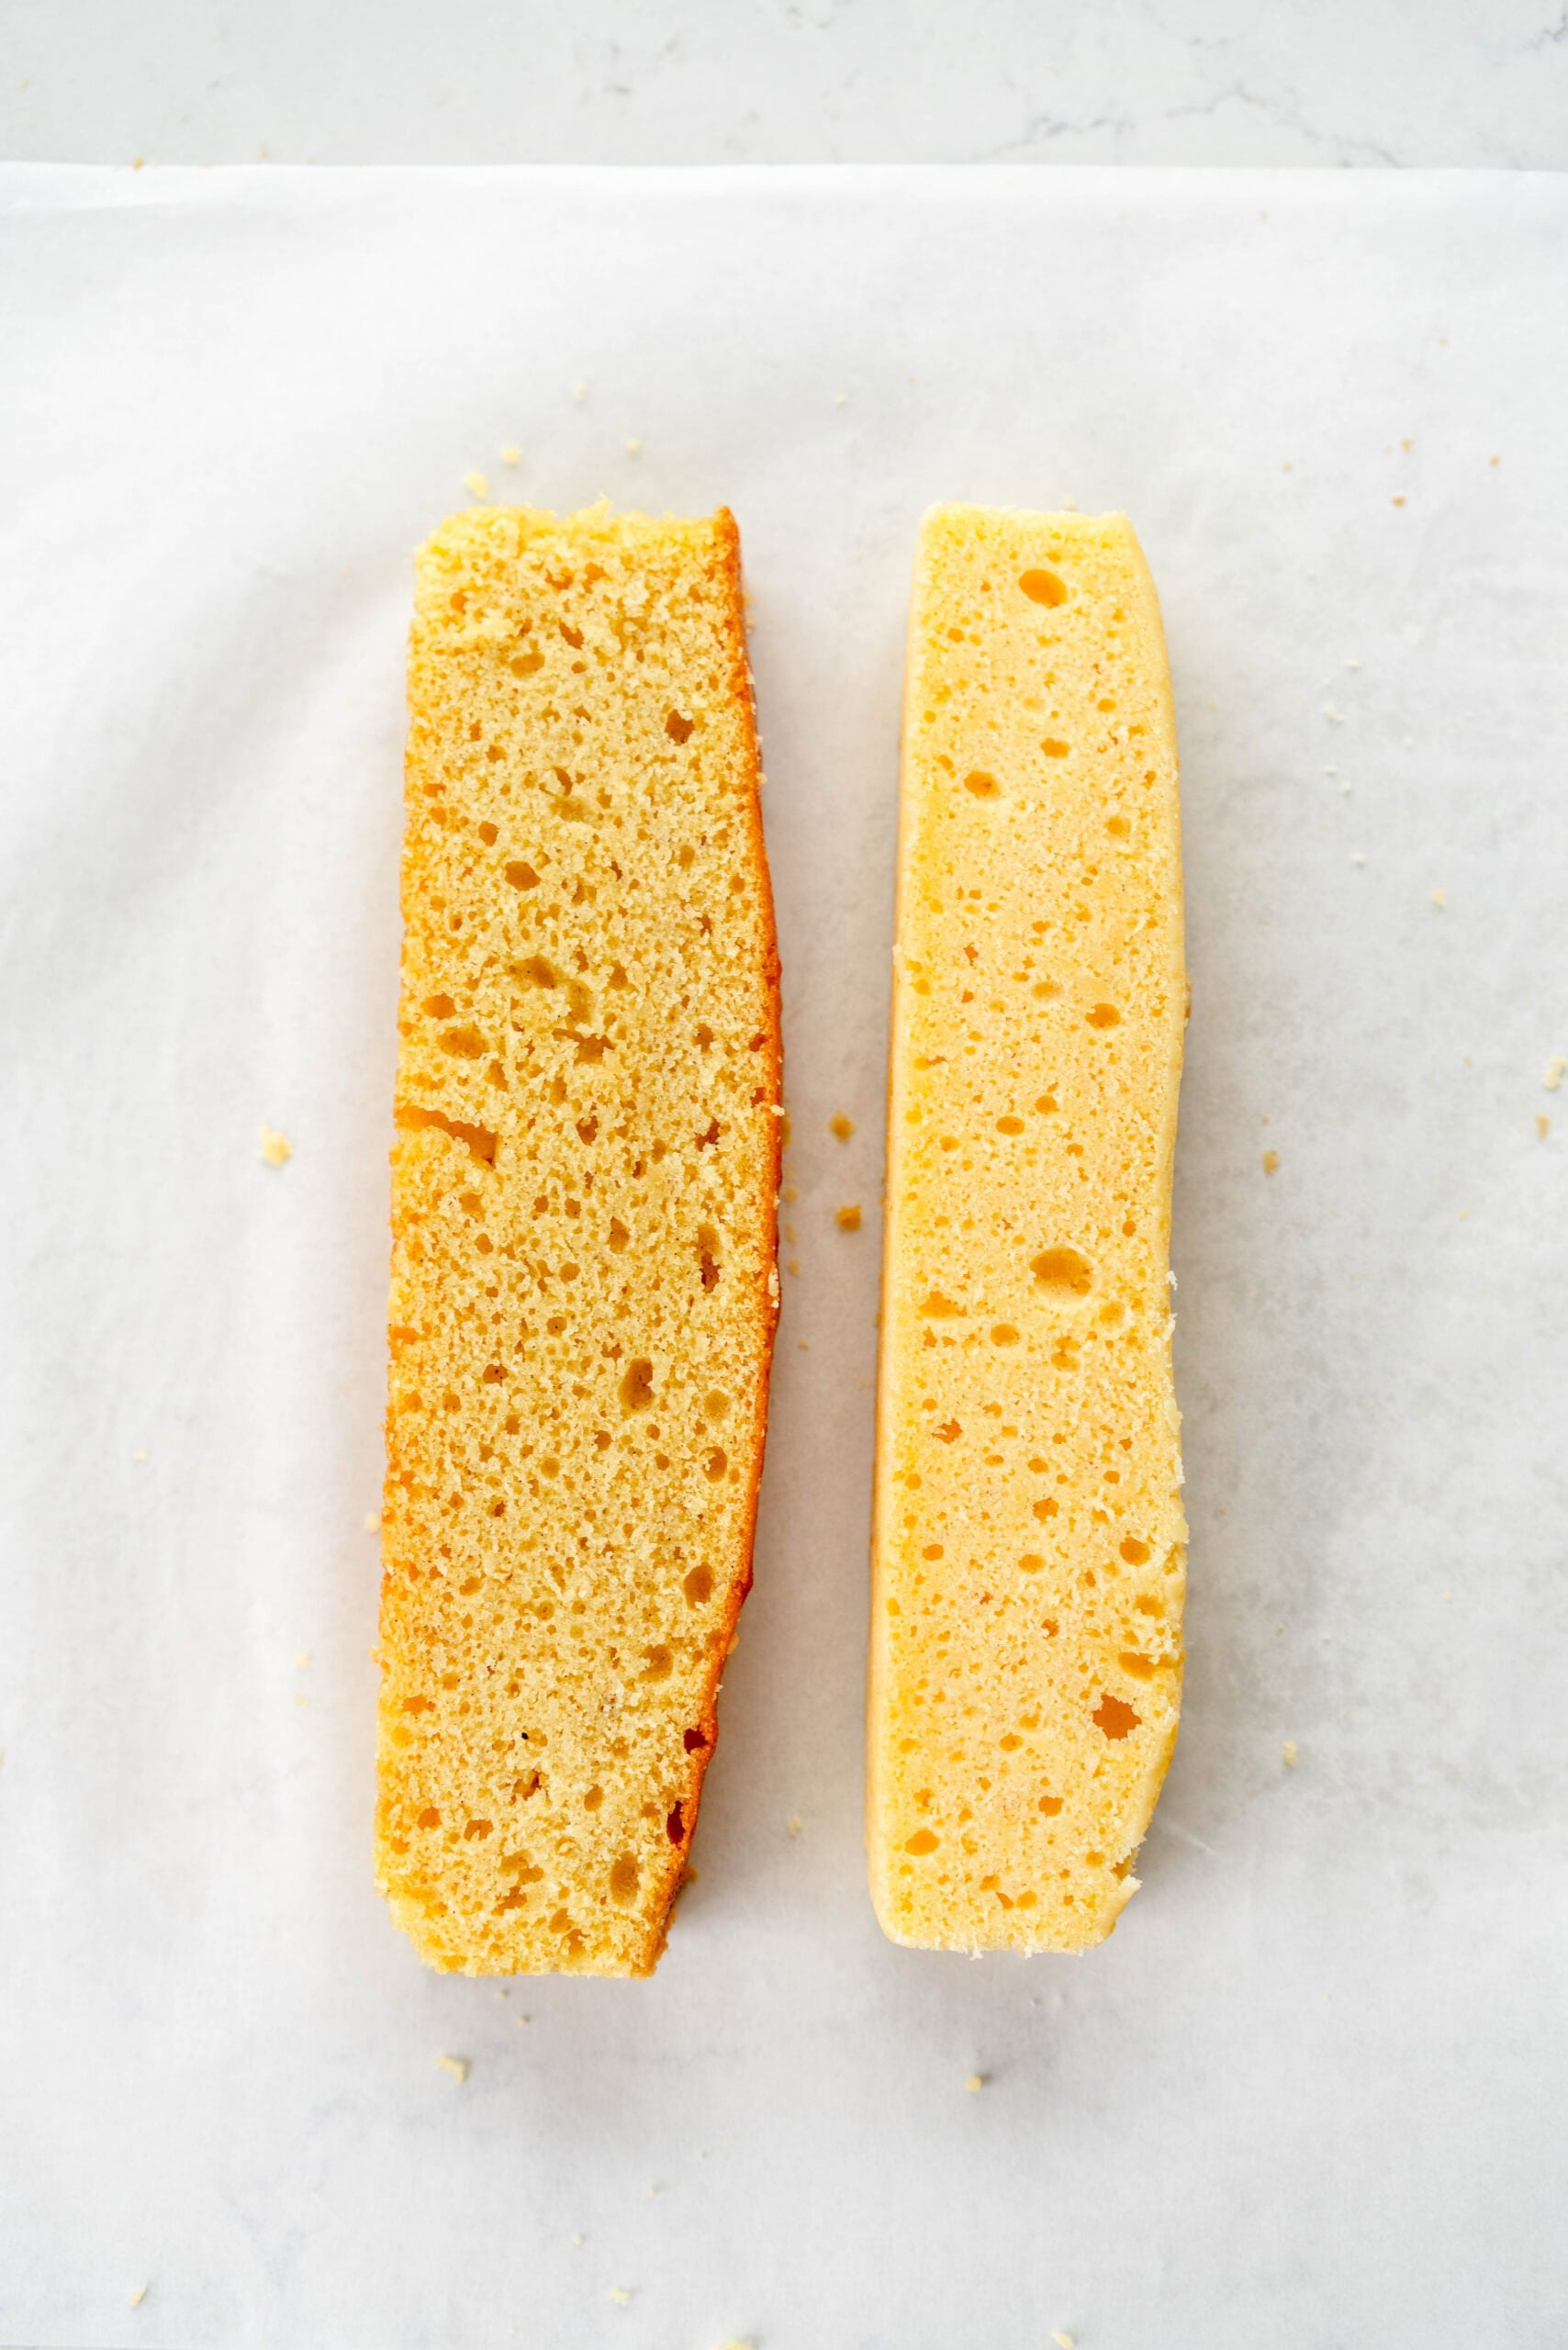
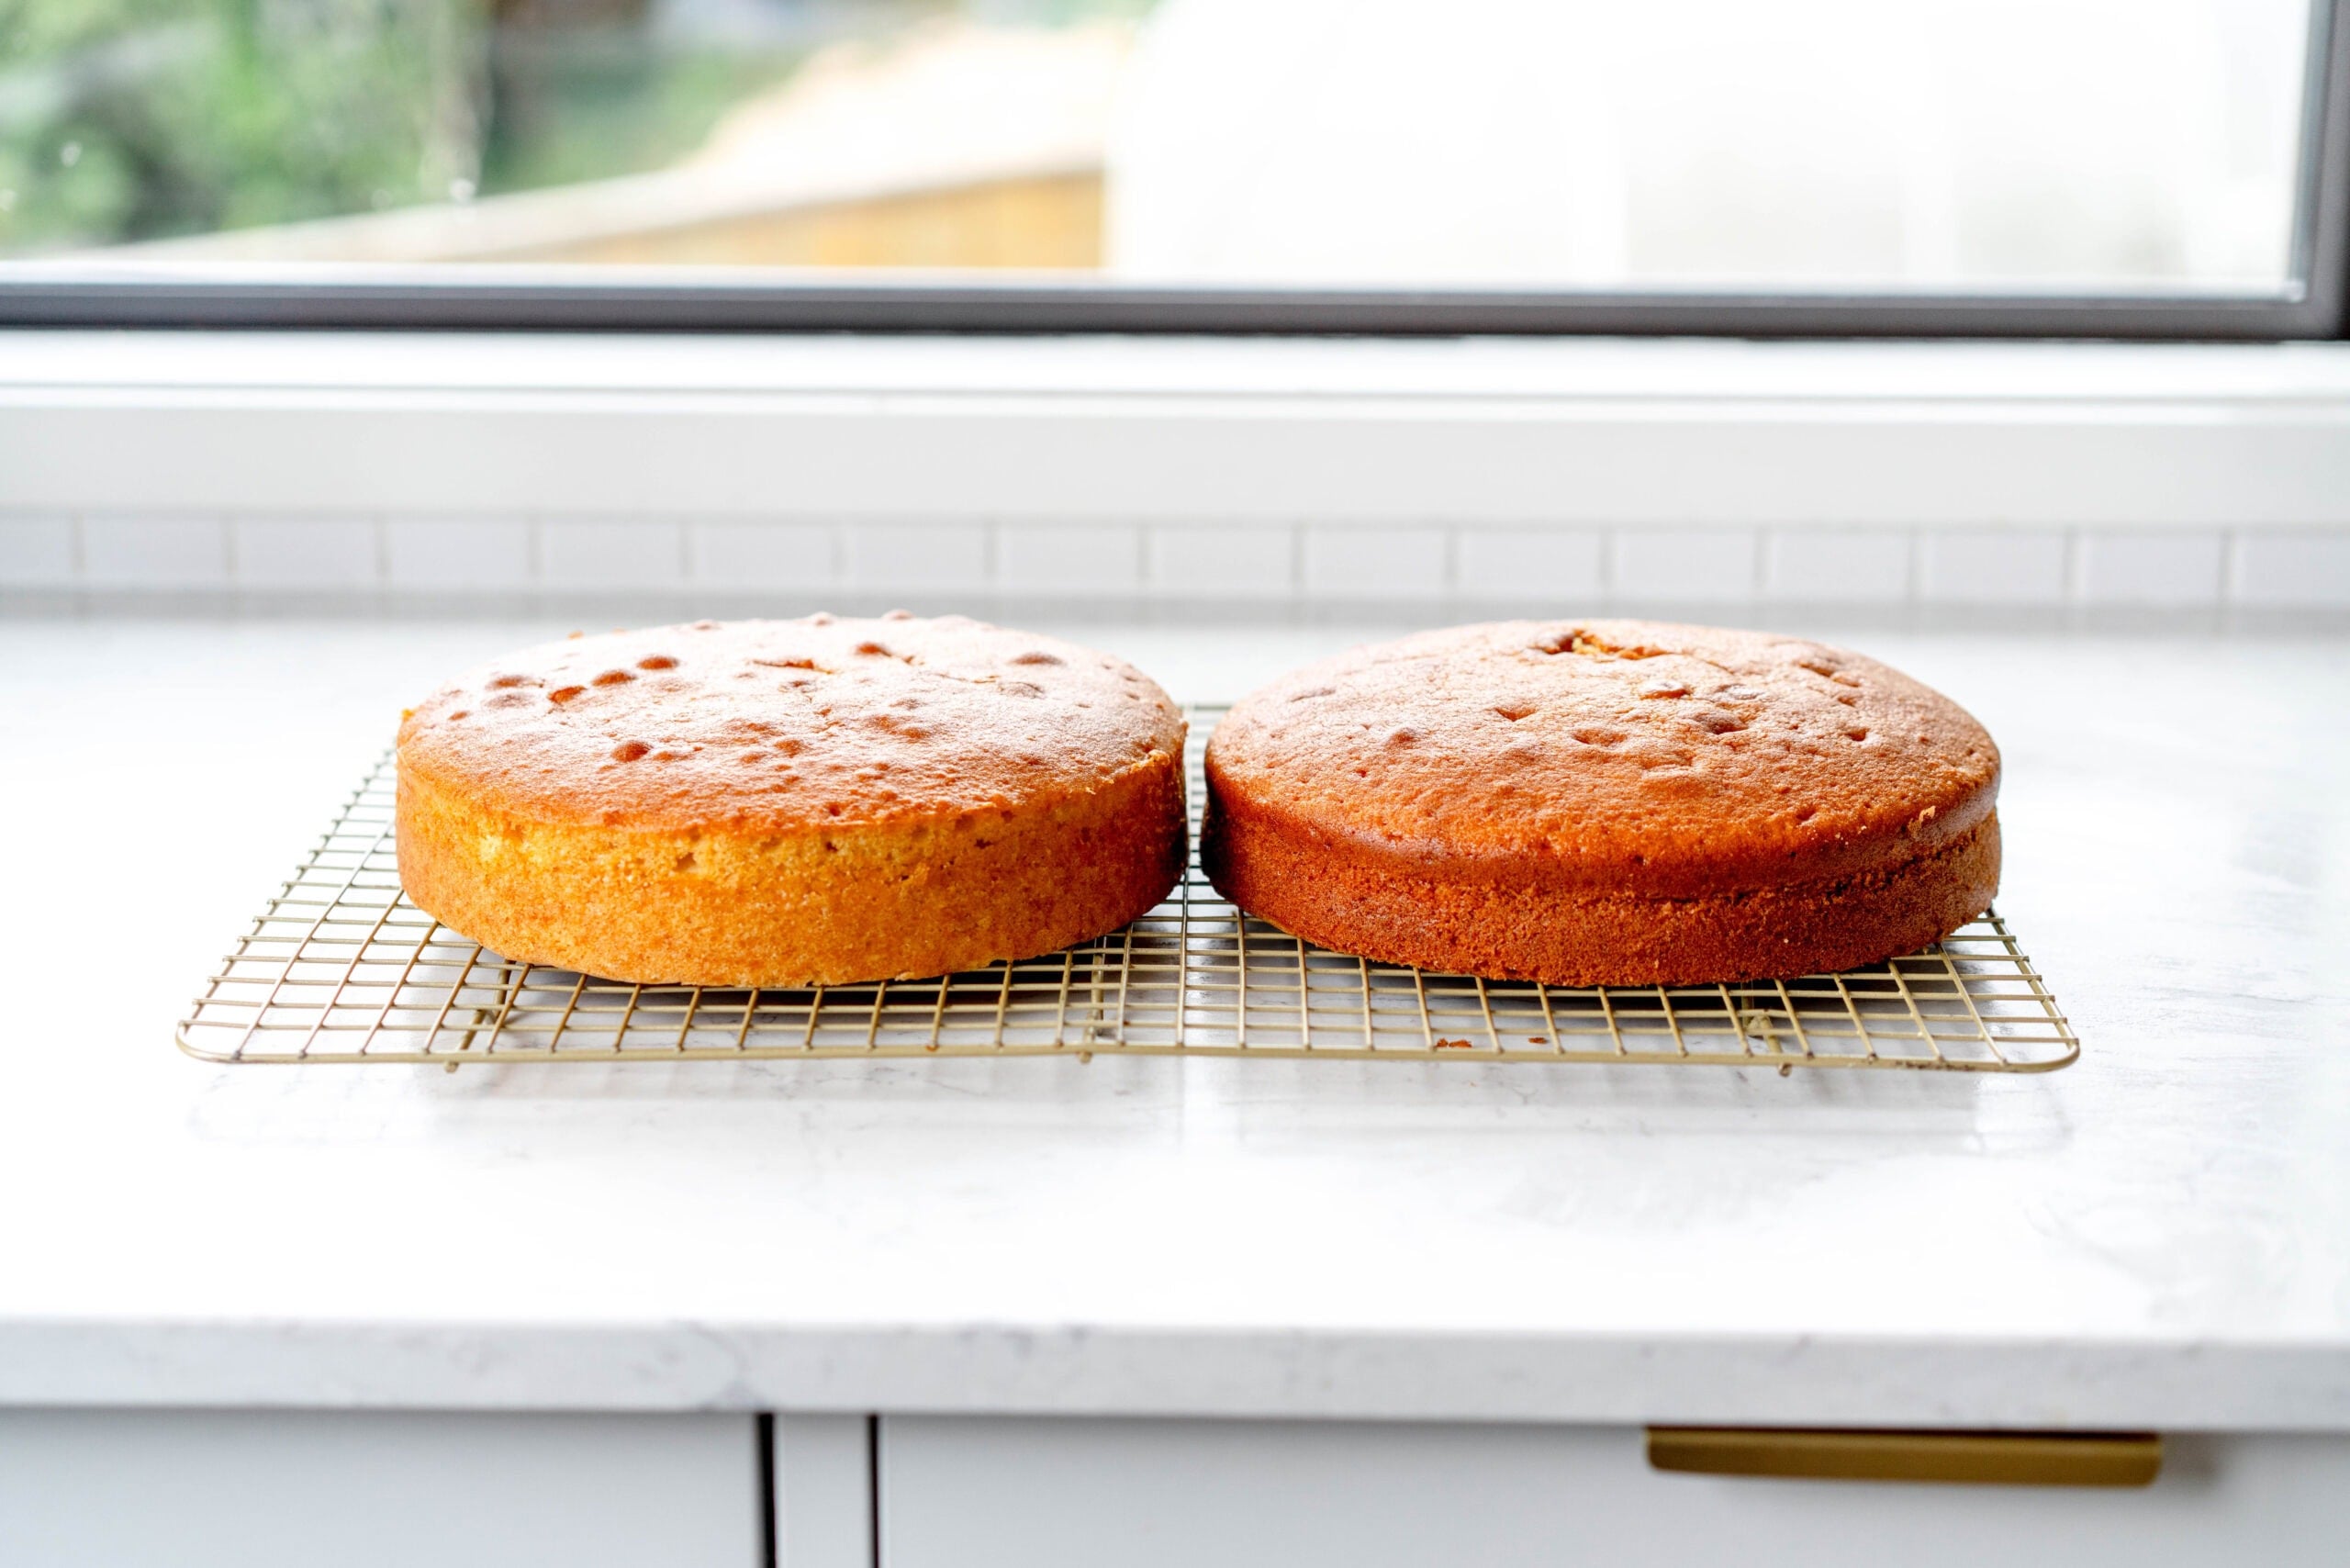
I tested both extensively - you can see in the images below that I made the same recipe, one reverse creamed and one with the classic creaming method. It really is down to personal preference, but for this recipe specifically I felt that the traditional creaming recipe was the texture that I was after - the sour cream and buttermilk in the recipe contribute some density to the texture of the cake, and so I preferred the batter made by creaming. I use a reverse creaming method in my vanilla and passionfruit cake if you are after a recipe for that!
Frosting pairings for Vanilla Cake
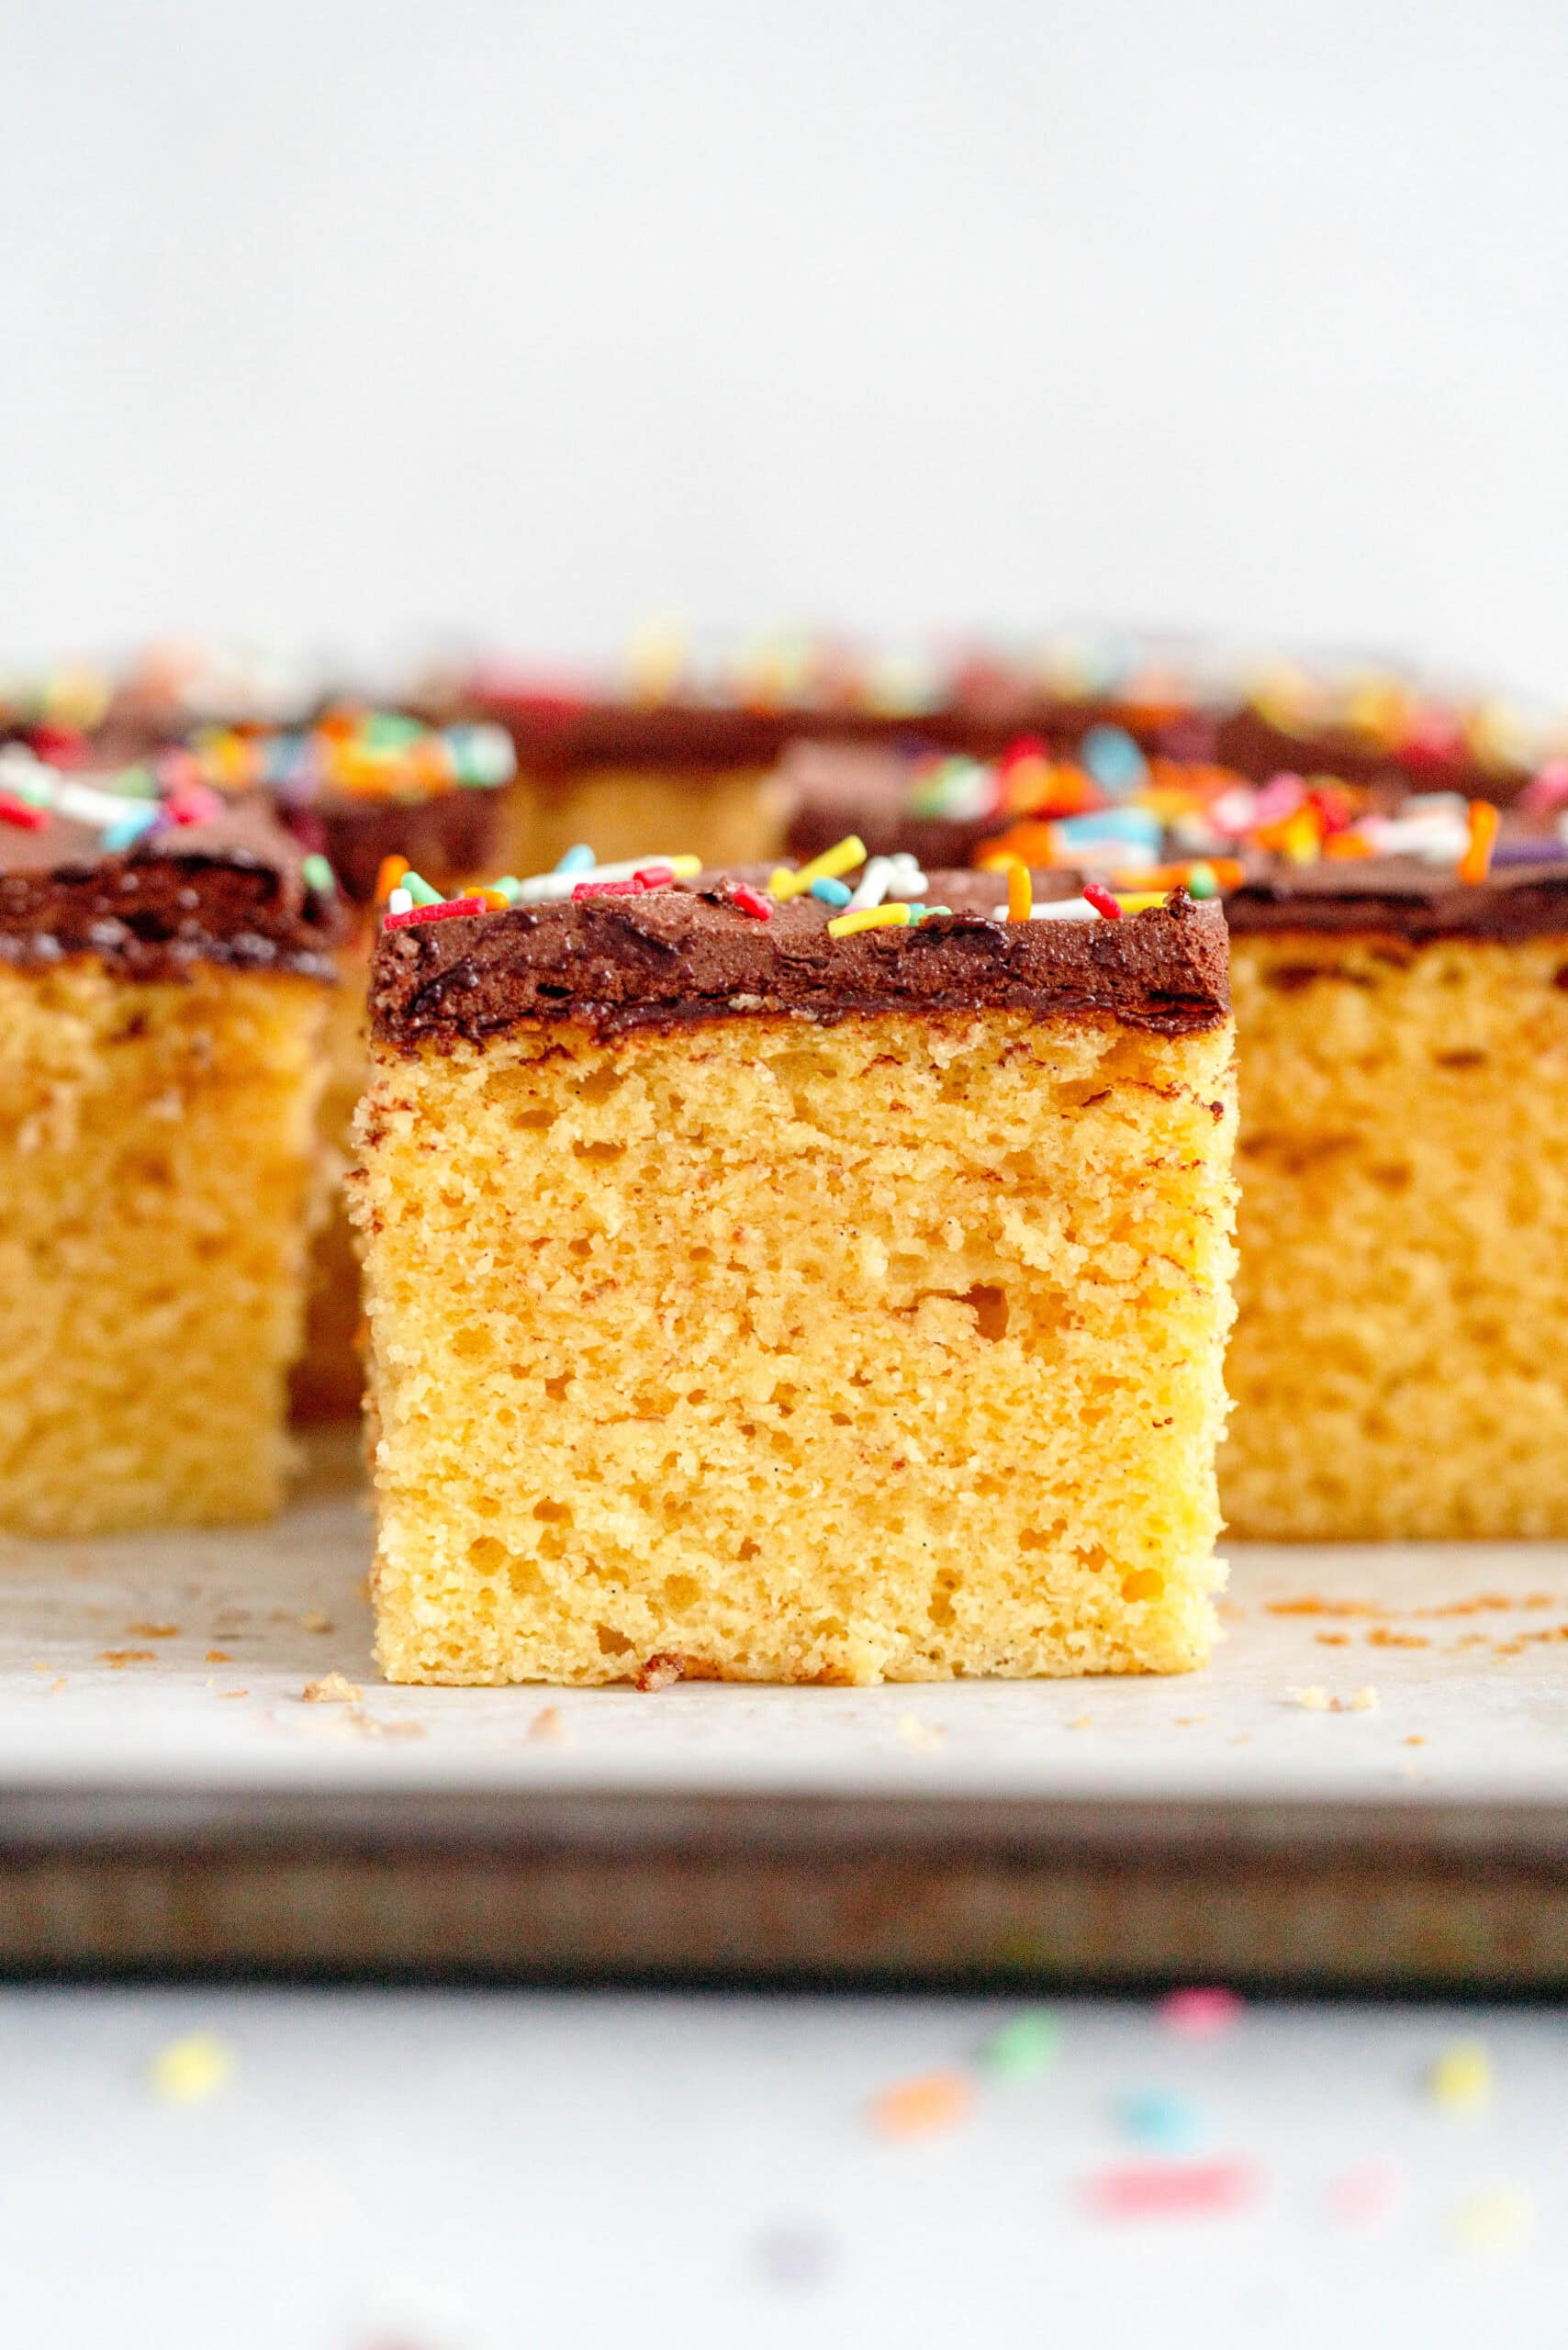
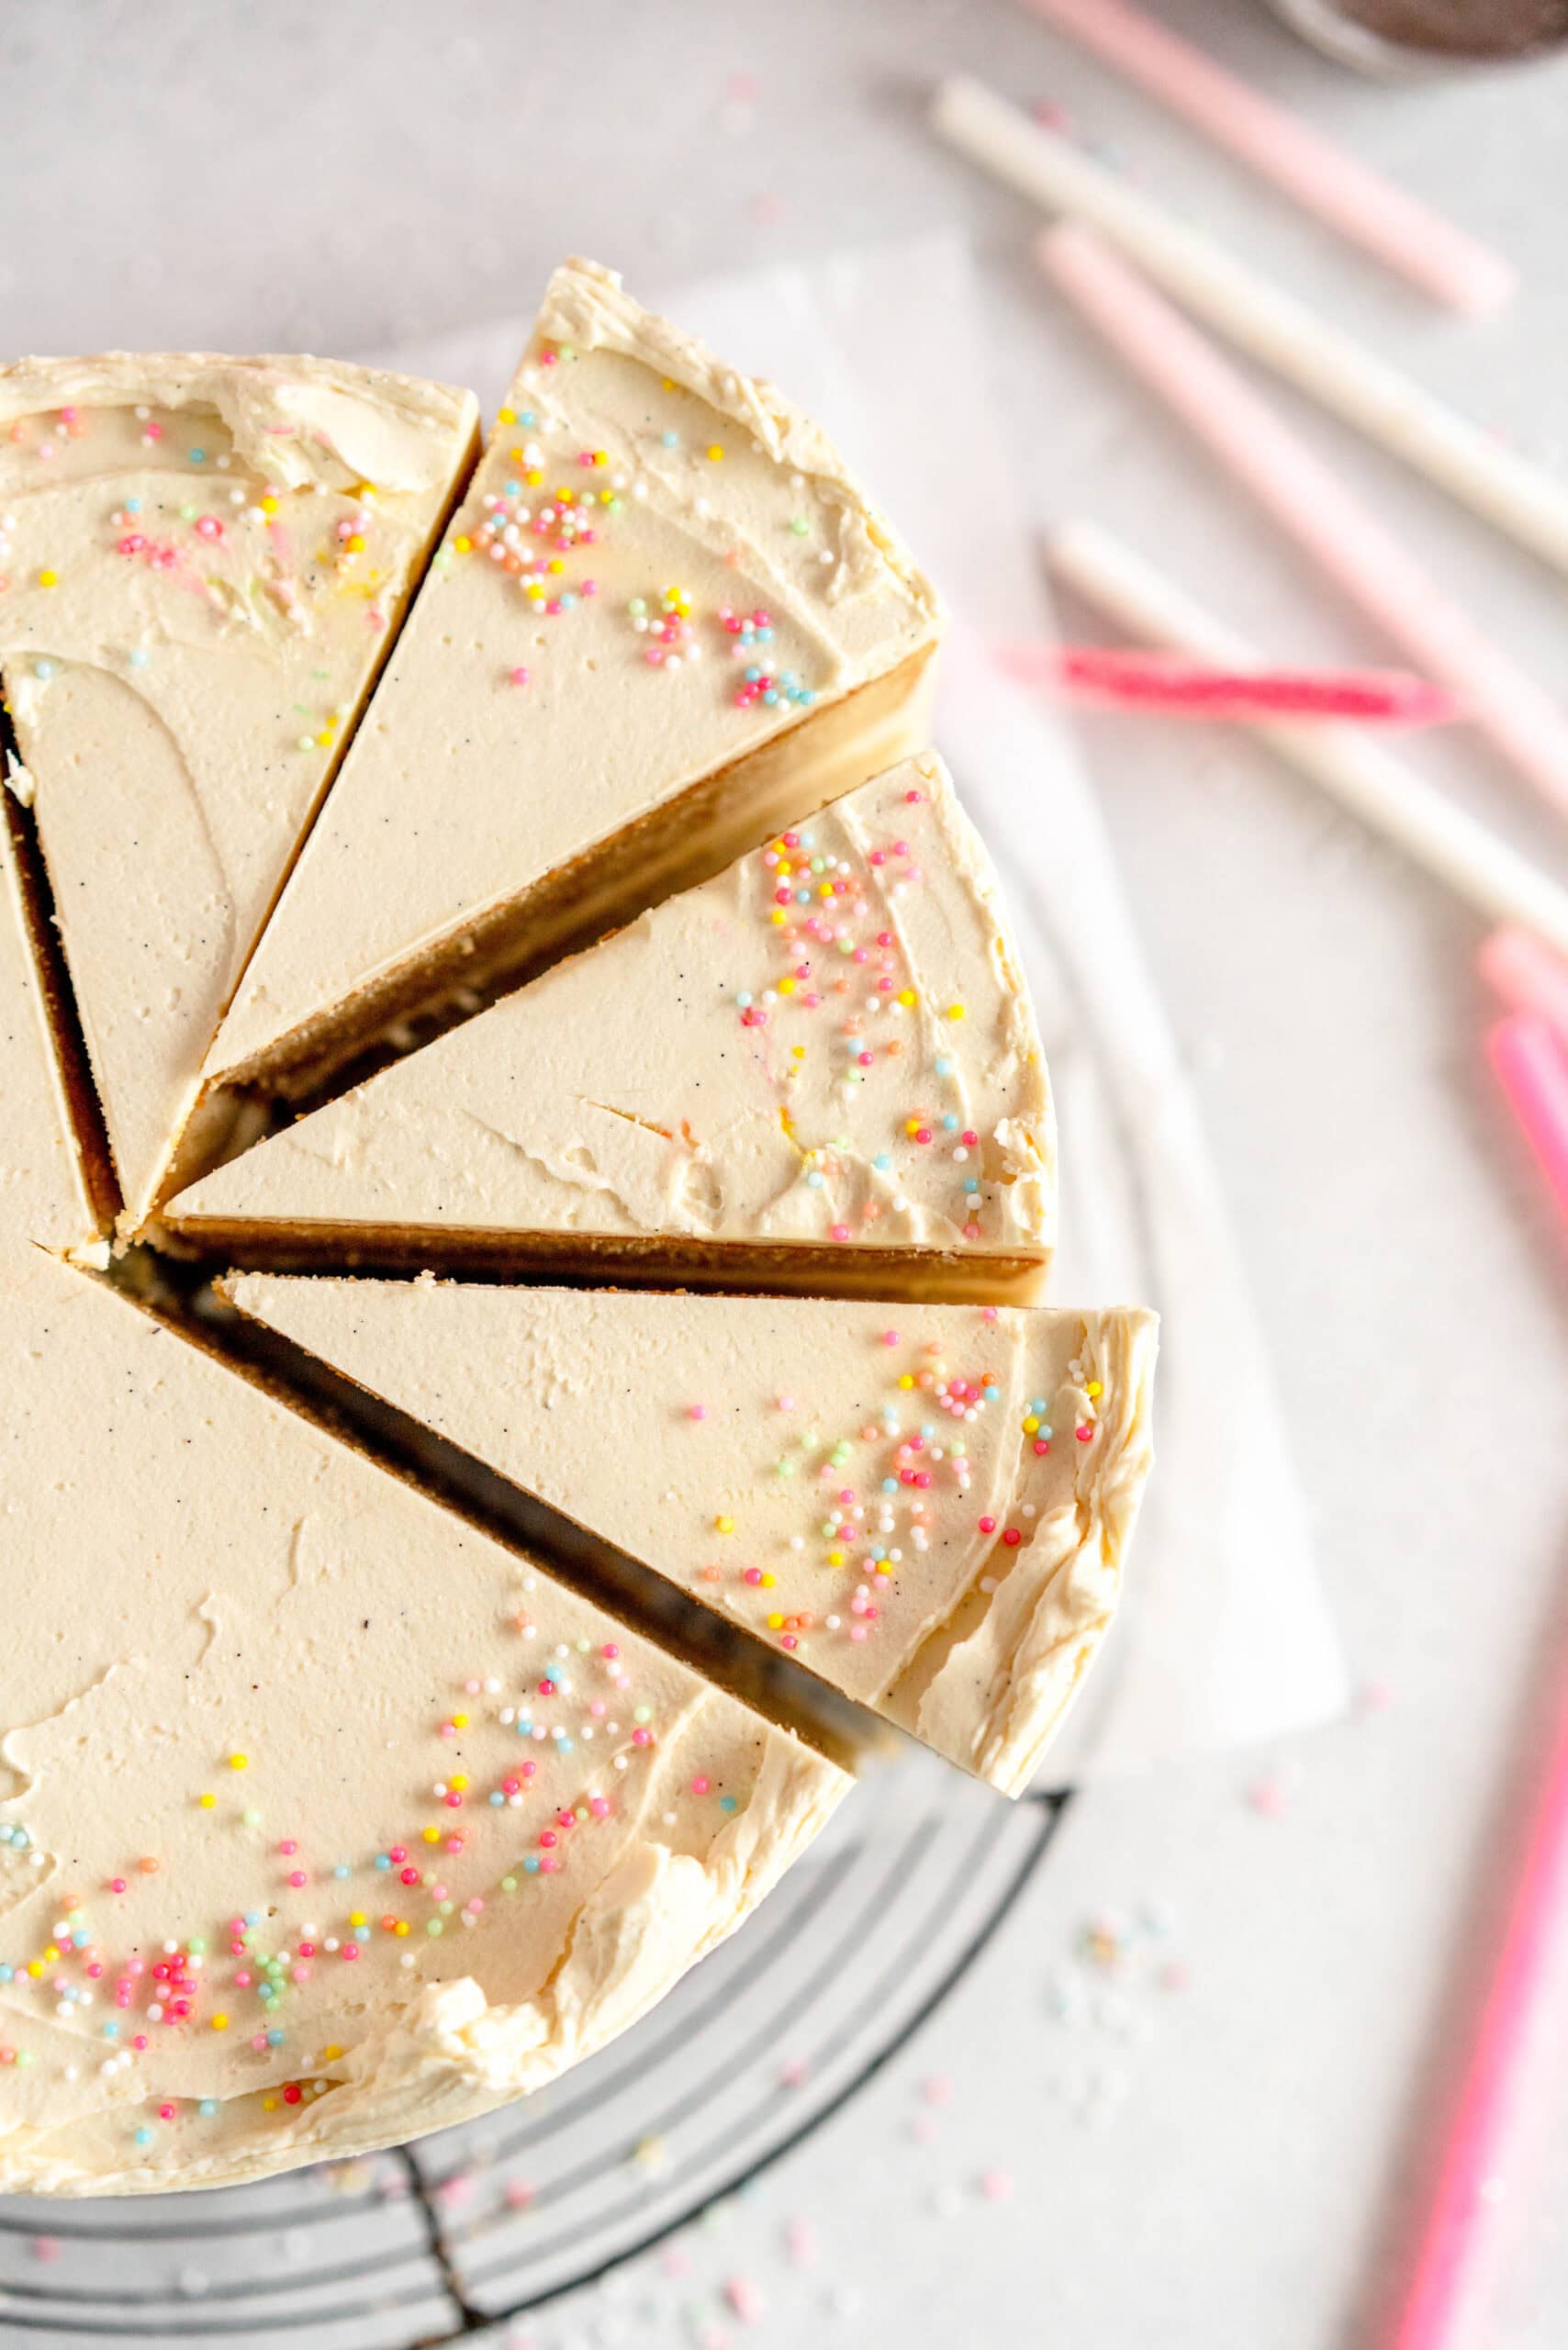
My vanilla cake recipe is so versatile - it really is the perfect blank canvas for whatever frosting you would like. I have paired it with my classic Vanilla Buttercream Frosting, which is your 'basic' (in a good way) vanilla frosting. I also love to pair it with my Vanilla Swiss Meringue Buttercream recipe, which is what I choose to use when I am looking for a super smooth finish and a buttercream that is a delight to pipe with (See my vanilla cake with Swiss Meringue Buttercream for an example!) It really depends on personal preference - make it your own here! When I made the sheet cake version I paired it with my whipped double chocolate frosting which is also so delicious.
How do you get such flat cake layers?!
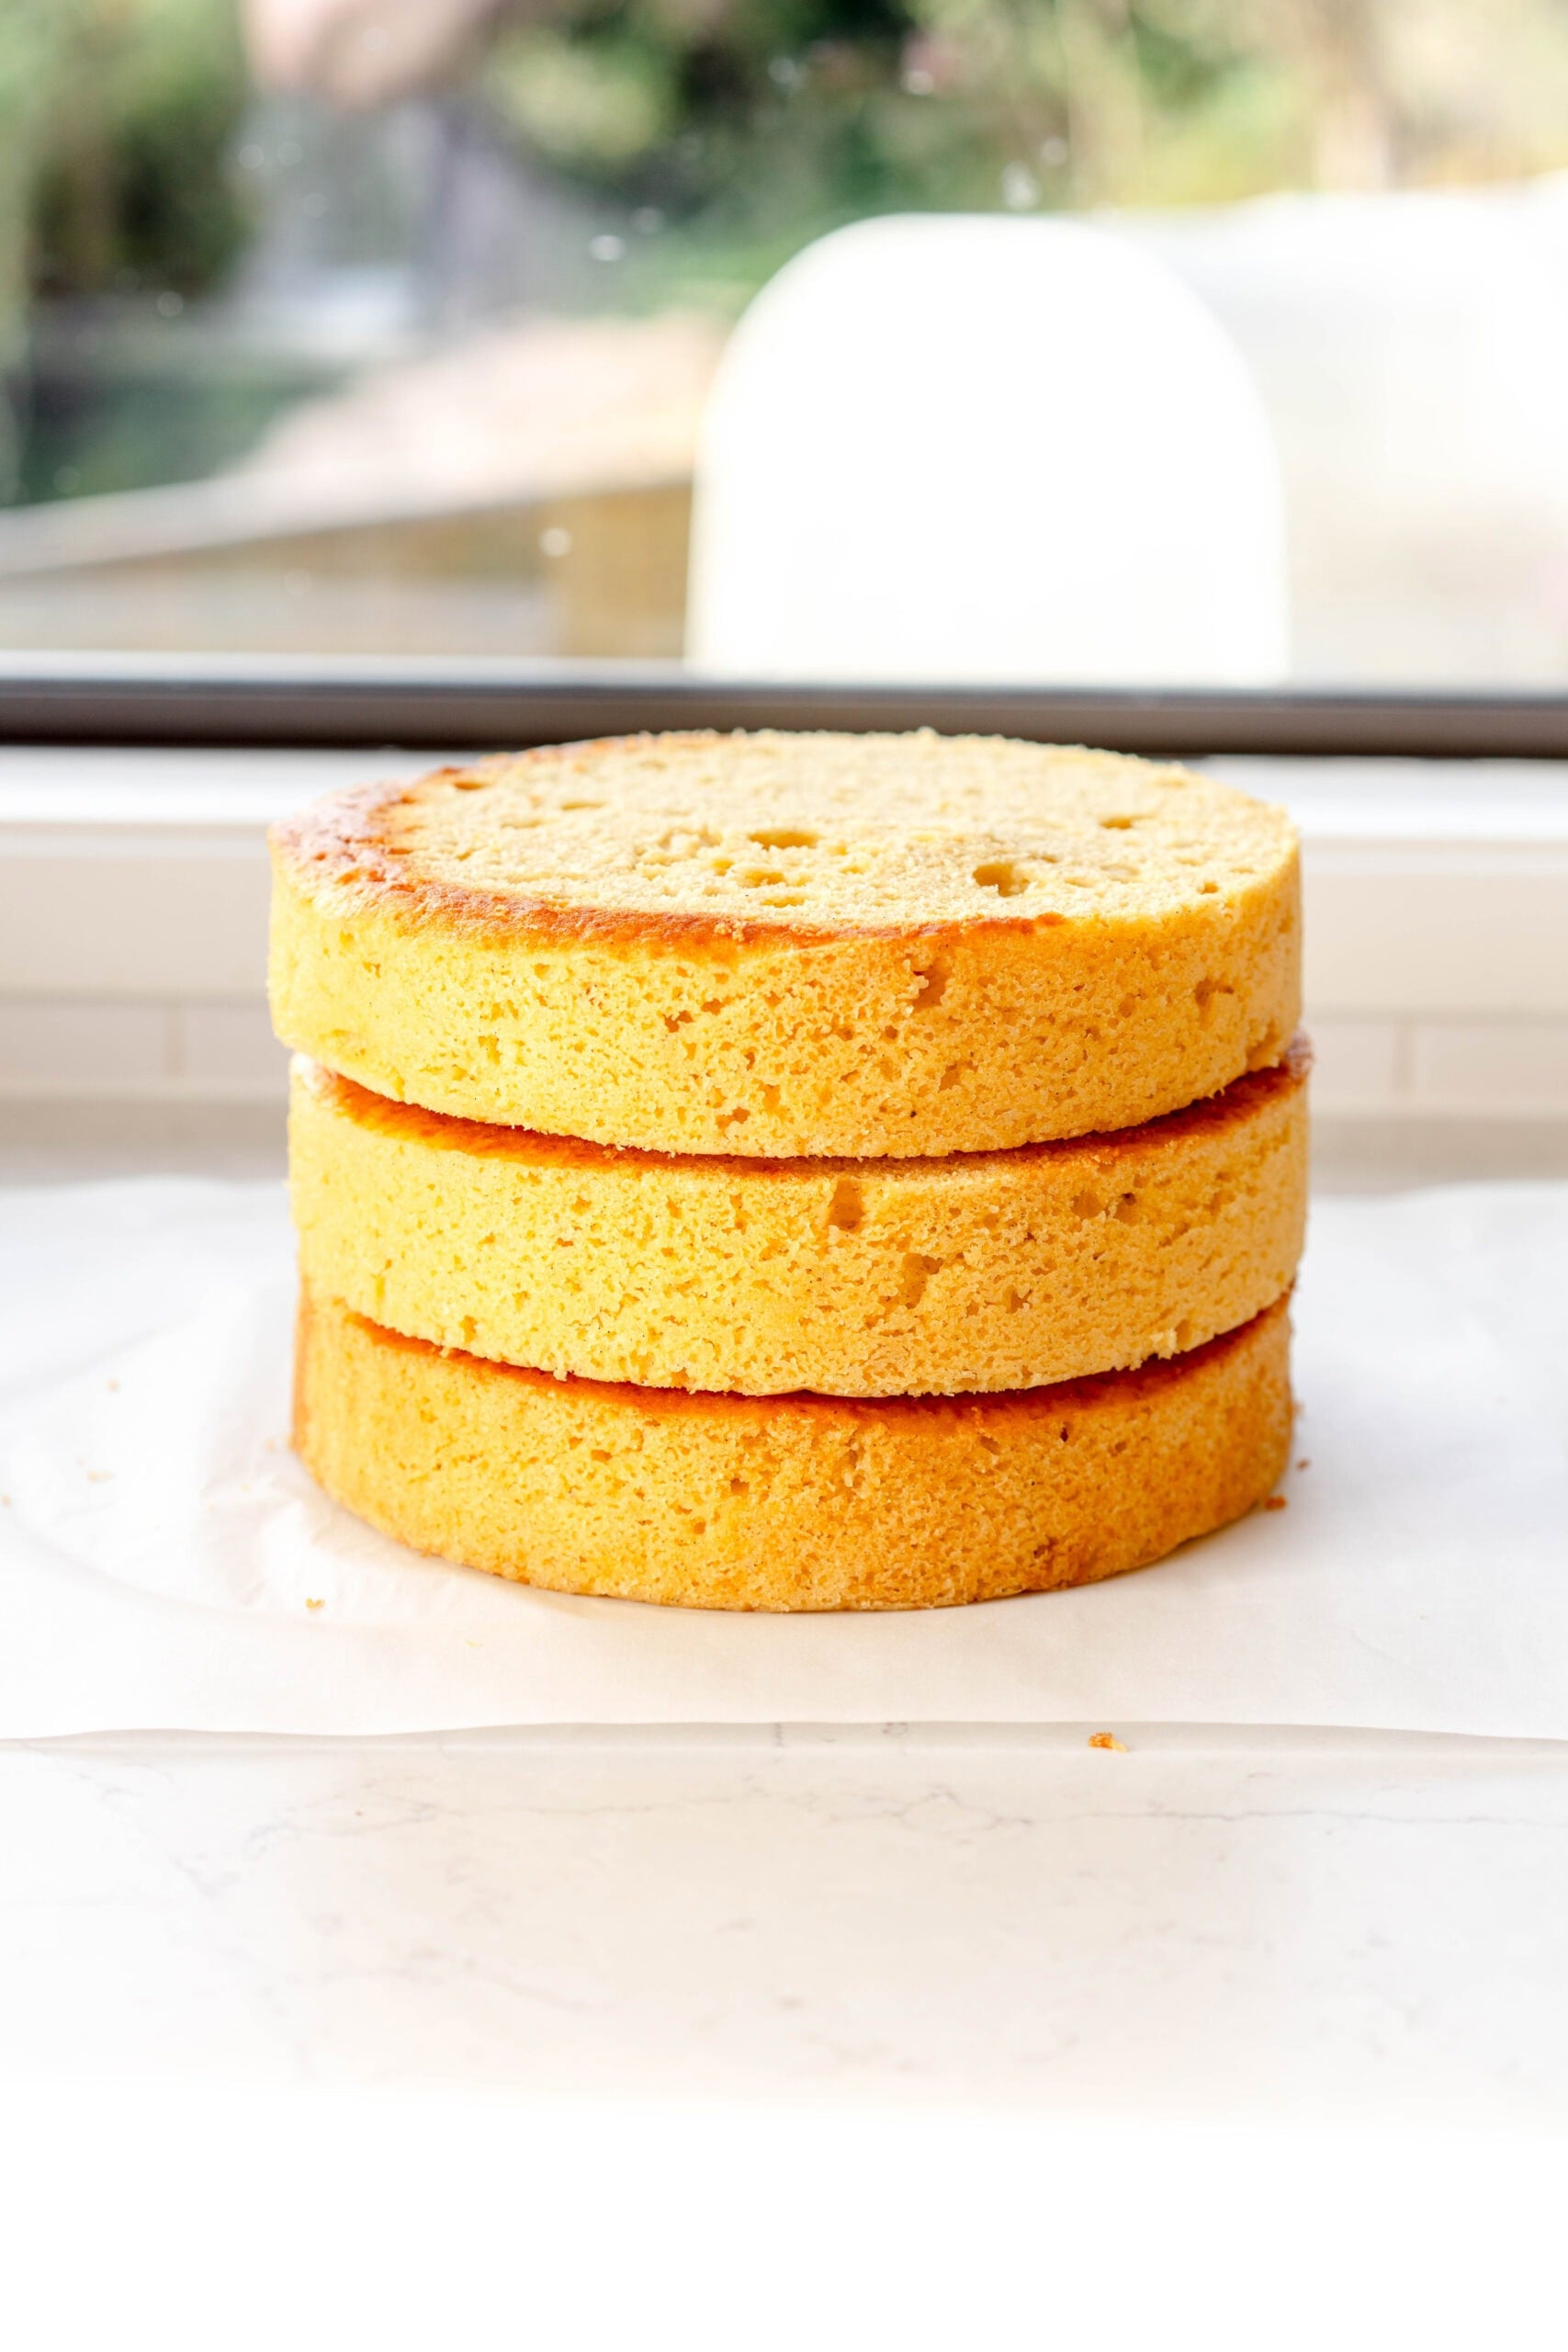
When you are making a layer cake, ideally you want the layers to bake up as flat as possible so that when it comes to assembly, you don't need to trim the cakes before stacking. Cake strips seem like a lot more admin but I promise you that they are worth it.
Using cake strips works. The reason that cakes dome is because the edge bakes faster than the middle, so once the edges are set, the middle then finishes baking and has nowhere to rise, so it rises up. The solution to this is to use cake strips, which are special strips that you wet and place around the cake pan, which causes the edges of the cake to bake at a slower rate, giving the middle time to catch up and not forming a dome.
If you are wanting more information on cake strips, I have a full post on this: Cake strips and how to use them (and alternatives)
❤️ Made this recipe and love it? ❤️
I would LOVE for you to leave me a review and star rating below to let me know how you liked it! Also, please make sure to tag me on Instagram!
Answers to your baking questions
Over the years, many of you have asked me questions about:
- baking in grams
- adjusting oven temperatures
- what kind of salt to use
- and many more!
I've curated and answered them all for your easy reference in this frequently asked questions post!
The Only Vanilla Cake Recipe I Bake
- Prep Time: 15 minutes
- Cook Time: 35 minutes
- Total Time: 60 minutes
- Yield: Two 8" cakes 1x
- Category: Cake
- Method: Baking
- Cuisine: American
Description
Stop looking - this is the only Vanilla Cake Recipe I bake! Whether you're after a cake that is perfect for making a layer cake or a classic vanilla sheet cake, my vanilla cake recipe can do it all. One batter, multiple formats, endless frosting opportunities, this moist and tender vanilla cake will be your new back-pocket recipe.
Ingredients
VANILLA CAKE BATTER
- 230g unsalted butter, at room temperature
- 300g granulated sugar
- 2 tsp vanilla bean paste or vanilla extract
- 4 large eggs (about 200g not including shells), at room temperature
- 260g buttermilk, at room temperature (see recipe notes for substitutes)
- 80g sour cream, at room temperature
- 400g all-purpose flour
- 8g (2 tsp) baking powder
- 5g (1 tsp) baking soda
- 2g (½ tsp) salt (omit if you are using salted butter)
TO FINISH
- Frosting of your choice (see my Frosting Recipes)
Instructions
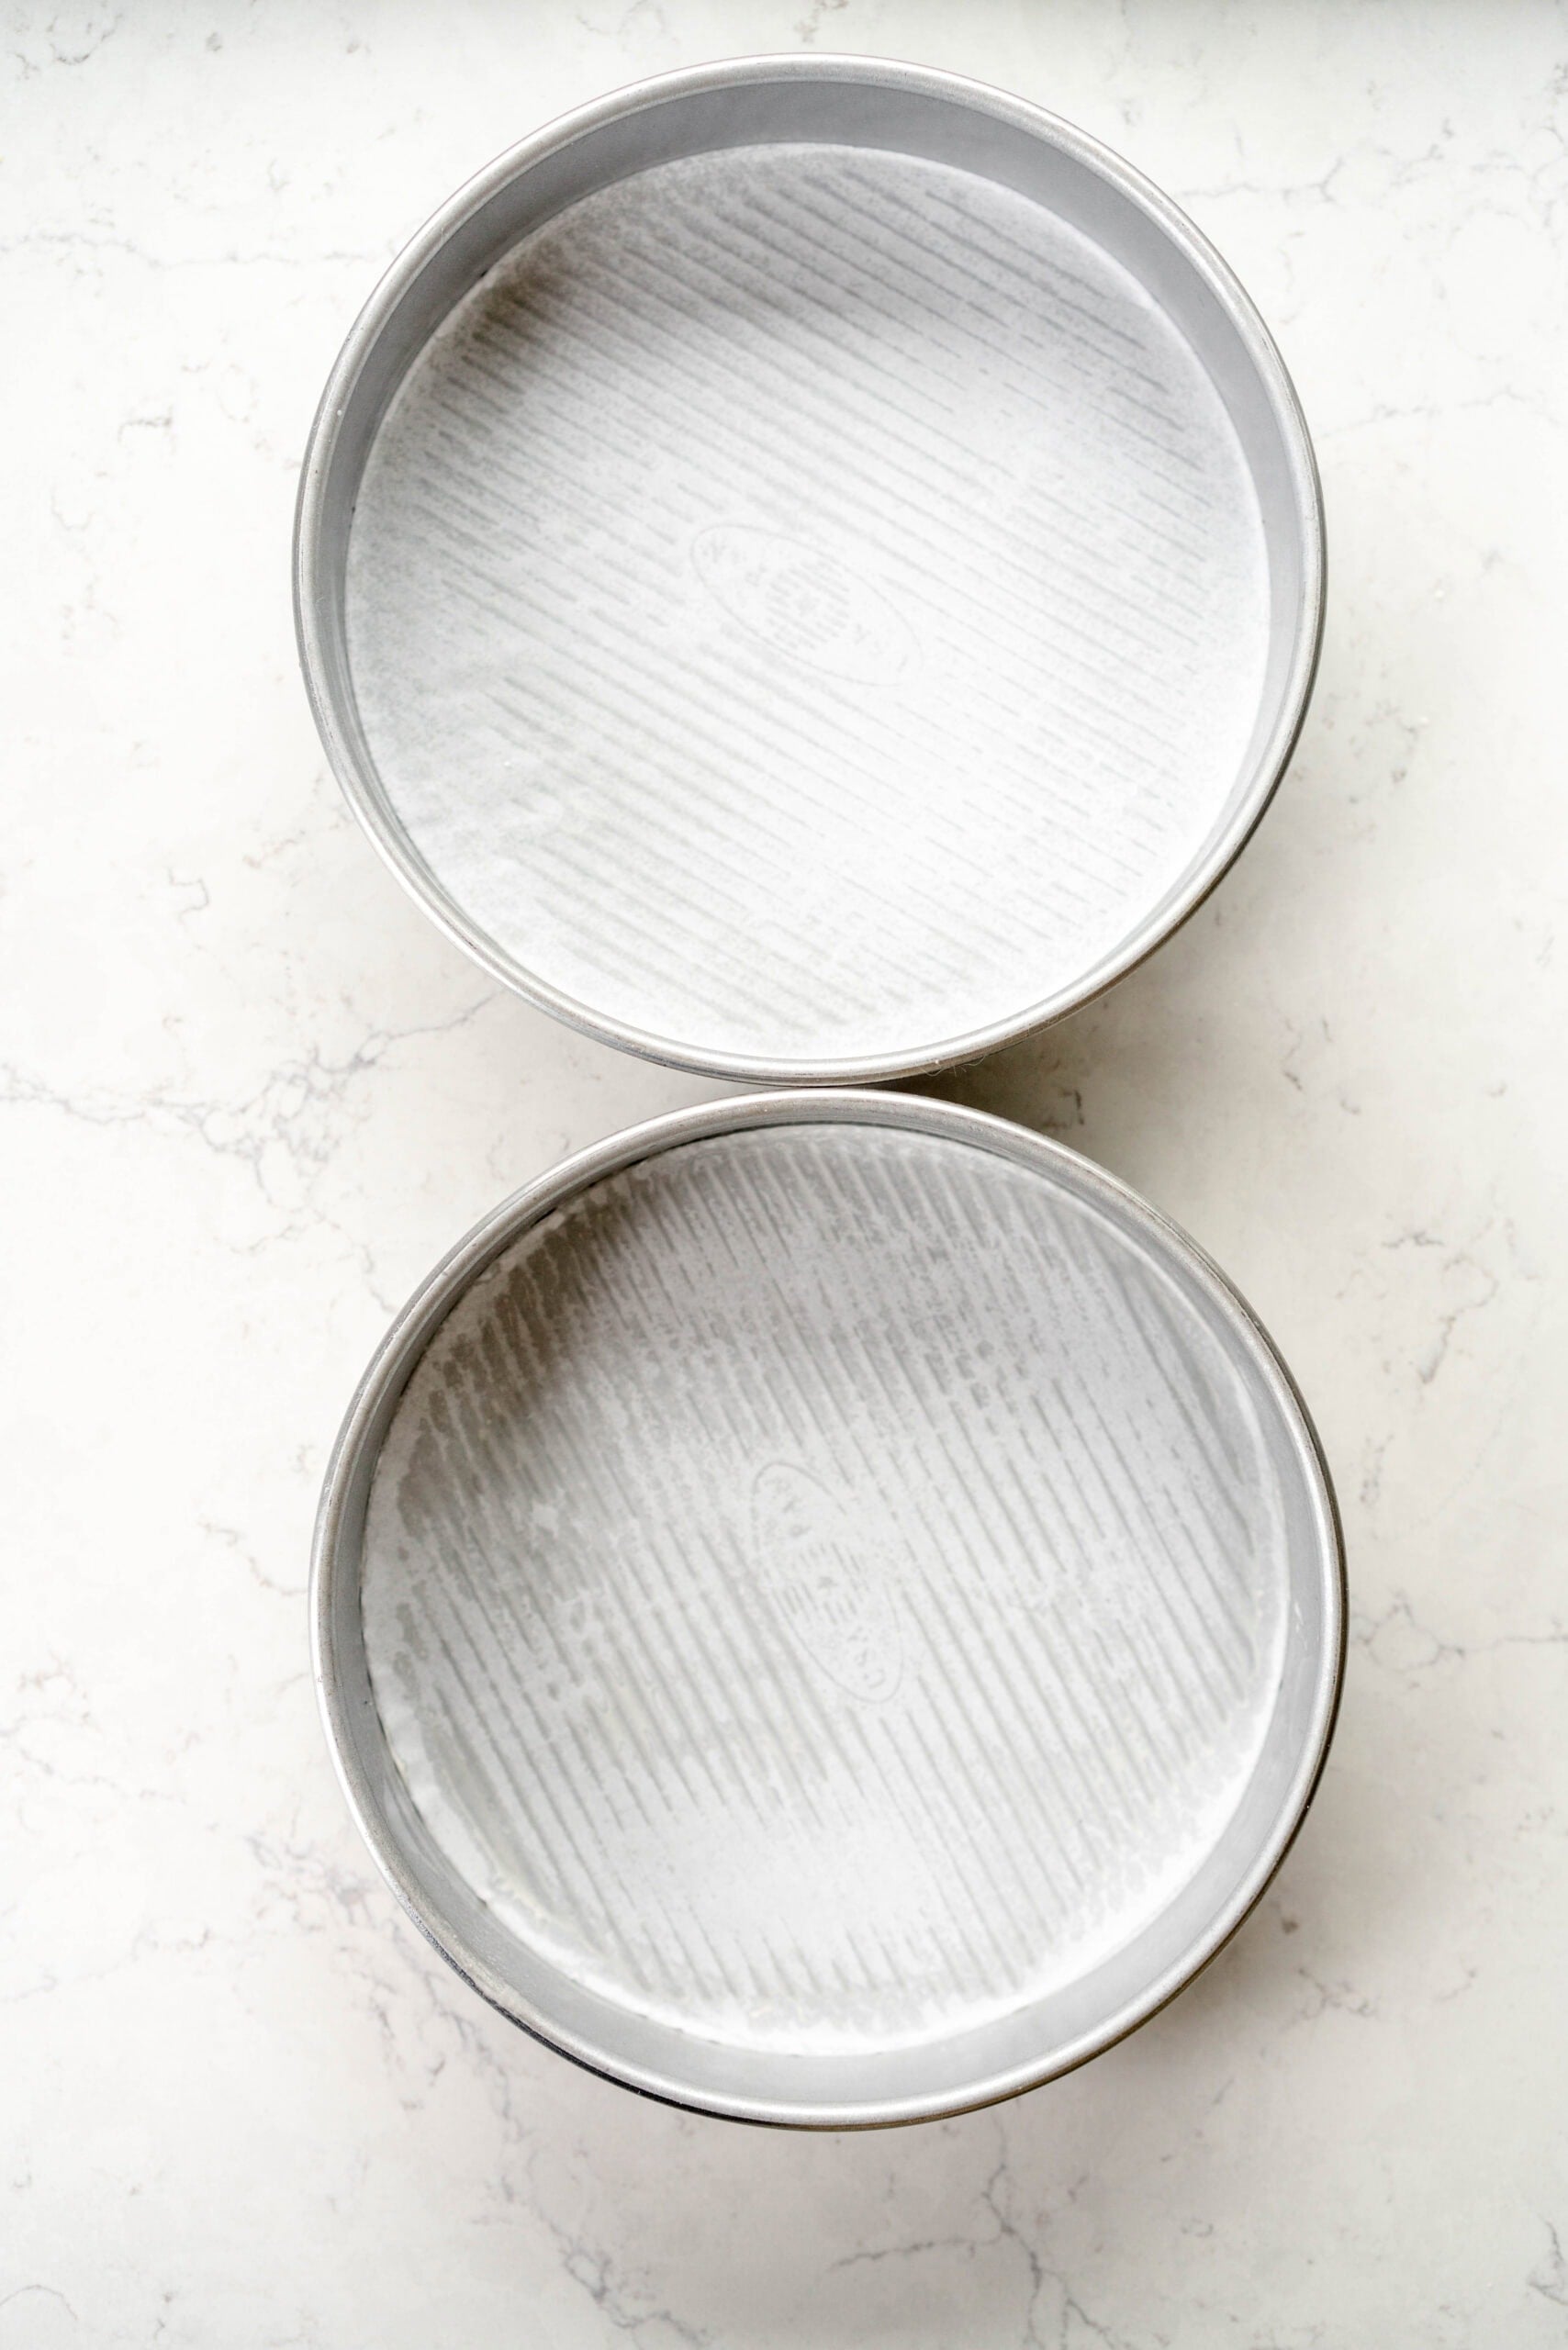
- Preheat the oven to 180° /350°f. Grease and line two 8” cake tins with parchment paper. If using, fit with cake strips.
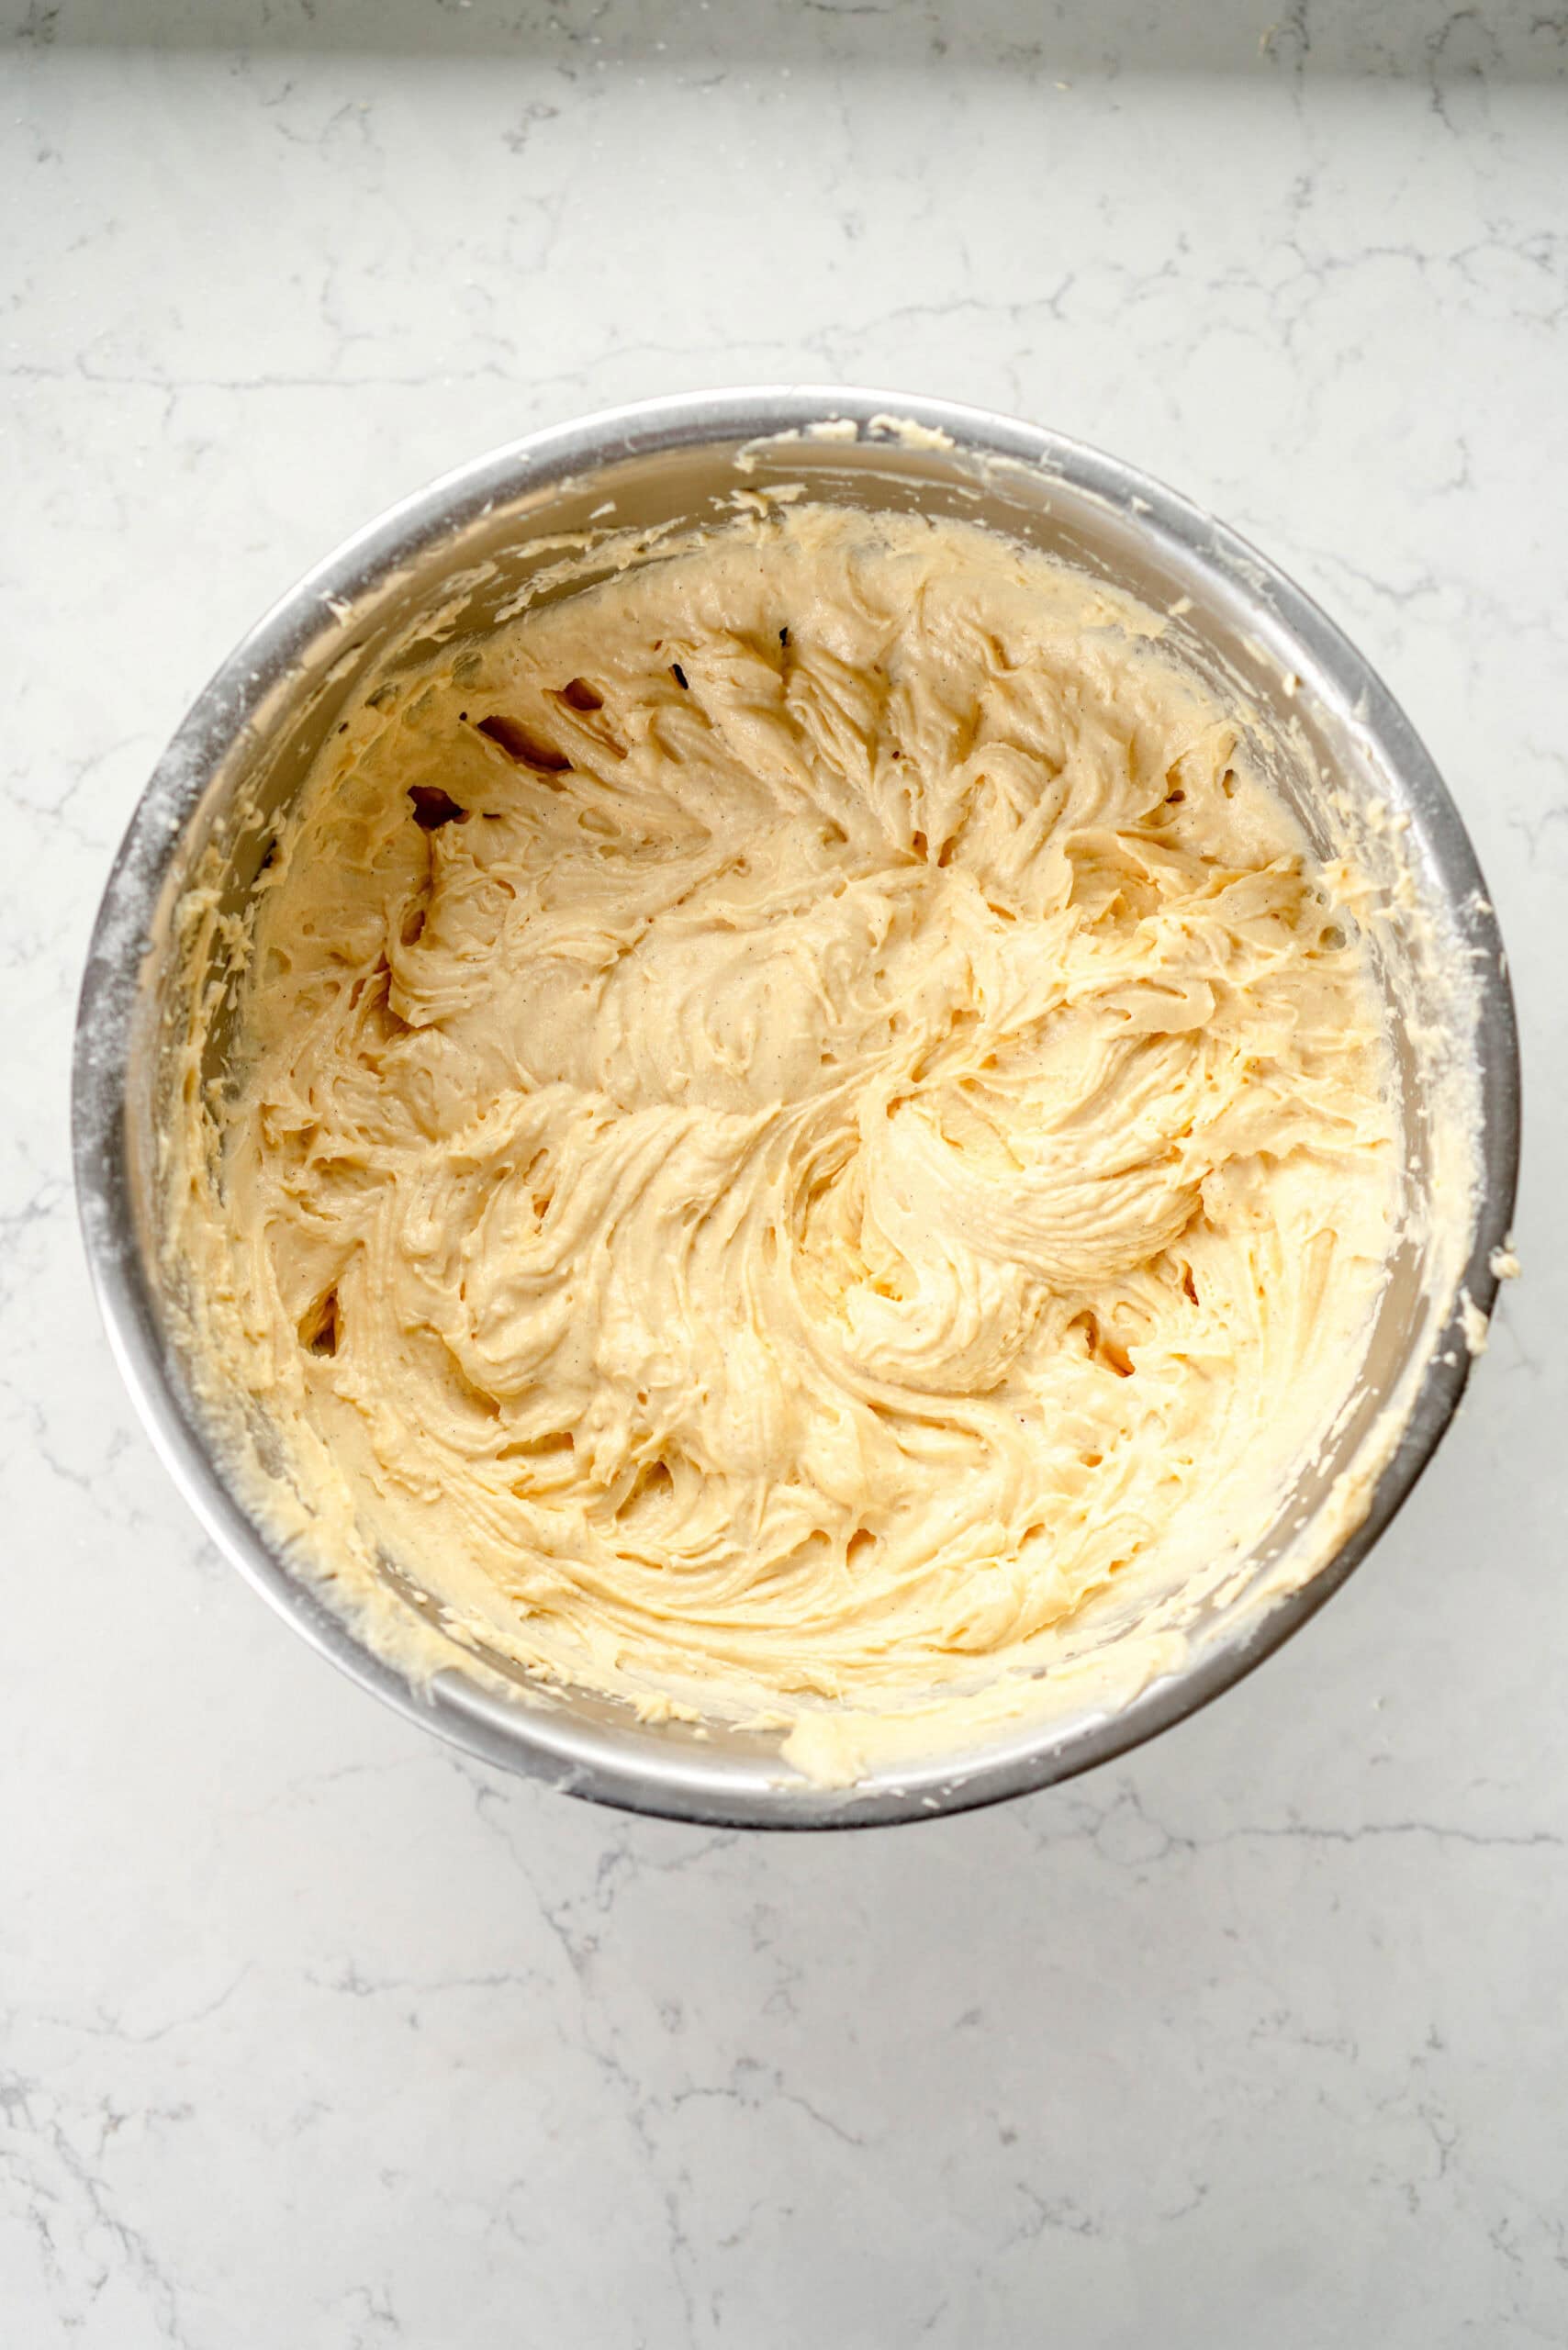
- In the bowl of a stand mixer fitted with the paddle attachment, or in a medium bowl using a handheld electric mixer, beat the butter, granulated sugar and vanilla together on medium speed until light and fluffy, stopping to scrape the bowl once or twice.
- Add the eggs one at a time, beating well after each addition.
- In a small bowl, combine the buttermilk and sour cream and mix well to combine. In a medium bowl, combine the flour, baking powder, baking soda and salt
- With the mixer running (if you are using a stand mixer, if you are using an electric mixer you can stop the mixer between additions), alternate adding in the dry ingredients and the wet, starting and ending with the dry. Add the dry ingredients in three additions and the wet in two - so it will go dry, wet, dry, wet, dry. Doing it this way stops you from accidentally over mixing.
- Mix until combined - scrape down the bowl once or twice to ensure that everything is well incorporated.
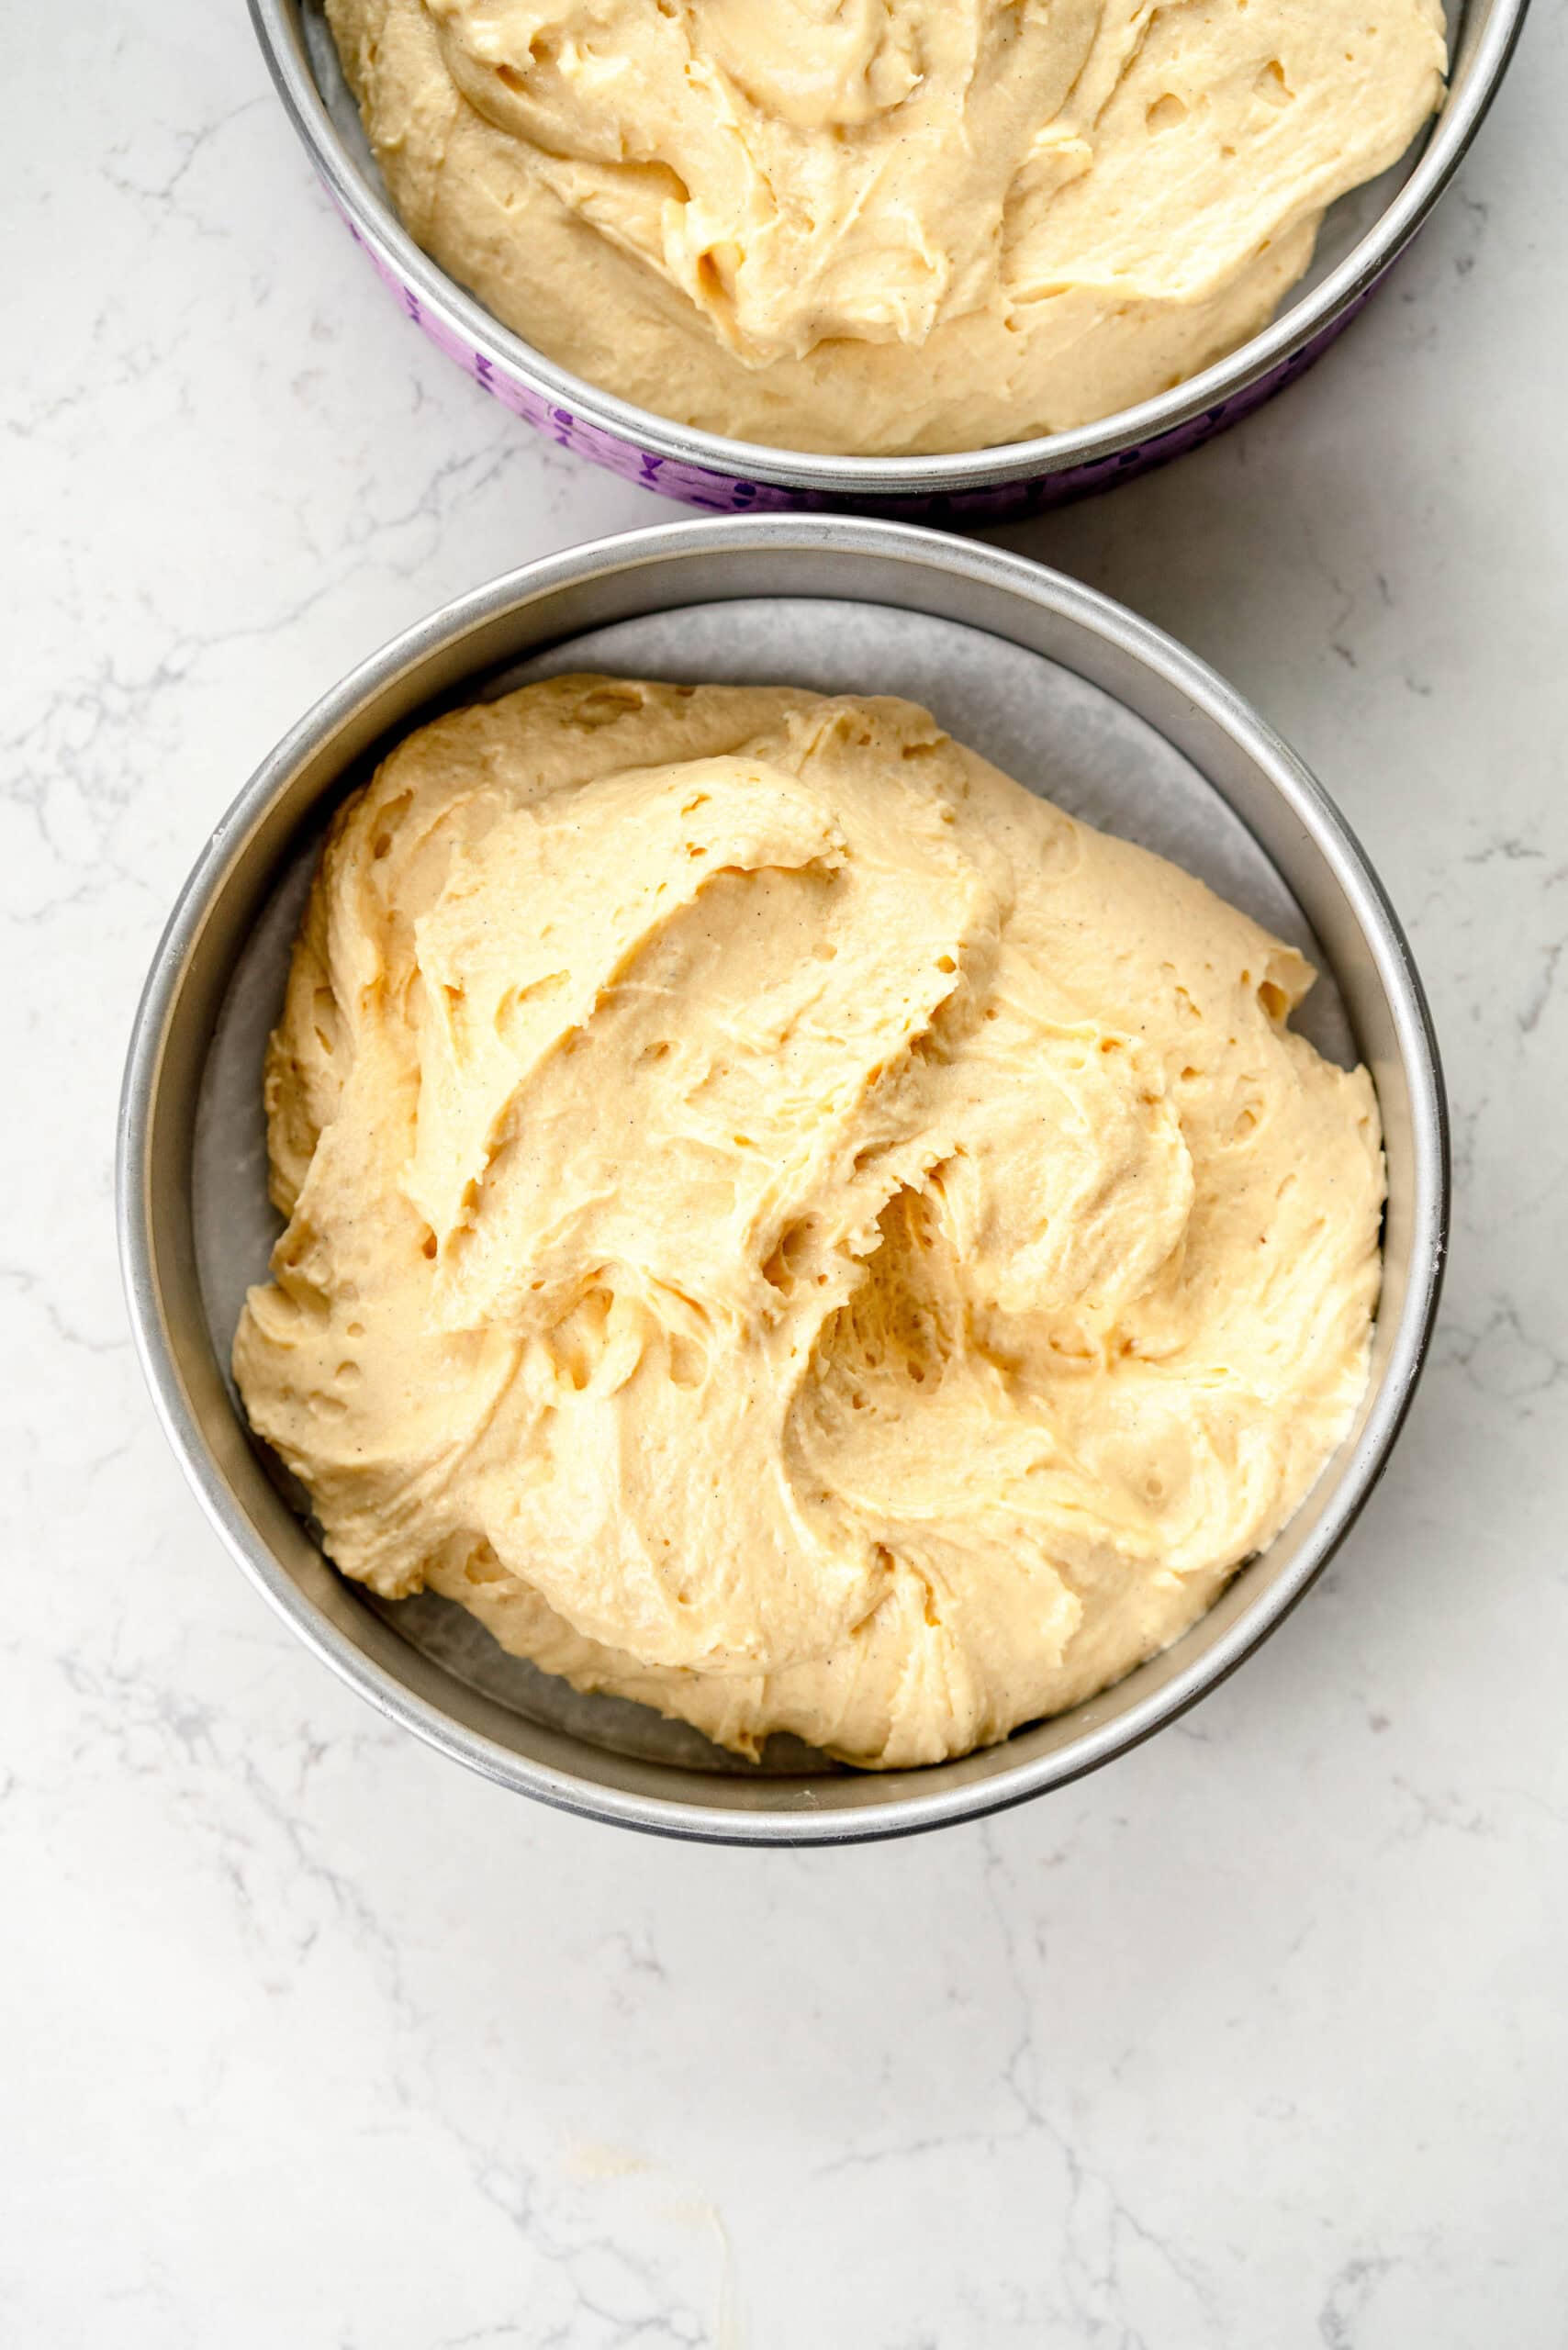
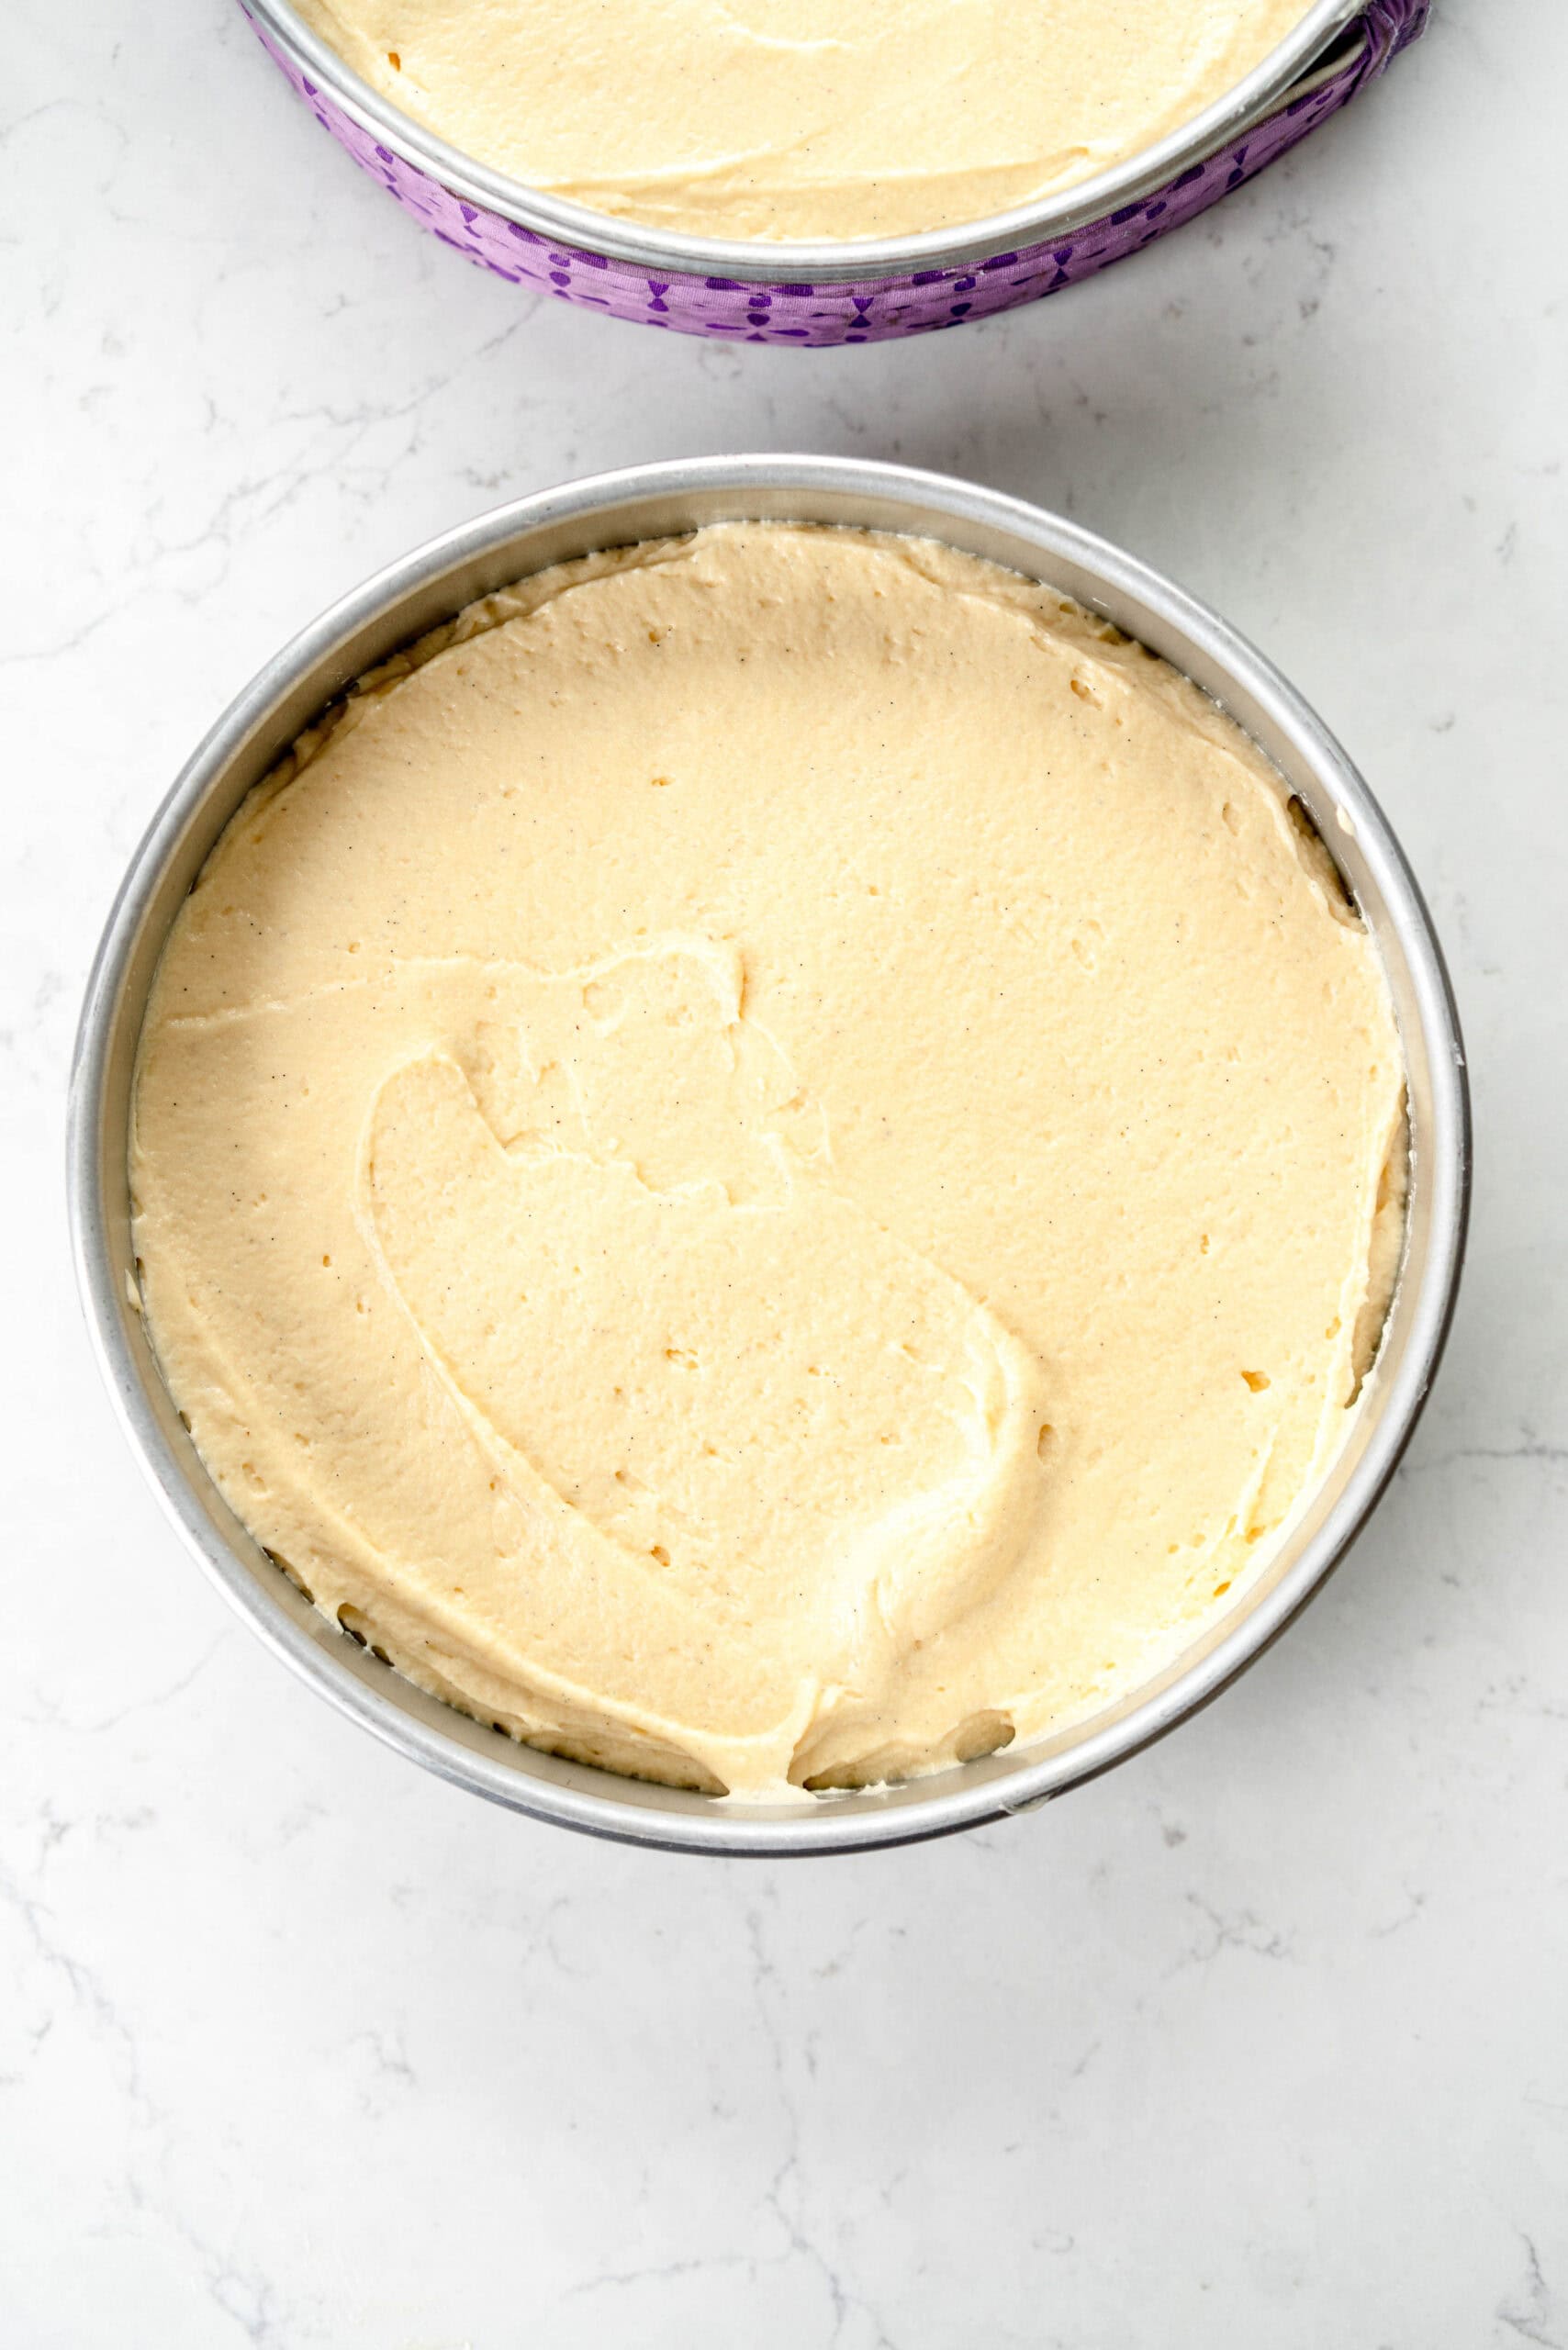
- Divide the cake batter evenly between the prepared pans, smoothing down slightly with the back of a spoon and tapping the cake pan on the counter to remove any bubbles.
- Bake the vanilla cakes for 33-35 minutes, checking after 30, until the centre springs back when lightly pressed and a skewer or tester inserted into the middle of the cake comes out clean.
- Remove from the oven and allow to cool in the pans for 10-15 minutes on a rack before inverting the pans and turning out the cakes and allowing to cool on a wire rack completely.
- If using the same day, the cakes can be stored at room temperature lightly covered, otherwise wrap tightly in plastic wrap and chill or freeze until required.
For a 9x13" cake: Preheat the oven to 325°f / 160°c - the lower temperature for the sheet cake helps it to bake up nice and flat. Grease and line a 9x13" pan (I prefer metal - mine is from nordicware), with a small amount of parchment paper hanging over the sides of the pan to form a sling for easy removal. Make the cake batter as directed, add to the prepared pan, and smooth down with an offset spatula. Bake for 35 to 37 minutes, checking after 30, until the middle springs back when lightly pressed and a skewer inserted into the middle of the cake comes out with a few crumbs attached.
Notes
This recipe is for the cake only. I have paired it with my classic vanilla buttercream frosting, but it is also amazing with my vanilla swiss meringue buttercream or my chocolate frosting. For a stacking guide, see my post: How to stack a layer cake: A step by step guide
How to make vanilla cake in other formats:
To make a three layer cake: The recipe as written can be made into a three layer cake by dividing the batter between three. You will need to reduce the bake time slightly. Alternatively I do a 1.5x of this recipe if I want a chunky three layer cake, which I usually make if I am making a larger cake that I want to be more impressive. The batter portion per pan for the 1.5x version will be the same.
To make a half pan sheet cake: I greased and lined a half sheet pan with parchment paper, and then spread the cake evenly into the pan - it will be quite thin. Bake at 325°f / 160°c for 25-3o minutes.
Make ahead instructions:
My vanilla cake recipe is great to make ahead of time. In fact, you want to make sure that it is nice and cool before you frost it, so ideally give yourself a few hours to let it cool (but if you have to use the freezer cooling method it also works and I have most definitely been there). Here are your make ahead options along with how to store cake:
Make and store airtight. If you are storing at room temperature, you can make this cake a day or two ahead of time, and store airtight at room temperature - either tightly wrapped or in an airtight container (just make sure that the lid isn't touching the surface of the cake as it can get a little sticky as it sits
Make ahead and freeze. Because of its texture and the moisture from the sour cream and buttermilk in the cake, this cake is great to freeze ahead of time, and can be frozen for up to 3 months. Leave it to cool, then wrap tightly in plastic wrap and freeze. Defrost in the fridge overnight or you can frost it with the layers frozen (I do this all the time) and then leave in the fridge for a few hours to finish defrosting.
What is the best substitute for buttermilk?! As a professional recipe developer, I have a lot of thoughts on this. One of my pet peeves online is seeing people recommend using milk and lemon juice in the place of buttermilk. Please do not do this. Lemon juice and milk is much thinner than buttermilk, and it is going to make your batter the wrong consistency.
My general rule of thumb is a 3:1 ratio of sour cream (or greek yoghurt) to milk, so for this recipe, you would use 195g of sour cream to 65g of milk. Whisk together and use immediately.
Comments
stacy says
so good 🙂
Belinda says
Making my sons 5th birthday and I used the cake recipe on the page. Such a mistake, should have just used this. Ended up making this and using it instead. Lesson learned, Erin's recipes are the Gold standard so you should always come here first.
Honestly such an easy and tasty recipe. Was so easy to whip together and always one I tell my kids there is no mixture left in the bowl to lick (because I don't want to share).
Jessica says
Easy and delicious. Moist and good vanilla flavour
Kimberly says
If you’re wondering will this cake Bundt? Let me tell you it absolutely will! I made this today for my mom’s birthday and it was hands down the best vanilla cake we’ve had in a long, long time. There ended up being enough batter to fill a 10in bundt and a single 6in pan which was perfect for today. The batter came together so smoothly and it baked up so well. The cake itself was soft but sturdy, if that makes sense, moist and of course not too sweet. Honestly everything you’re looking for in a cake is right here. I’ll be coming back to this recipe any time we need a cake for a non-chocolate eater/hater in our family LOL. Thank you Erin!
Erin Clarkson says
Oh amazing thank you so much for testing this! So happy to hear it works!
Alex says
Yeah this'll be the only vanilla cake recipe I use from now on. Decadent without being too much, and an absolute dream paired with the Swiss meringue buttercream. The kind of cake that has everyone going back for seconds. Which they'rewcome to do, because making it as a 6 inch mini layer cake means means I have spare layers in my freezer.
Kate says
Absolutely fantastic recipe, easy to follow, and so delicious!! Really good sturdy cakes for stacking and decorating. Super lush. I baked the cakes two days in advance and kept in the fridge wrapped in cling wrap and decorated the day of serving. I did 1.5x for the cake ingredients to make three 8 inch cakes and stacked them, and used 1x your classic buttercream recipe to ice and layer with some raspberry jam - it was the 100% perfect amount and completely divine. Highly recommend!! 👏