
Ever been intimidated by frosting a cake? Don't be! My Ultimate guide on how to frost a cake will walk you through the process of making a layer cake step-by-step - I promise once you know what you are doing, it's much easier than you think! I have been doing it this way for years.
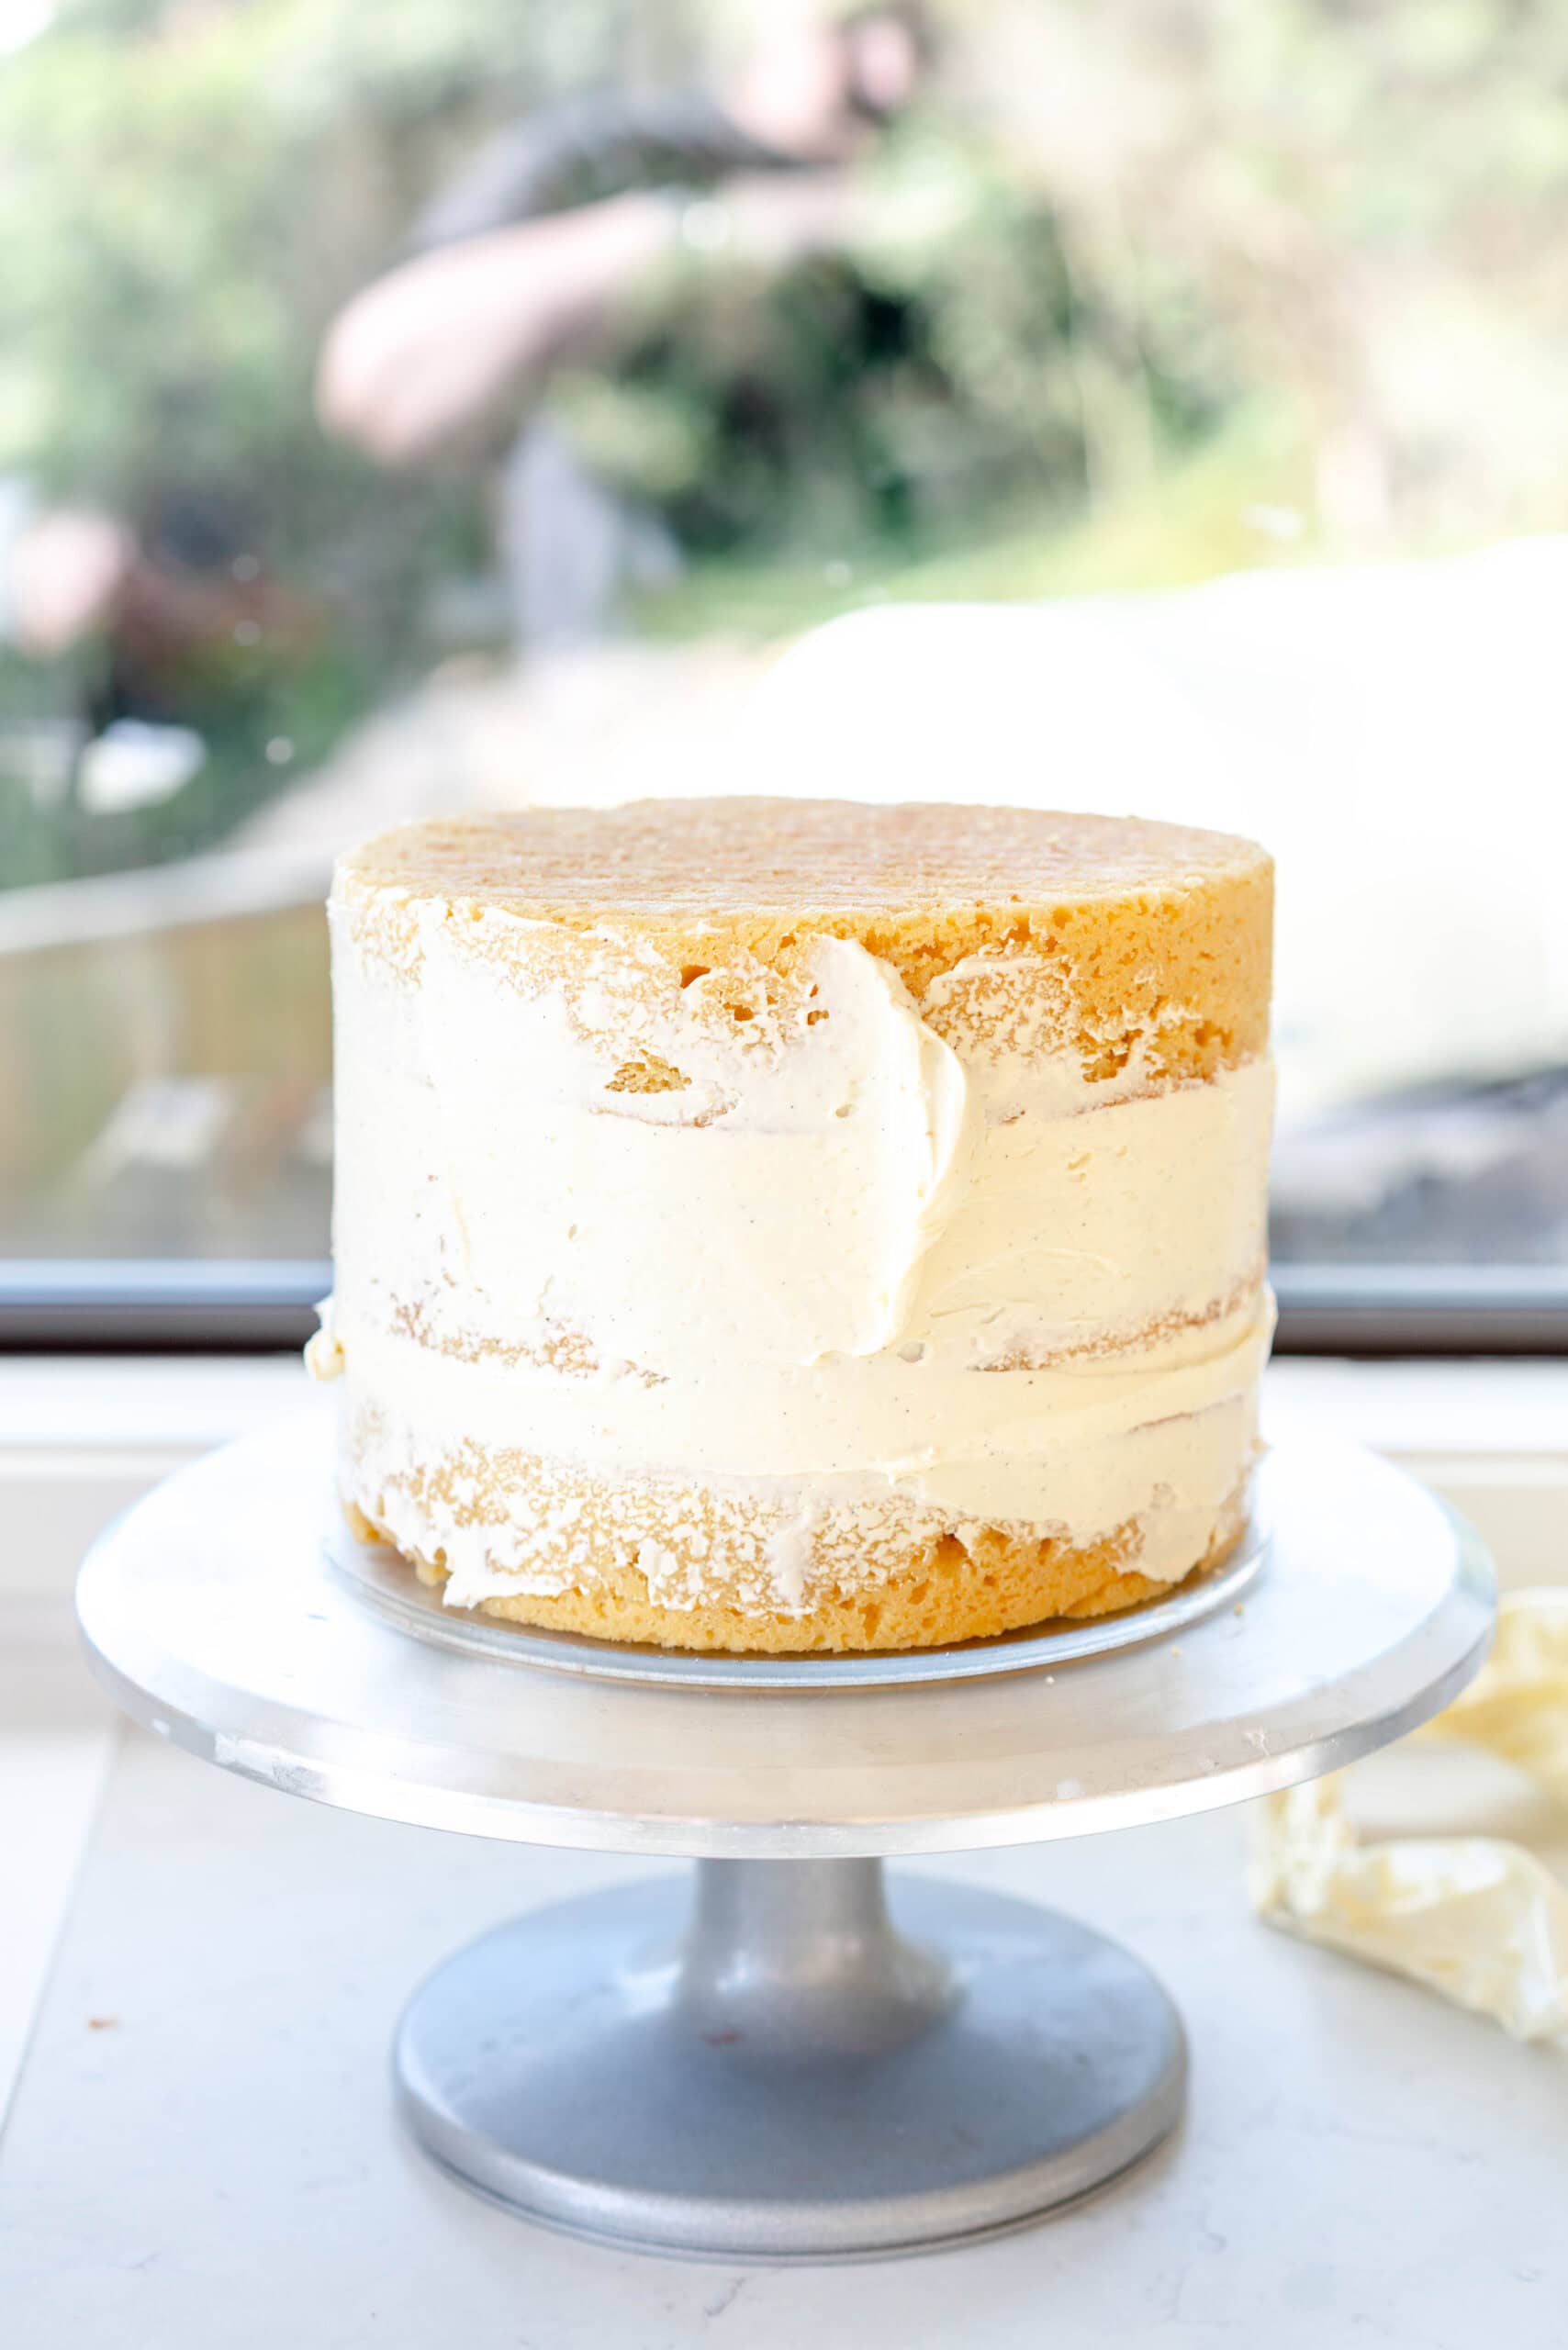
Hi hi! Popping in today with the ultimate how to guide on how to frost a cake! People often tell me this is intimidating to them - I promise that it doesn't have to be. There are a few wee tips and tricks that I will share with you on how to stack, fill, and frost a layer cake.
This process works whether you are making a simple two layer cake with just frosting as a filling, or whether you're adding a filling and are worried about it leaking out - I've got you covered!
This guide is a little bit wordy. However, I wanted to really set you up for success here. This is the entirety of what is floating around in my brain on how to make a layer cake. I hope that it is helpful!
Some things to think about before you frost a cake
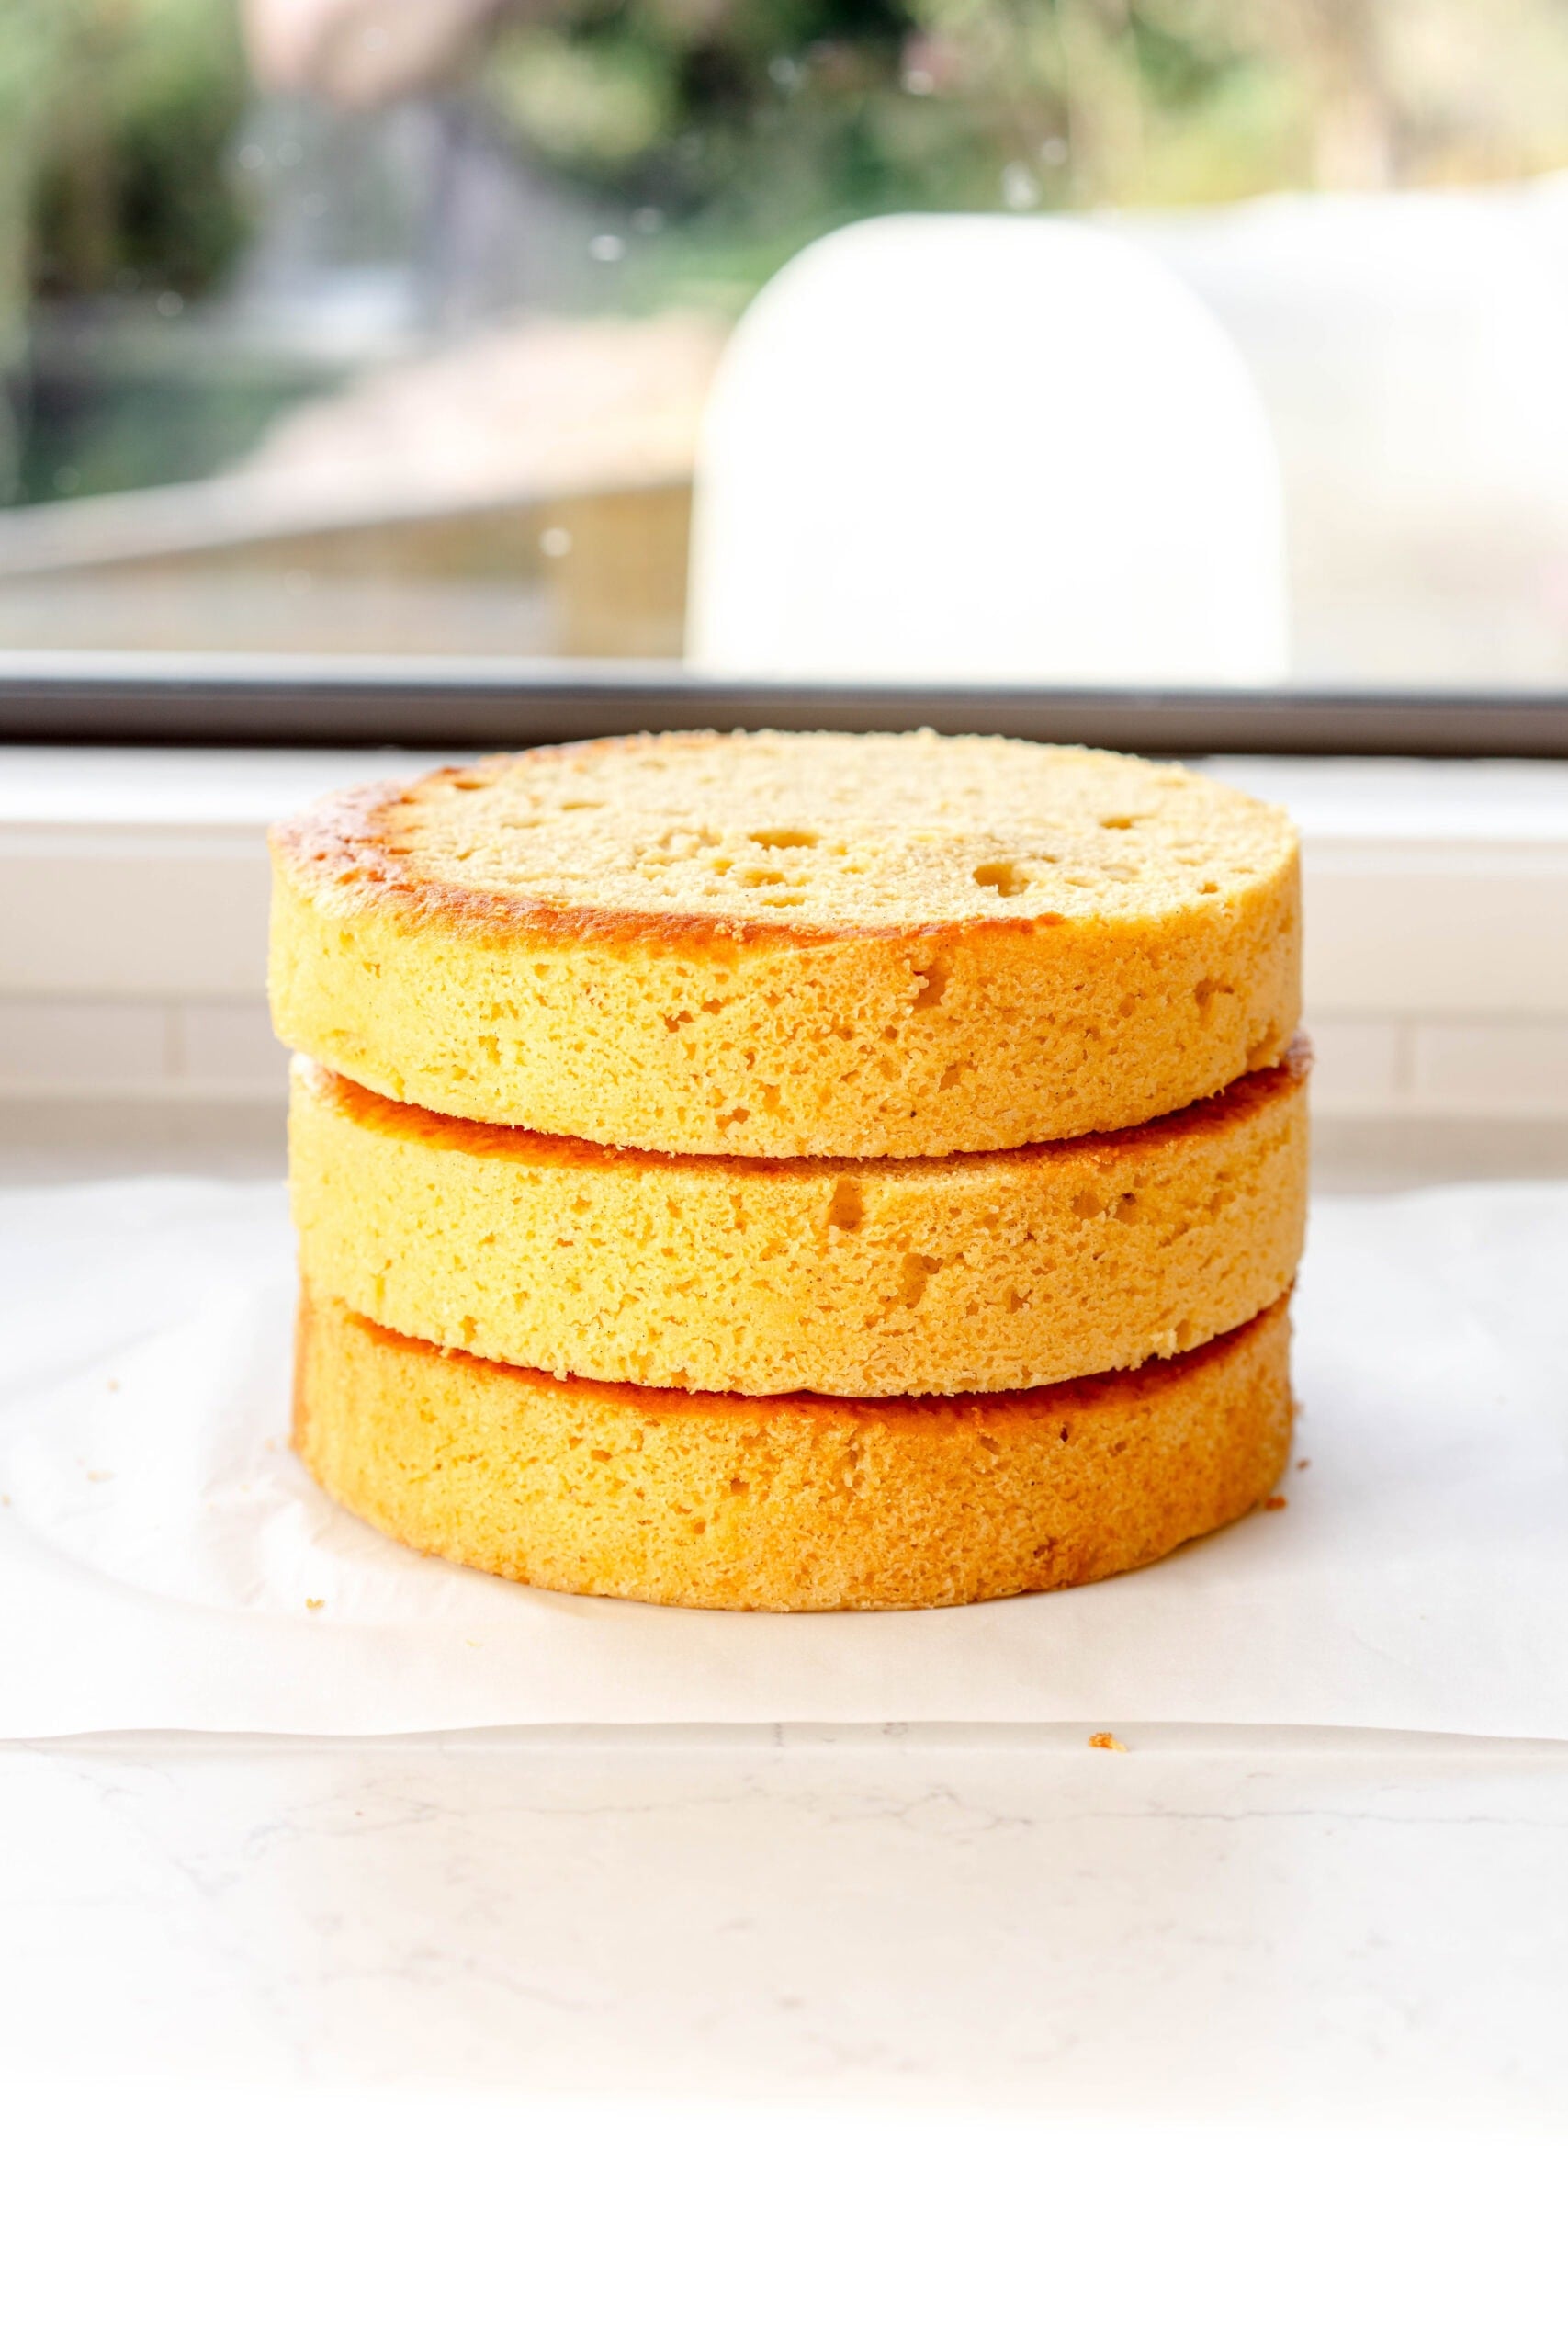
The first thing you want to think about is obviously the cake. I have used my classic Vanilla Cake as an example in this post. You want to make sure that the cake is completely cool as a slightly warm cake and frosting is truly a recipe for a very sad time. I like to make the layers the day before if I can and then leave them to cool then wrap in plastic wrap and store in the fridge overnight. Alternatively if you have made your layers ahead of time and frozen them, I bring them out and leave them at room temperature for 30 minutes or so and then decorate partially defrosted. Cold cake means that your frosting will stick to it properly and you're not going to be worried about the layers falling to bits. I find that using a chilled cake also means that you don't have to wait too long for the crumb coat to set before you finish frosting the cake.
If you have made the cake the same day make sure that you leave enough time for the crumb coat to chill properly and for the cake to have enough time to completely chill throughout before you transport it anywhere. Cold cake = stable cake.
Find your top layer.
Choosing which layer goes on the top is also important here - I always place the top layer of cake on upside down, so before you start look at all your layers and find the one with the nicest 'bottom', which will be the top of the cake.
Choosing your frosting - this one is personal preference!
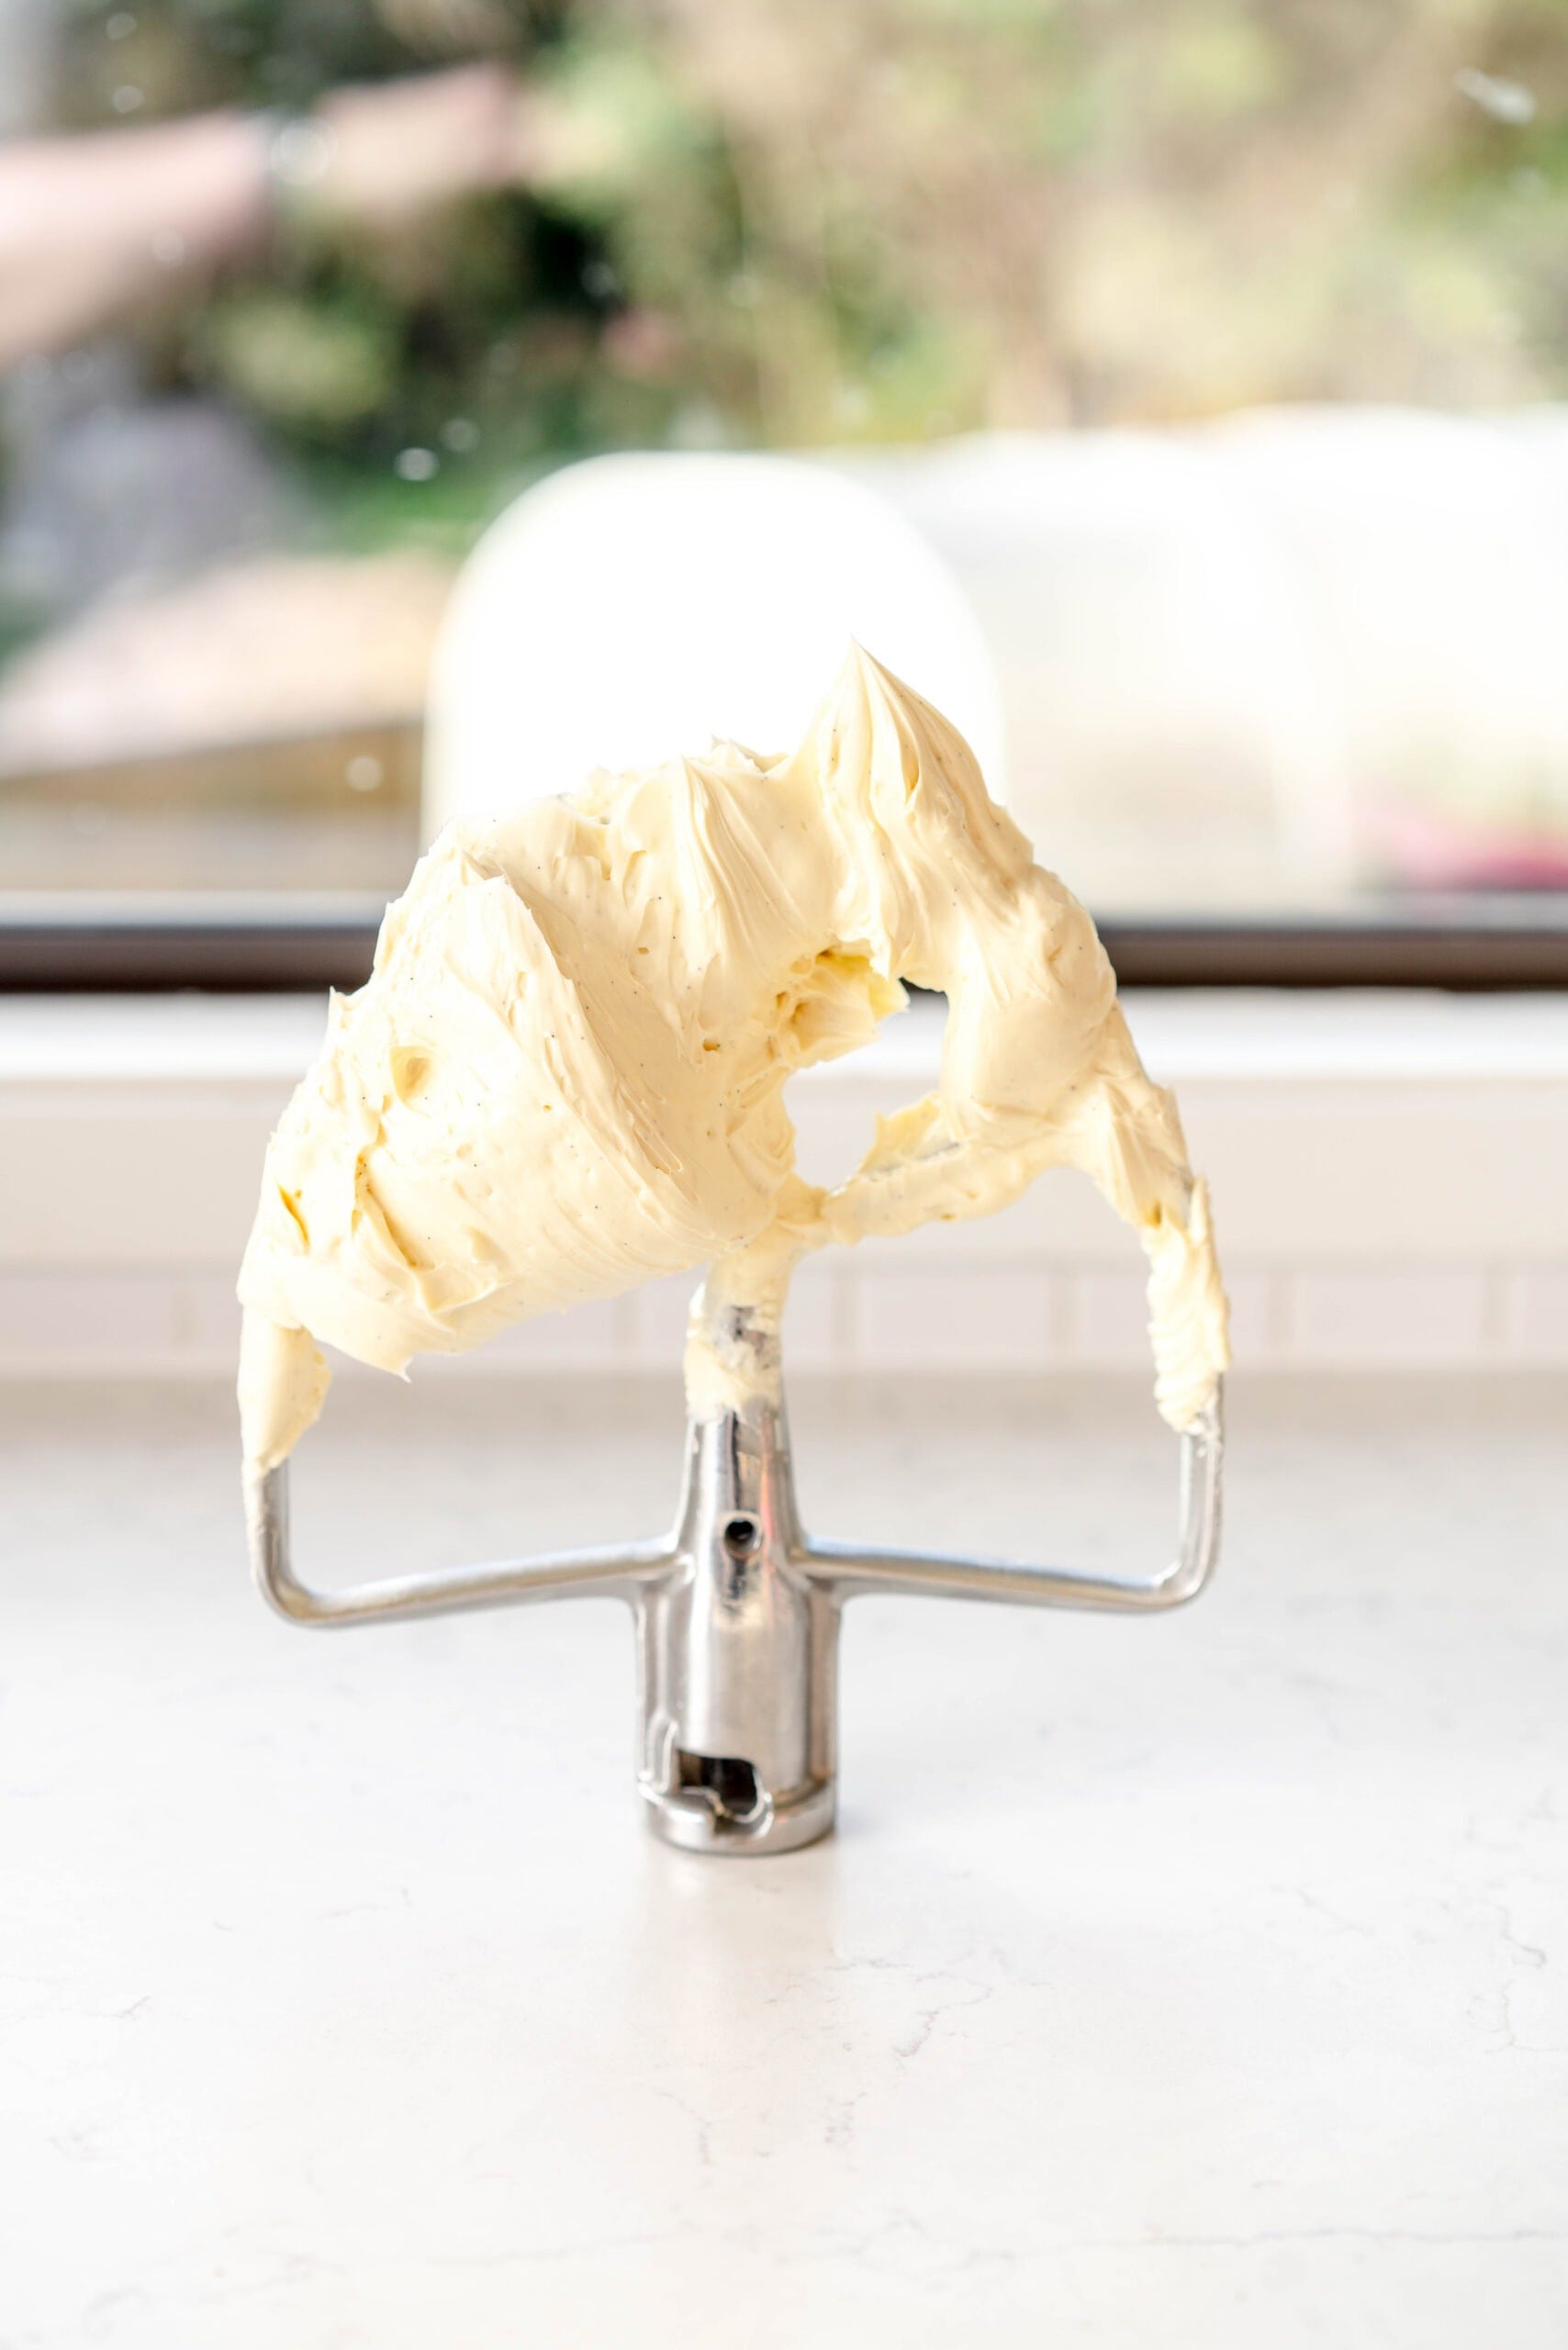
This really depends on what sort of taste you are after. My favourite to frost a cake with is a Swiss Meringue Buttercream because I like that it isn't too sweet, is always super smooth, and is really easy to decorate with. My Classic Vanilla Frosting is also a great option, so is my Chocolate Buttercream Frosting.
Make sure that you make enough - there is nothing worse than not having enough frosting. If you are planning on adding piping you will want to make a little extra frosting too.
Helpful Equipment for Frosting a layer Cake
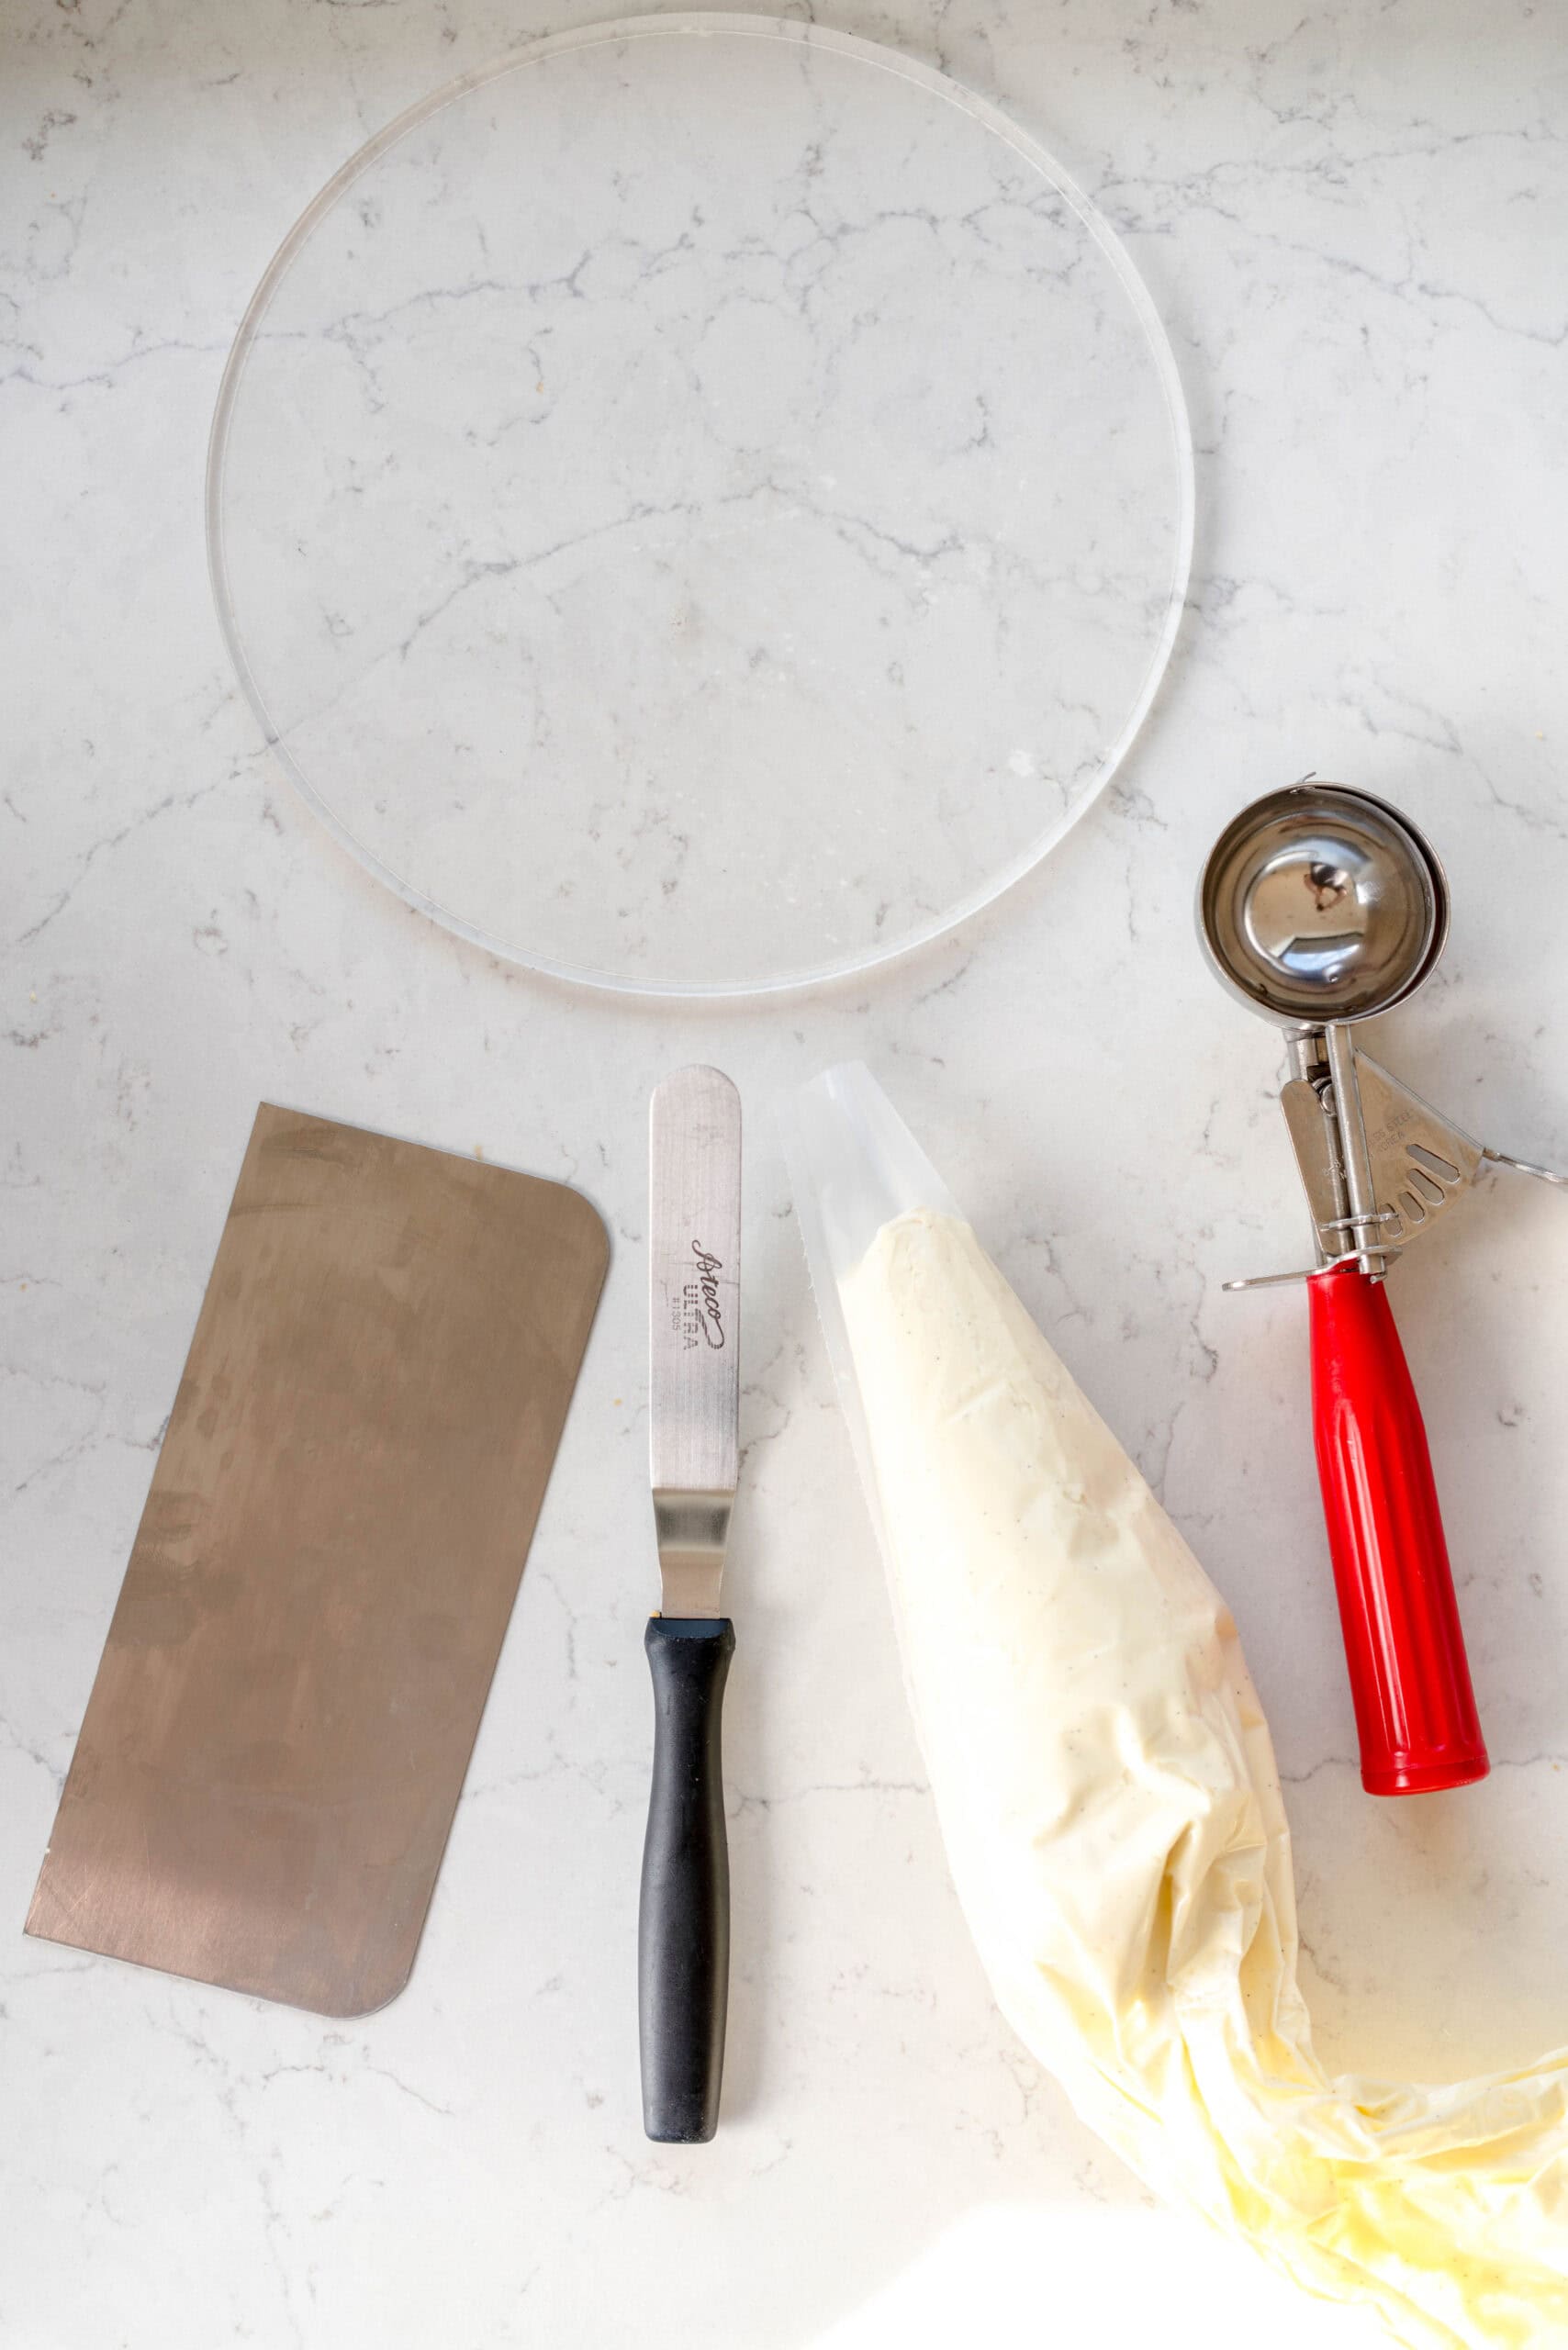
While these tools aren't necessary to have, and you can likely make do with just an offset spatula or scraper, they all make life a lot easier!
Cake Turntable. These are super helpful to have if you are making cakes often. You can absolutely just use a plate and turn it on the counter, but a turntable makes life so much easier. Mine is a stainless steel one from Ateco.
Cake Board. I have a bunch of acrylic ones that I re-use, but you can purchase them relatively cheaply from craft or kitchen stores. You can also frost the cake straight onto the serving platter! If you are transporting the cake somewhere else though, using a disposable cake board is a lot easier as you don't have to worry about bringing dishes home.
Scraper. You will use this for smoothing the sides of the cake. I use a stainless steel cake scraper as I find that it gets a really nice smooth finish and you can also heat it up to help give an extra smooth finish on your last pass, but a bench scraper or a plastic scraper will work great too.
Cookie scoop. This is optional again, but I like using a scoop to add the frosting in between layers to make sure that I get a nice even layer of frosting in between. Any size works - you just want to make sure you do the same amount of scoops between each layer!
Piping Bag. I have a roll of these I got from a cake supply store, and they are super helpful for frosting a cake if you are adding a filling. You use it to pipe on a buttercream dam to help hold the filling in.
Offset Spatula. If I had to choose my top five utensils for baking, an offset spatula would absolutely be one of them. It is super helpful for smoothing the filling layers, covering the outside, filling in gaps, and giving a nice smooth top edge.
Step One: Flat Cake Layers.
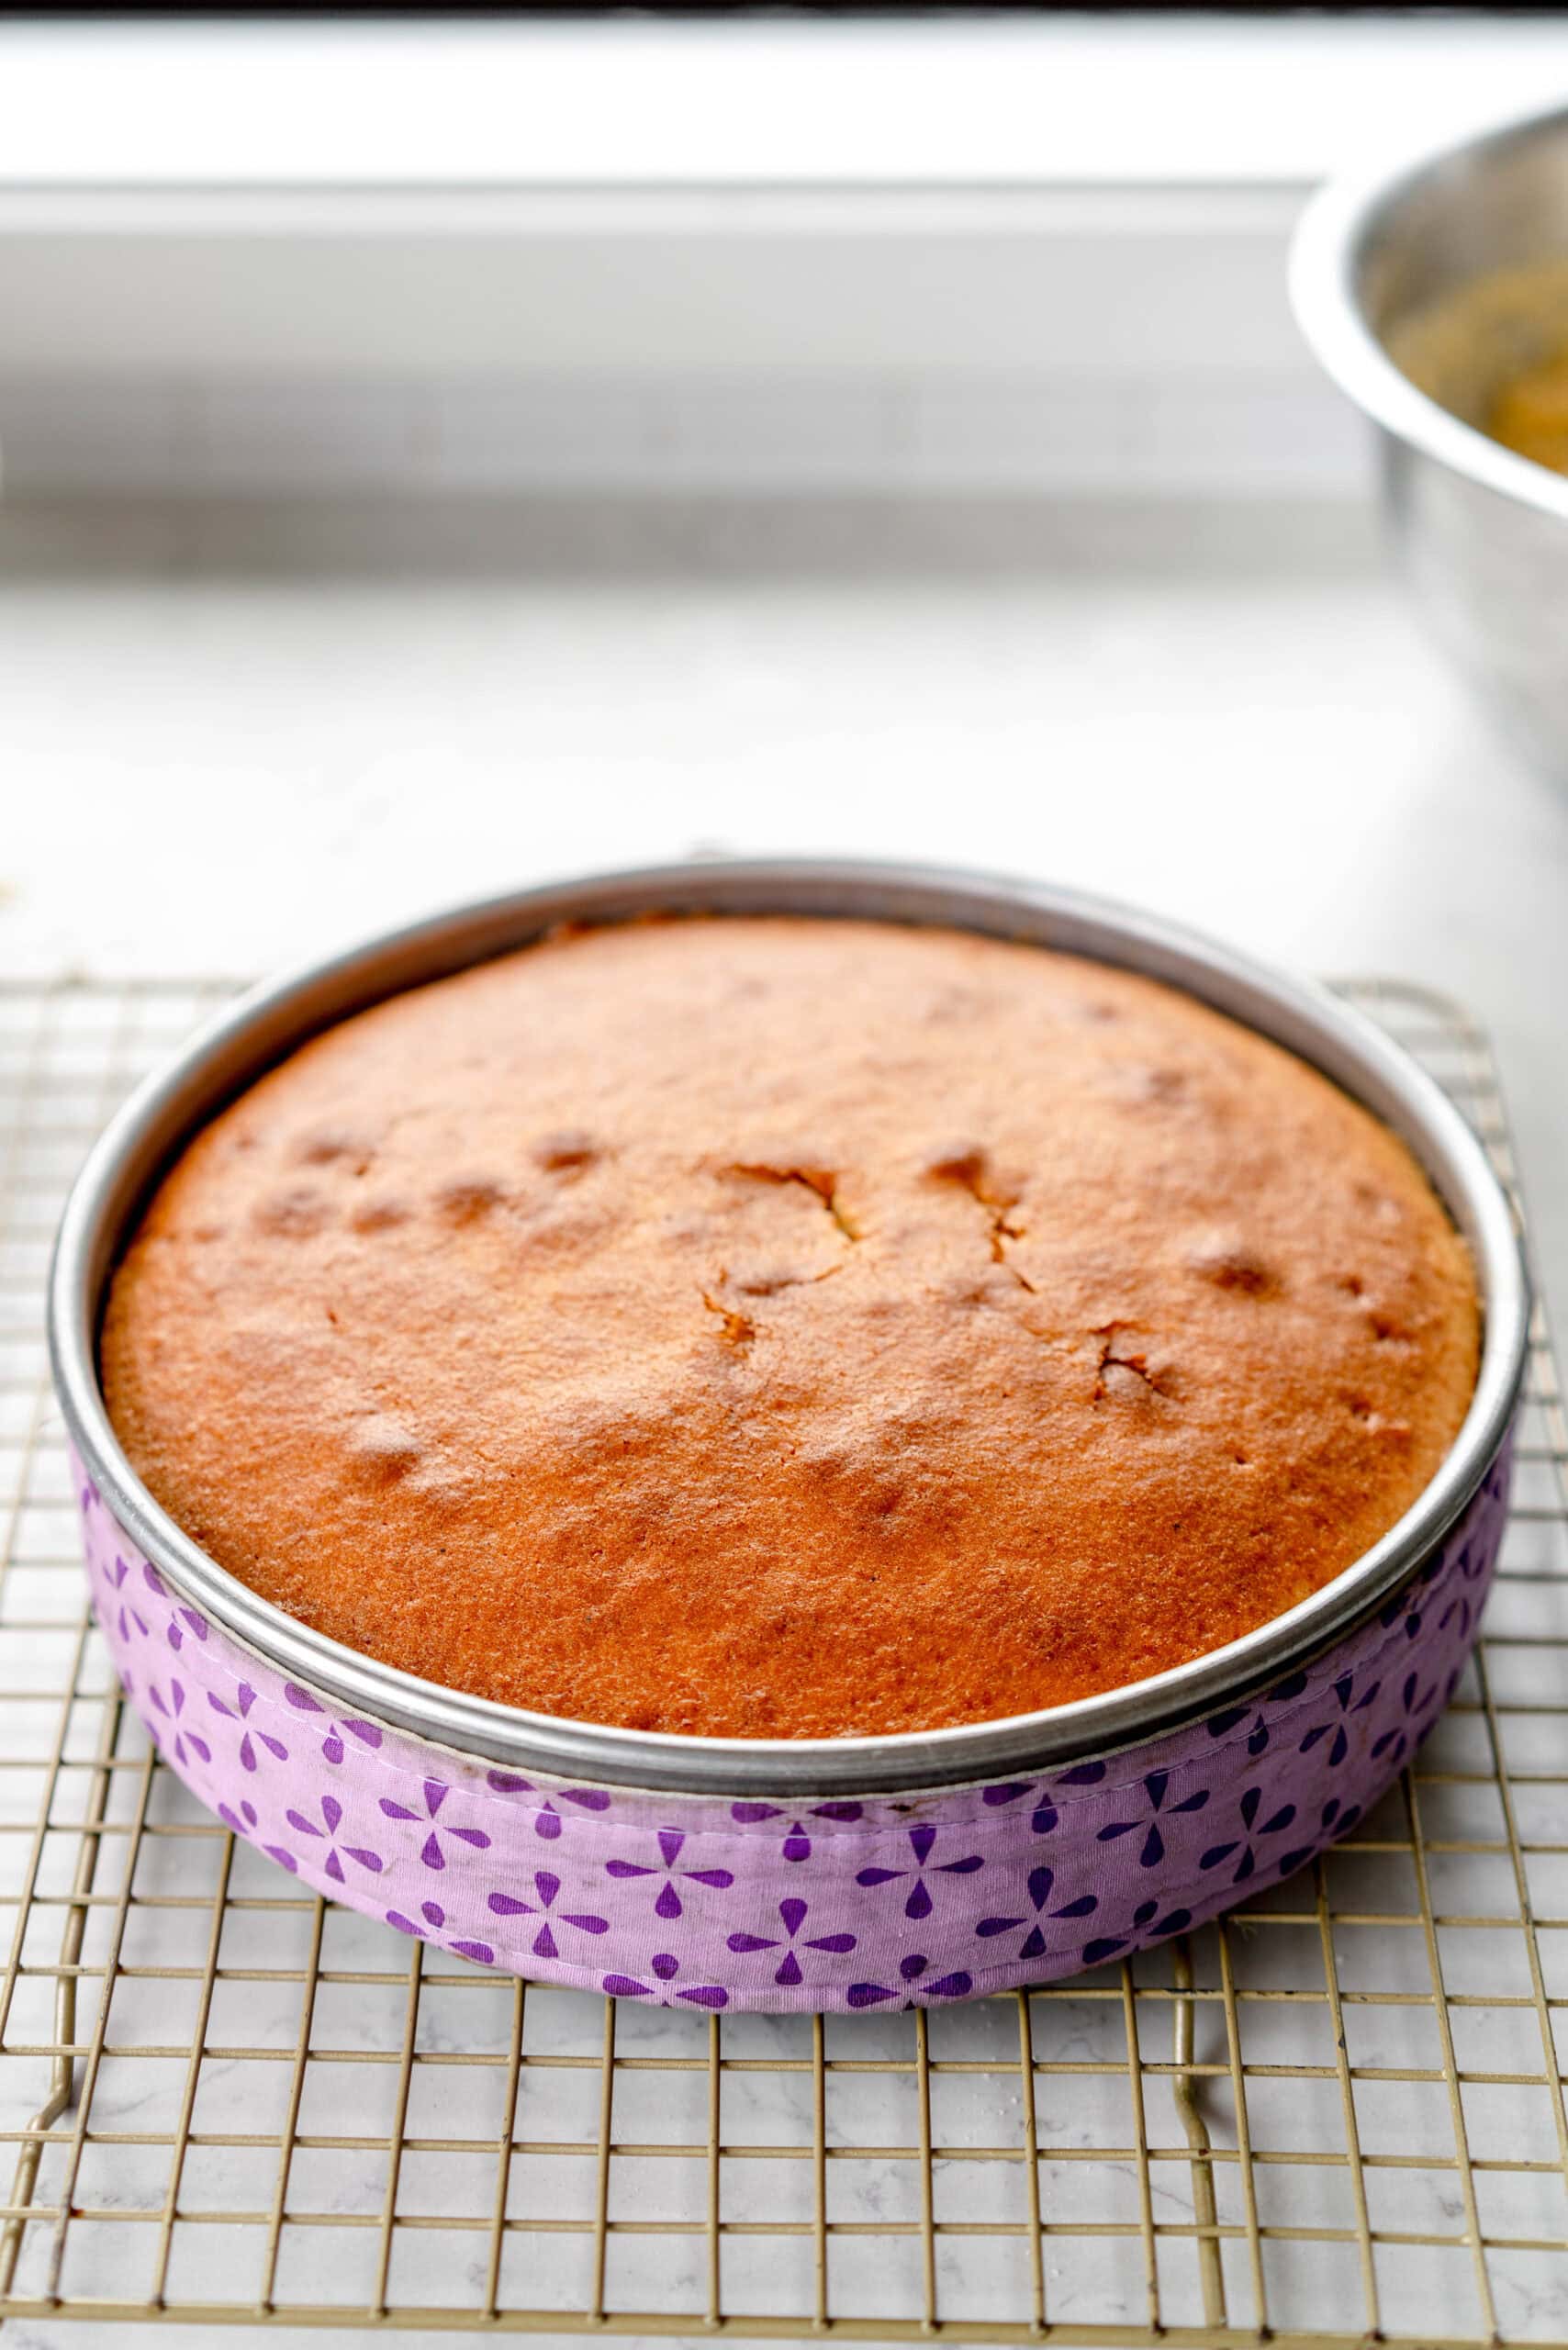
If you don't have flat cake layers, stacking your layer cake is going to be a disaster. I bake my cakes with cake strips on the pan to help give nice flat layers, which means that I only need to trim a little off the top (or sometimes none!) before stacking and frosting. It gives you much less wastage and I find that it also means the cakes bake up with a nice straight edge on them which makes them easy to frost.
For a full rundown on cake strips and a side by side comparison, along with an at home alternative, check out my post: Cake Strips and How To Use them
To trim cake layers, you can either use a cake leveller (I make a lot of cakes so I have one) - it is basically a frame with a height adjustable blade. Alternatively you can carefully trim any domed parts off the top of the cake using a serrated knife. You don't need to cut off the entire top if it is only a little domed - just try to make them as flat as possible. I like to level my cakes before chilling or freezing them.
Step Two: Start Stacking.
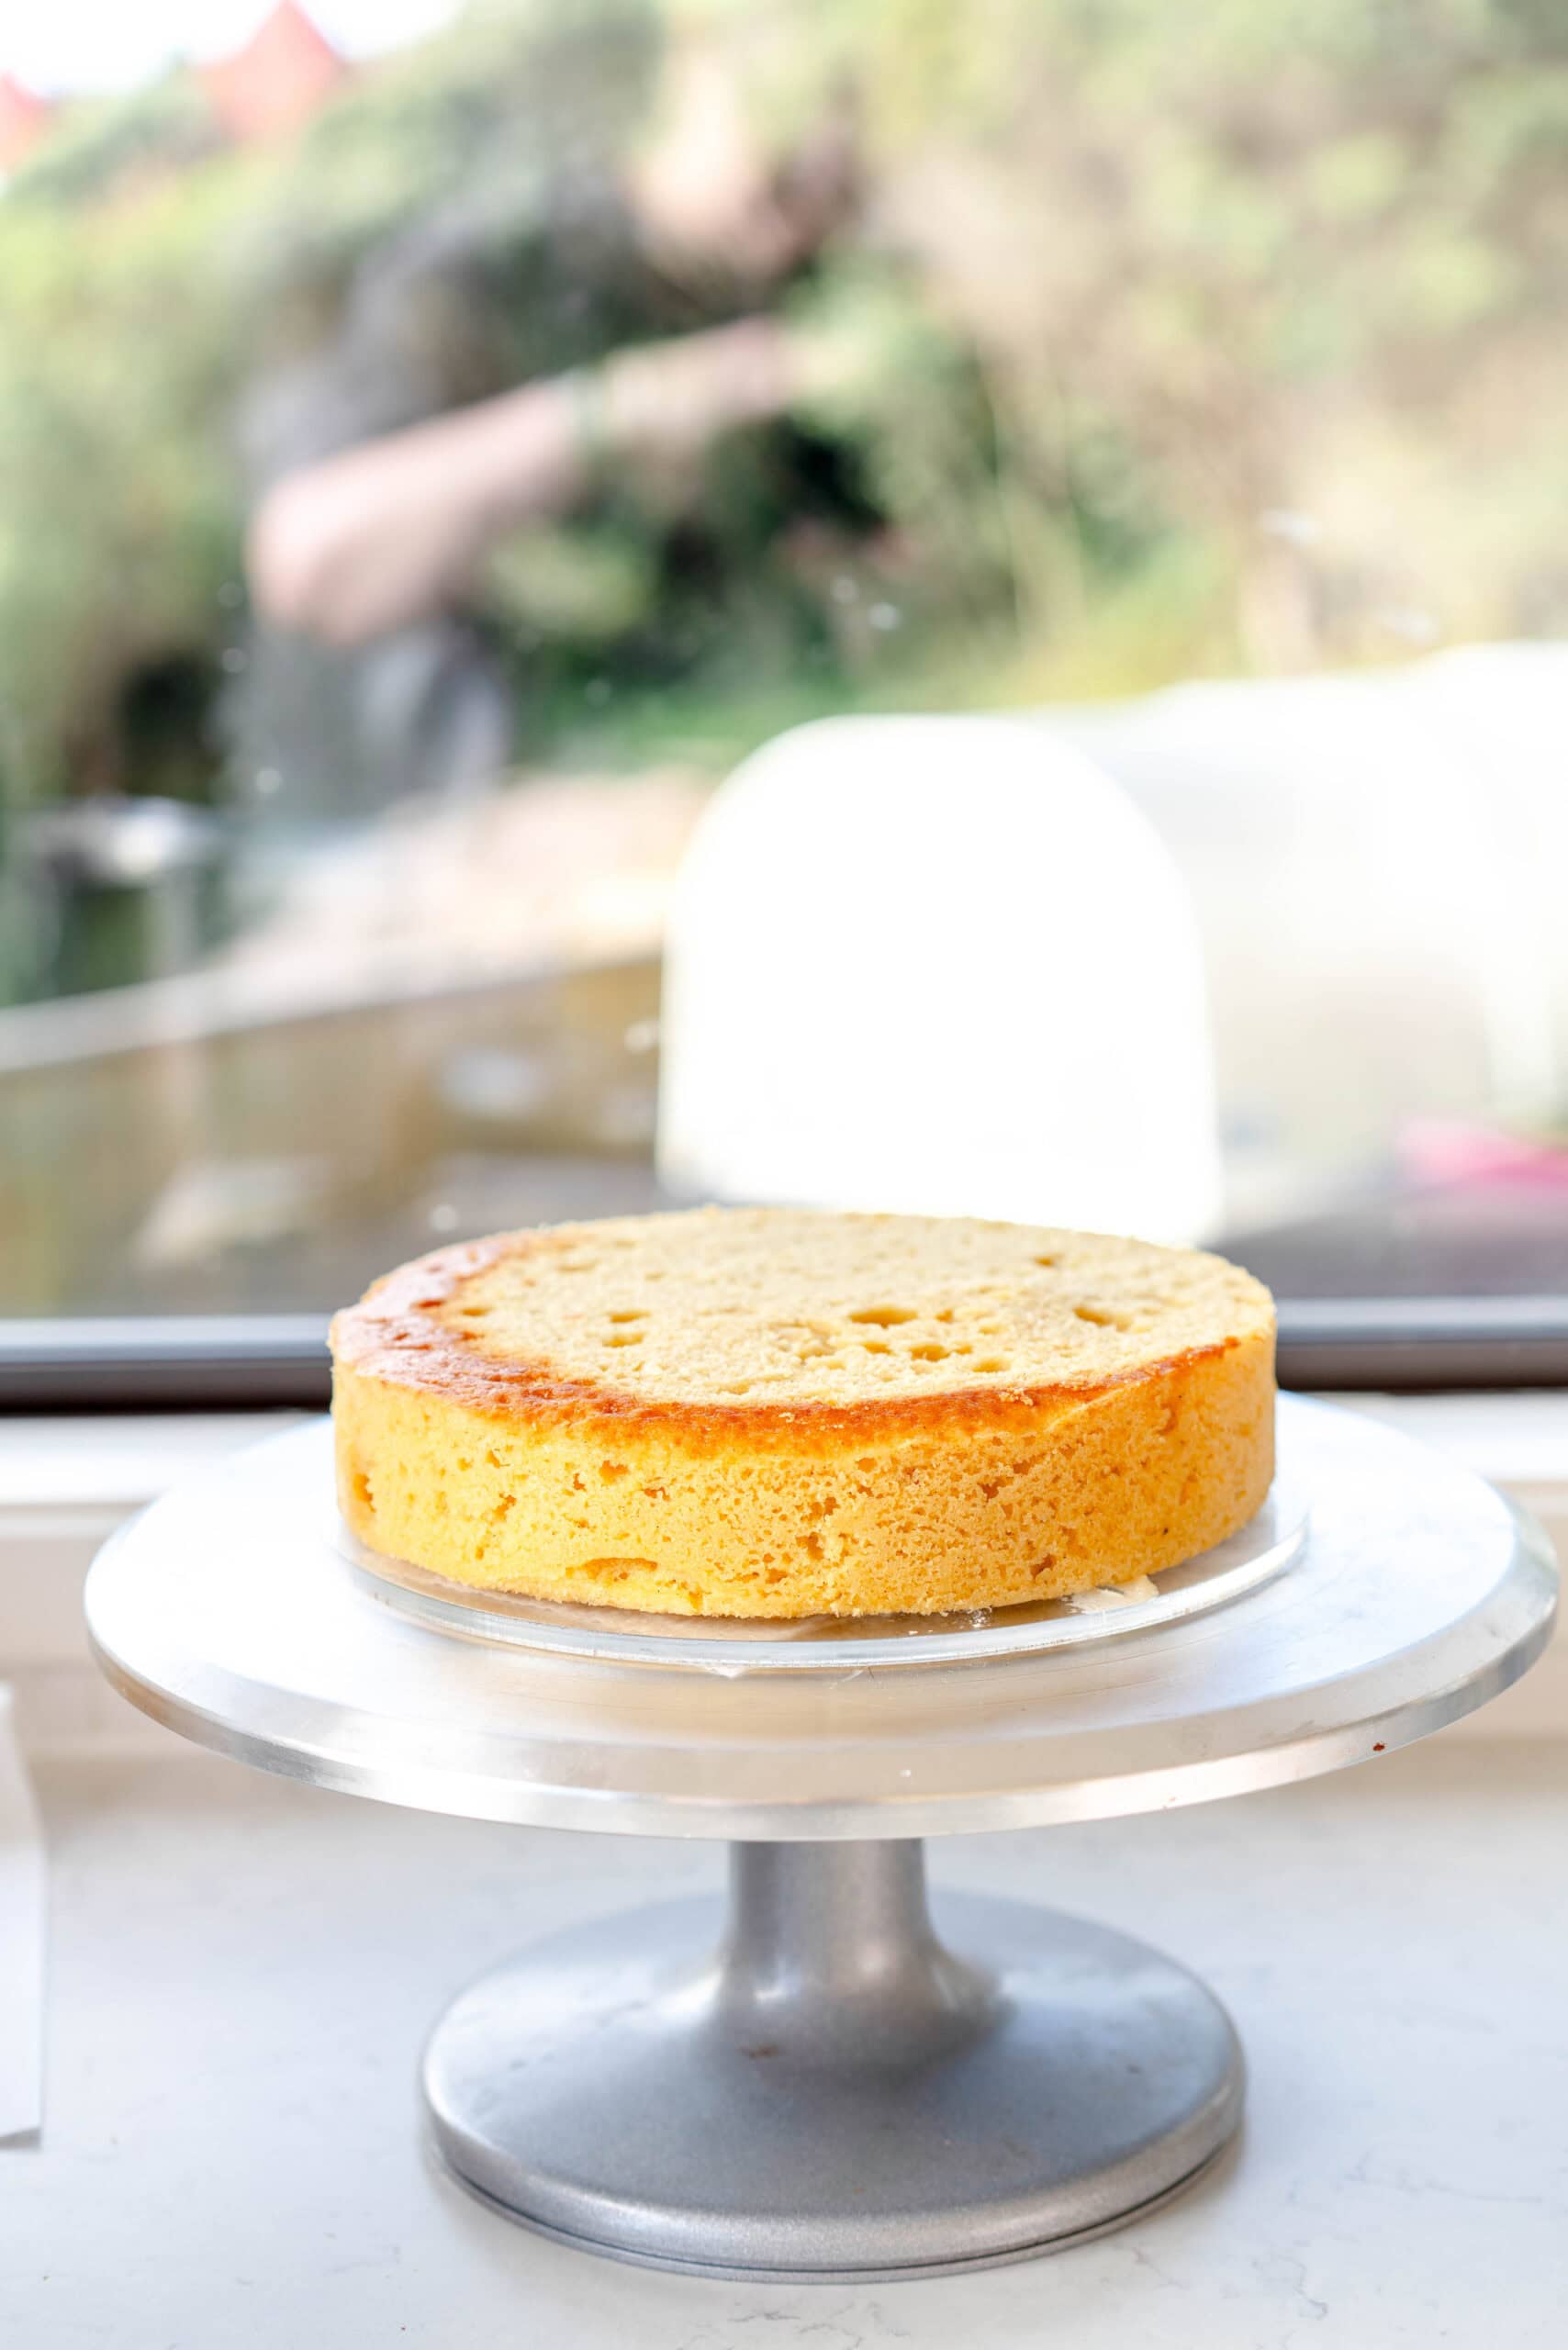
Now we can start stacking. I like to place a wet paper towel between the cake board or serving plate and the turntable to help keep it steady when stacking up the cake.
Add a little smear of frosting to your cake board, and place the first layer of cake onto it. Now, there are two options here depending on if your cake has a filling (such as lemon curd, jam, etc) or not.
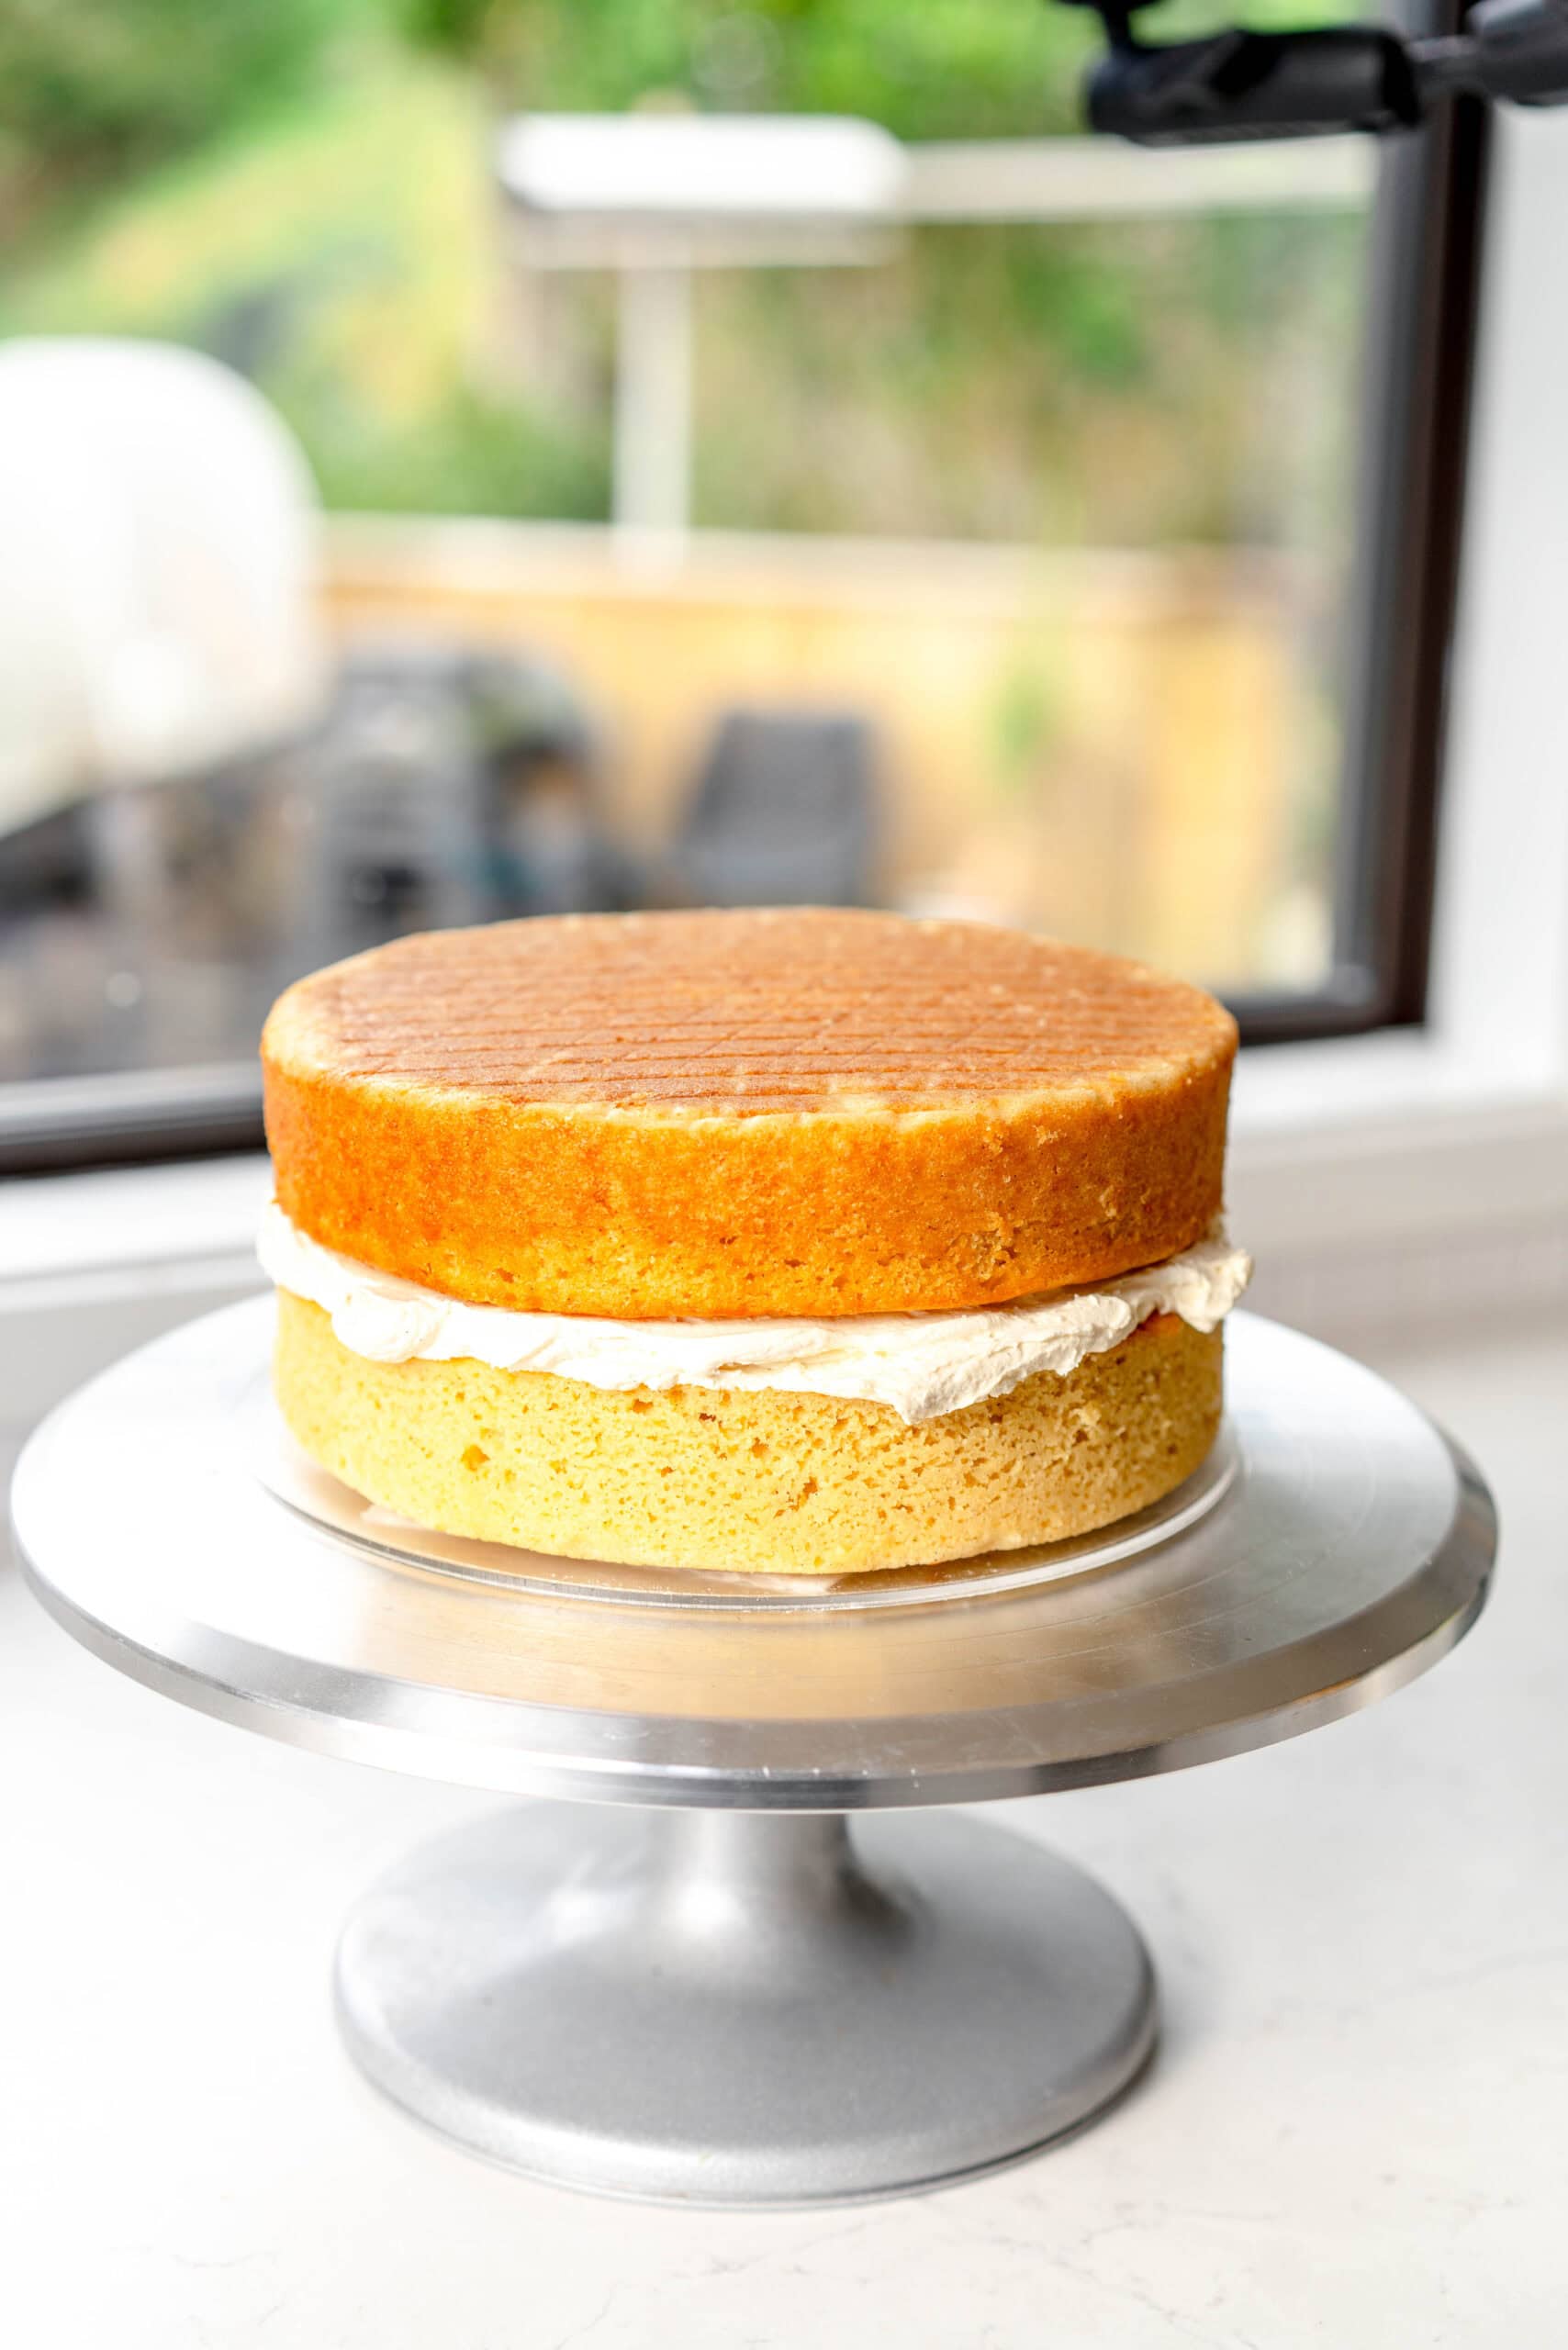
No Filling (Frosting only): Using your cookie scoop if you have one, place several scoops of frosting onto the top of the first layer. I use a #24 cookie scoop and for a cake with only frosting in the middle, I usually do 3-4 scoops (So about half a cup of frosting). Add more if you would like a thicker layer. Smooth down with your offset spatula and get it as flat as you can.
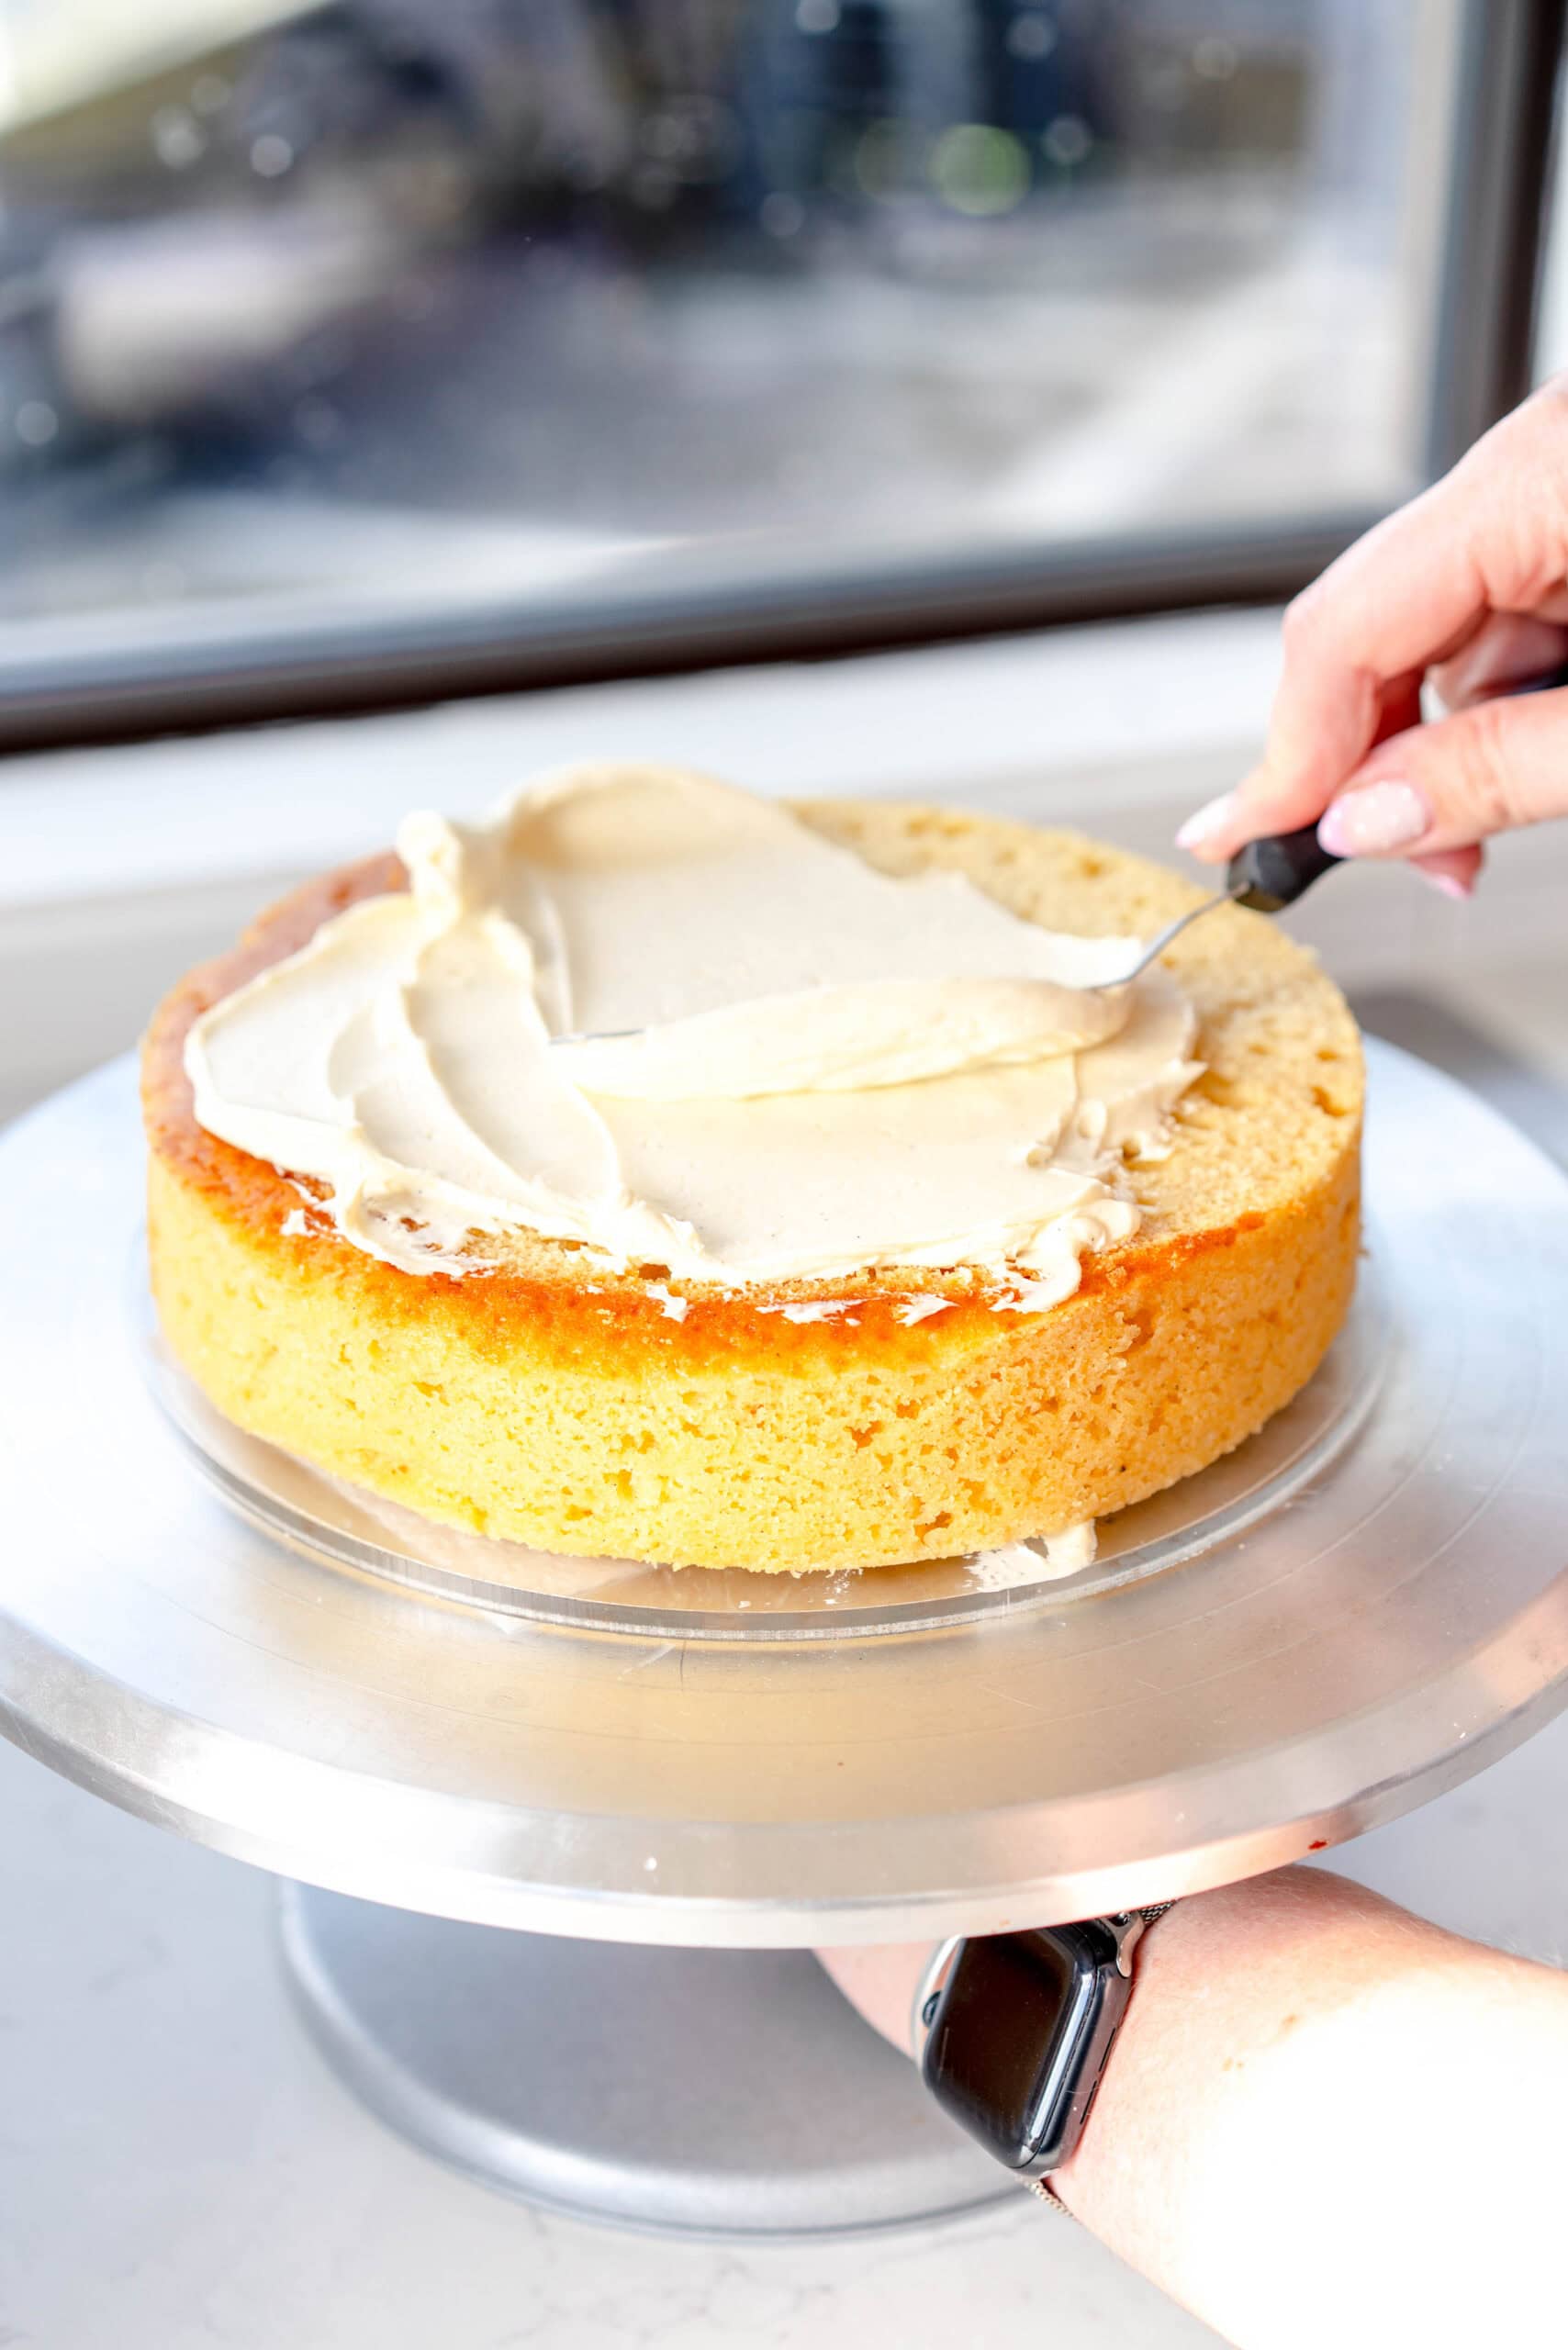
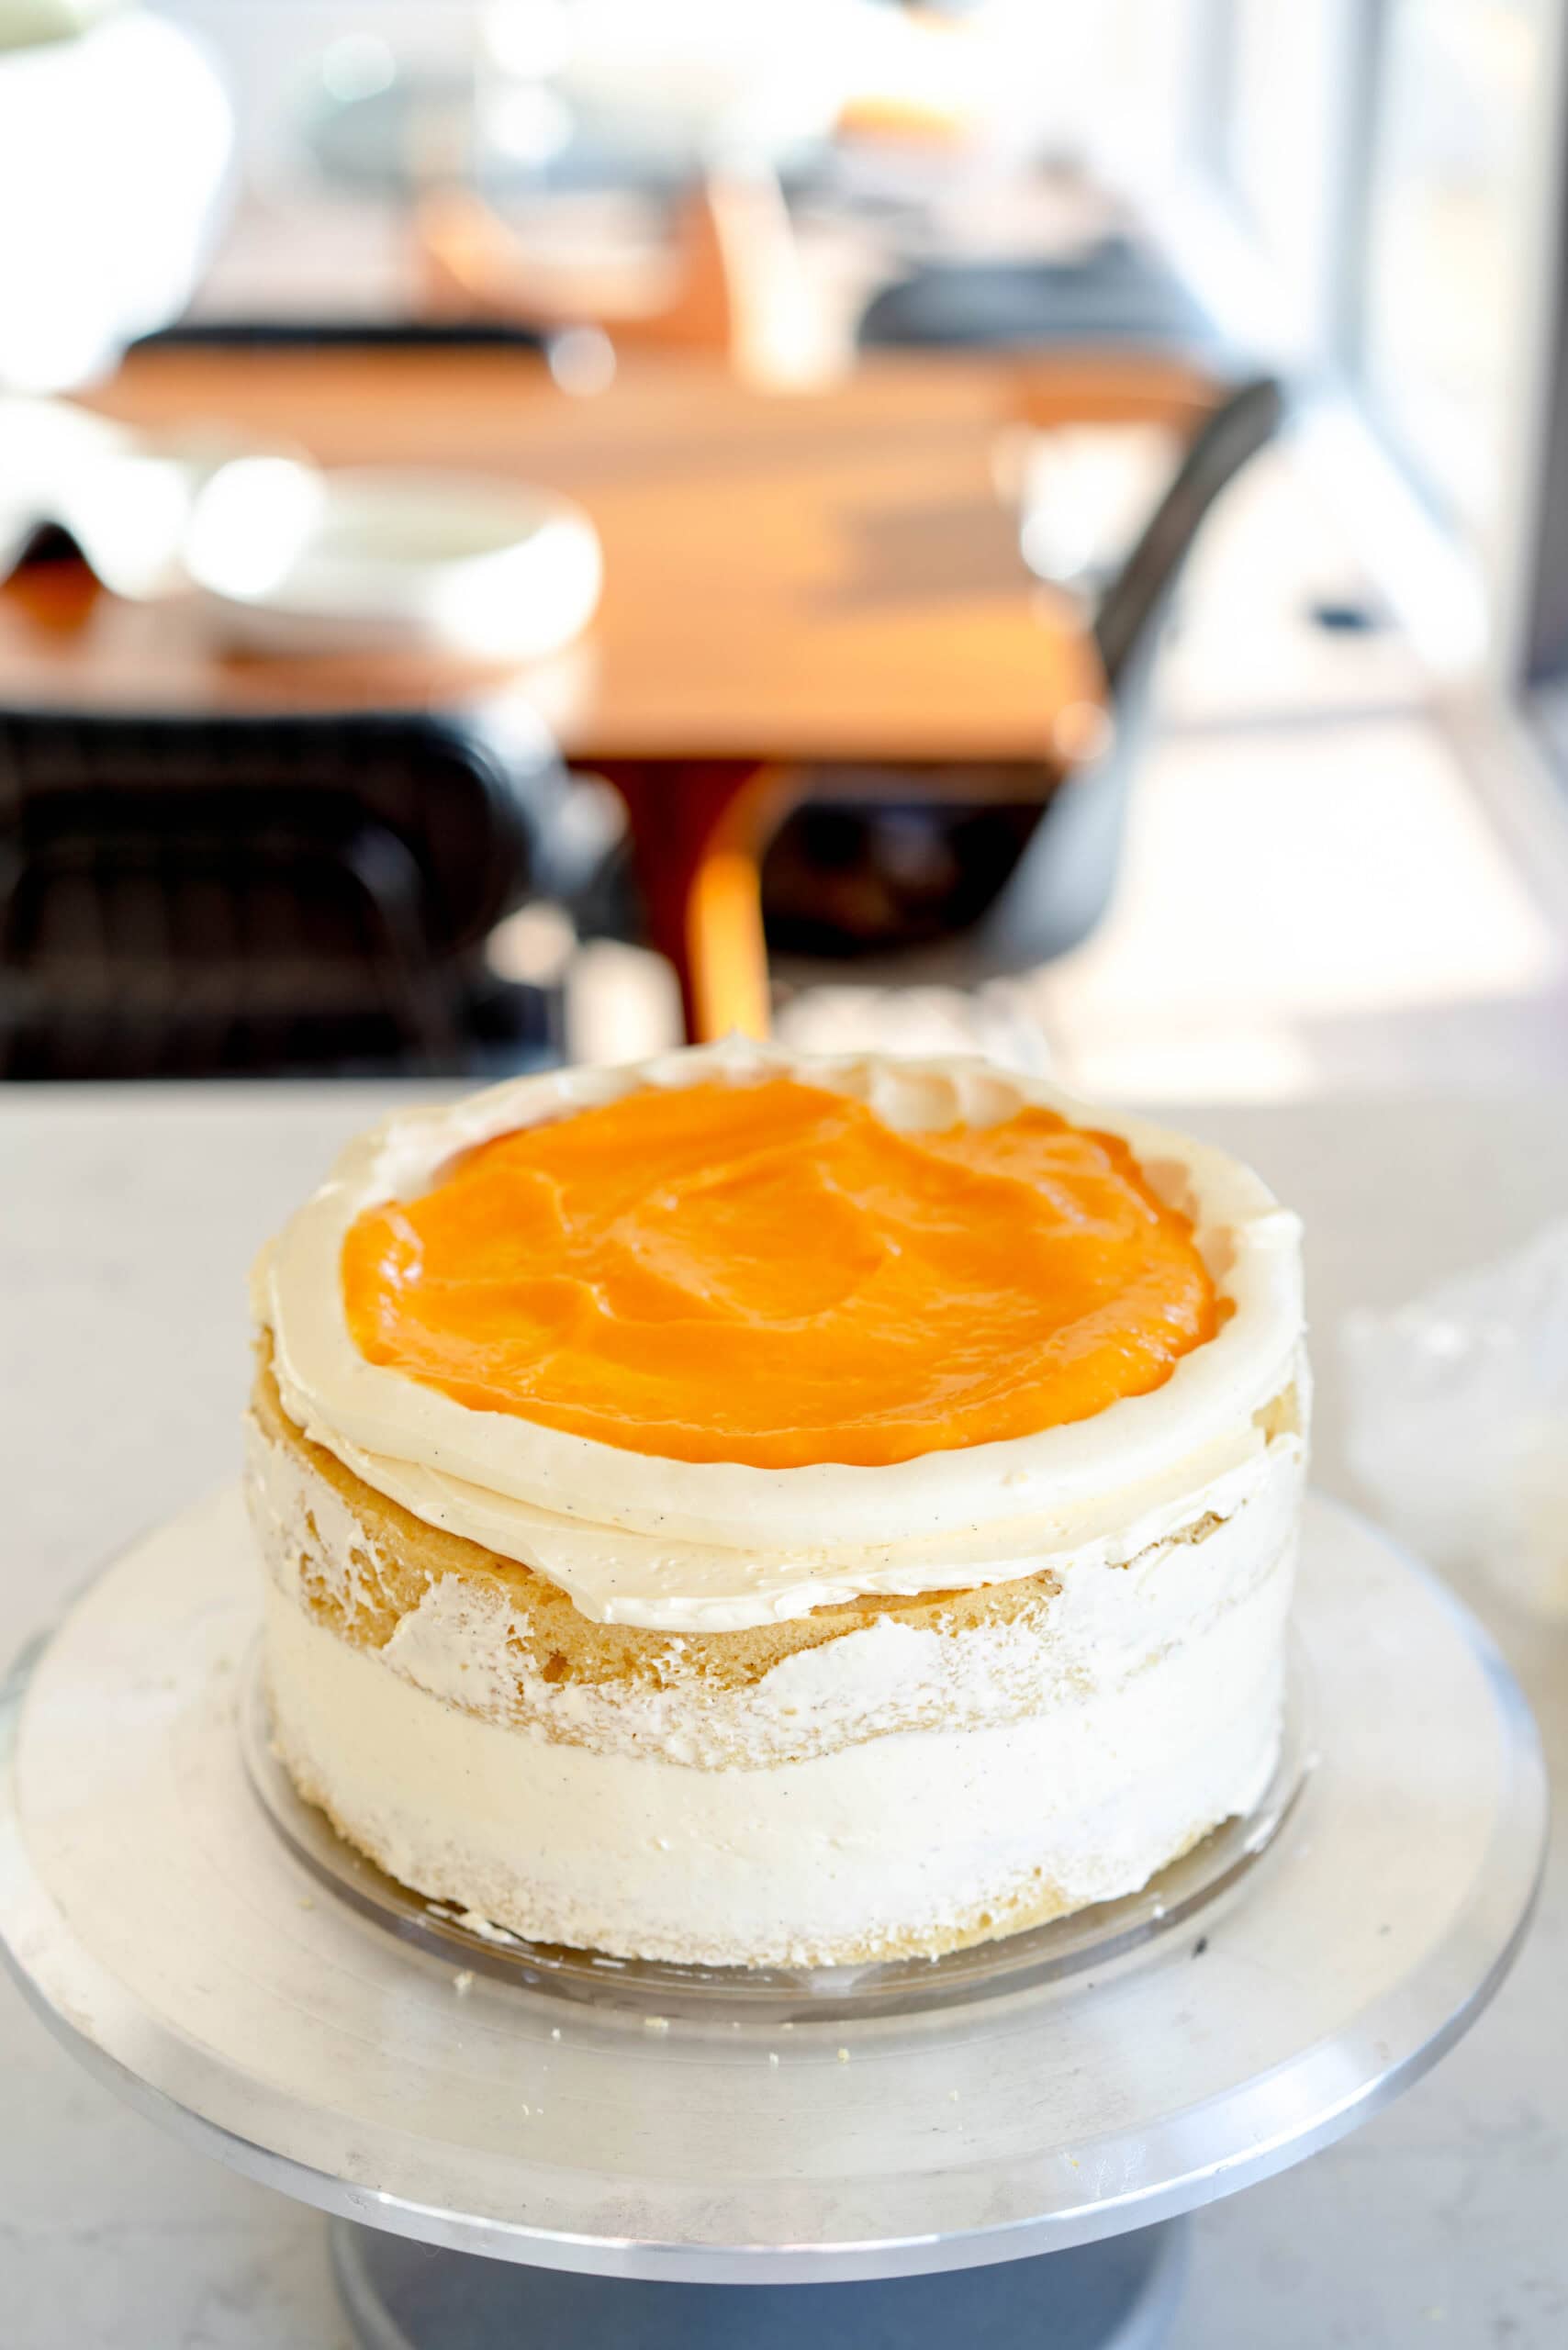
To add a Filling: Place 1-2 scoops of frosting on the first layer of cake. Use your offset spatula to spread it out evenly. It will be a thin layer - it is to give your buttercream dam something to stick to. Fill your piping bag with frosting. Cut a hole in the end of the piping bag, and pipe a fairly thick circle of frosting around the outer edge of the cake. Make sure that you close it off so that it is a complete circle. Use your offset spatula to smooth the inside edge of the circle of frosting so that it is sealed against the thin layer of frosting you put down first. This makes a good seal, and means that your filling won't leak out. Add your filling - leave a little room, do not fill all the way to the top of the dam.
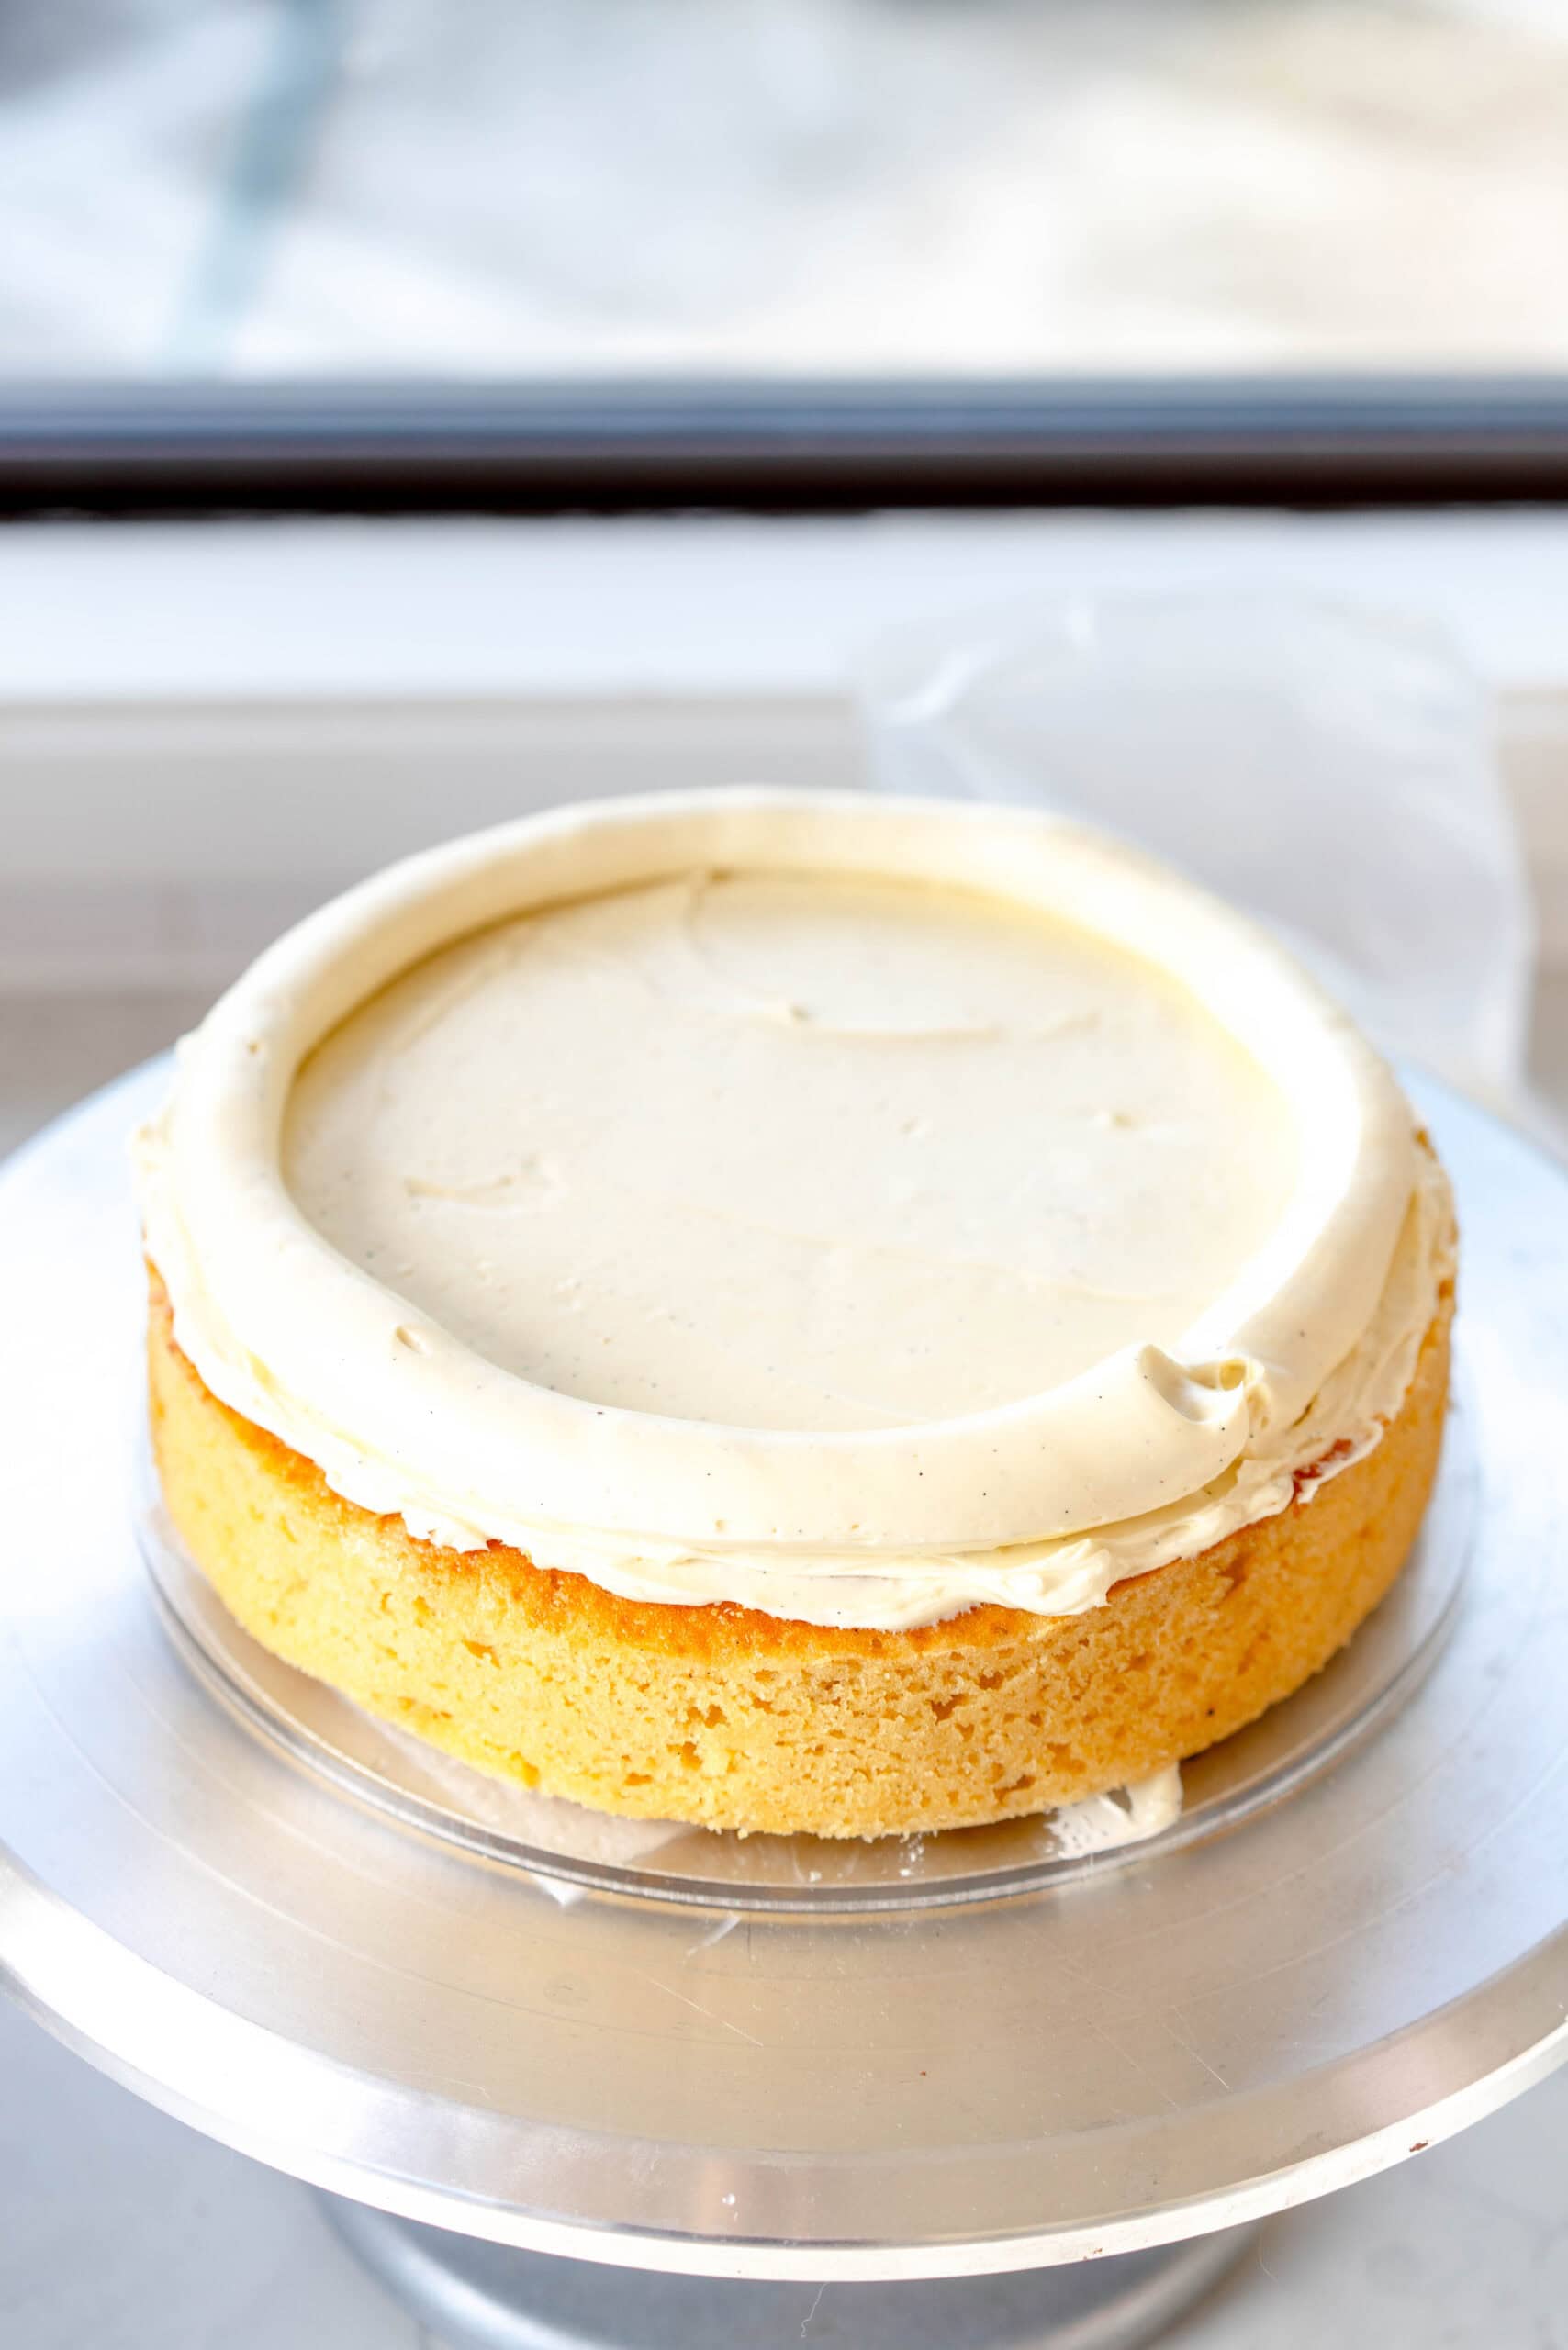
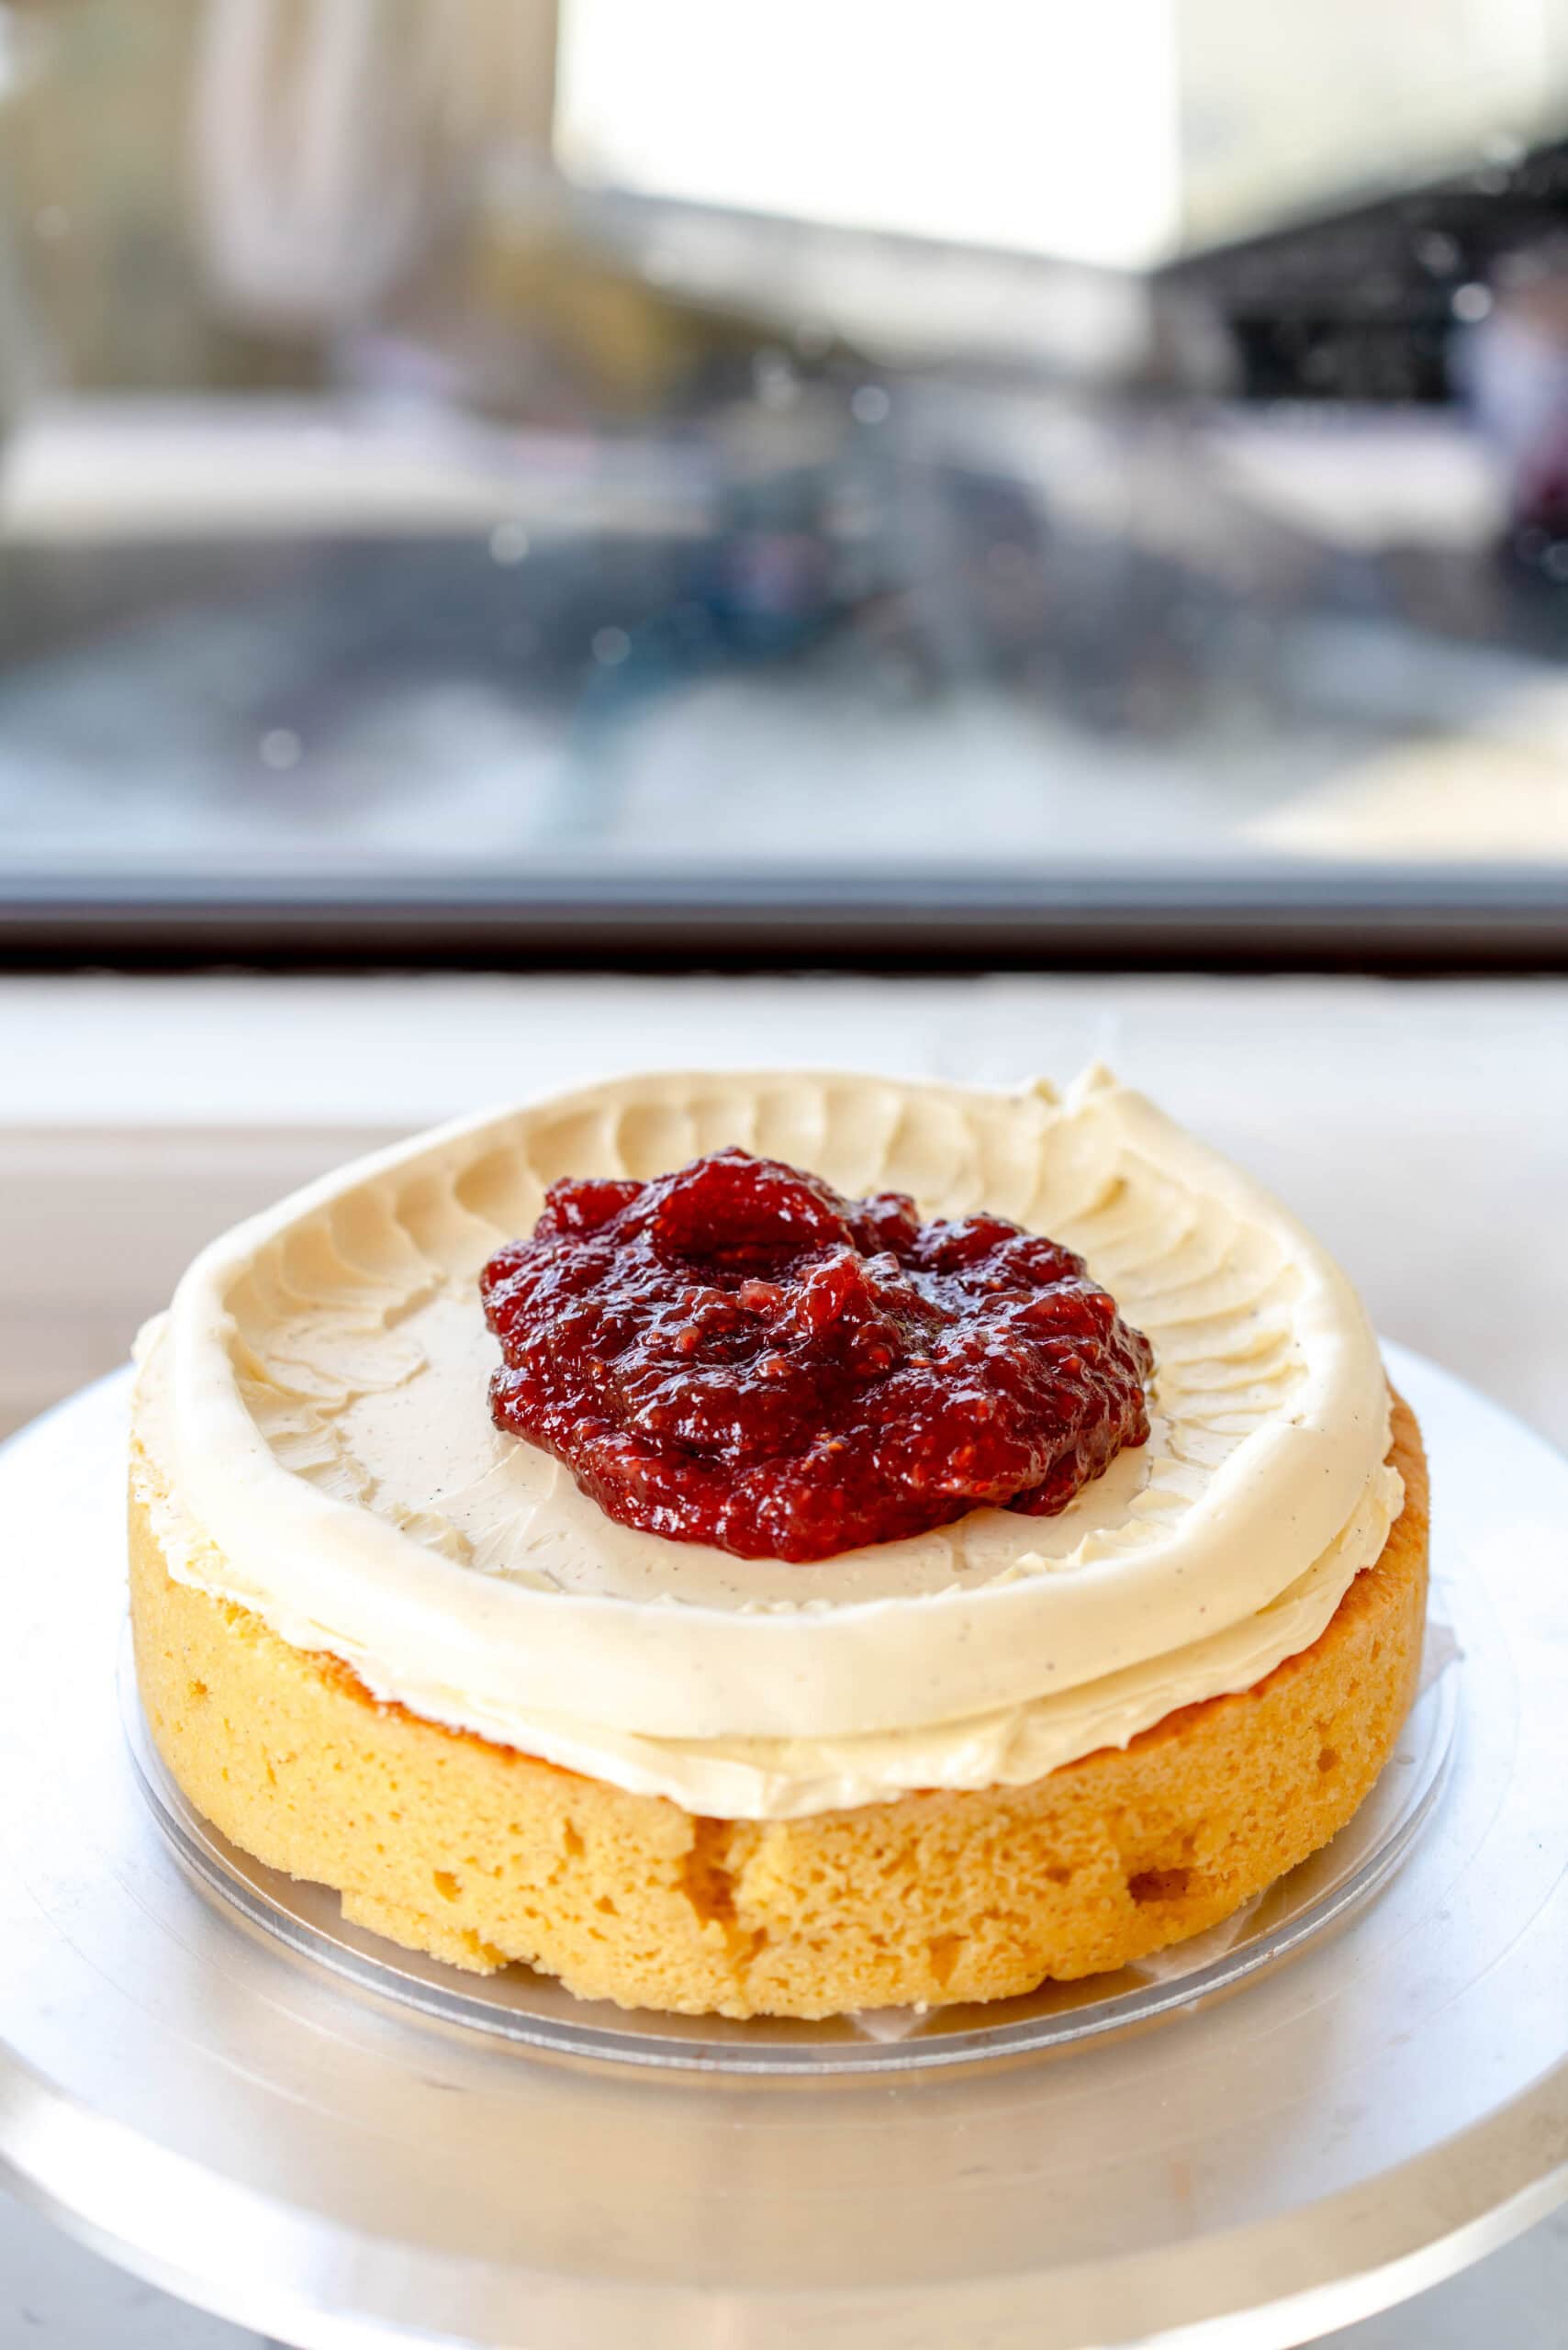
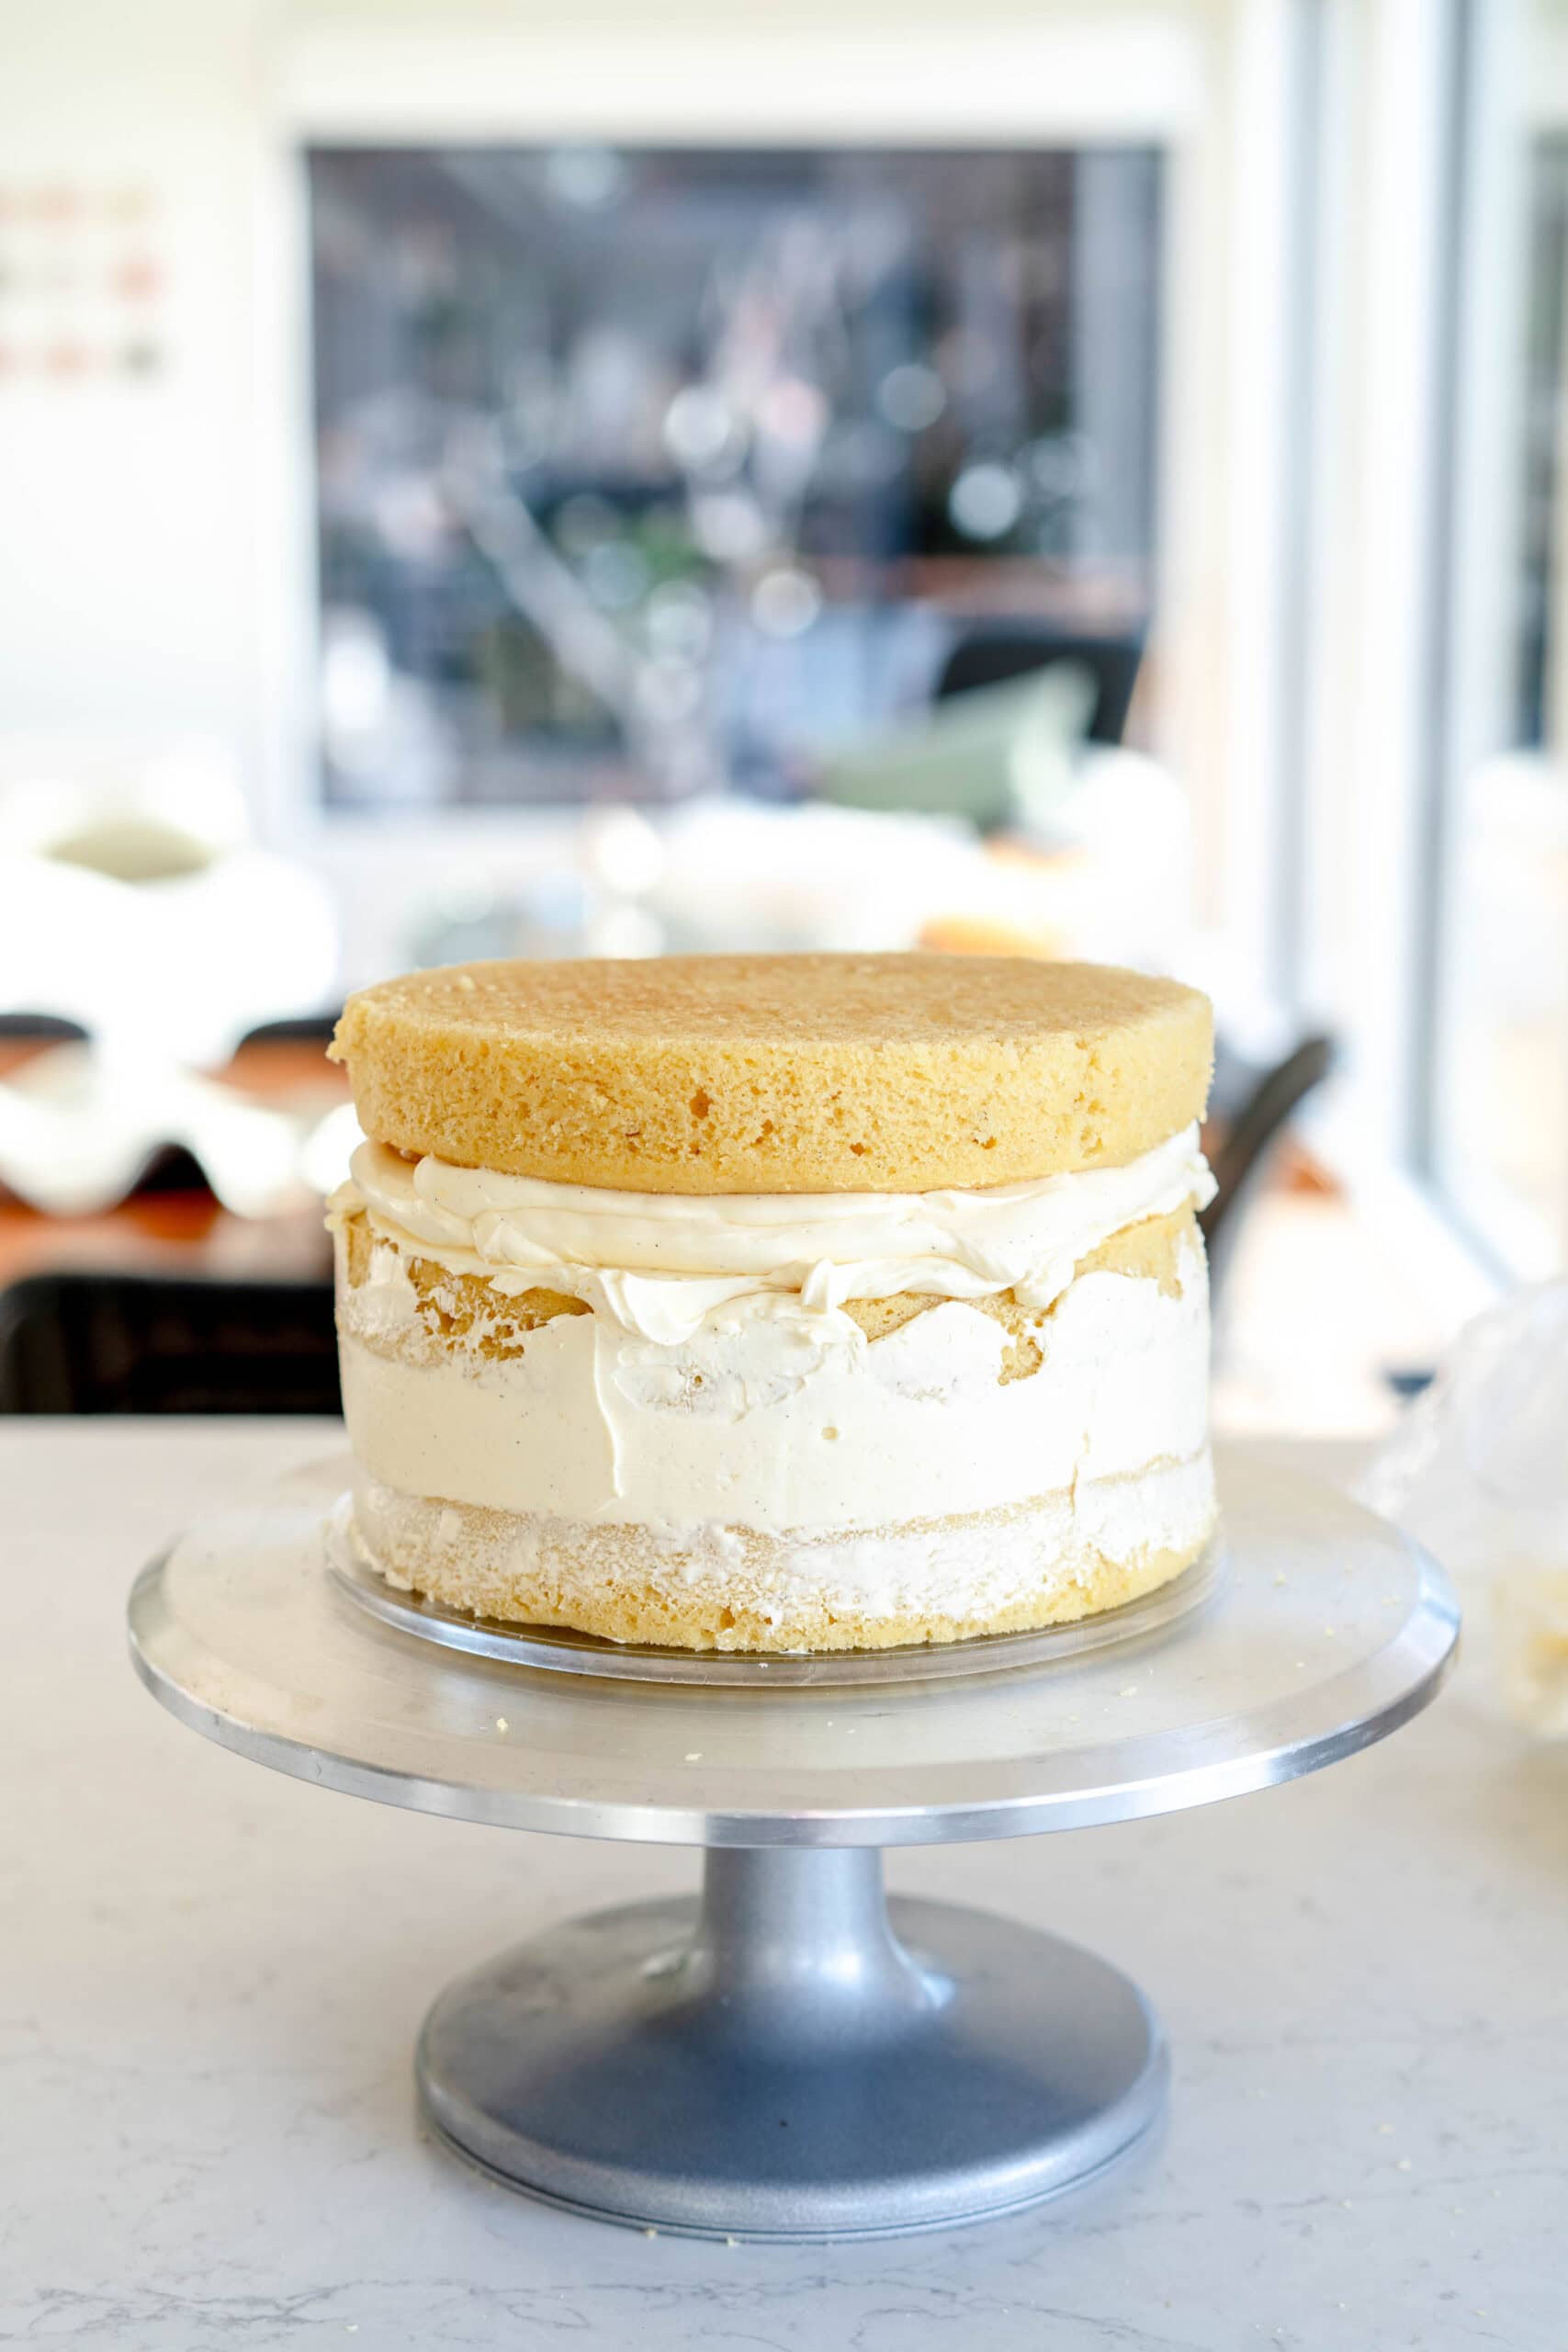
Add the second layer of cake (This applies regardless of if you have used a filling as well as frosting or just frosting). If this is a two layer cake, remember to put it upside down so the smooth bottom of the cake now becomes the top of your cake! Line the cake layer up as well as you can and place it on the stack. Seal it on with buttercream - apply with your offset spatula, making sure you fill all the holes between the layers, then give it a quick smooth. I often see this step missed when stacking a cake and it makes a big difference. It secures the layer to the layer below it, and reduces the chances of the entire cake ending up wonky. If your buttercream is really soft, you can put the cake in the fridge at this step too to help stabilise things before continuing.
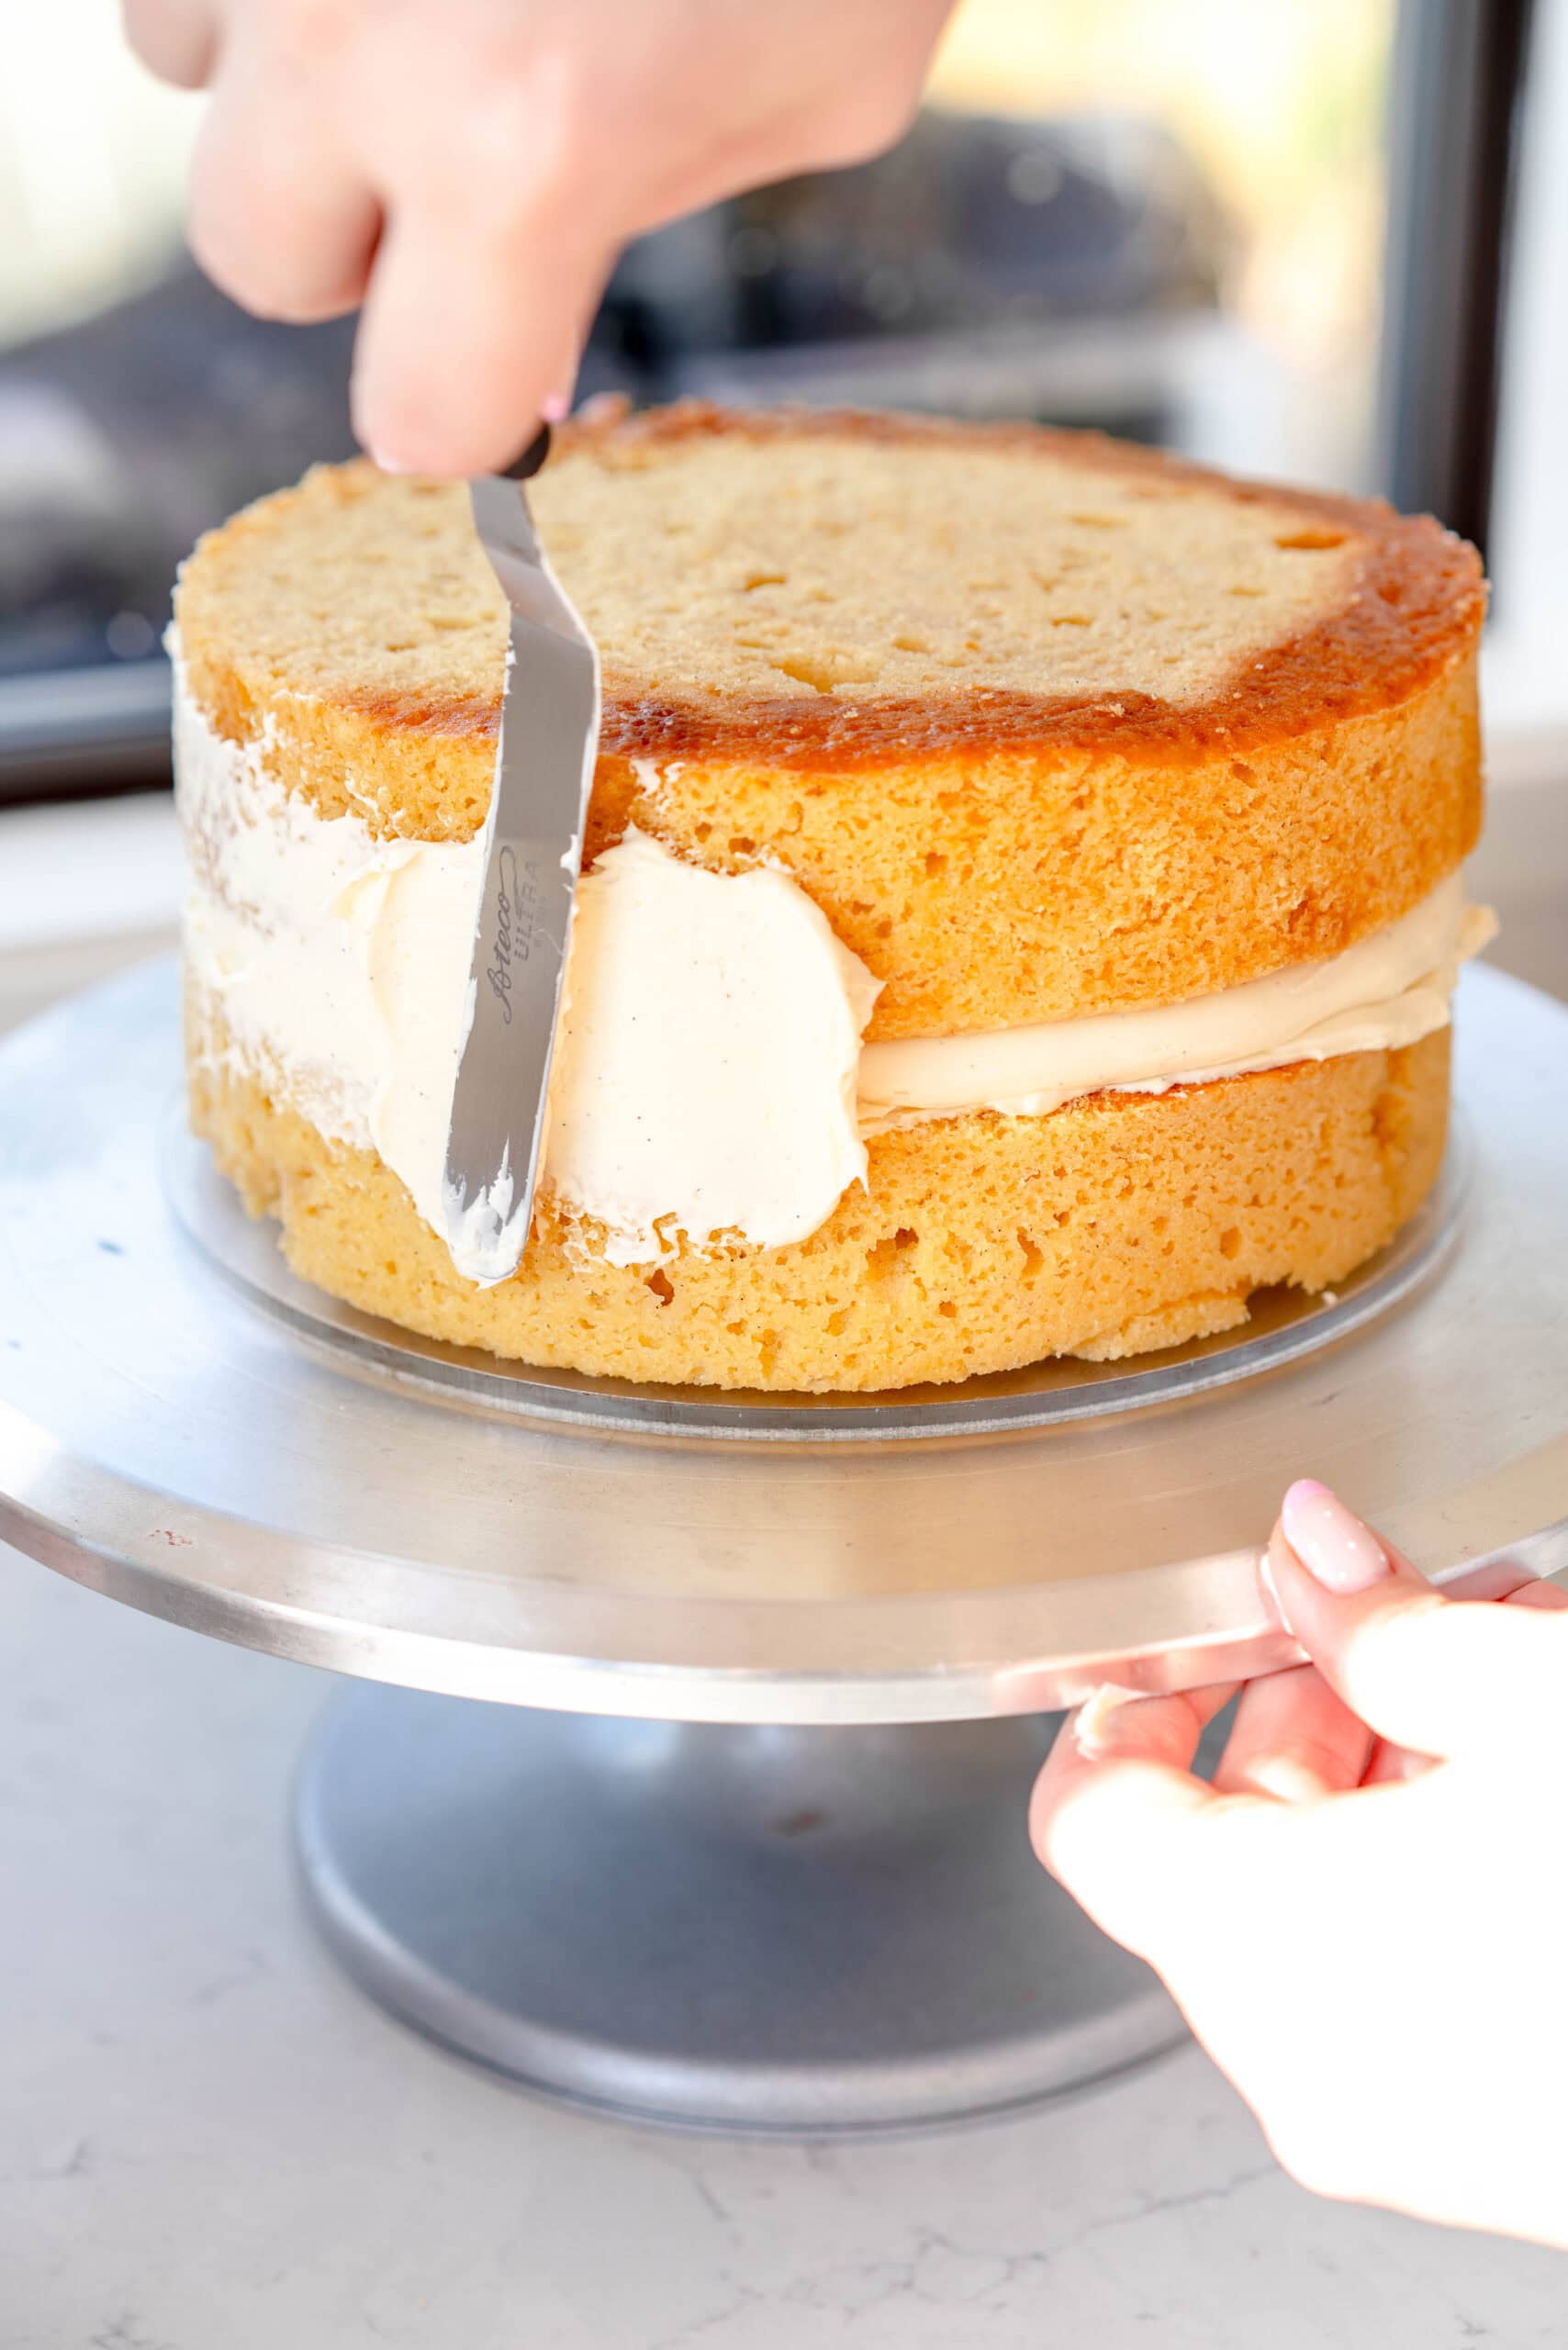
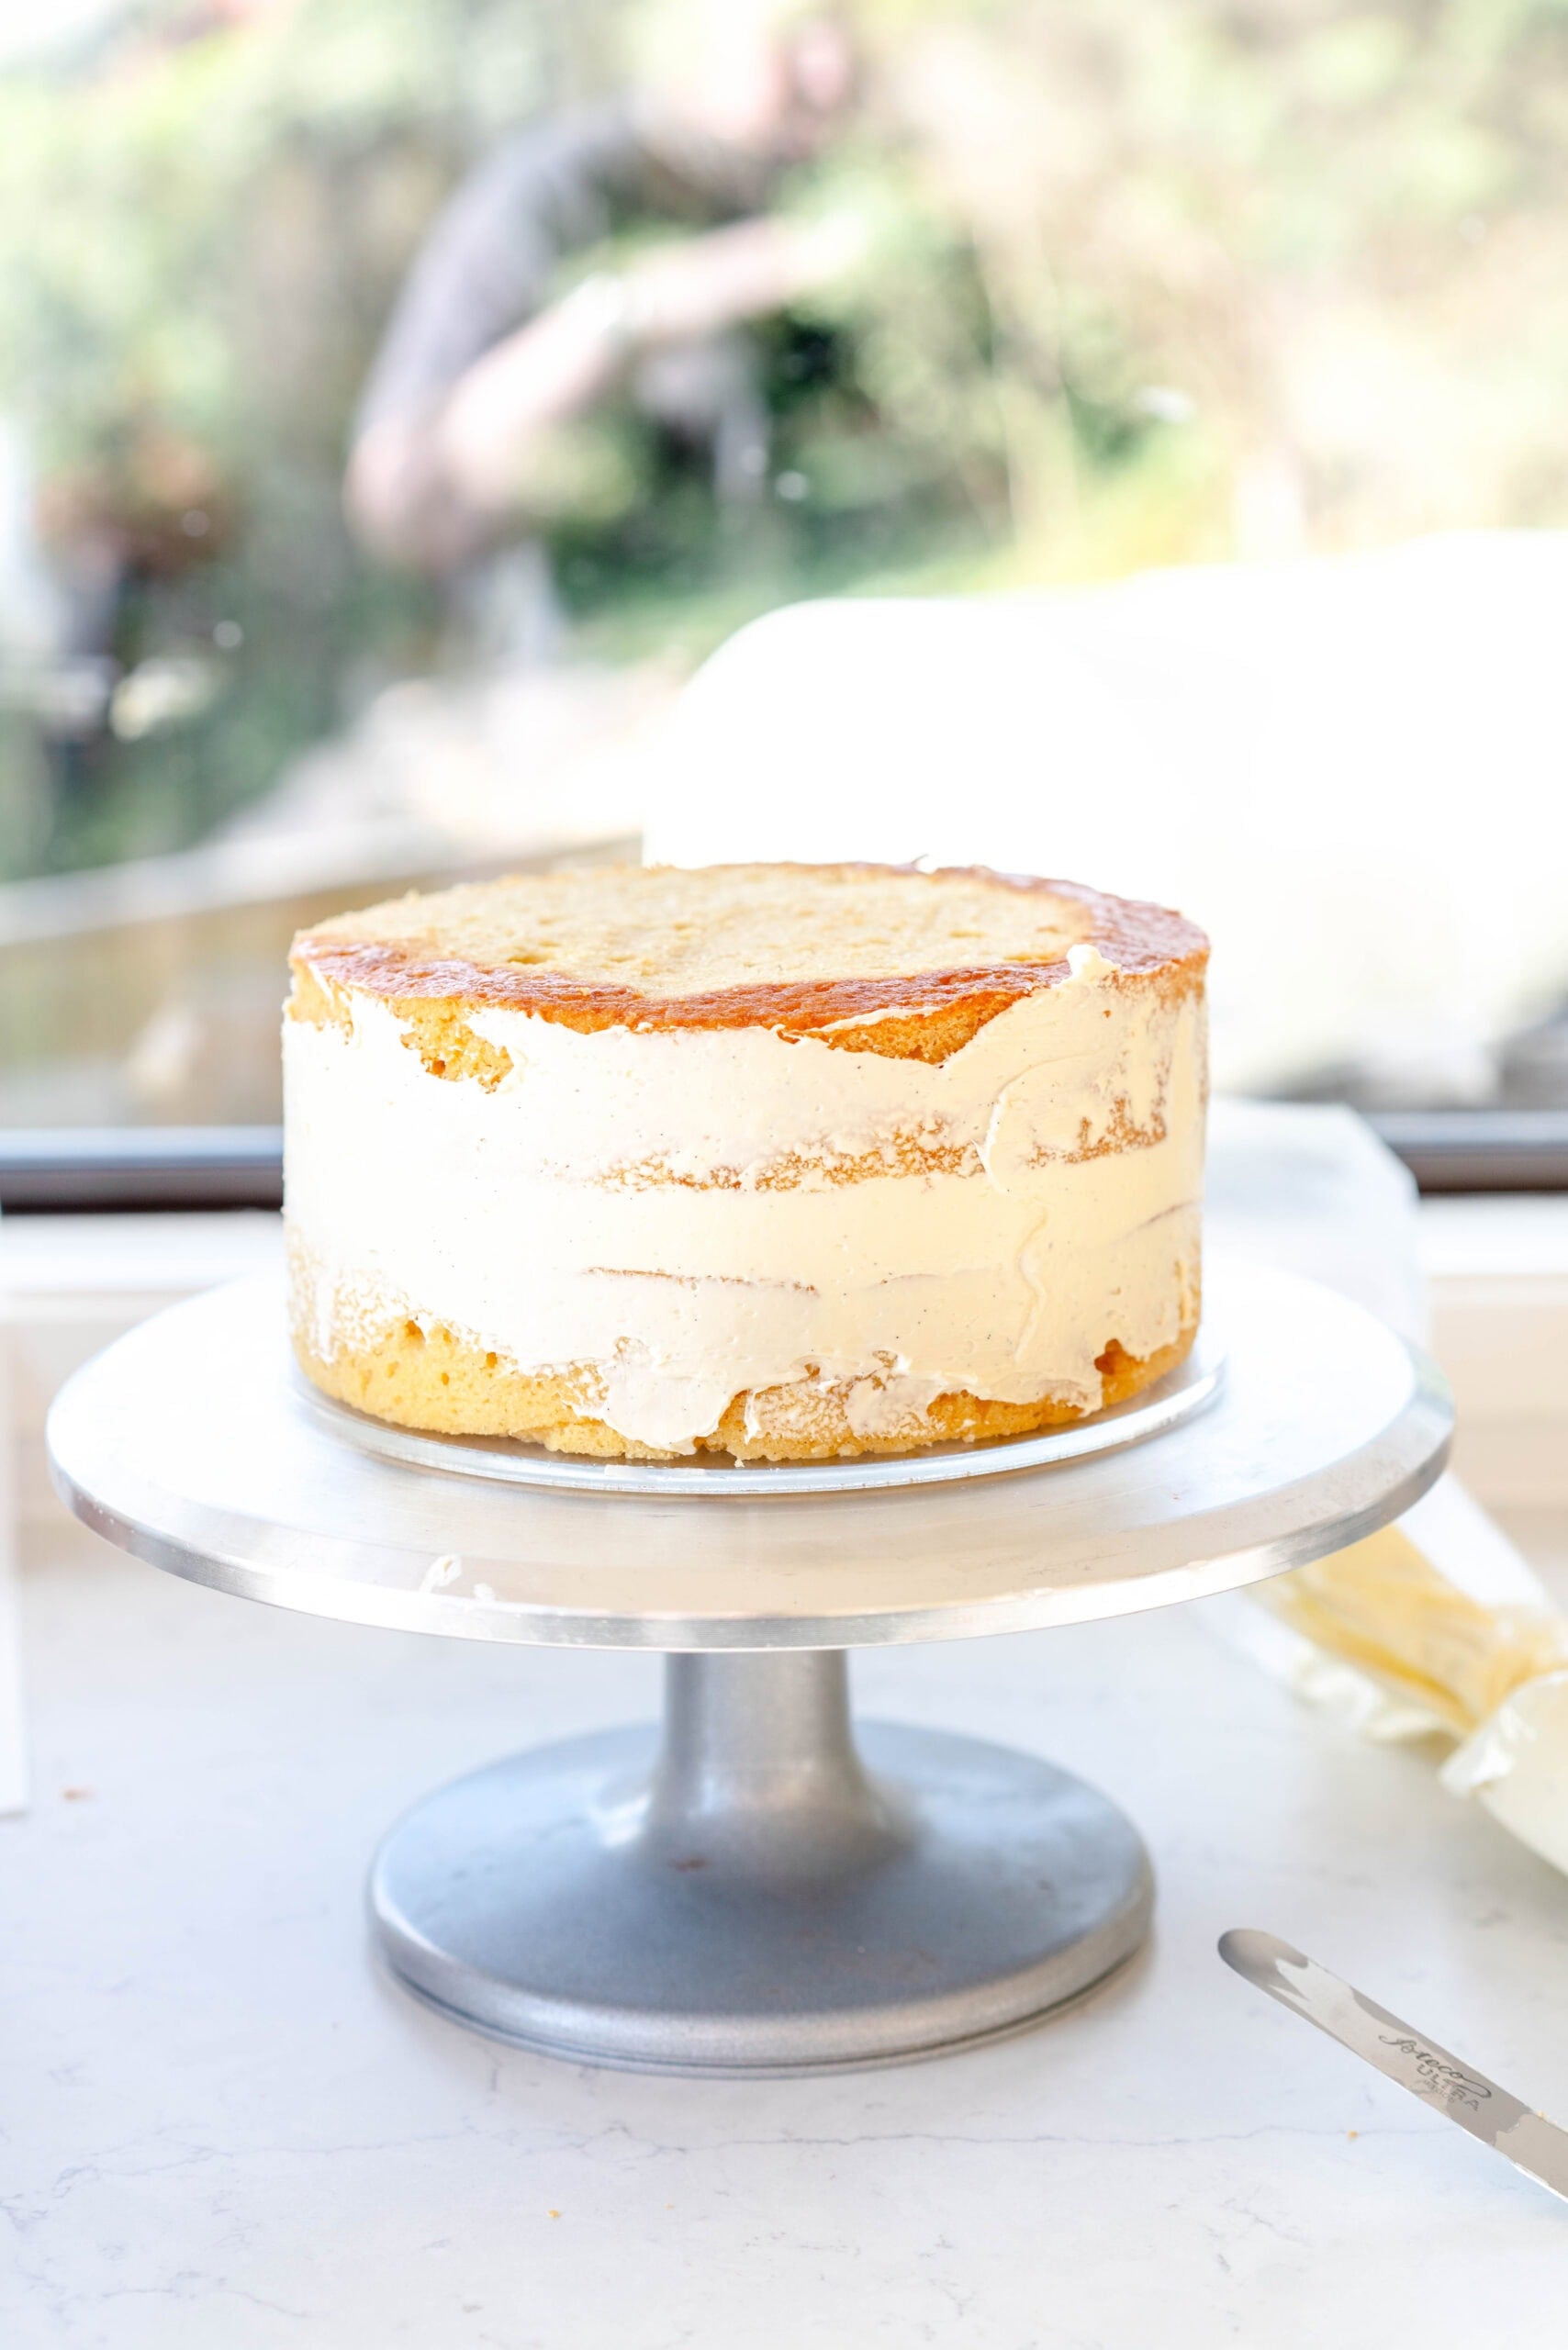
Fill again. If you are adding a third layer, repeat the filling process again, then add your final layer on top of the cake (upside down). Repeat the process again, sealing your cake onto the other layers.
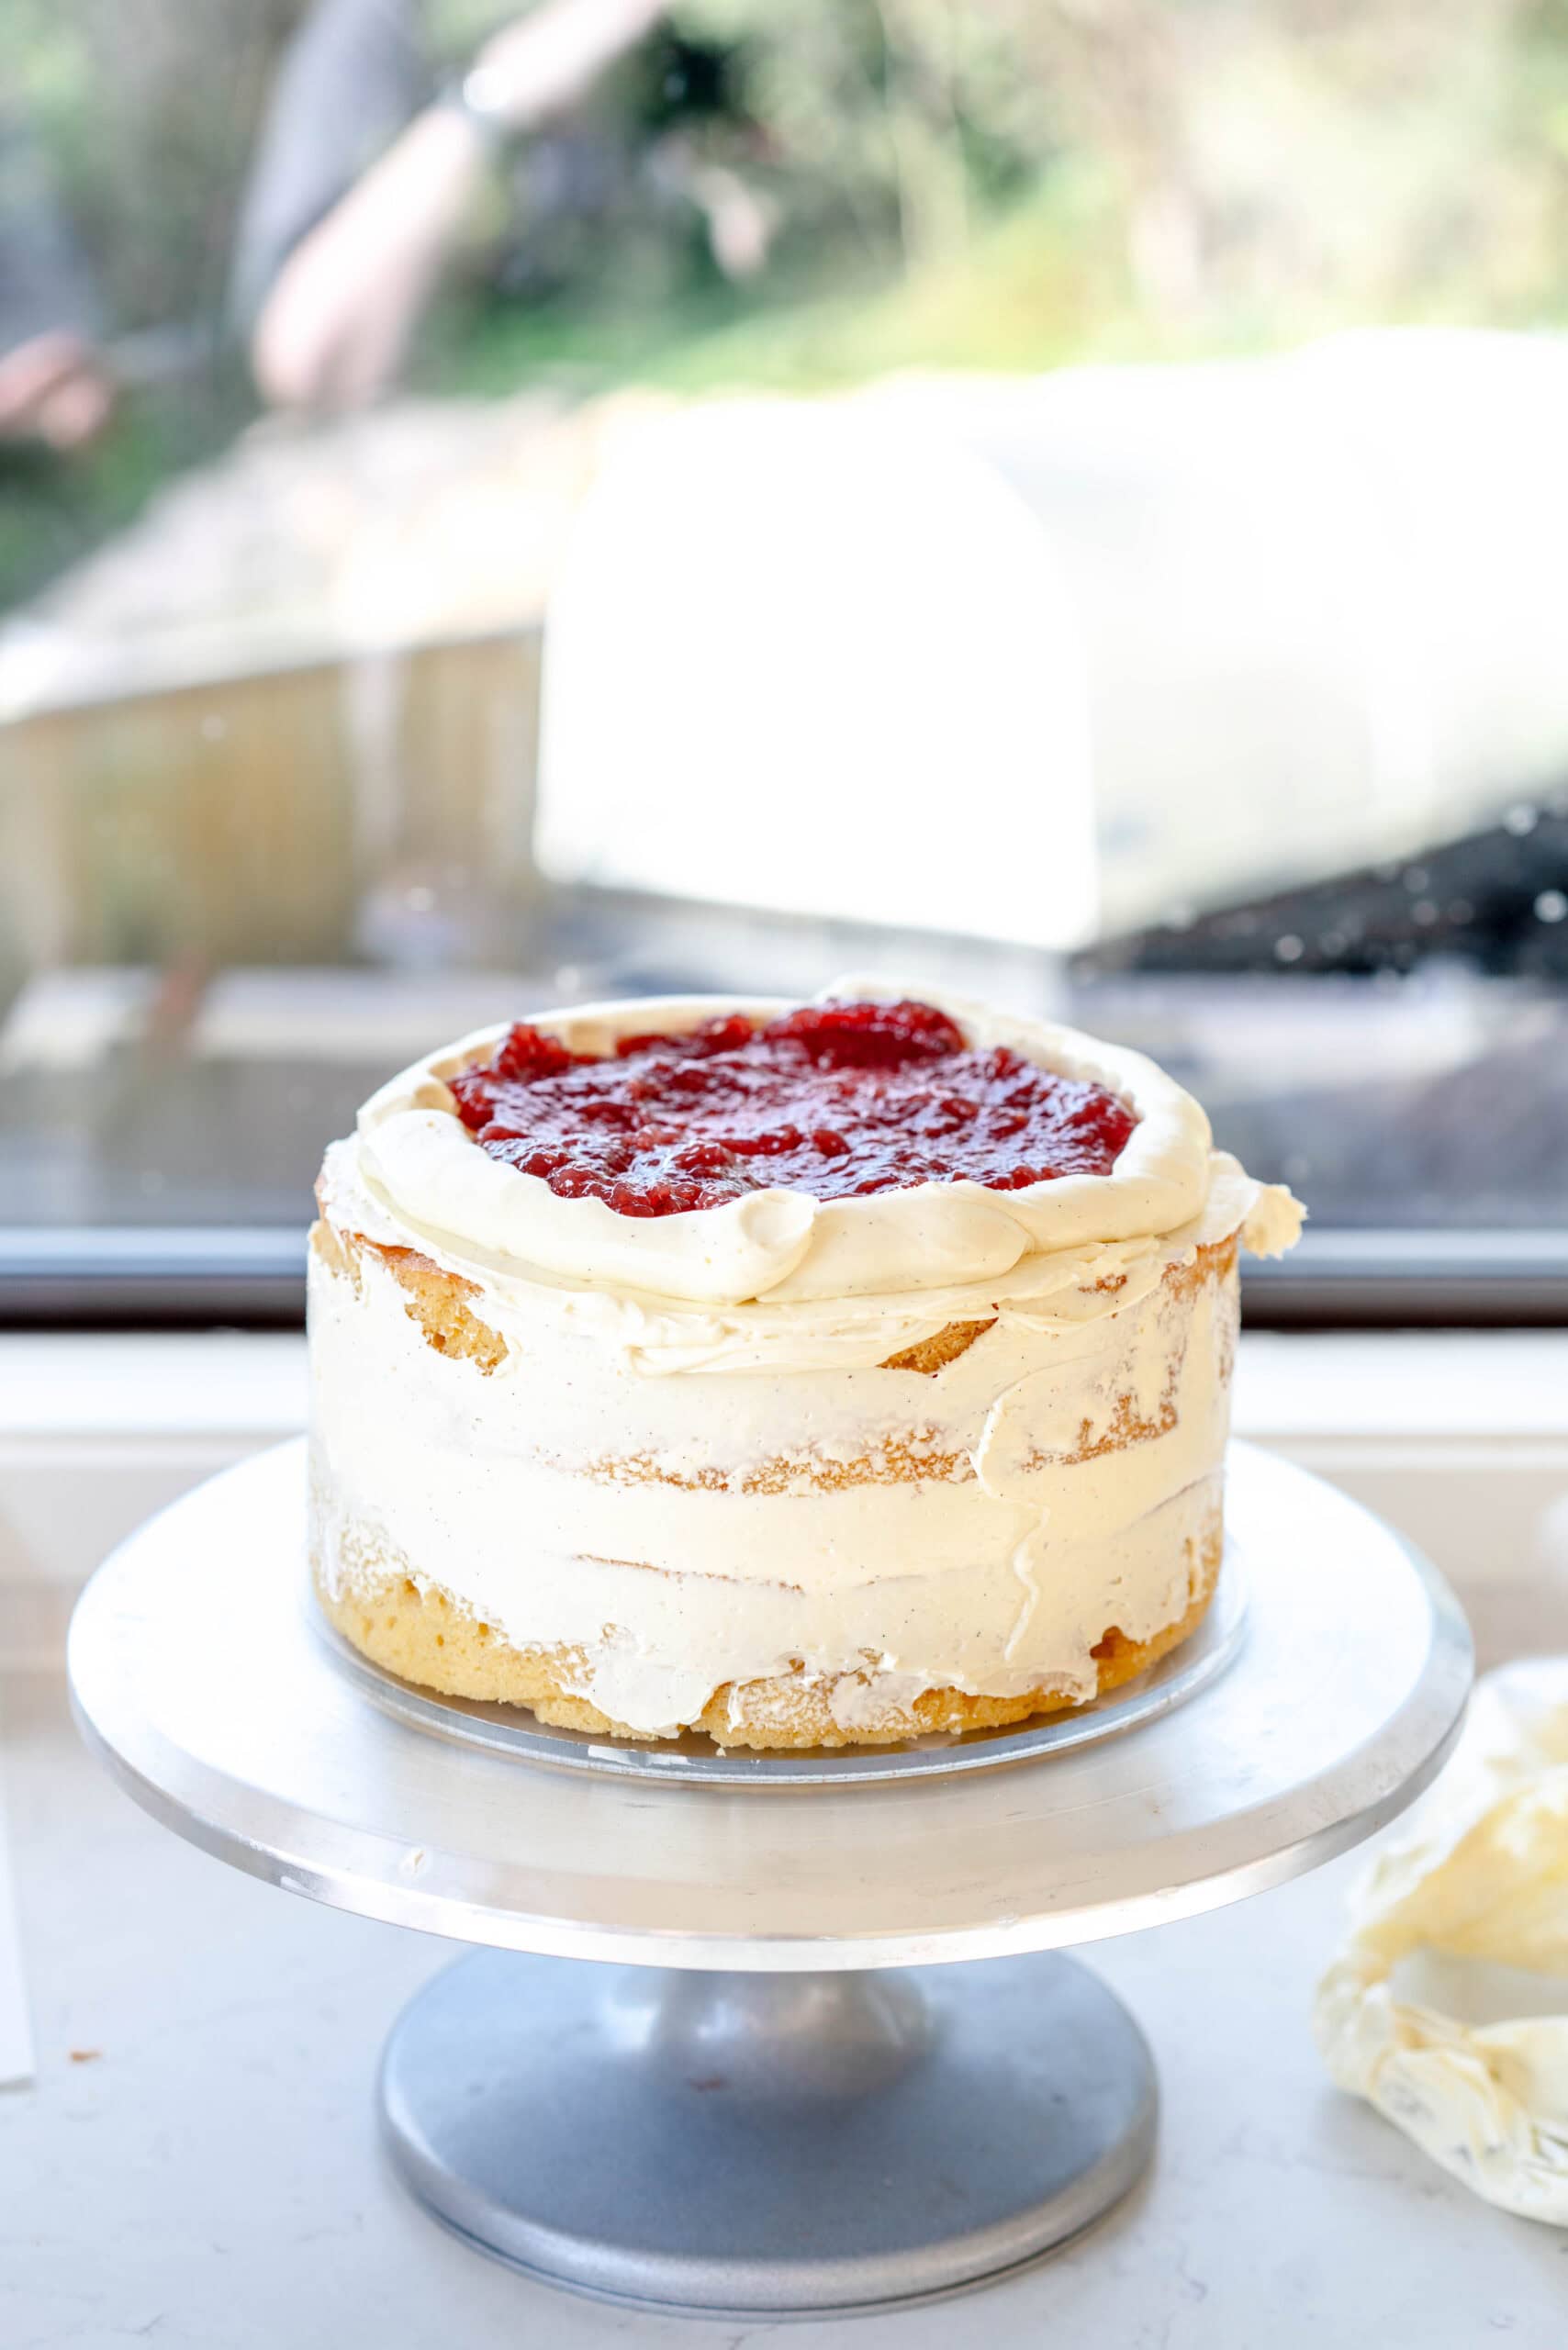
Step Three: Crumb Coat
This crumb coat step is super important for sealing in your cake, and providing a base layer to add on your final finishing layer of buttercream. The crumb coat doesn't have to be thick or super tidy, you just want to make sure that the cake is covered in a thin layer of frosting all over. This seals in any loose crumbs to make sure that they don't get into your frosting later on. Apply a thin layer of frosting all over (you will already have some on there from sealing the layers so you only need to add a little extra), and smooth off with your offset spatula and scraper.
If you can, give your crumb coat 15-20 minutes minimum to chill (I like to do 30 minutes). I find applying the final layer of buttercream is much easier if the crumb coat is well chilled.
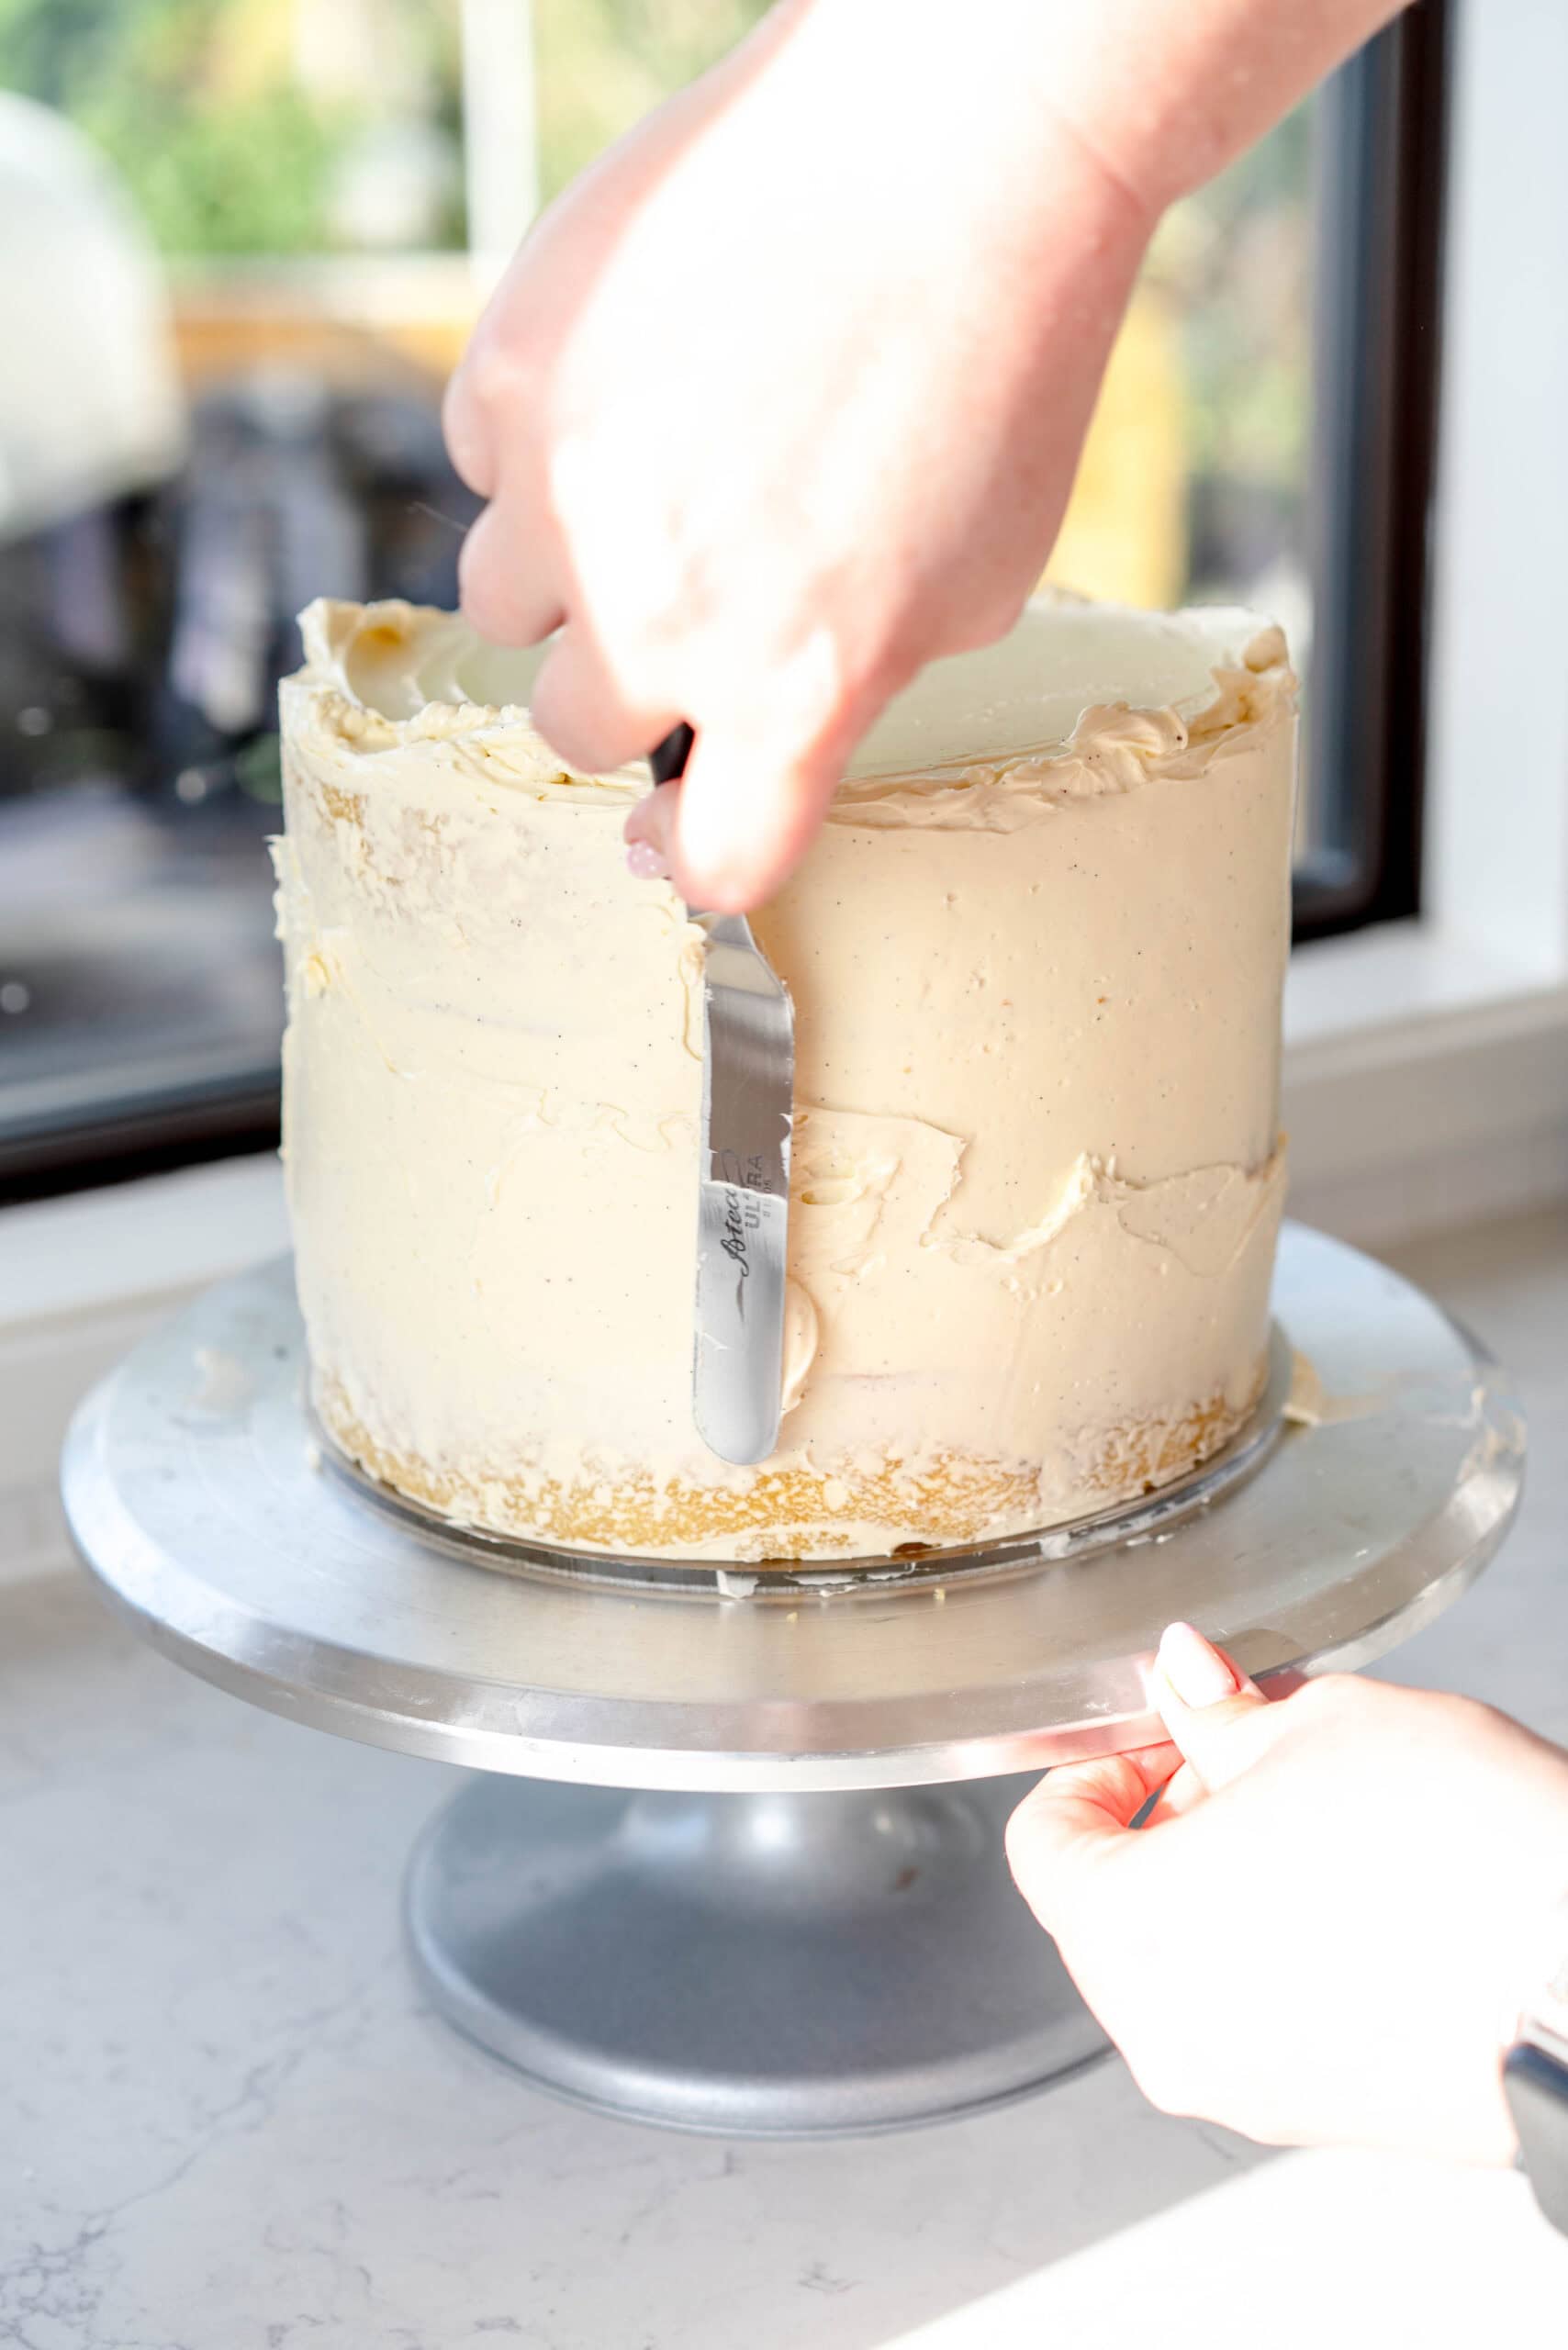
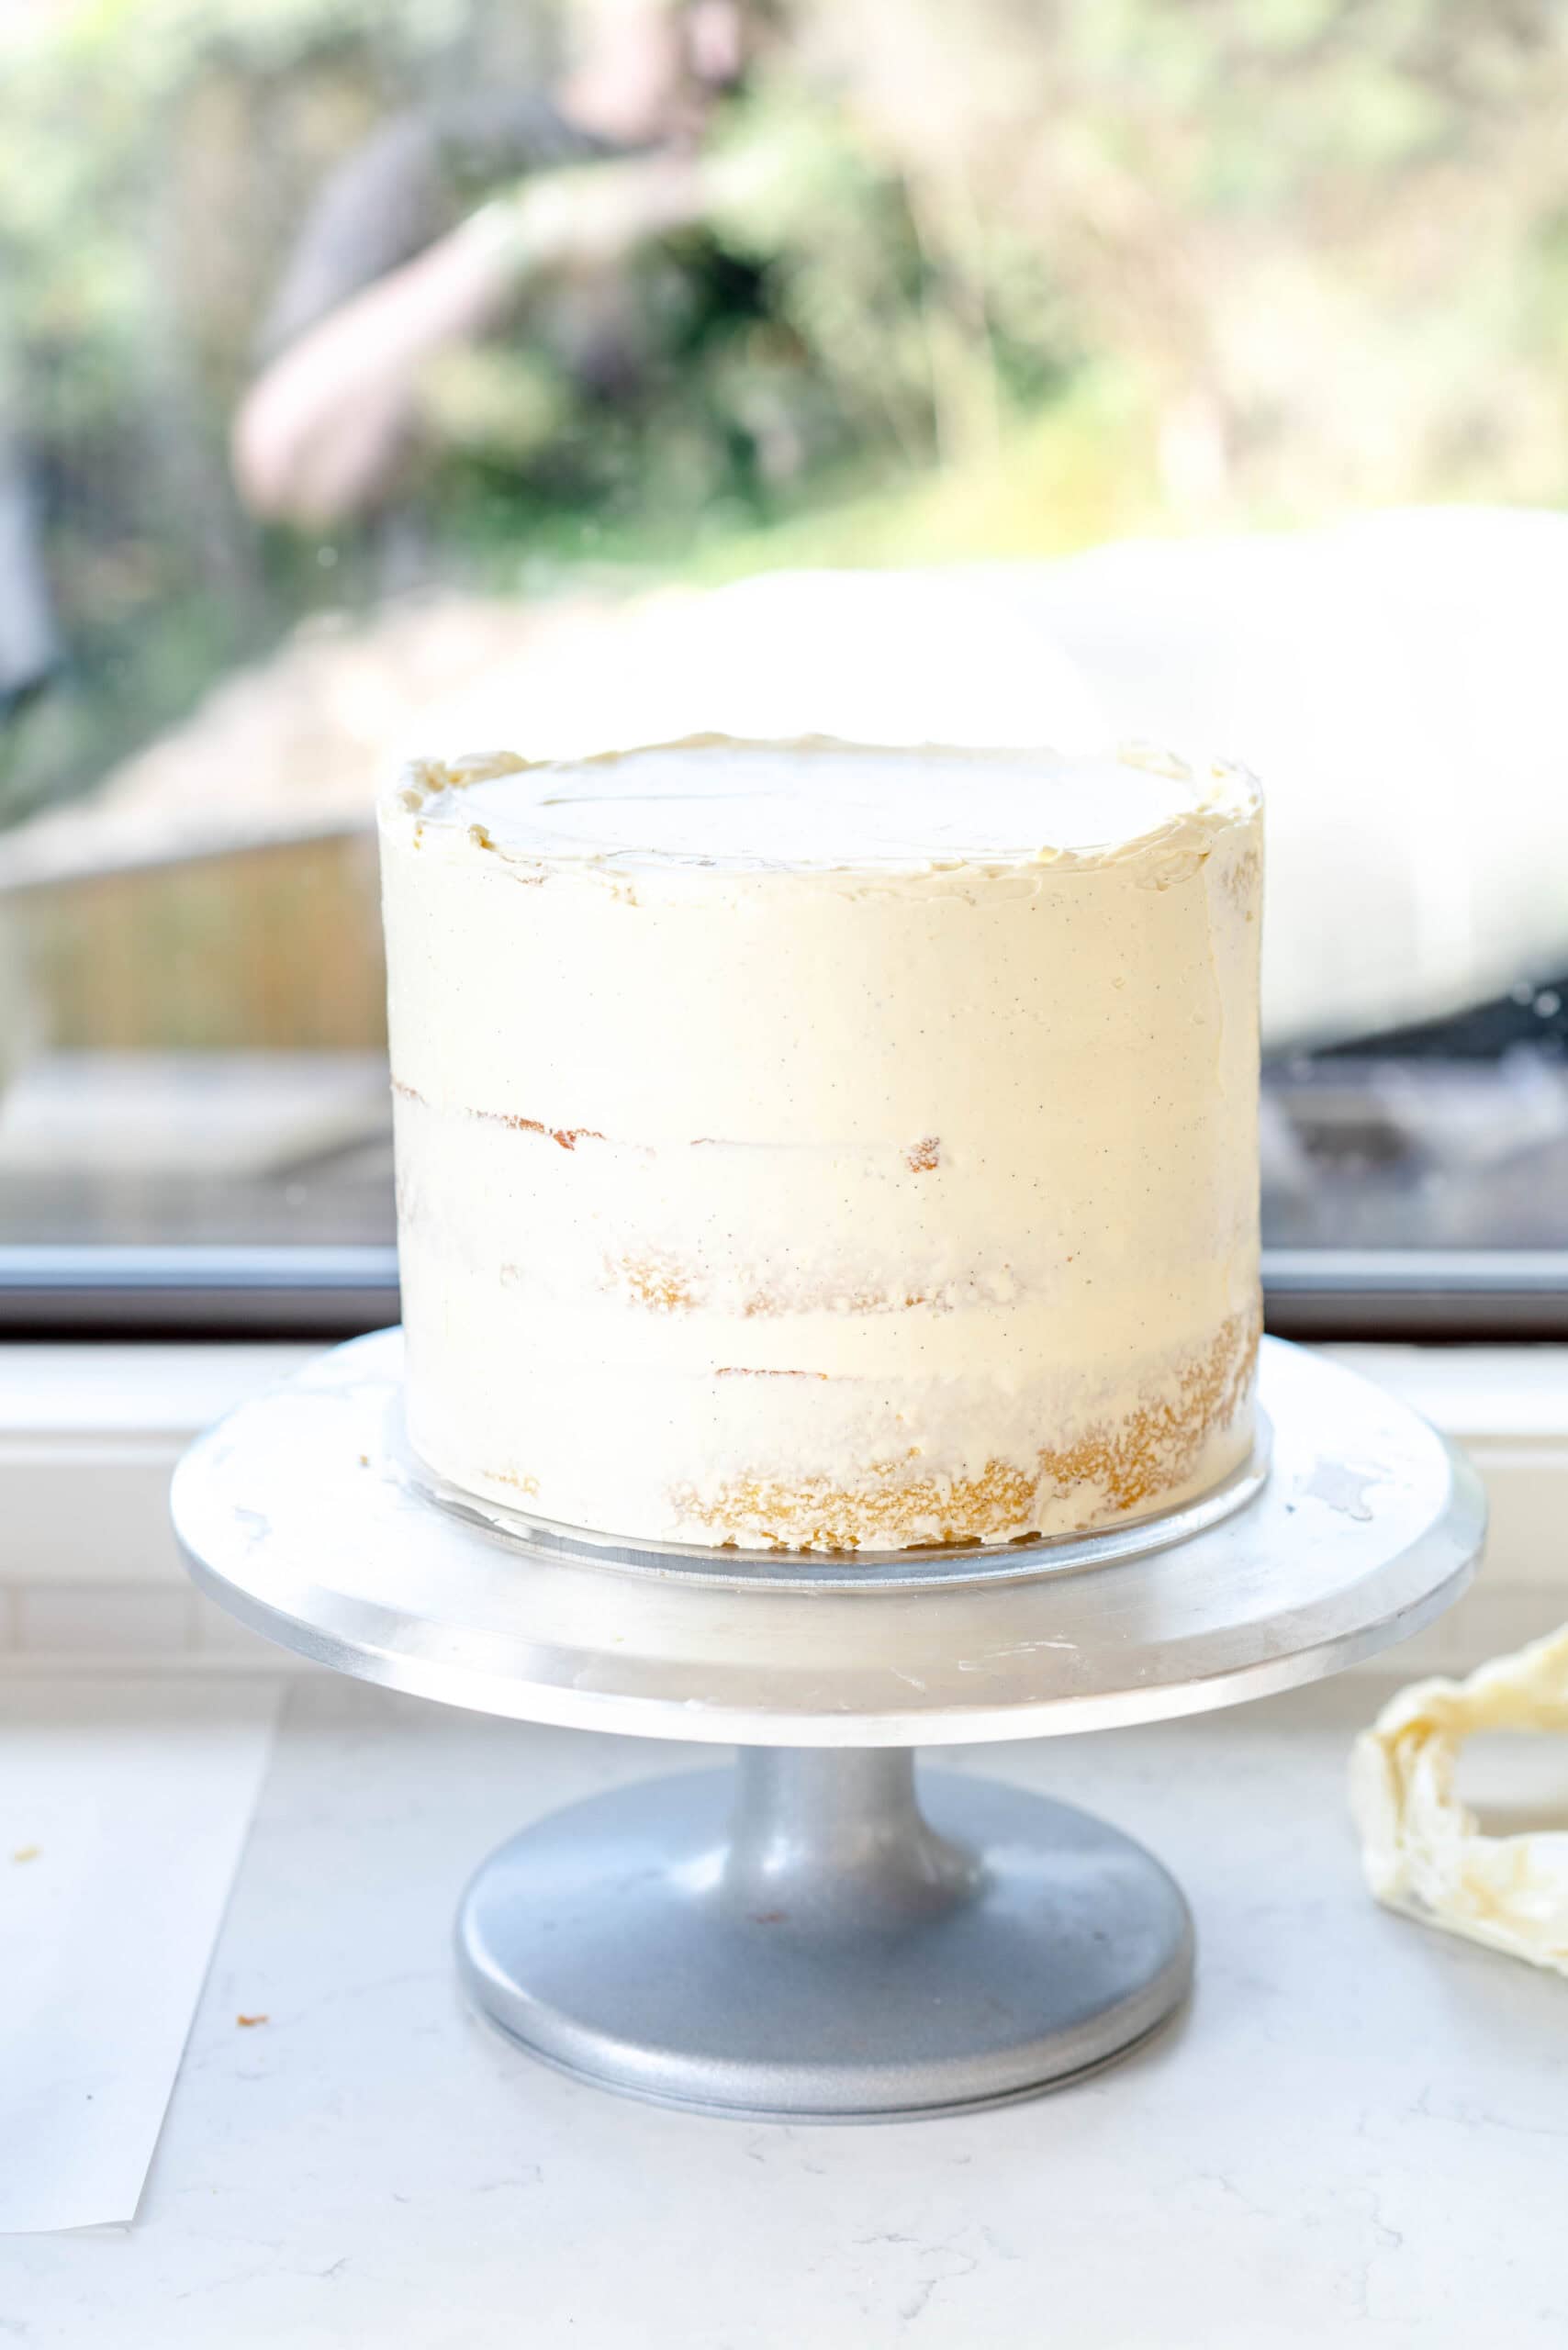
Step Four: Finish it off
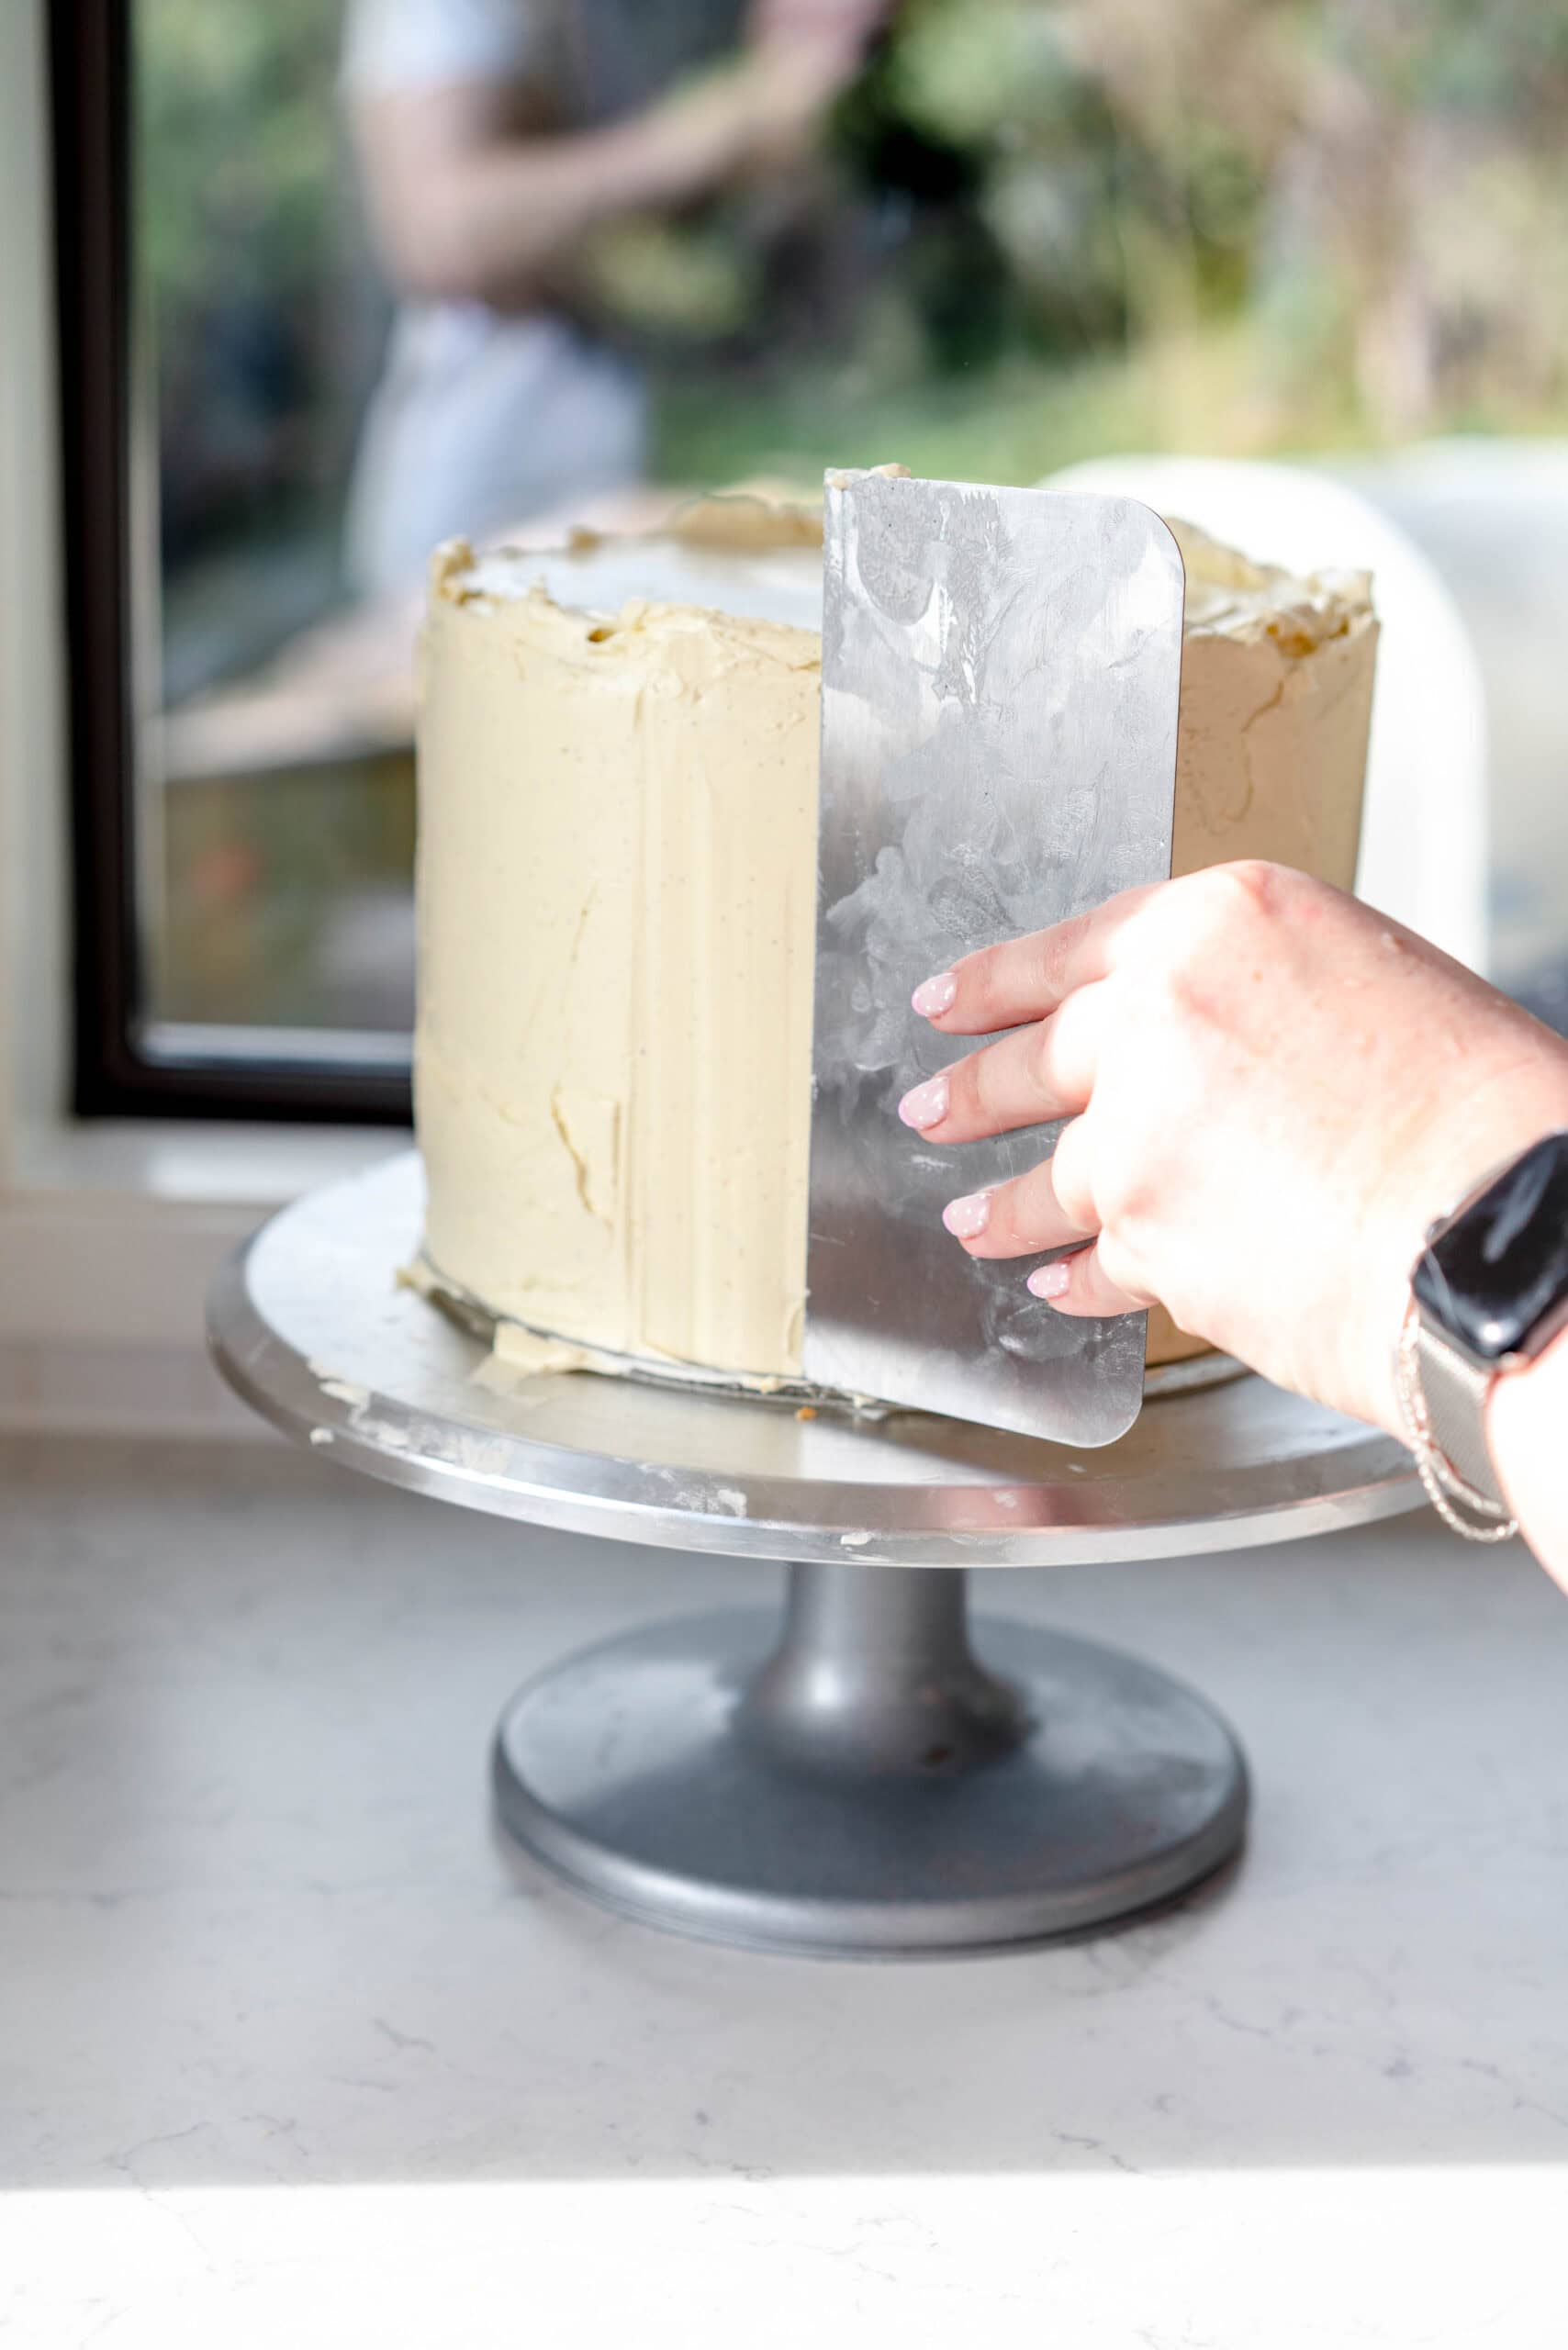
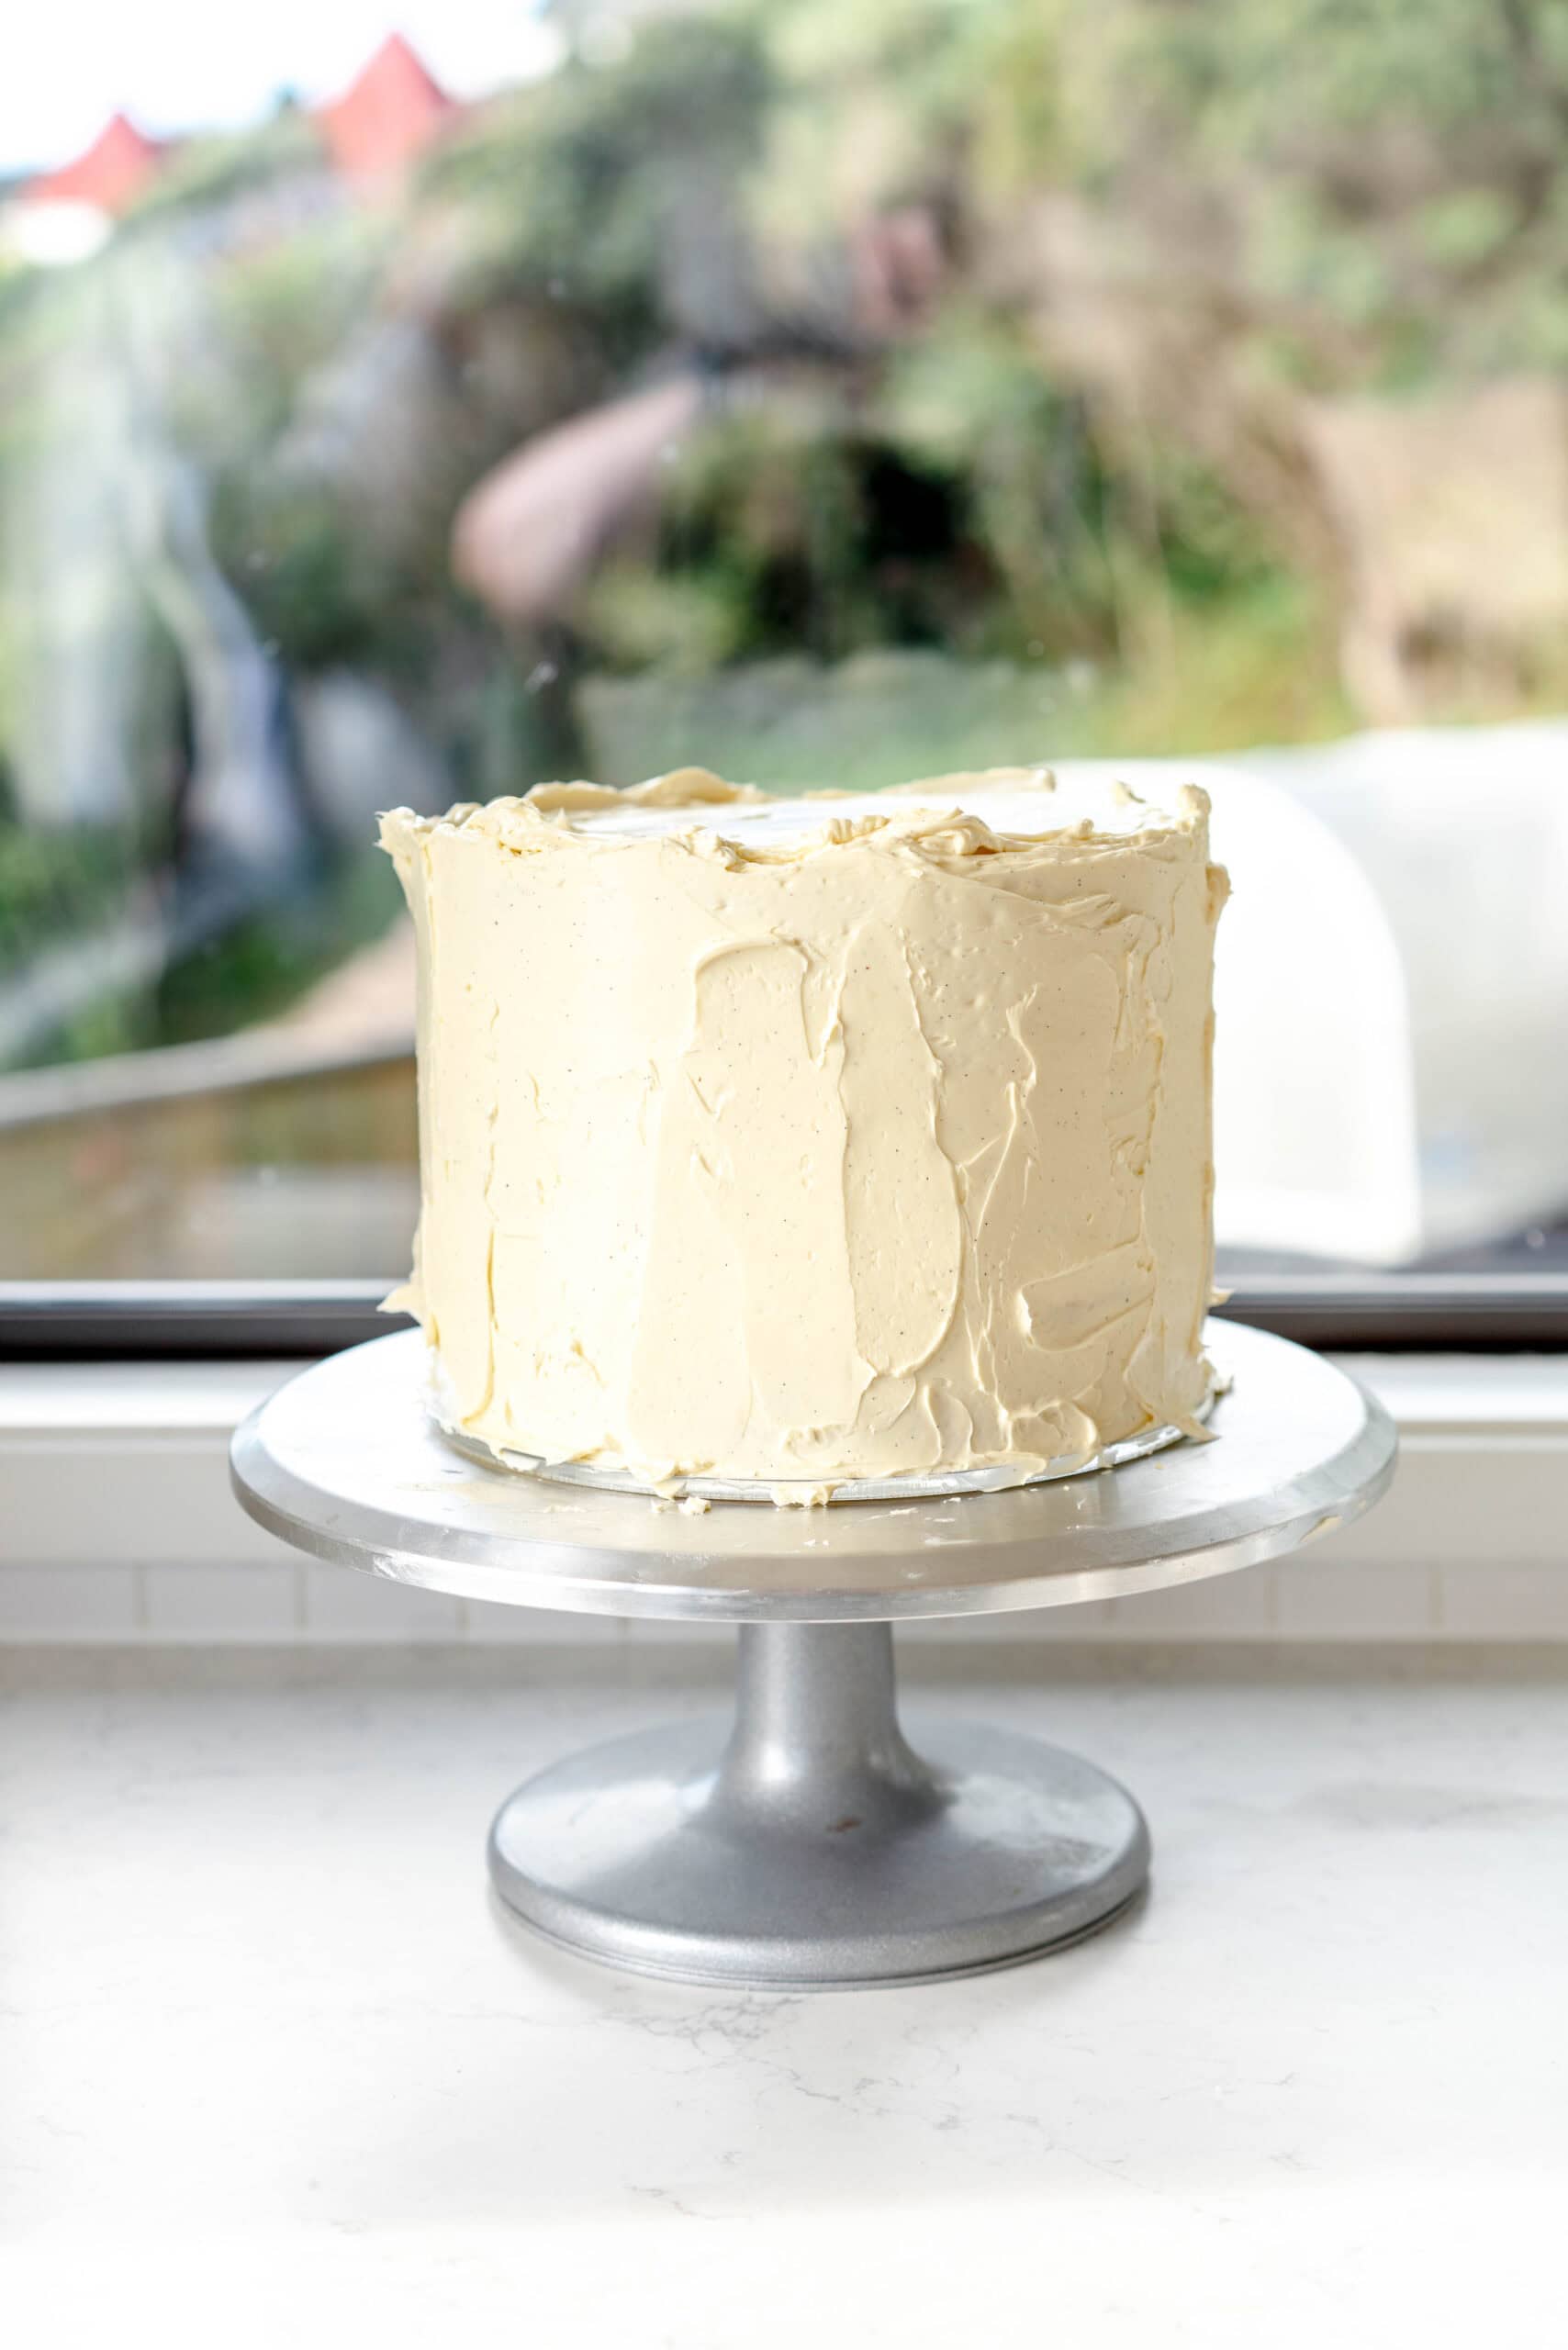
This is where you finish the cake however you like. You can go for a more rustic finish, or go for a smooth side. I like to do the top first and get it properly smooth, and then work on the sides. Add a thick ish layer of buttercream (remember it gets scraped off when you scrape the edges of the cake), making it as even as you can. The first pass with the scraper will show you where you need to add more, and remove any lumps with too much. Keep filling in holes and turning the cake on the turntable until you get a smooth finish you are happy with. Make sure that you hold the scraper perpendicular to the side of the cake to give a nice straight edge. I like to try and make my last pass of the cake in one full rotation if possible.
If you are using a metal scraper, one wee trick that I like to use is to run the scraper under hot water and dry it off, so the scraper is warm but dry. This warm scraper method gives a lovely smooth finish on the cake - however please note that if you have chocolate in your frosting or a lot of food colouring in your buttercream this may discolour the frosting so please test in on the buttercream first.
Troubleshooting - the fridge is your friend!
If you find yourself with a cake that doesn't seem to be behaving, use the fridge. If it feels like things are a little unstable, pop the cake into the fridge (you can even do this as you add layers which I like to do if it is hot weather and I am using a buttercream dam and don't want my filling leaking out). A cold cake is far easier to work with than a warm one, so don't be afraid to pop it into the fridge mid assembly if needed!
❤️ Made this recipe and love it? ❤️
I would LOVE for you to leave me a review and star rating below to let me know how you liked it! Also, please make sure to tag me on Instagram!
Answers to your baking questions
Over the years, many of you have asked me questions about:
- baking in grams
- adjusting oven temperatures
- what kind of salt to use
- and many more!
I've curated and answered them all for your easy reference in this frequently asked questions post!
How to Frost a Cake - the Ultimate Guide
- Prep Time: 1 hour
- Cook Time: 30 minutes
- Total Time: 1 hour
- Yield: 8 Servings 1x
- Category: Cake
- Method: Baking
Description
Ever been intimidated by frosting a cake? Don't be! My Ultimate guide on how to frost a cake will walk you through the process of making a layer cake step-by-step - I promise once you know what you are doing, it's much easier than you think! I have been doing it this way for years.
Ingredients
Cake
- Cake of your choice, baked, cooled, and levelled, either at room temperature, chilled (my preference), or frozen and left at room temp for about 30 minutes before assembly
Frosting
- Frosting of your choice (I like Swiss Meringue Buttercream for more fancy detail work), or my Classic Vanilla Buttercream Frosting or Chocolate Buttercream Frosting are both good options.
Instructions
This is a step-by-step guide to use for reference - for more detail, please use the instructions in the body of the blog post.
- Place something between the cake board or plate you are using and the turntable - I like to use a damp paper towel.
- Look at your cake layers and find which one has the neatest bottom side - I like to put the top layer of my cake on upside down so that I have a nice flat surface to use as the top of my cake.
- Get everything ready. I like to get all my tools out, and transfer some of the frosting to a piping bag if I am making a buttercream dam.
- Make sure that there is enough space in your fridge to place the cake once you have finished it - I also like to do this before I start so I am not playing fridge tetris.
- Secure the first layer of the cake to the plate or cake board using a little buttercream. Add buttercream - the amount you use will depend whether you are adding a filling or not. I like to use a cookie scoop to portion it out so that there is an even amount in between layers.
- No filling - Add your buttercream to the cake layer, and spread it smooth using an offset spatula.
- Filling - Add a little buttercream to the cake layer, spread it smooth using an offset spatula, and then add a buttercream 'dam' to the cake, piping a circle of buttercream with your piping bag. Smooth it down on the inside edge of the dam to help it adhere to the cake. Add filling if you are using.
- Add the second layer of cake (If this is the top layer make sure you put it on upside down), and secure to the bottom layer with a layer of frosting (see images). I like to smooth it off with my offset spatula or scraper.
- Continue the filling and stacking process until your cake is fully stacked. Don't forget to seal the layers on as you go.
- Place the top layer on upside down. Add buttercream to the top of the cake and smooth using your offset spatula. Remember you are doing the crumb coat first, so it doesn't have to be a thick layer of buttercream. I like to get the top of the cake smooth and then work on the sides. Don't worry about the edges yet - they come after the sides are done.
- Add buttercream to the outside of the cake using your offset spatula. Again remember you are doing a crumb coat so this can be a thin coating.
- Smooth using your cake scraper. The buttercream will work its way up the sides of the cake toward the top edge. Once the sides are smooth, you can use your offset spatula to sharpen the edges of the cake - hold it at a slight angle and pull it toward the inside edge of the cake to give a sharp edge.
- Chill your crumb coated cake for at least 15 minutes (I like to do 30 if I can) to give the buttercream enough time to set properly.
- Once the crumb coated cake has chilled it is time to add the final layer of buttercream. I like to do the top first again, adding buttercream and smoothing it on using the offset spatula.
- Add a thicker layer of buttercream to the sides of the cake. Once it is all covered, smooth with your scraper. There will likely be a few holes and uneven bits - these can be fixed later.
- Patch up any bits, and do another pass with your scraper until you are happy with how smooth it is.
- If you would like to if you have a metal scraper, you can warm it up by running it under hot water and then dry it off and use the slightly warm scraper to do your final pass on the frosting - be aware this doesn't work with every kind of frosting as it will cause dark patches on chocolate buttercream etc. If you are concerned, test it on some of the frosting in the bowl.
- Once the sides are smooth, finish off the top edge by using the offset spatula, or you can leave it rustic (I often like to do it this way as it gives a nice looking edge and means that you don't have to worry about a super smooth edge)
- Finish the cake as desired - using piping, sprinkles, decorations, etc etc.
- Give your cake at least a few hours to chill before serving or transporting to allow it to fully set.
- Cake is fine to be stored uncovered in the fridge before serving for up to a few days (As long as you are comfortable with how smelly your fridge is), and once cut, store in an airtight container in the fridge.
Notes
To cut a layer cake cleanly: I like to use a sharp knife, and warm it under hot water then dry it so that it is dry but warm. Cut as desired, wiping the blade between cuts.